Run a Multi Asset Scan
This guide walks you through creating a Multi Asset scan, a scan that combines several assets, such as mobile applications, web applications, network ranges, code repositories, and files, into a single scan with one shared set of settings and one consolidated report.
For background on how Multi Asset scanning works and when to use it, see Multi Asset Scan Profile. For the full list of assets you can add, see Supported Asset Types.
Create a Multi Asset Scan
Step 1: Select the Multiple Assets Type
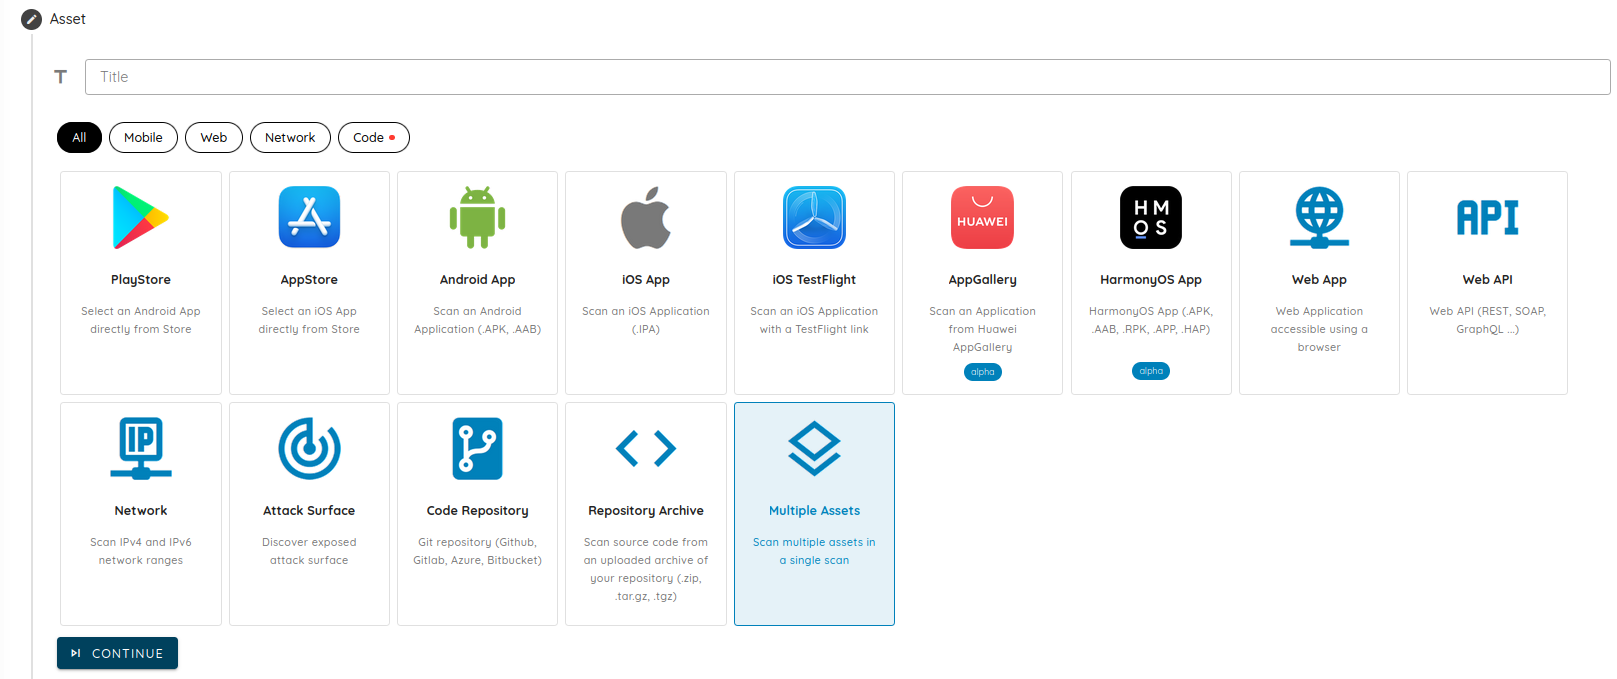
- (Optional) Provide a descriptive title for your scan.
- Select Multiple Assets, then click Continue.
Step 2: Add Your Assets
The Add Assets step is where you build the scope of the scan. It is required, and the scan needs at least one asset.
-
Click Add Asset.

-
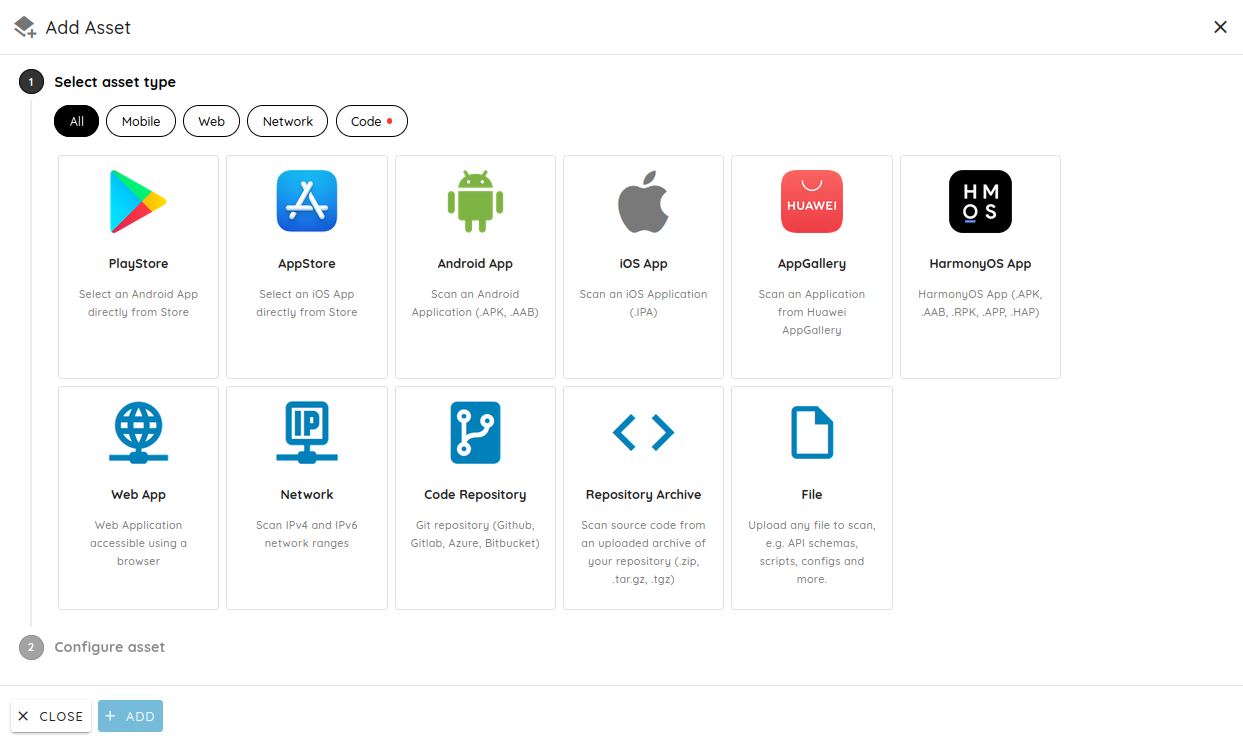
In the Add Asset dialog, select the asset type. Use the All, Mobile, Web, Network, and Code tabs to filter the list.
-
Configure the asset, then click Add.
- Repeat for every asset you want to include in the scan.
Selecting Repository Archive lets you scan source code by uploading an archive, without connecting a Git provider or granting Ostorlab access to your repository.
Step 3: Select the Scan Profile
Select Multi Asset Deep Agentic Scan. This is an AI-powered agentic scan that uncovers complex logical flaws, chains multiple vulnerabilities across multiple assets, and validates findings through proof-of-concept exploits.

Step 4: Select the AI Provider
Choose how the scan's AI analysis is powered:
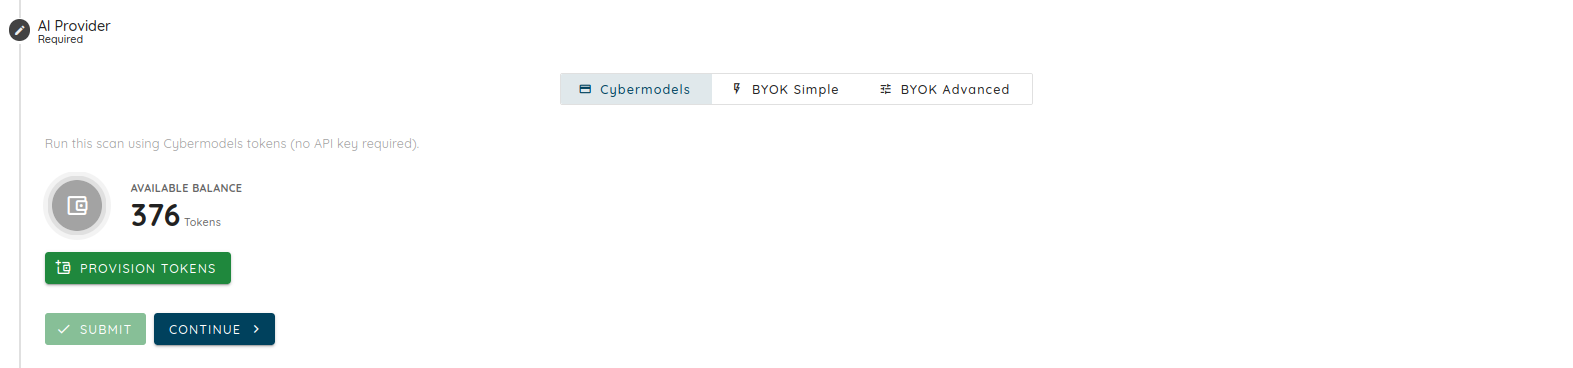
- Cybermodels: run the scan using Cybermodels tokens, with no API key required. Your available balance is shown here, along with a Provision Tokens button.
- BYOK Simple or BYOK Advanced: run the scan using your own API key.
For more detail, see Generate a BYOK Scan Key and Cyber Models Overview.
Step 5: Choose the Effort Level
The effort level determines how deeply the scan analyzes your assets. Higher effort covers more risks but consumes more tokens.
| Effort | Tokens | Risks Covered | Pentest Equivalent |
|---|---|---|---|
| Core | 50 | 50 | ~1 week |
| Advanced | 200 | 200 | ~2-4 weeks |
| Elite | 400 | 400 | ~4-8 weeks |
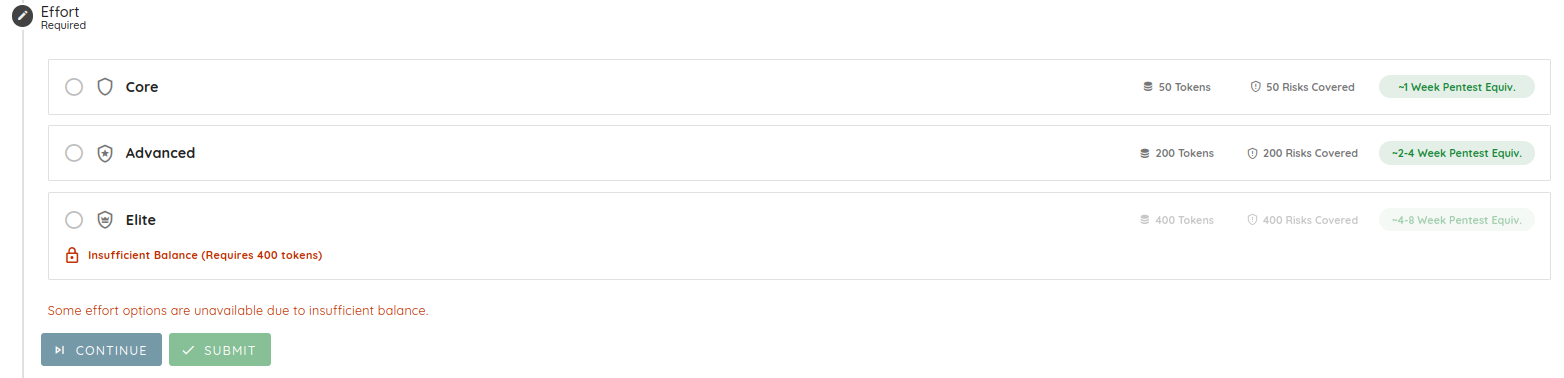
Effort levels that cost more than your available token balance are disabled, and the interface shows an Insufficient Balance message. Use Provision Tokens in the AI Provider step to add more.
Step 6: Configure the Optional Steps
The remaining steps are all optional. You can configure them or click Continue to skip.
Test Credentials
Select predefined test credentials or add new ones to increase the coverage of the dynamic analysis. Credentials can also be managed from the Test Credentials menu.

Clicking Test Credentials shows the supported authentication types:
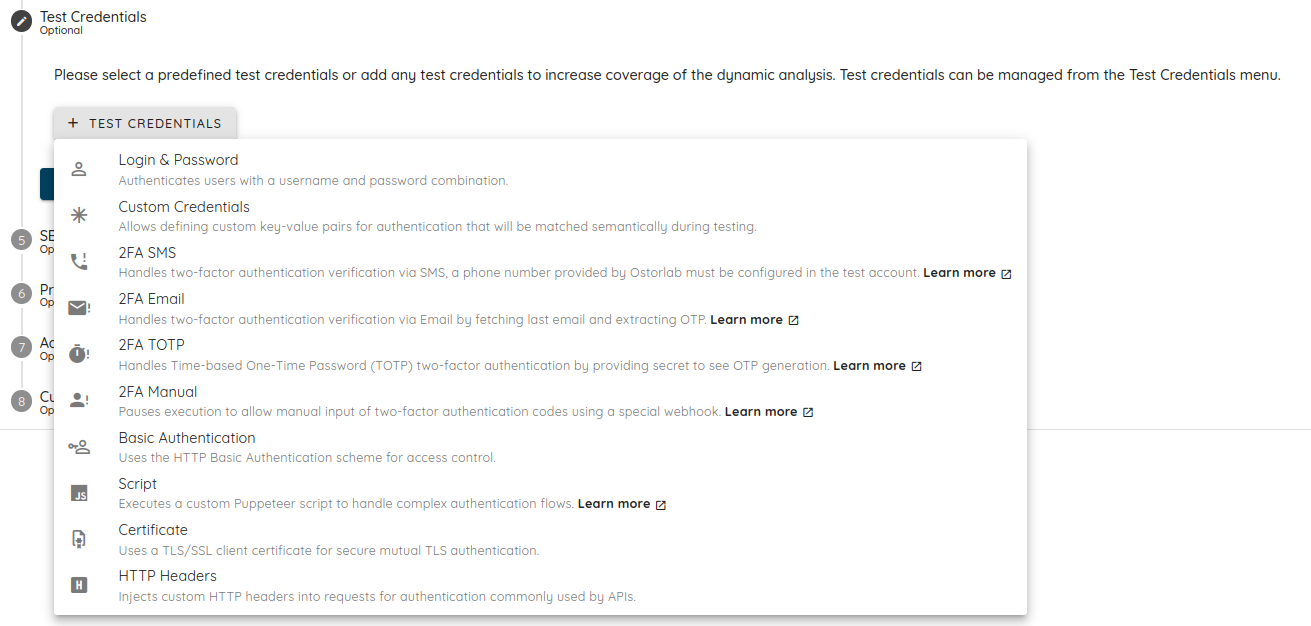
- Login & Password: authenticates with a username and password combination.
- Custom Credentials: key-value pairs matched semantically during testing.
- 2FA SMS, 2FA Email, 2FA TOTP, 2FA Manual: two-factor authentication handling. See 2FA for Authenticated Scans.
- Basic Authentication: the HTTP Basic Authentication scheme.
- Script: a custom Puppeteer script for complex authentication flows.
- Certificate: a TLS/SSL client certificate for mutual TLS.
- HTTP Headers: custom headers for authentication, commonly used by APIs.
SBOM Files
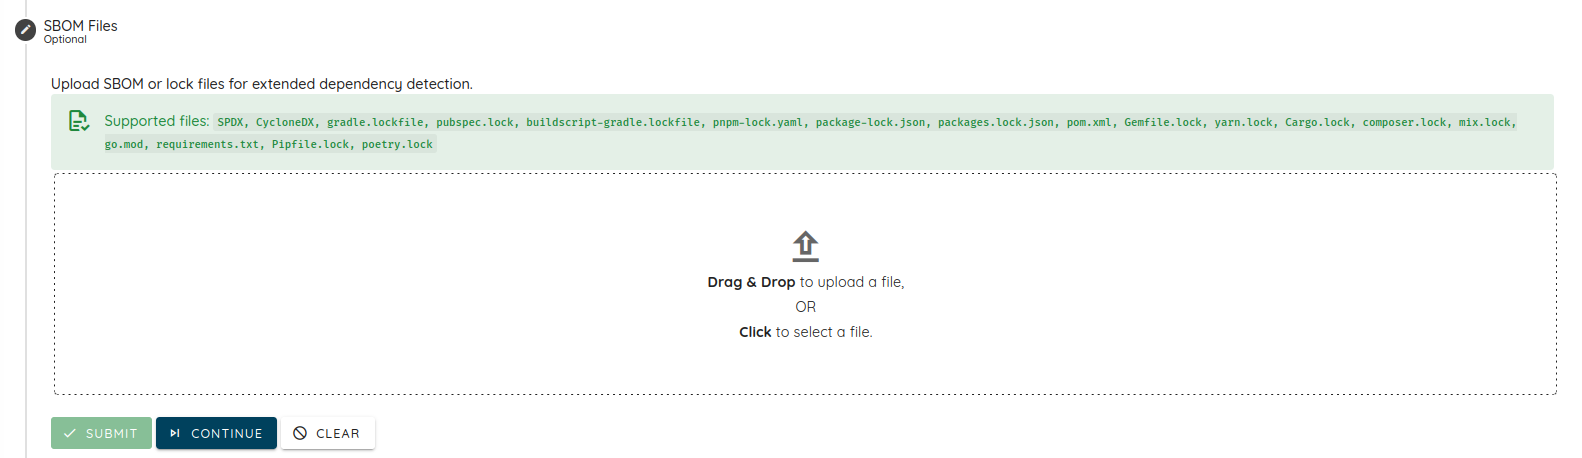
Upload SBOM or lock files for extended dependency detection. The supported formats are listed in the interface, and
cover SPDX, CycloneDX, and the common lock files. See Scans with SBOM or Lockfile for the full
list.
Prompts
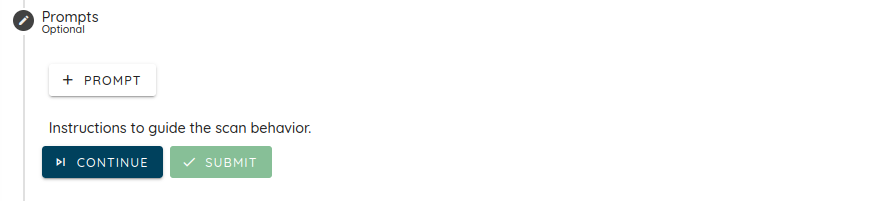
Add instructions to guide the scan behavior. See the AI Pentest Prompt Guide for guidance on writing effective prompts.
Advanced Settings
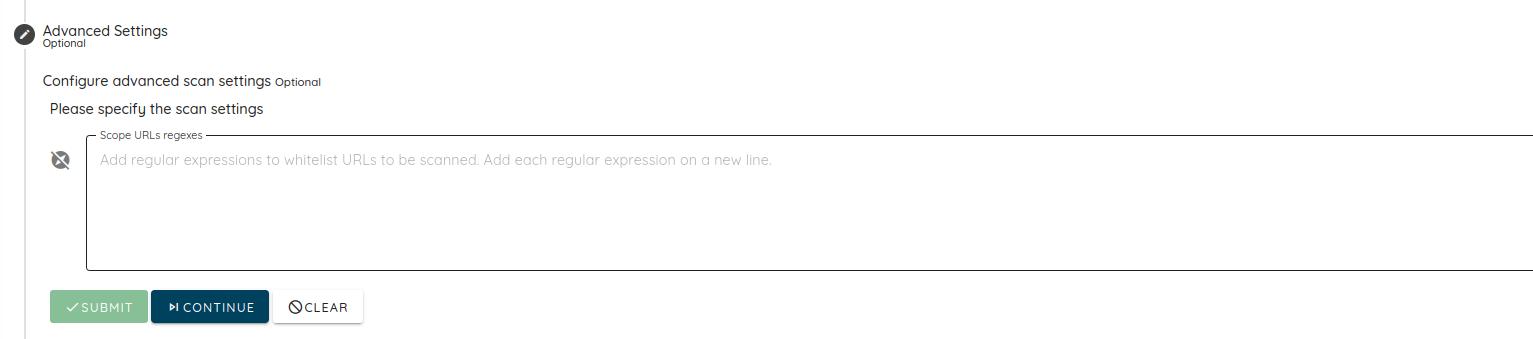
Add regular expressions to whitelist the URLs to be scanned, one per line.
Custom Checks
Add custom scan agents to extend the scan.
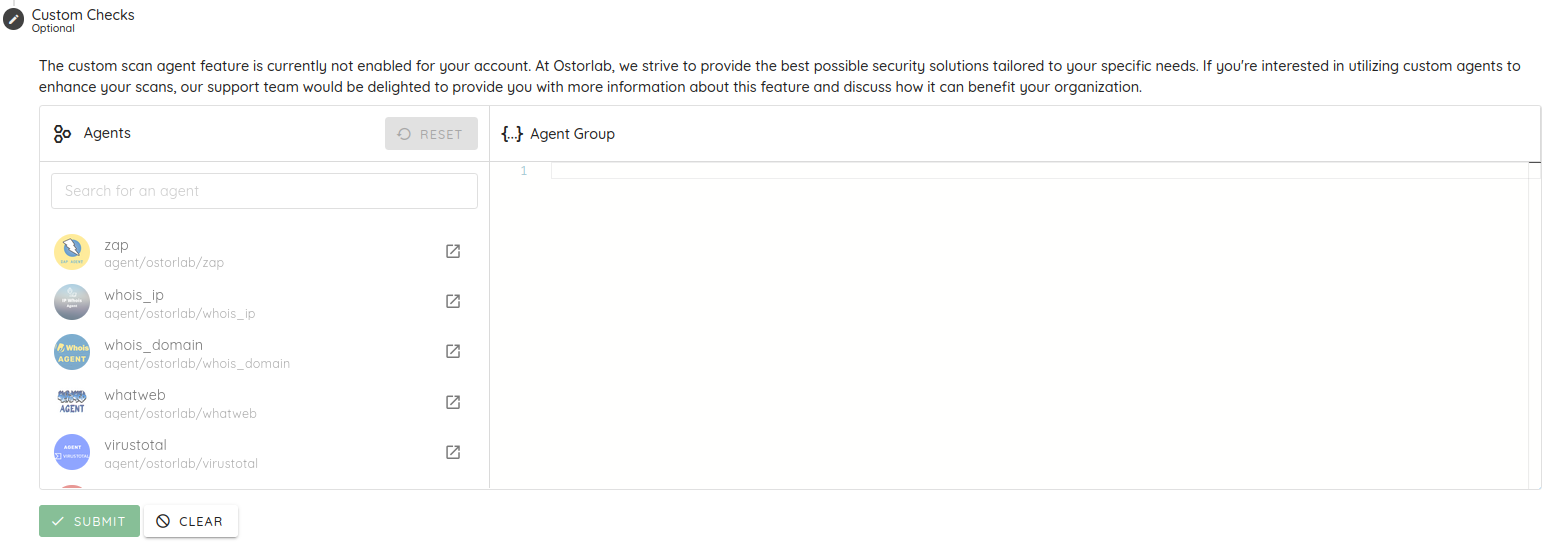
Custom scan agents are not enabled by default. Contact the Ostorlab support team if you would like access to this feature.
Step 7: Submit the Scan
Click Submit to start the scan. Once it completes, findings from every asset appear together in a single report, each with its severity, affected asset, and remediation guidance.
FAQ
How many assets can a Multi Asset scan include?
A scan can include at most one mobile application. Web applications, network ranges, code repositories, archives, and files can be added without a limit.
Do all assets share the same scan settings?
Yes. The scan profile, AI provider, effort, test credentials, prompts, and custom checks are configured once for the scan and applied across every asset it contains.
Do I need to give Ostorlab access to my repository?
No. You can connect a Git provider if you prefer, but you can also add a Repository Archive asset and upload a
.zip, .tar.gz, .tgz, or .7z archive to scan the code without granting any access.
Why scan several assets together instead of separately?
Modern applications span mobile clients, web backends, infrastructure, and source code. Scanning them together lets the scan chain vulnerabilities across assets and keeps related findings in one report. See Multi Asset Scan Profile.