Creating a scan with Chrome's Recorder Puppeteer script
The Google Chrome browser's built-in Developer Tools offer a Recorder feature that allows users to record browser interactions and then export them as a Puppeteer script. This can be very useful to enable complex authentication flows or complex interactions like checkout.
This guide covers creating a web scan with Chrome's recorder Puppeteer script. Puppeteer scripts can automate complex authentication or interaction flow, like user checkout.
Go to report.ostorlab.co
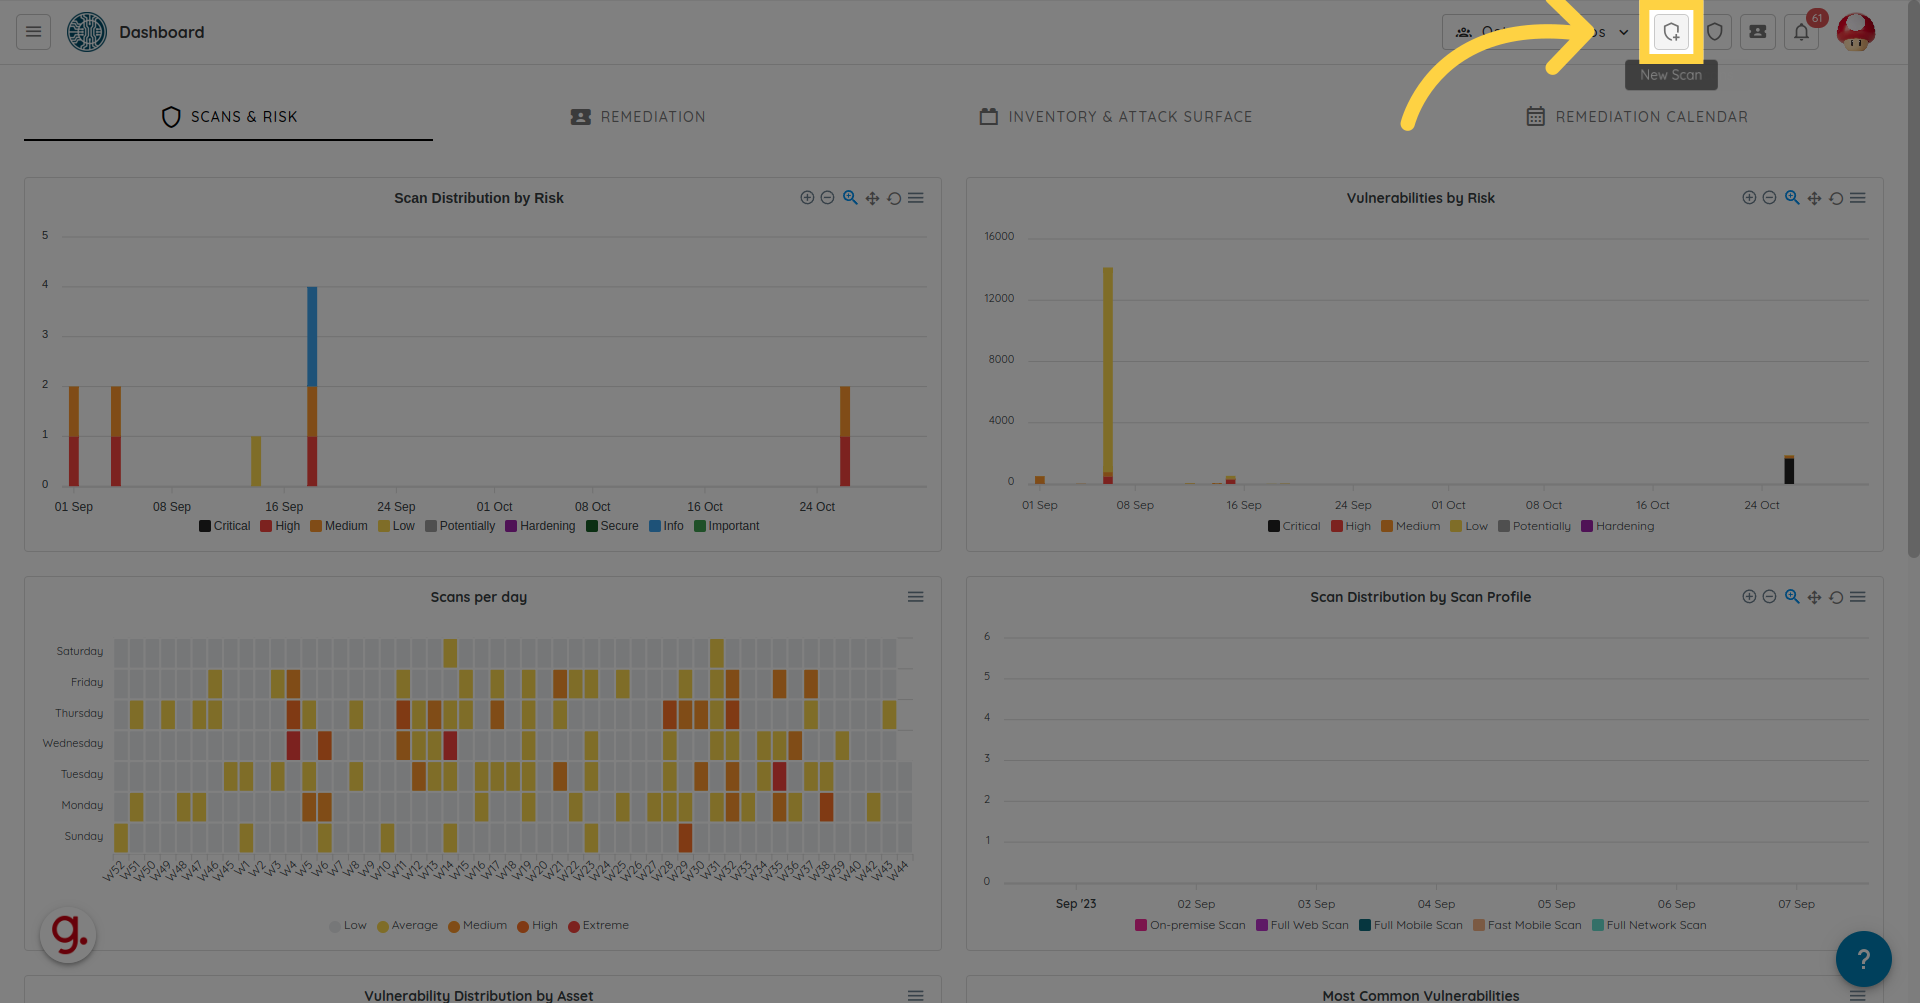
1. Go to new scan.
Go to new scan by either going to the scanning menu or clicking on the new scan shortcut.
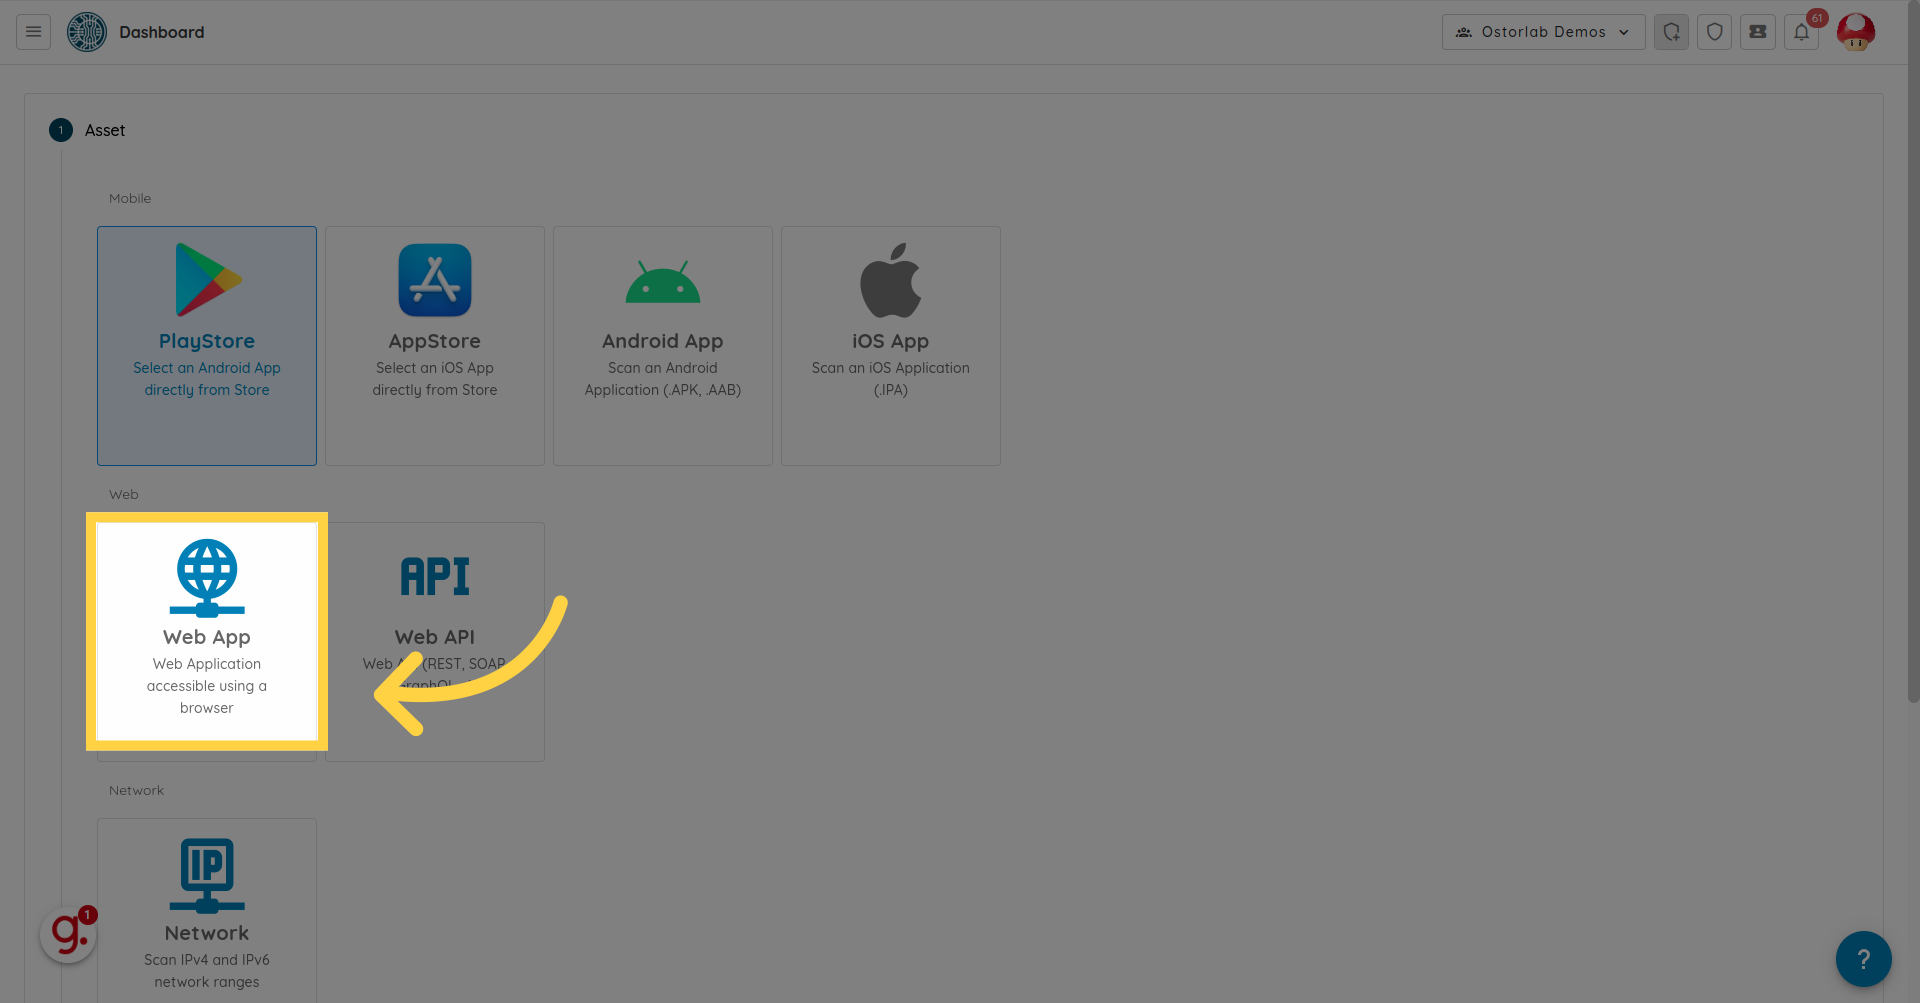
2. Select Web App.
Select Web App option to create a web scan.
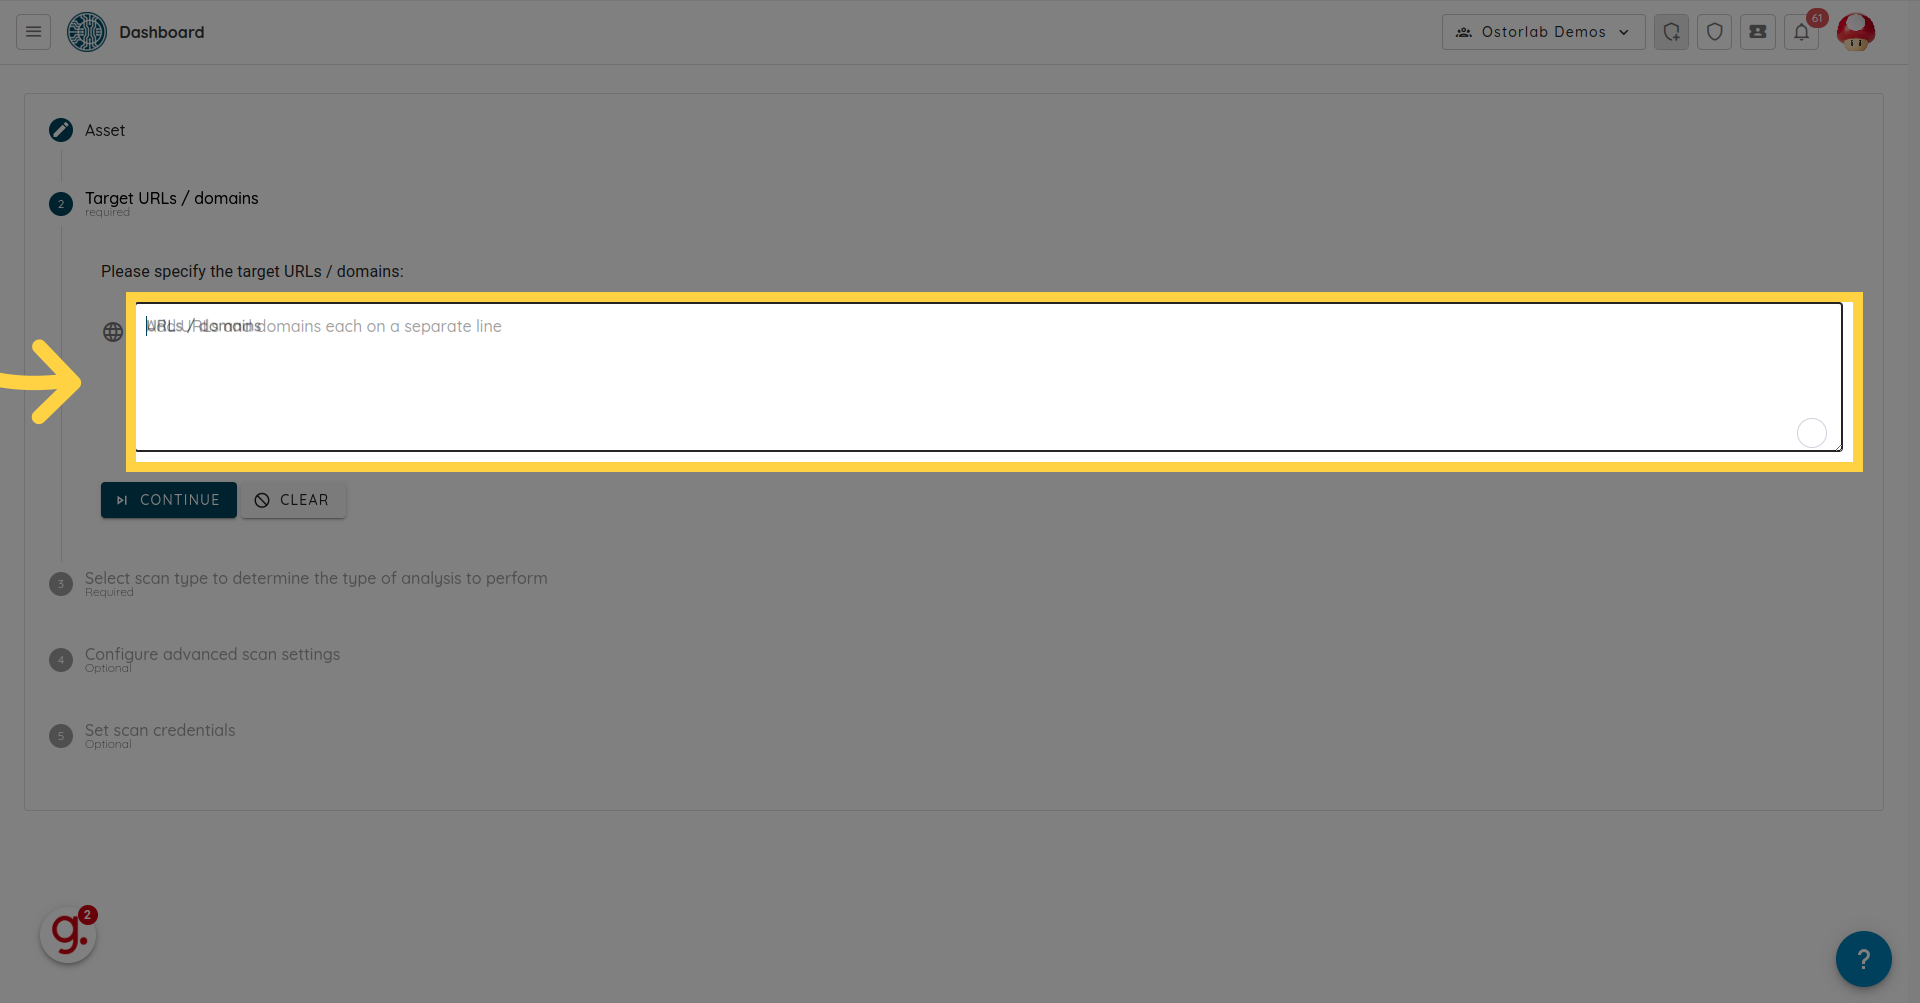
3. Add target URLs.
Add target URLs or domain name.
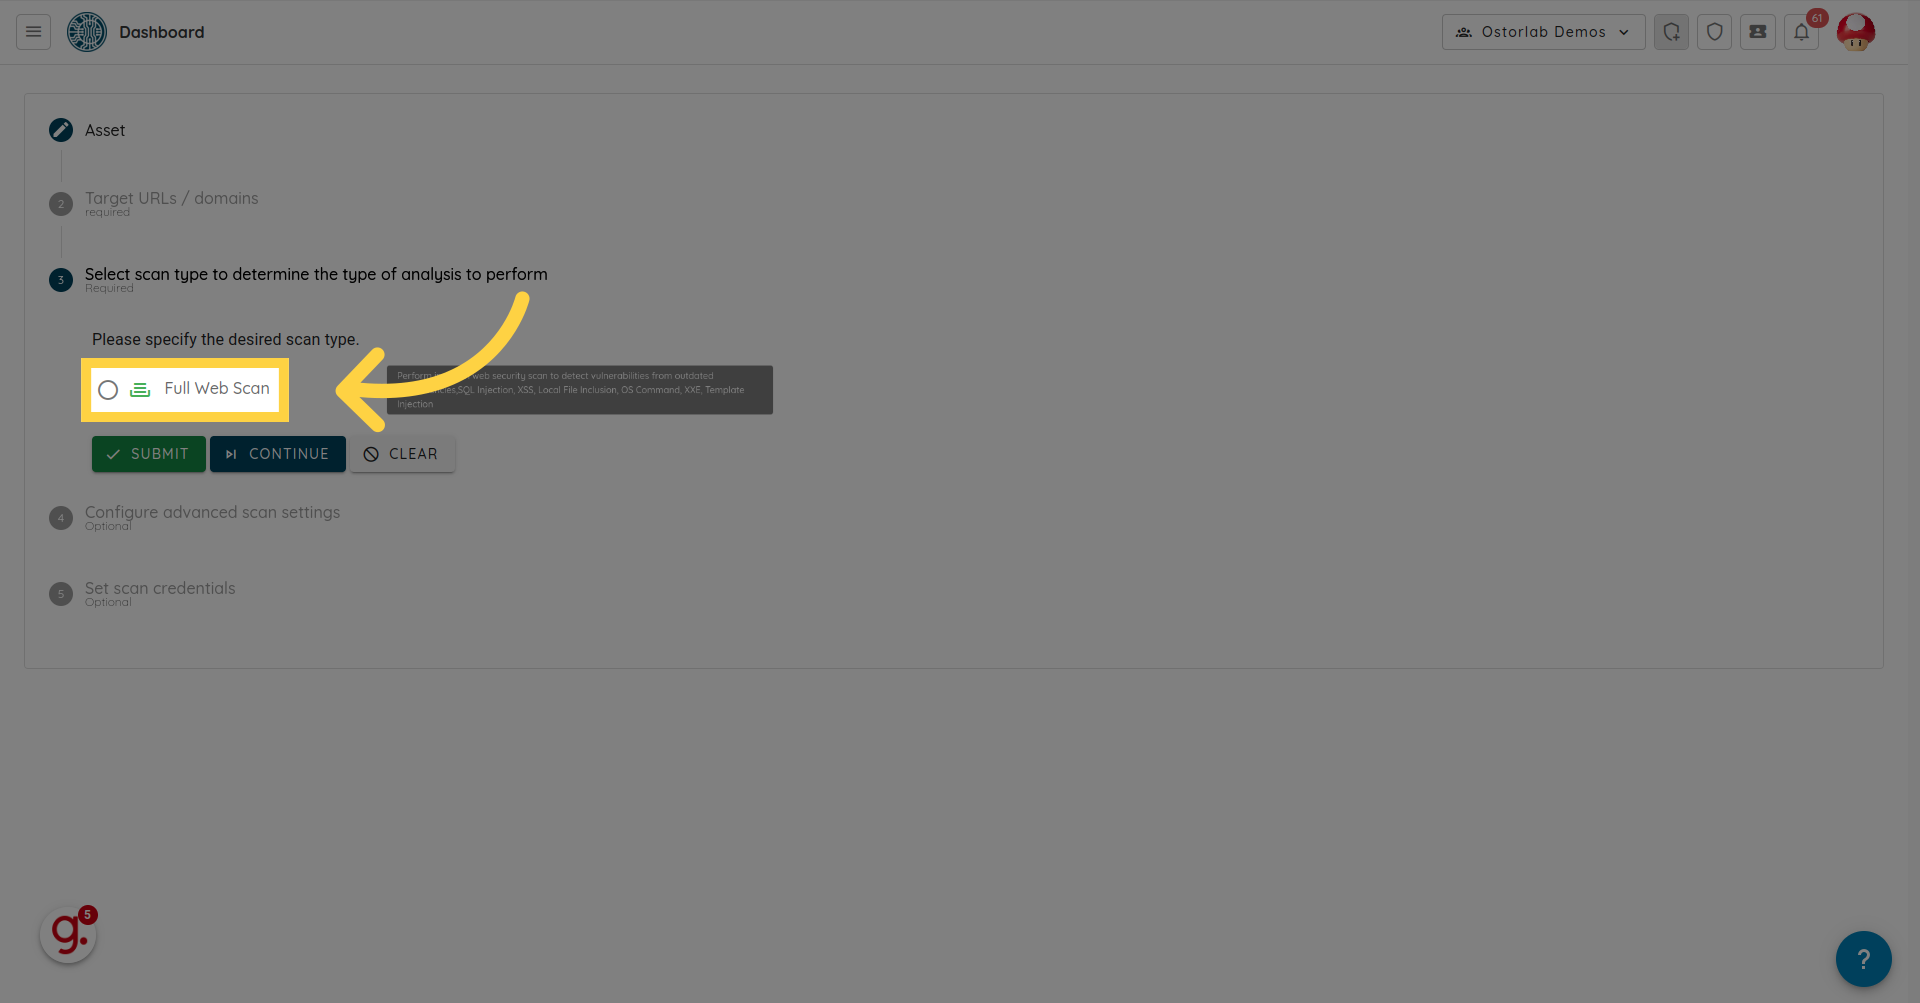
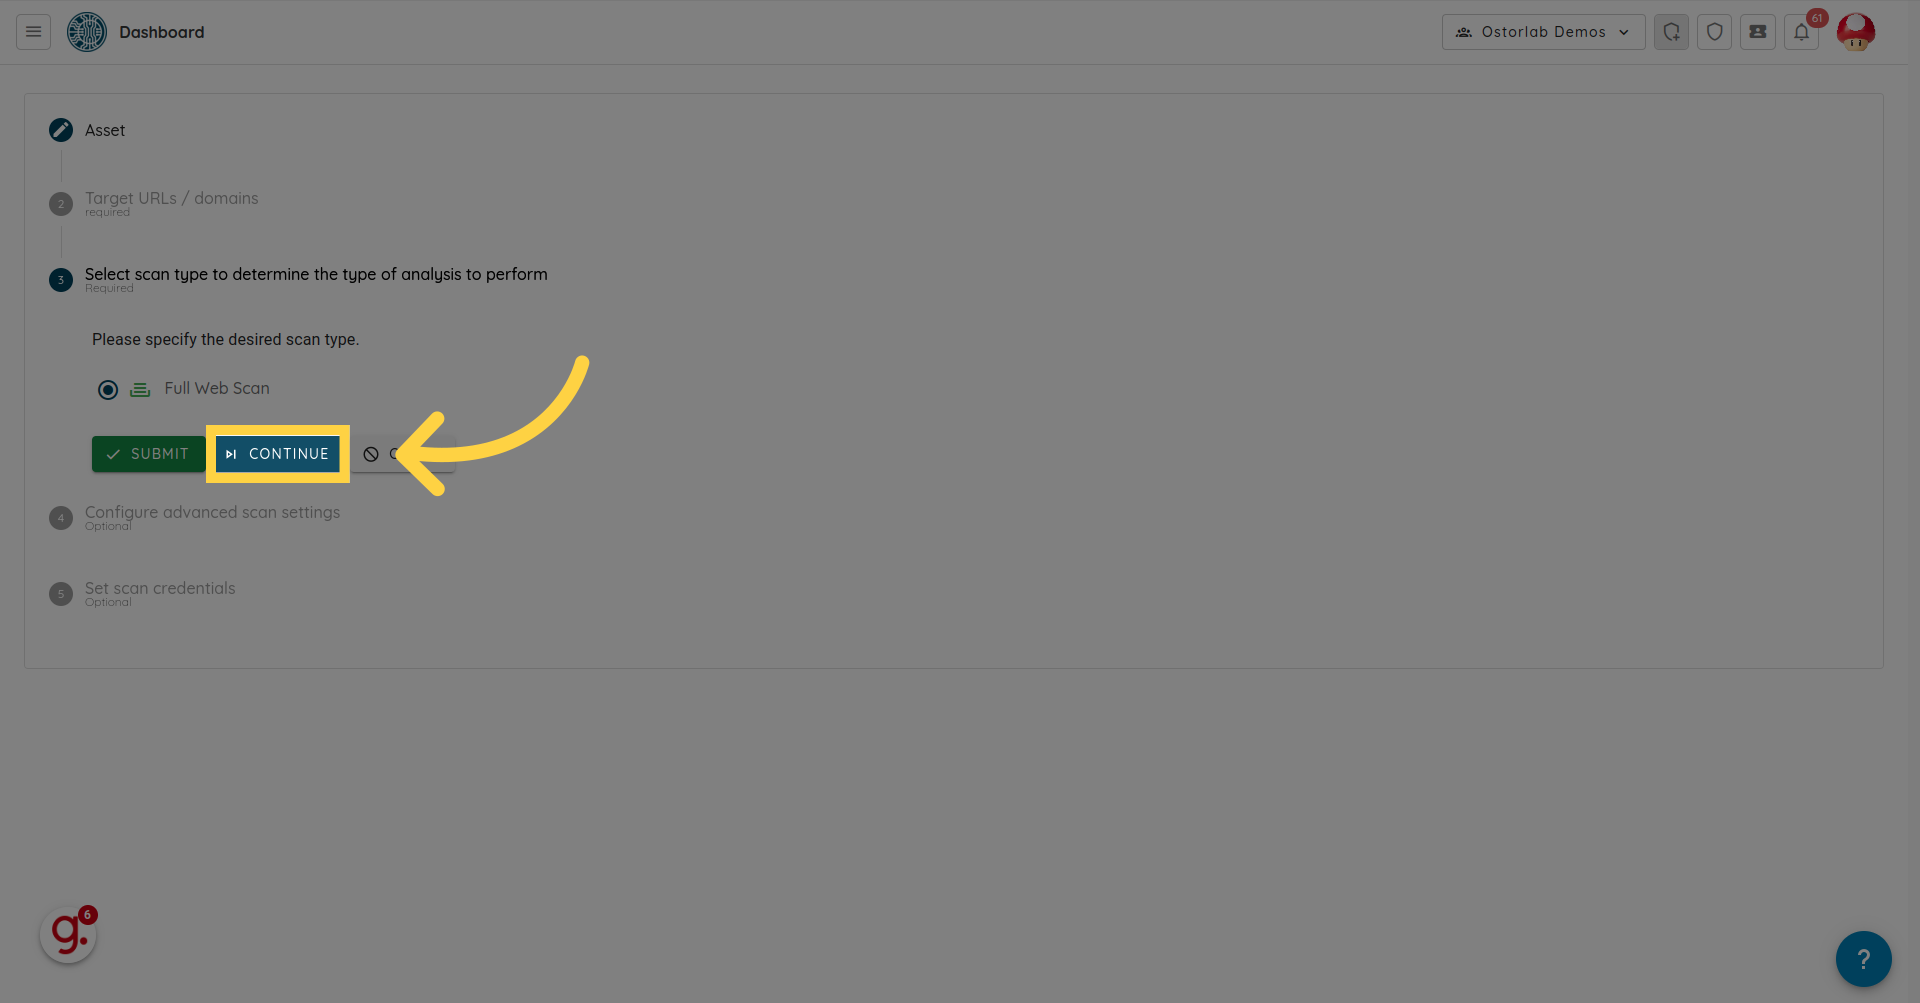
4. Click "Full Web Scan"
Select scan profile.
5. Click "Continue"
Click on the Continue button.
6. Scan optional scan settings.
Add scan settings, like QPS limit, proxy config, or a list of excluded URLs.

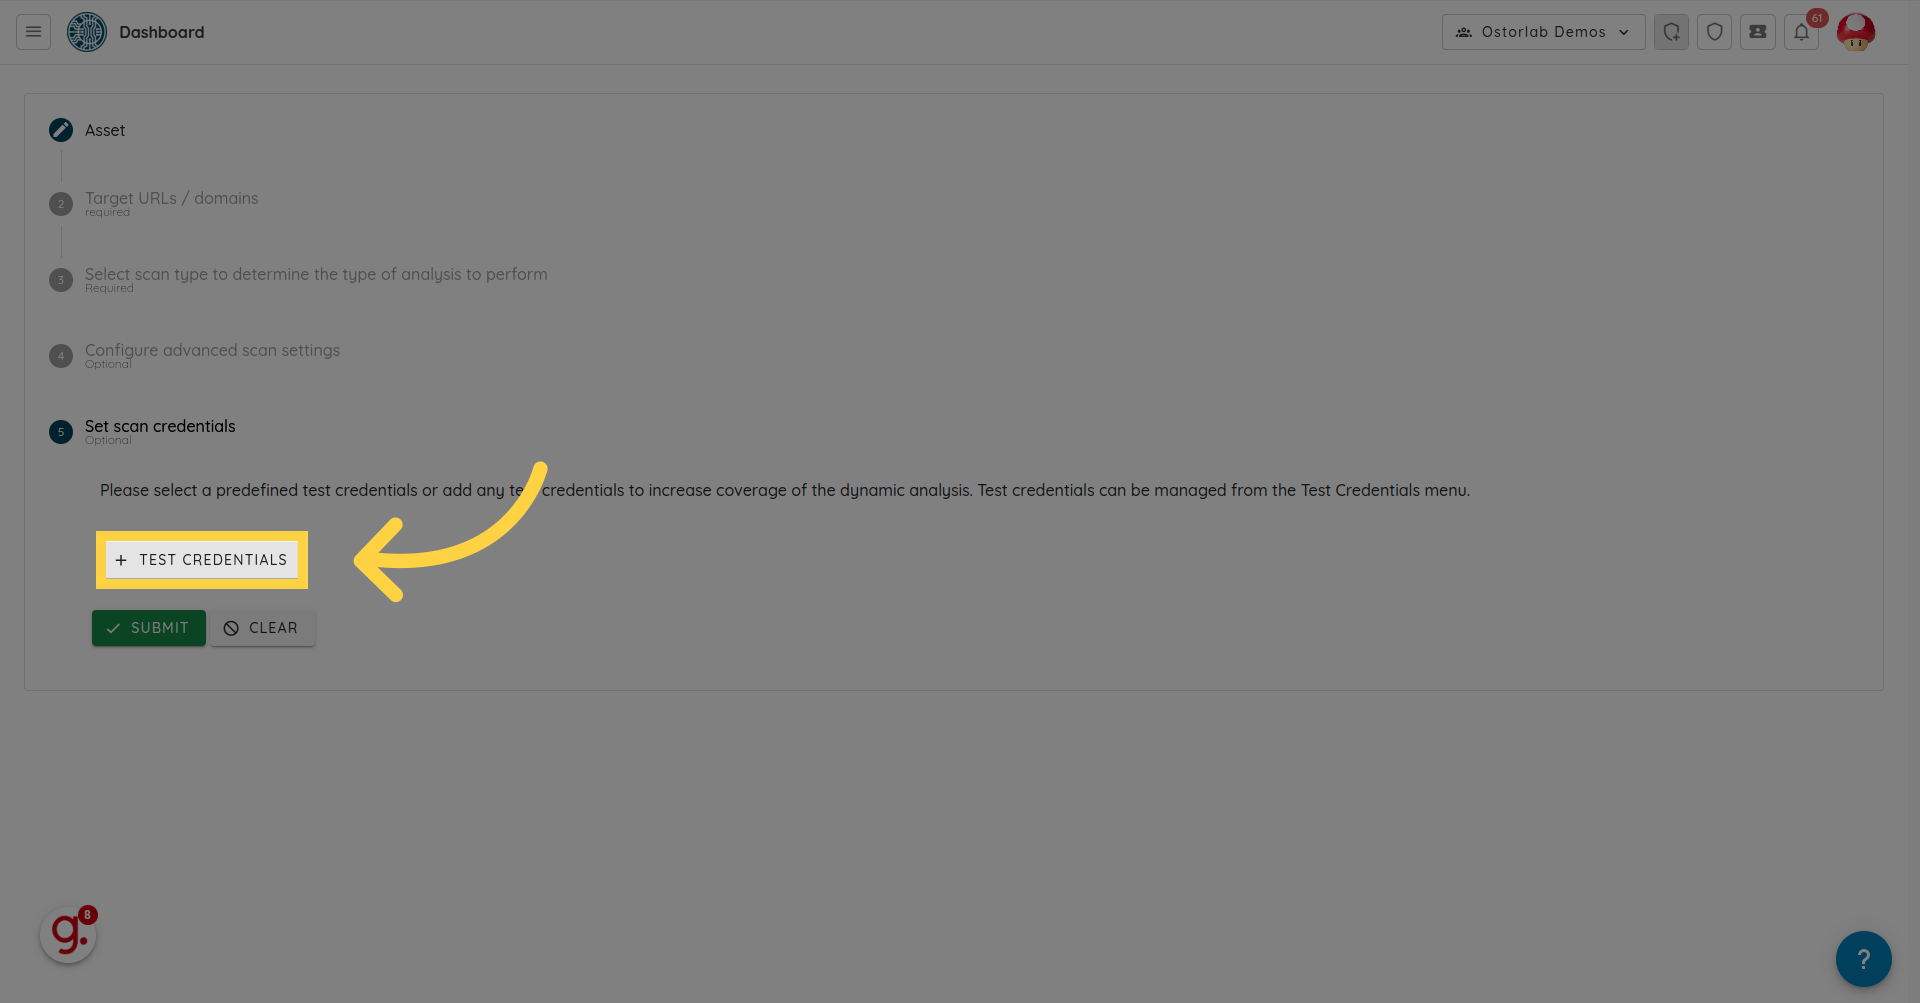
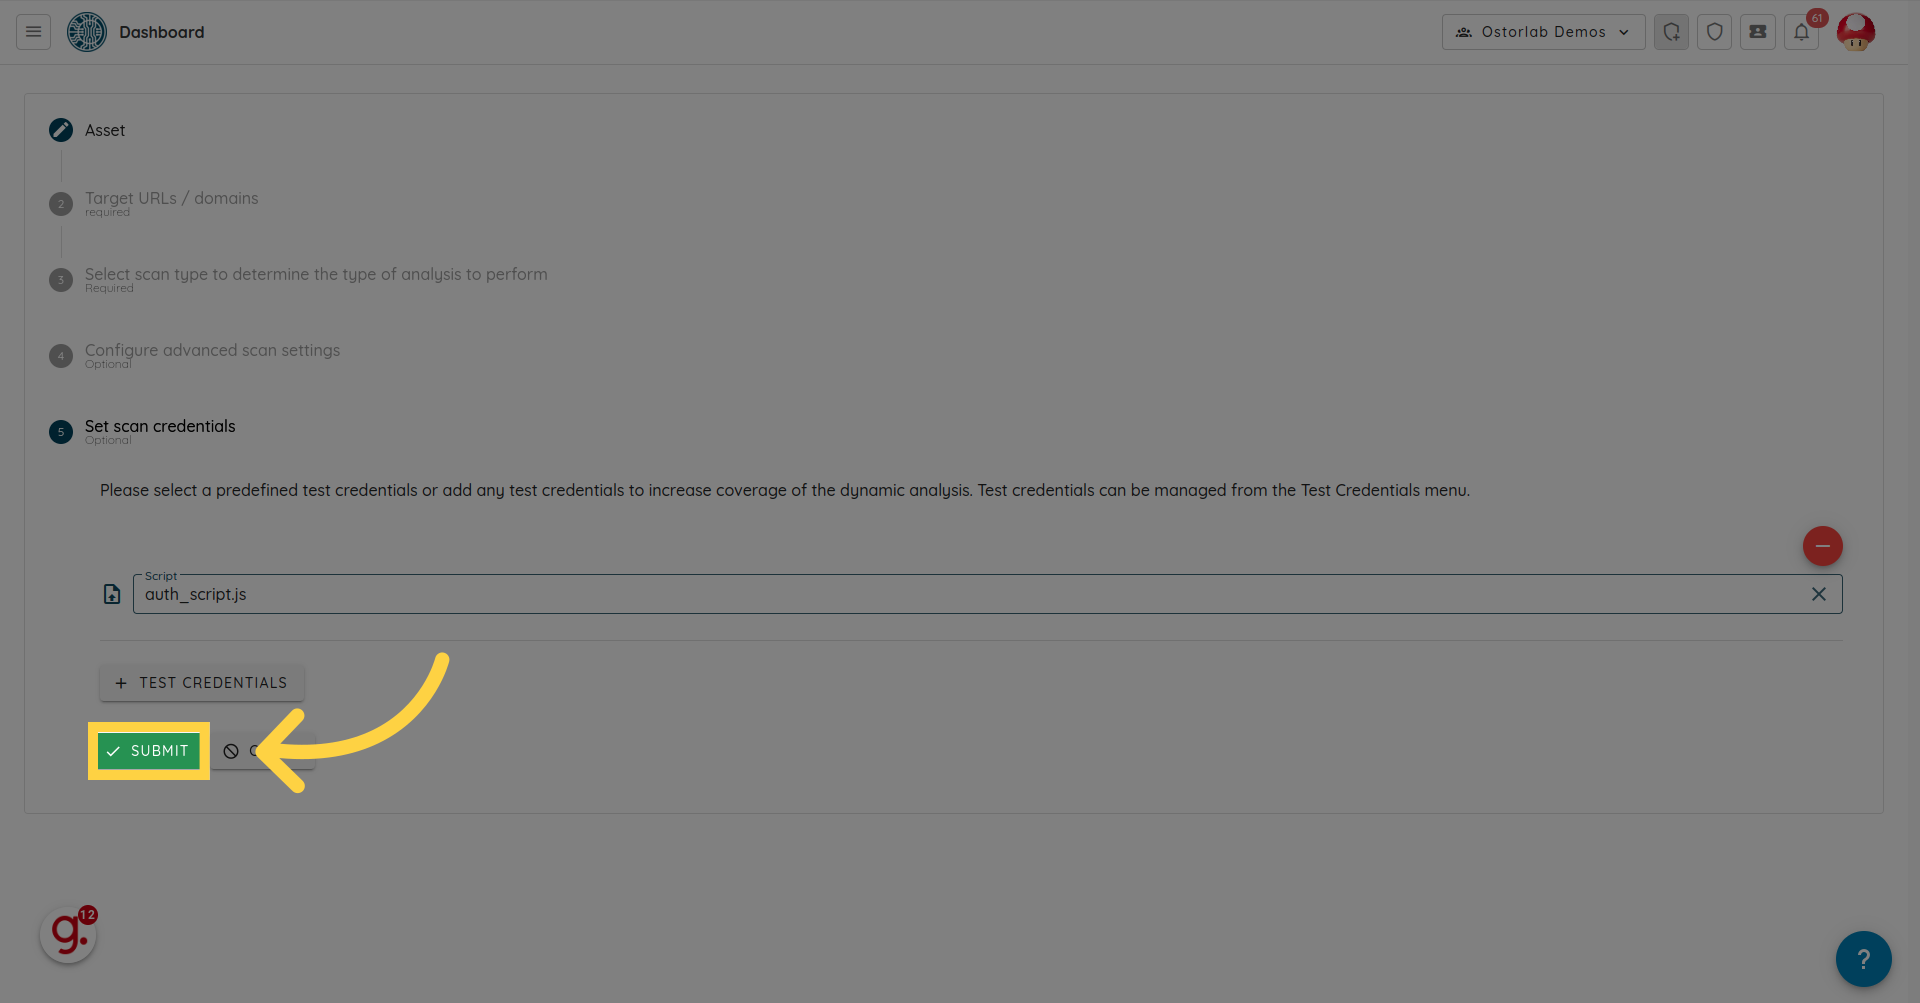
7. Click "Test Credentials"
Navigate to the "Test Credentials" section
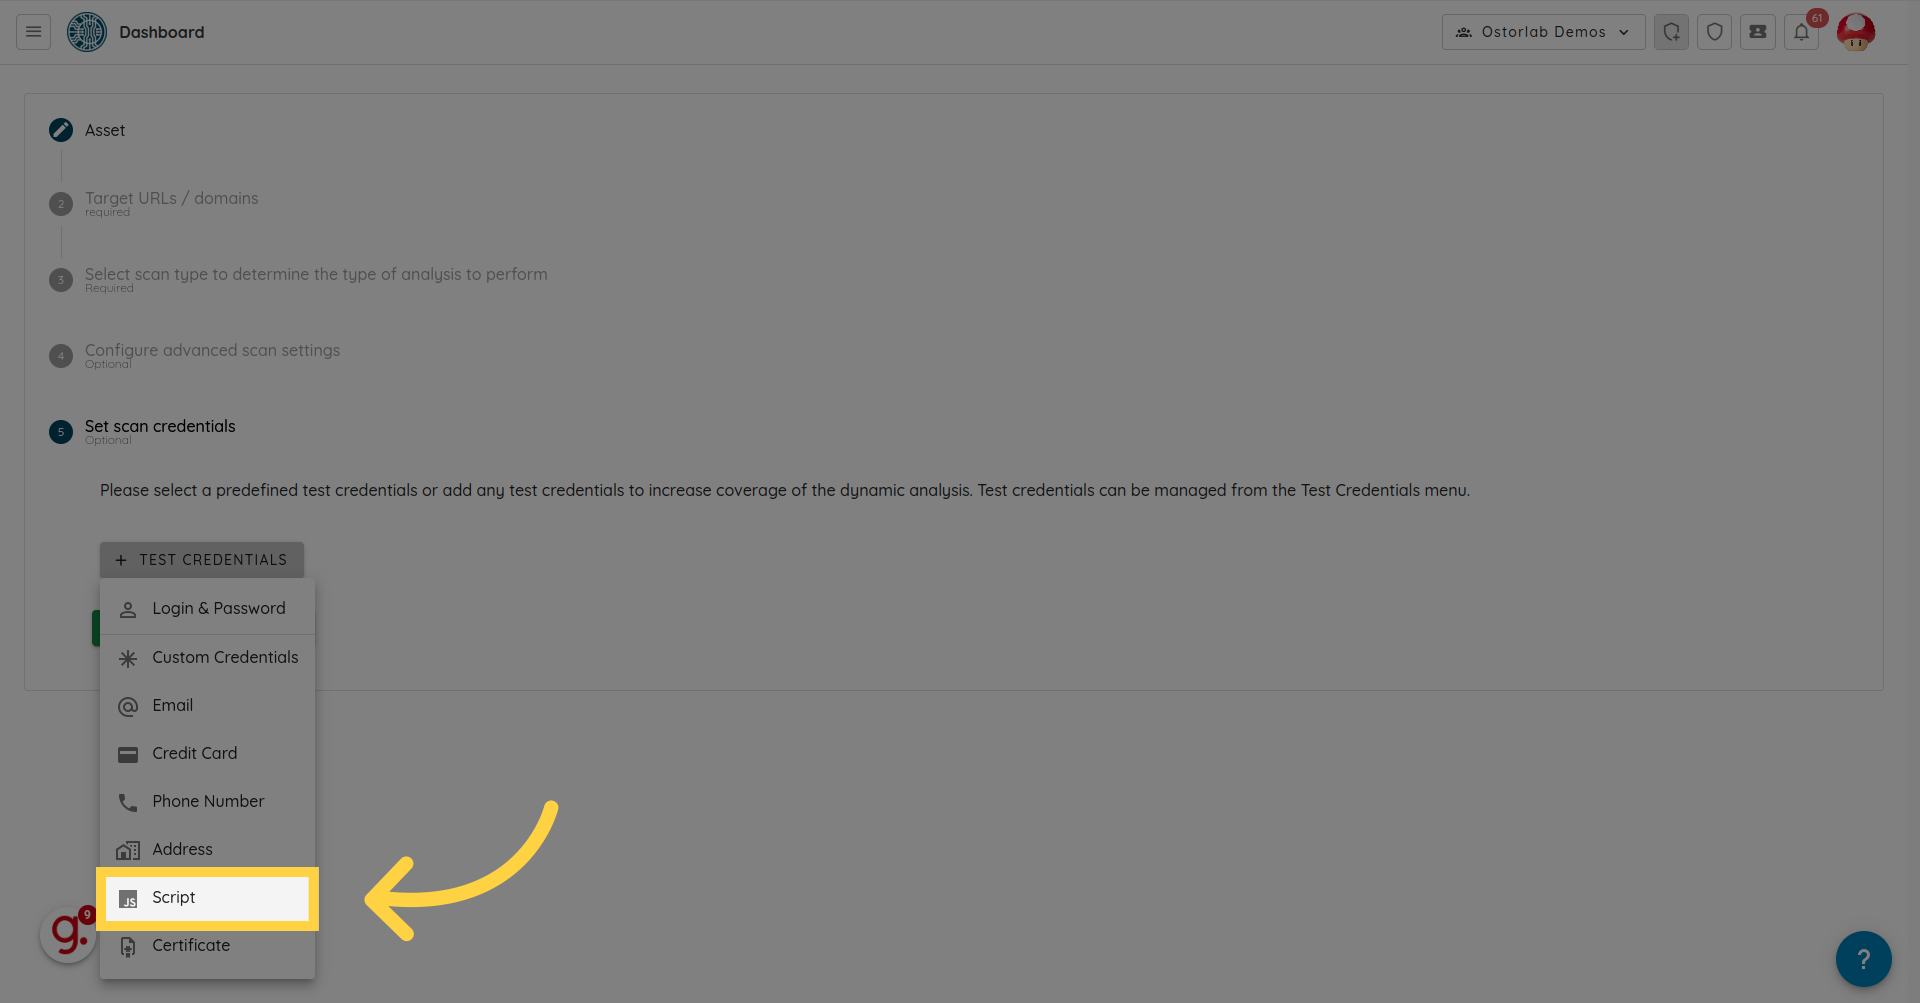
8. Click "Script"
Select script.
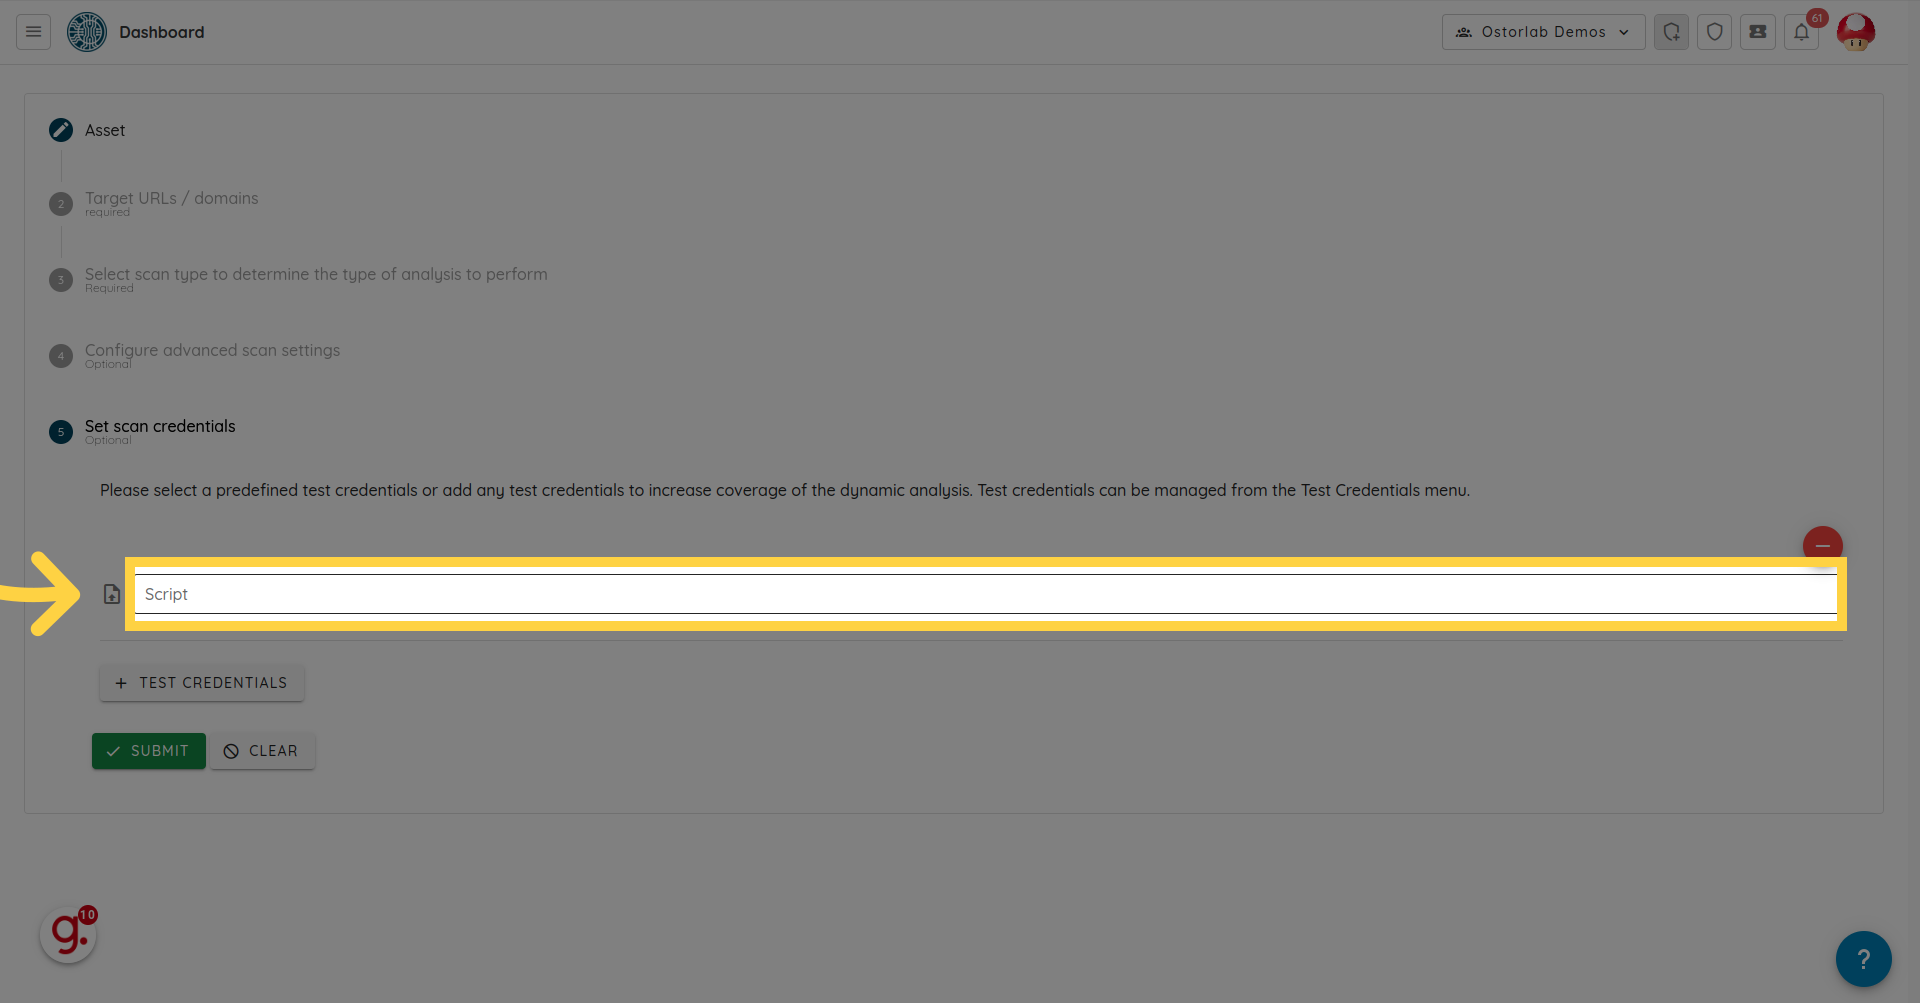
9. Upload script.
Select script and upload script file.
10. Click "submit", scan should start running.
Click on "submit" and navigate to the scan menu. Scan should be running.
Create Puppeteer Script
To create a Puppeteer script from Chrome, follow the steps :
1. Open Developer Tools in Chrome
- Right-click on a webpage and select
Inspect, or pressCtrl+Shift+I(Windows/Linux) orCmd+Option+I(Mac). - This will open the Developer Tools pane, usually docked to the right or bottom of your browser window.
2. Access the Recorder Tool
- In the Developer Tools pane, click on the tab labeled
Recorder. - If you don’t see it, it might be hidden behind the ">>" icon. Click on this icon and select
Recorderfrom the dropdown.
3. Start Recording
- Click on the
Start Recordingbutton. This will start capturing all browser interactions. - Now, navigate through the authentication flow on your website. For instance:
- Go to the login page
- Enter your username and password
- Click the login button, etc.
4. Stop Recording
- After completing the authentication flow, click the
Stop Recordingbutton in the Recorder pane.
5. Review and Export
- After stopping the recording, you can review all recorded steps in the Recorder pane. If necessary, you can remove unwanted steps or edit steps to correct any inaccuracies.
- To export the recorded interactions as a Puppeteer script, click the
Savebutton or theExportbutton (the specific label may vary based on the version of Chrome) in the Recorder pane. - Choose a location on your computer to save the script, and it will be downloaded as a
.jsfile.