Ostorlab Integration with App Center
Overview
In this guide, we will explore how to easily integrate Ostorlab automated security testing for Android and iOS mobile apps into your build process.
Video Demonstration
Watch this brief video for a visual walkthrough of the integration process.
Create App Center API Key:
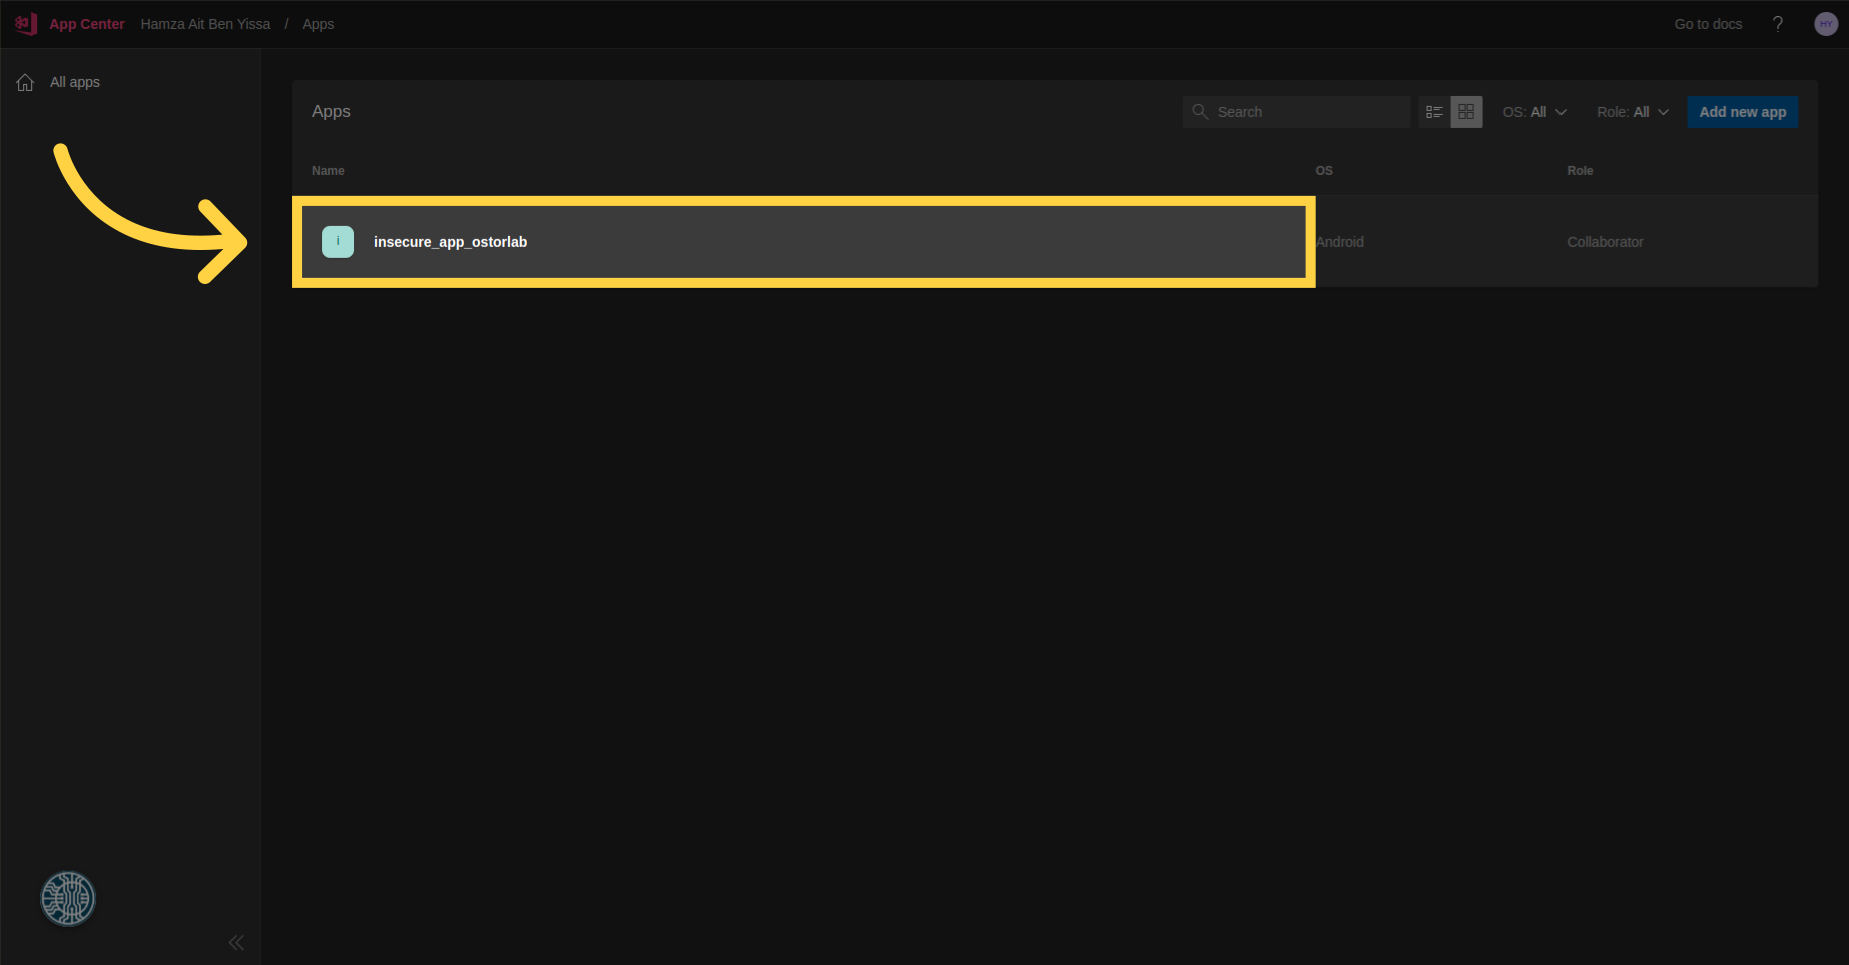
Click on the app for which you want to create a configuration.
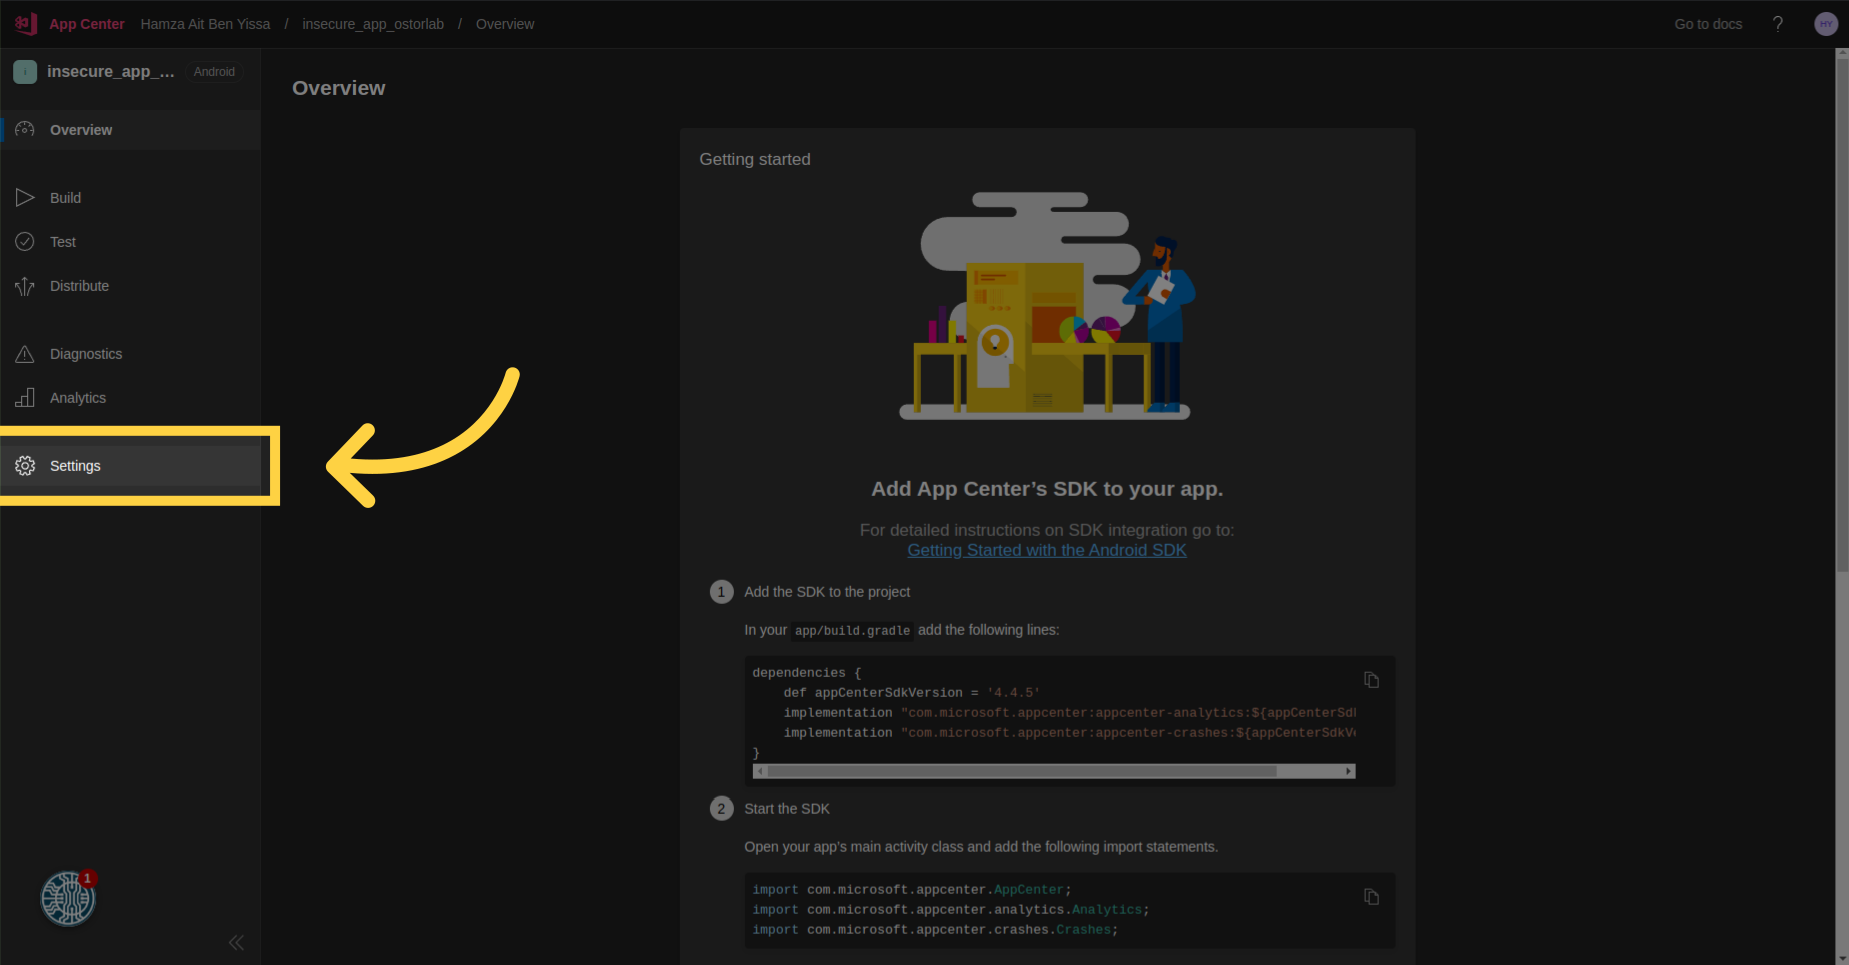
Navigate to "Settings".
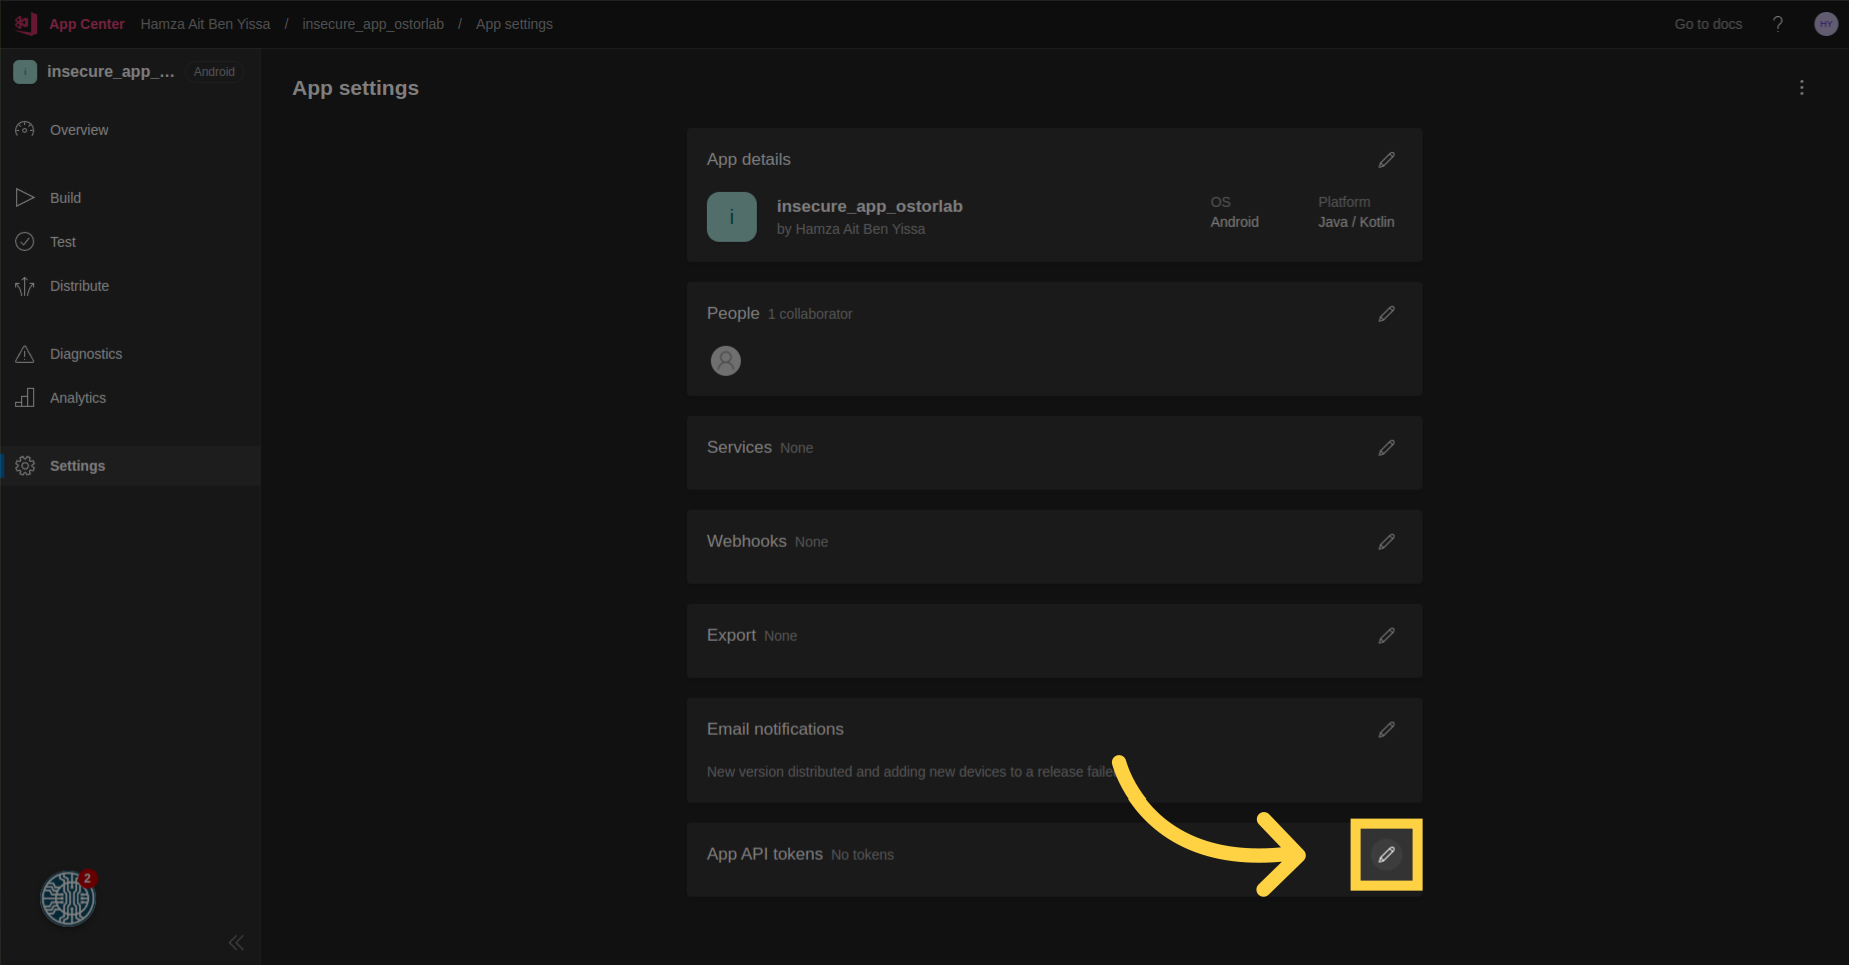
Click on the edit icon for App API tokens.
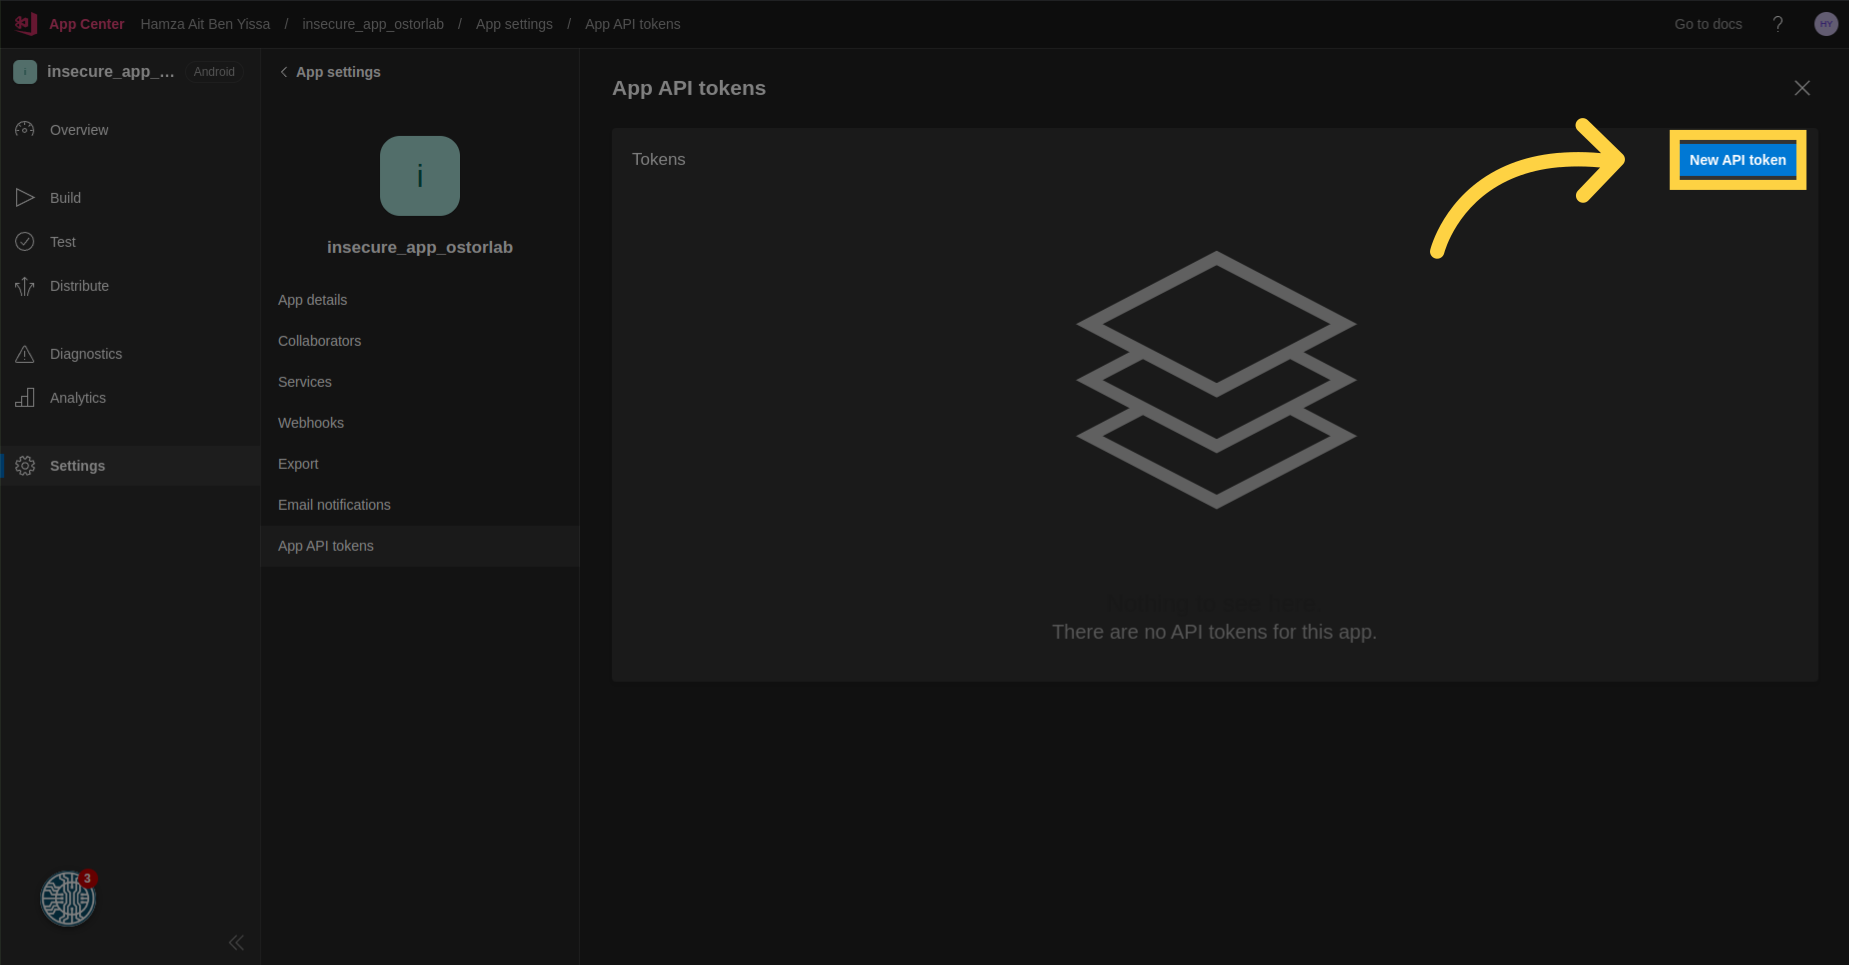
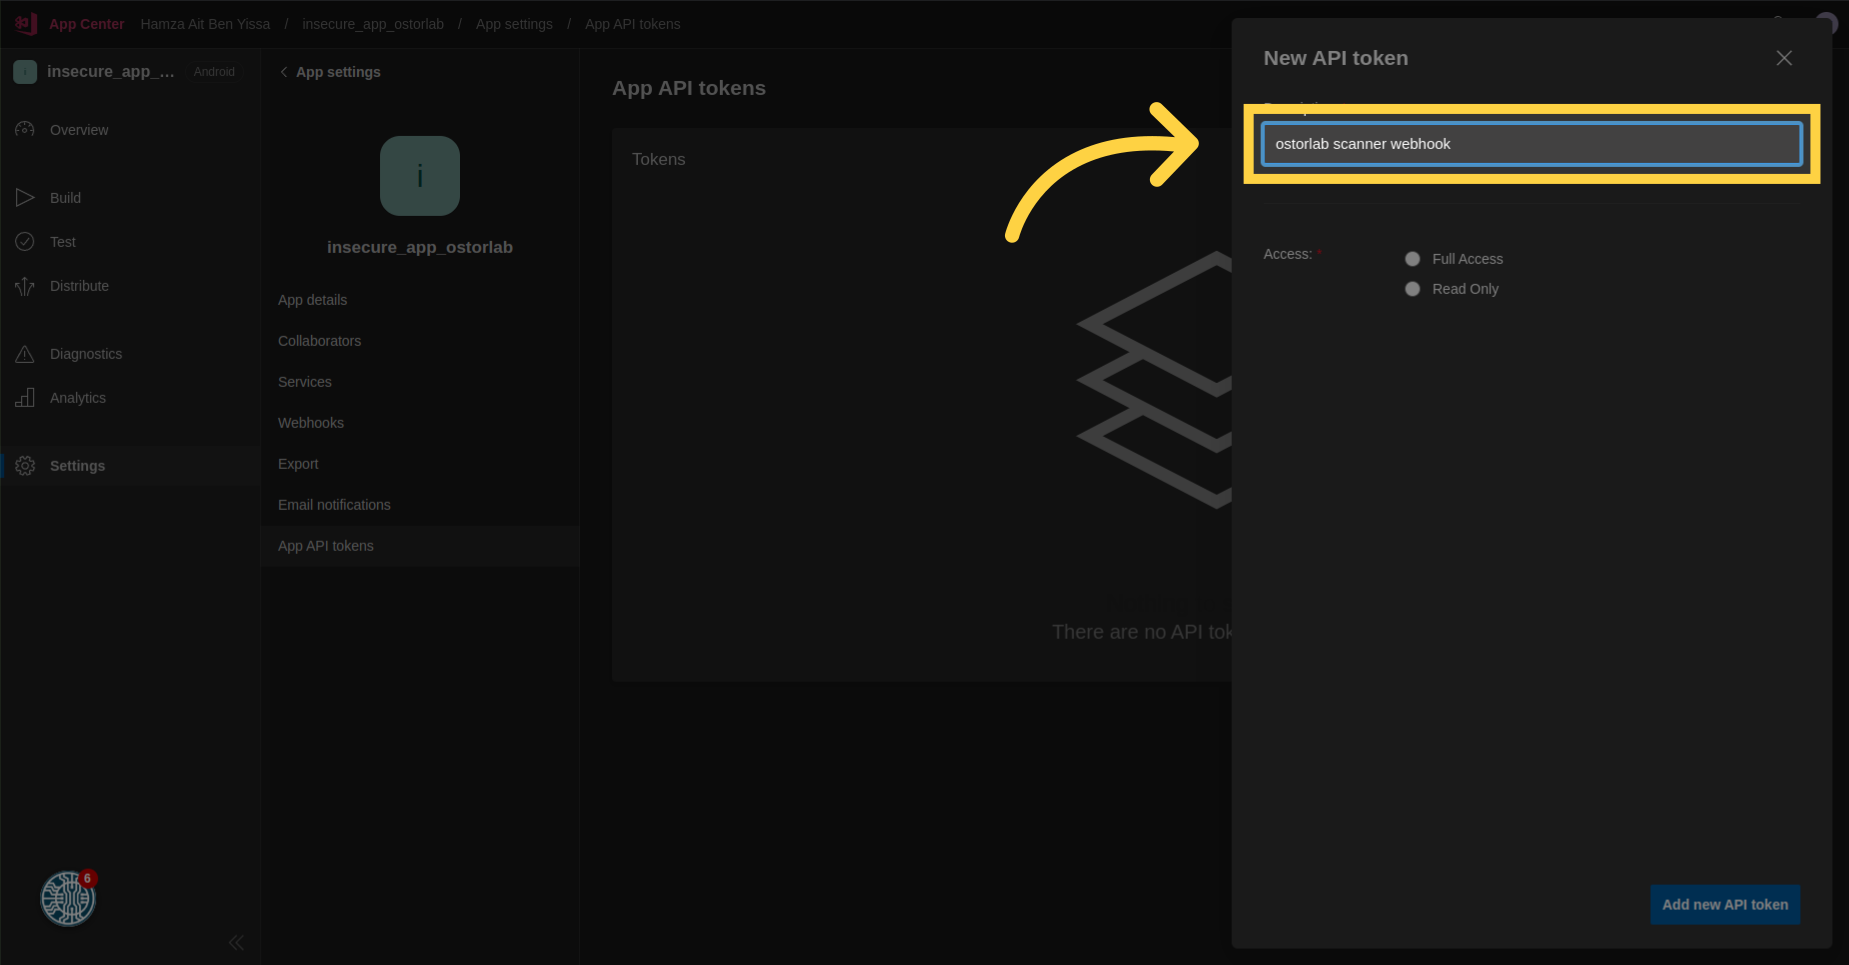
Select the "New API token" button.
Enter a brief description.
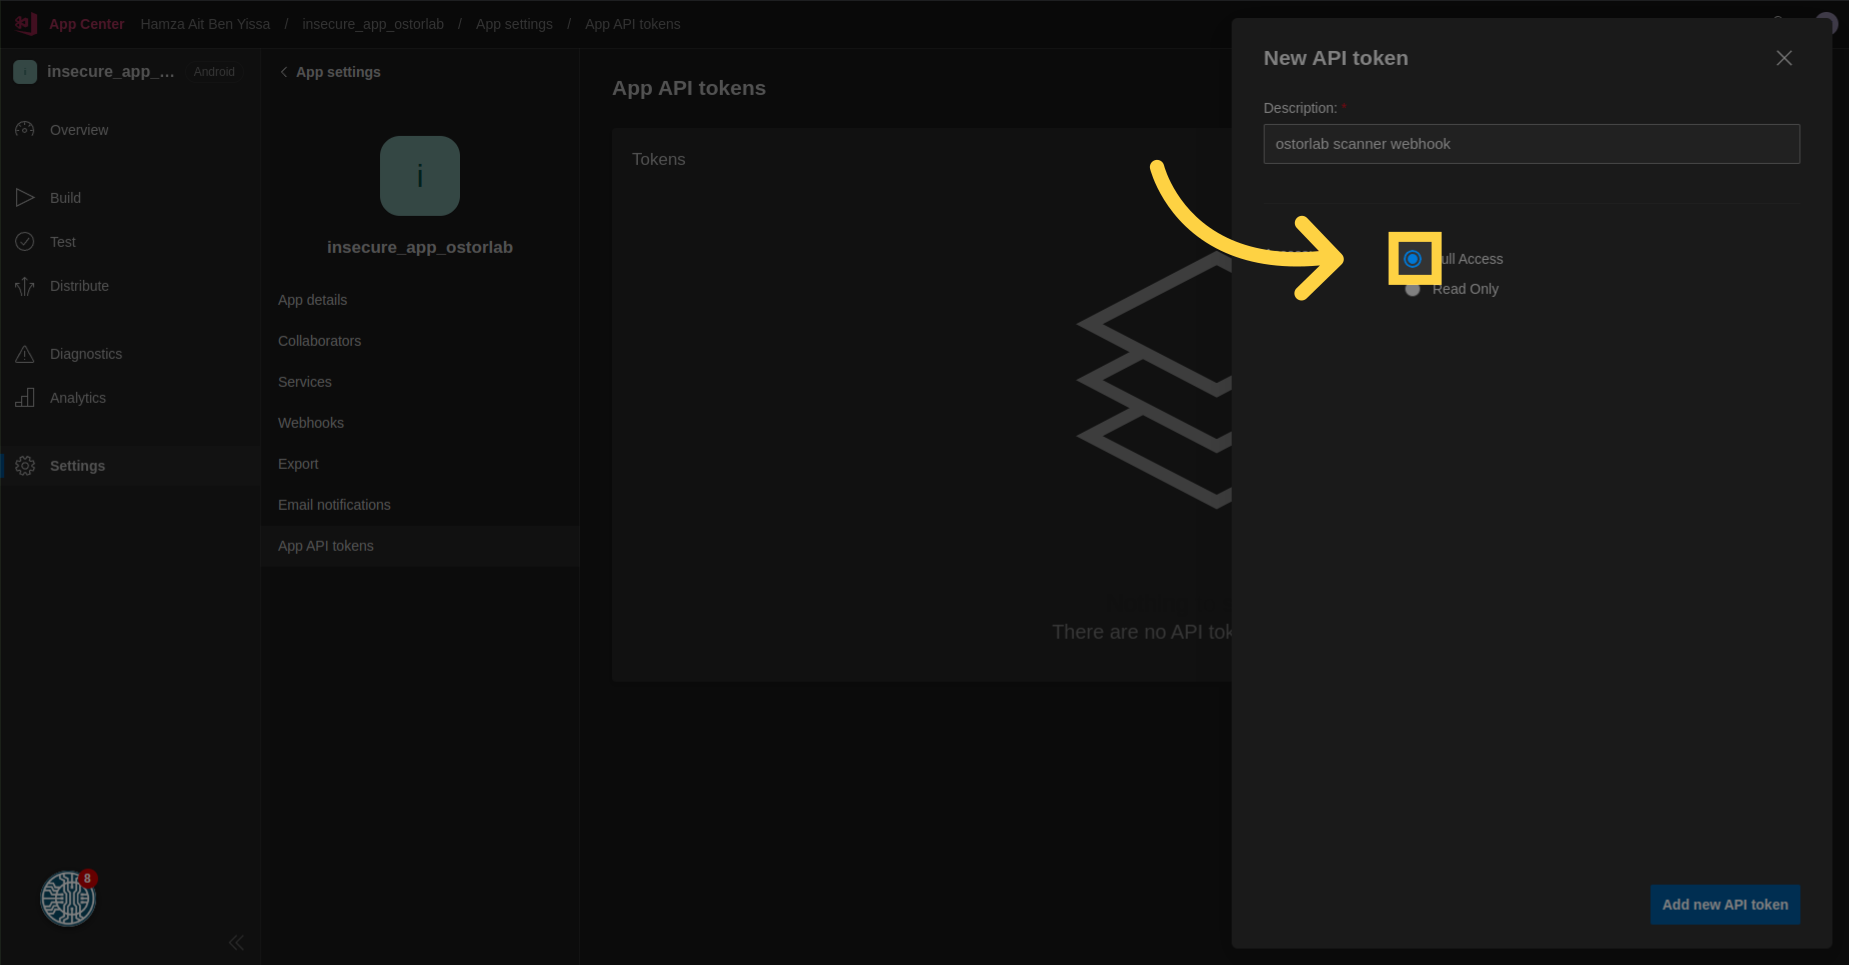
Select "Full Access".
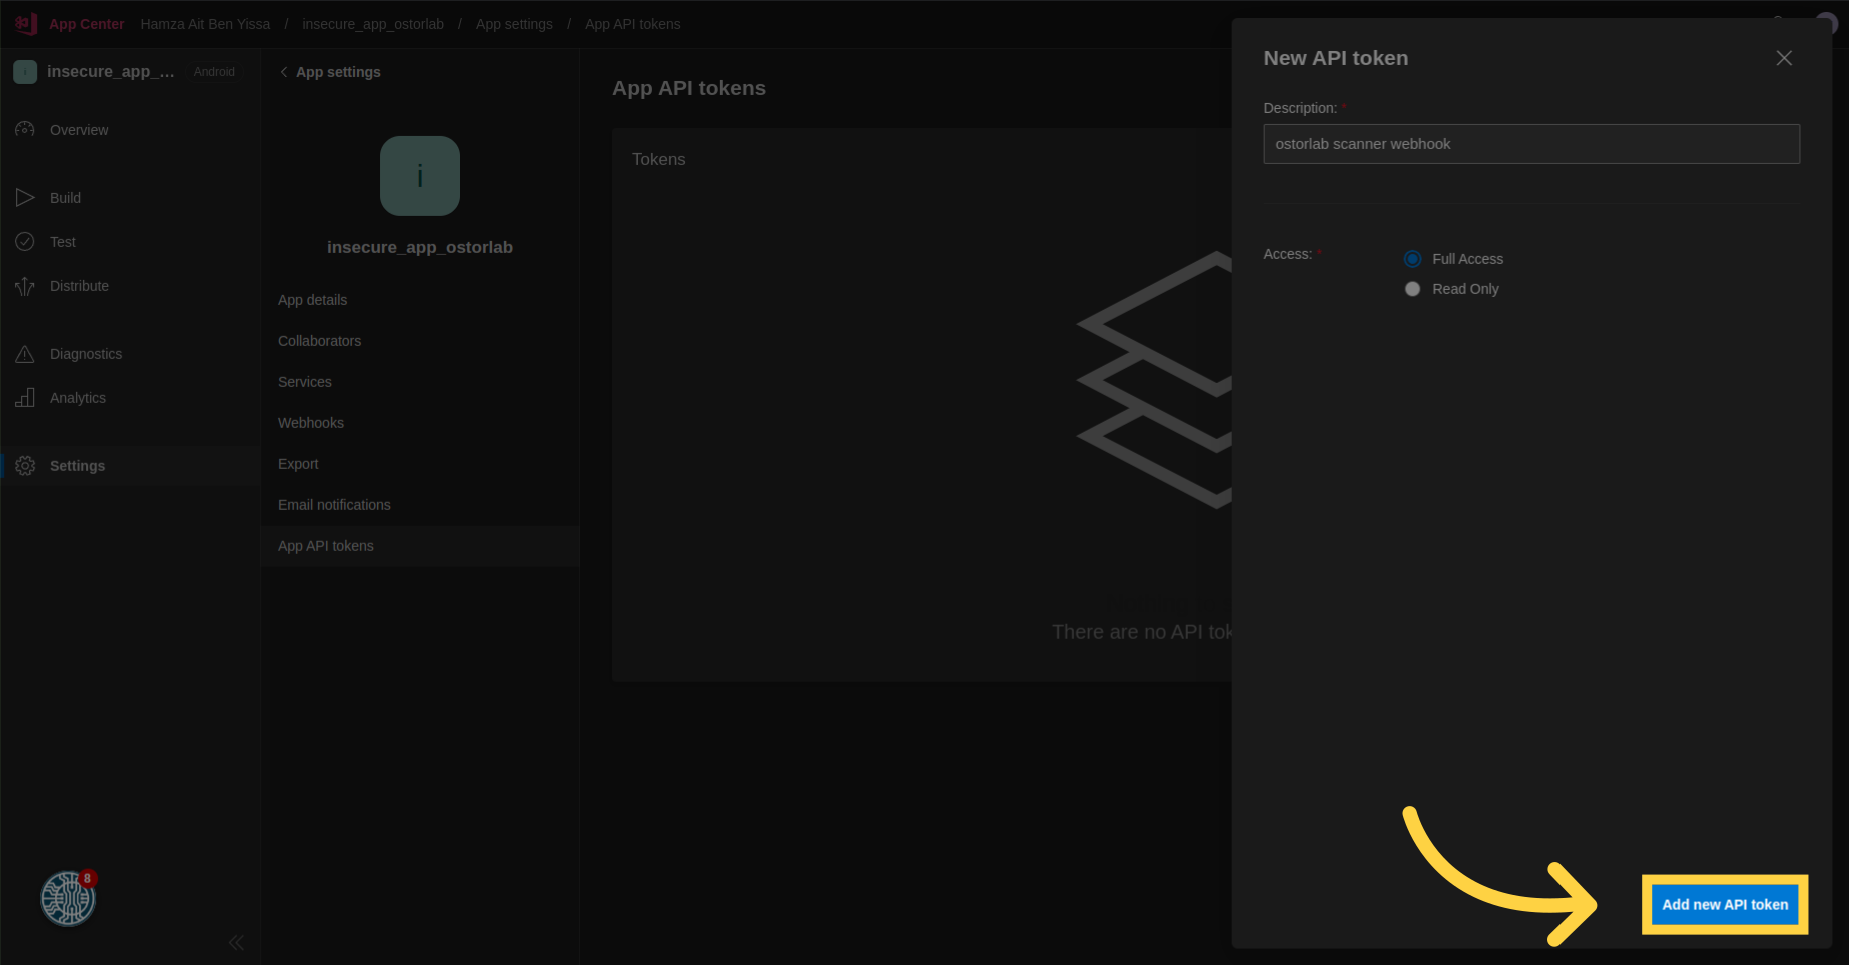
Click on the "Add new API token" button.
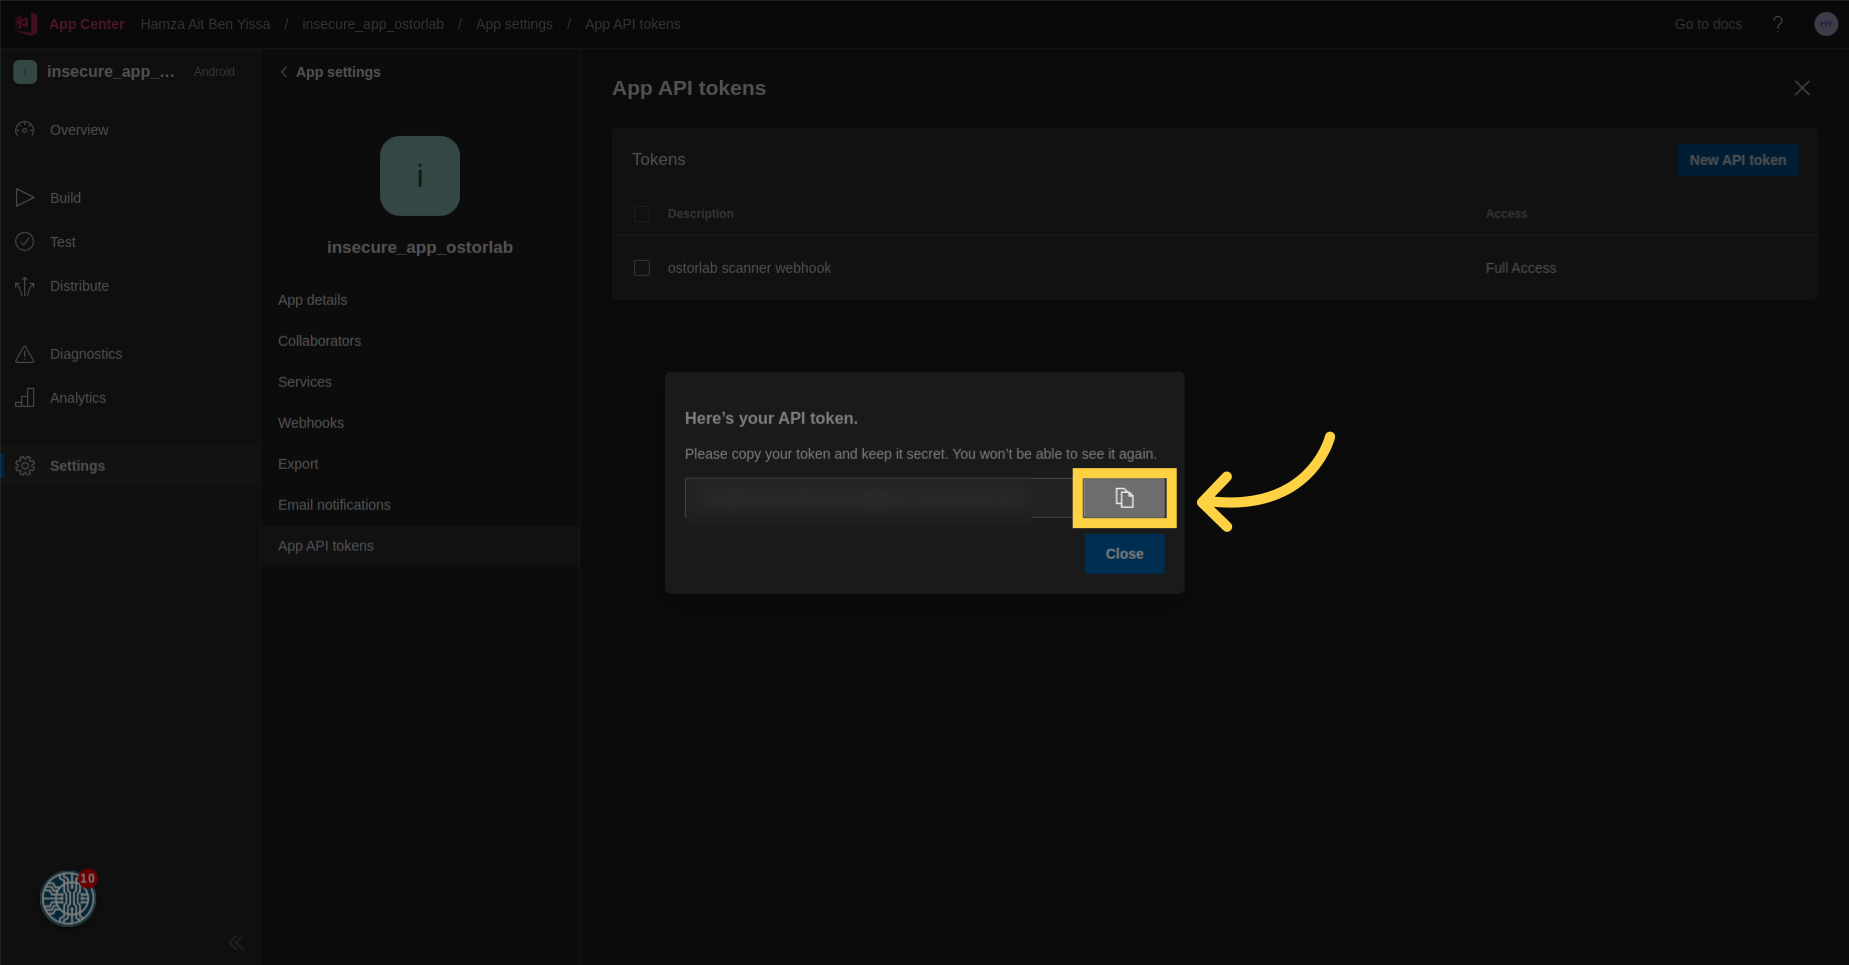
Make sure to copy your API key token.
Create the Configuration:
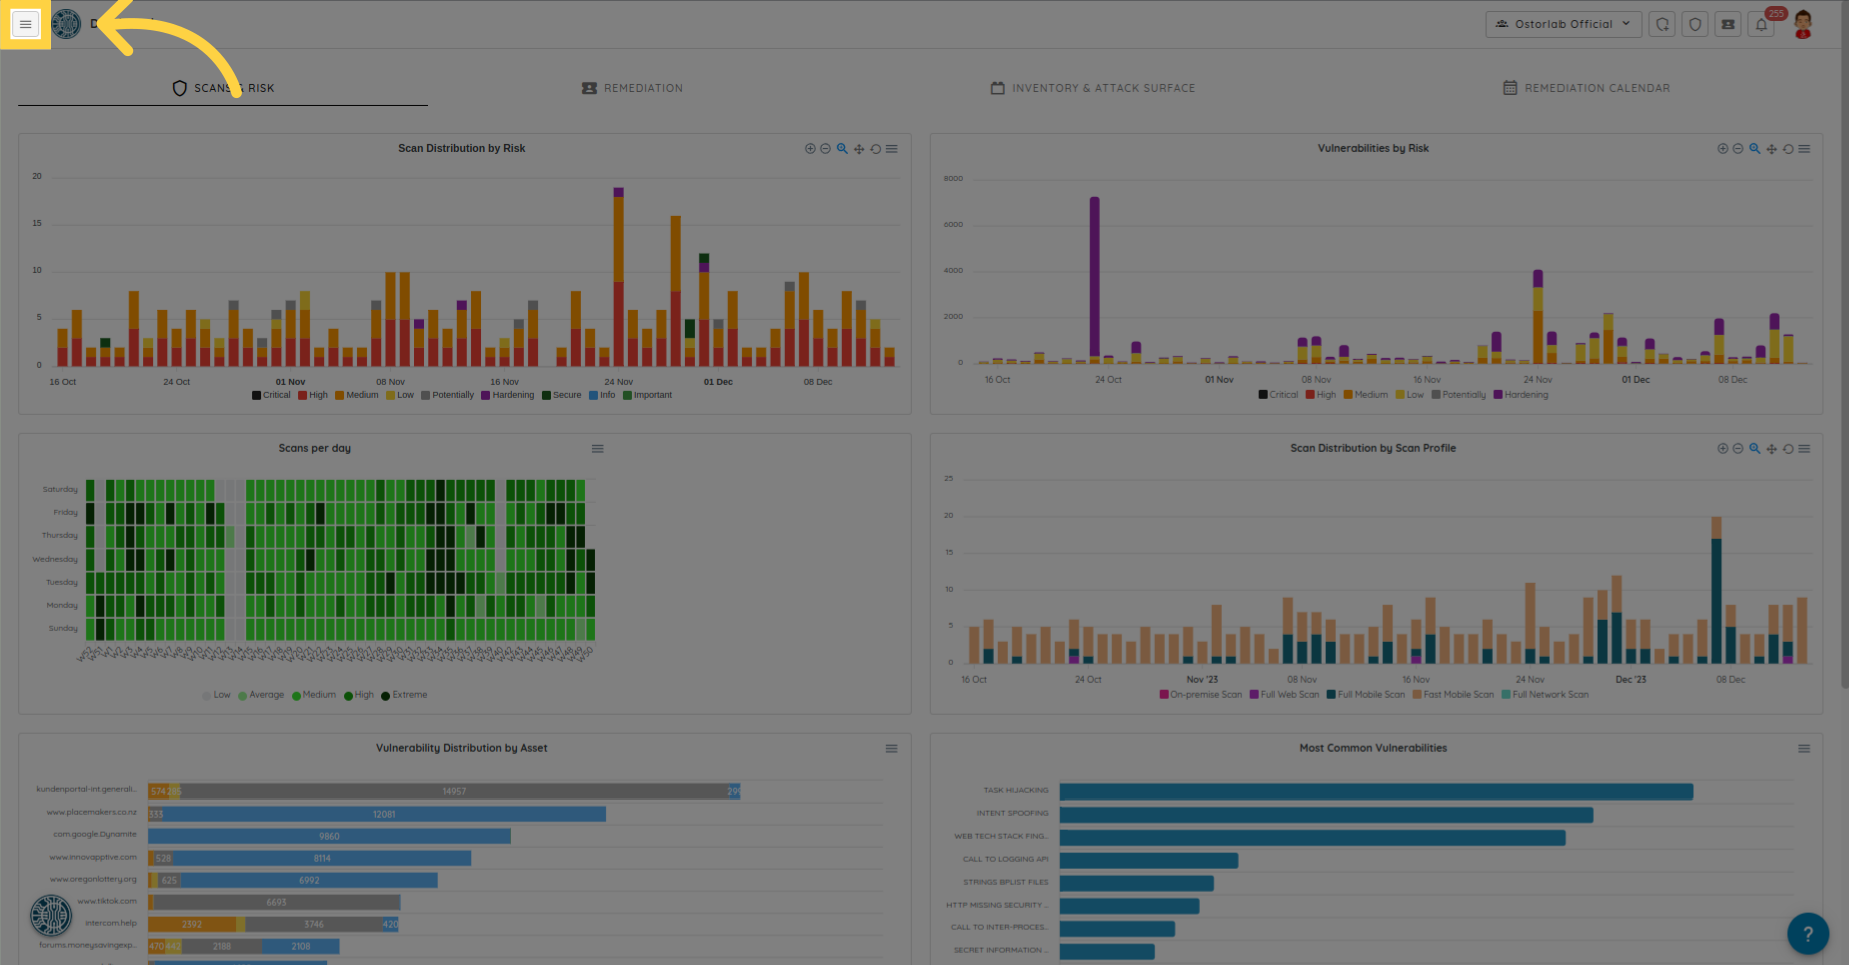
Click the menu button.
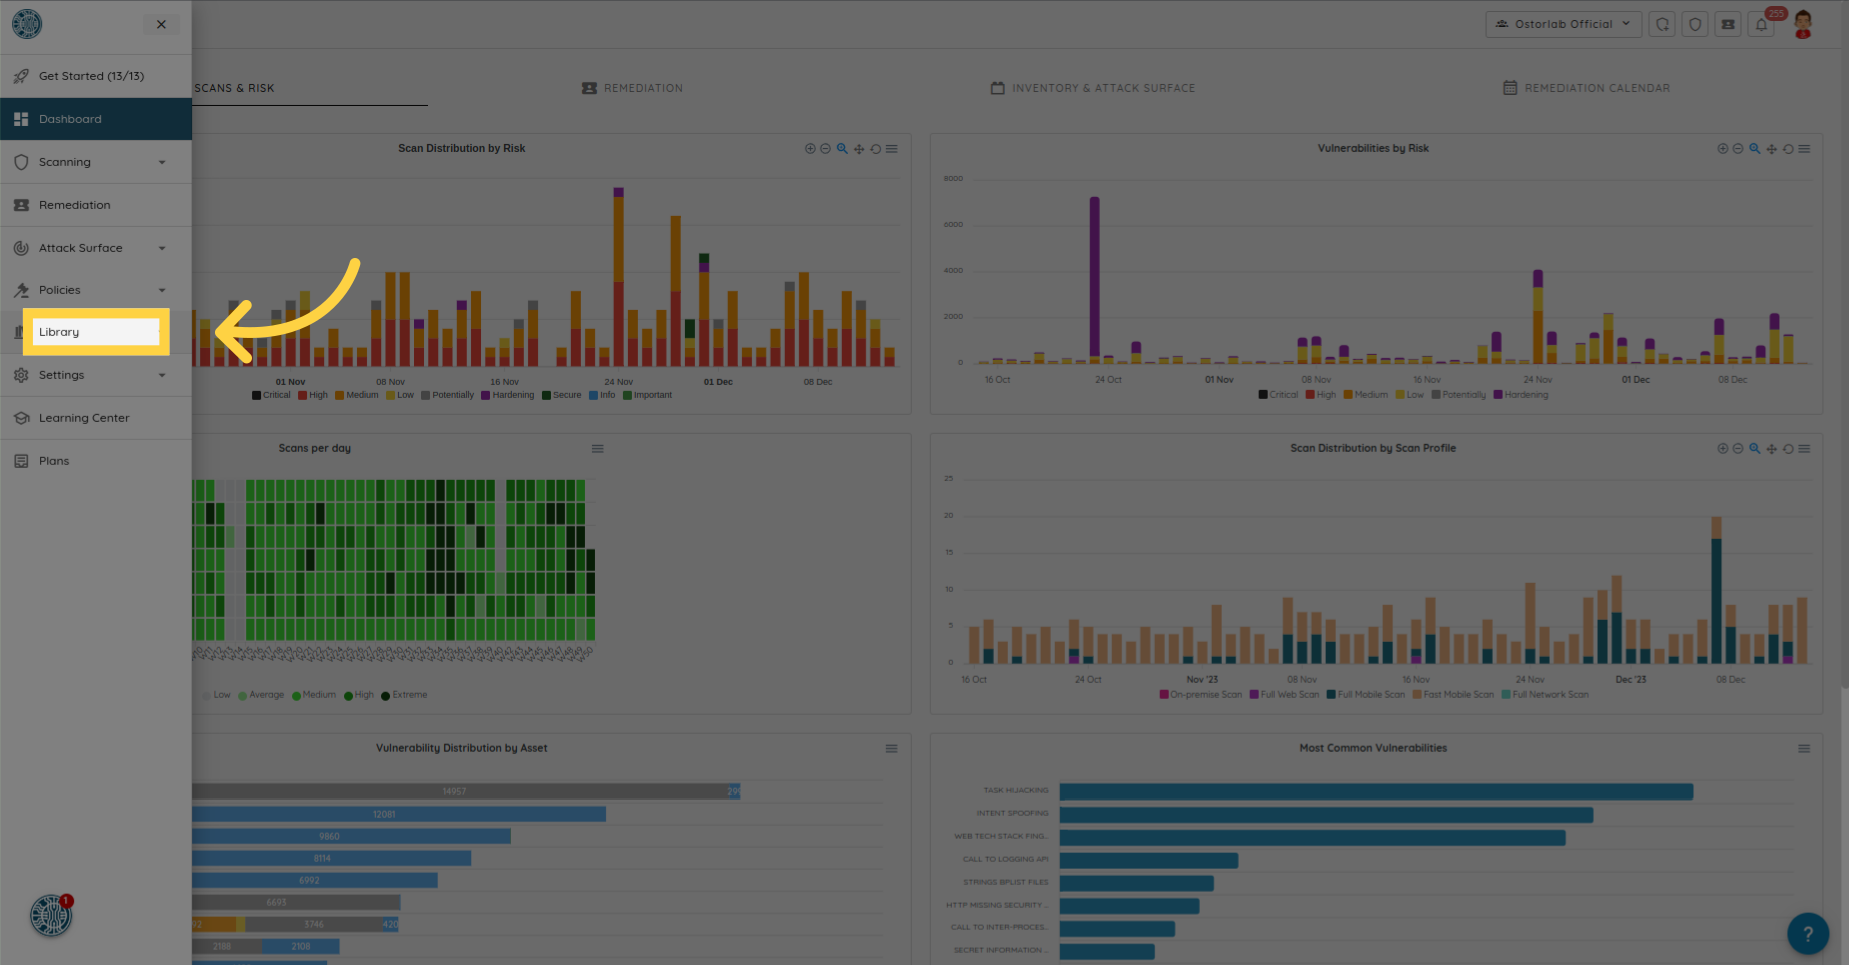
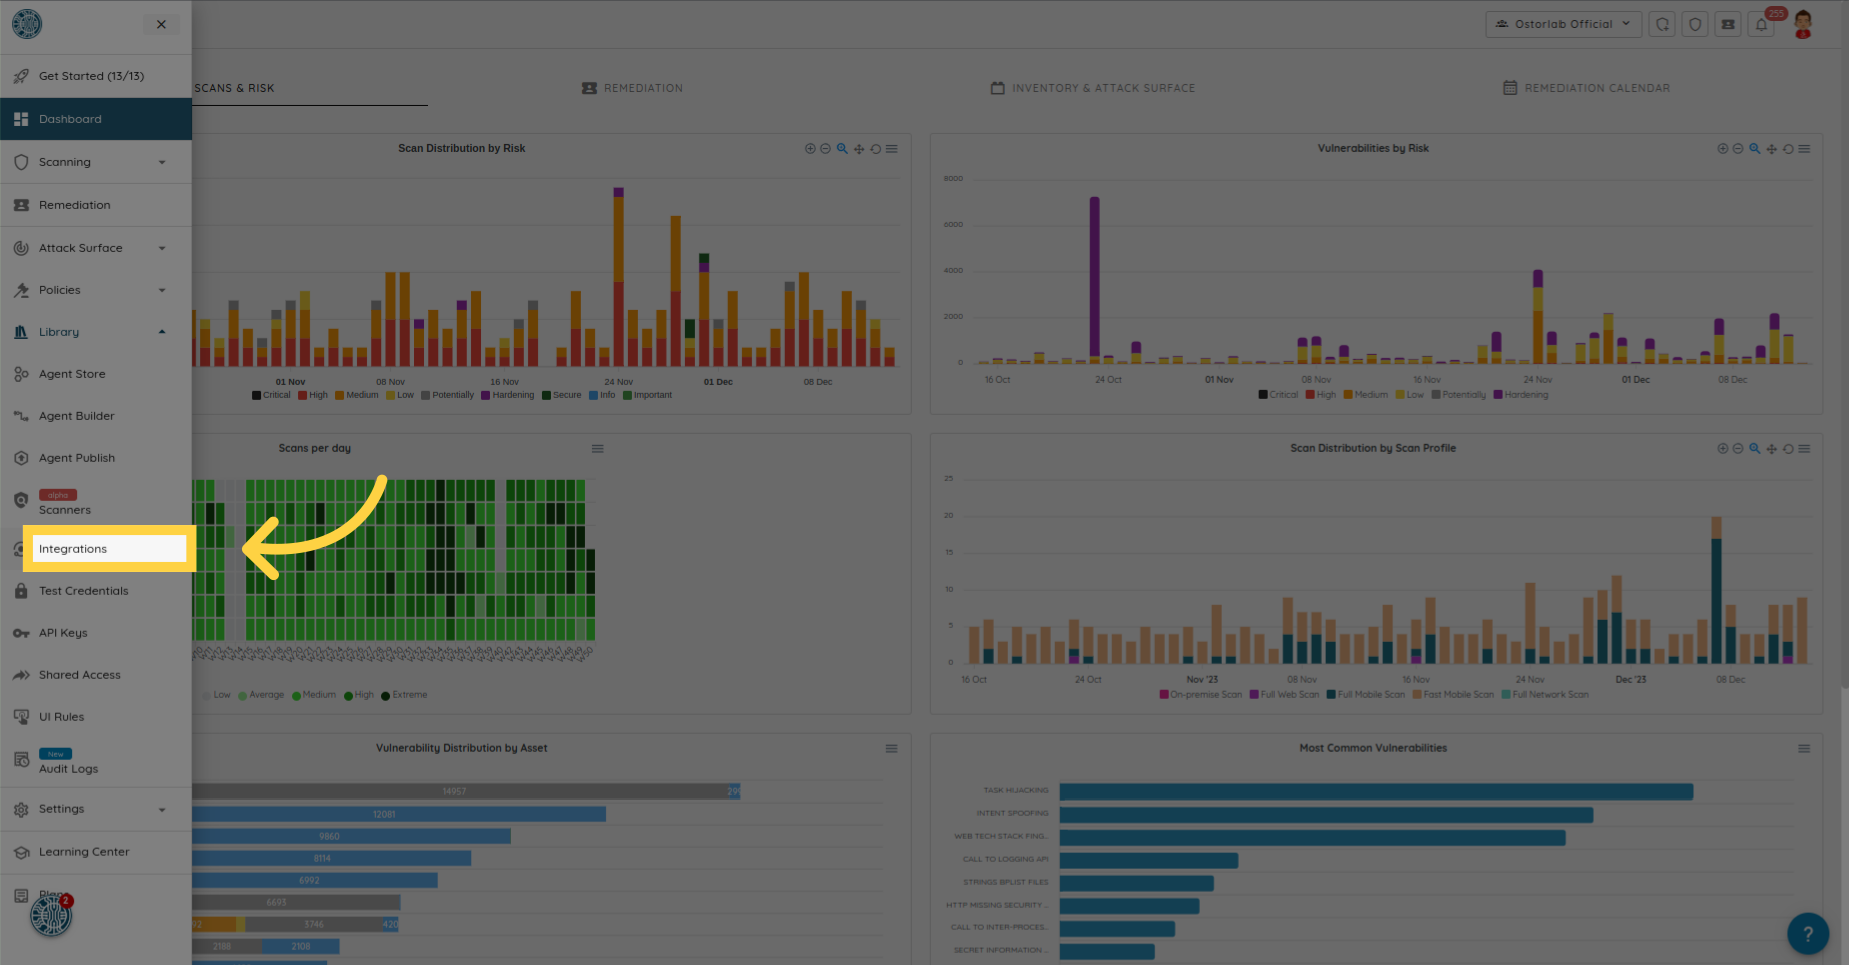
Next, click "Integrations/API" to expand.
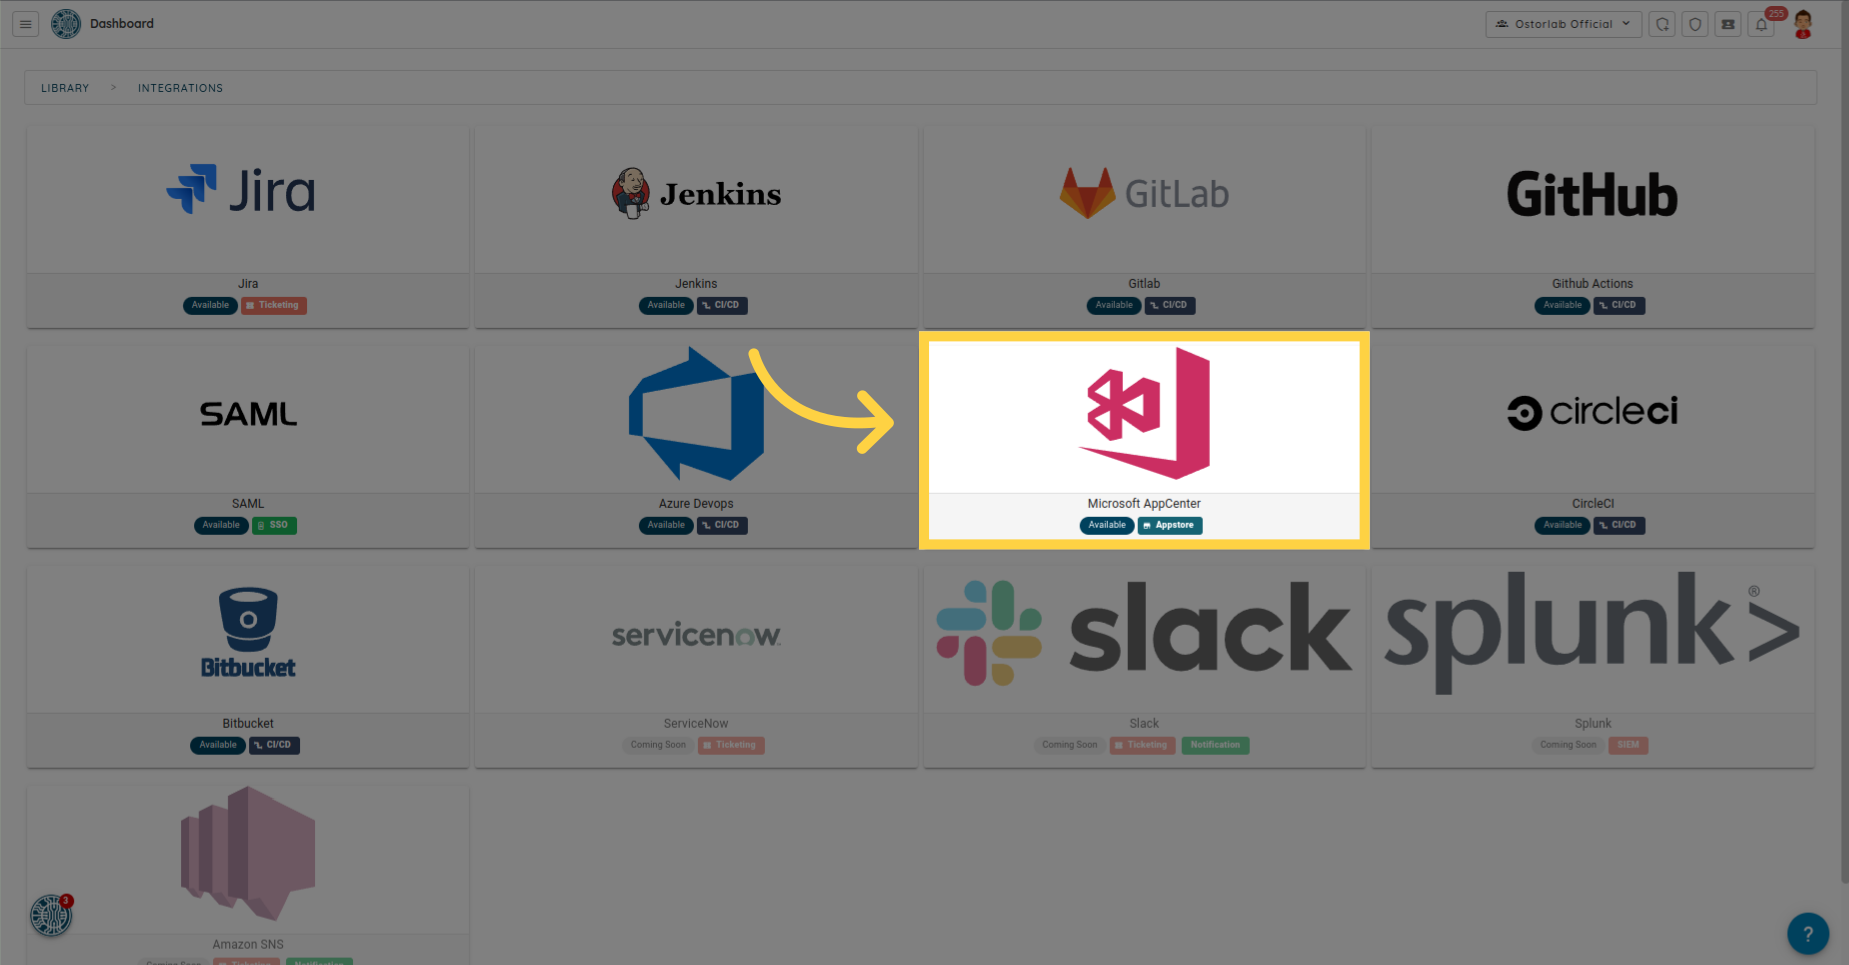
Access the Integrations page.
Go to the App Center.
Go to the Configuration settings.
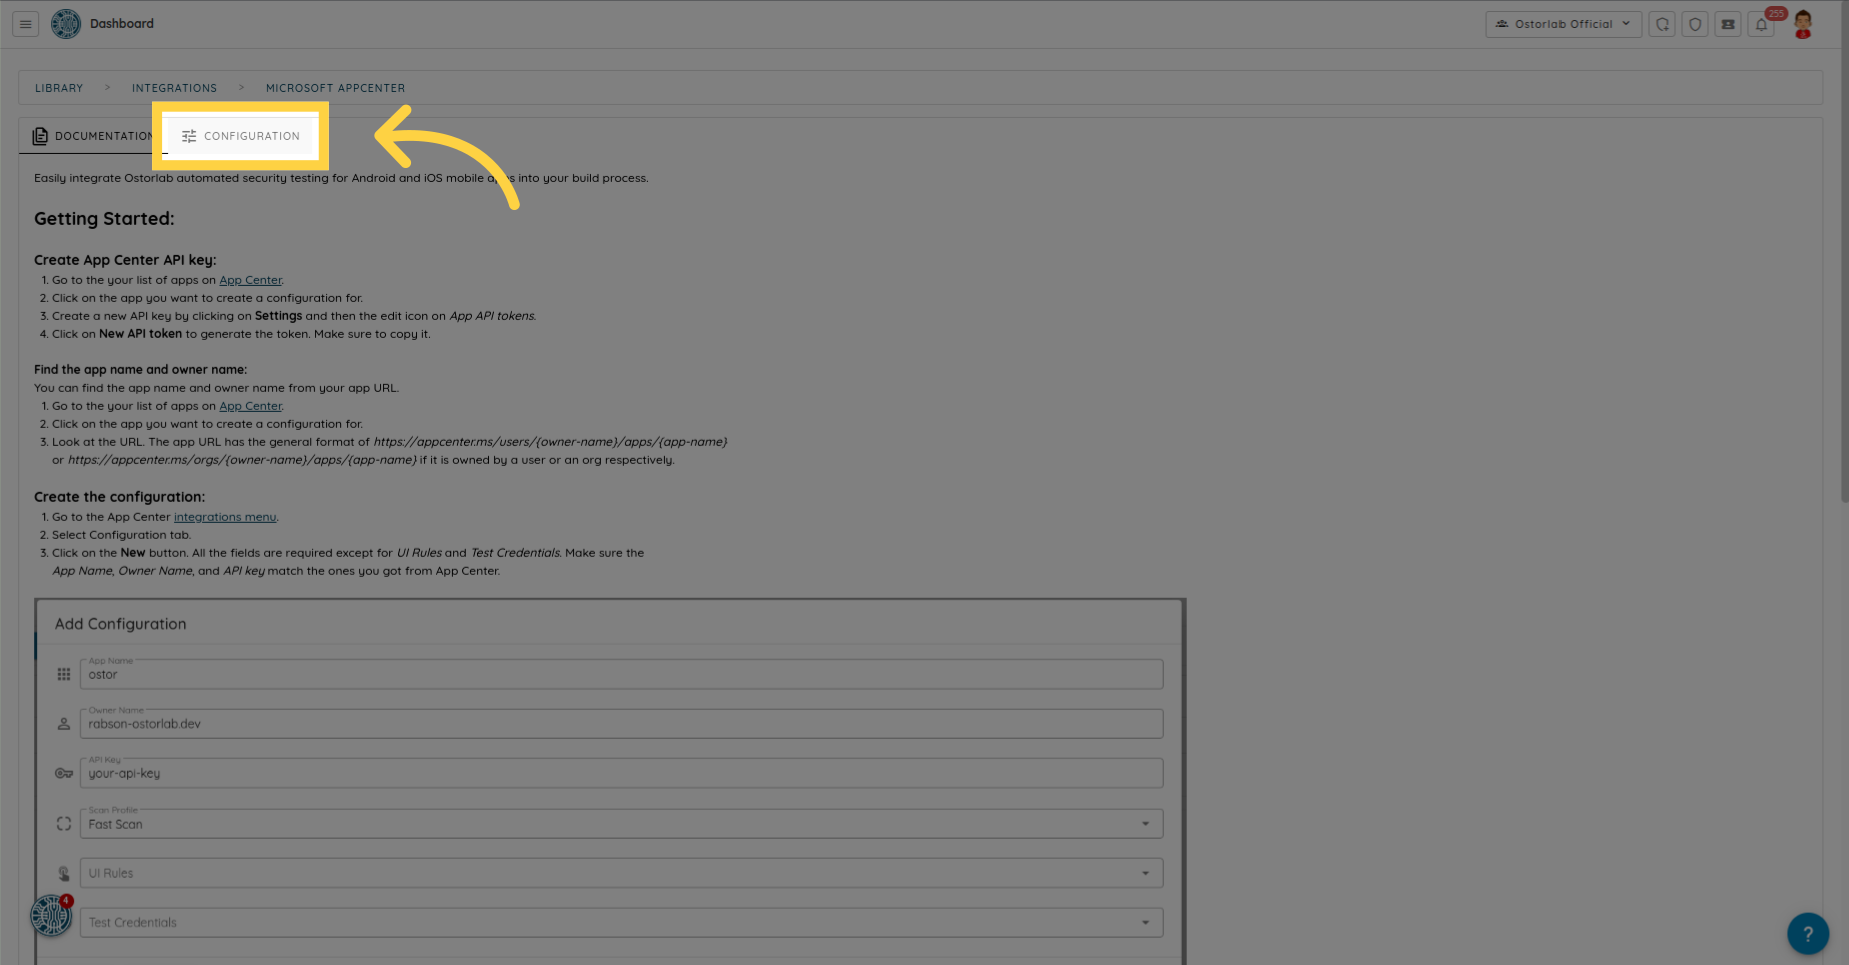
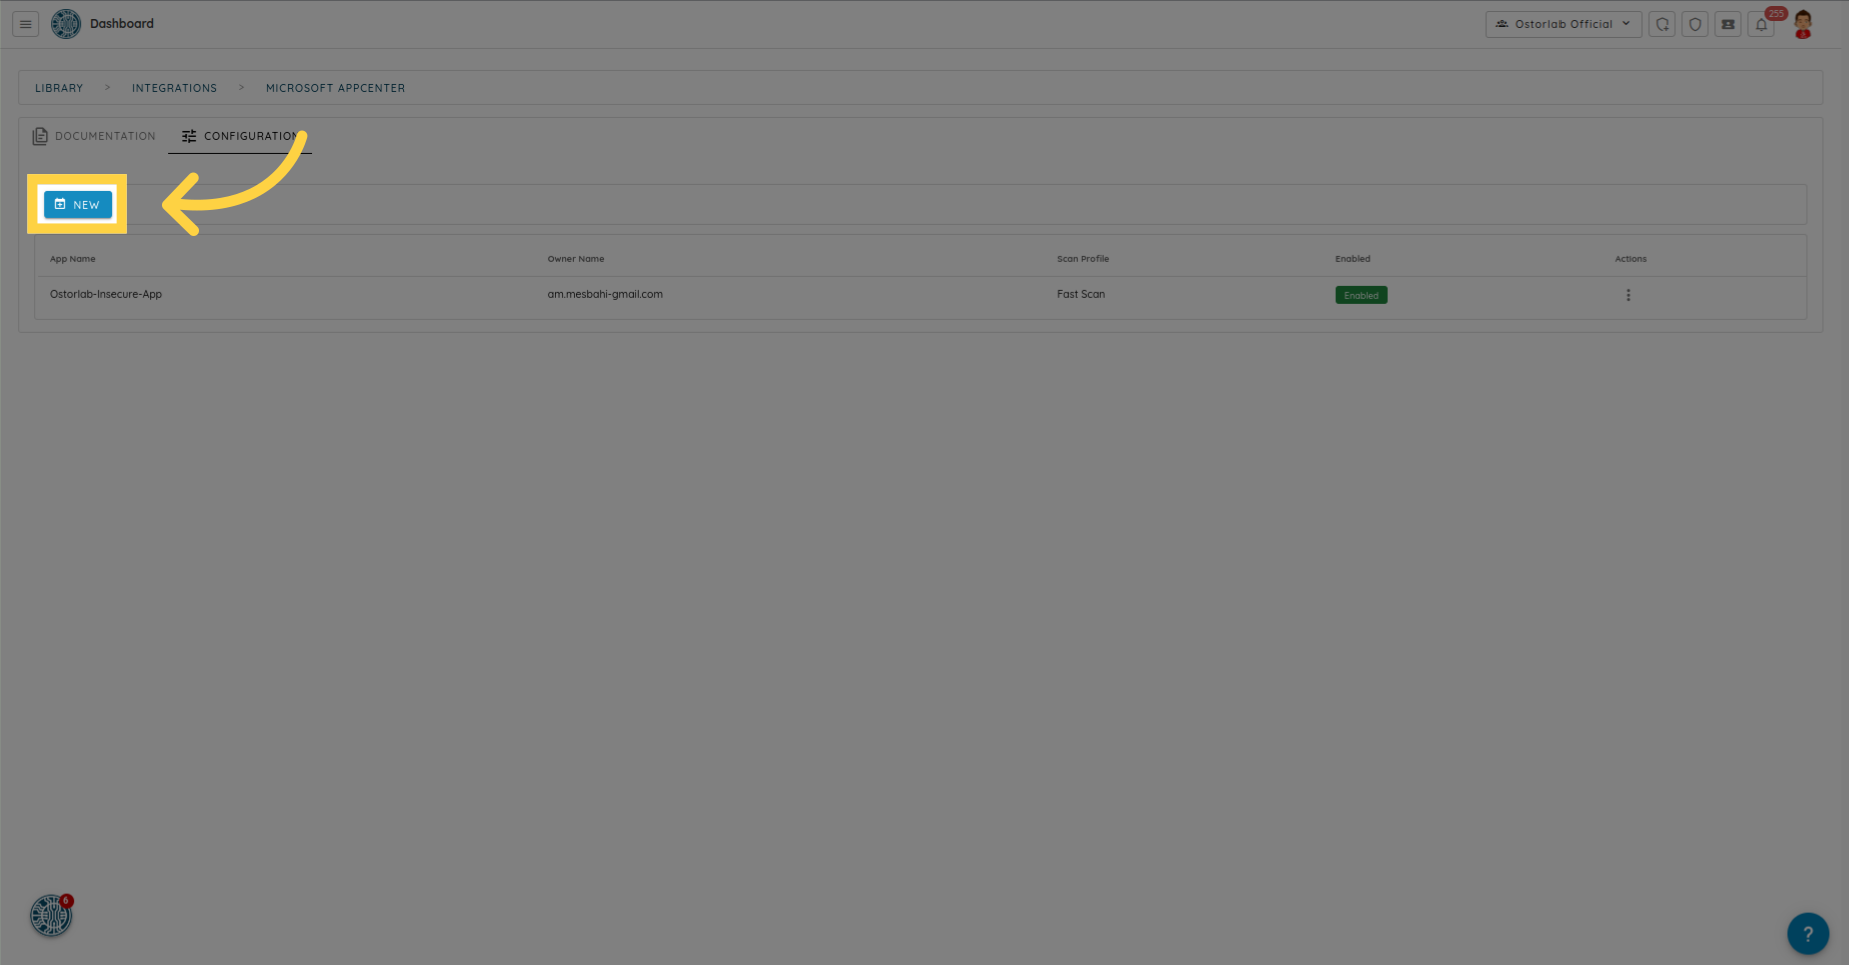
Create a new configuration.
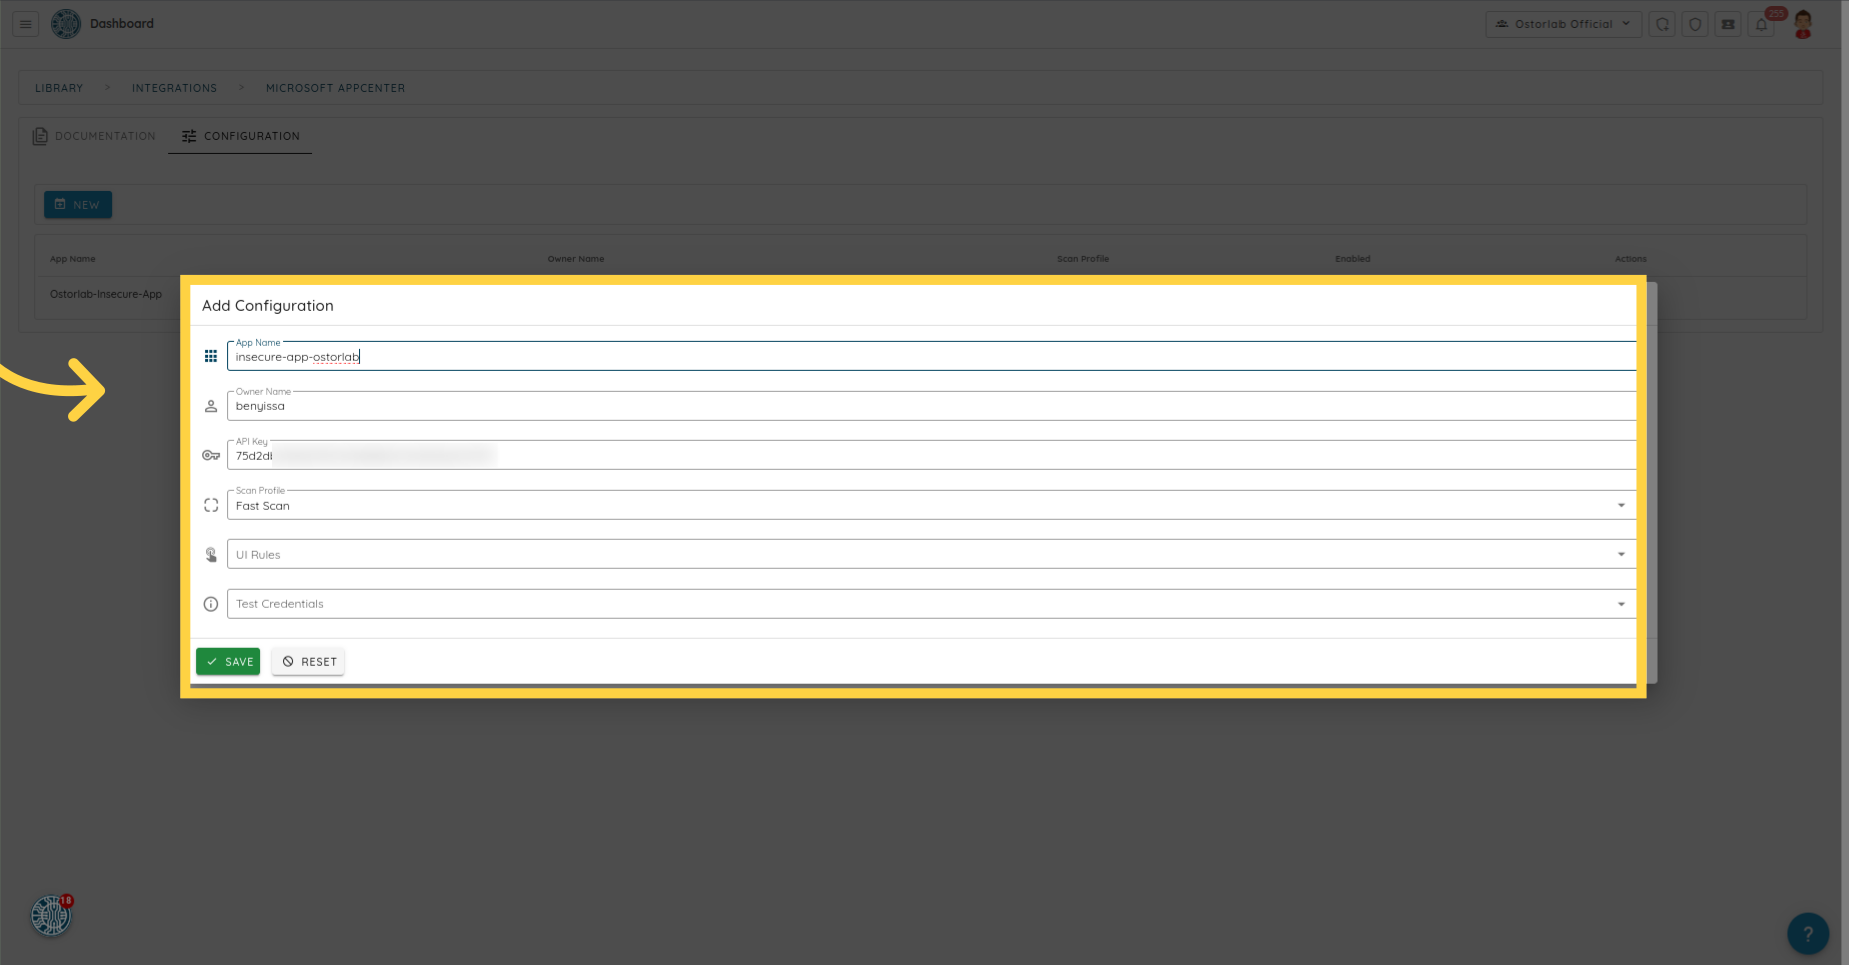
All the fields are required except for UI rules and test credentials. Ensure that the app name, owner name, and API key match the ones you obtained from App Center.
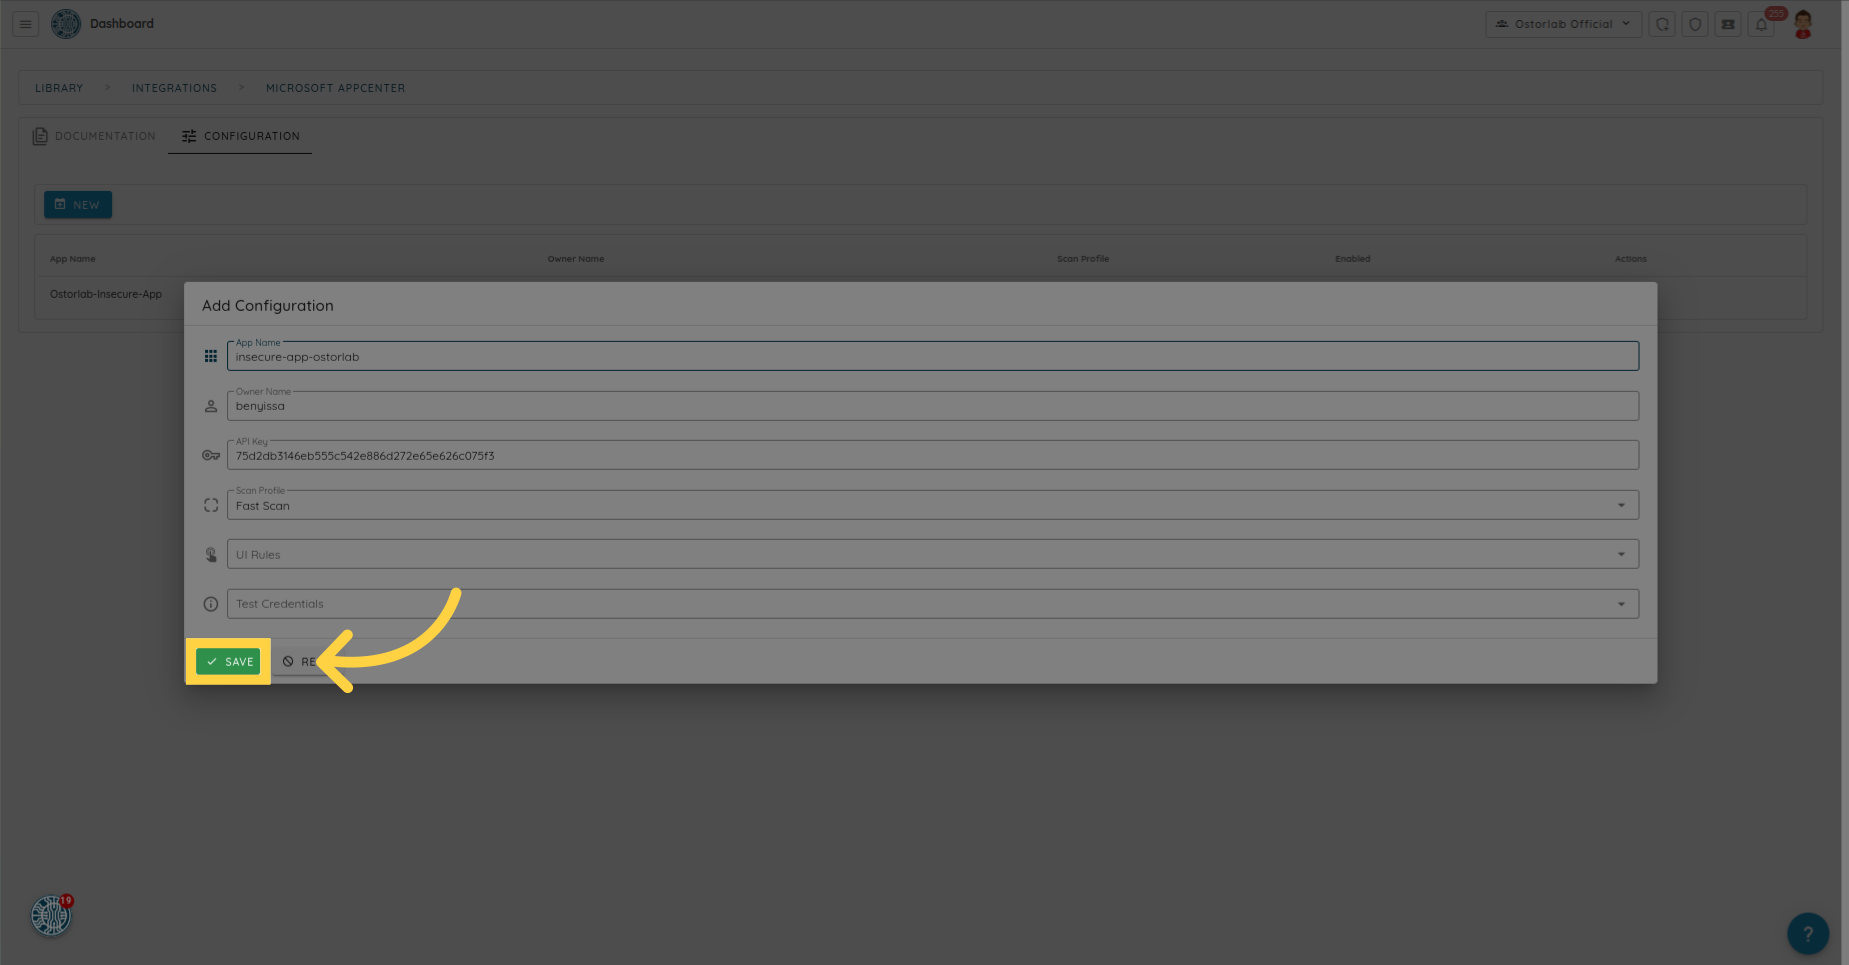
Save the configuration.
Verify the Configuration on App Center:
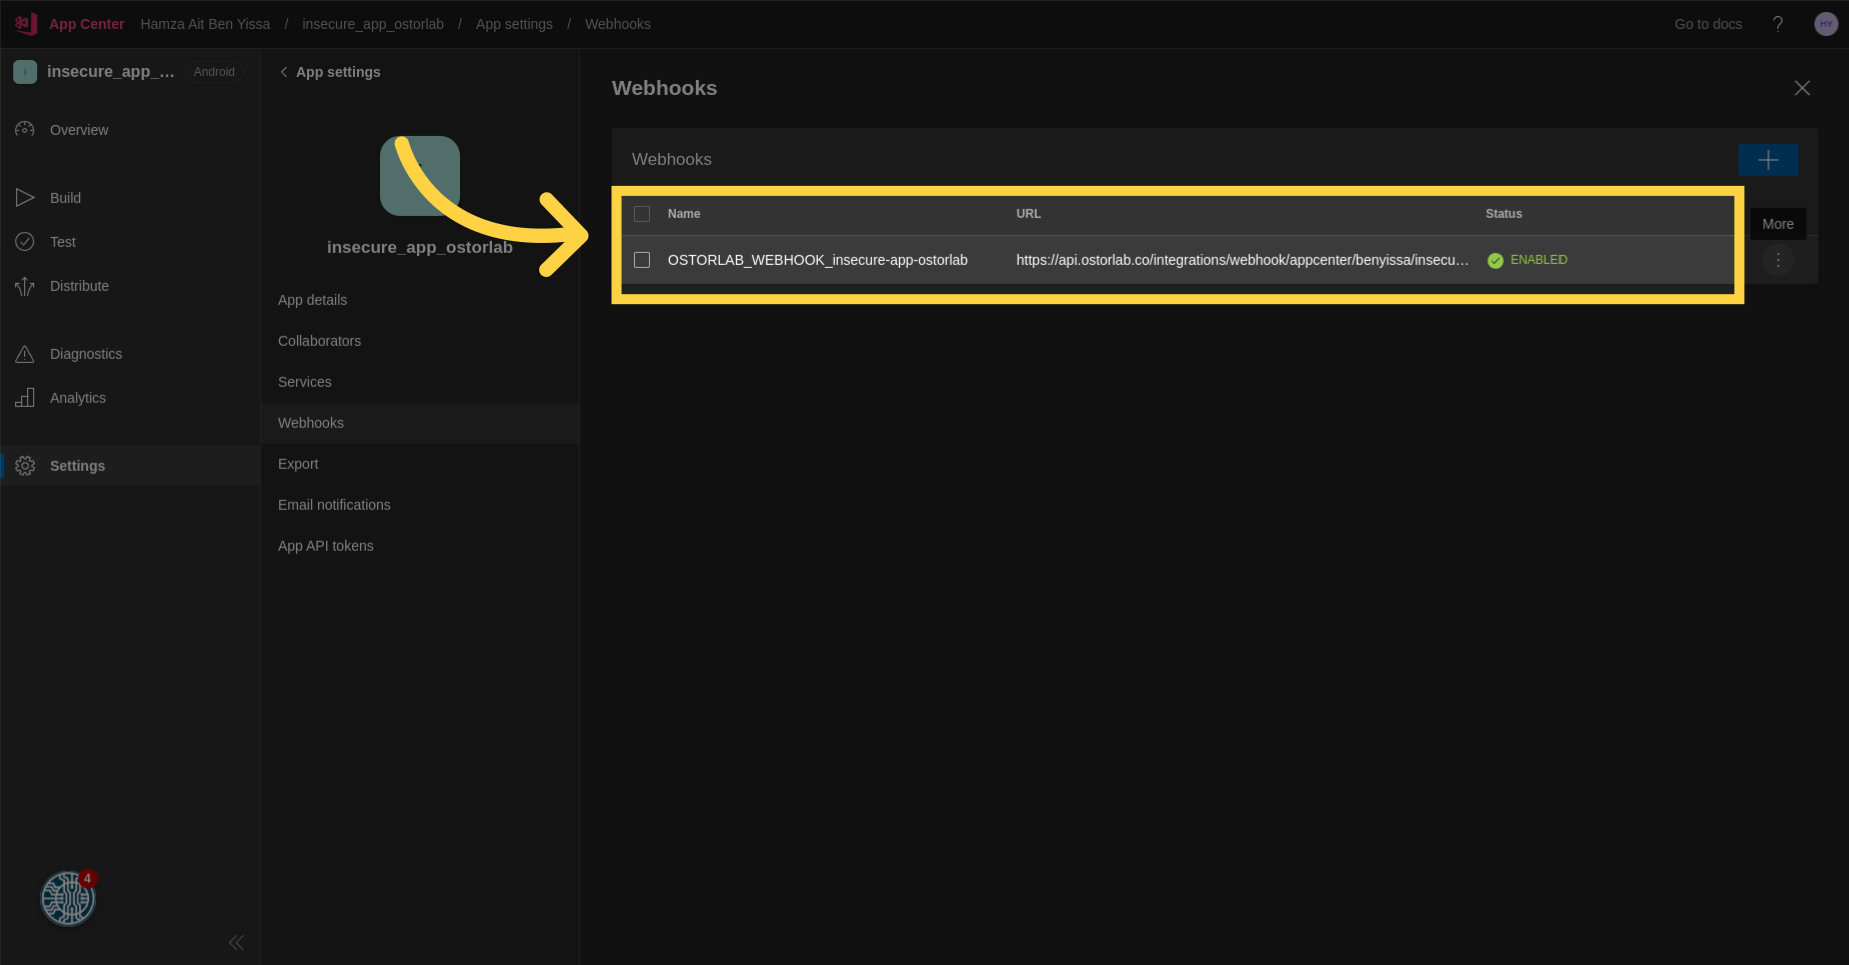
Click on the edit icon for Webhooks.
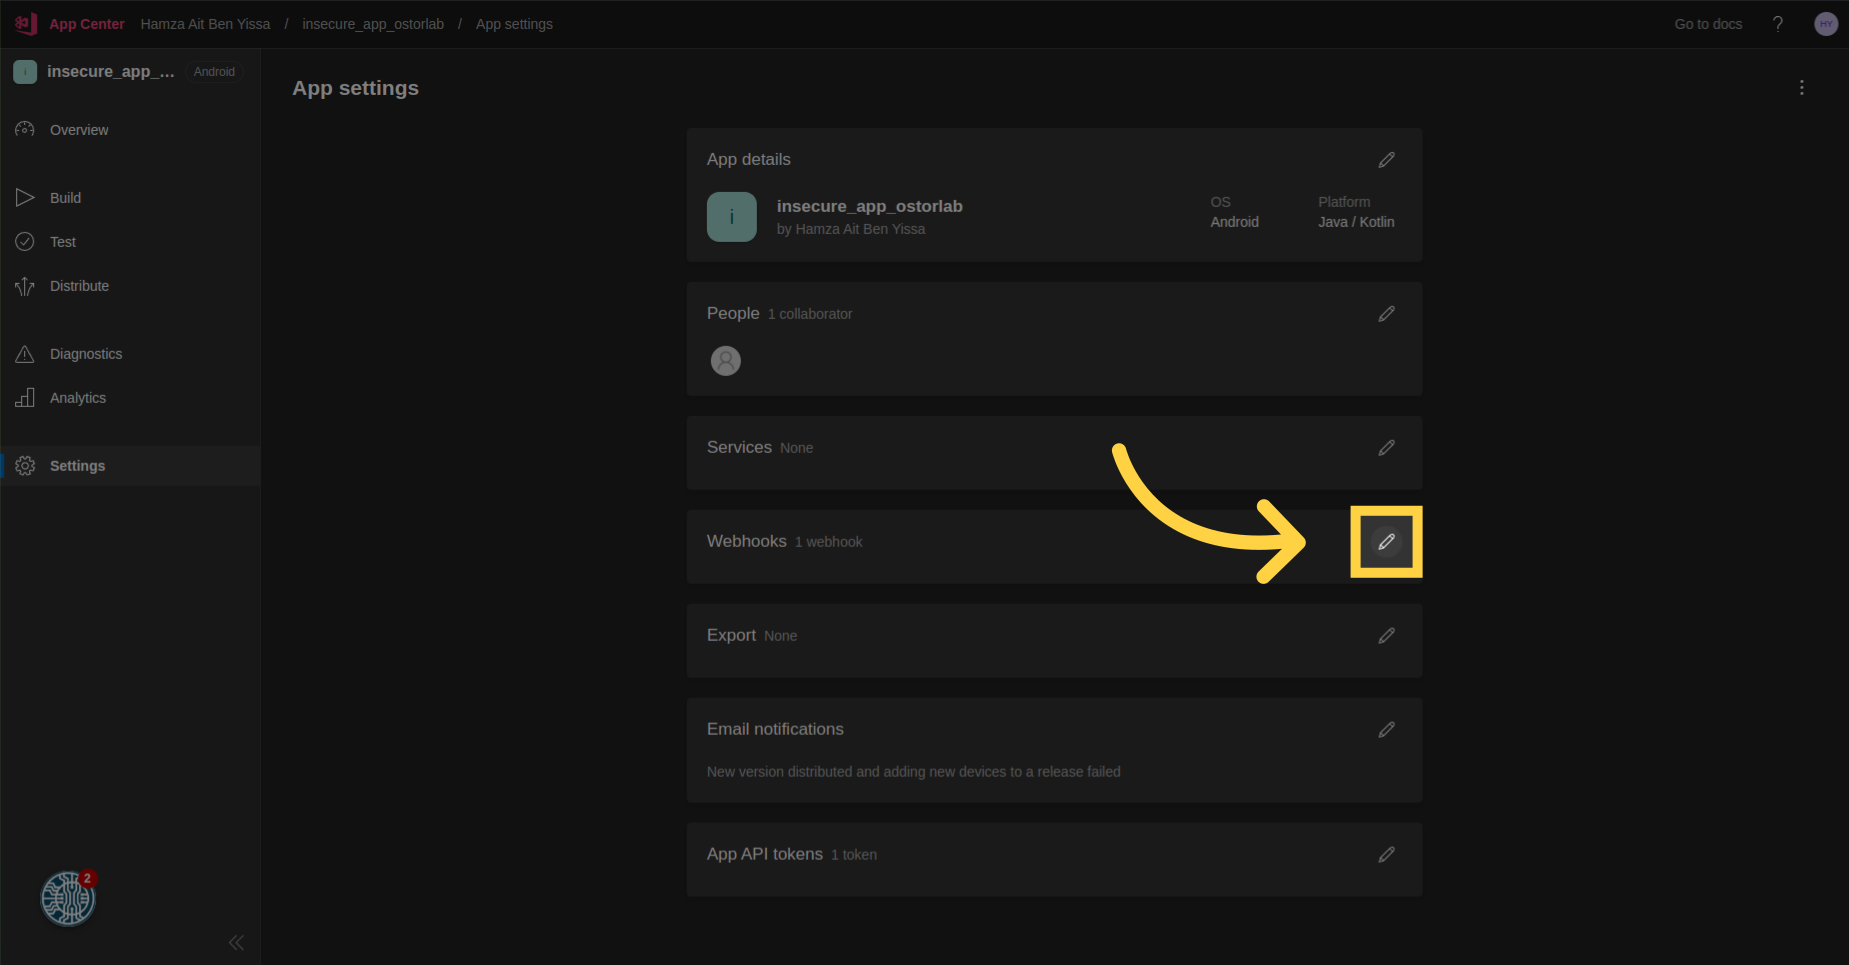
You should be able to see a webhook with the status ENABLED.
Conclusion
This guide covers the steps required to effectively and easily integrate Ostorlab autonomous security testing for Android and iOS mobile apps into your App Center build process.