Ostorlab Integration with GitLab
In this guide, we will explore how to easily Integrate Ostorlab autonomous security testing for Android and iOS mobile apps to your gitlab build process.
Generate new API key
The first step is to generate an API key. To do so, simply follow the following steps:
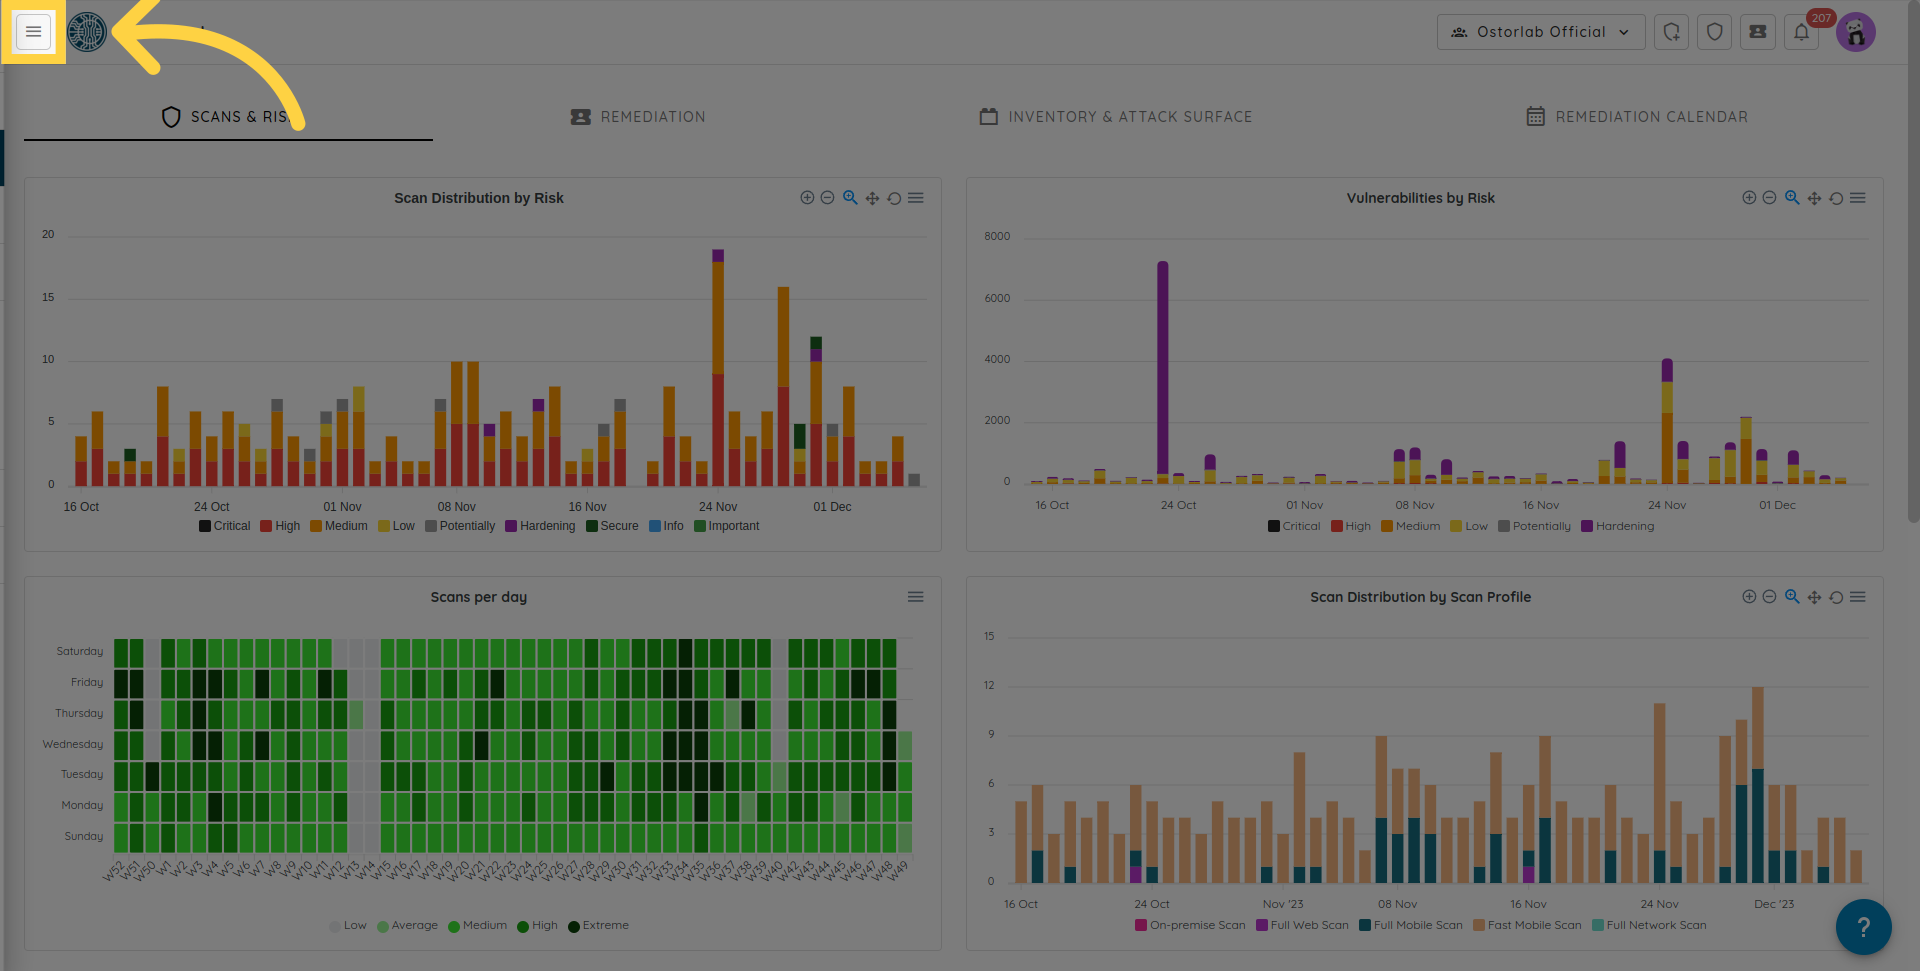
Go to report.ostorlab.co
Click the Menu button
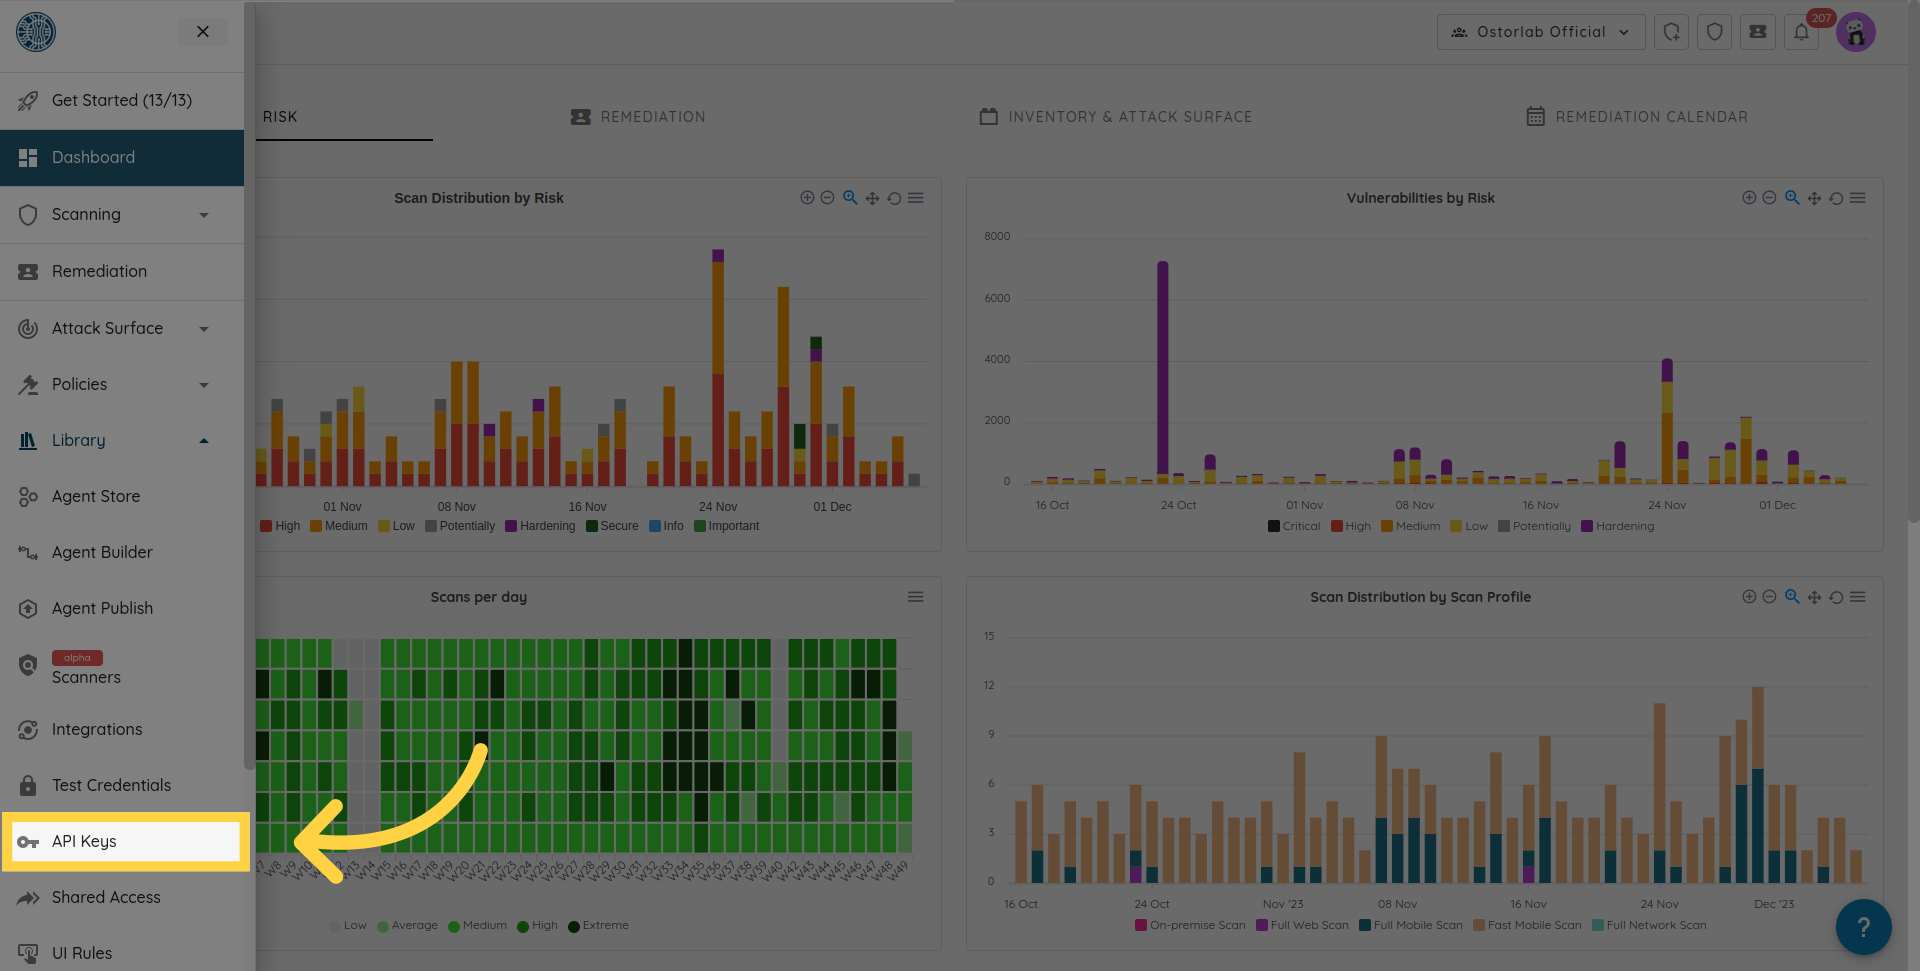
Click Integrations/API to expand

Click API Keys
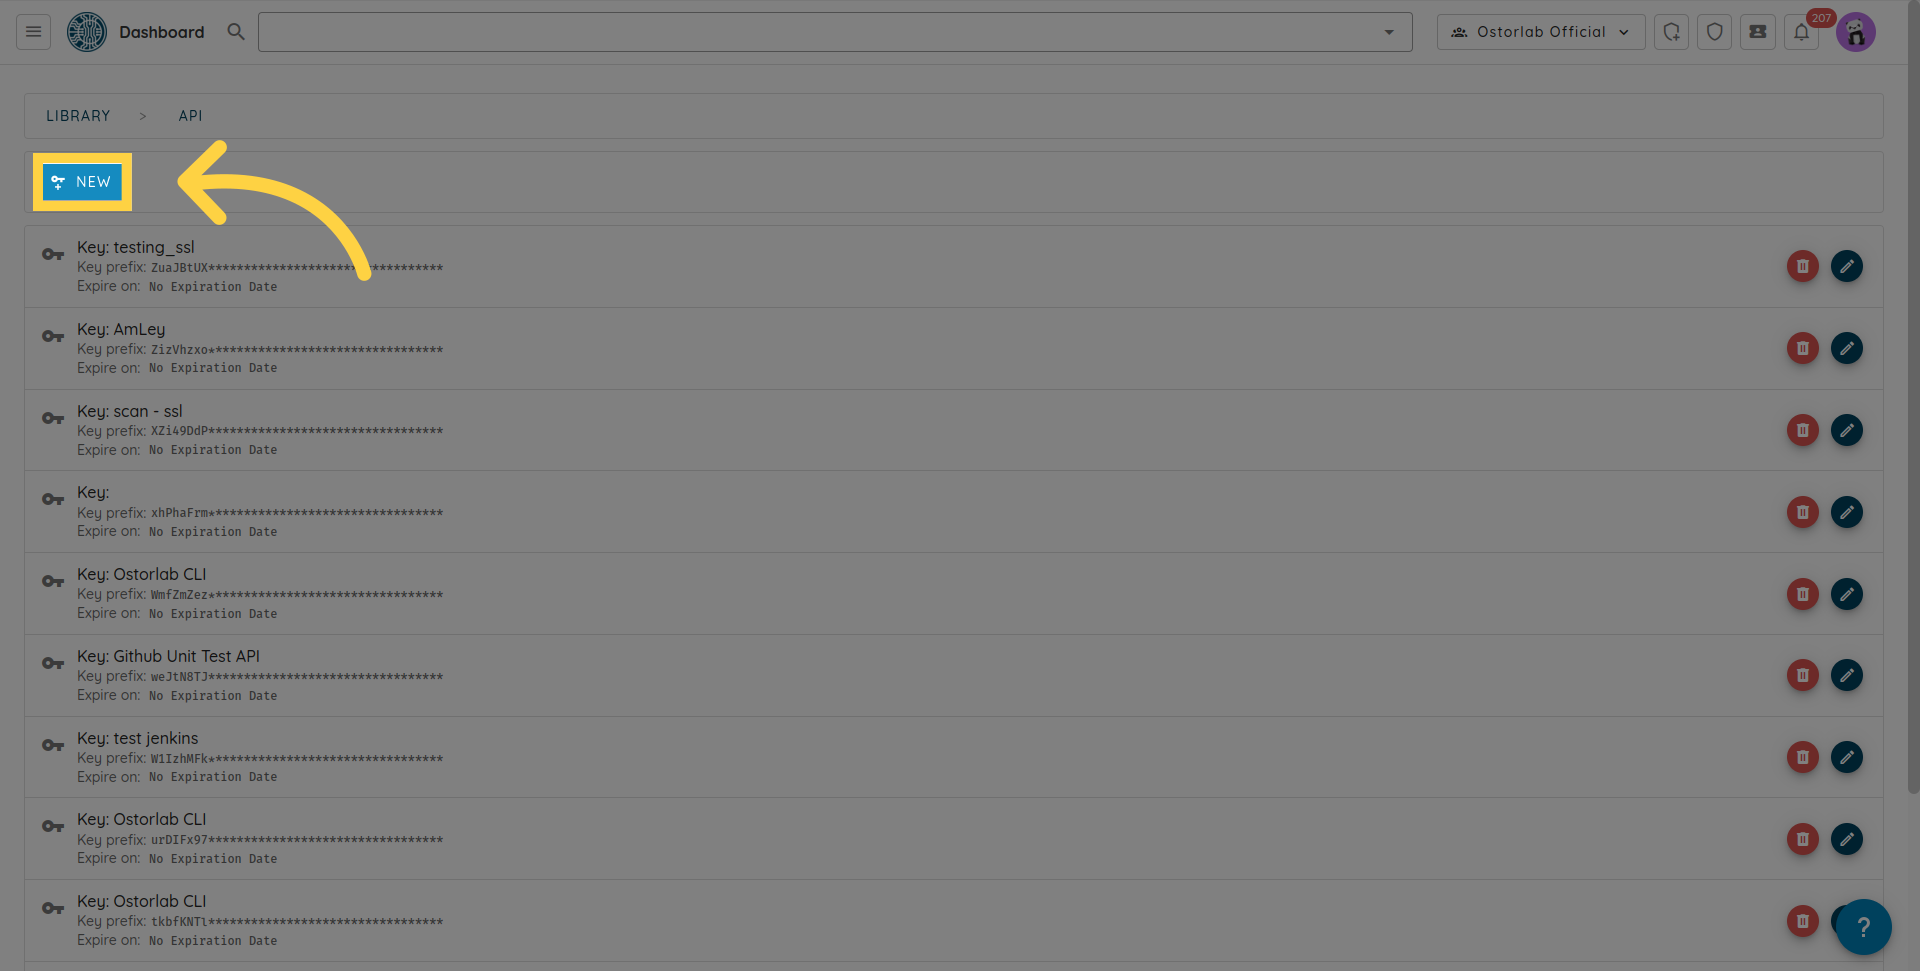
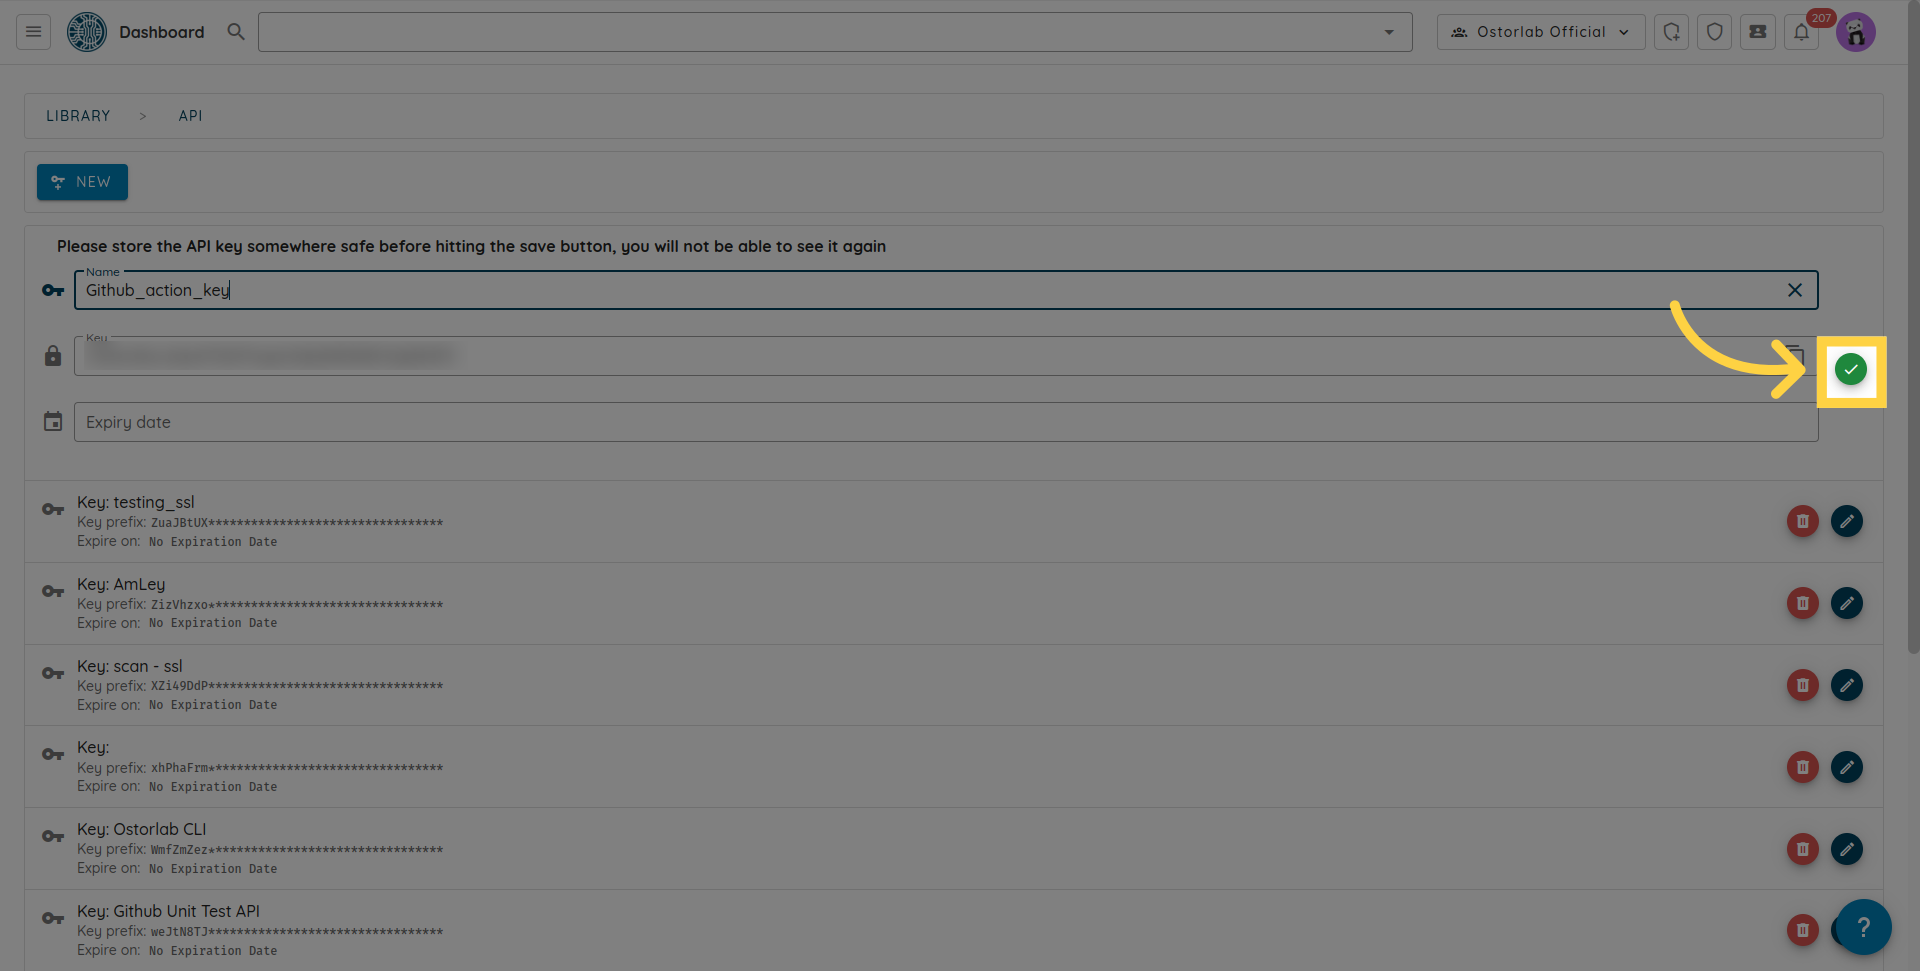
Click New to generate a new API key
Copy the API key. You can also add a name and an expiry date to your key.
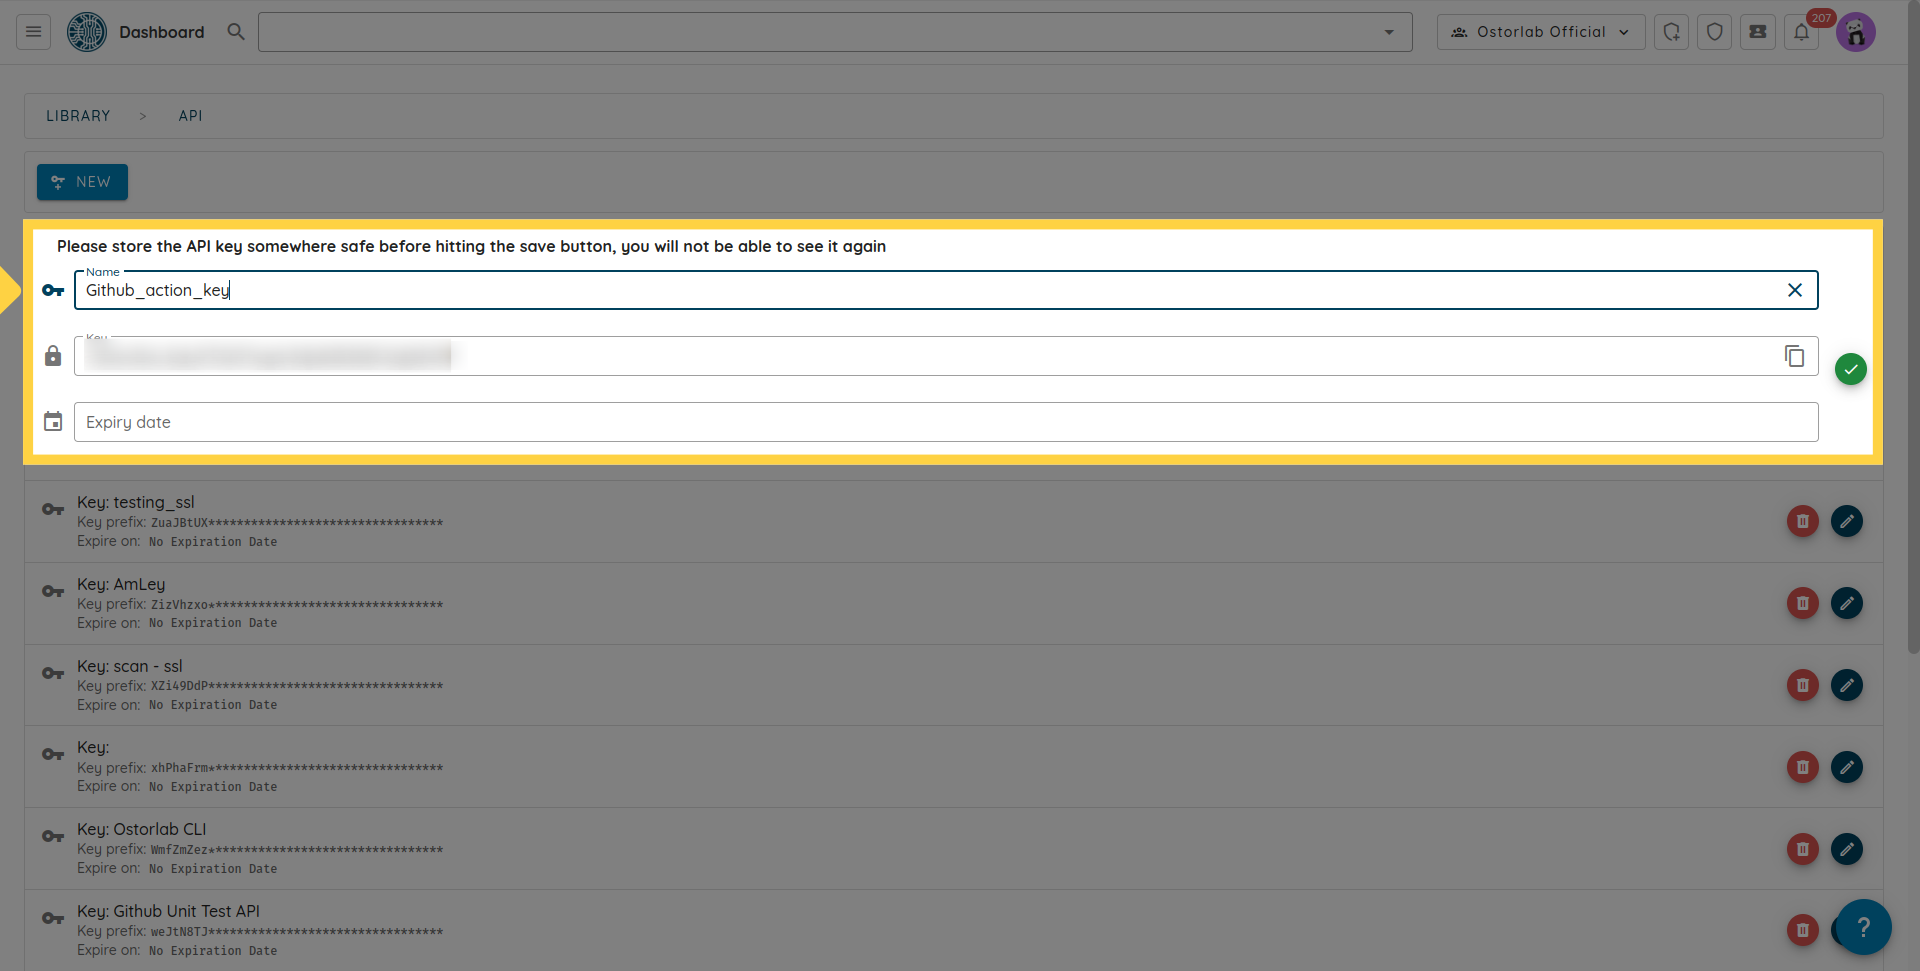
Don't forget to click the save button to save your key.
Creating a Gitlab-CI Pipeline:
Example to use for your .gitlab-ci.yml
stages:
  - build
  - test

build:
  stage: build
  script:
      - Pre steps to build
      - ./gradlew assembleDebug
  artifacts:
    paths:
    - app/build/outputs/

runScanOstorlab:
  stage: test
  image: ostorlab/gitlab-ci
  variables:
    OSTORLAB_FILE_PATH: app/build/outputs/apk/debug/app-debug.apk
    OSTORLAB_PLATFORM: android
    OSTORLAB_UI_PROMPT_NAMES: "shop;profile;cart;settings"
    OSTORLAB_UI_PROMPT_ACTIONS: "search for a product named 'laptop' and add it to cart;open the profile tab and update email;review cart and proceed to checkout;open settings and enable notifications"
    OSTORLAB_UI_PROMPT_IDS: "123;456"
  script:
    - run_ostorlab.sh
Required Environment variables
OSTORLAB_API_KEY=API_KEY- Specifies your api keyOSTORLAB_FILE_PATH=FILE_PATH- Specifies the path to Android apk or IOS ipaOSTORLAB_PLATFORM=PLATFORM- Specifies the platform android or ios
Optional Environment variables
Following are optional parameters that can be set from environment variables:
OSTORLAB_PLAN=free or static_dynamic_backend- Specifies your scan plan (free for community scans and static_dynamic_backend for full analysis).OSTORLAB_TITLE=My Title- Specifies the scan title.OSTORLAB_WAIT_FOR_RESULTS=true- Set to true if you want to wait for the scan to finish and retrieve the result.OSTORLAB_WAIT_MINUTES=30- Specifies the number of minutes to wait DEFAULT=30min.OSTORLAB_BREAK_BUILD_ON_SCORE=true- Set to true to generate an exception if the scan risk rating is higher than the threshold.OSTORLAB_RISK_THRESHOLD=medium- Specifies your risk rating threshold.OSTORLAB_UI_PROMPT_NAMES- A semicolon-separated list of UI prompt names. For example:shop;profile;cart;settings. Each name corresponds by position to an action inOSTORLAB_UI_PROMPT_ACTIONS.OSTORLAB_UI_PROMPT_ACTIONS- A semicolon-separated list of UI prompt actions. For example:search for a product named "laptop" and add it to cart;open the profile tab and update email;review cart and proceed to checkout;open settings and enable notifications. Each action corresponds by position to a name inOSTORLAB_UI_PROMPT_NAMES.OSTORLAB_UI_PROMPT_IDS- A semicolon-separated list of UI prompt flow IDs to reuse existing prompt flows. For example:123e4567-e89b-12d3-a456-426614174000;abcdef12-3456-7890-abcd-ef1234567890. You can use this in addition to or instead of the name/action variables. Multiple IDs can be provided. Note: The number of names and actions must match, and each name/action pair is positional. You can use both name/action and ID variables together.
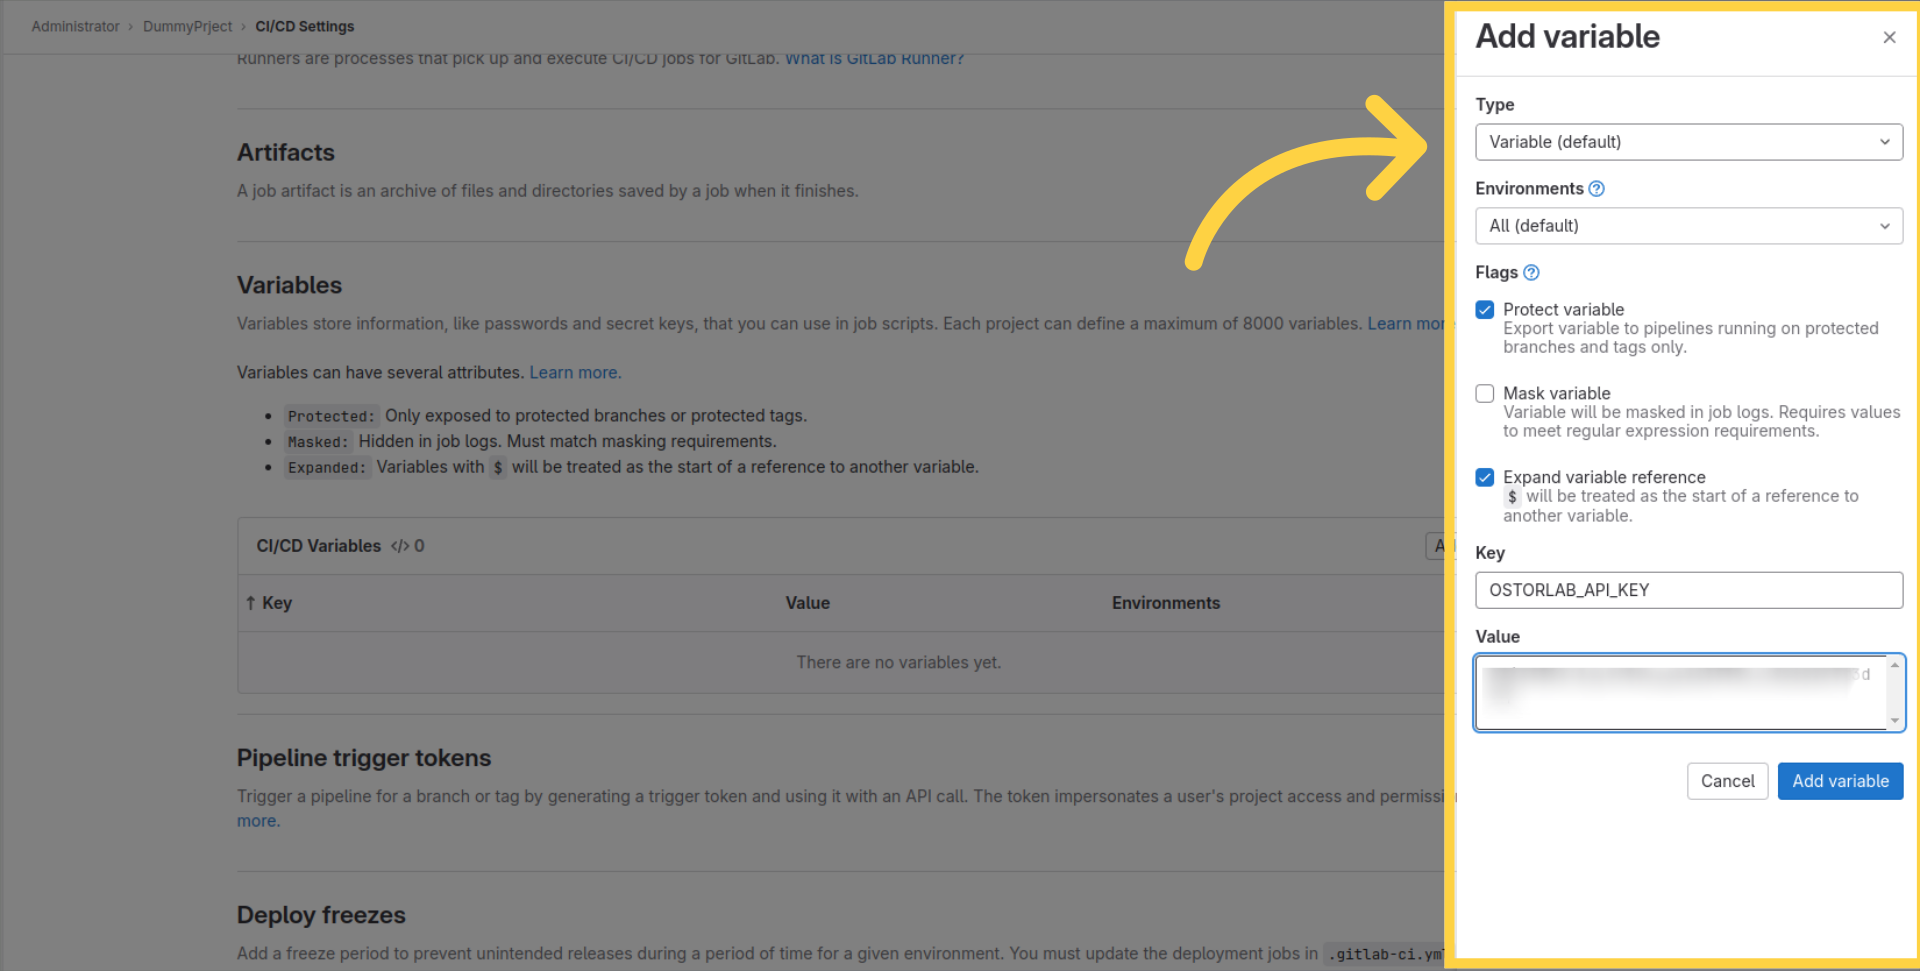
Adding Environment variables in Gitlab Pipeline
To add environment variables in you Gitlab Pipeline, navigate to settings then CI/CD, and then jump to Variables section to add environment variables for your pipeline as following:
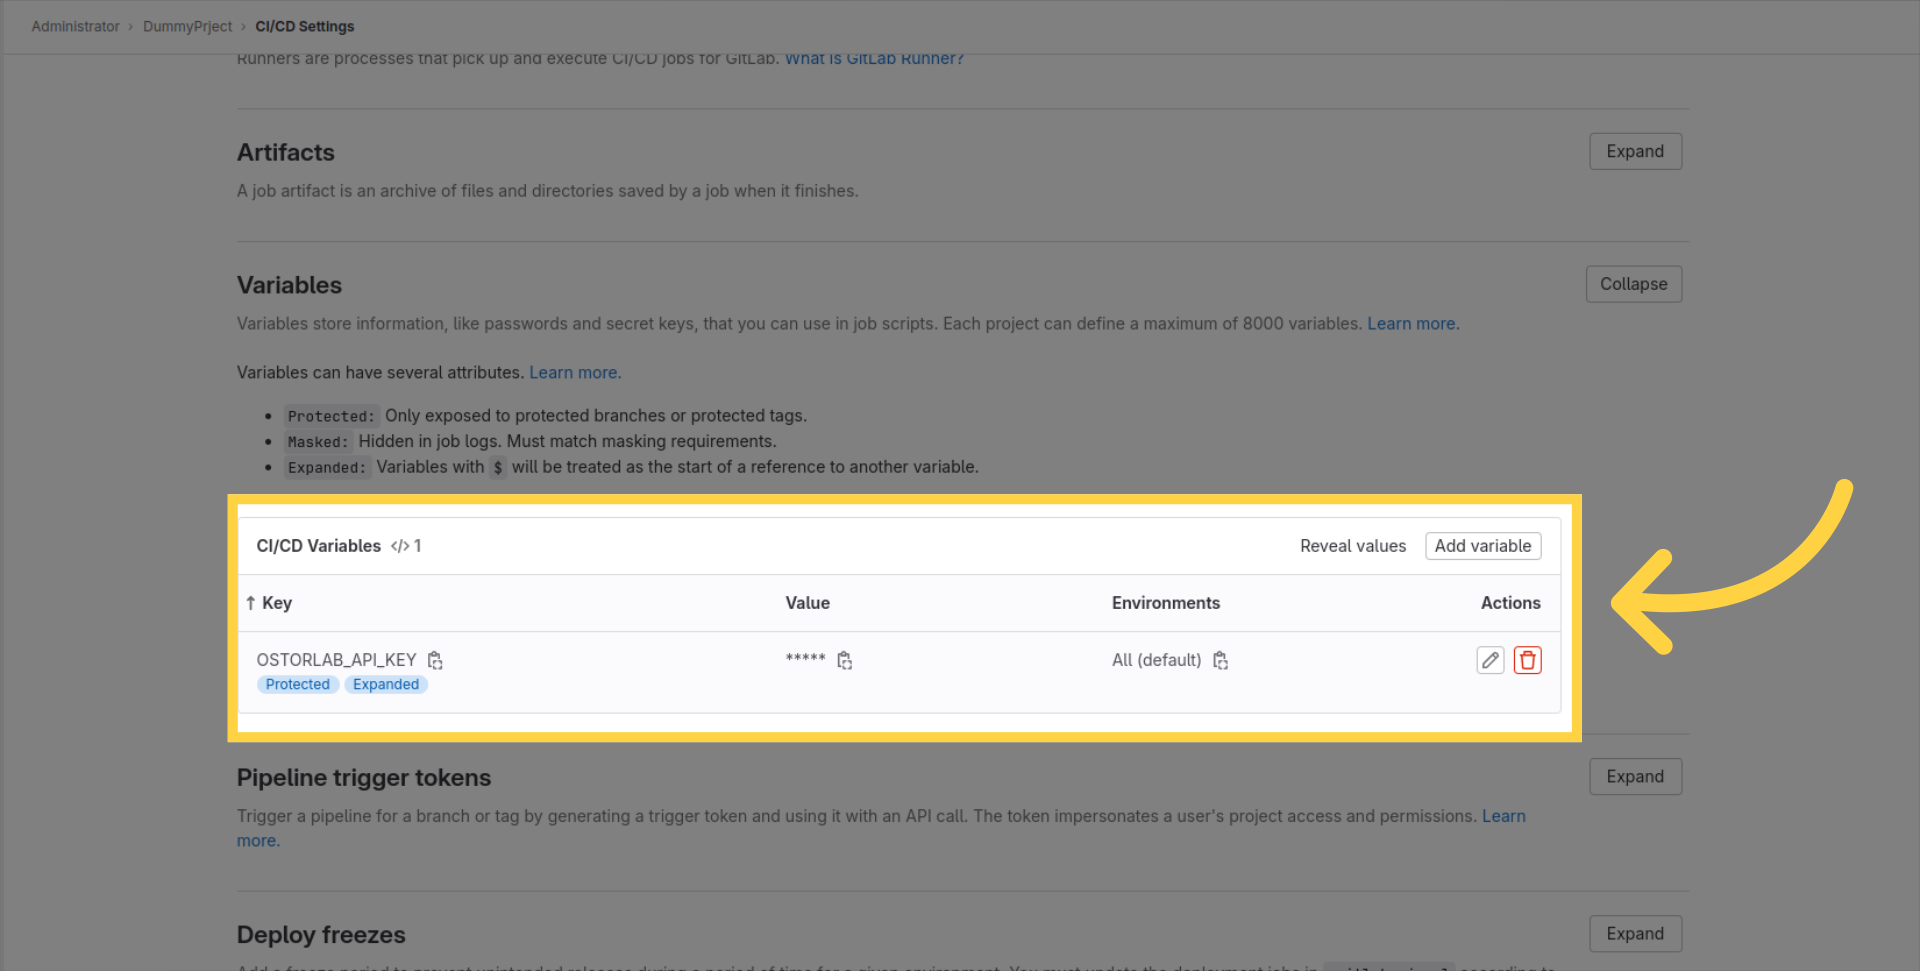
After that, you can see that the variable is added to the list of variables.
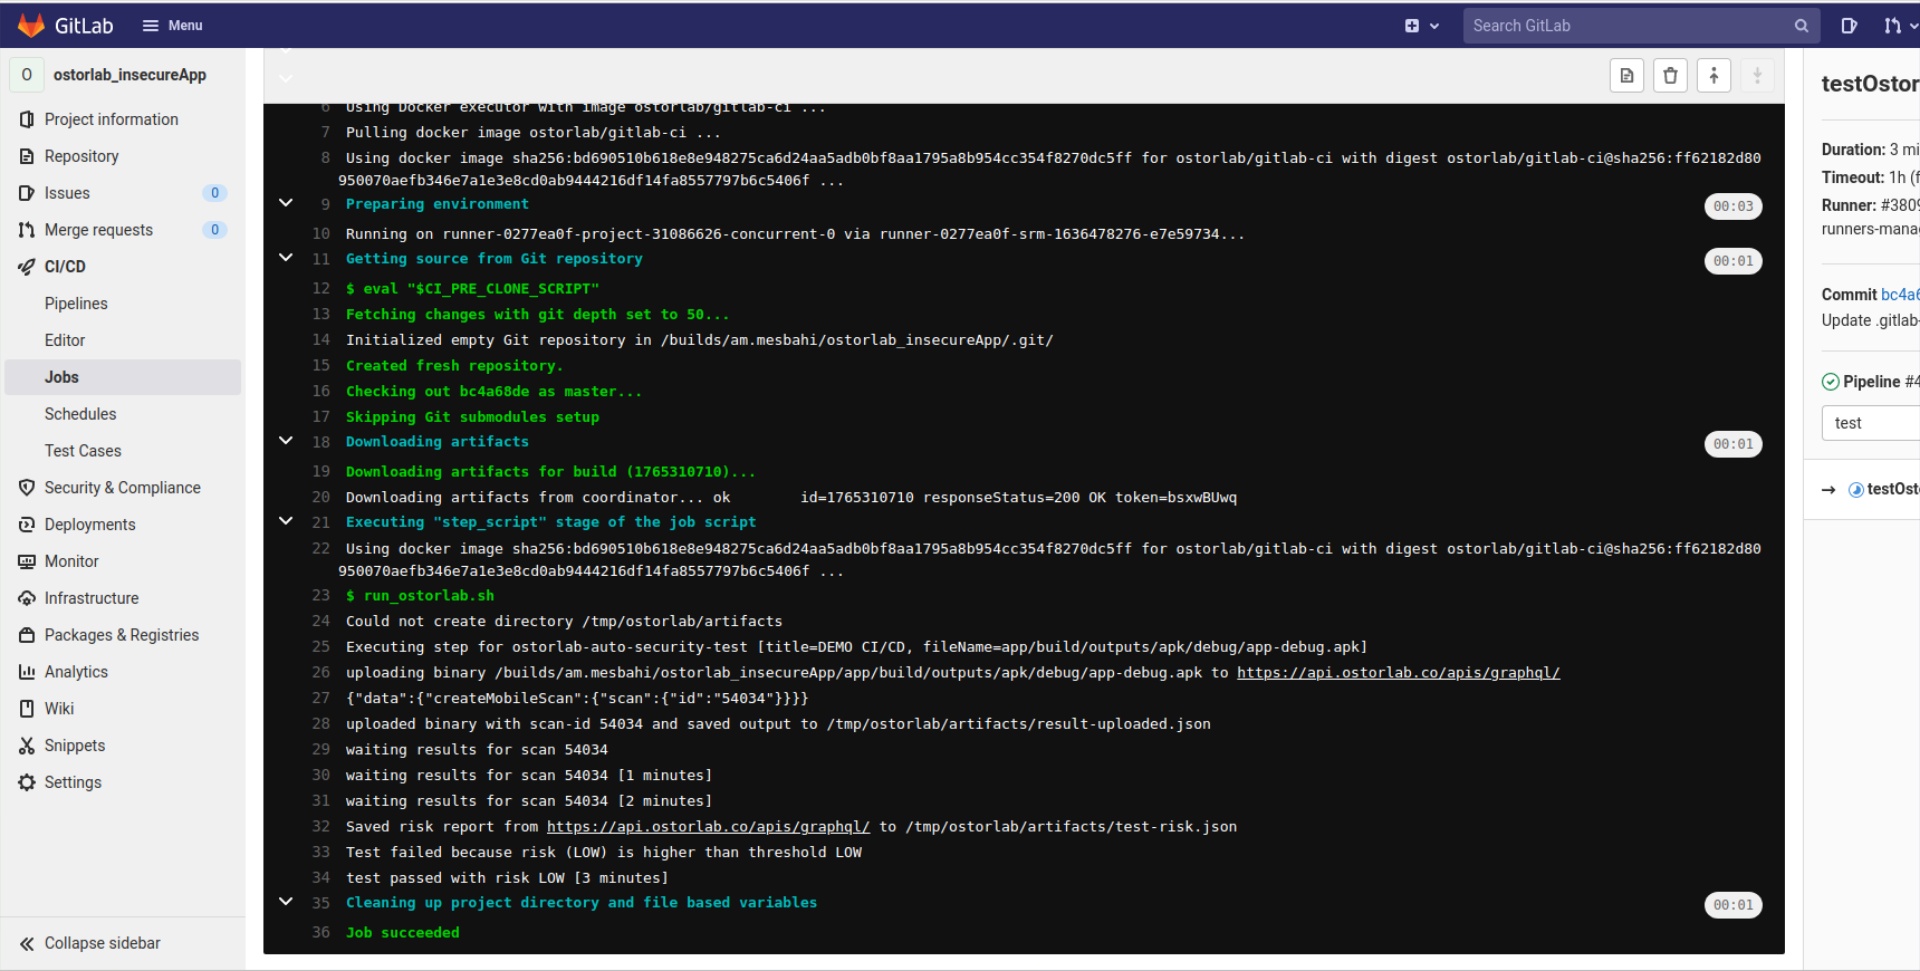
Once the job is done, if you choose to wait for the scan result and break if the risk rating is higher than the threshold, than the job might fail if its risk rating is equal or higher than the threshold. Otherwise, the job will succeed with a line indicating the scan risk rating.
This guide covered the steps required to effectively & easily Integrate Ostorlab autonomous security testing for Android and iOS mobile apps to your gitlab build process.