Creating a Scan with an SBOM or Lockfile
This guide will walk you through the process of uploading a Software Bill of Materials (SBOM) or Lock file to improve your scan's findings in the application. An SBOM is a detailed list of all the components used in an application. Performing a scan with an SBOM extends dependency detection.
Steps to Create a Scan
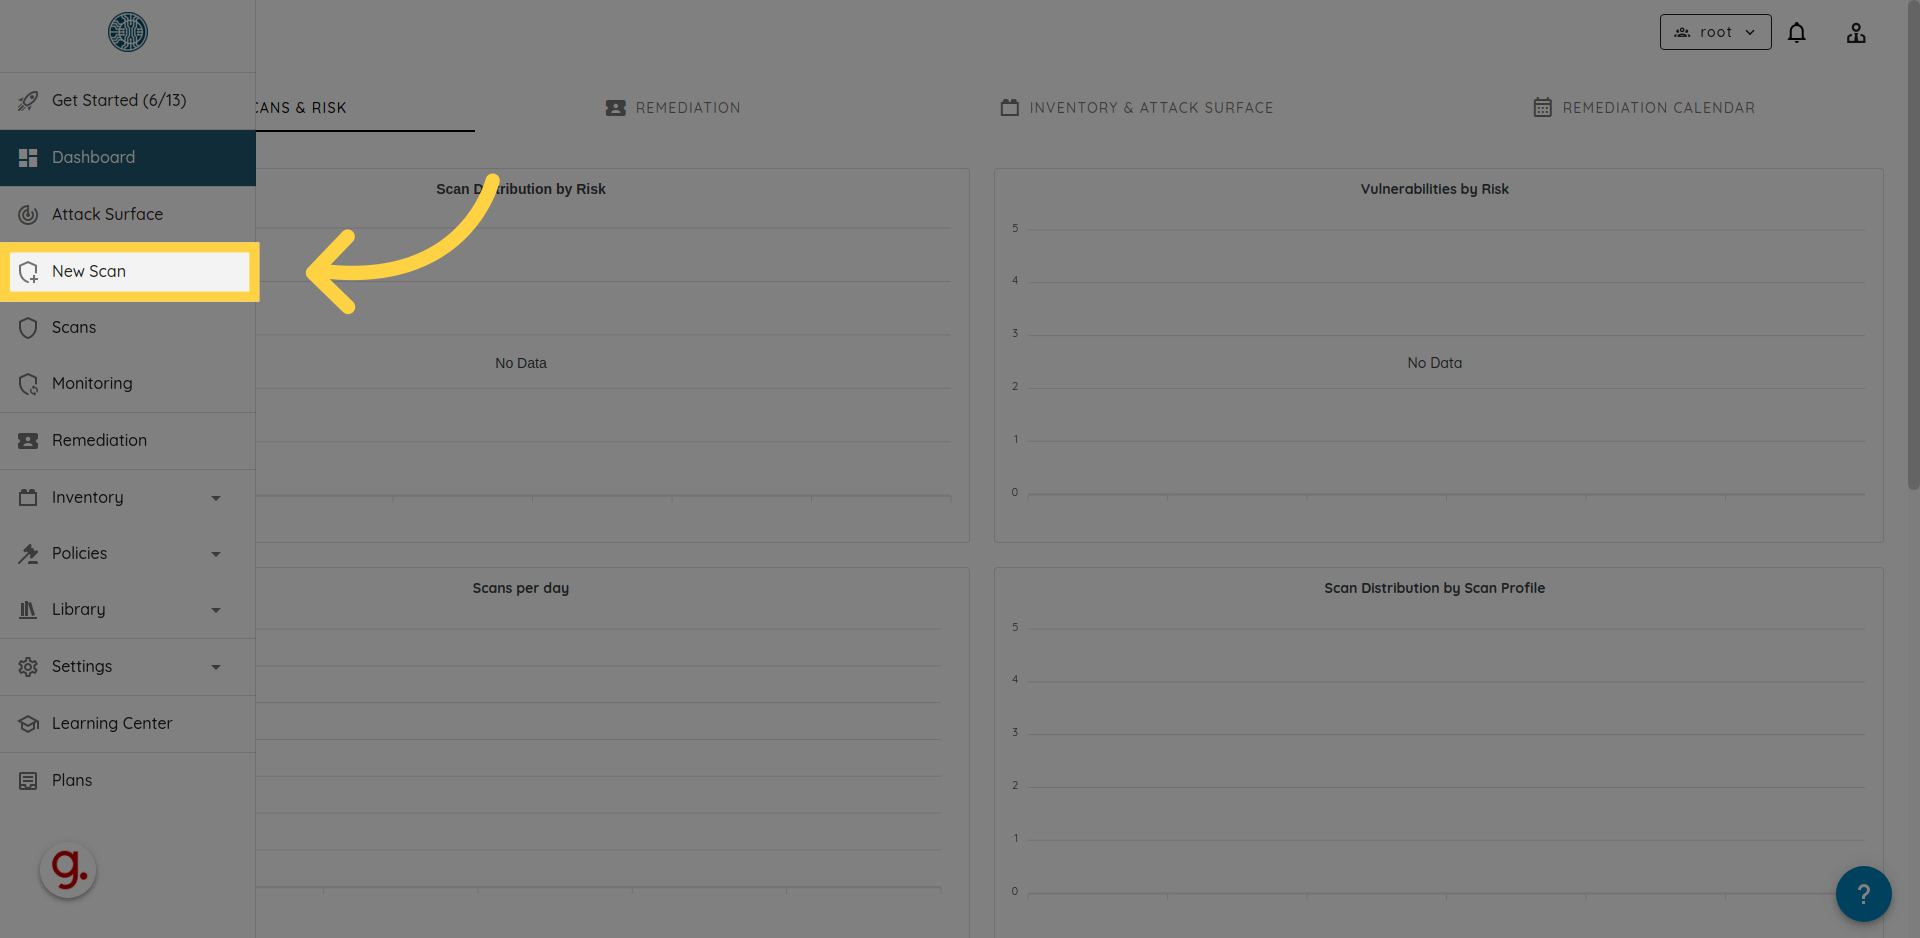
1. Click "New Scan"
Start by clicking the New Scan button in the Ostorlab dashboard.
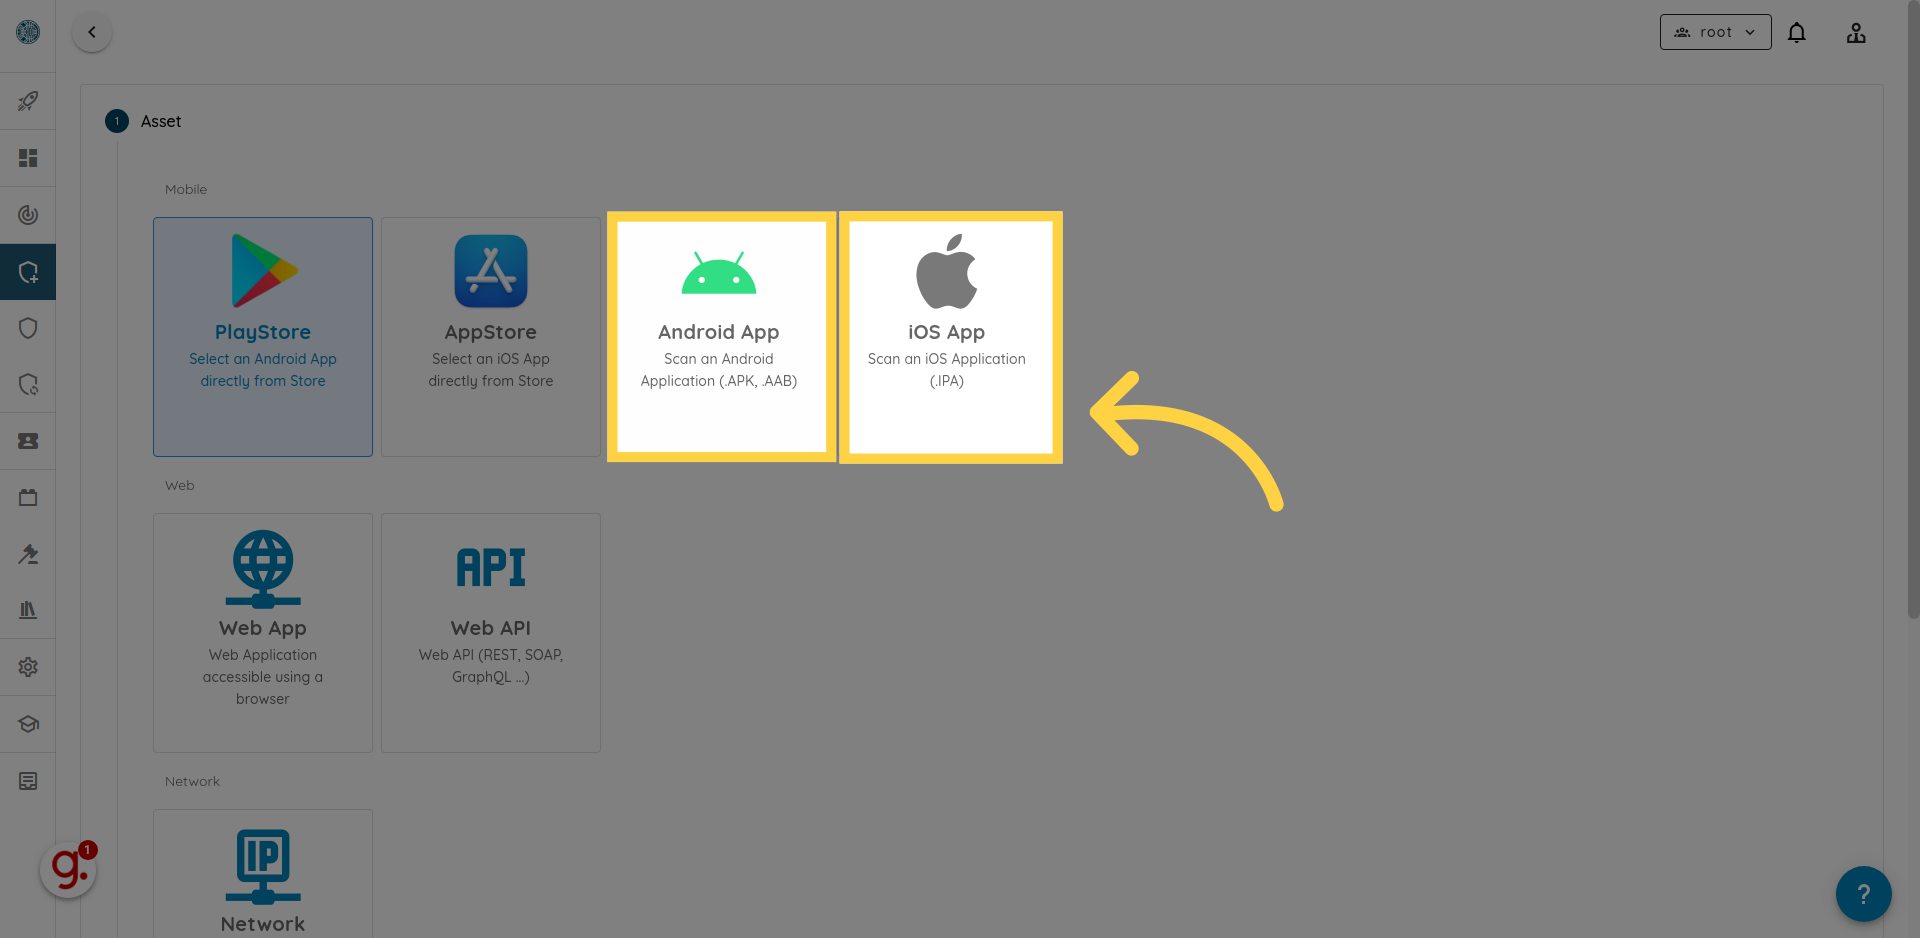
2. Select Asset Type
Choose Android App or iOS App depending on your target scan. Supported formats are .apk, .aab, and .ipa.
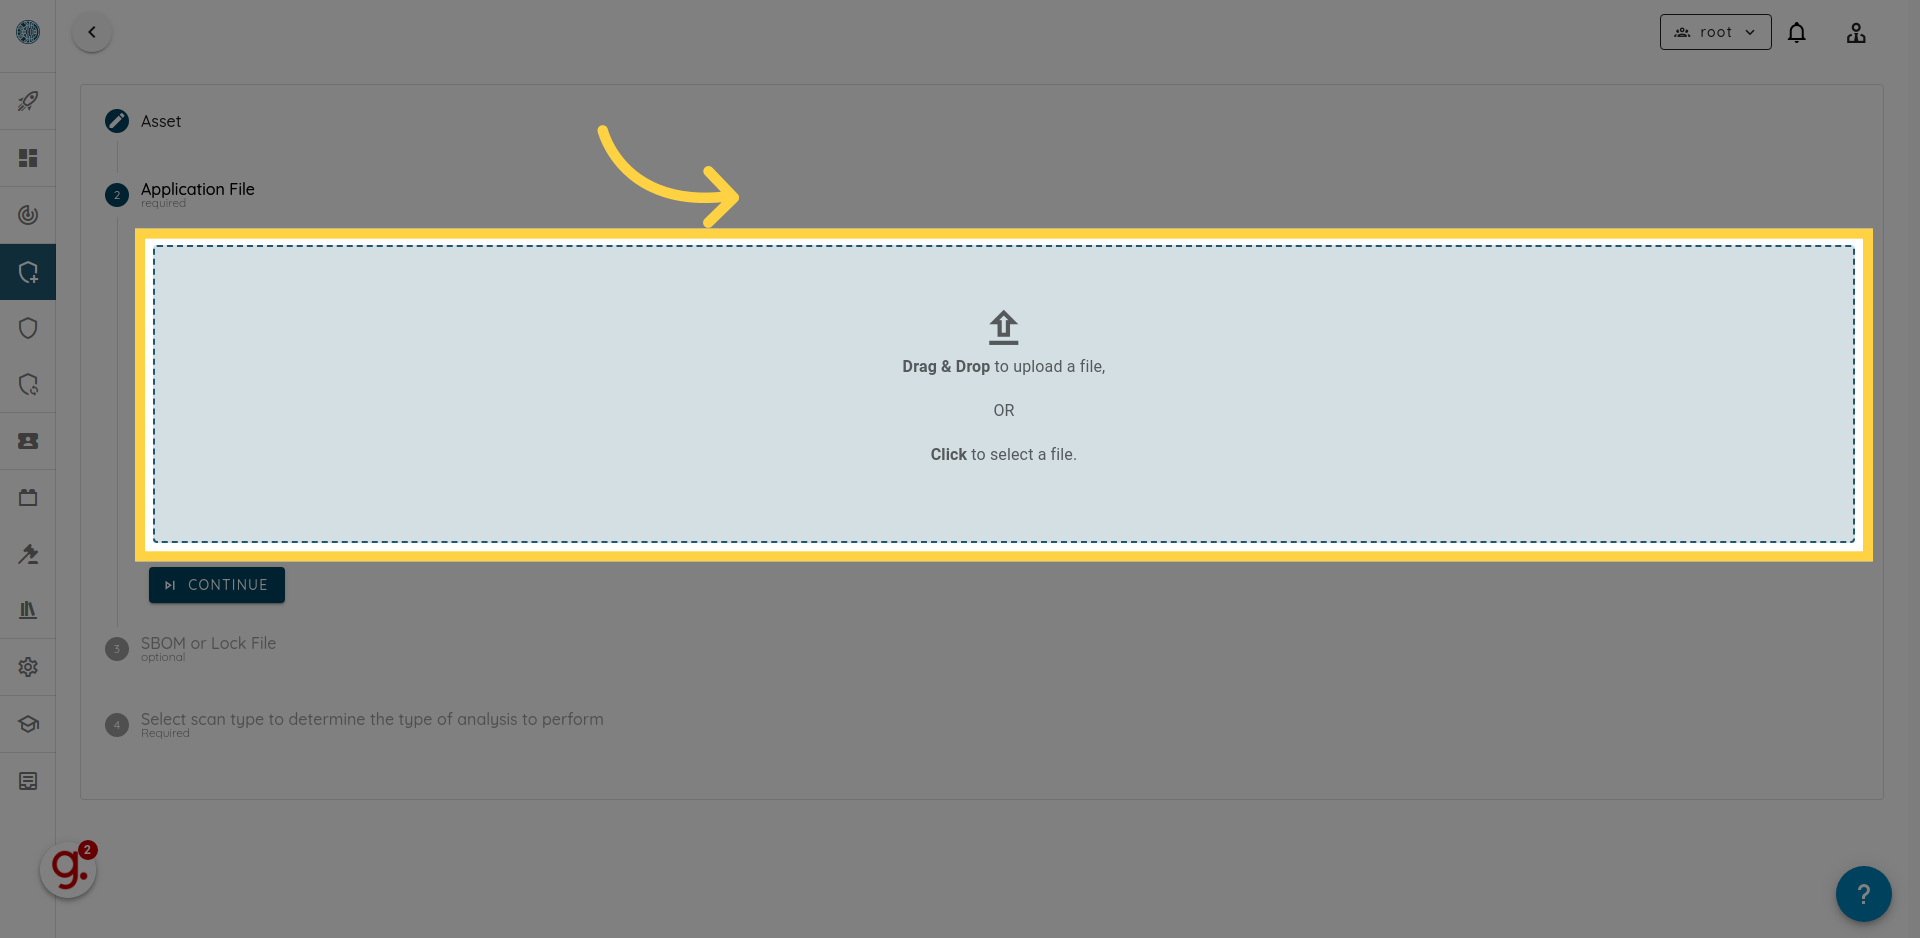
3. Upload Application File
Drag and drop the application file onto the designated area.
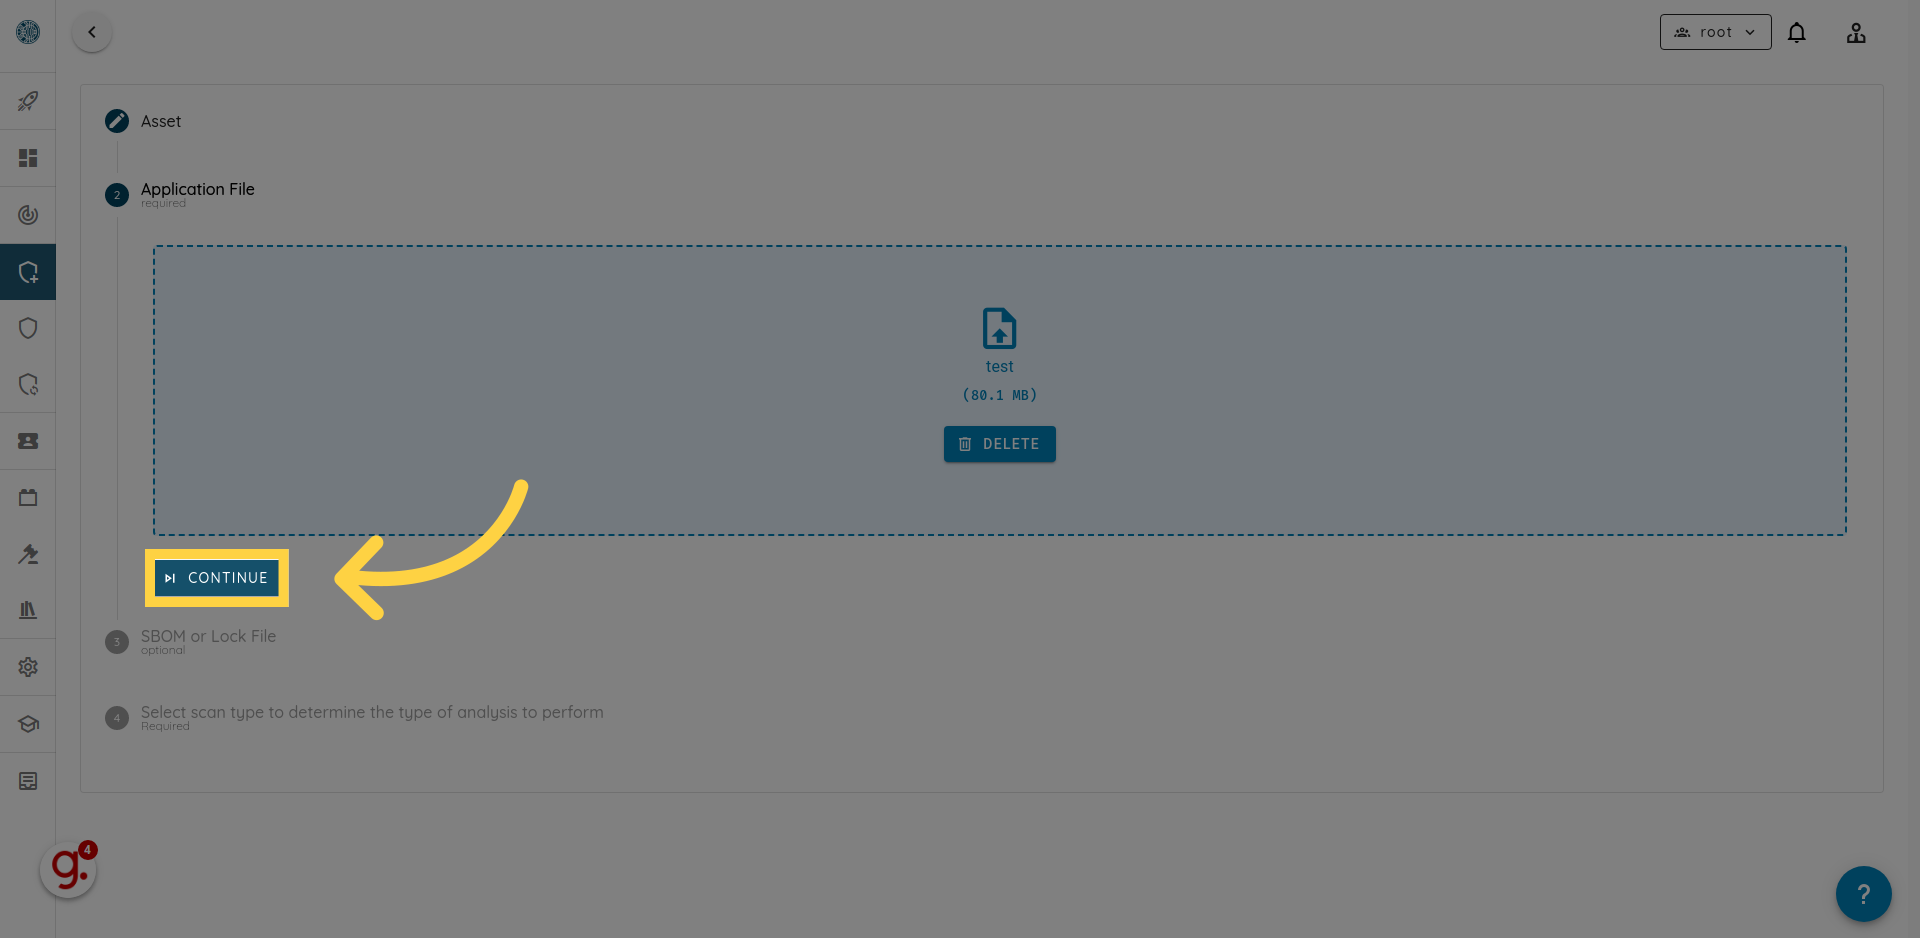
4. Click "Continue"
Proceed by clicking the Continue button.
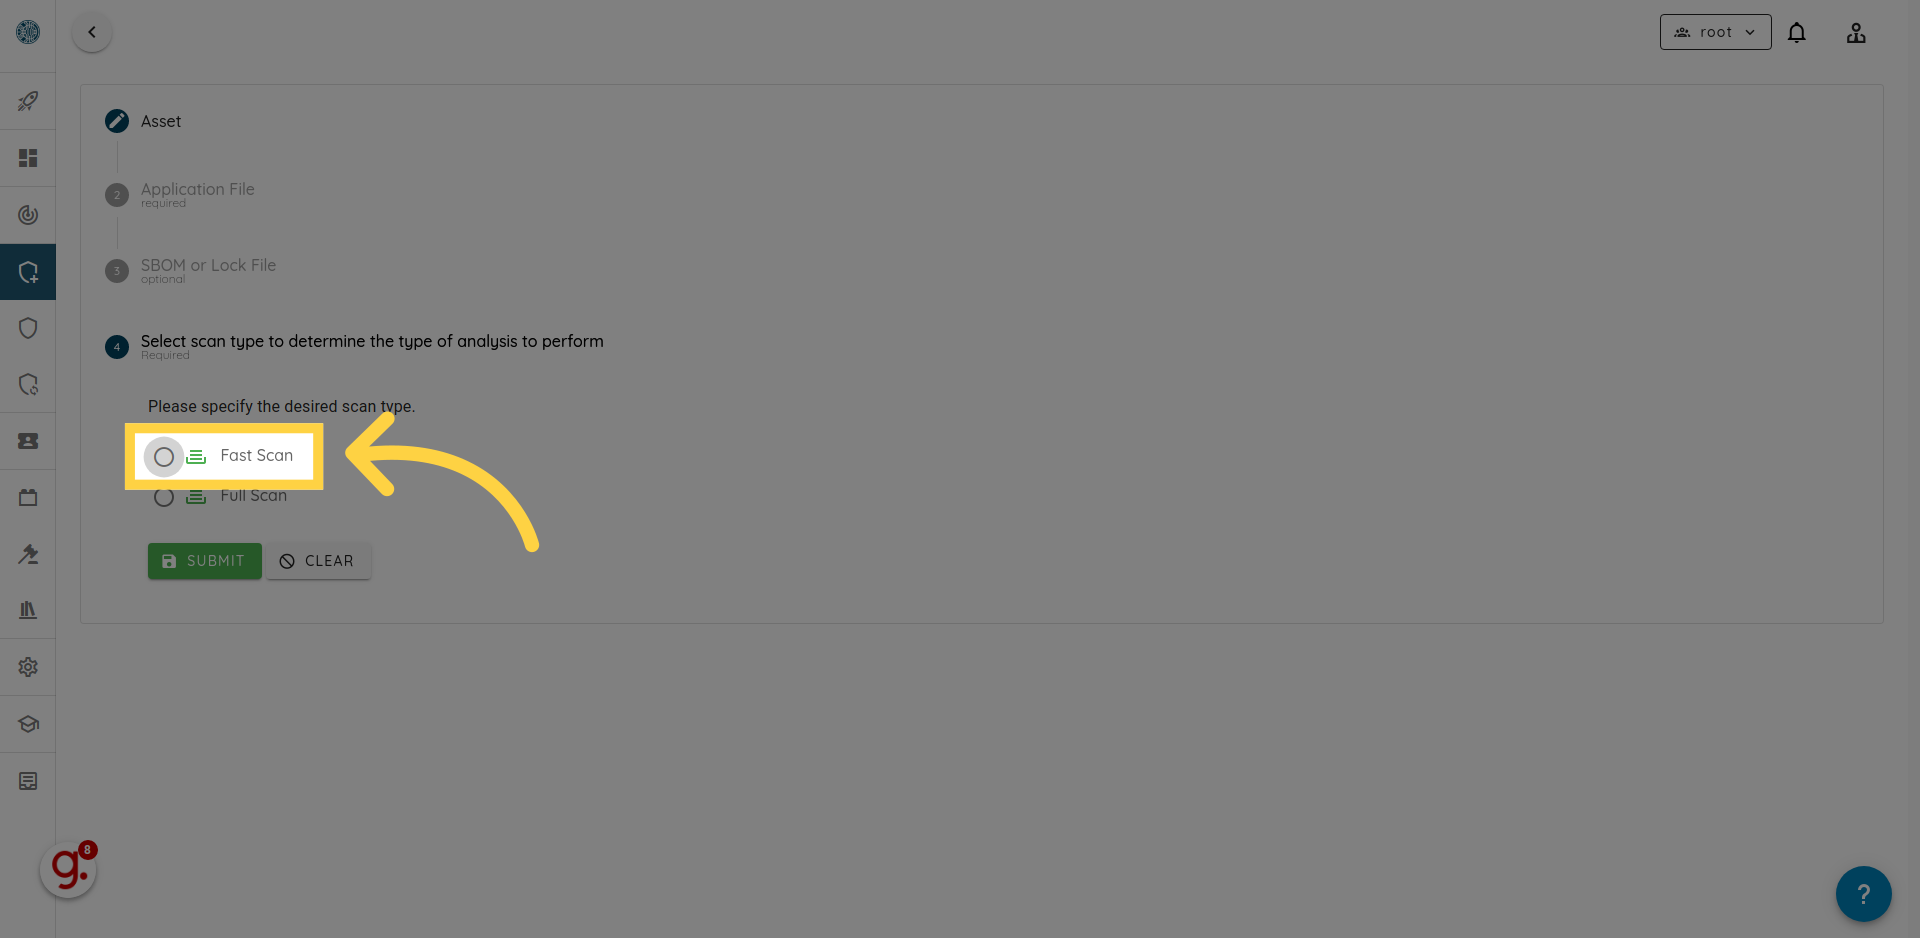
5. Select Your Scan Profile
Choose one of the scan types:
- Fast Scan: Static-only checks such as configuration issues, outdated dependencies, secrets, and vulnerable coding patterns.
- Full Scan: Static, dynamic, and backend vulnerability checks.
- Privacy Scan: Identifies privacy risks including exposed sensitive data and misconfigurations.
- Mobile Deep Agentic Scan: AI-powered penetration testing for complex logical flaws and exploit validation.
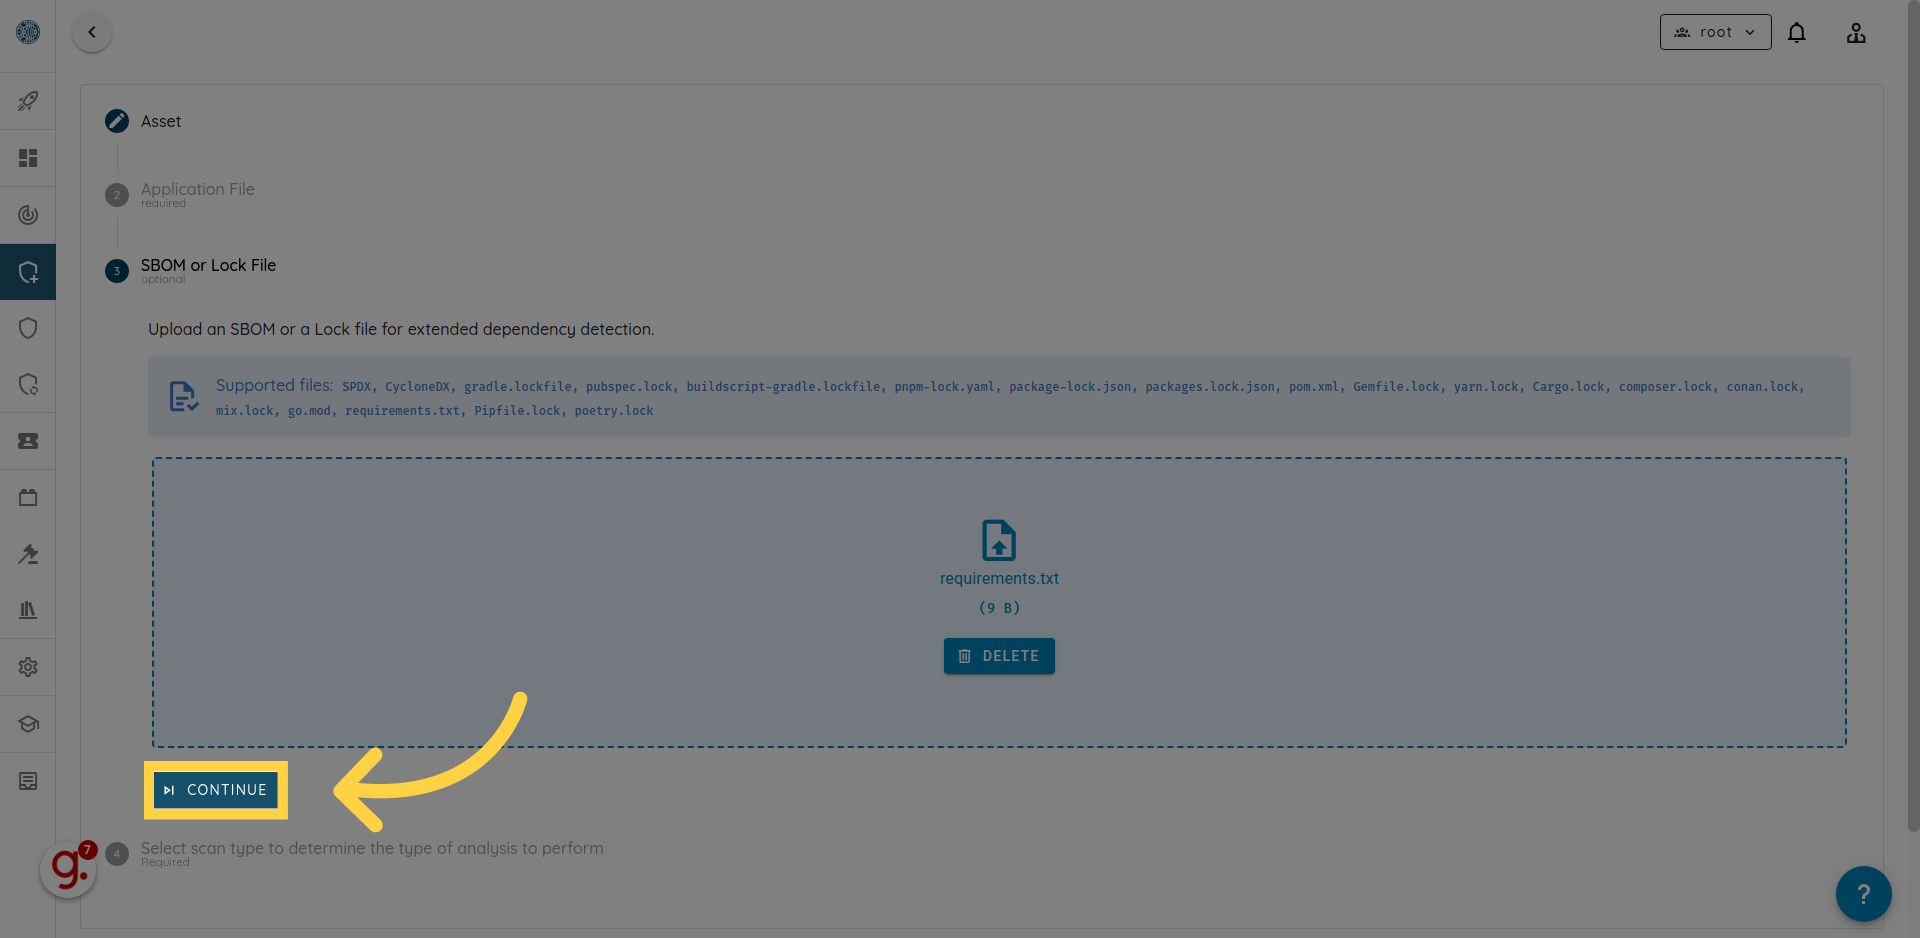
6. Upload SBOM or Lock File
Drag and drop your SBOM or lock file onto the designated upload area.

7. Click "Continue"
Proceed by clicking the Continue button.
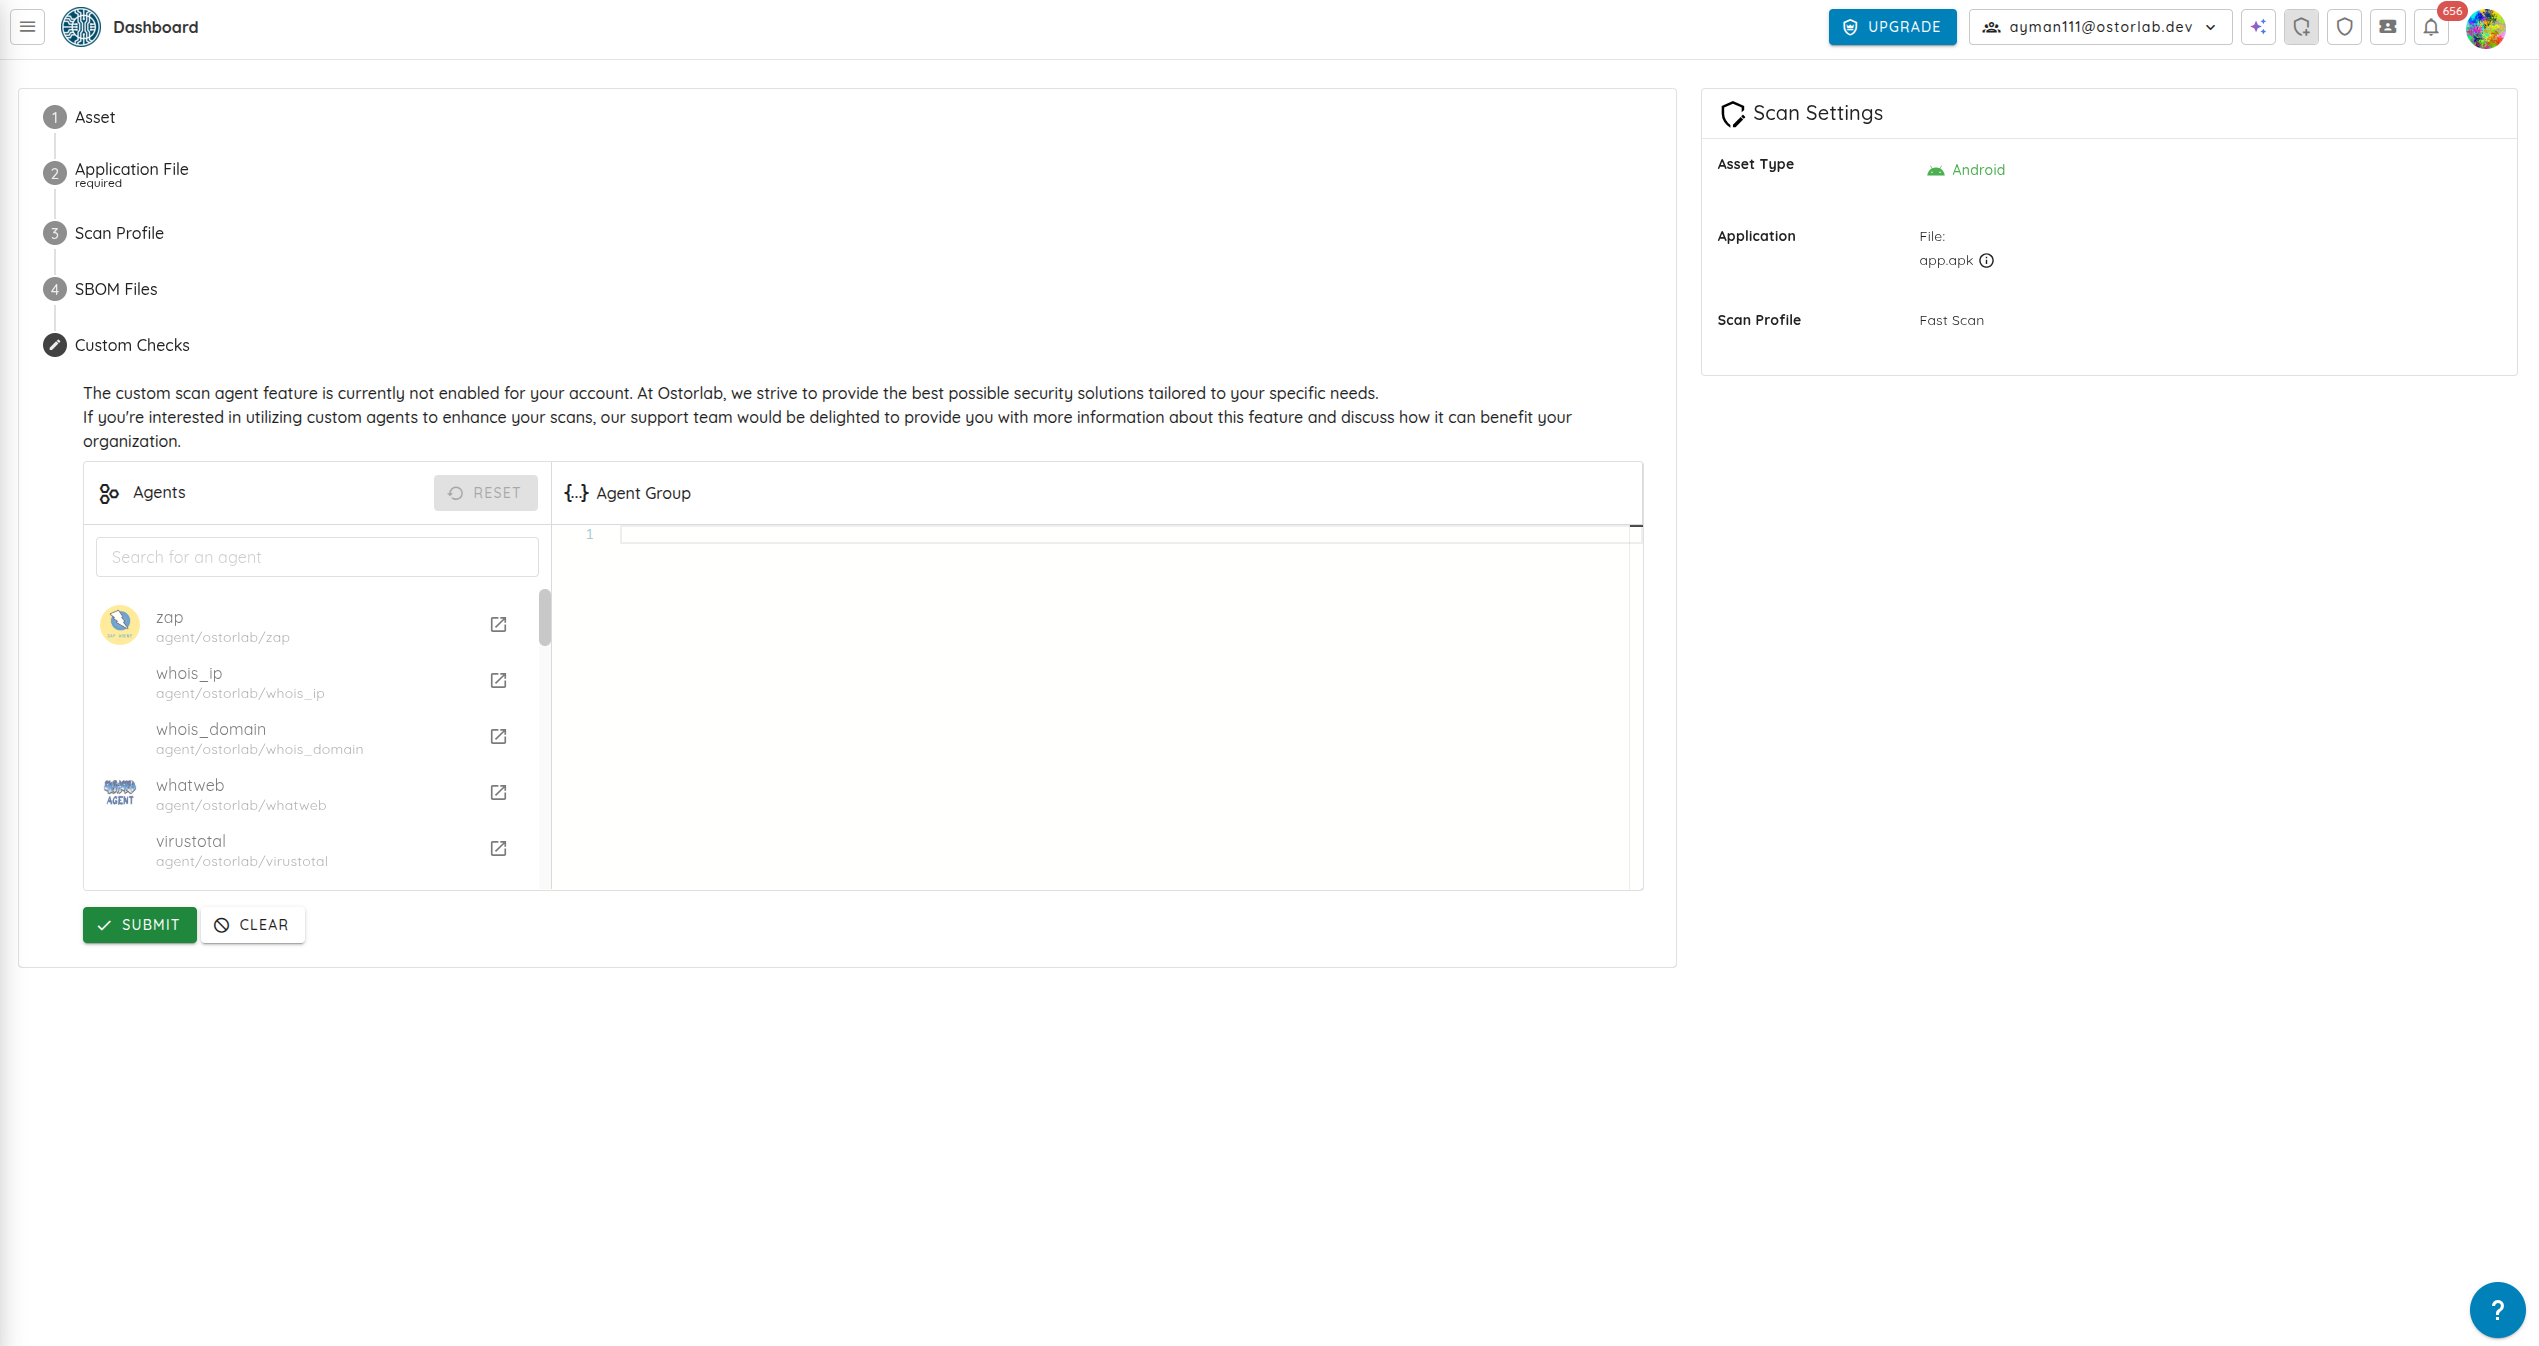
8. Custom Checks (Optional)
Note: The custom scan agent feature may not be enabled for your account. Contact support for details about enabling custom agents to enhance your scans.
In this section, you can select available agents and define an agent group for advanced scan customization.
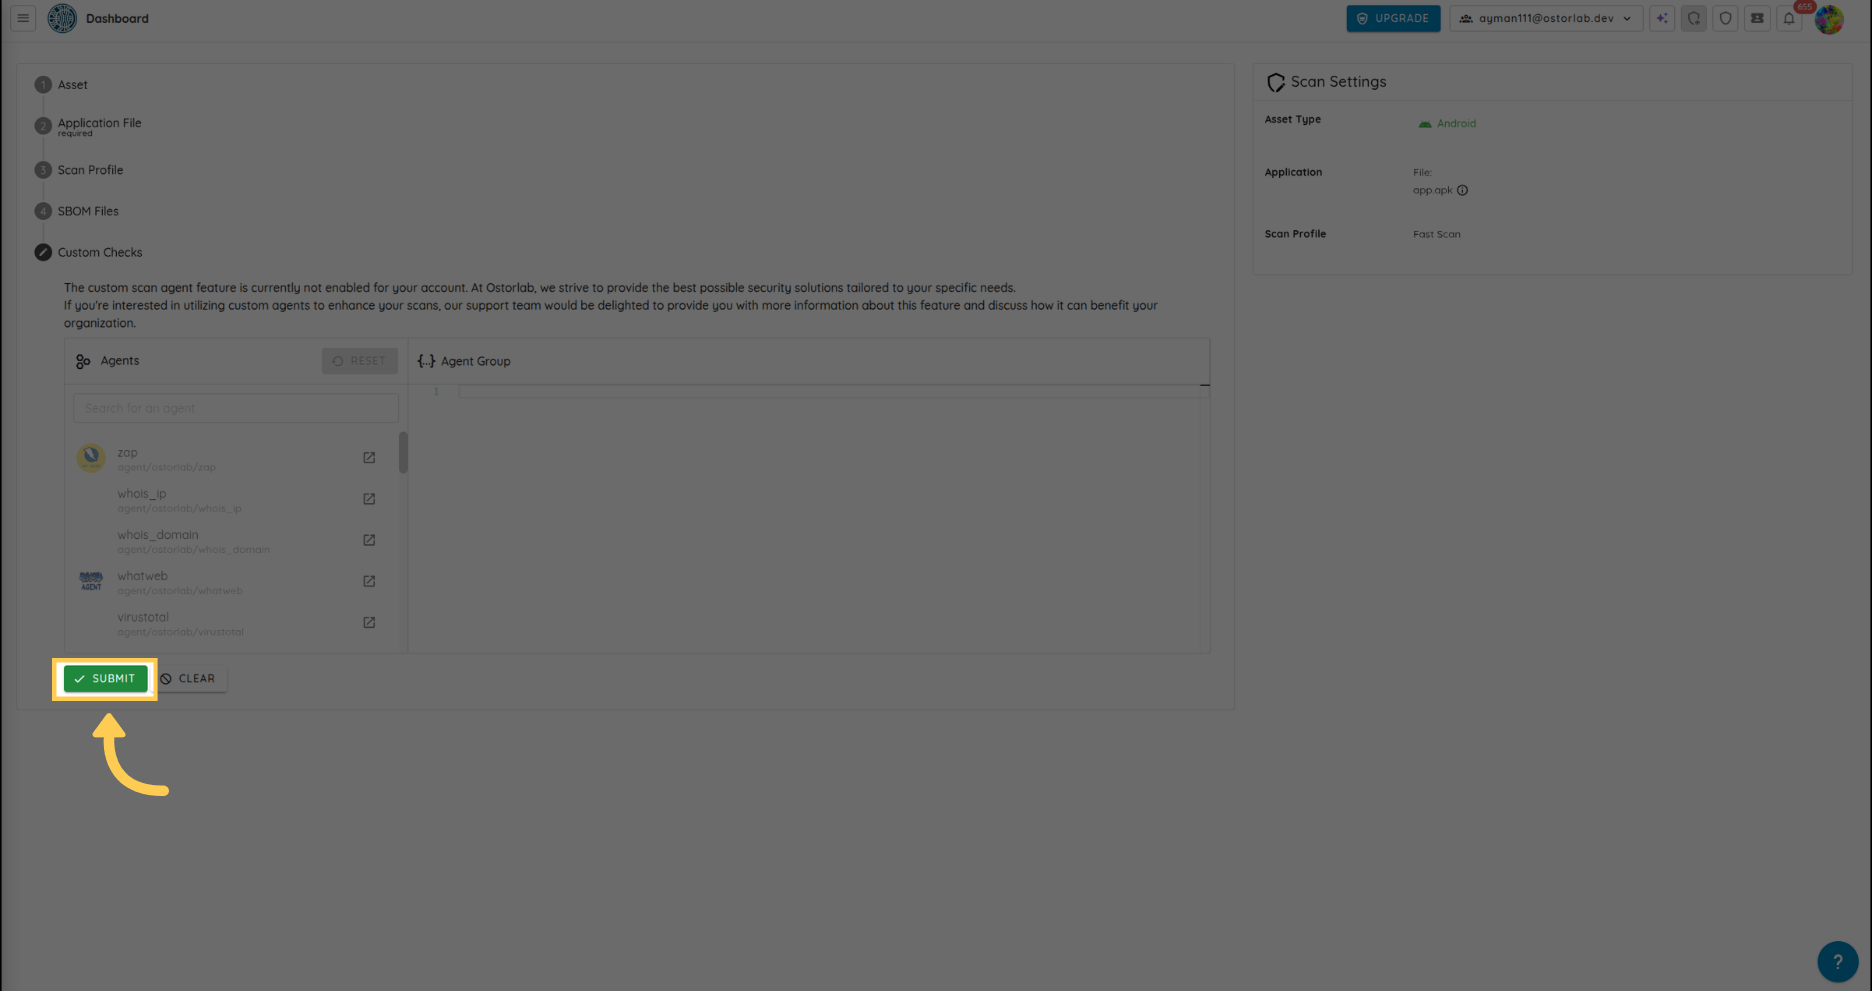
9. Submit the Scan
Click the Submit button at the bottom of the Custom Checks section.
Fast scans usually complete in under an hour. Access your scan results from the scans menu.
10. Generate a gradle lockfile for Android
Check your project for a gradle.lockfile file. If it does not exist, follow these steps to generate one.
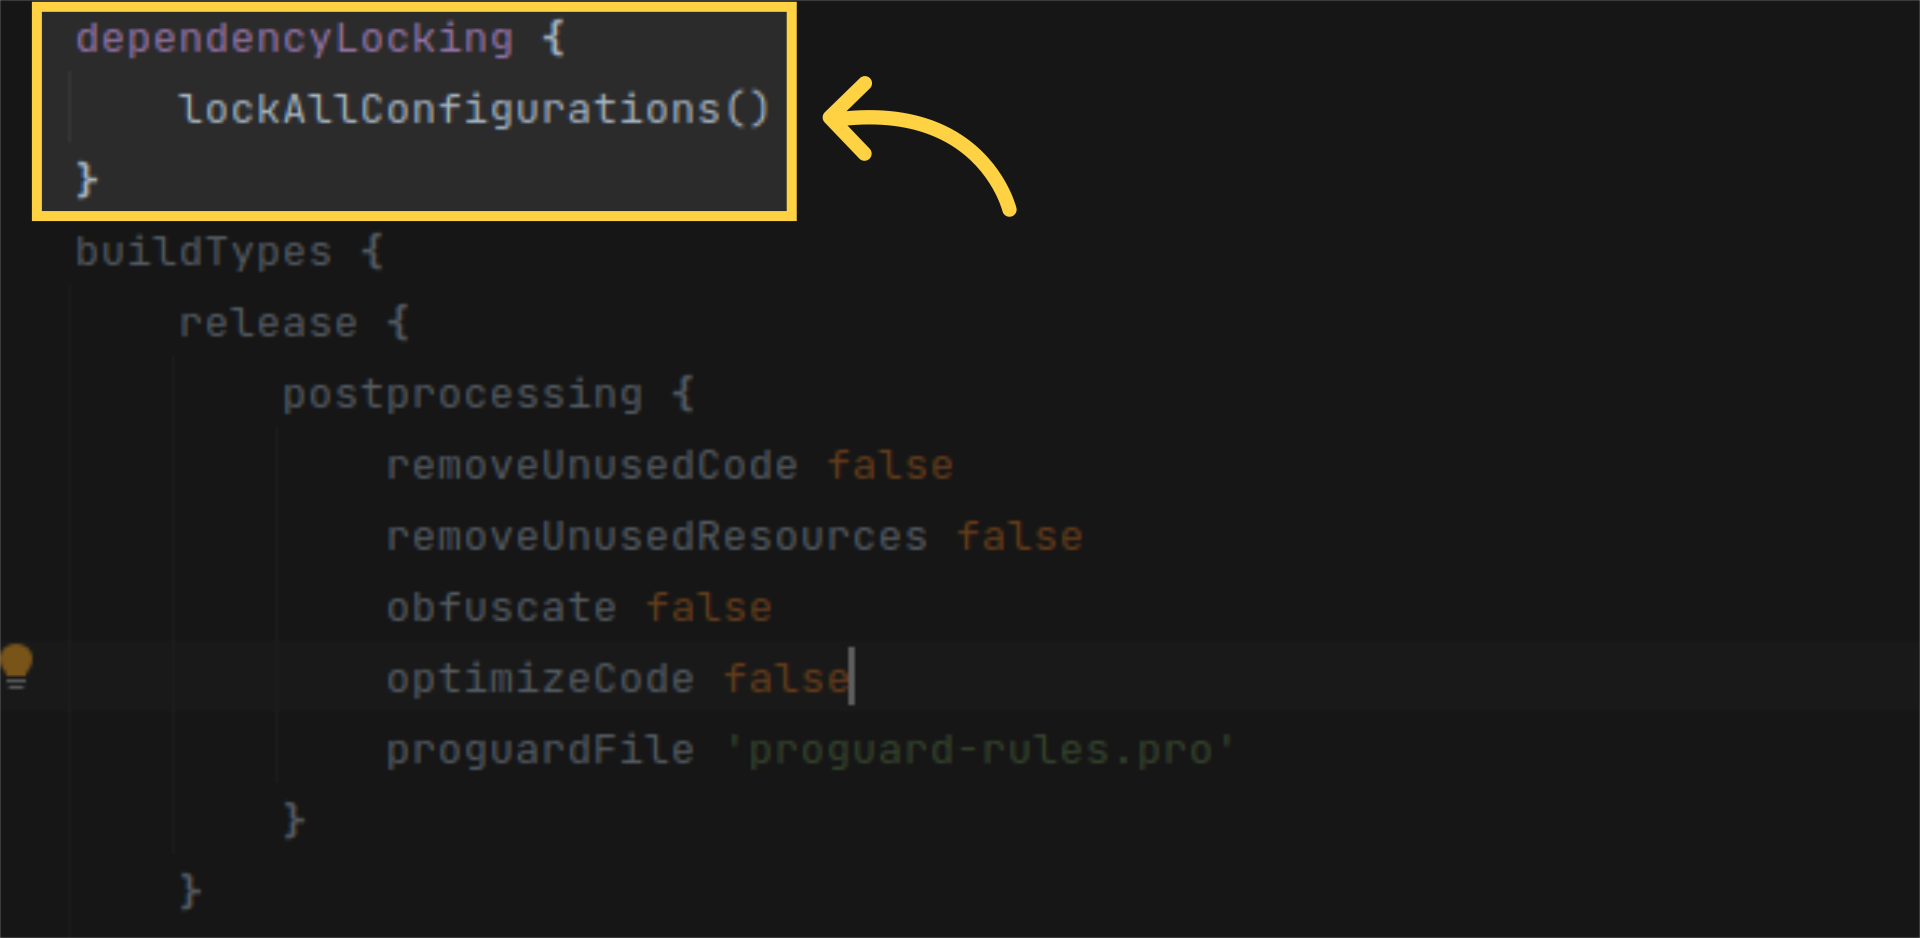
- Add the following to your
build.gradle.ktsorbuild.gradlefile:dependencyLocking { lockAllConfigurations() }
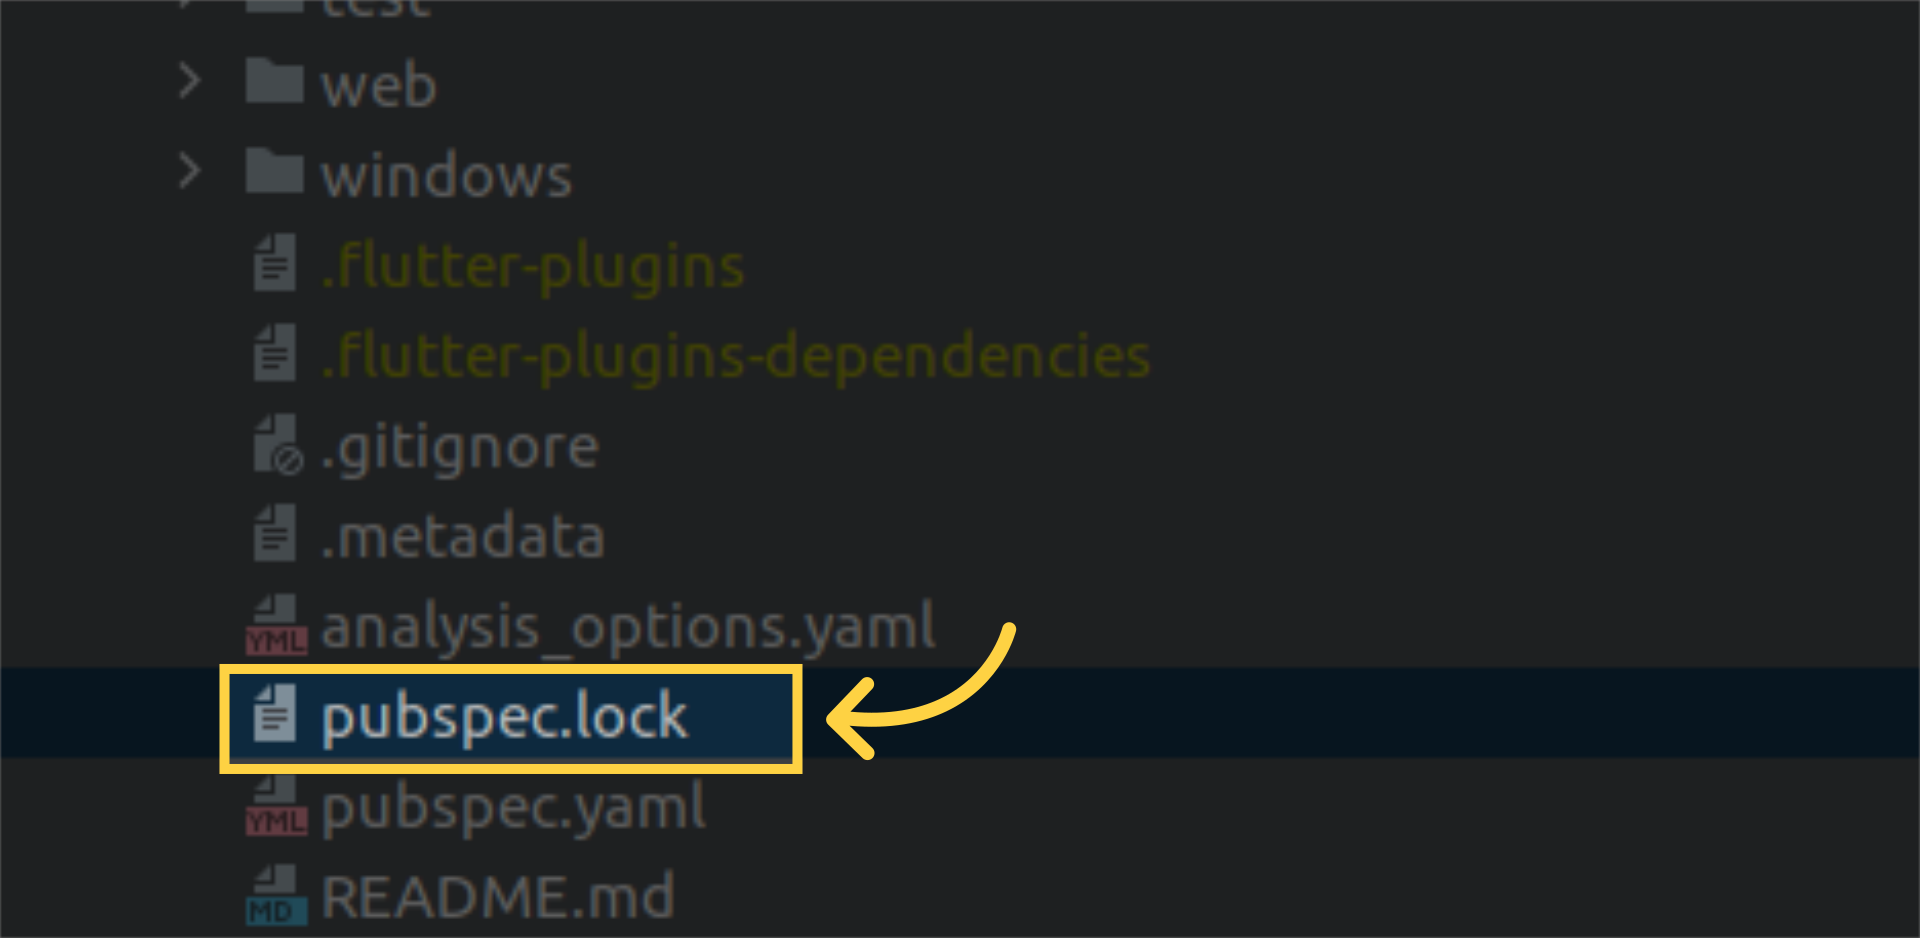
11. Generate the Flutter lock file
Check your project for a pubspec.lock file. If it does not exist, you can generate one by running flutter pub get.
12. Generate an SBOM for Android, iOS or Flutter
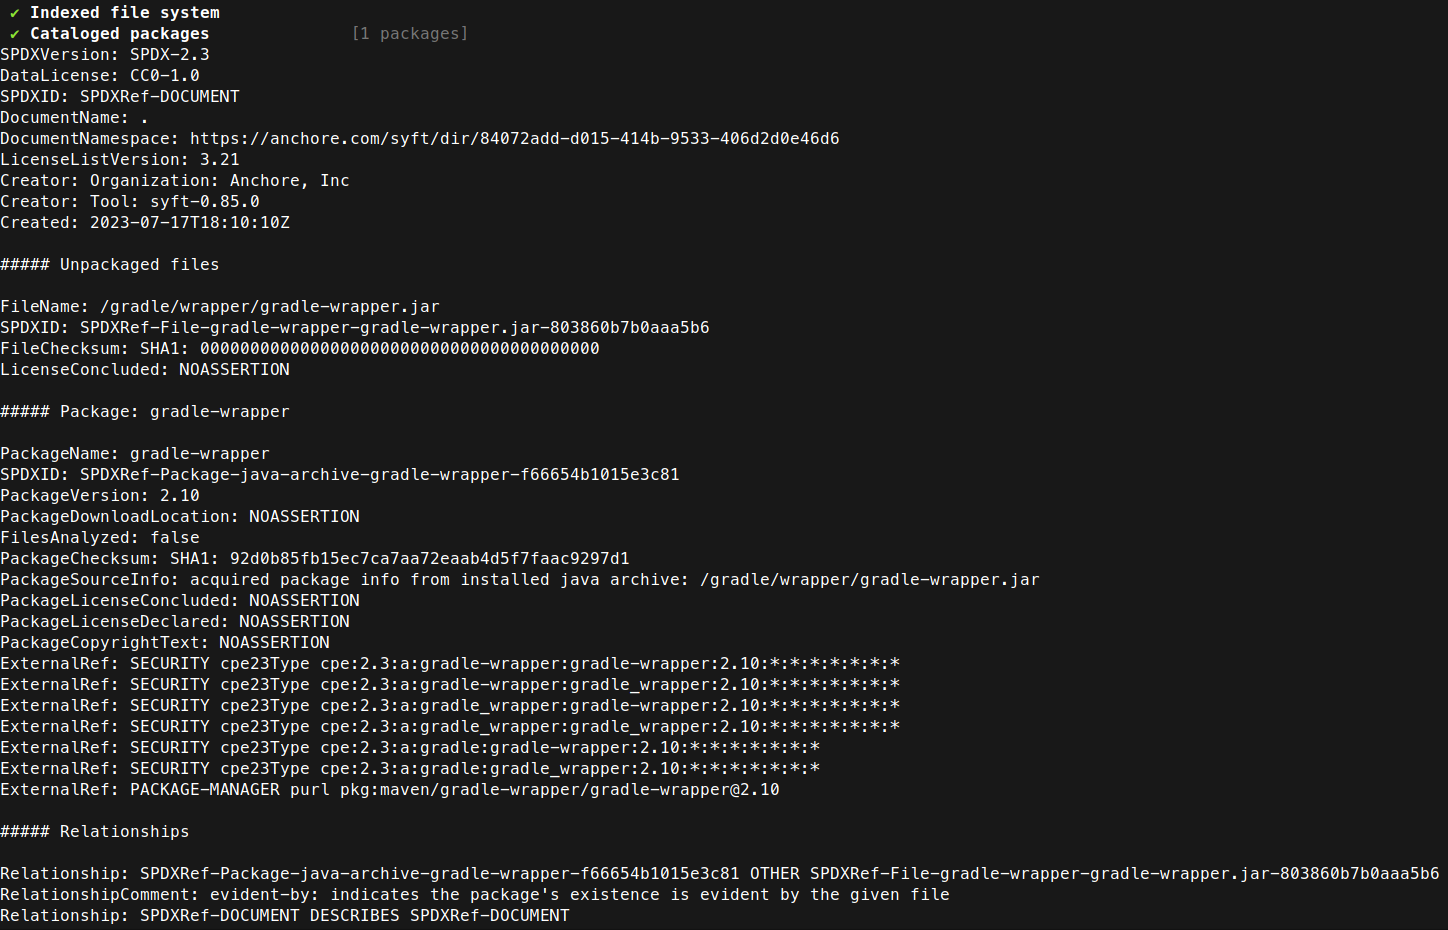
Numerous SBOM generation tools are available that simplify the process of listing all the components of an application. We're going to use Syft to generate an SBOM for our Android, iOS or Flutter application.
In the root of your project, type syft . -o {file_format}, e.g:
syft . -o spdx
Supported SBOM/Lock files
SPDXCycloneDXgradle.lockfilepubspec.lockbuildscript-gradle.lockfilepnpm-lock.yamlpackage-lock.jsonpackages.lock.jsonpom.xmlGemfile.lockyarn.lockCargo.lockcomposer.lockconan.lockmix.lockgo.modrequirements.txtPipfile.lockpoetry.lock