UI Prompts
UI prompts are a powerful feature that allows you to use natural language to tell the Monkey Tester how to navigate the app. The AI Monkey Tester leverages generative models to reason about test scenarios, allowing it to handle complex multistep actions such as account creation, item purchasing, and questionnaire completion.
Some of the benefits of the UI Prompts are:
- Intuitive Test Creation: Testers can express their intentions naturally, without requiring deep technical knowledge.
- Semantic Understanding: The AI system comprehends the intent behind test descriptions, enabling it to adapt to UI changes while maintaining the core testing objective.
- Reduced Technical Barrier: Teams can involve domain experts who understand the application's business logic but may lack programming expertise in the testing process.
This guide will walk you through the process of running a scan using the UI prompts.
Creating a UI Prompt
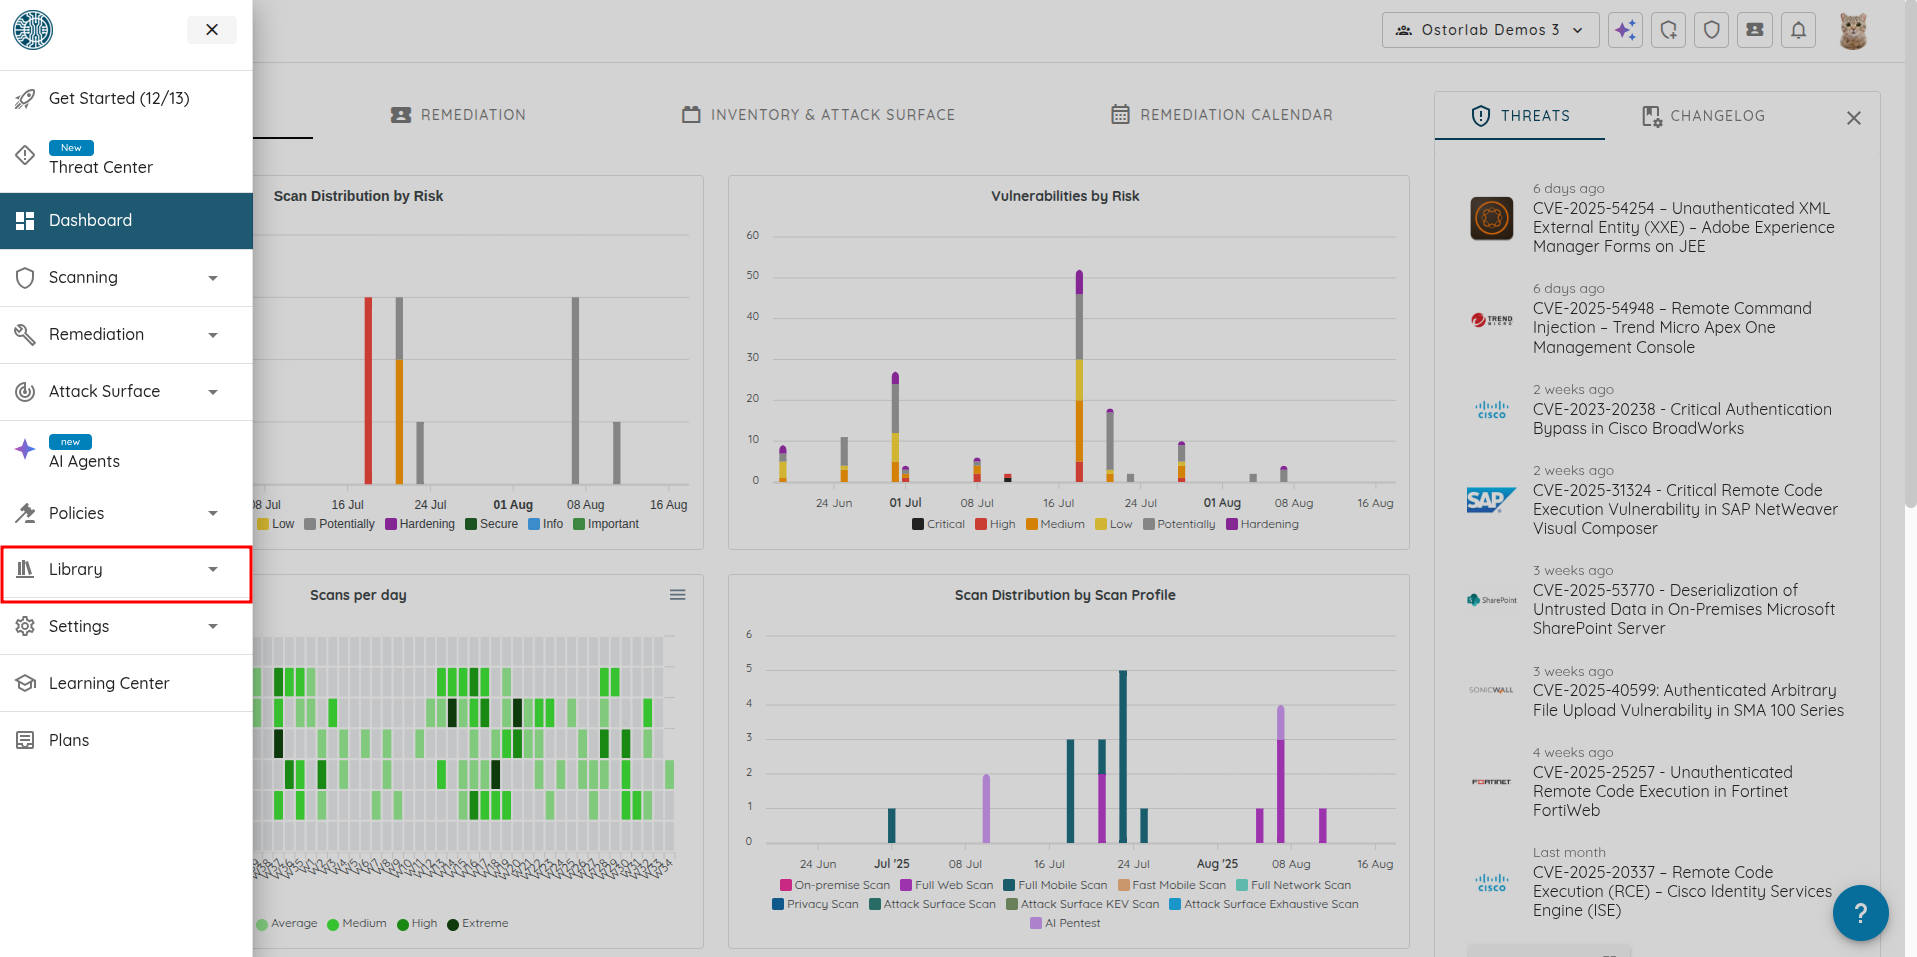
1. Click on the hamburger icon on the left.
![]()
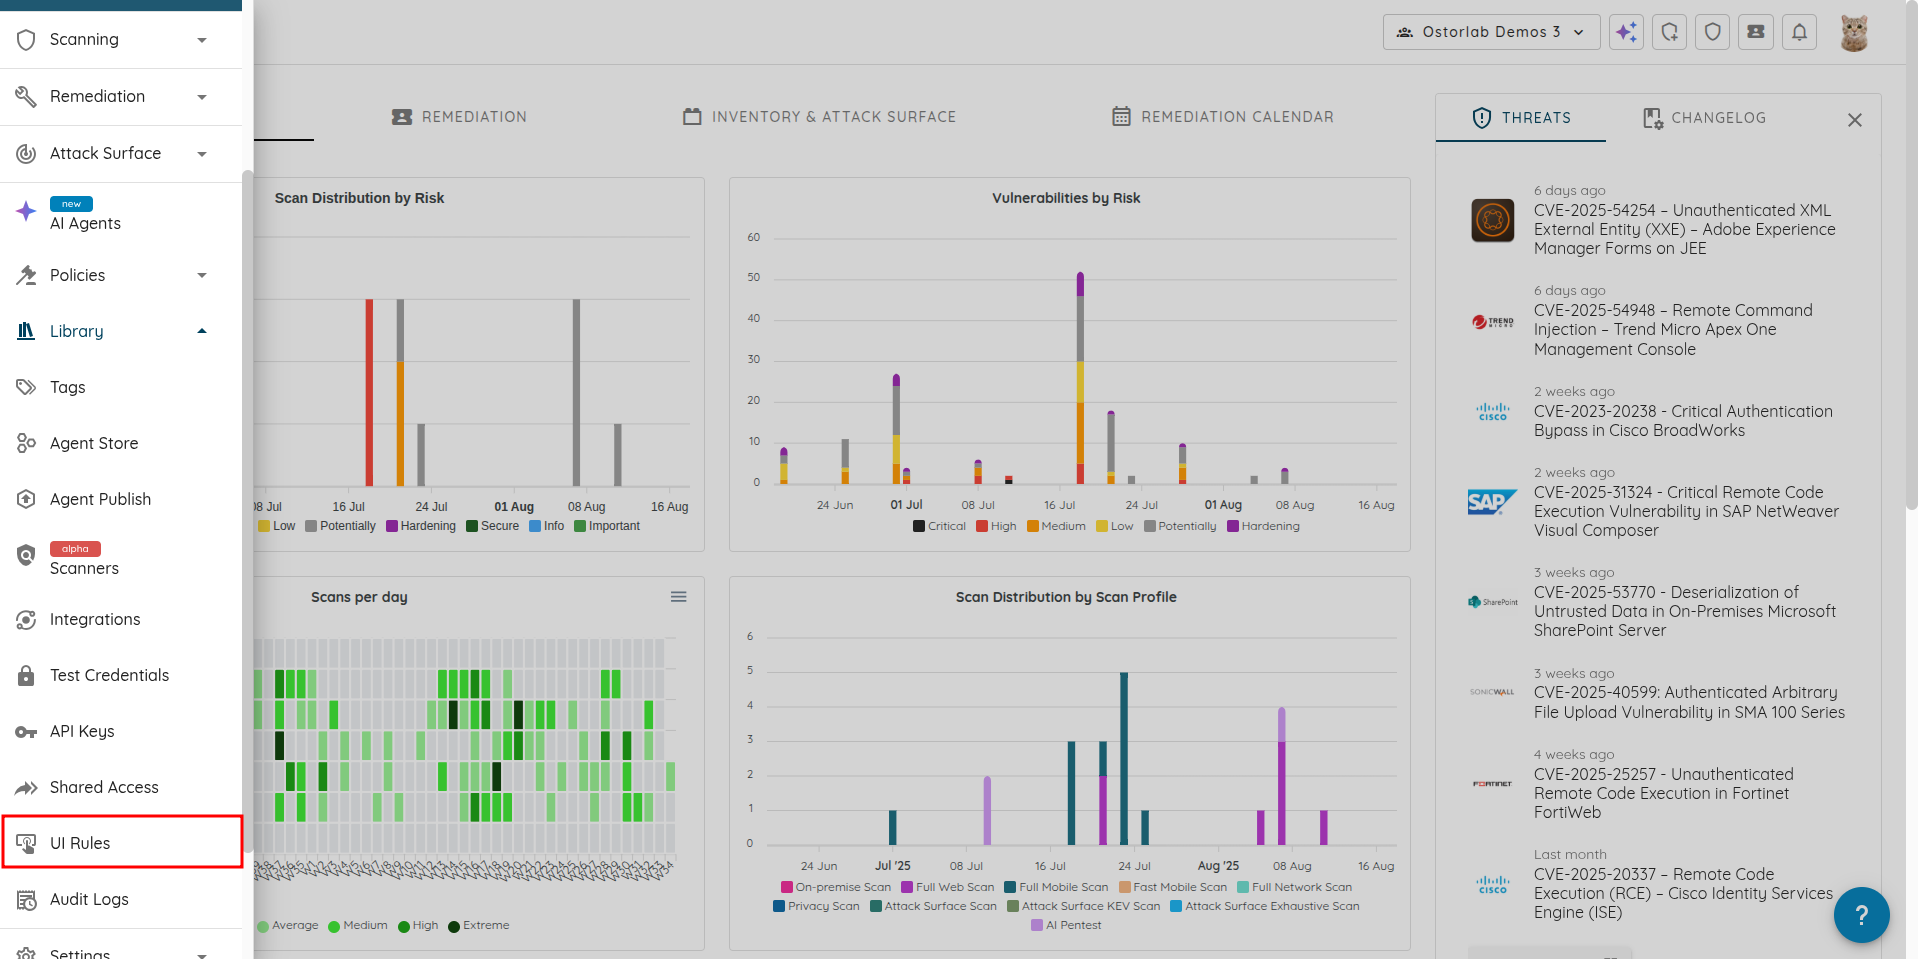
2. Click on "Policies".
3. Navigate to the "UI Rules" page.
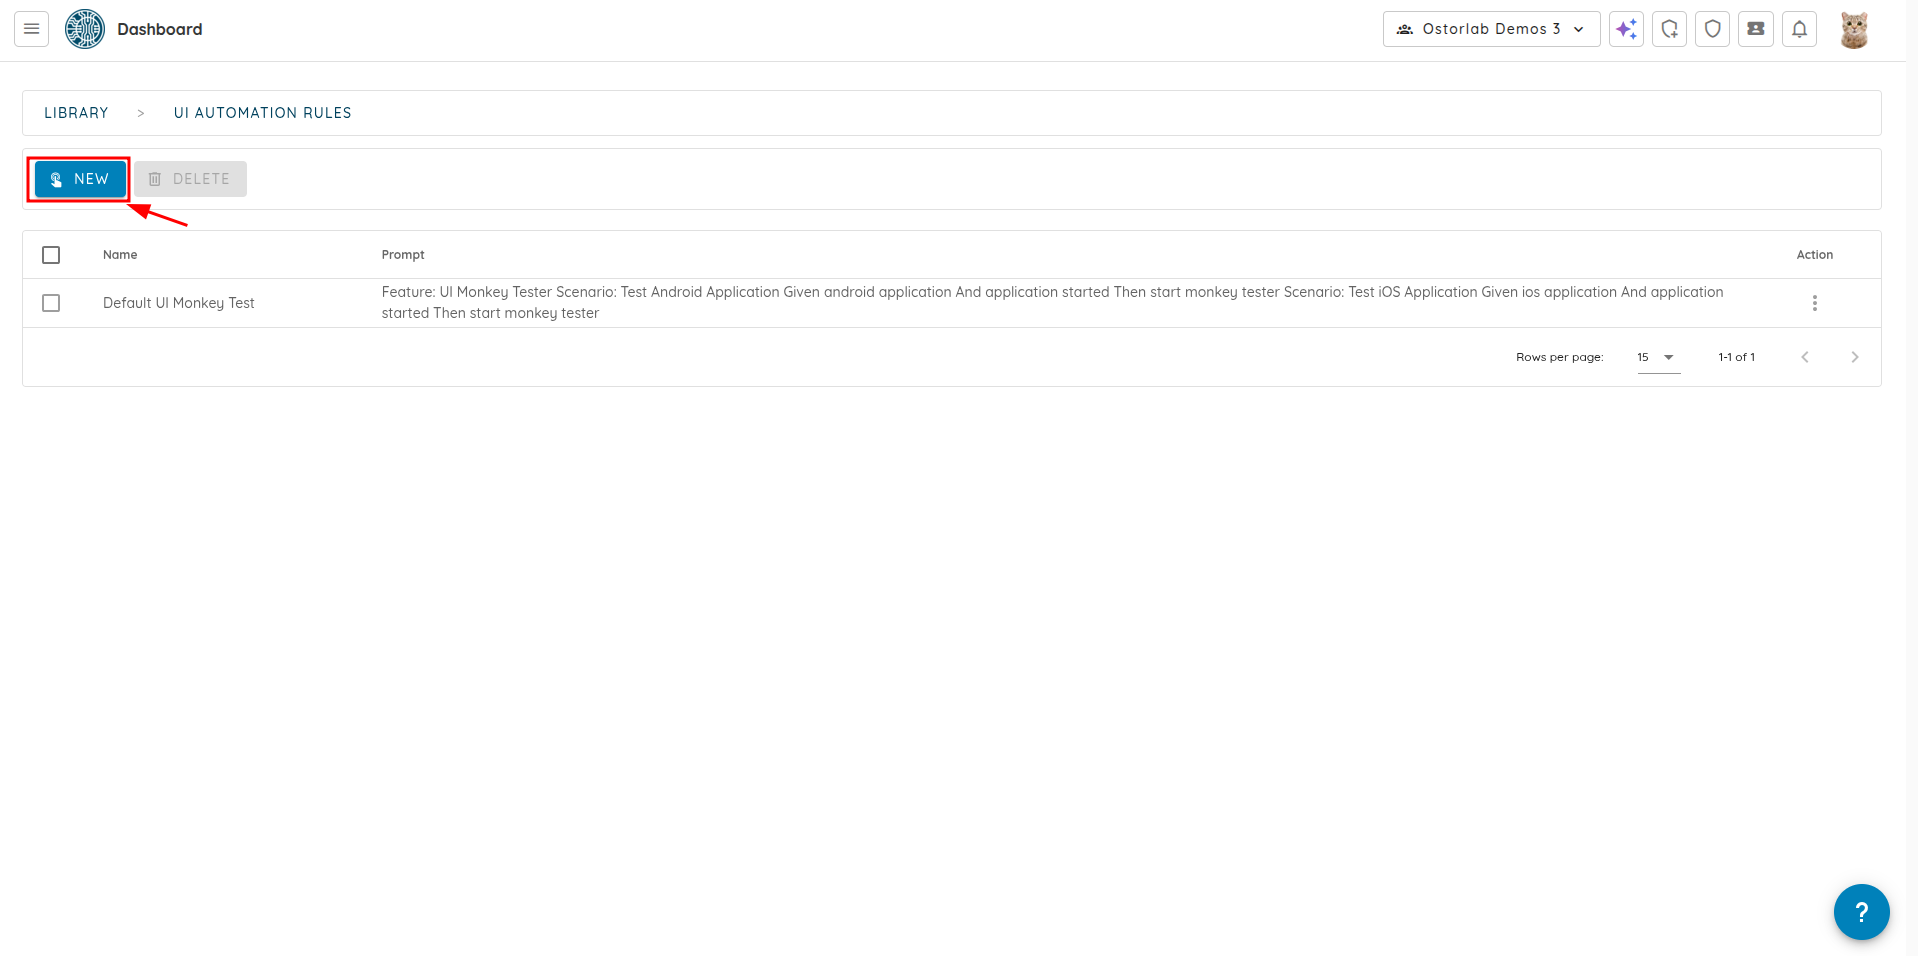
4. Click on "New".
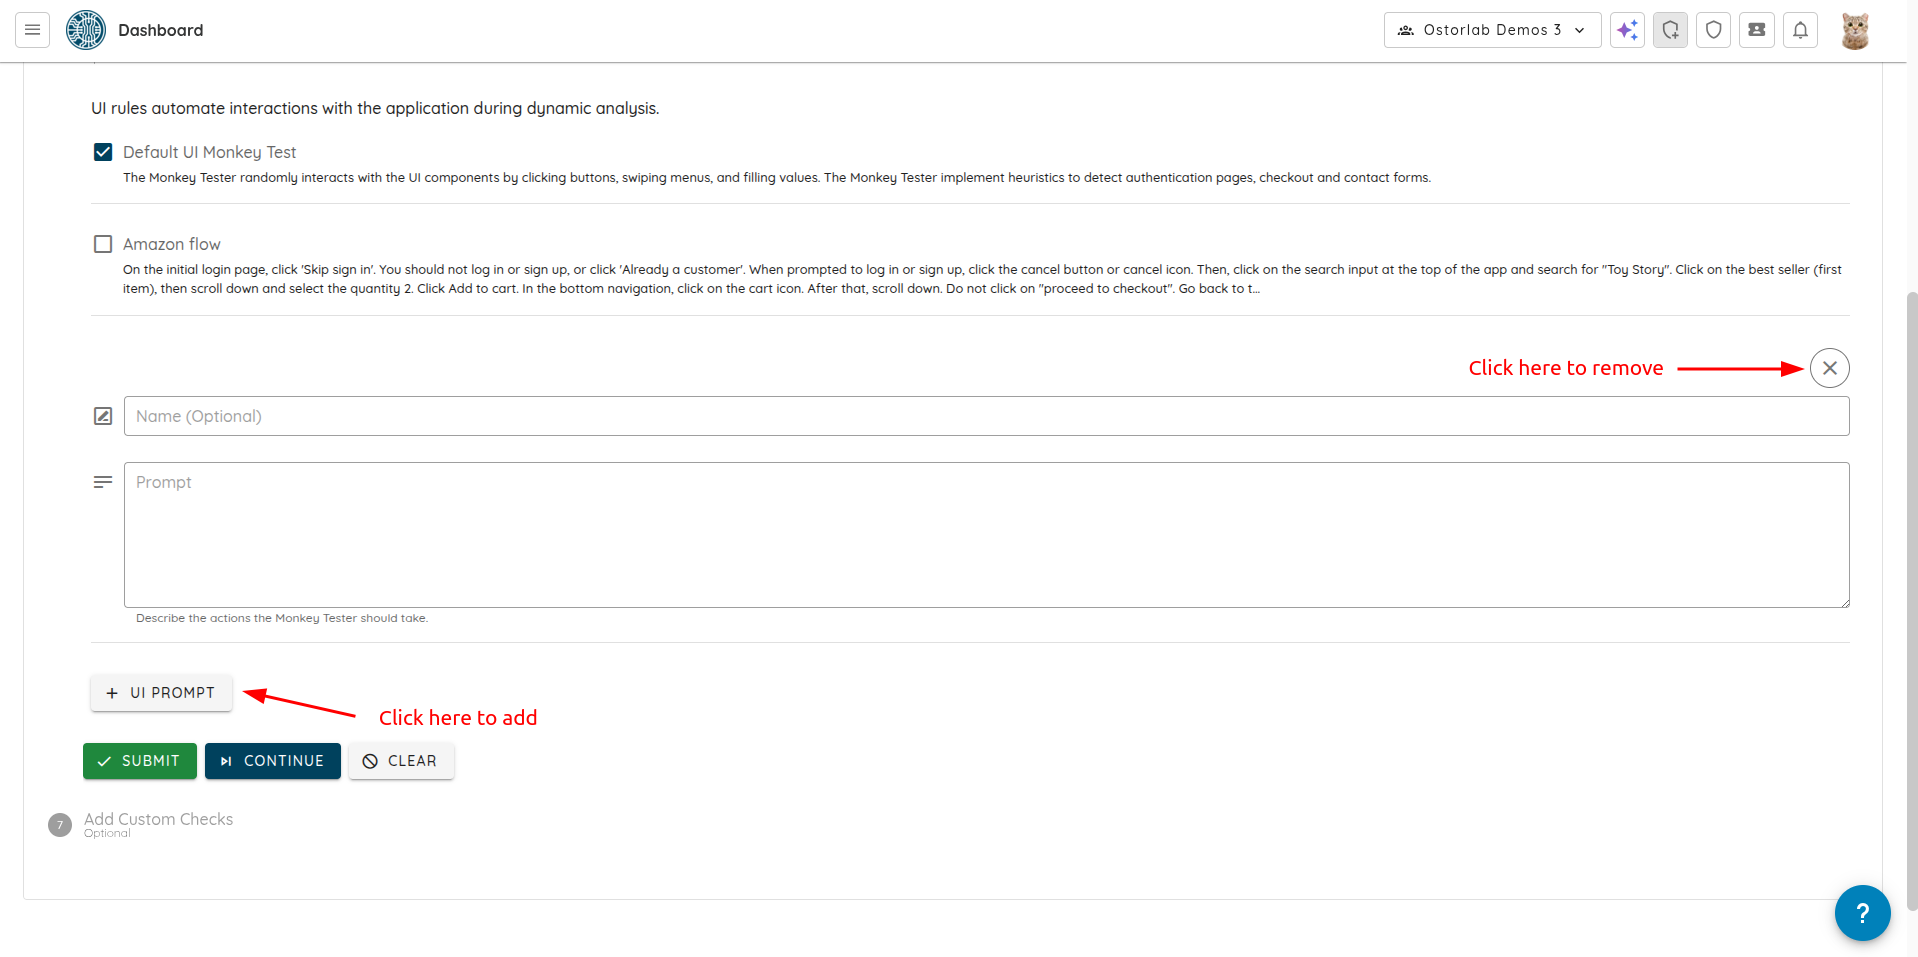
5. Enter the "Name" (optional) to easily identify the UI Prompt.
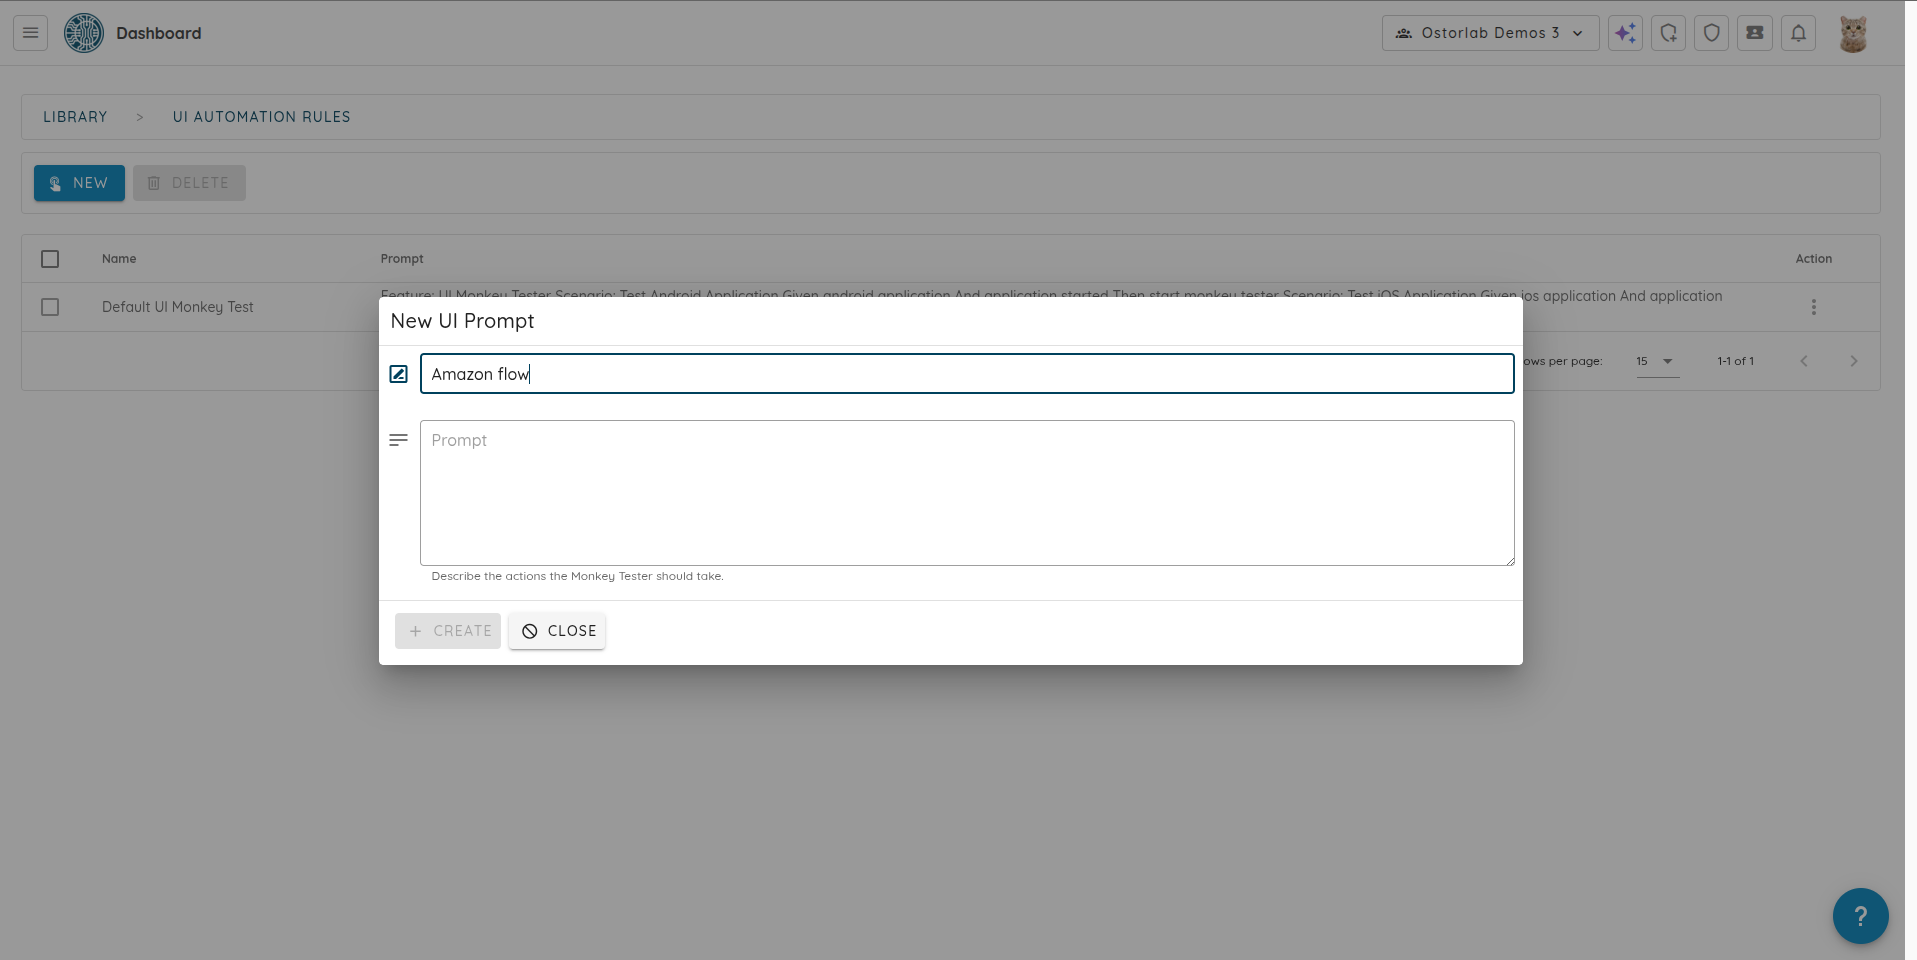
6. Enter the "Prompt". This is the natural language instruction that will guide the Monkey Tester on how to navigate the app.
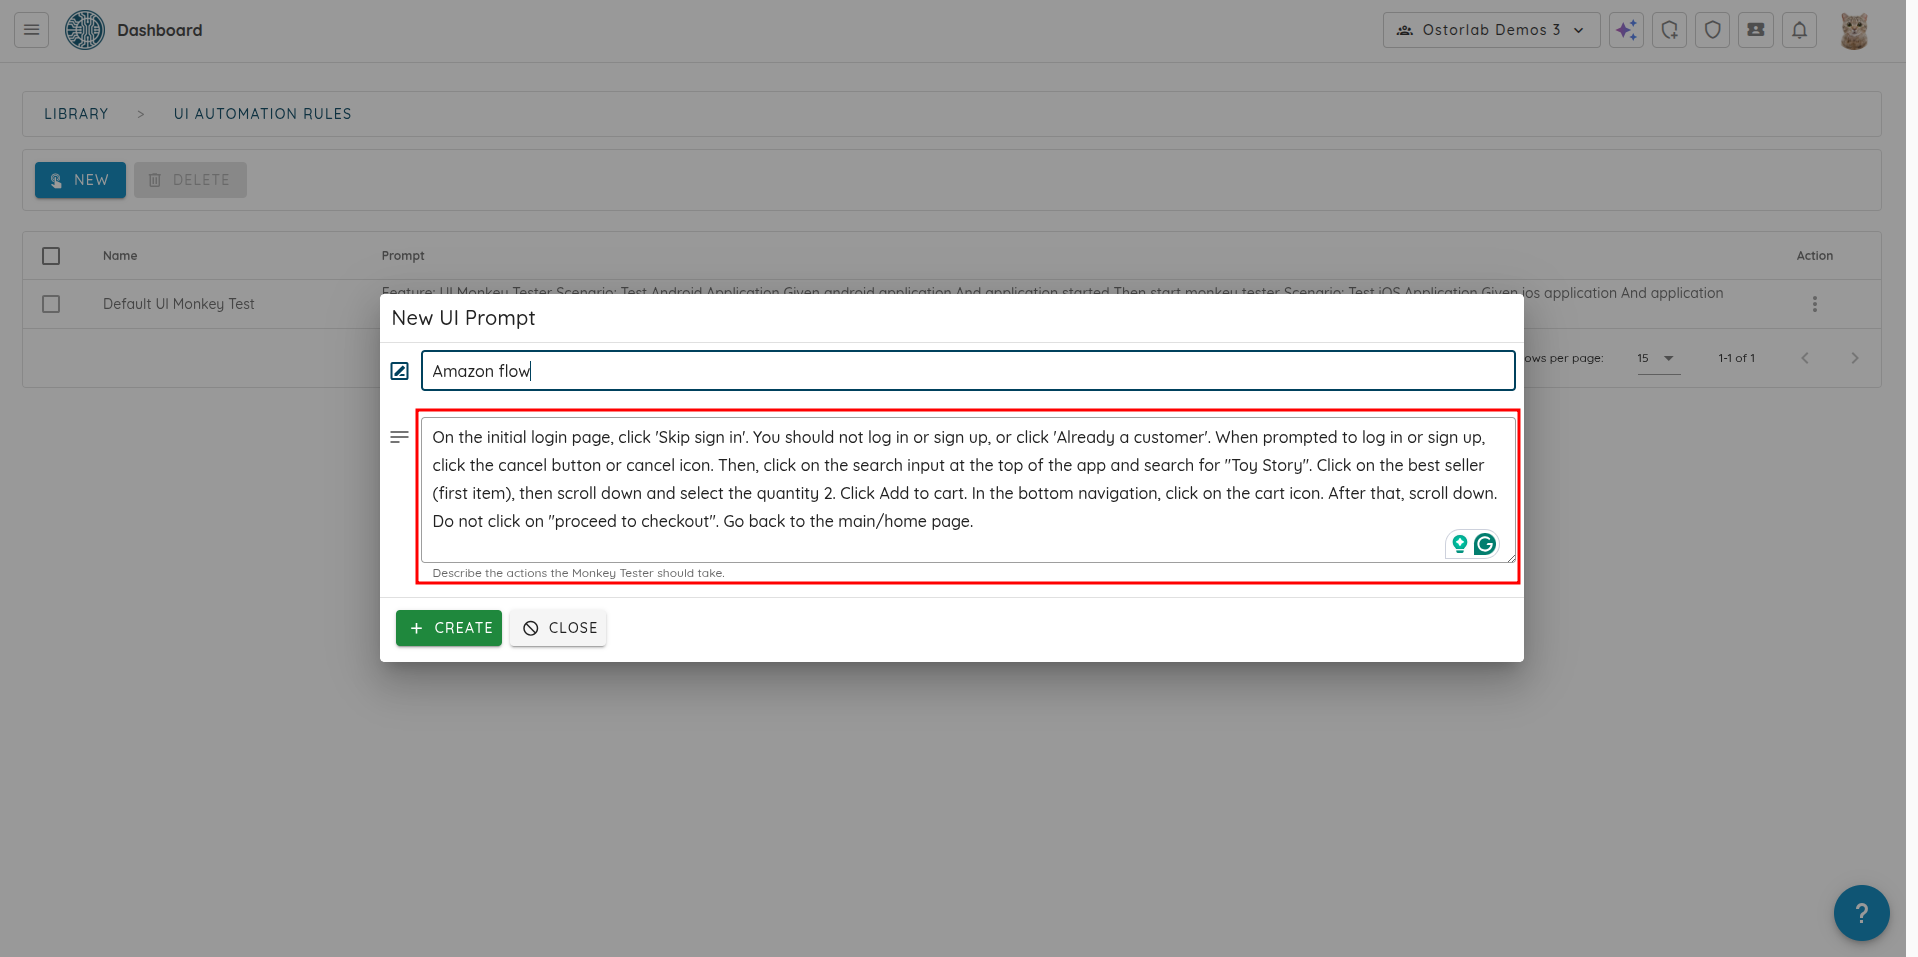
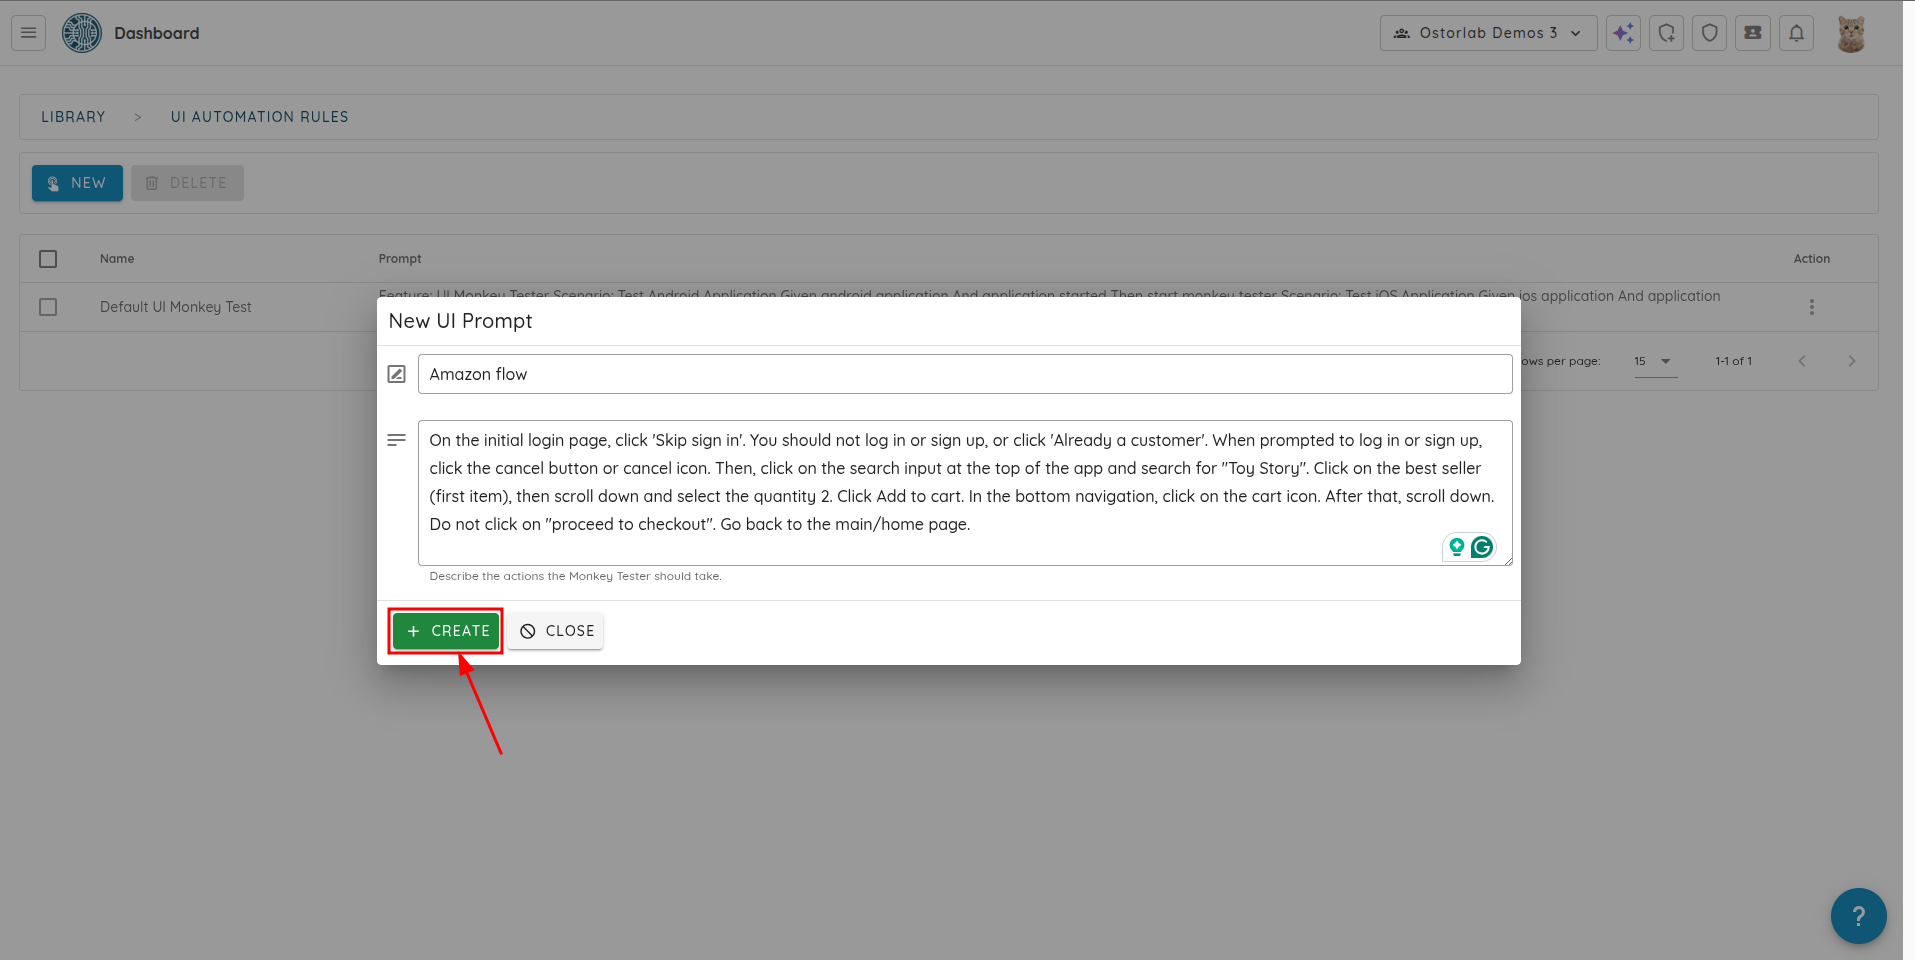
6. Click "Create" to save the UI Prompt.
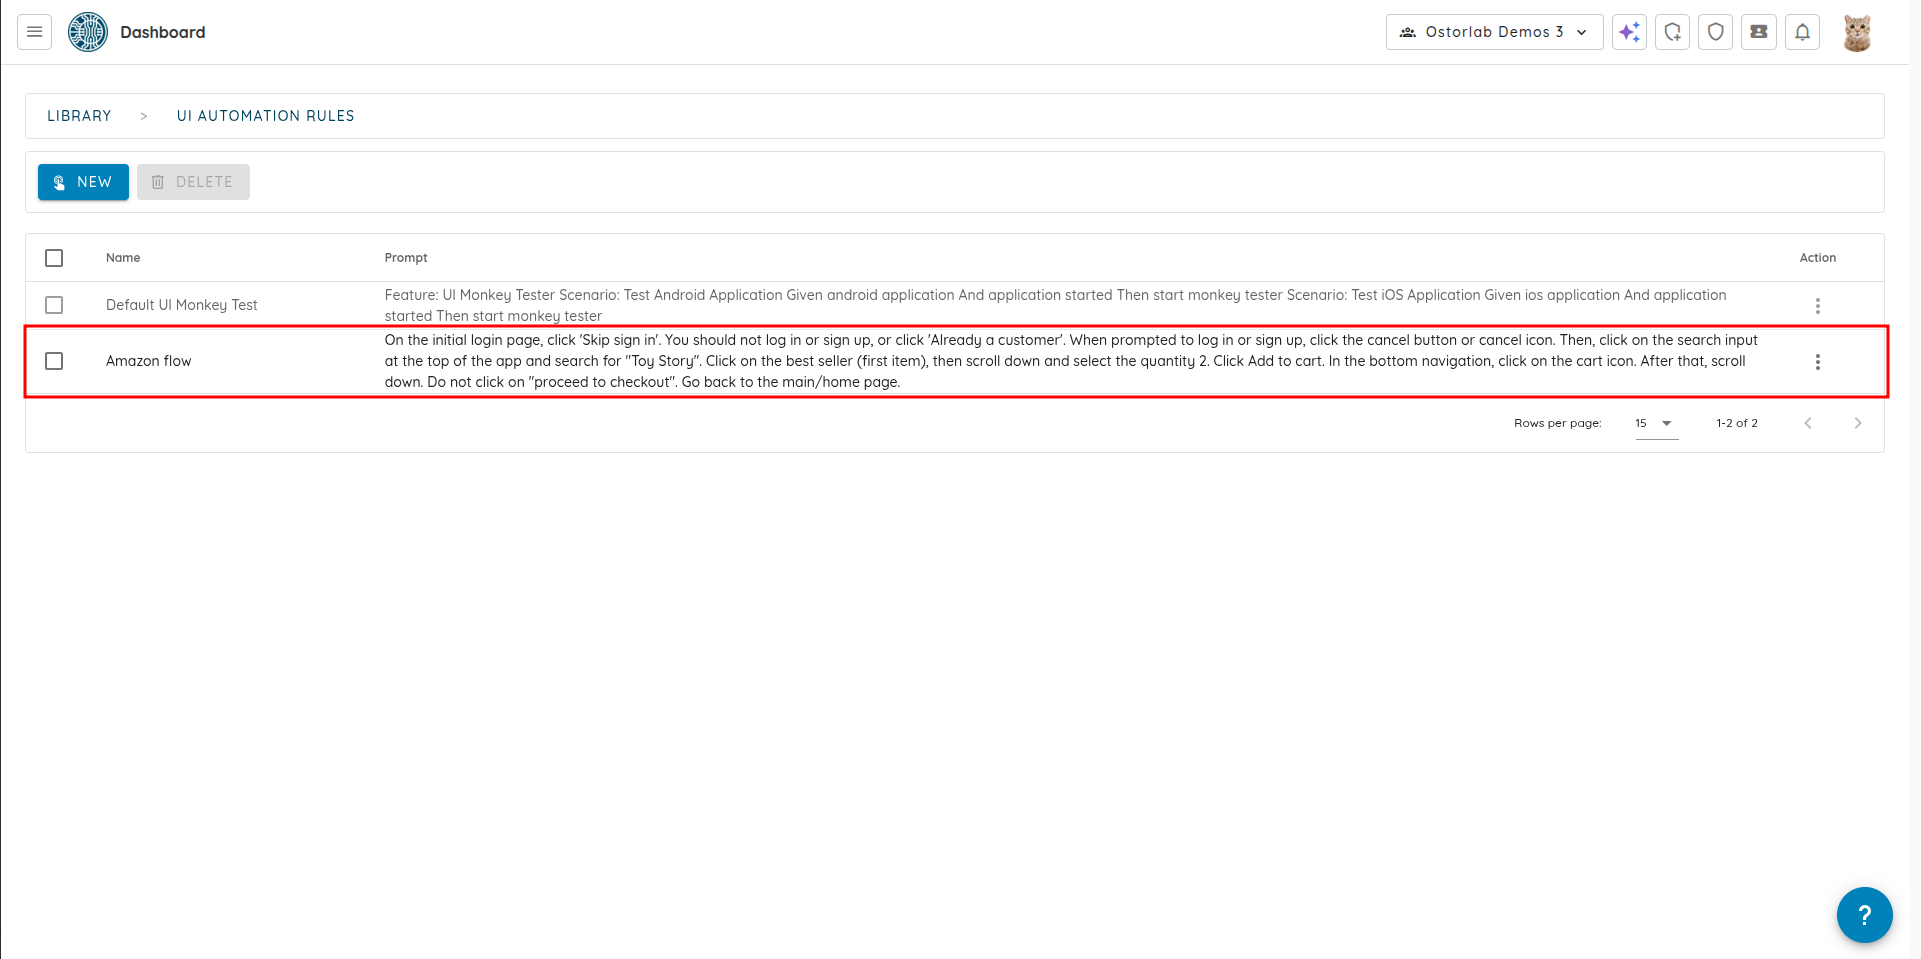
The created UI Prompt will now be available in the list of UI Prompts.
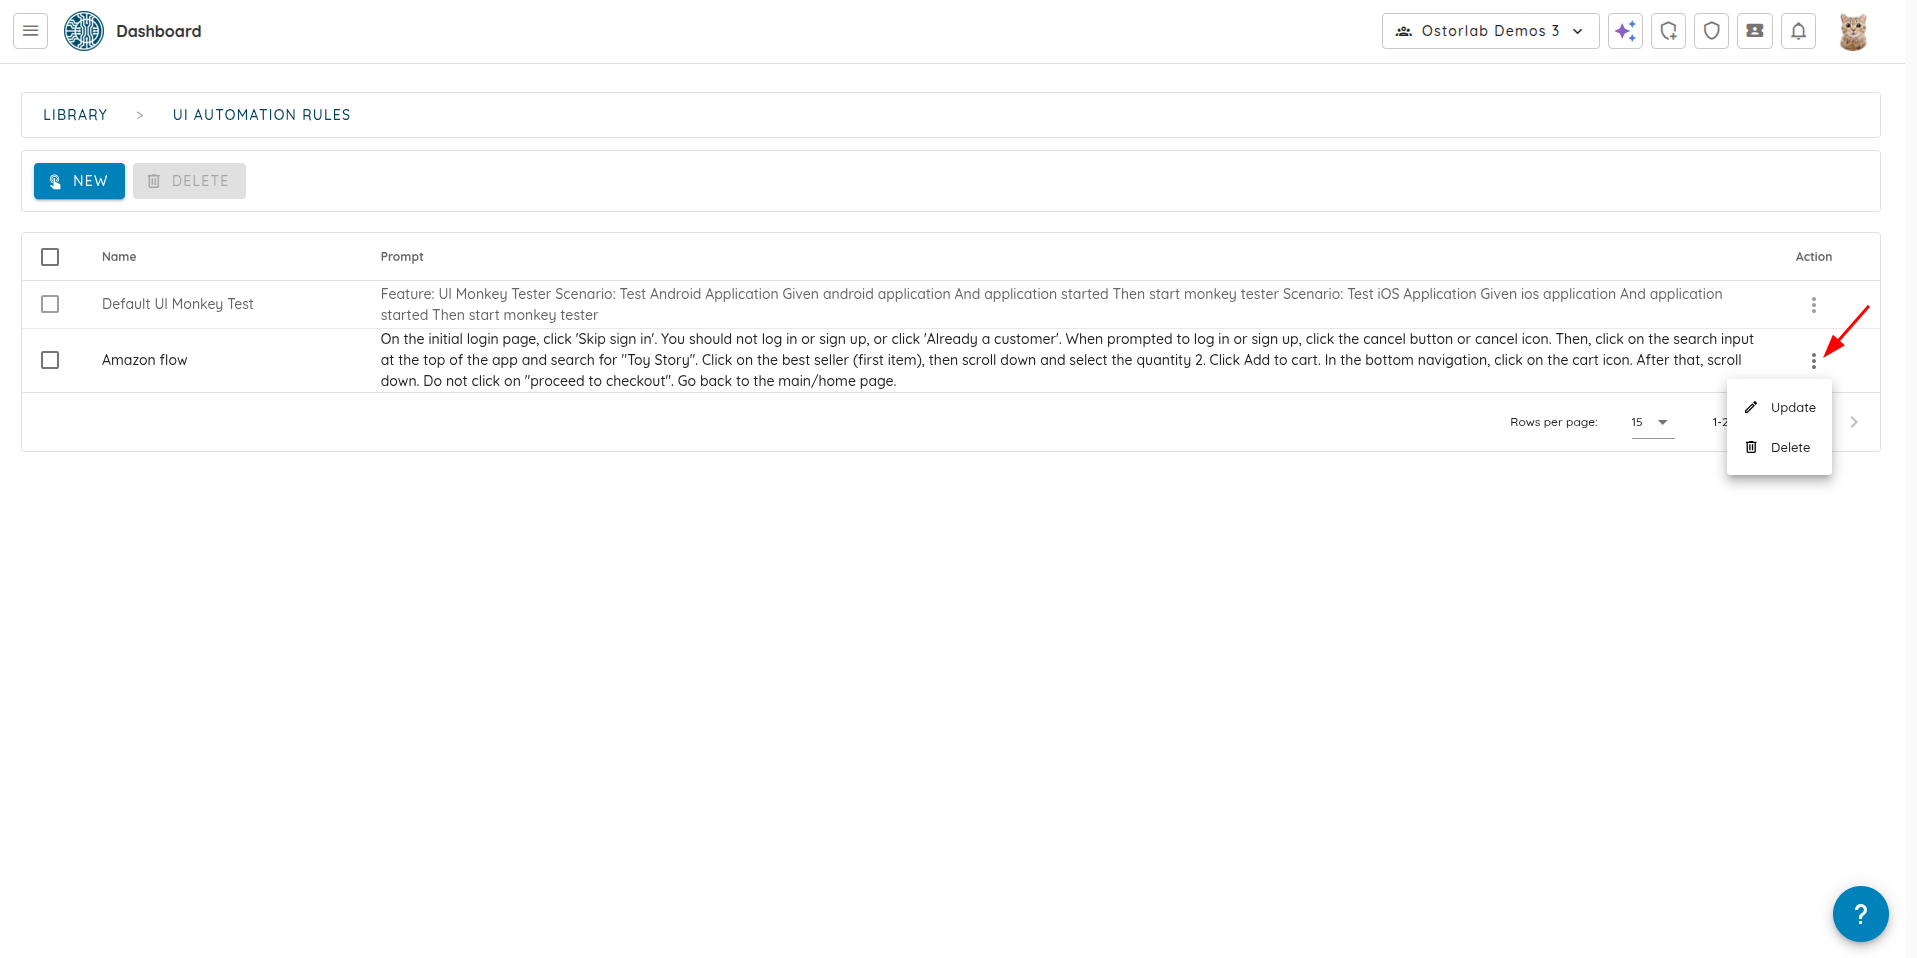
The UI Prompt can be edited or deleted by clicking on the "Update" or "Delete" buttons respectively.
Running a Scan with the UI Prompt
The UI Prompt can be used in a scan by selecting it from the list of available UI Prompts when running a scan.
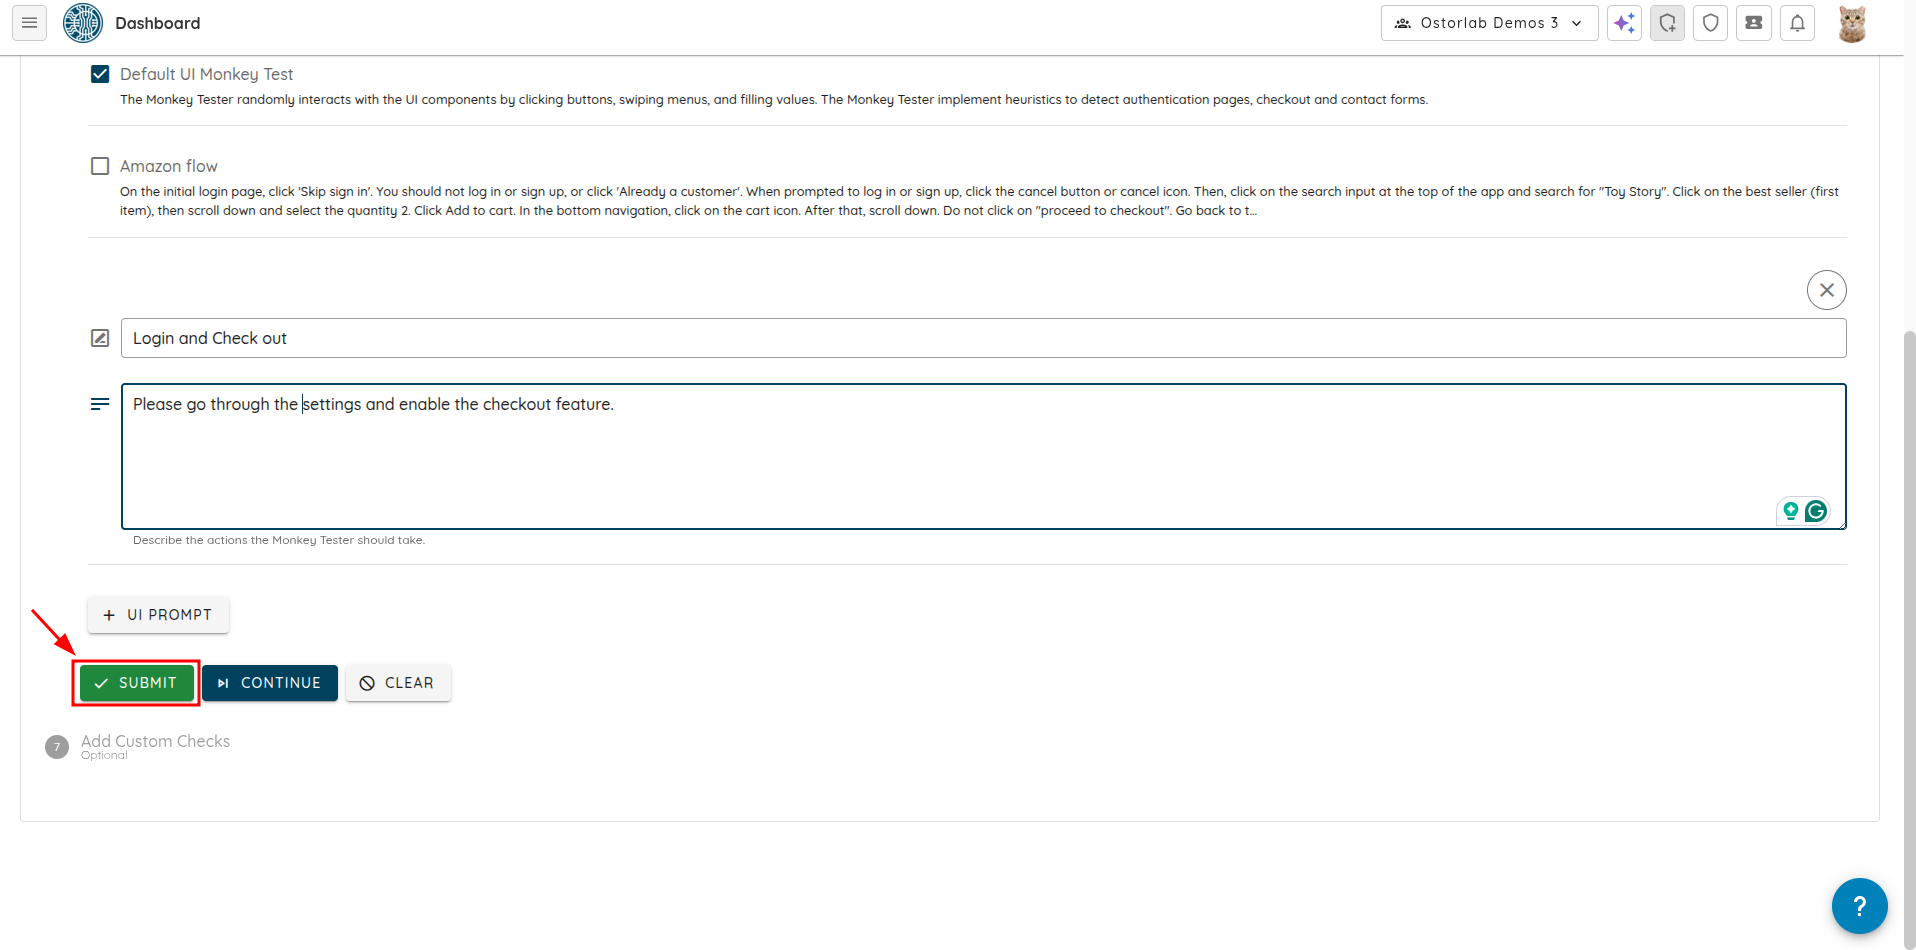
1. When creating a new scan, select "Full Scan".
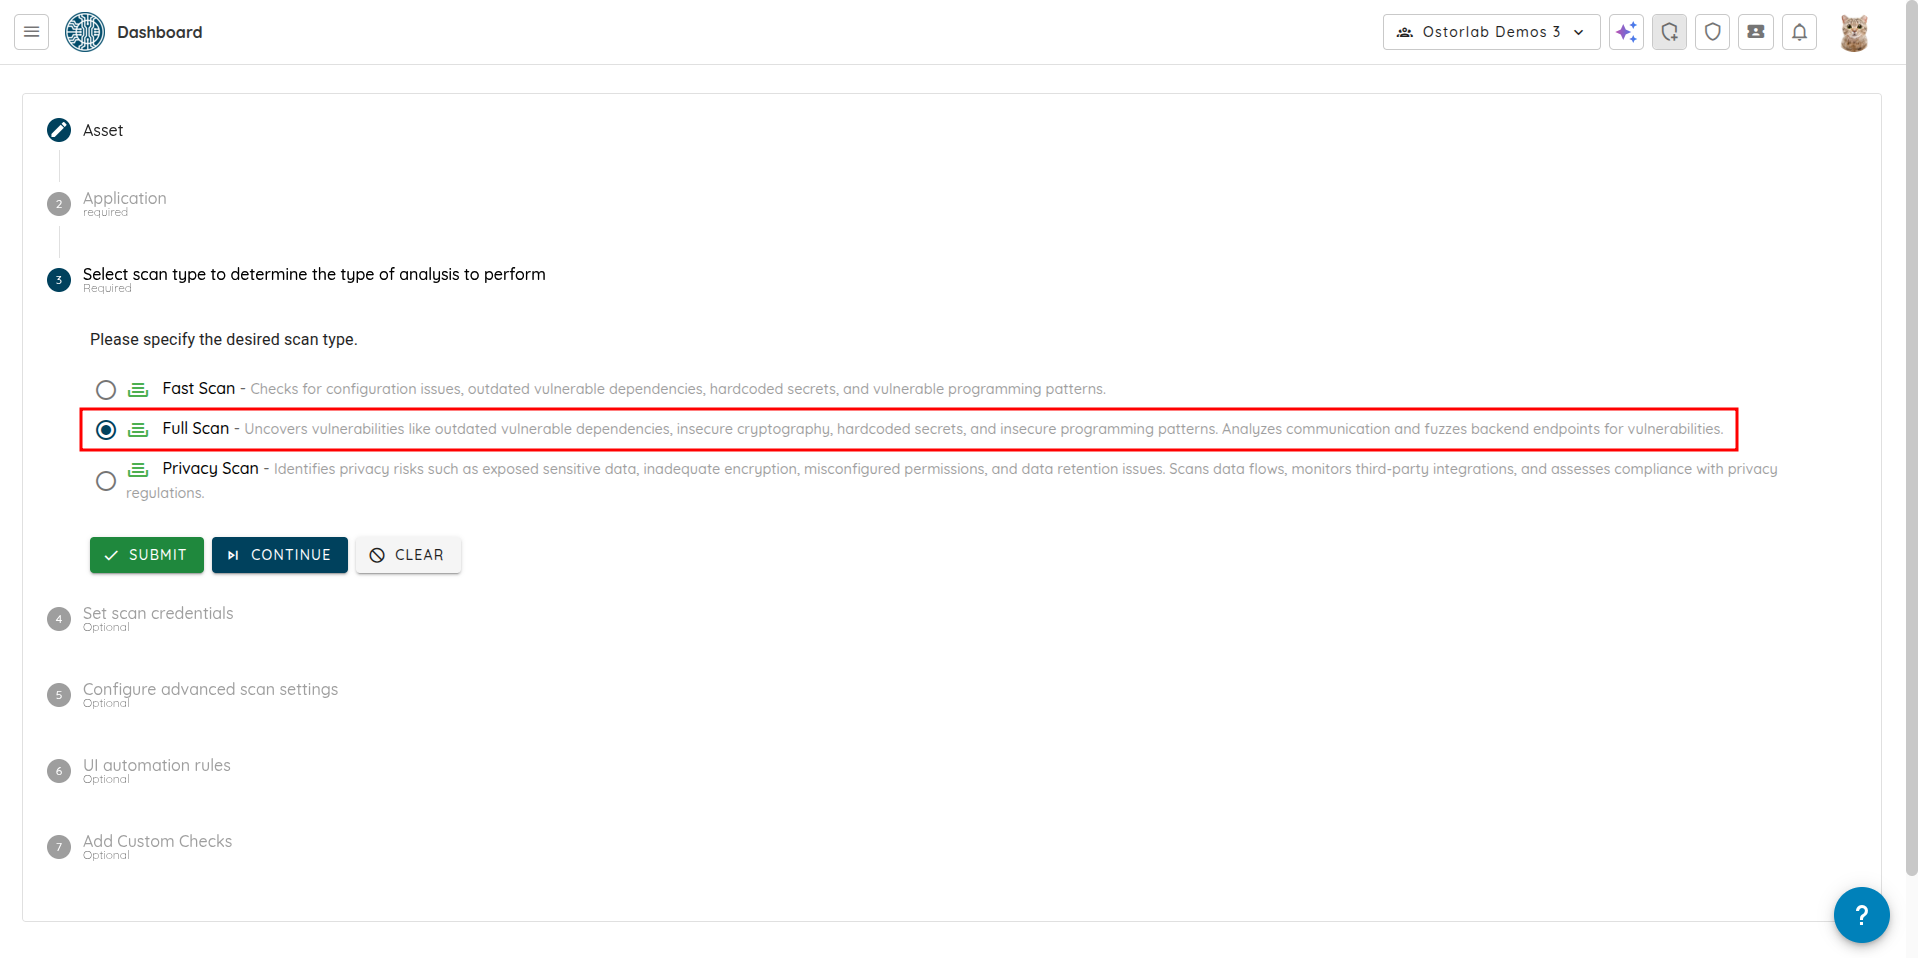
2. Continue with the steps until you reach "UI automation rules".
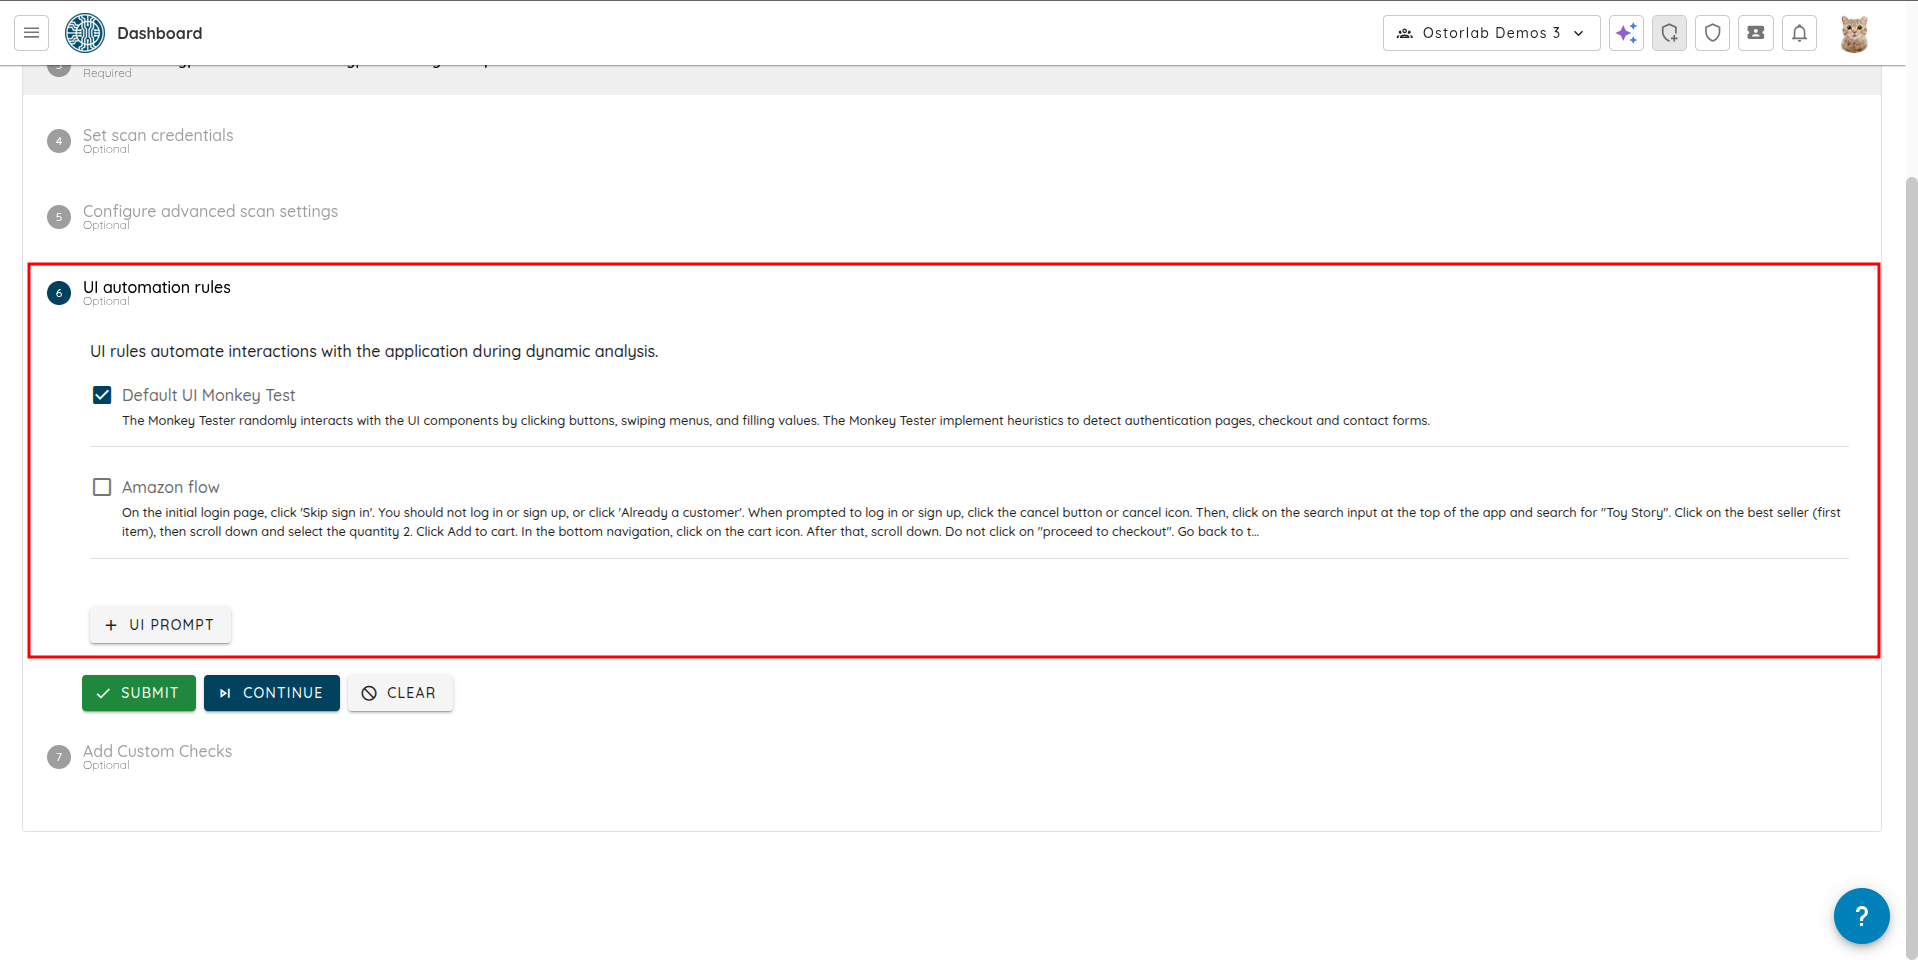
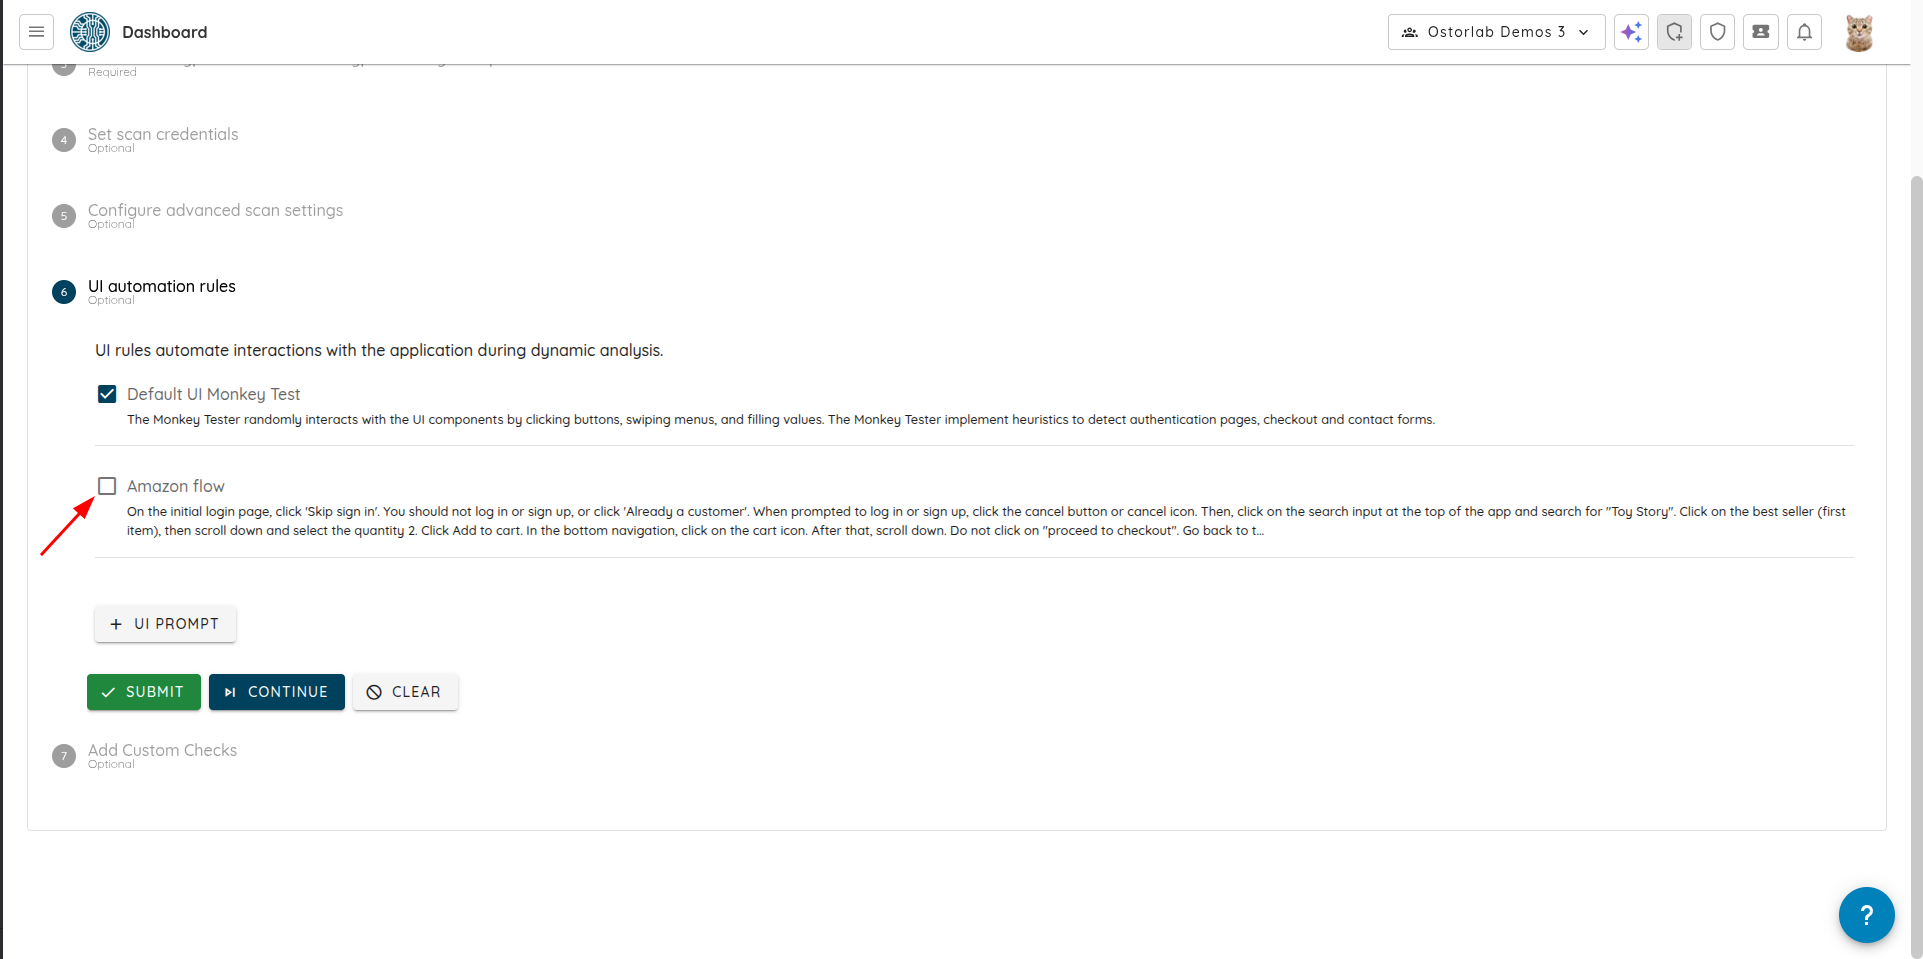
2. You can select and/or add new UI Prompts.
- Select an existing UI Prompt from the list.
- Add a new UI Prompt by clicking "+ UI PROMPT". It'll be automatically selected.
3. Click "Submit" to create the scan.
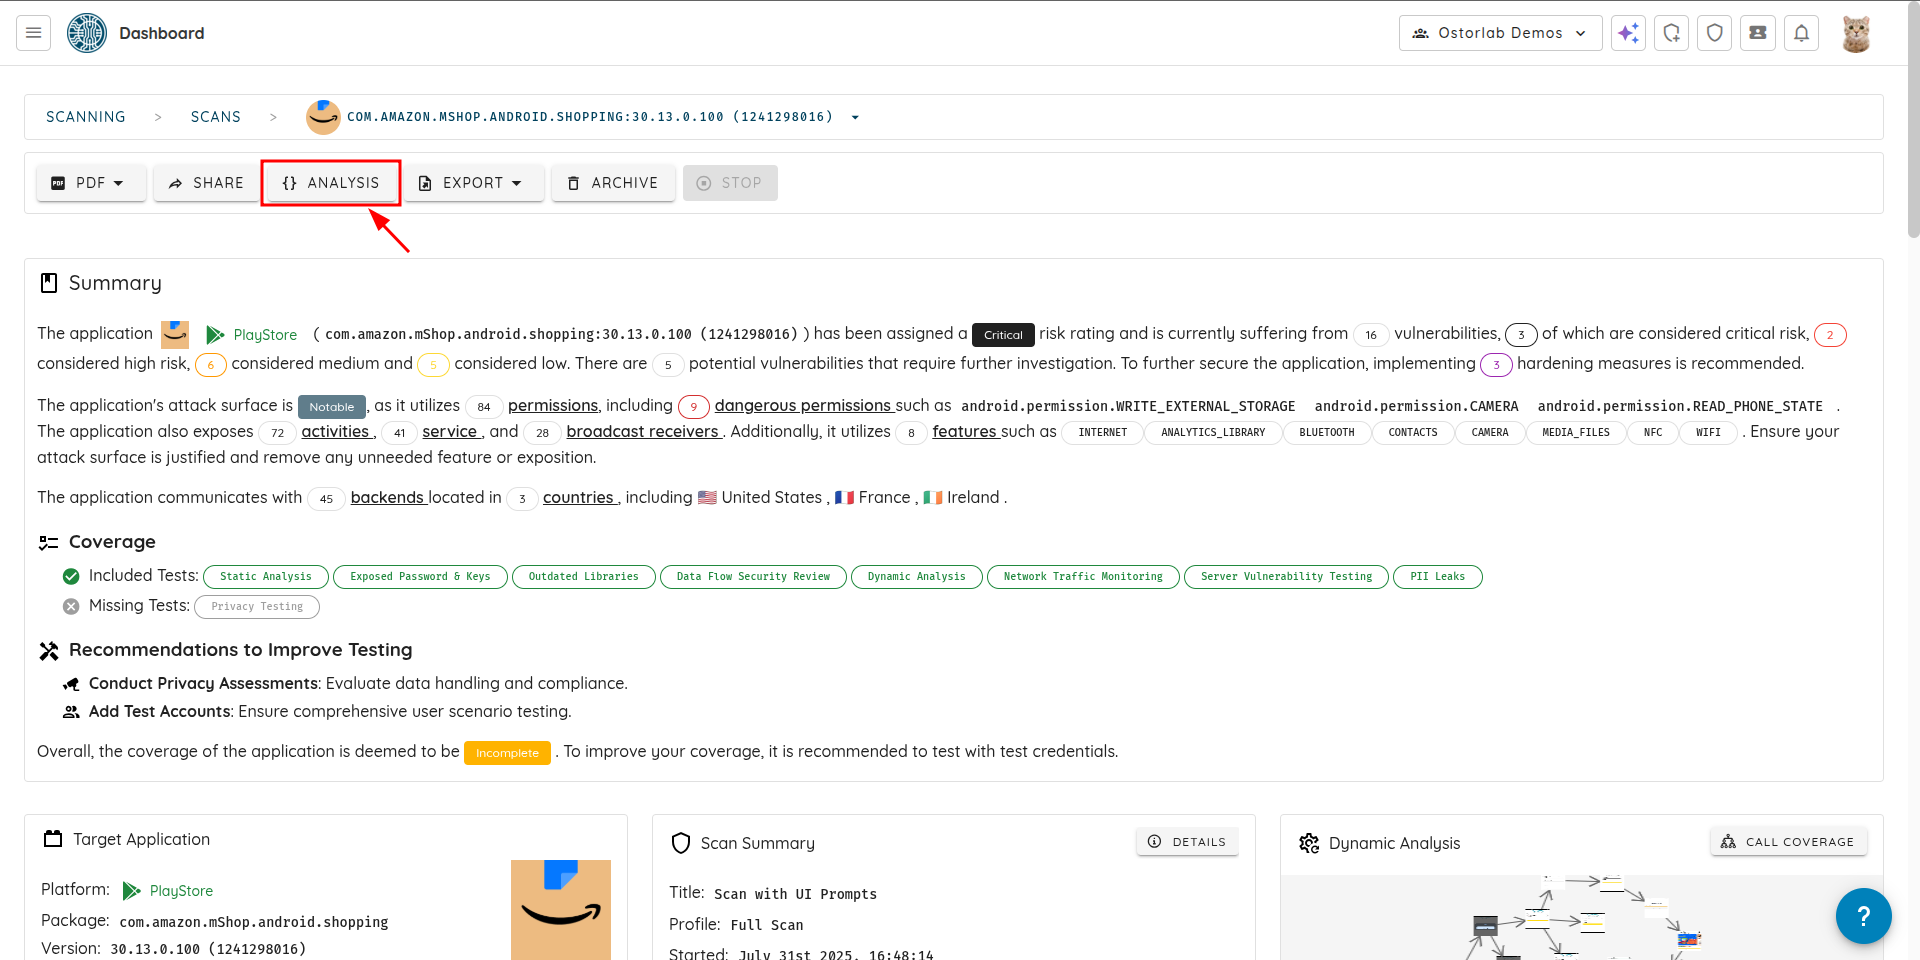
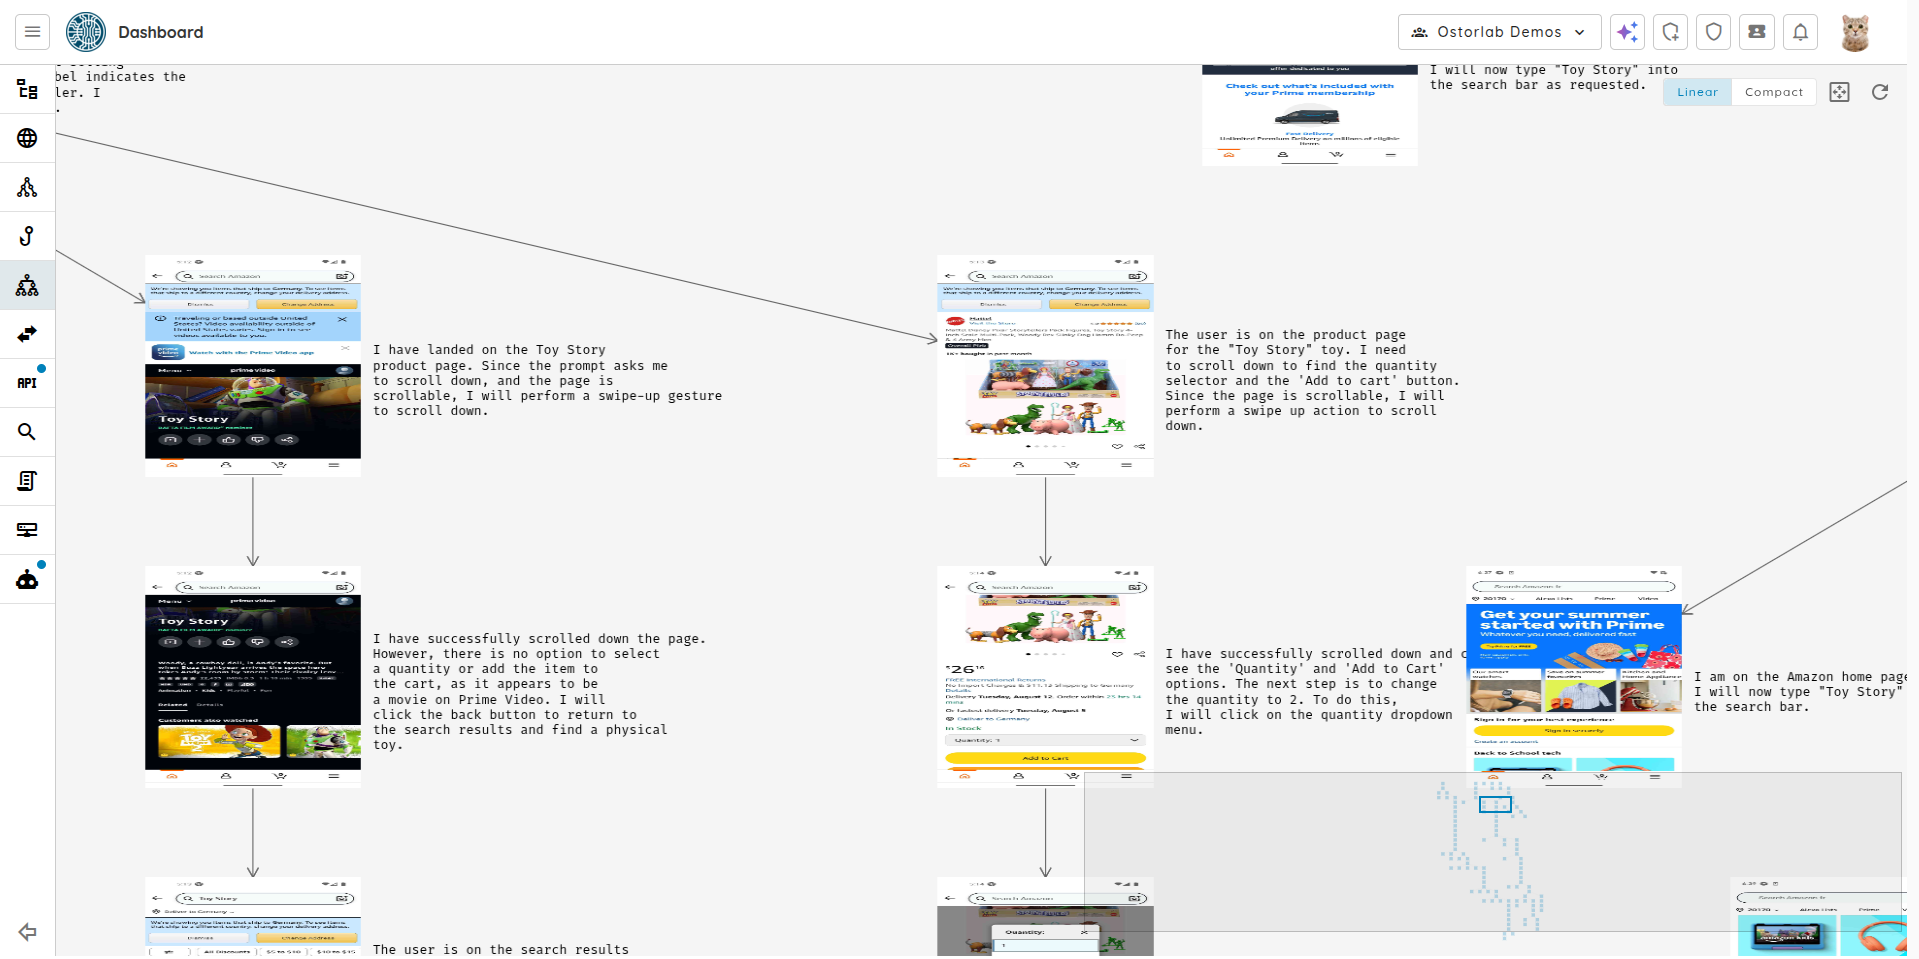
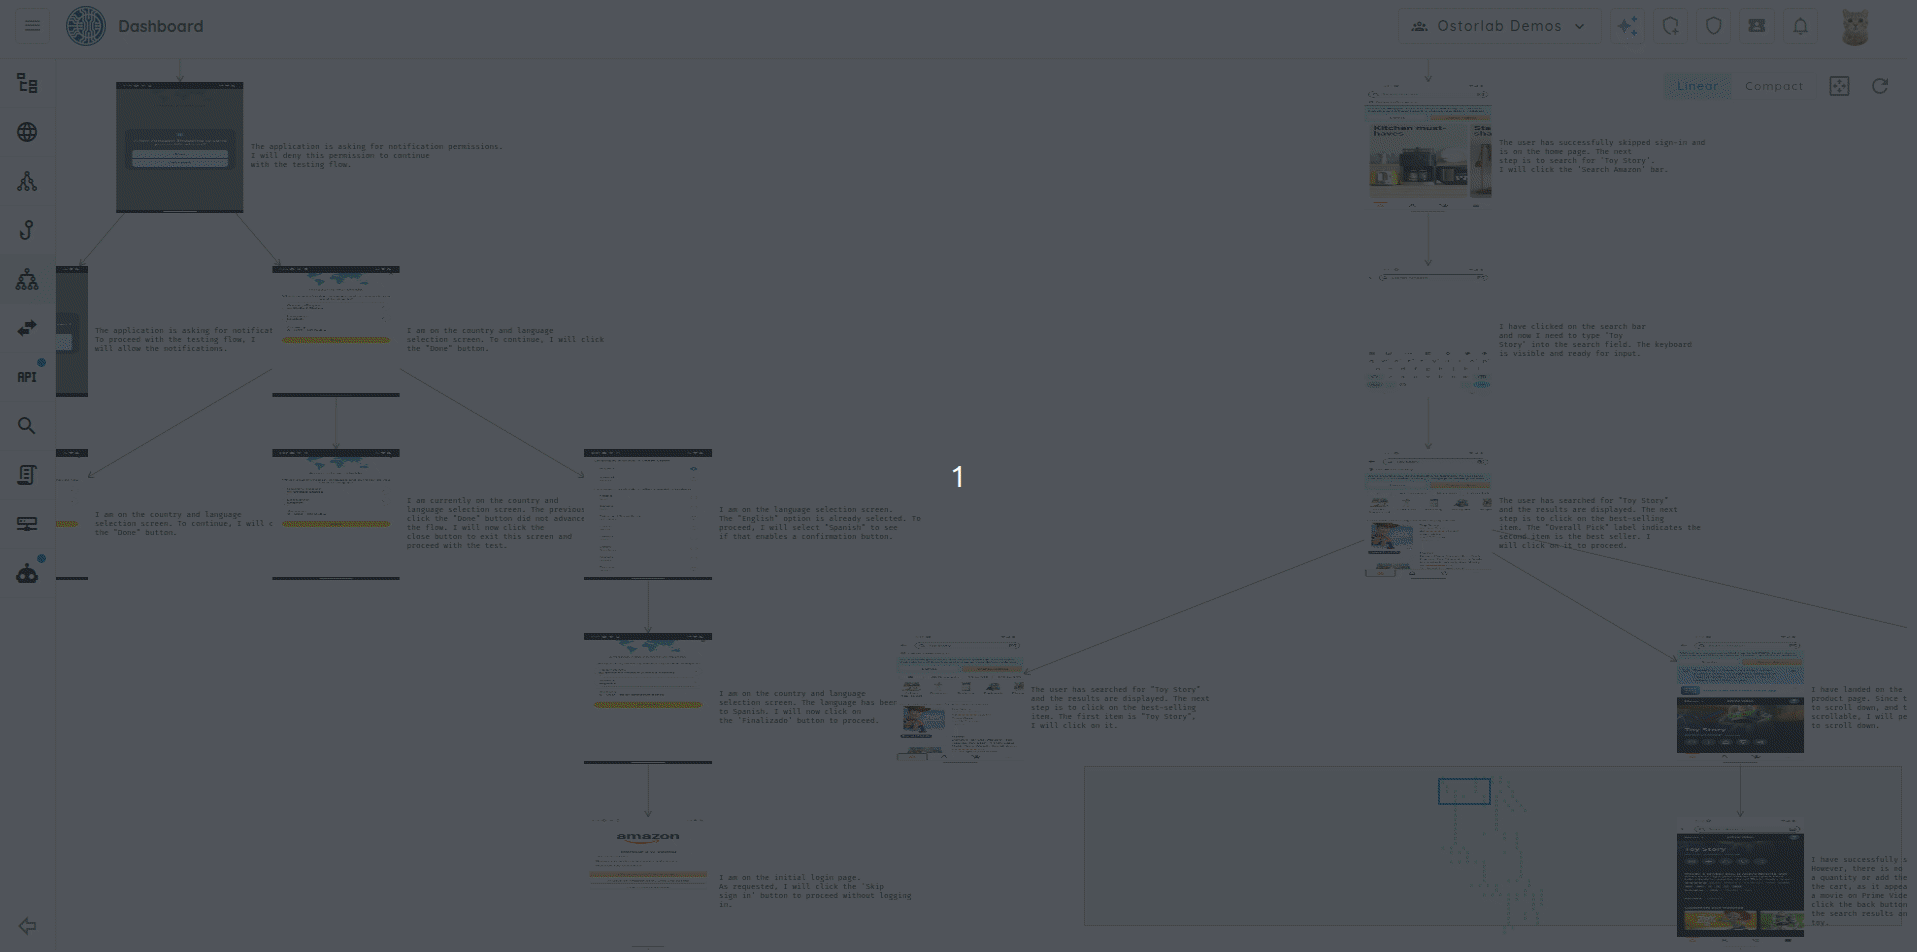
When the scan is done, you can view the results in the scan page.
-
Click on the scan you just created.
-
Click on "Analysis" to see the Call Coverage.
-
You can see the results of the scan, including the UI Prompts used in the scan.
This guide provides a comprehensive overview of how to create and use UI Prompts in Ostorlab scans. By following these steps, you can enhance the coverage and effectiveness of your scans, leveraging the power of natural language instructions to guide the Monkey Tester in navigating your application.