How to add a new agent with a private repository
This guide will walk you through the process of adding a new agent with a private repository.
Let's start by generating an SSH key pair. In your terminal, use the command ssh-keygen to generate a new key, and when prompted for a passphrase, leave it empty so the key is created with no passphrase.
You'll be prompted to choose a location to store the key files. It's a good idea to name the file something relevant, like agent_key to keep things organized.

After that, the SSH key generation is complete. As you can see, two files were created: the private key, and the public key, which ends in .pub

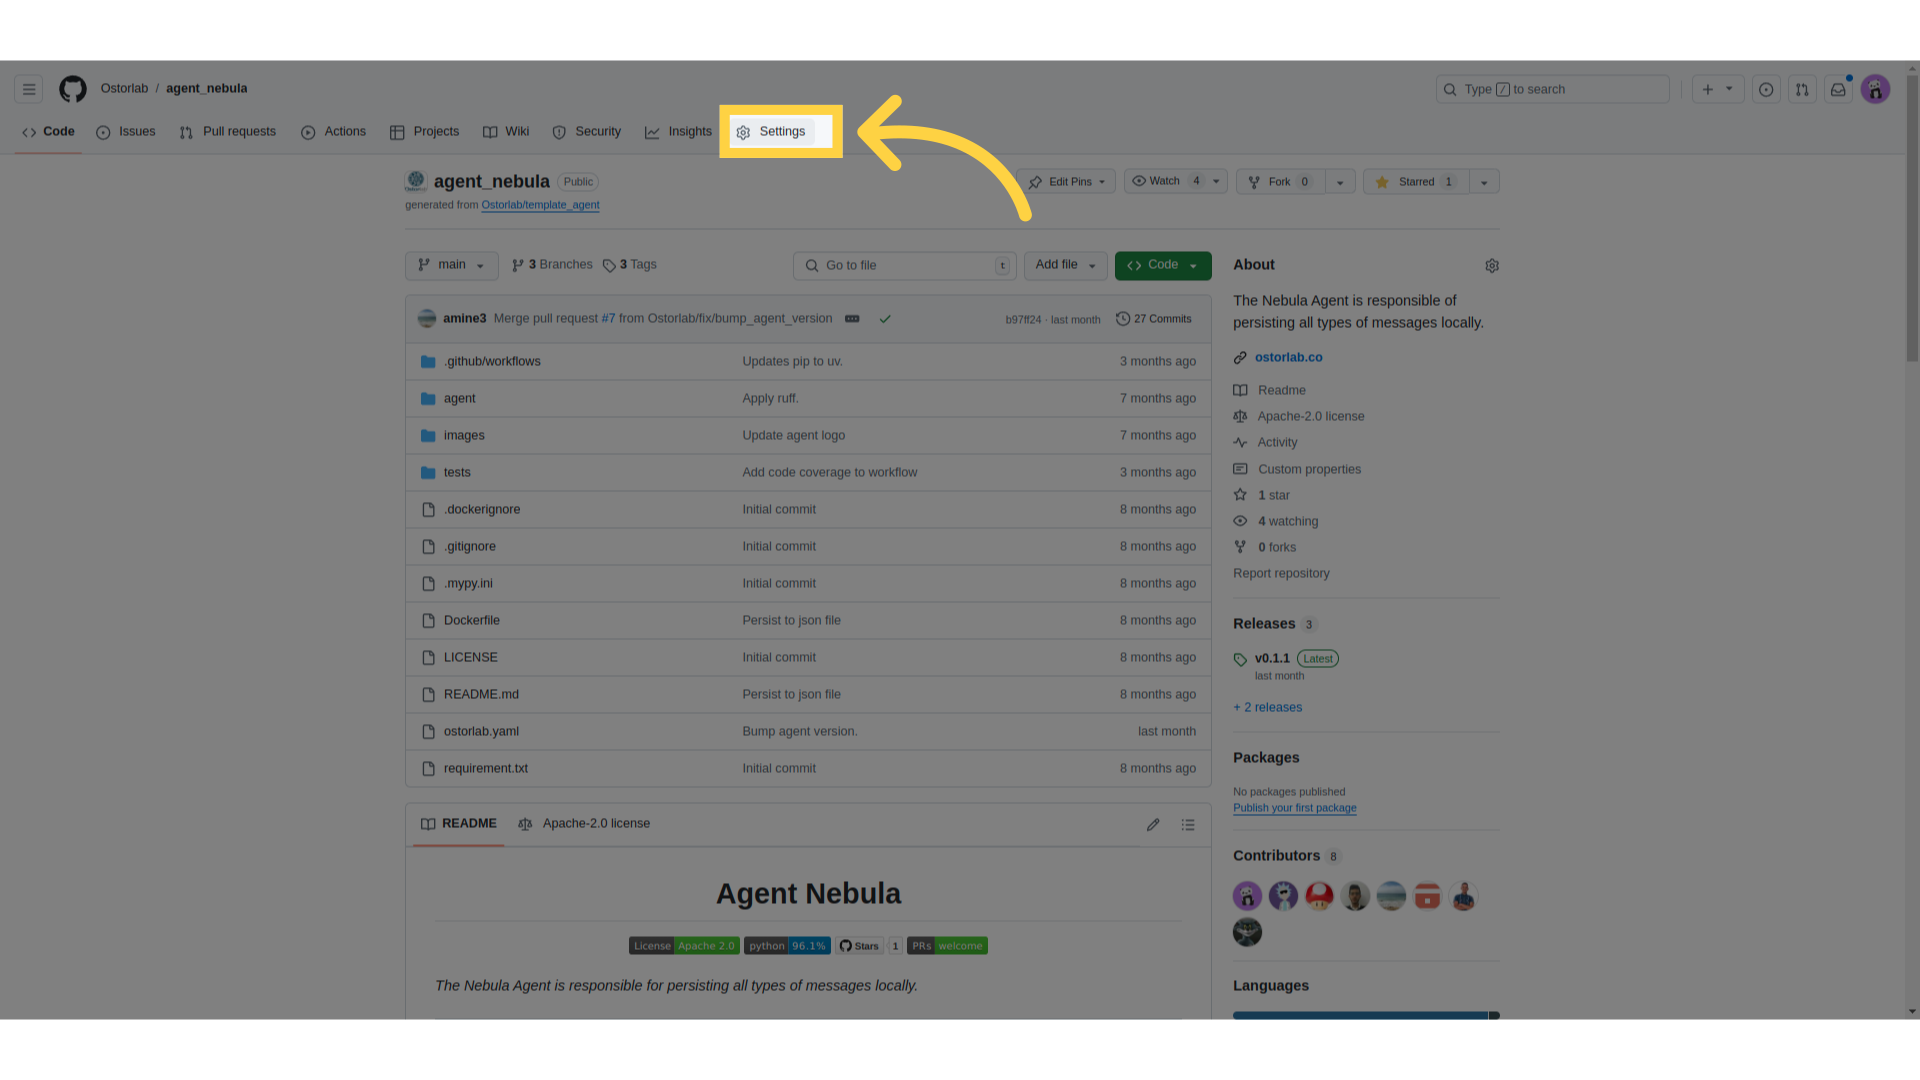
Once your SSH keys are generated, the next step is to add the public key to your GitHub repository. To do this, head over to the repository that contains the agent you want to publish and go to the Settings tab.
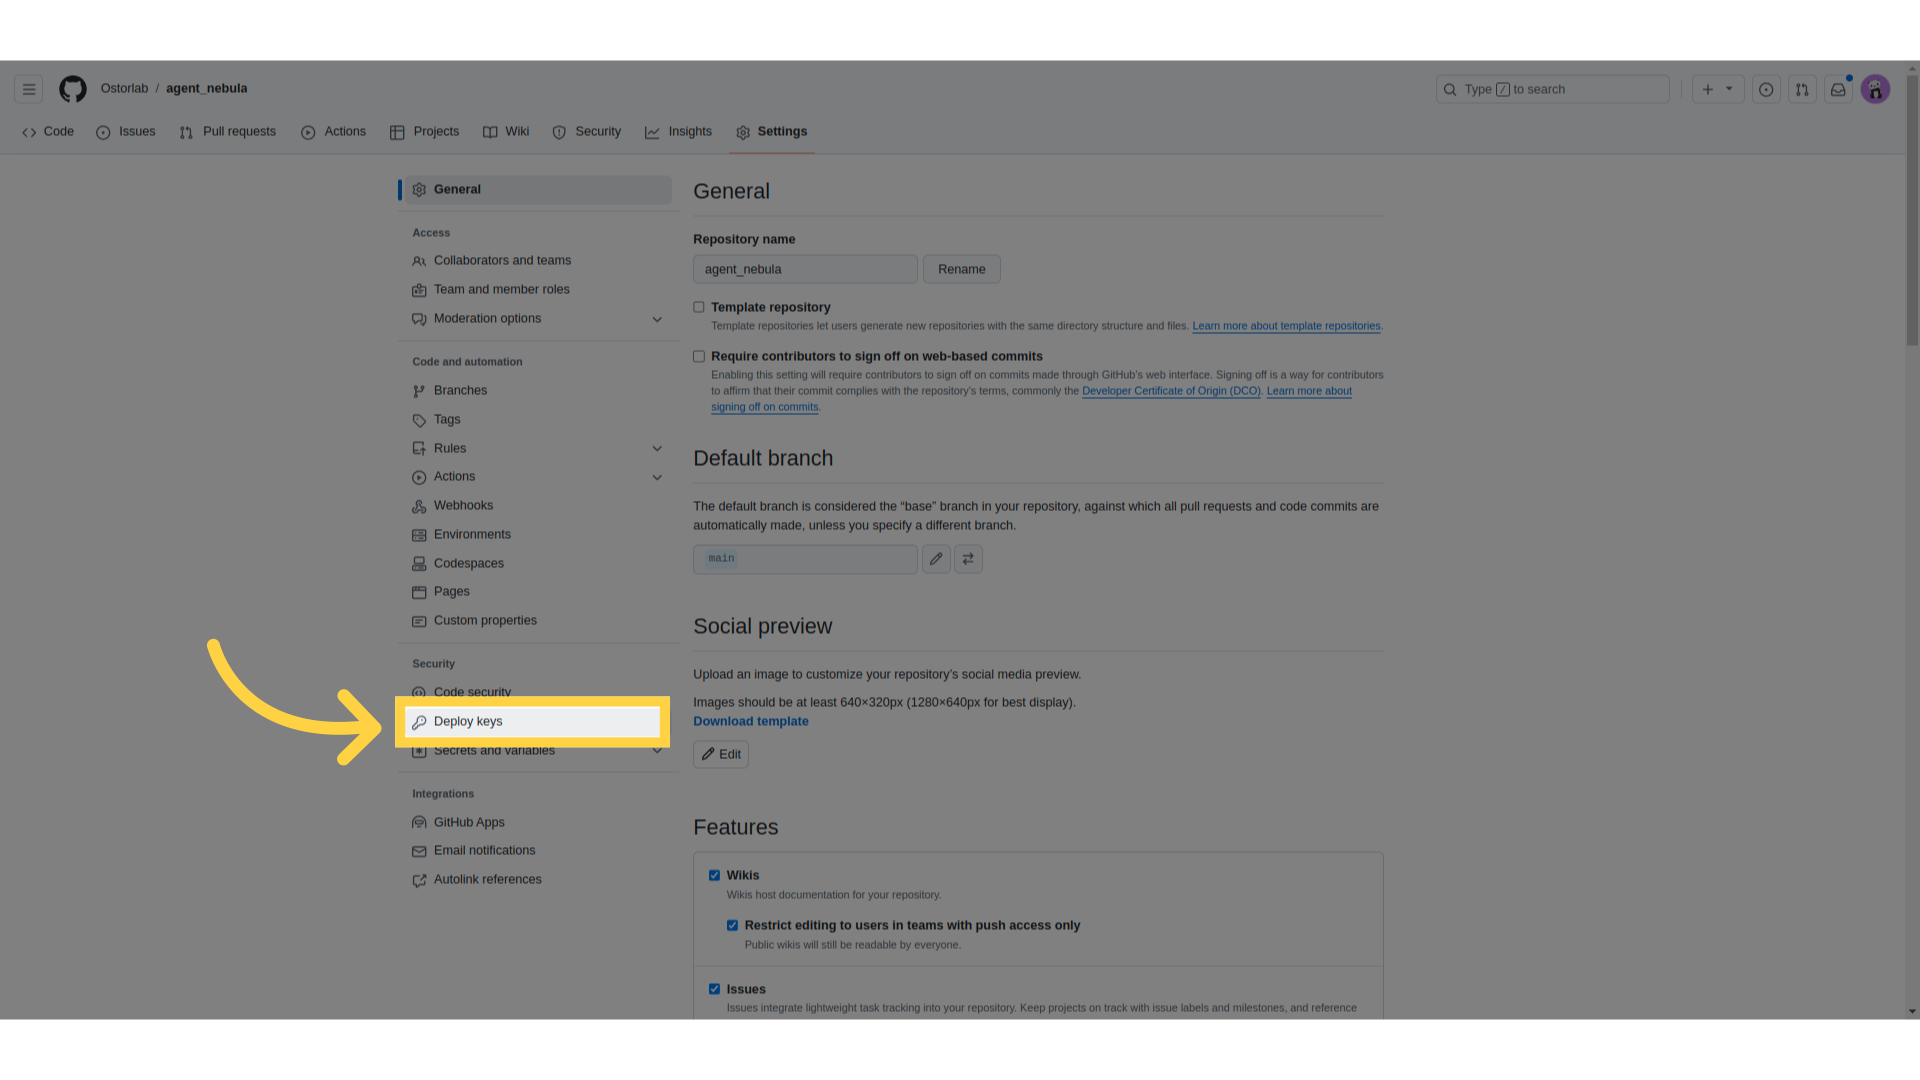
Under the Security section, click on Deploy keys.
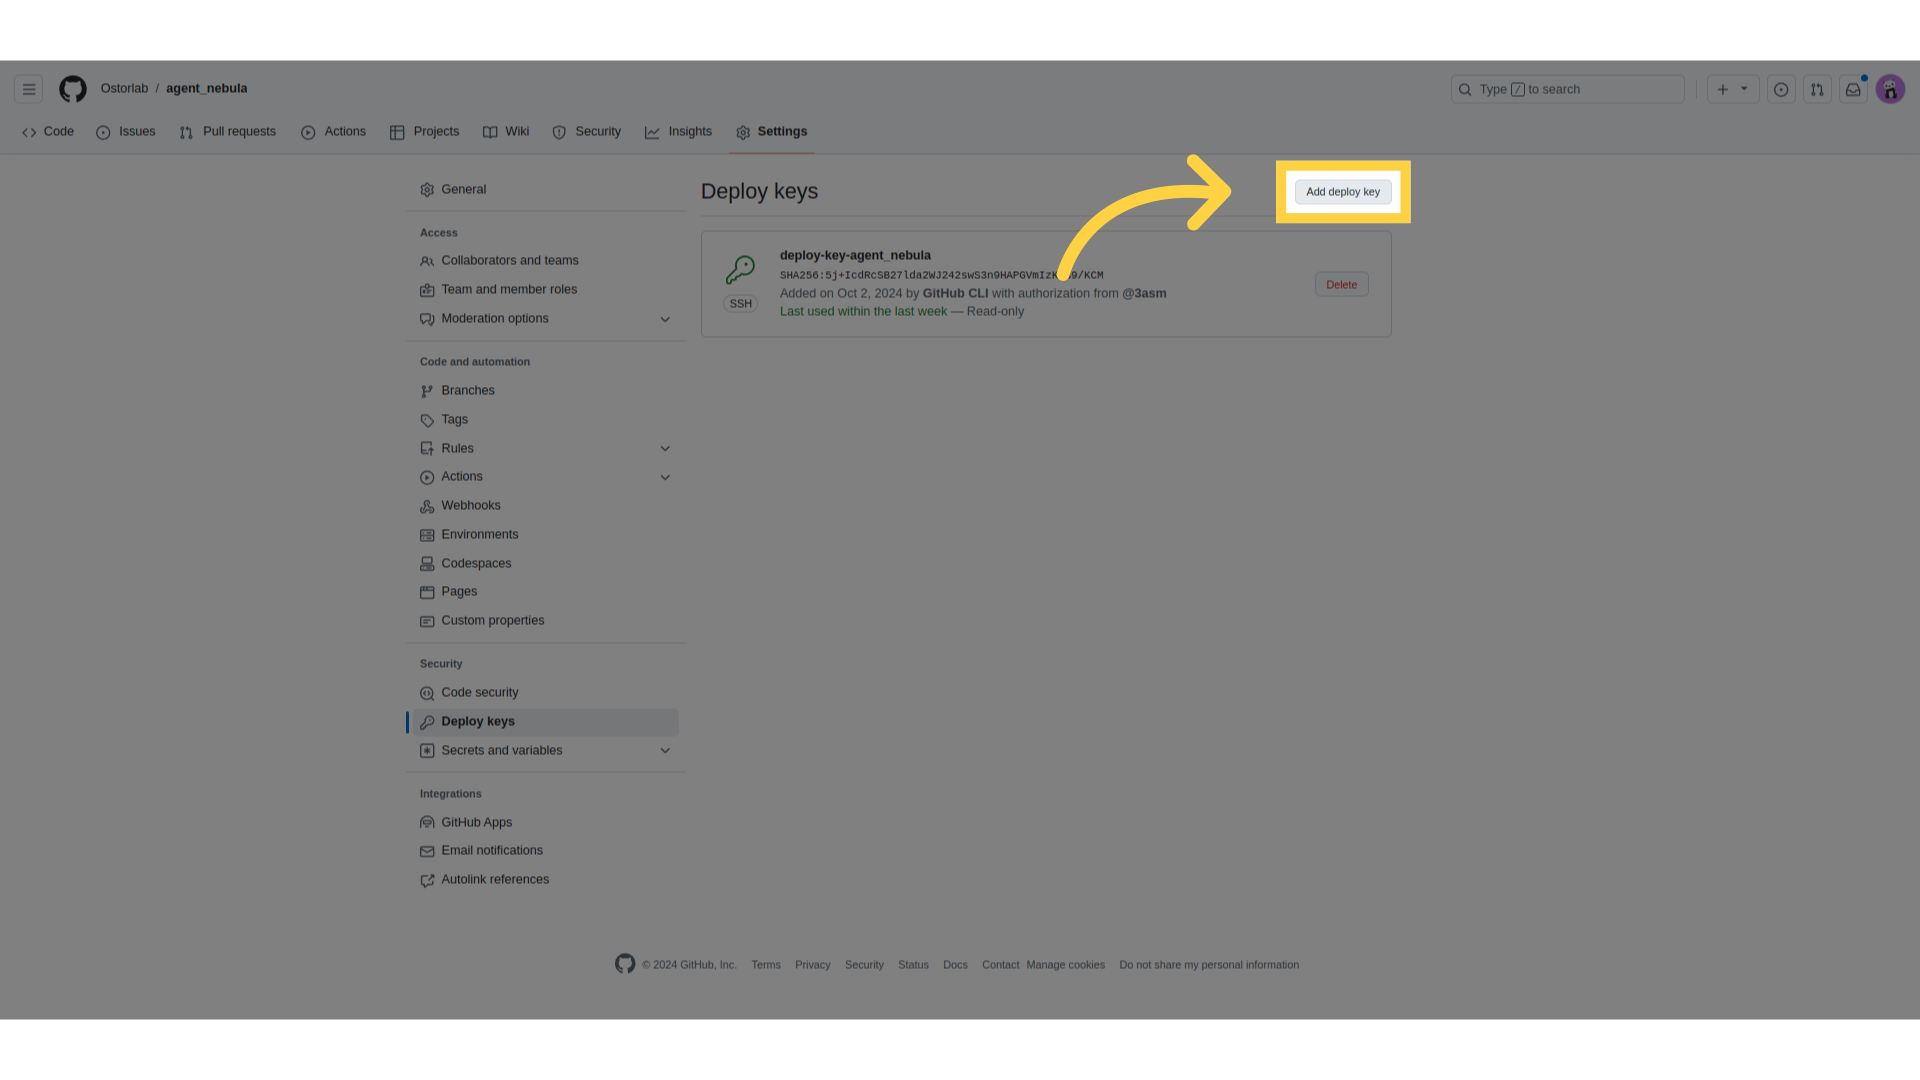
Next, click the Add deploy key button.
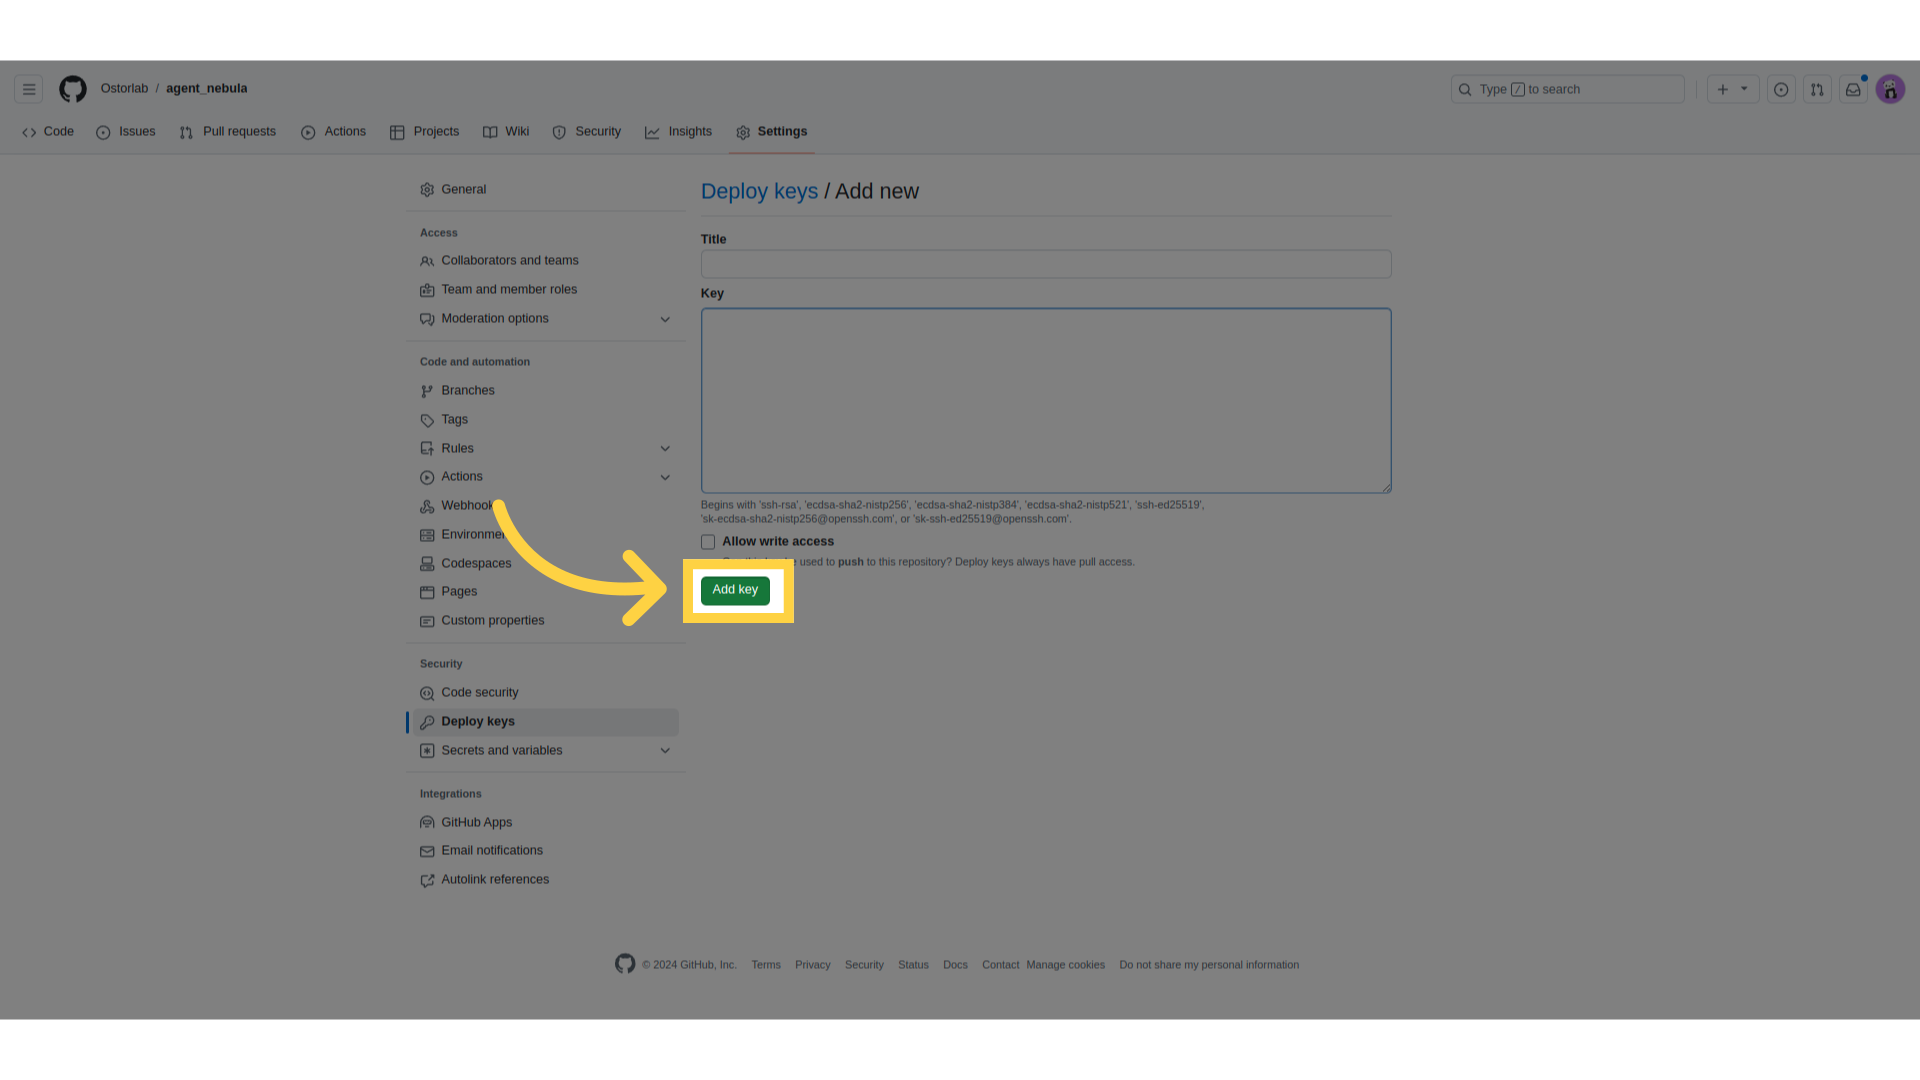
A form will appear where you need to provide two pieces of information. First, enter a title for your key. This can be anything descriptive, like Ostorlab Agent Key
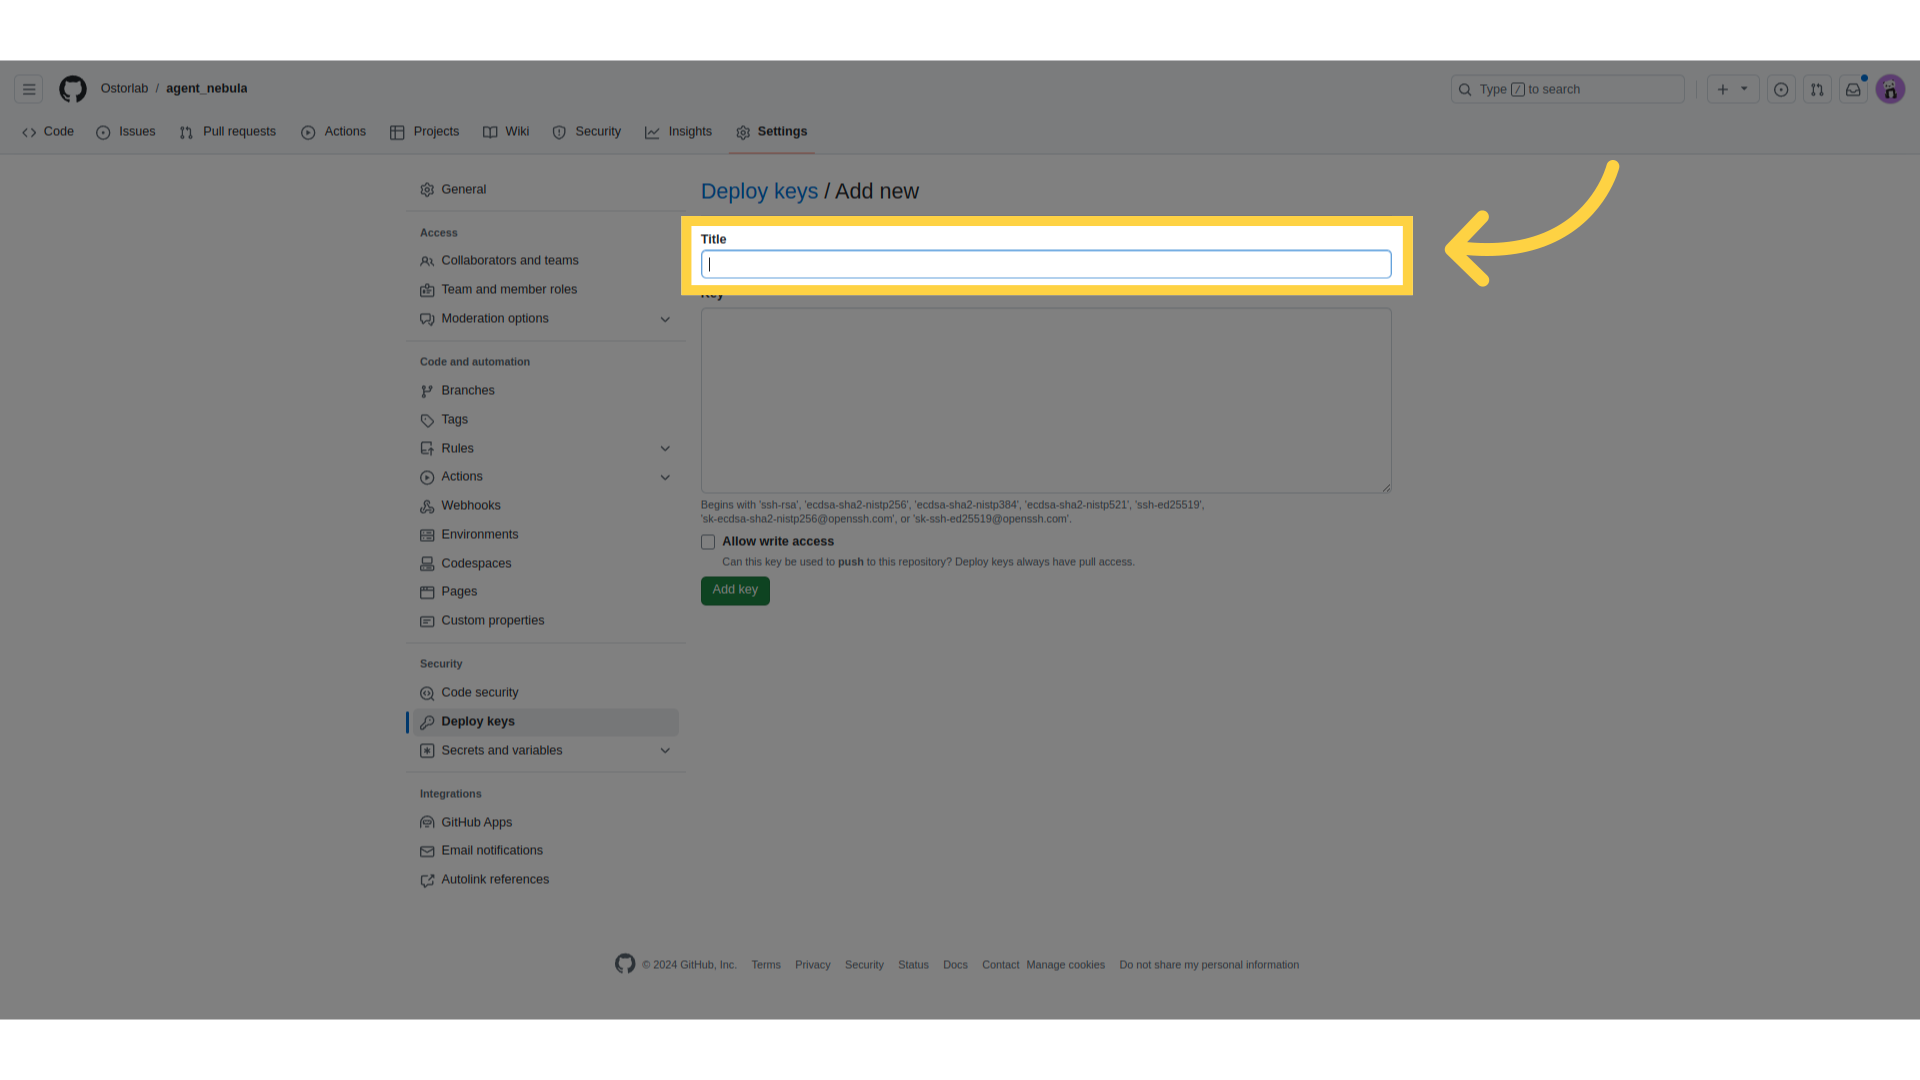
Then, paste the public SSH key that we just generated.

Once you’ve filled in the title and key, click Add key to finalize the process.
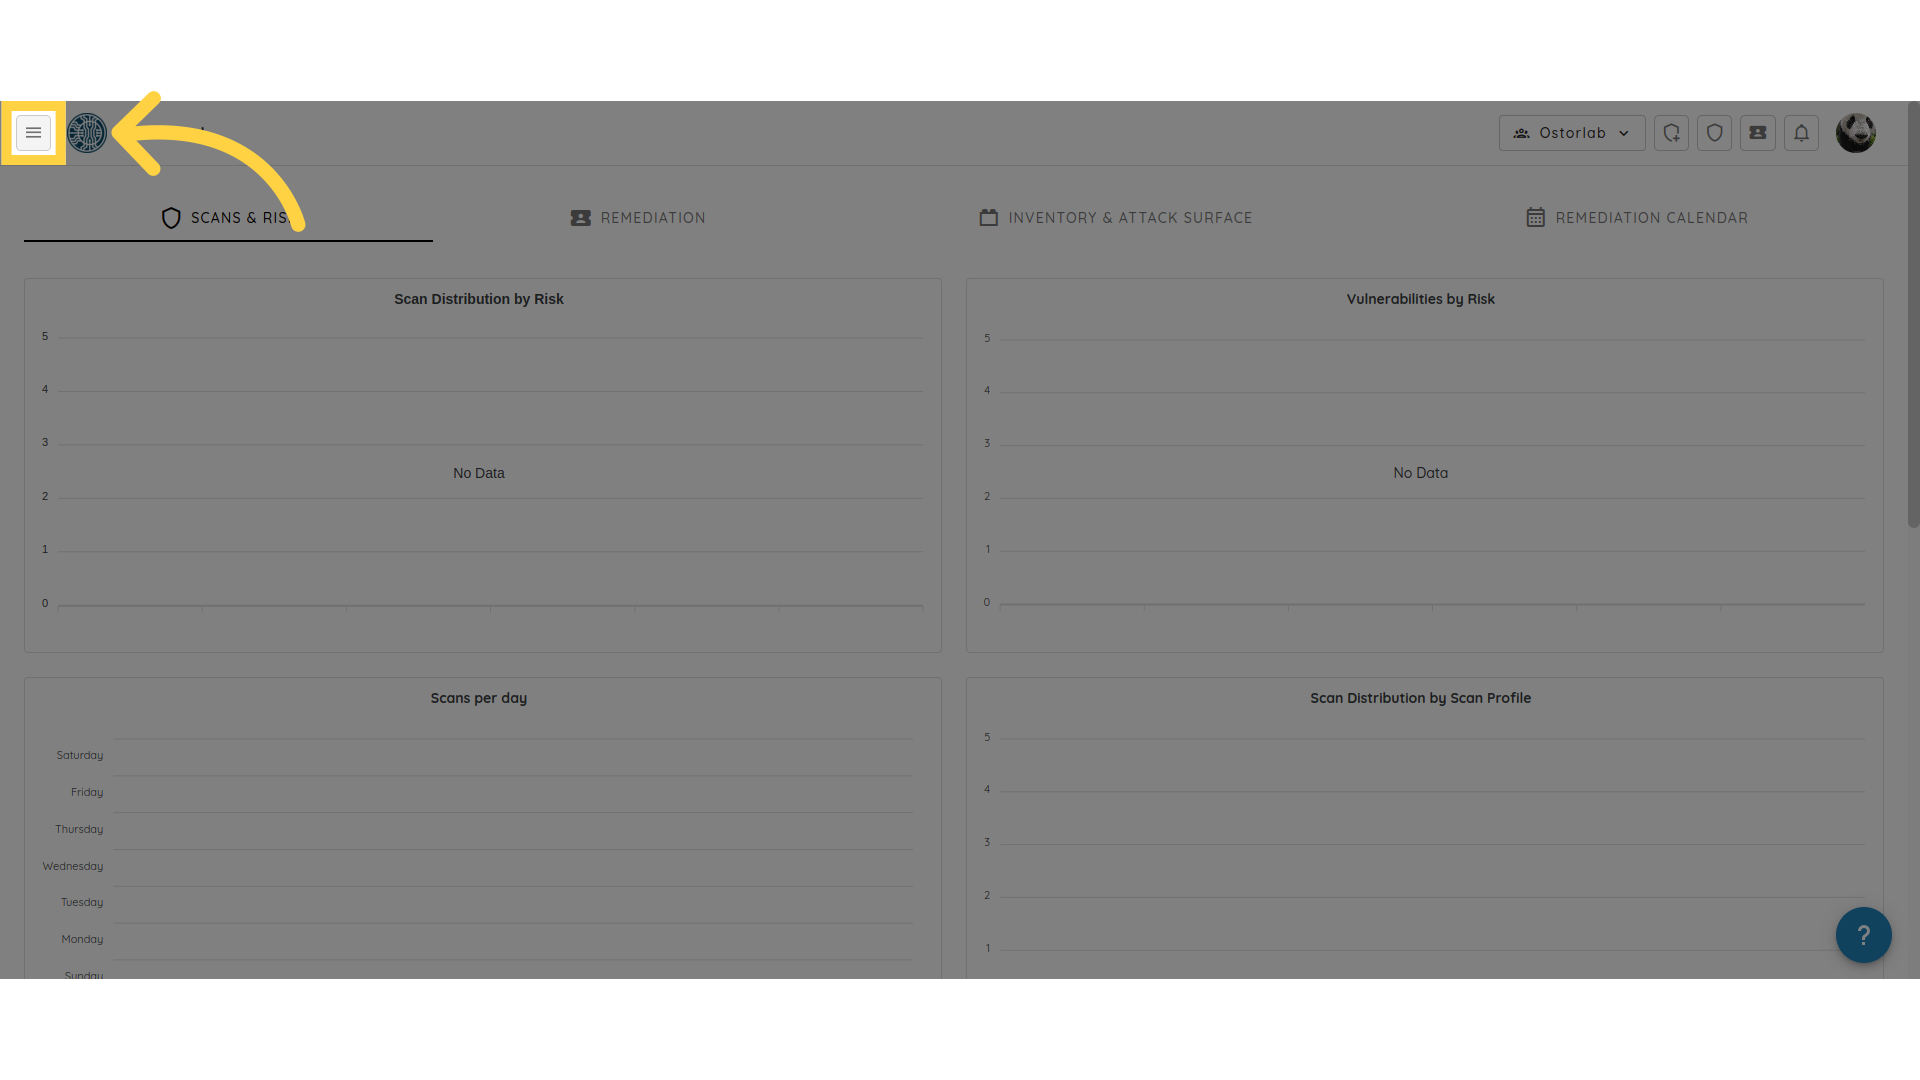
Now that the public key is added to your GitHub repository, it’s time to publish the agent using the private key in Ostorlab. To do this, go to your Ostorlab dashboard and click on the menu button.
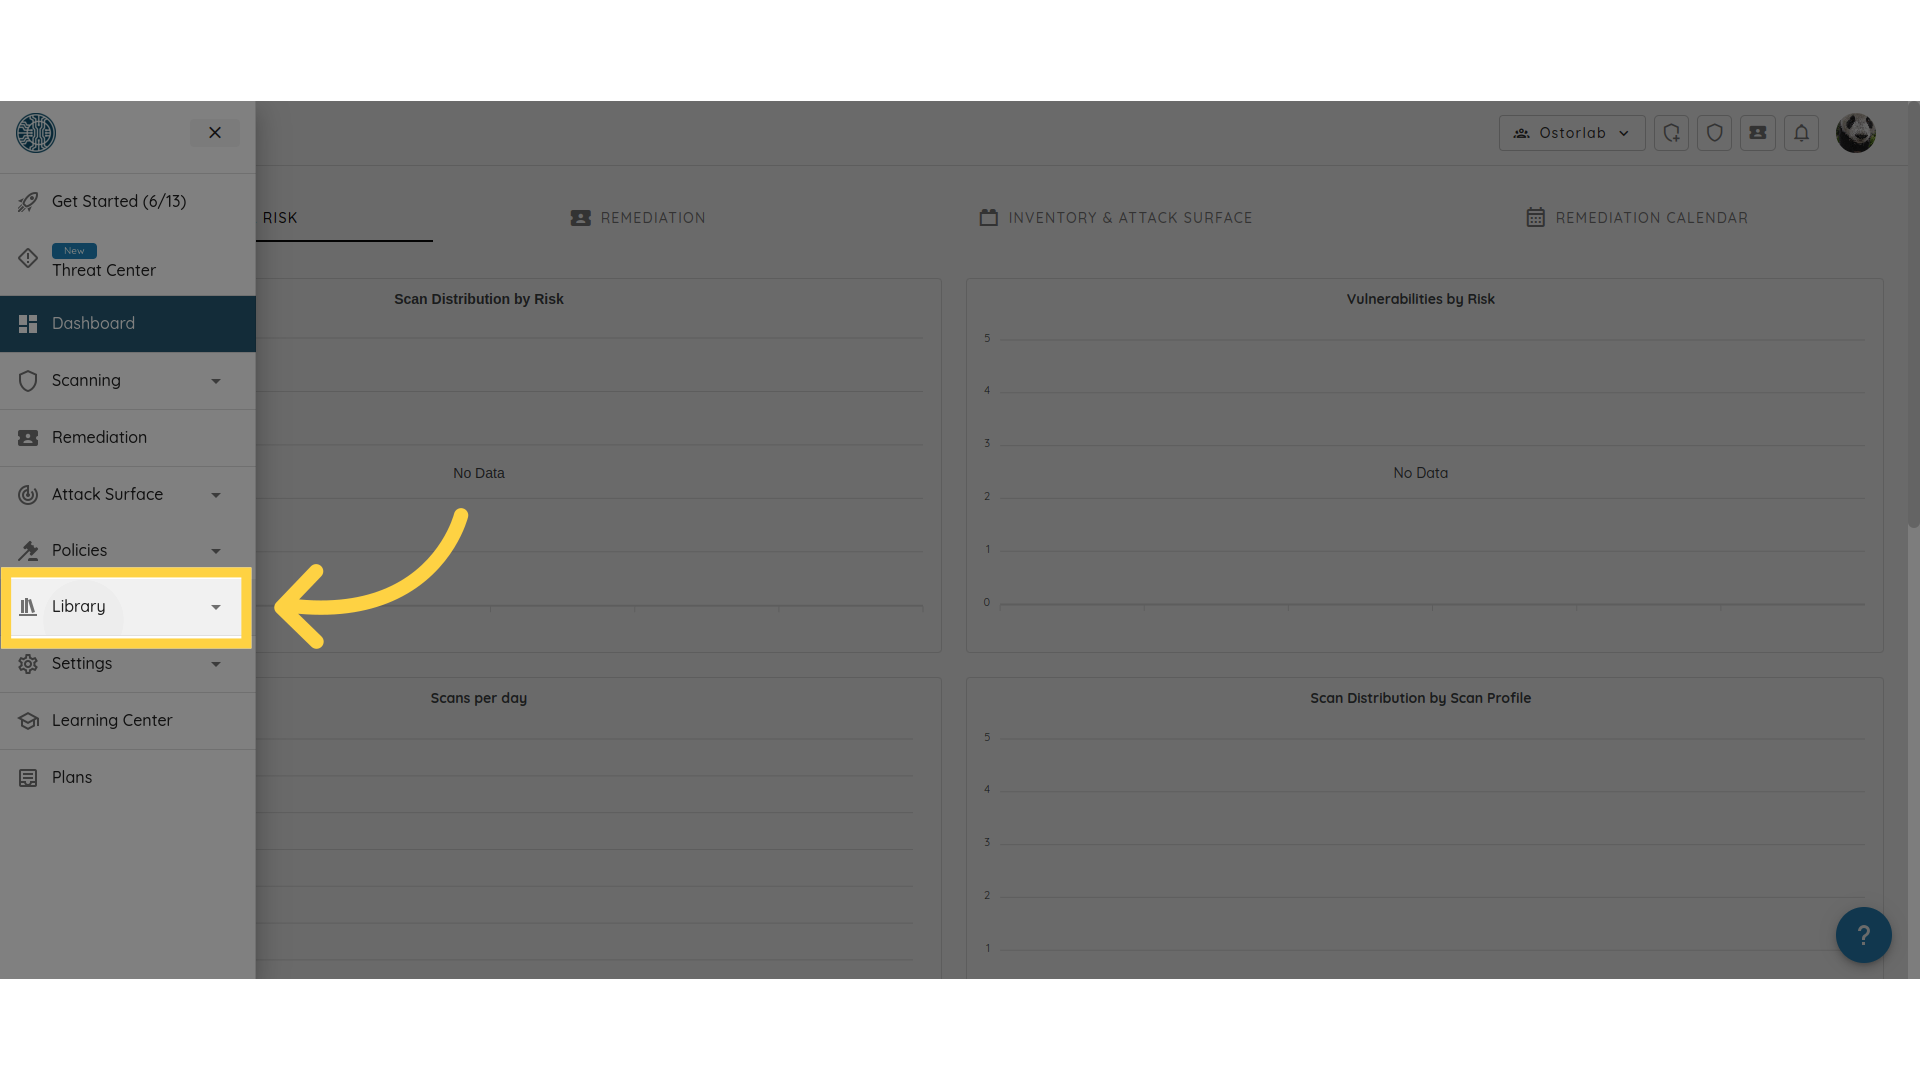
Next, navigate to the Agents section.
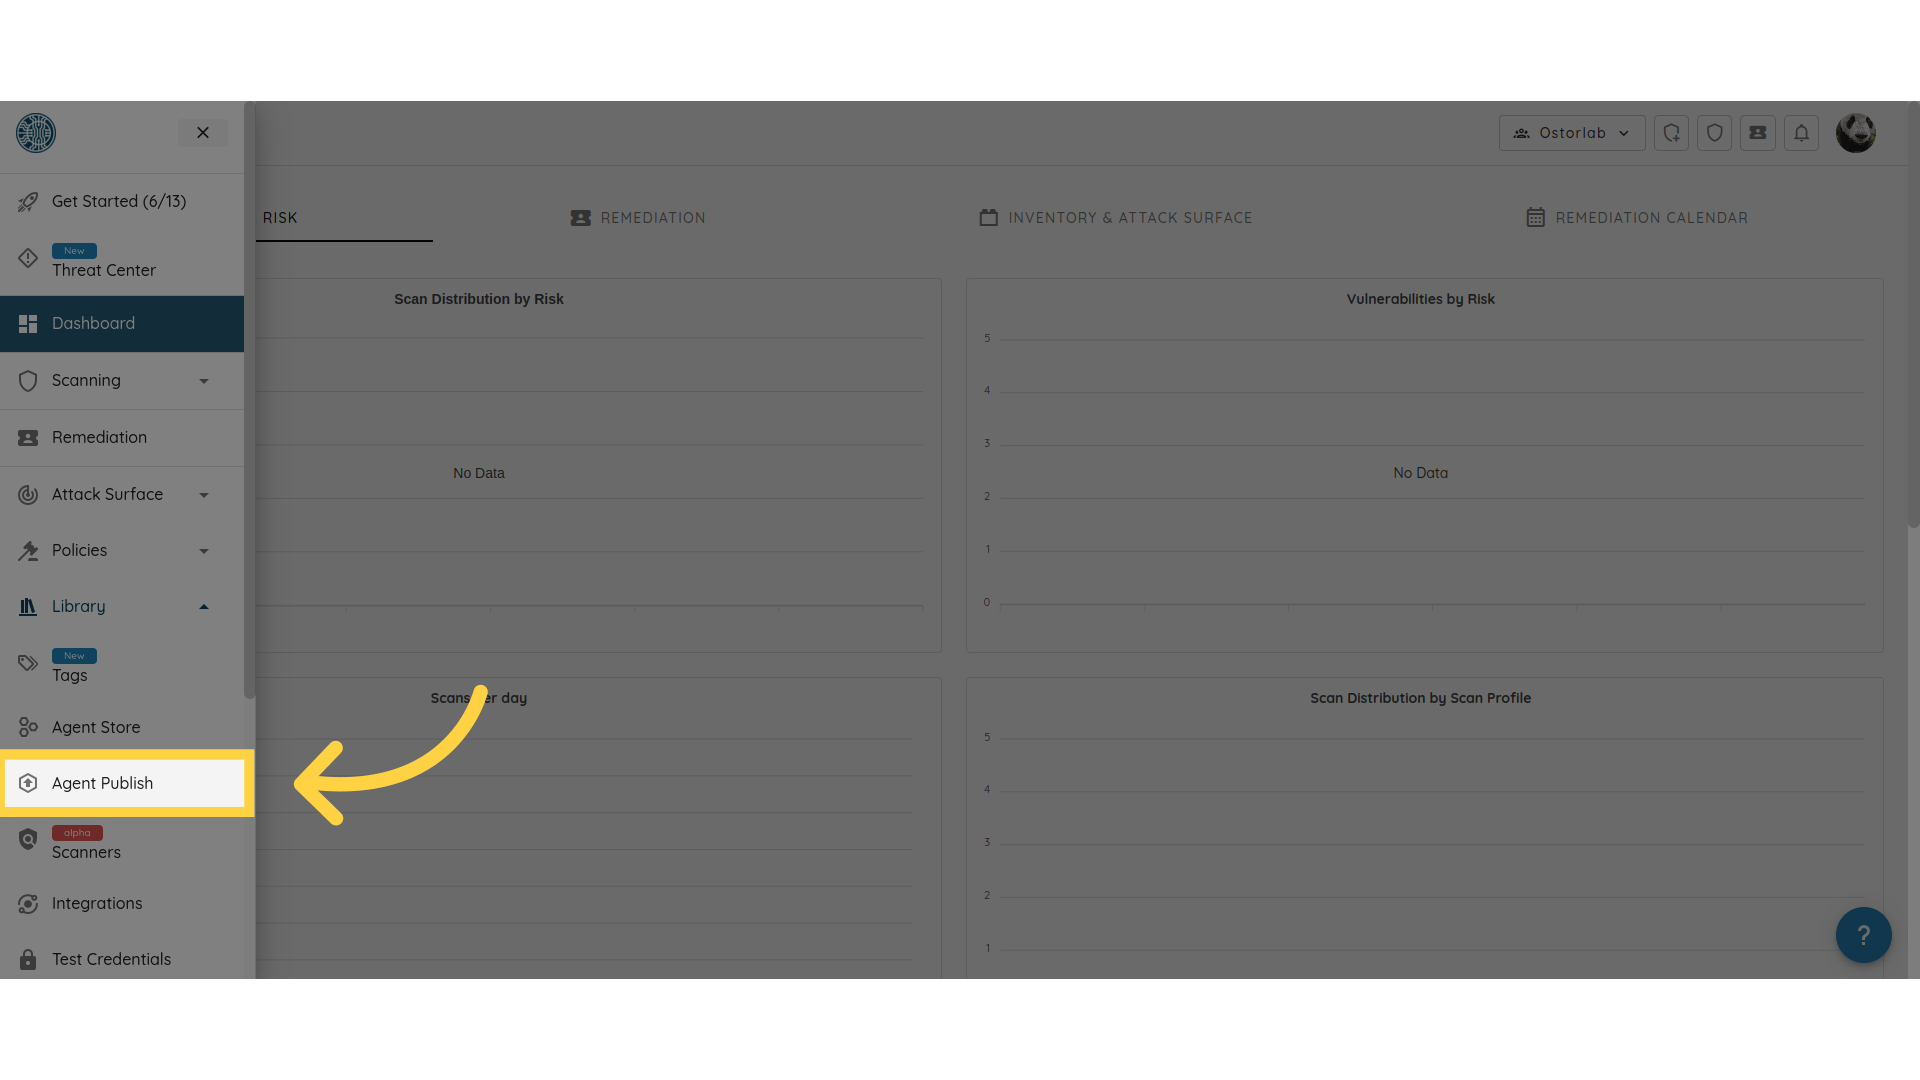
From there, select Agent Publish.
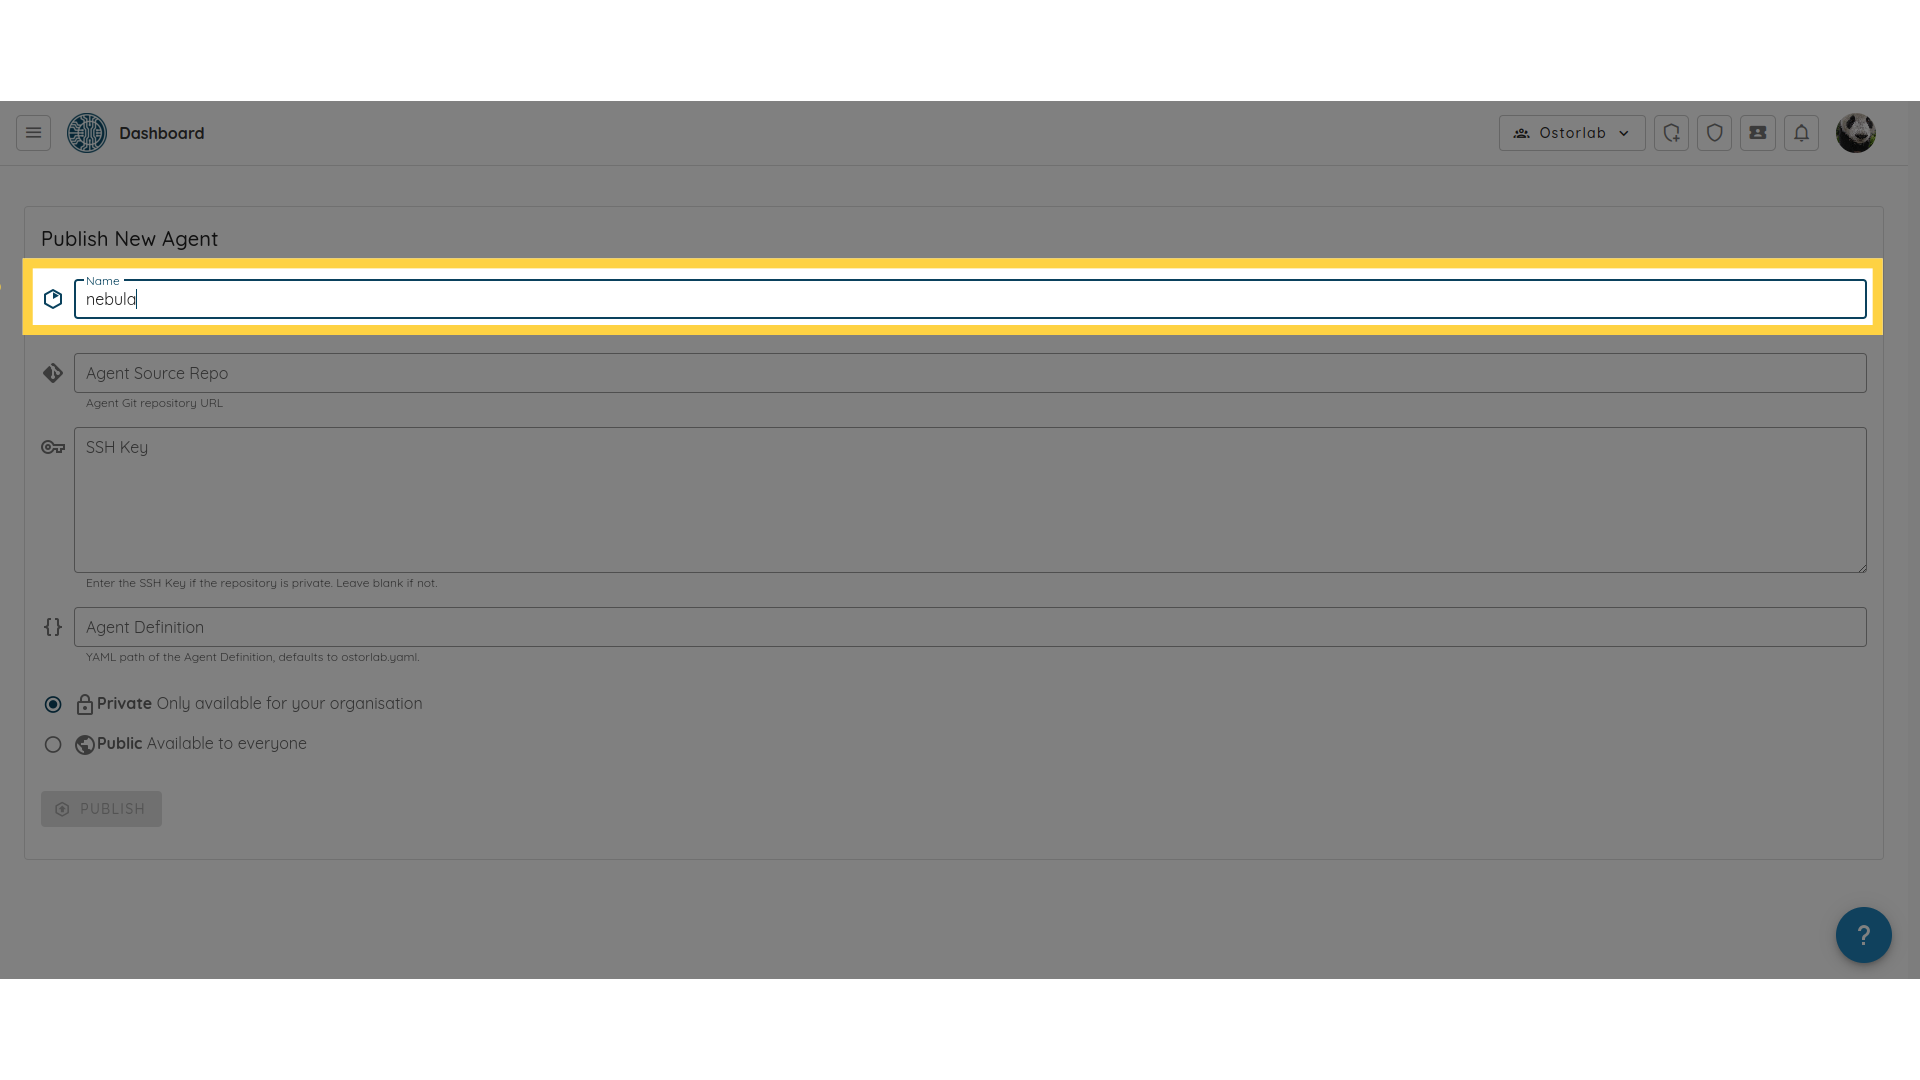
A form will appear where you need to fill in some details. First, enter the Agent Name, which should match the name defined in your oxo.yaml file.
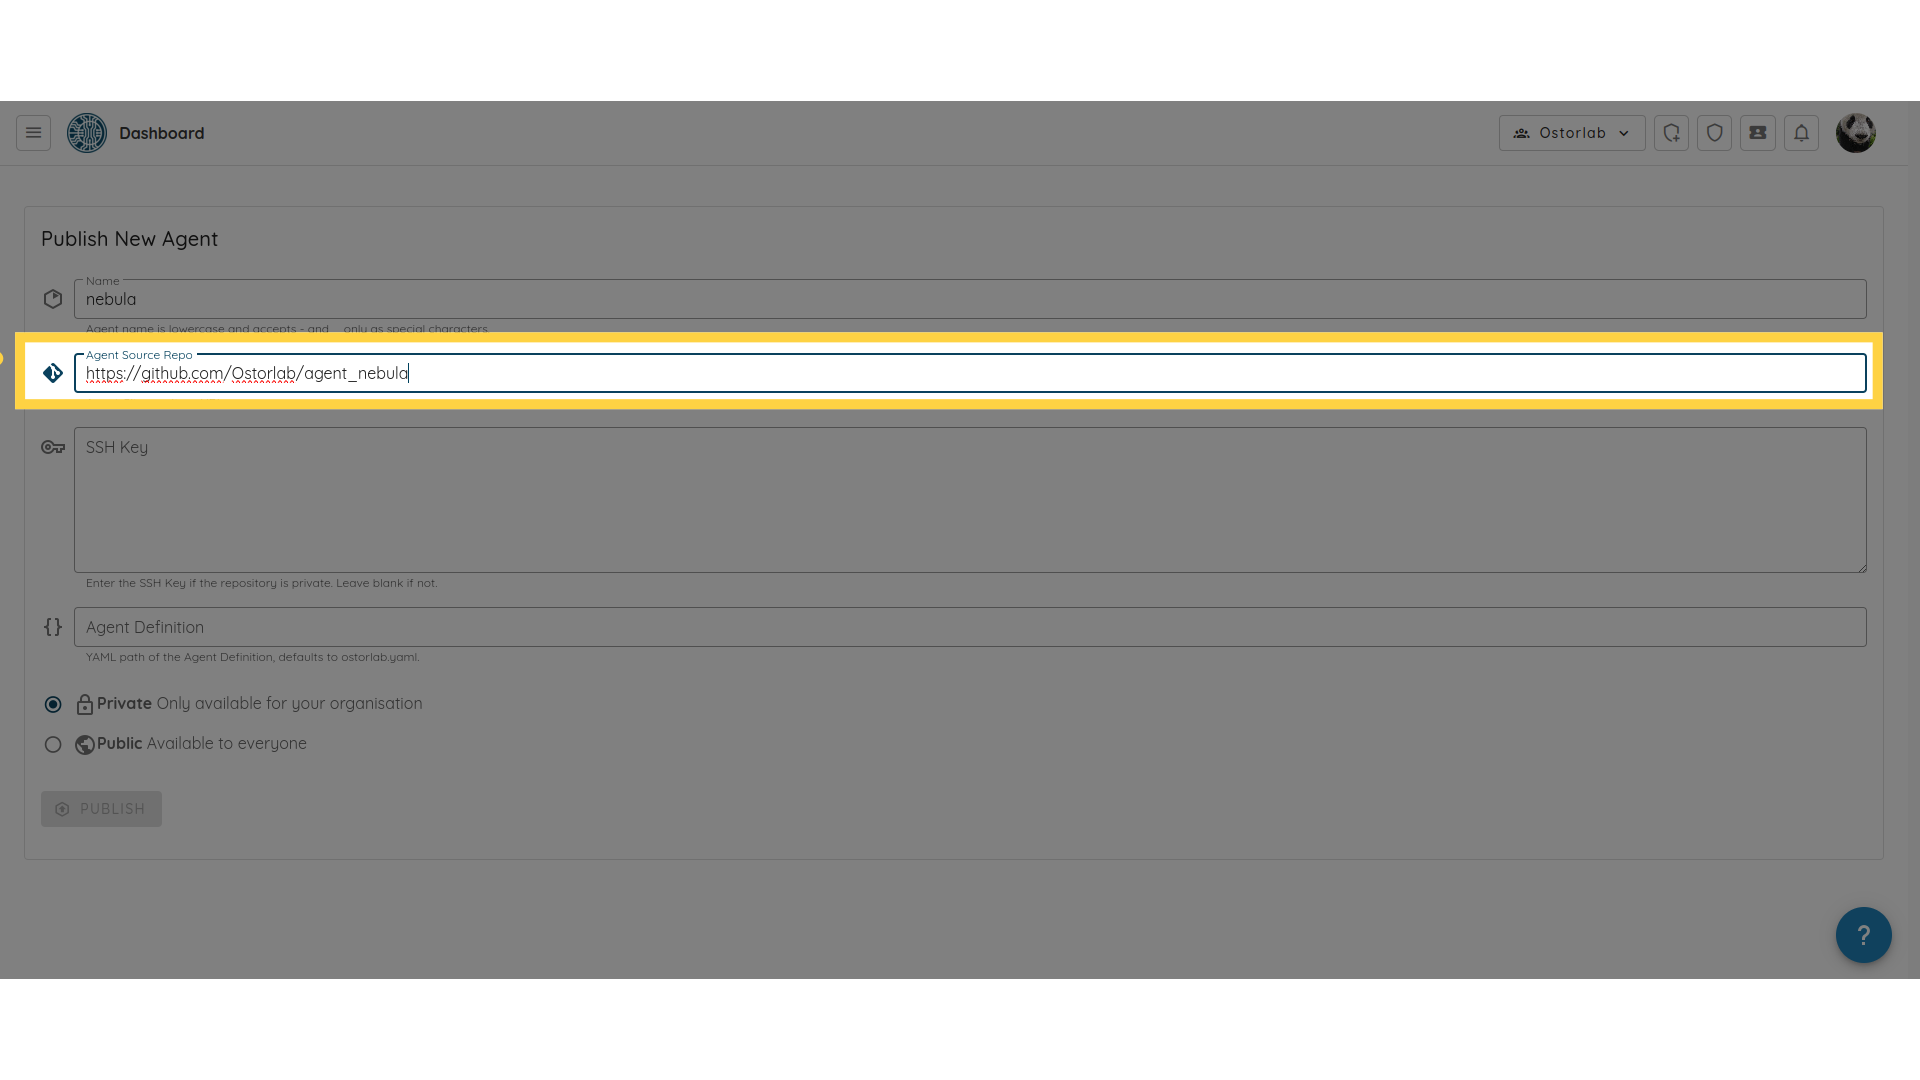
Then, enter the Agent Source Repository URL.
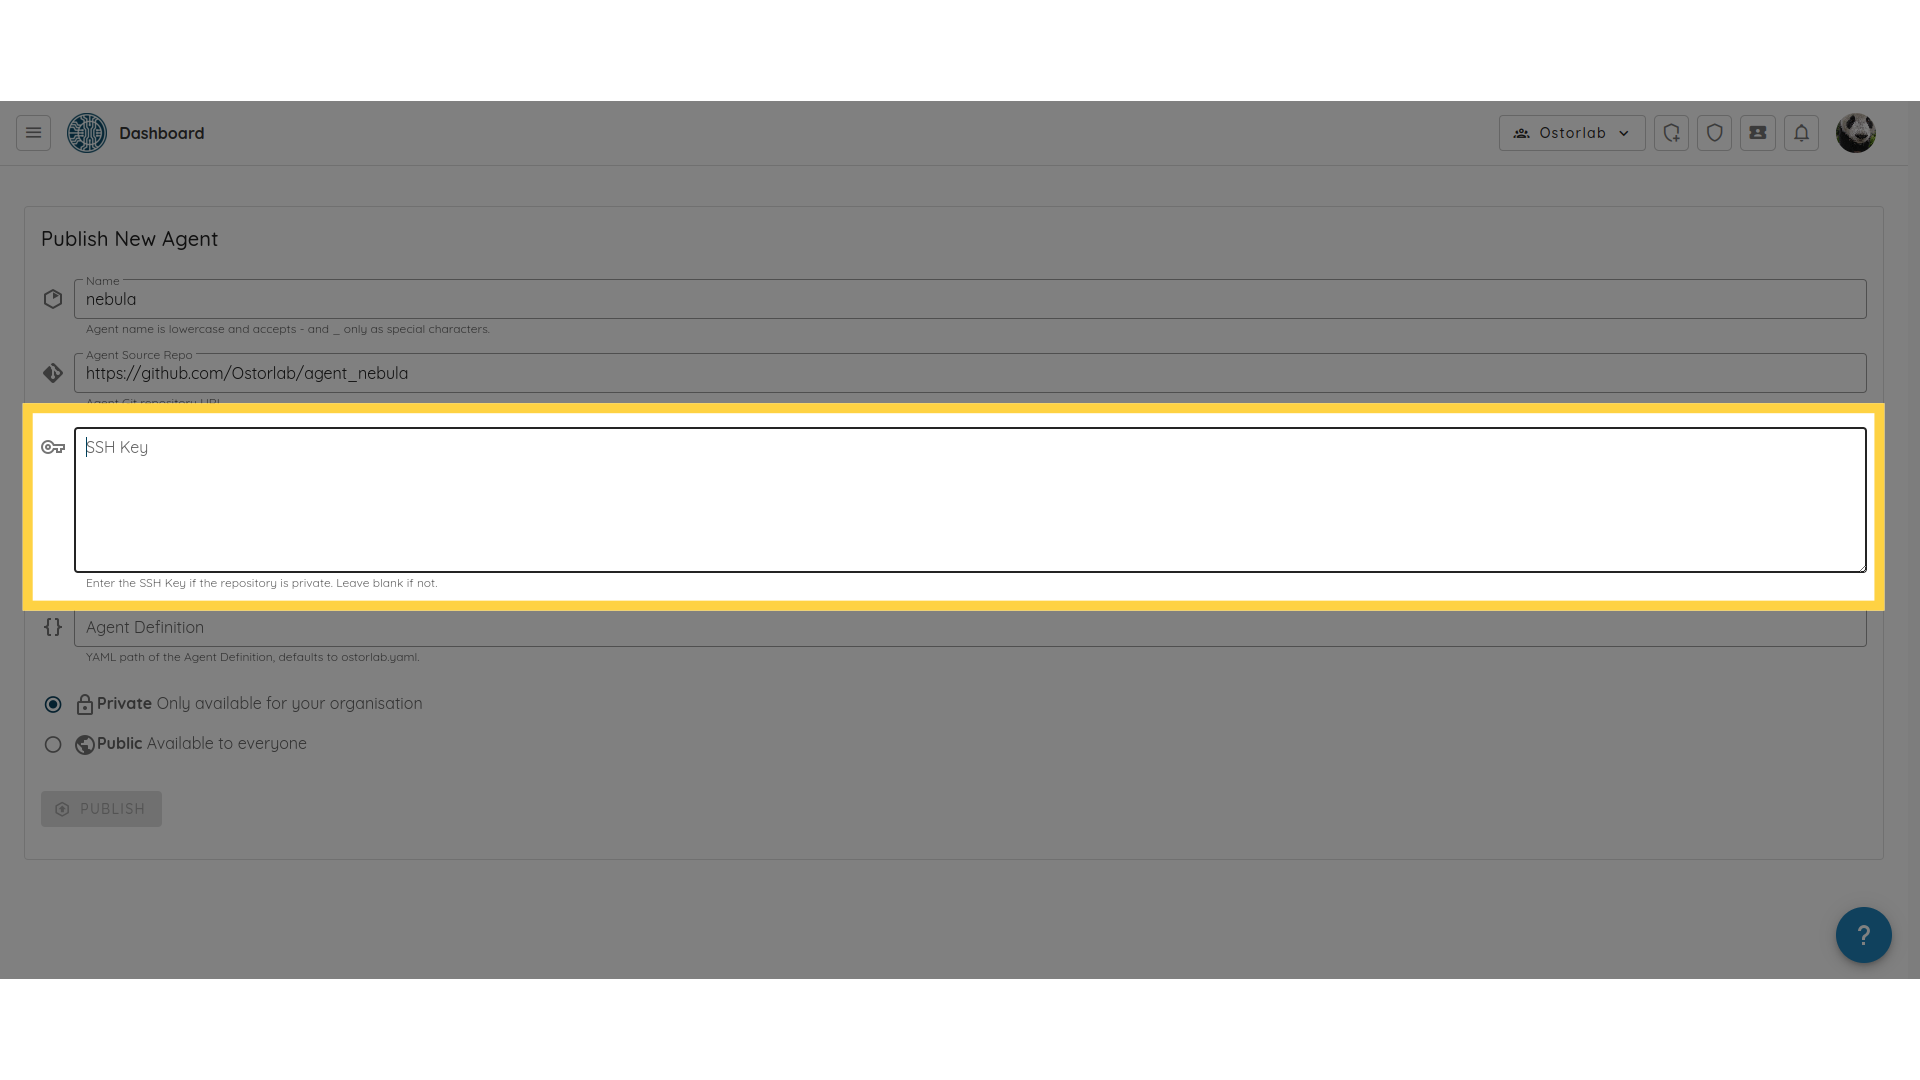
Next, paste the private SSH key that you generated earlier, make sure to keep an empty line at the end, otherwise it won't be considered as valid.
In the Agent Definition field, enter the name of the agent’s yaml definition file. By default, this file is named oxo.yaml.
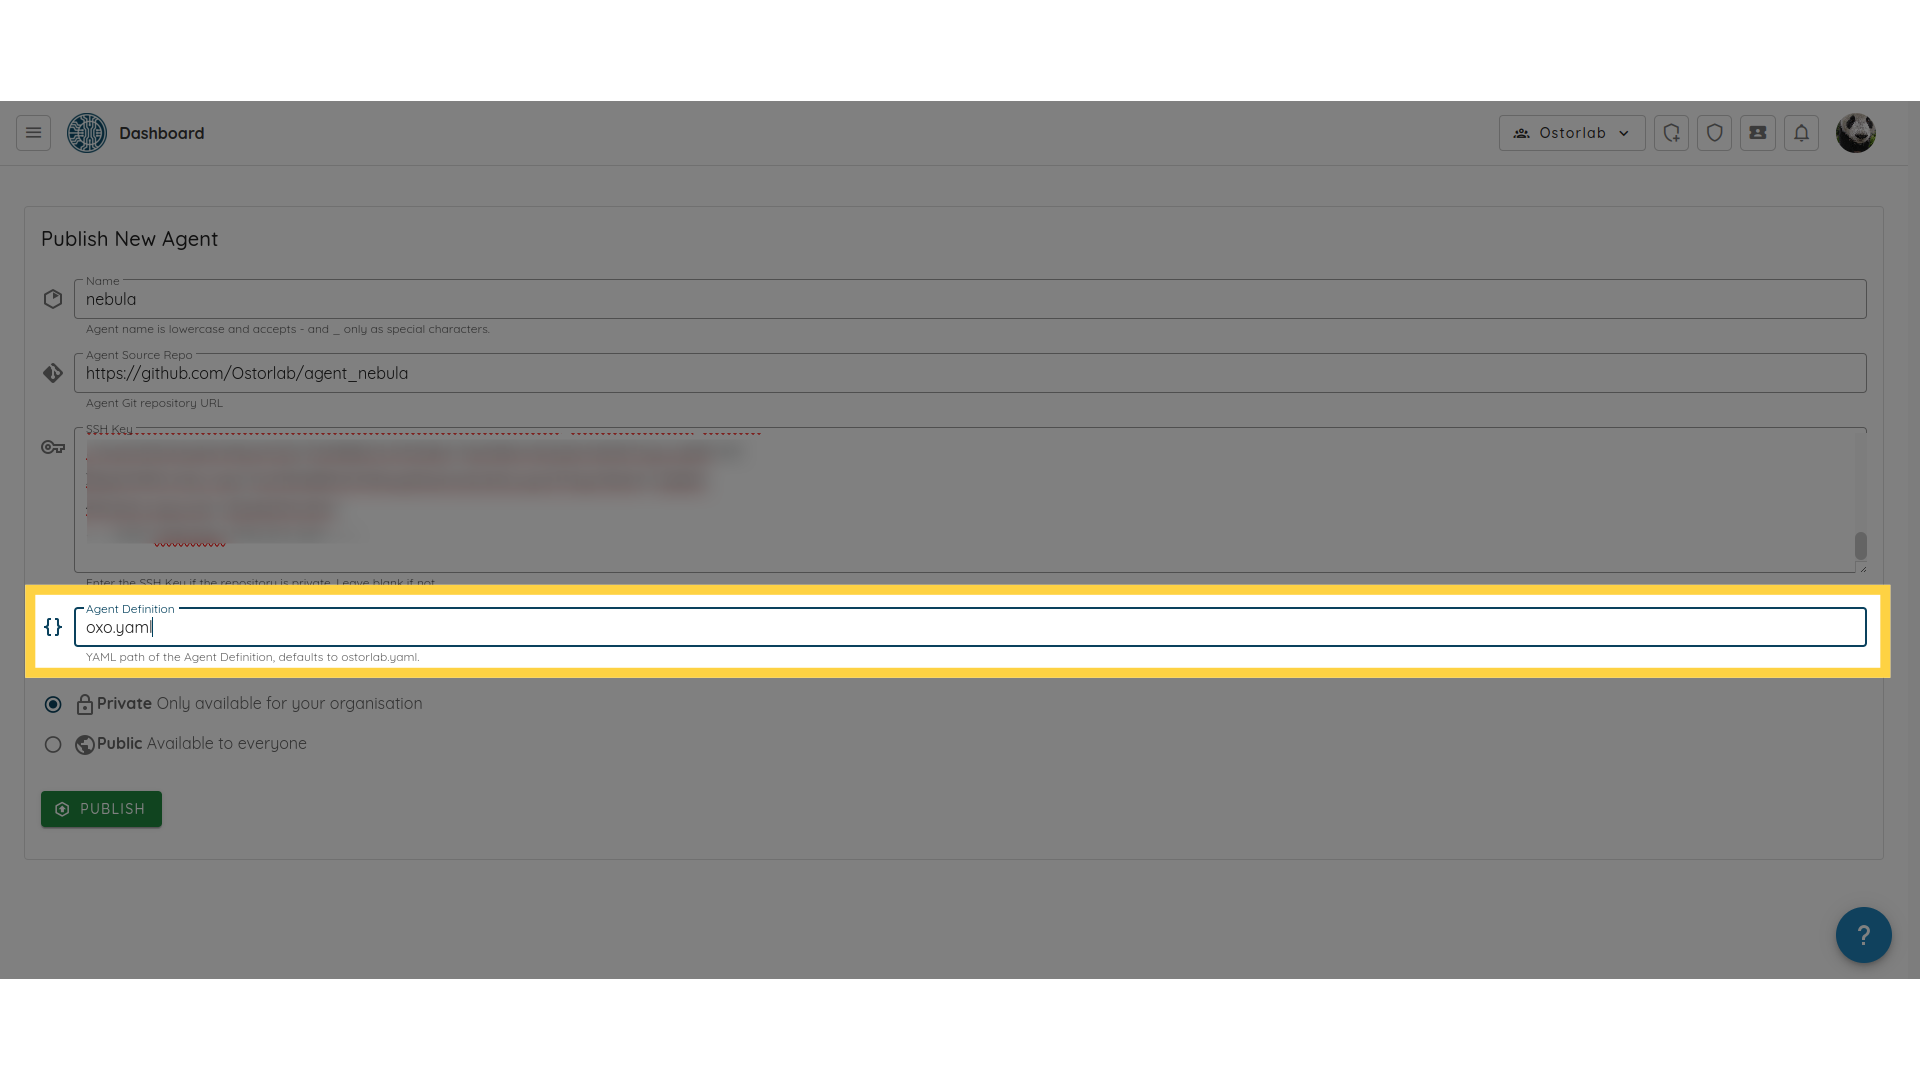
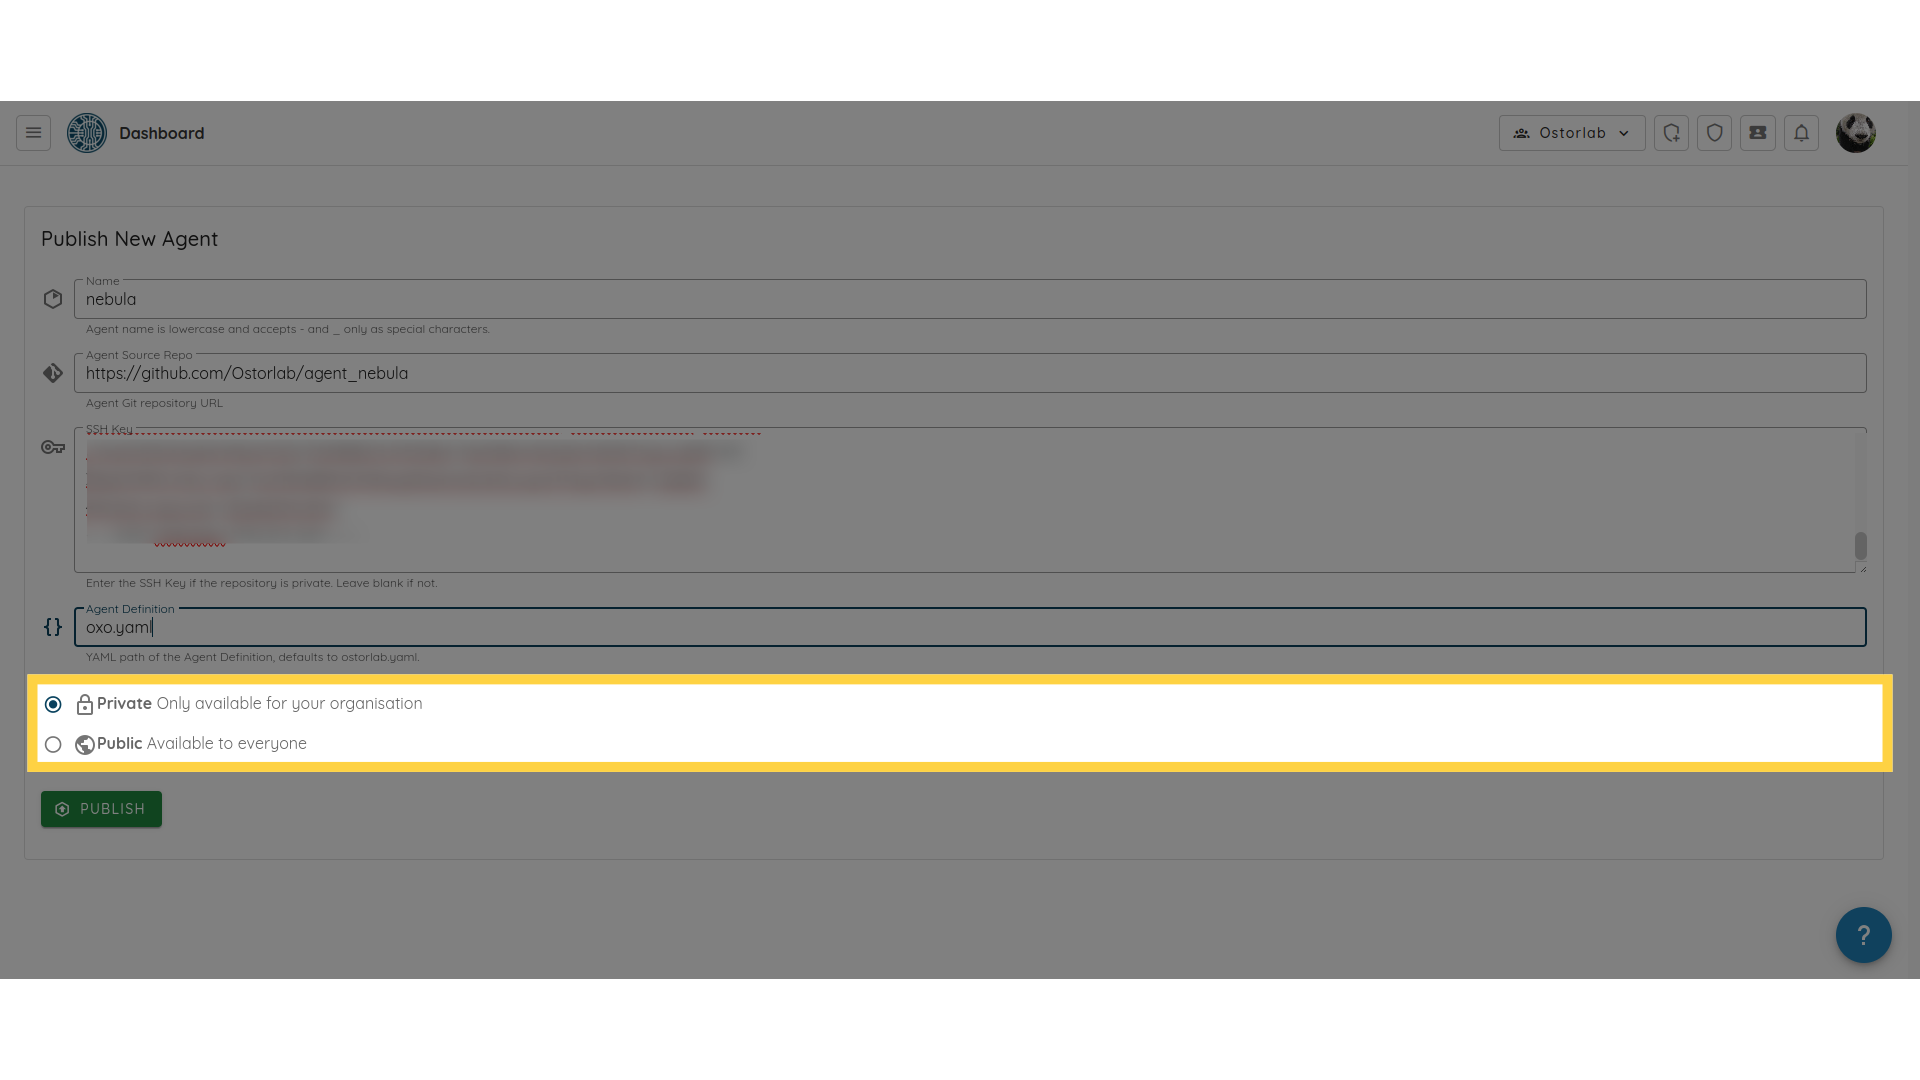
Finally, choose whether you want your agent to be public or private.
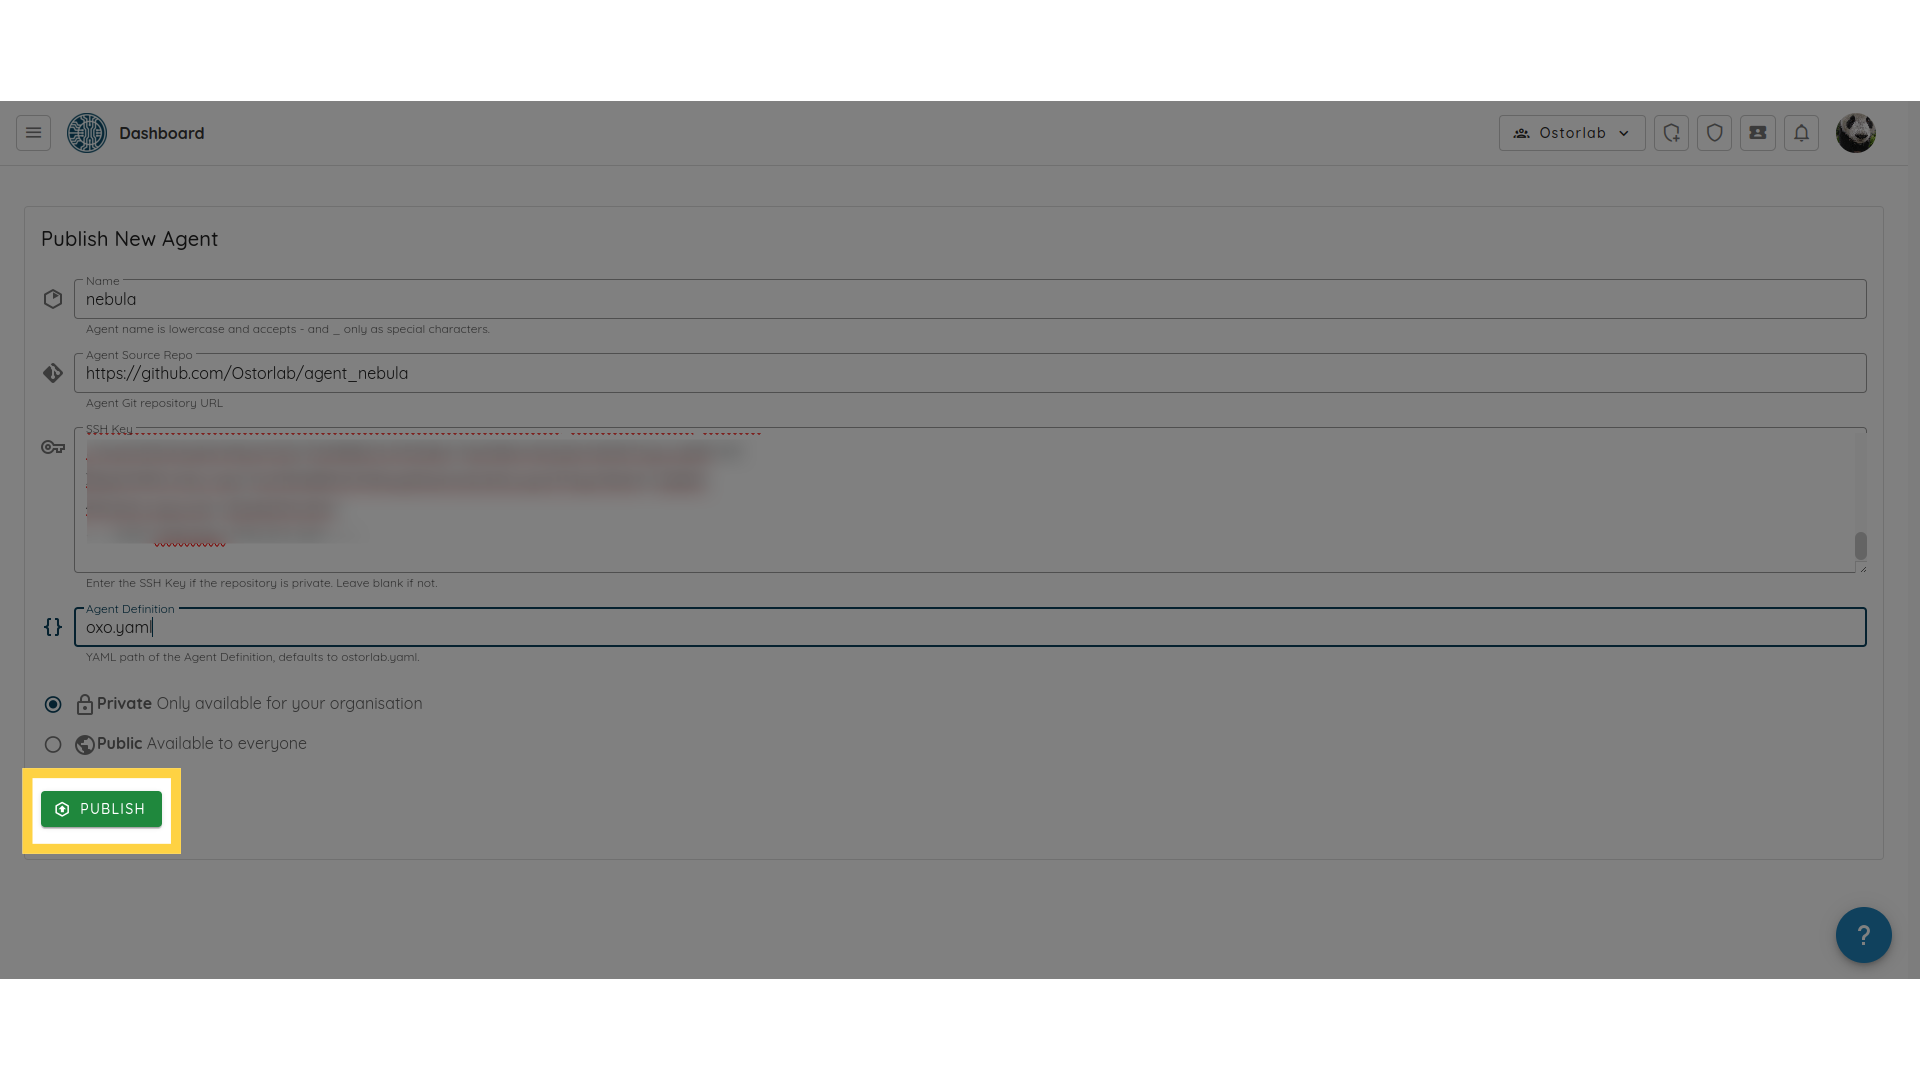
Once all the fields are complete, hit Publish to finalize the process.
And that’s it! You’ve successfully added a new agent with a private repository, securely connecting GitHub using SSH keys and publishing the agent through Ostorlab. This process ensures your agent’s source code remains secure while allowing seamless integration into the Ostorlab platform.