TeamCity
Easily integrate Ostorlab automated security scanning for Android and iOS mobile applications into your build process with TeamCity.
Usage:
Generate an Ostorlab API key
- Go to the API keys menu
- Click the new button to generate a new key
- Copy the API key (You can add a name and an expiry date to your key)
- Click the save button to save your key

Add Ostorlab as a Command Line Step on TeamCity
-
Head to your
TeamCityproject settings and add a new build step.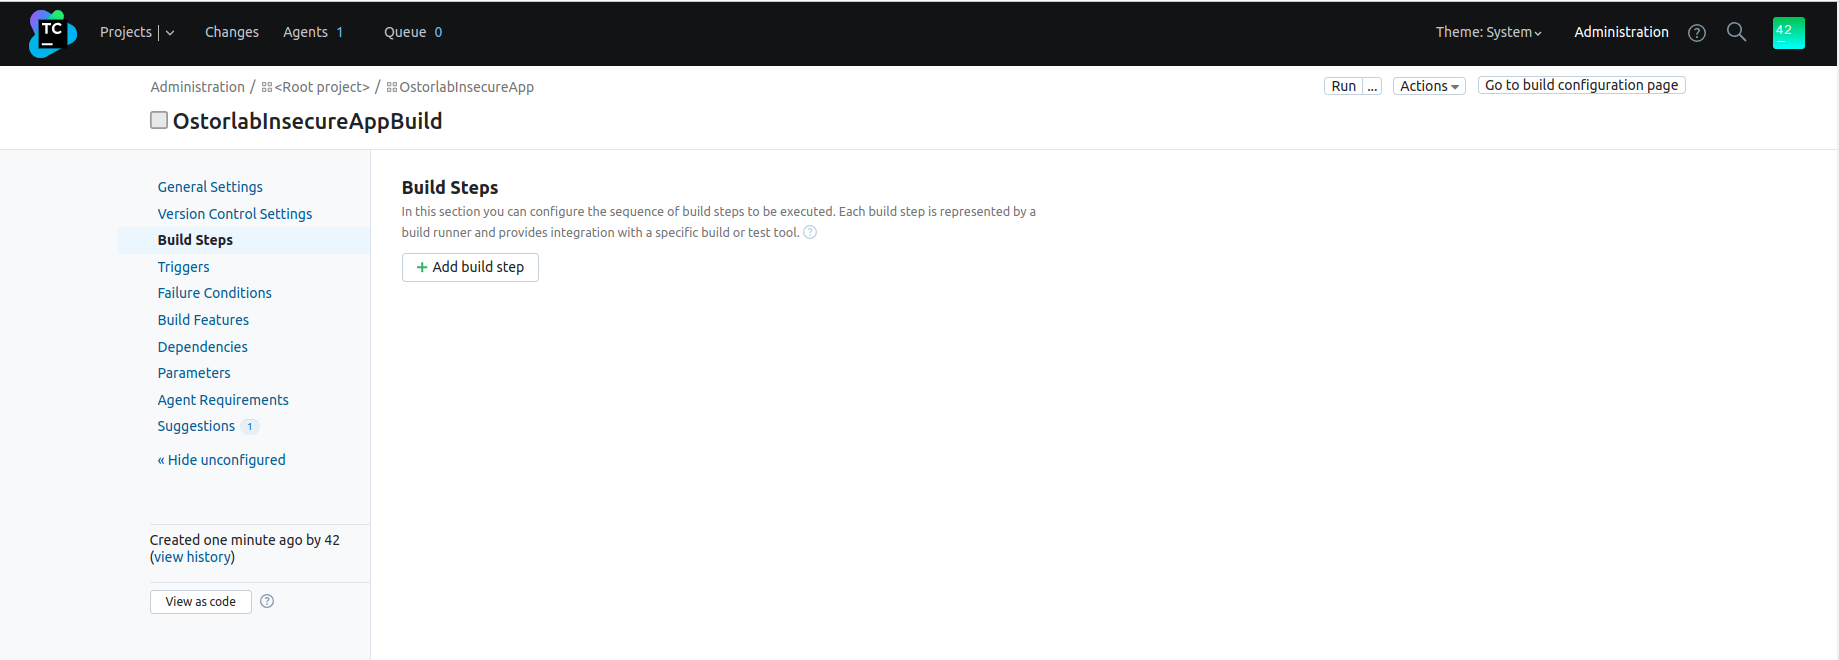
-
Choose
Command LineRunner.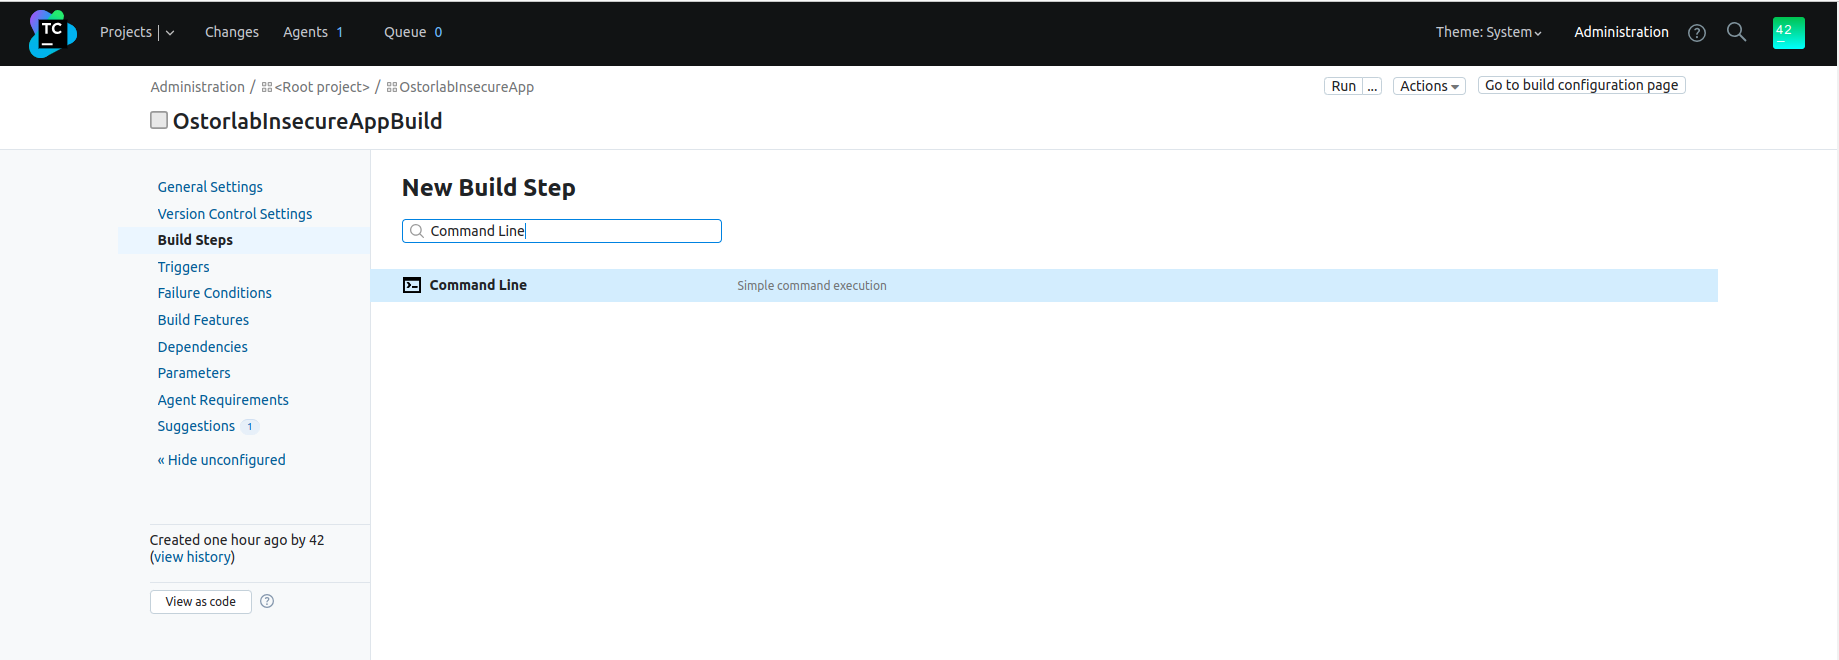
-
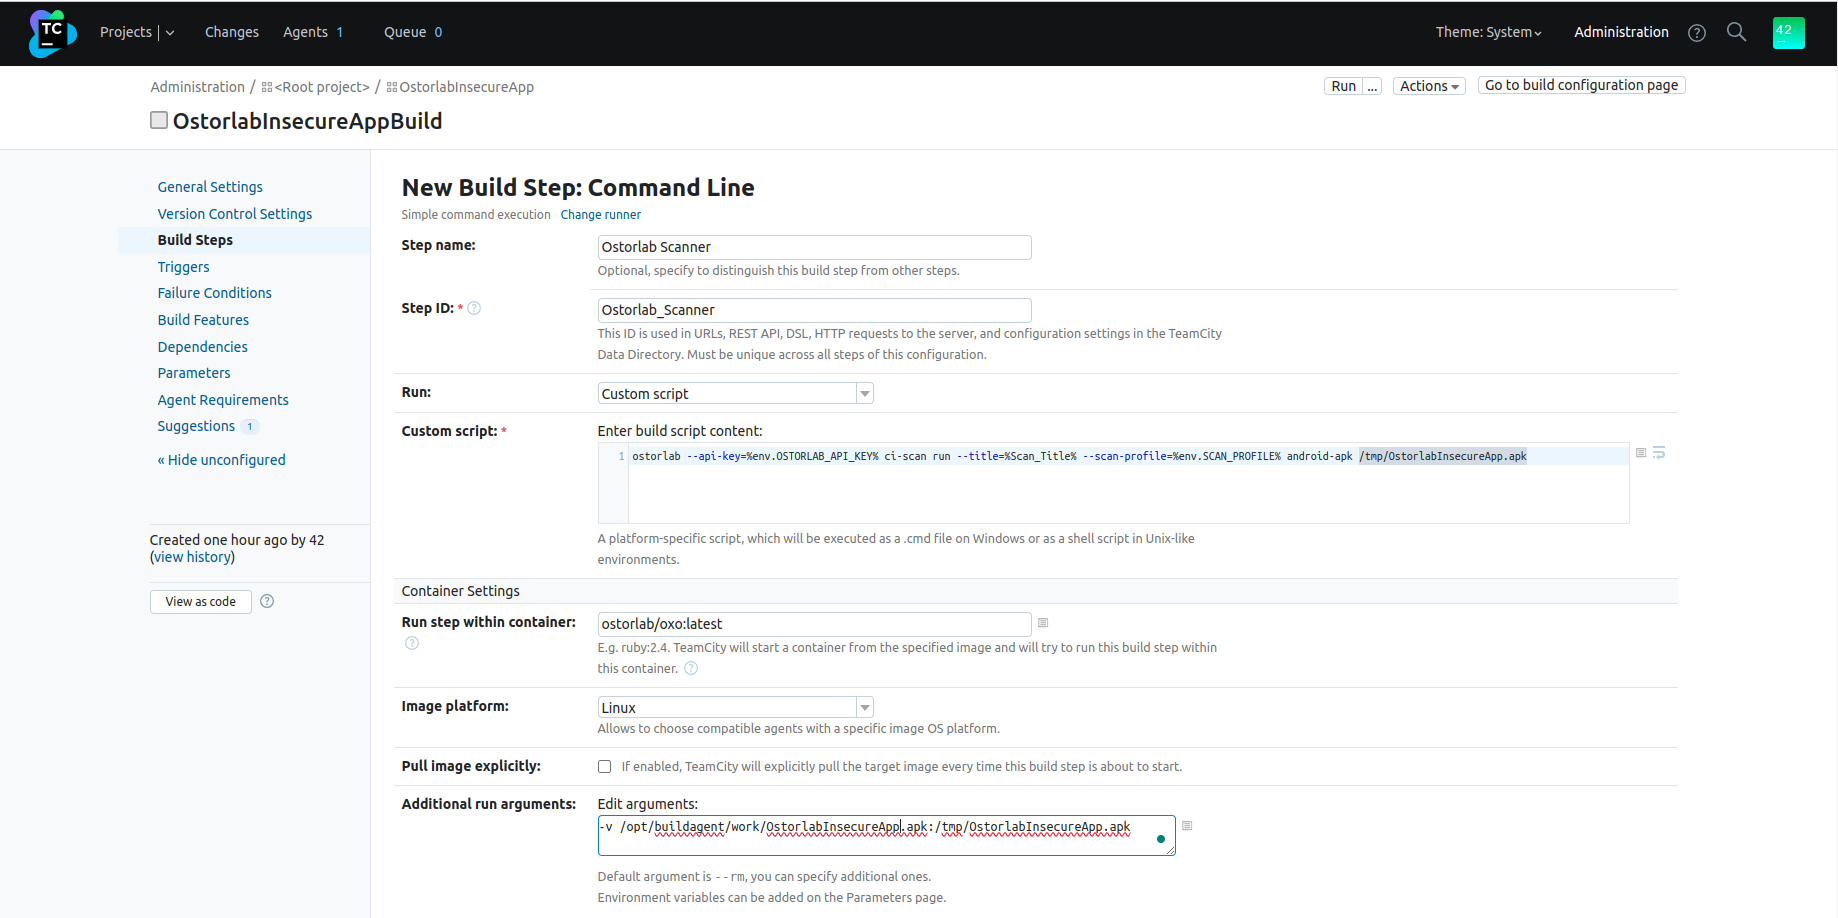
Fill in the step configuration
- Step name: Choose a name to distinguish the build step from other steps;
- Choose
Custom scriptas theRuntype; - Add the following command as a
Custom script;Checkostorlab --api-key=%env.OSTORLAB_API_KEY% ci-scan run --title=%Scan_Title% --scan-profile=%env.SCAN_PROFILE% android-apk /tmp/OstorlabInsecureApp.apkAdditional optionsbelow for the full list of options. - The step should run within the ostorlab container:
- Add
ostorlab/oxo:latestin theRun step within containerfield; - Choose
Linuxas theImage platform; - Click on
Edit argumentsin theAdditional run argumentsstep; - Mount the application to the ostorlab container,
-v source_path:destination_pathMake sure the destination_path is the same as the-v /opt/buildagent/work/OstorlabInsecureApp.apk:/tmp/OstorlabInsecureApp.apkostorlab ci-scan runcommand defined previously.
- Add
-
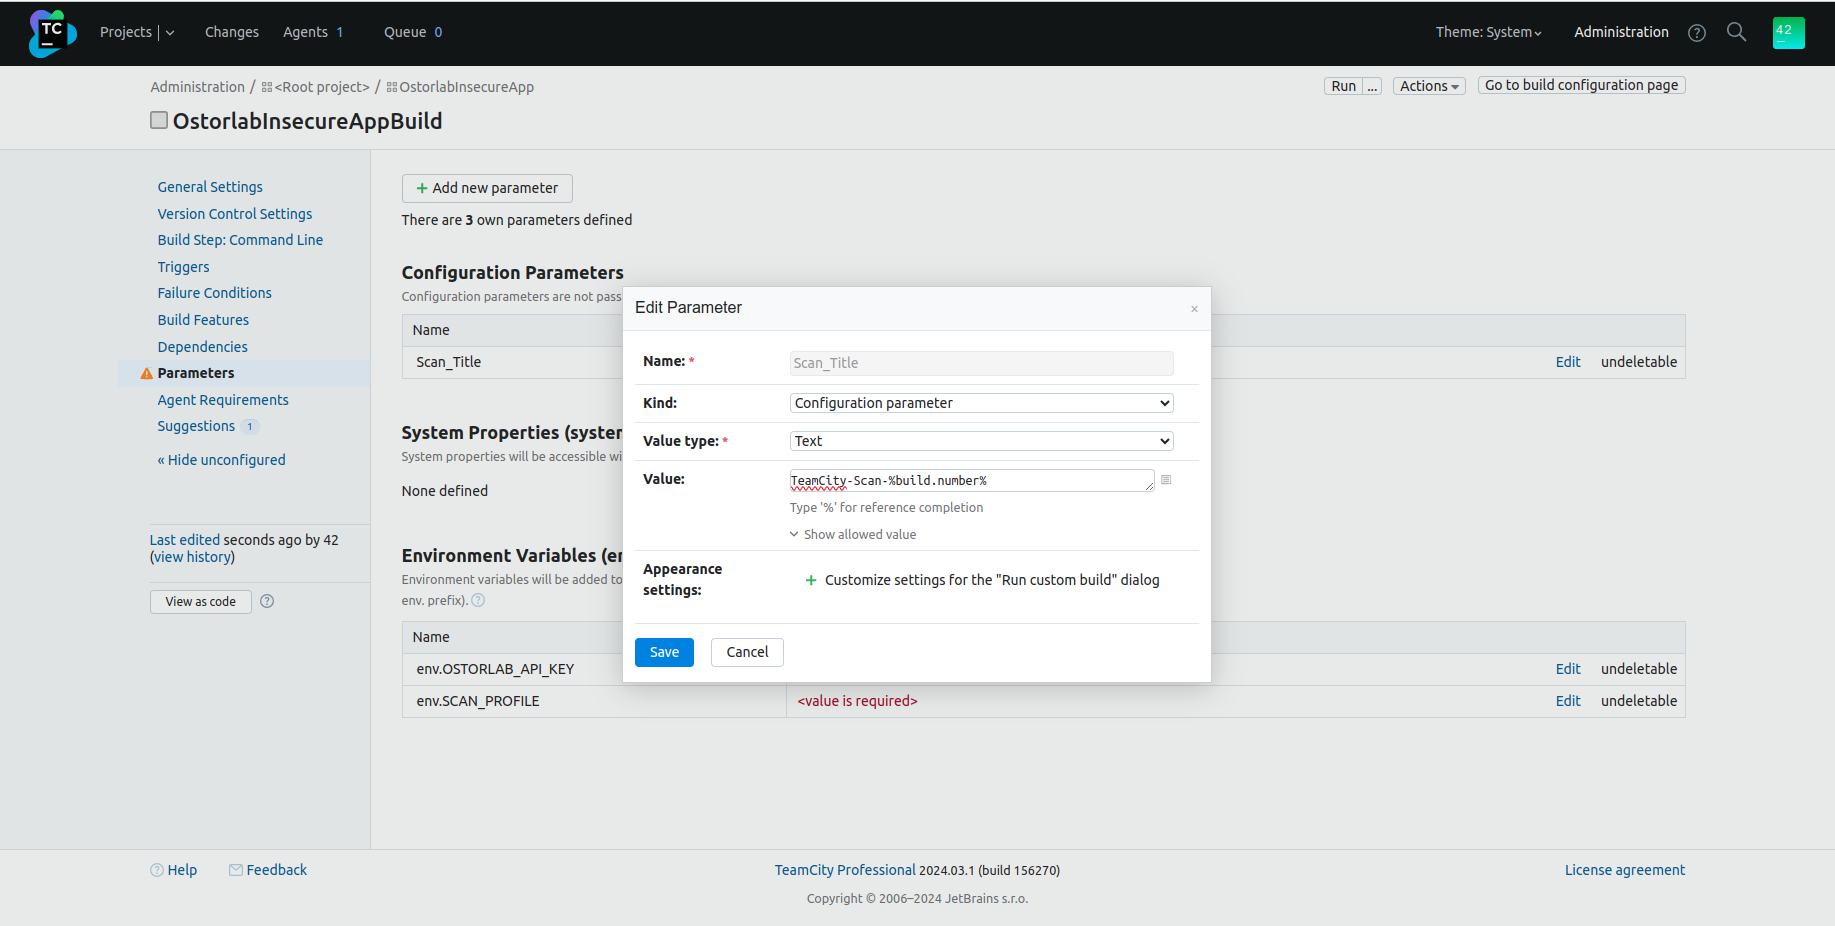
Add the step parameters: Eg: the previous command uses the parameter:
--title=%Scan_Title%, which you can define by:- Click on
Parameters; - Click on
Add new parameter; - Fill the
Name, theKindasConfiguration parameter, the value and its type; - Click on
Save.
- Click on
-
Add environment variables You can also add environment variables to be used by the
ostorlabcommand, by following the same as step 4, but chooseEnvironment variable (env.)as theKind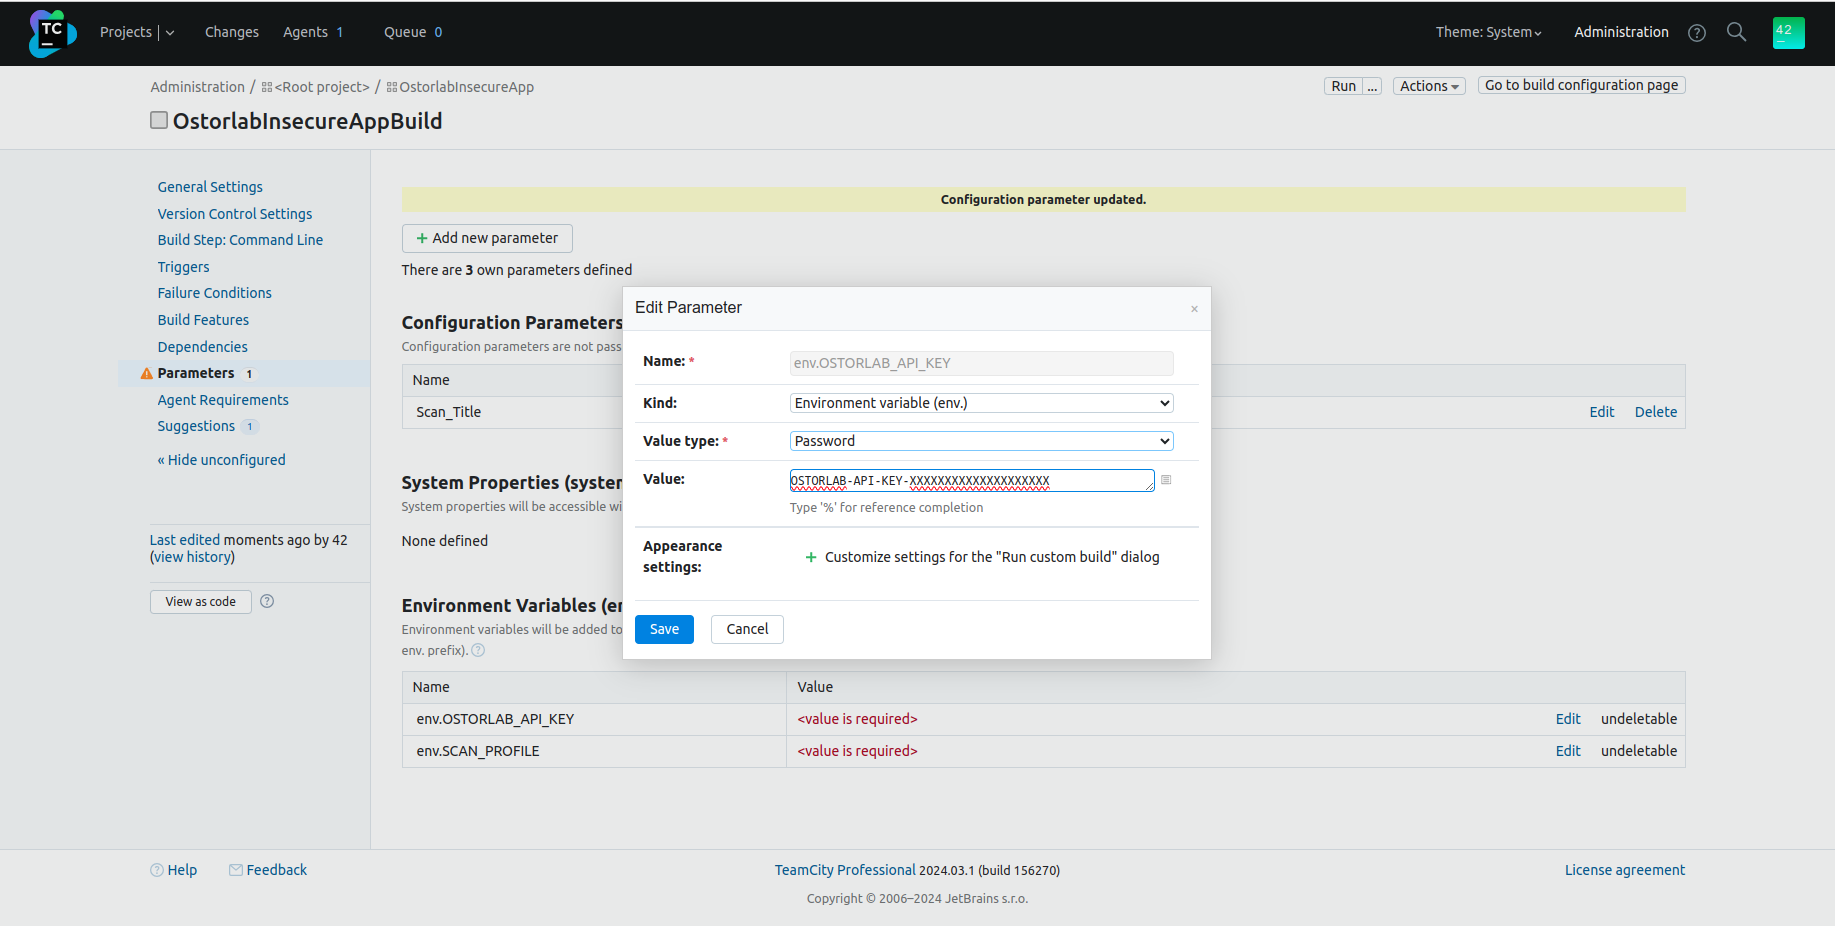
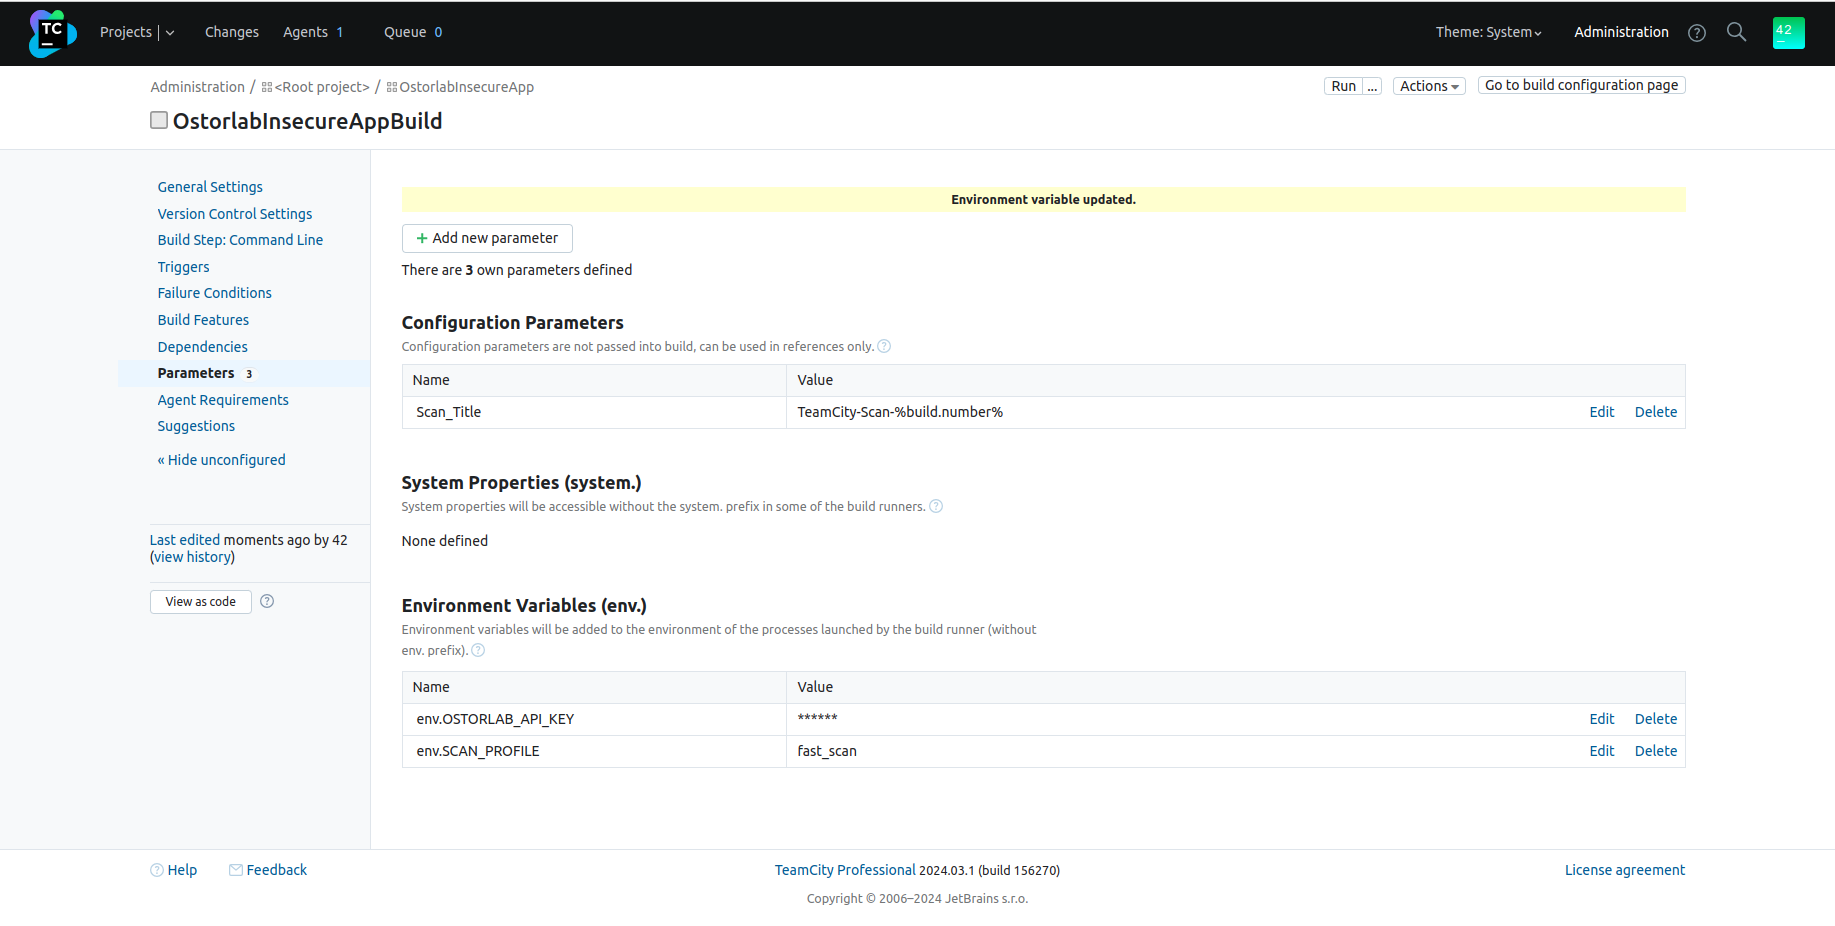
All Parameters:
Additional options
The following is the full list of options for the ostorlab ci-scan run command:
ostorlab --api-key ci-scan run --option <asset-type> <target>
-
--api-key: Ostorlab generated API key.
-
--title: Scan title
-
--scan-profile: Type of the scan. Possible options are:
fast_scan: Only runs the static analysis;full_scan: Runs static, dynamic, and backend analysis.
-
Test credentials: Automatic authentication in the dynamic analysis full scan:
- --test-credentials-login: Username to be used in log-in fields;
- --test-credentials-password: Password to be used in password fields;
- --test-credentials-role: Optional role field;
- Custom/Generic test credentials:
- --test-credentials-name: Custom name of the field;
- --test-credentials-value: Custom value of the field
-
2FA Credentials:
- SMS 2FA:
- --sms-2fa-sender: Learn more about SMS 2FA
- Email 2FA:
- --email-2fa-sender-email-address, --email-2fa-email-address, --email-2fa-password: Learn more about Email 2FA
- TOTP 2FA:
- --totp-2fa-seed: Learn more about TOTP 2FA
- SMS 2FA:
-
--sbom: Path to the sbom file. The sbom file should also be mounted as specified in step 3.
-
UI Prompts (Optional): Ostorlab supports UI prompts to guide the scanner through your app's user interface. You can use:
- --ui-prompt-name and --ui-prompt-action: Define a UI step by specifying the name and the action. You can add multiple pairs for a sequence of steps. For example:
--ui-prompt-name accept-terms --ui-prompt-action "Scroll down and tap the 'Accept Terms' checkbox." --ui-prompt-name submit --ui-prompt-action "Tap the 'Submit' button to complete the login process." - --ui-prompt-id: Reference existing UI prompt flows by their IDs. You can add multiple IDs. For example:
--ui-prompt-id 123 --ui-prompt-id 456
- --ui-prompt-name and --ui-prompt-action: Define a UI step by specifying the name and the action. You can add multiple pairs for a sequence of steps. For example:
-
asset-type: Type of the asset to scan. Possible values:
android-aab: Scan an android.AABpackage file;android-apk: Scan an android.APKpackage file;ios-ipa: Scan an iOS.IPApackage file;
-
target: Path to the target application. The Application should be mounted as specified in step 3.