Scan Web Applications
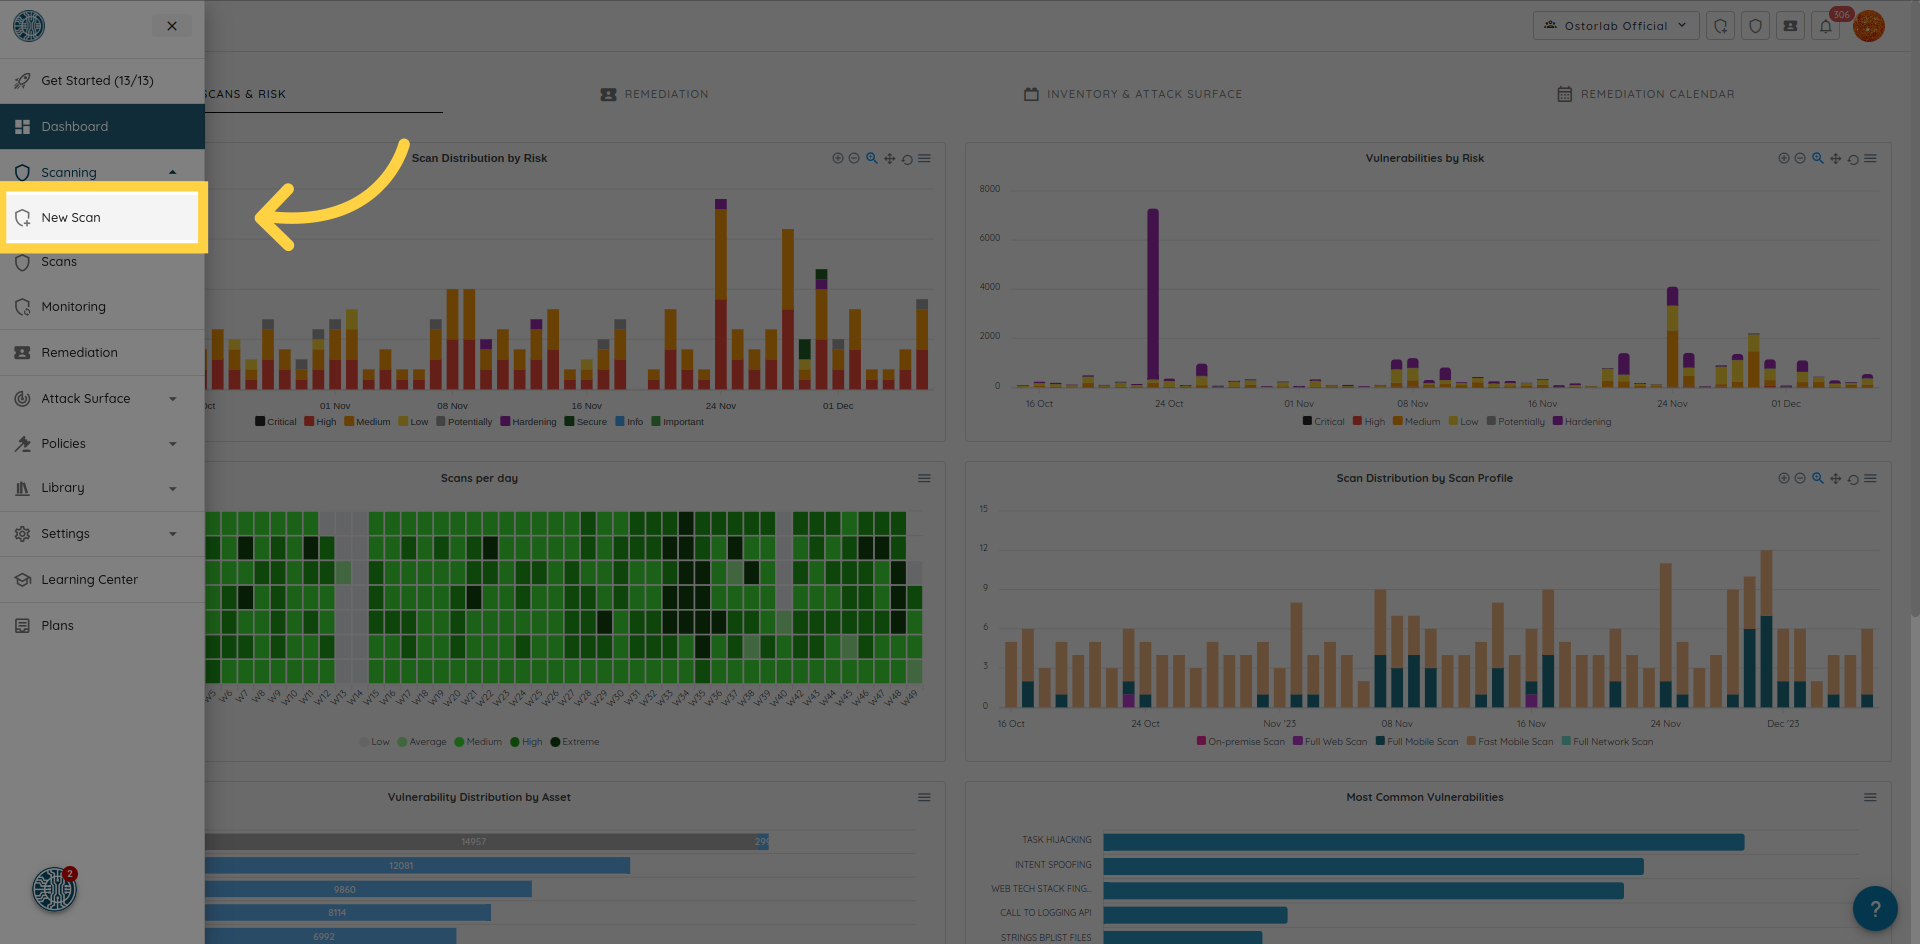
To create a web scan, click "New Scan" in the top bar.
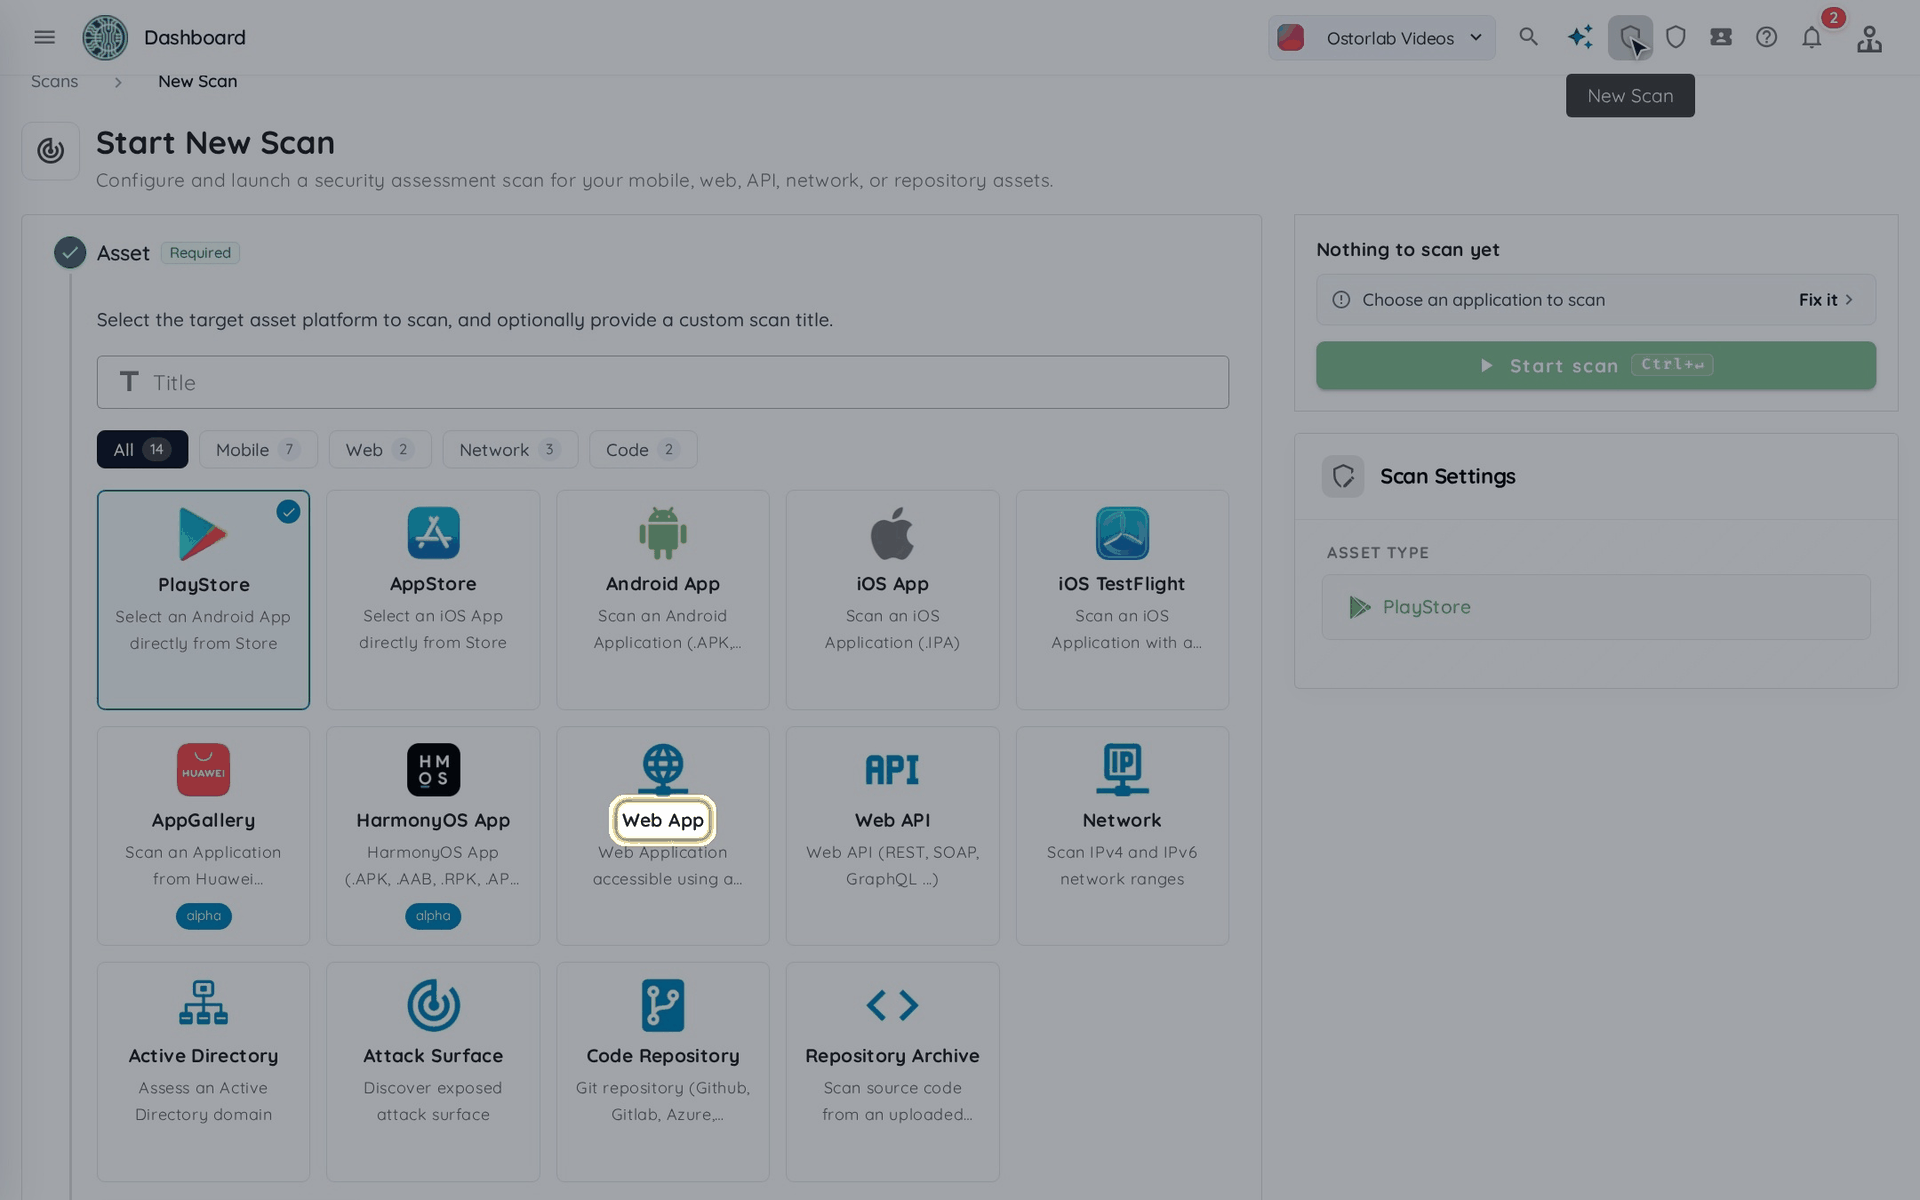
Click "Web App".
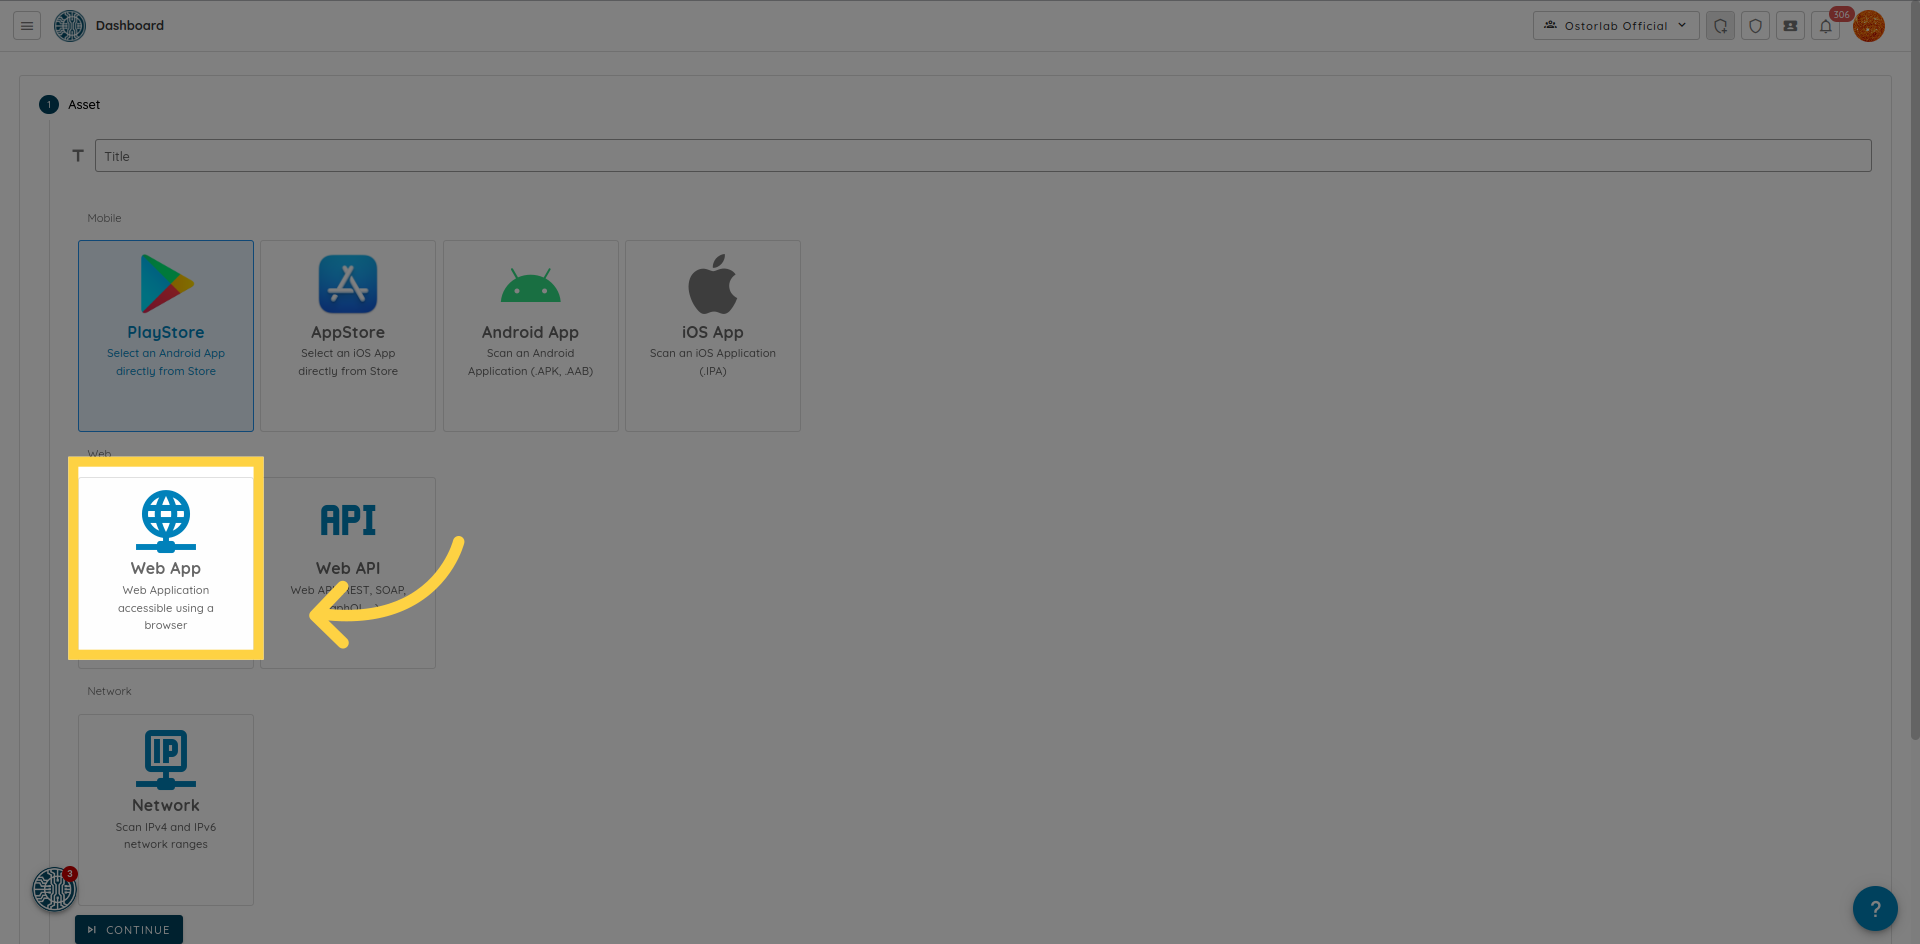
Type the URL or the domain you want to scan. To scan several targets, add each one on a separate line. The "Fast Web Scan" profile runs on a single URL.
Click "Continue". The "Extra Context" step is optional; click "Continue" again to skip it.
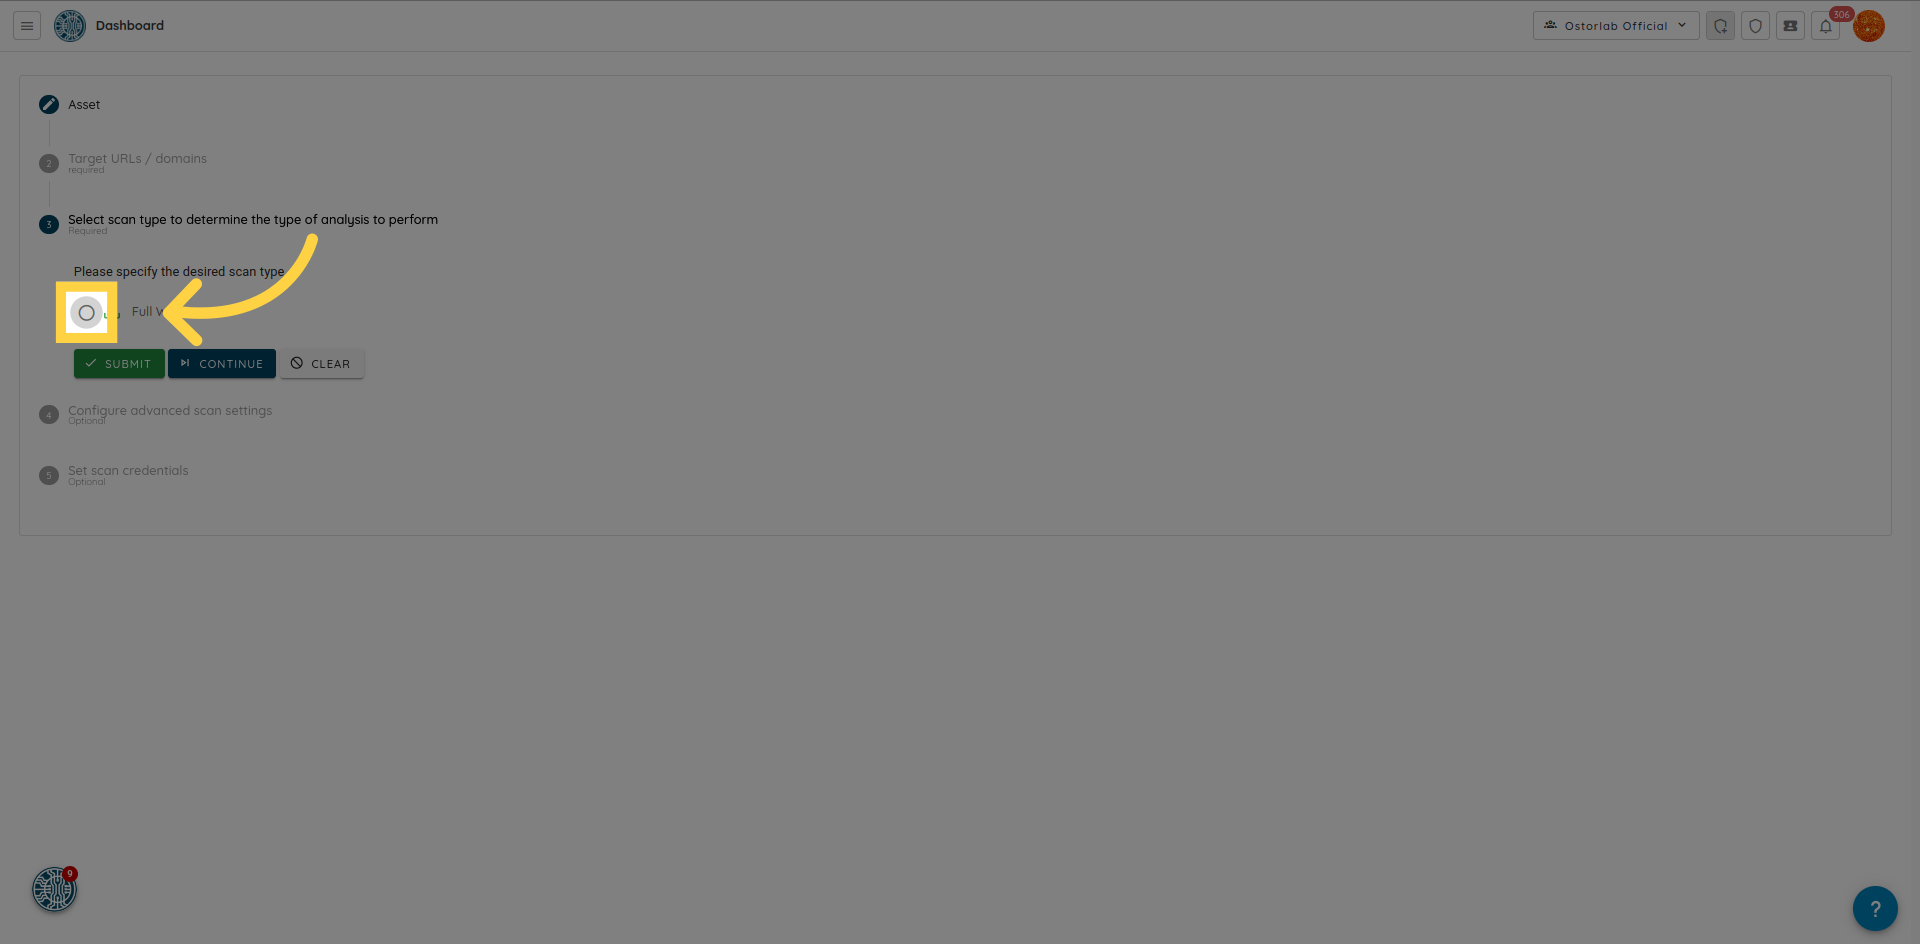
Select a scan profile, for example "Fast Web Scan" for a quick check or "Full Web Scan" for in-depth testing. A profile with a lock and an "Unlock Profile" button is not included in your organization's plan; "Unlock Profile" opens the plans page.
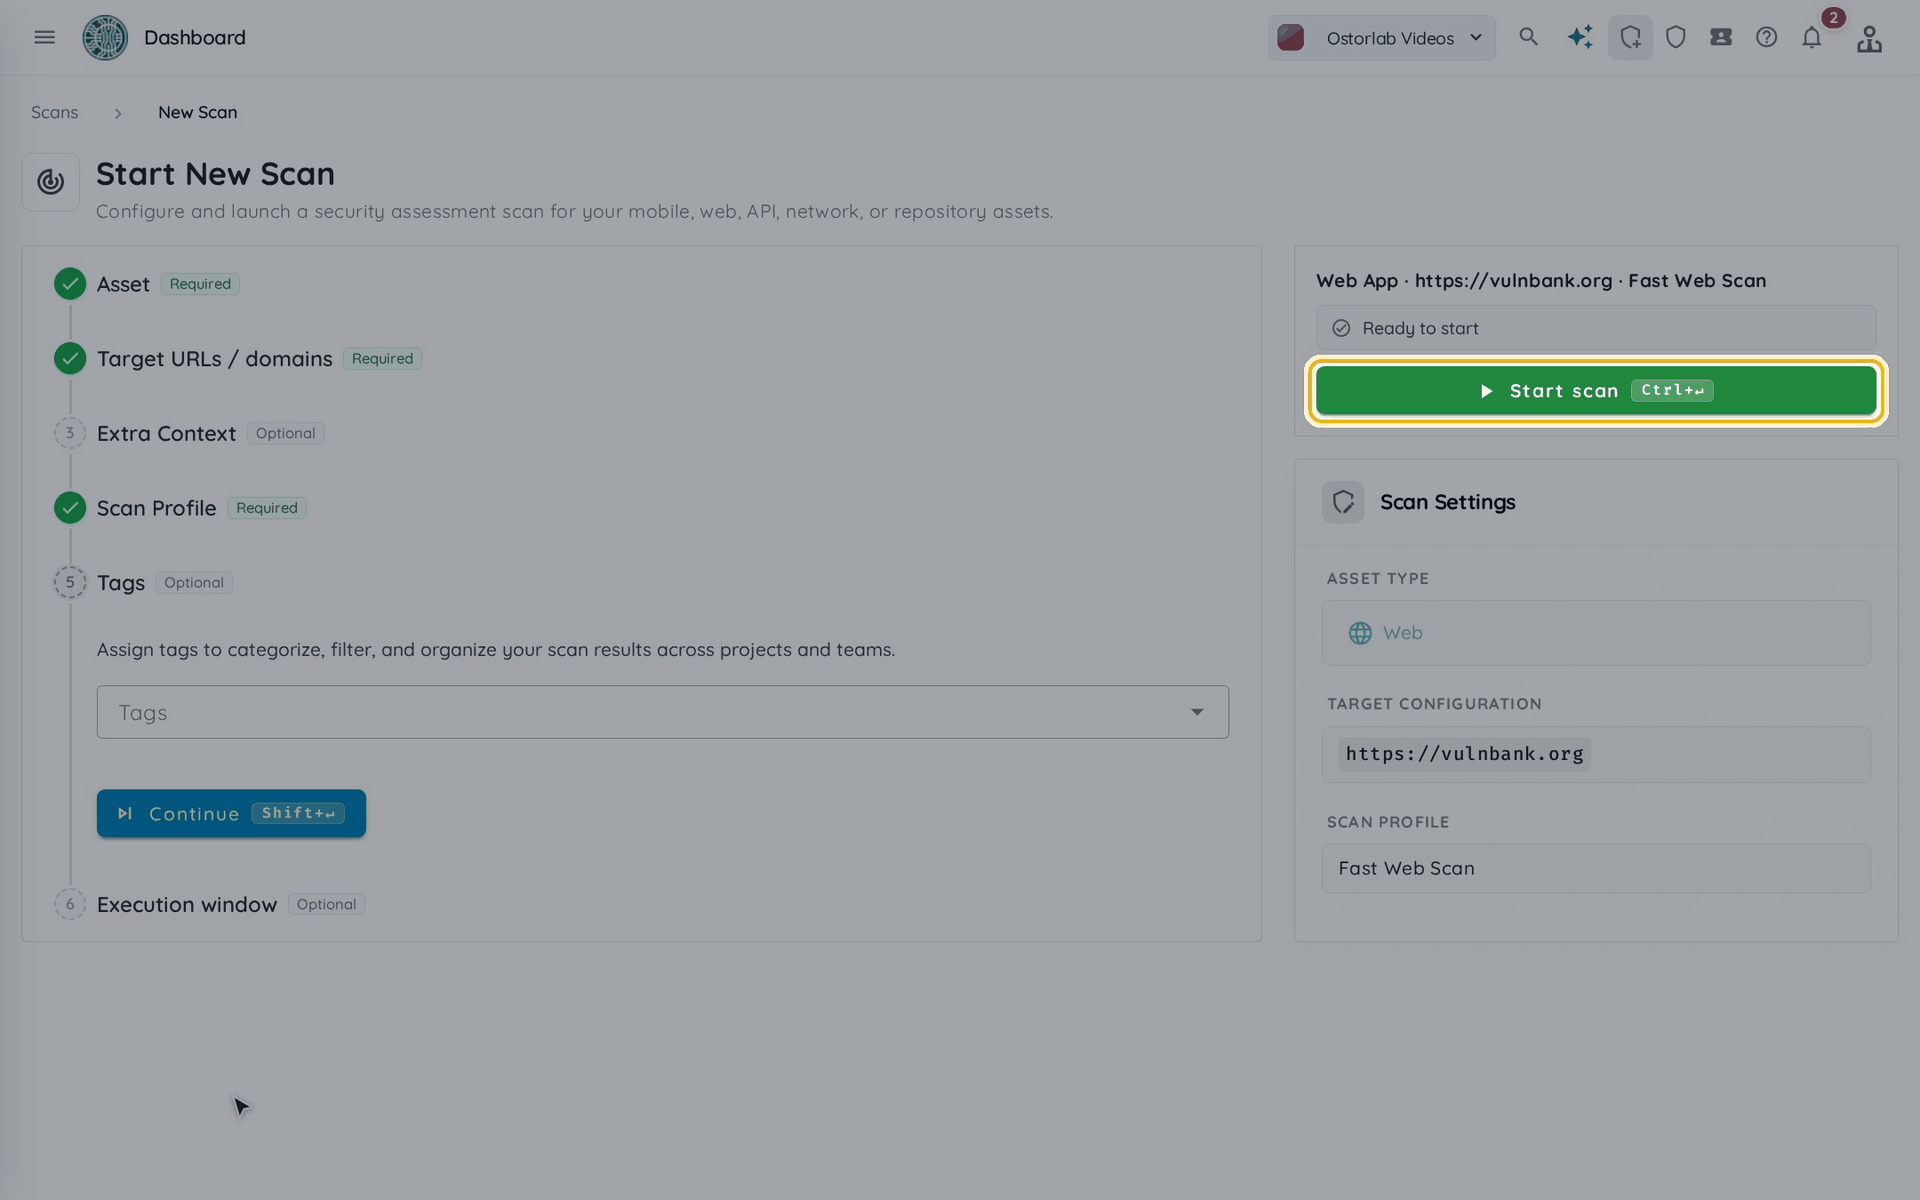
Click "Continue". Depending on the profile, the form adds optional steps such as "Prompts", "Advanced Settings" or "Custom Checks". Add tags if you want. In the "Execution window" step, you can choose when the scan is allowed to run (see Choose when a scan runs). Then click "Start scan" in the summary panel on the right.
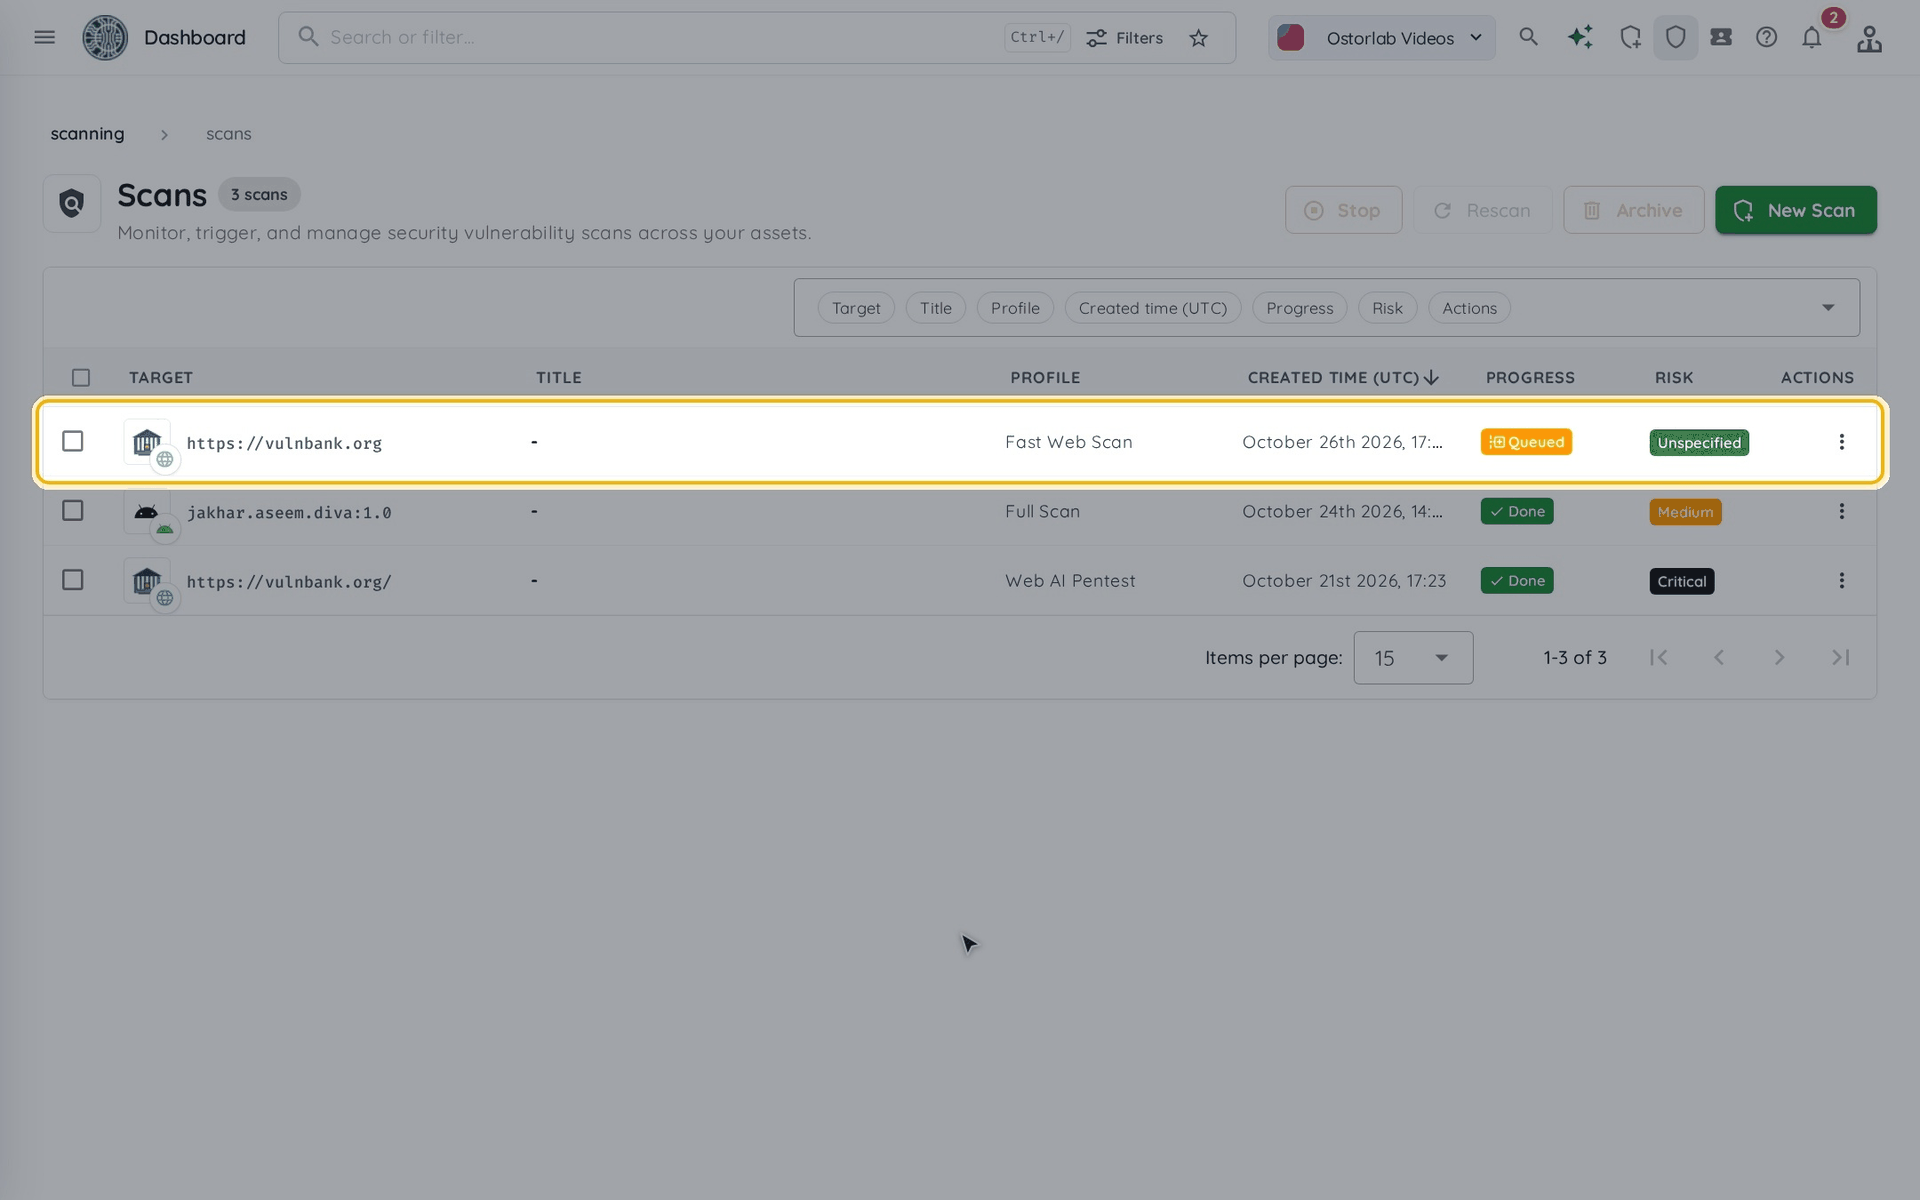
The scan's page opens with a "Scan created" message. To follow the scan, click the "Scans" icon in the top bar. The scan is listed in the scans table: it is queued first, then runs.
To perform authenticated scans, you can provide credentials. For more information, see Authenticated Web Scan.