Whitelisting domains in mobile scans
By whitelisting domains, you keep a mobile scan in scope: only the URLs that match your regular expressions are tested, and out-of-scope targets are left alone.
This video walks through creating a mobile scan with whitelisted domains.
Go to report.ostorlab.co
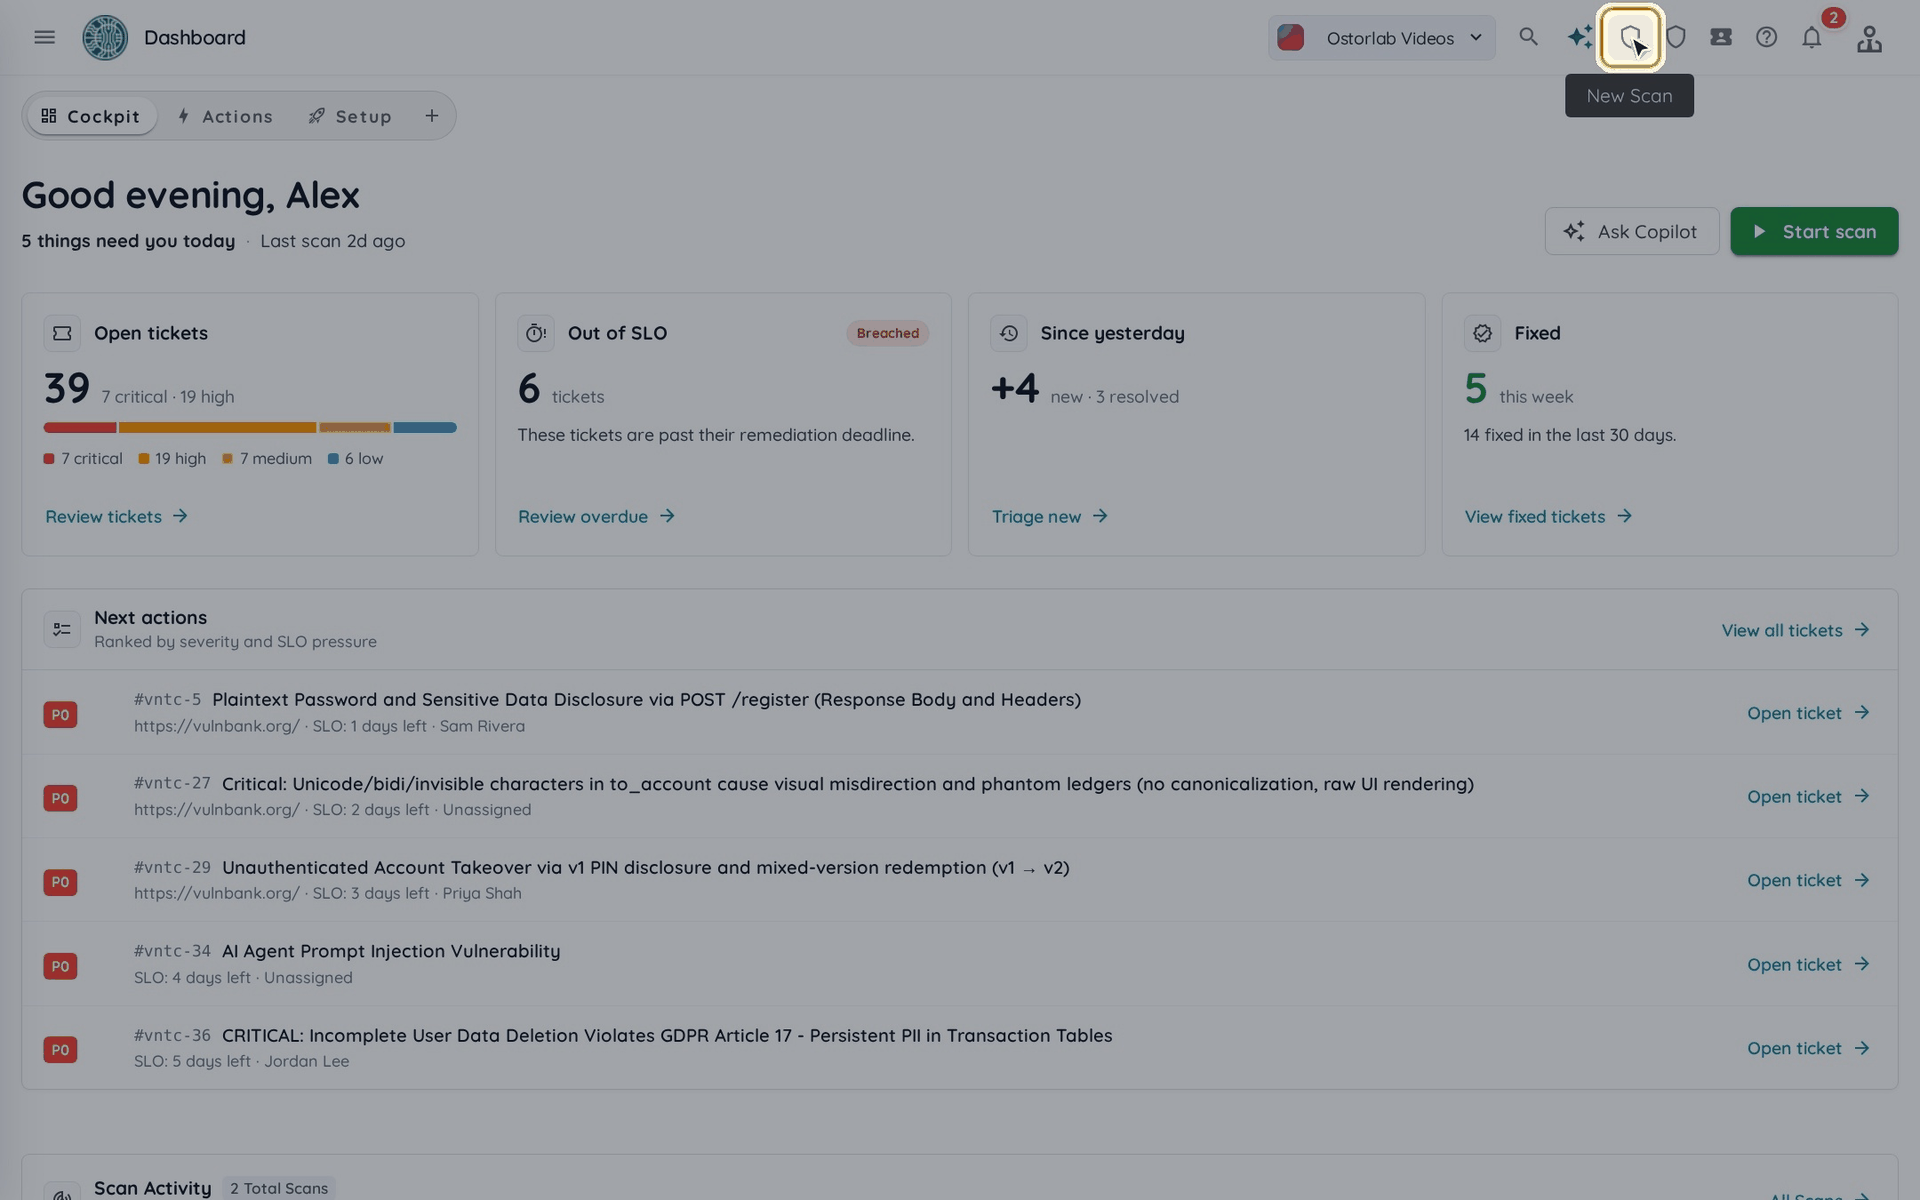
1. Click "New Scan"
Click the New Scan icon in the top bar.
2. Select the asset type
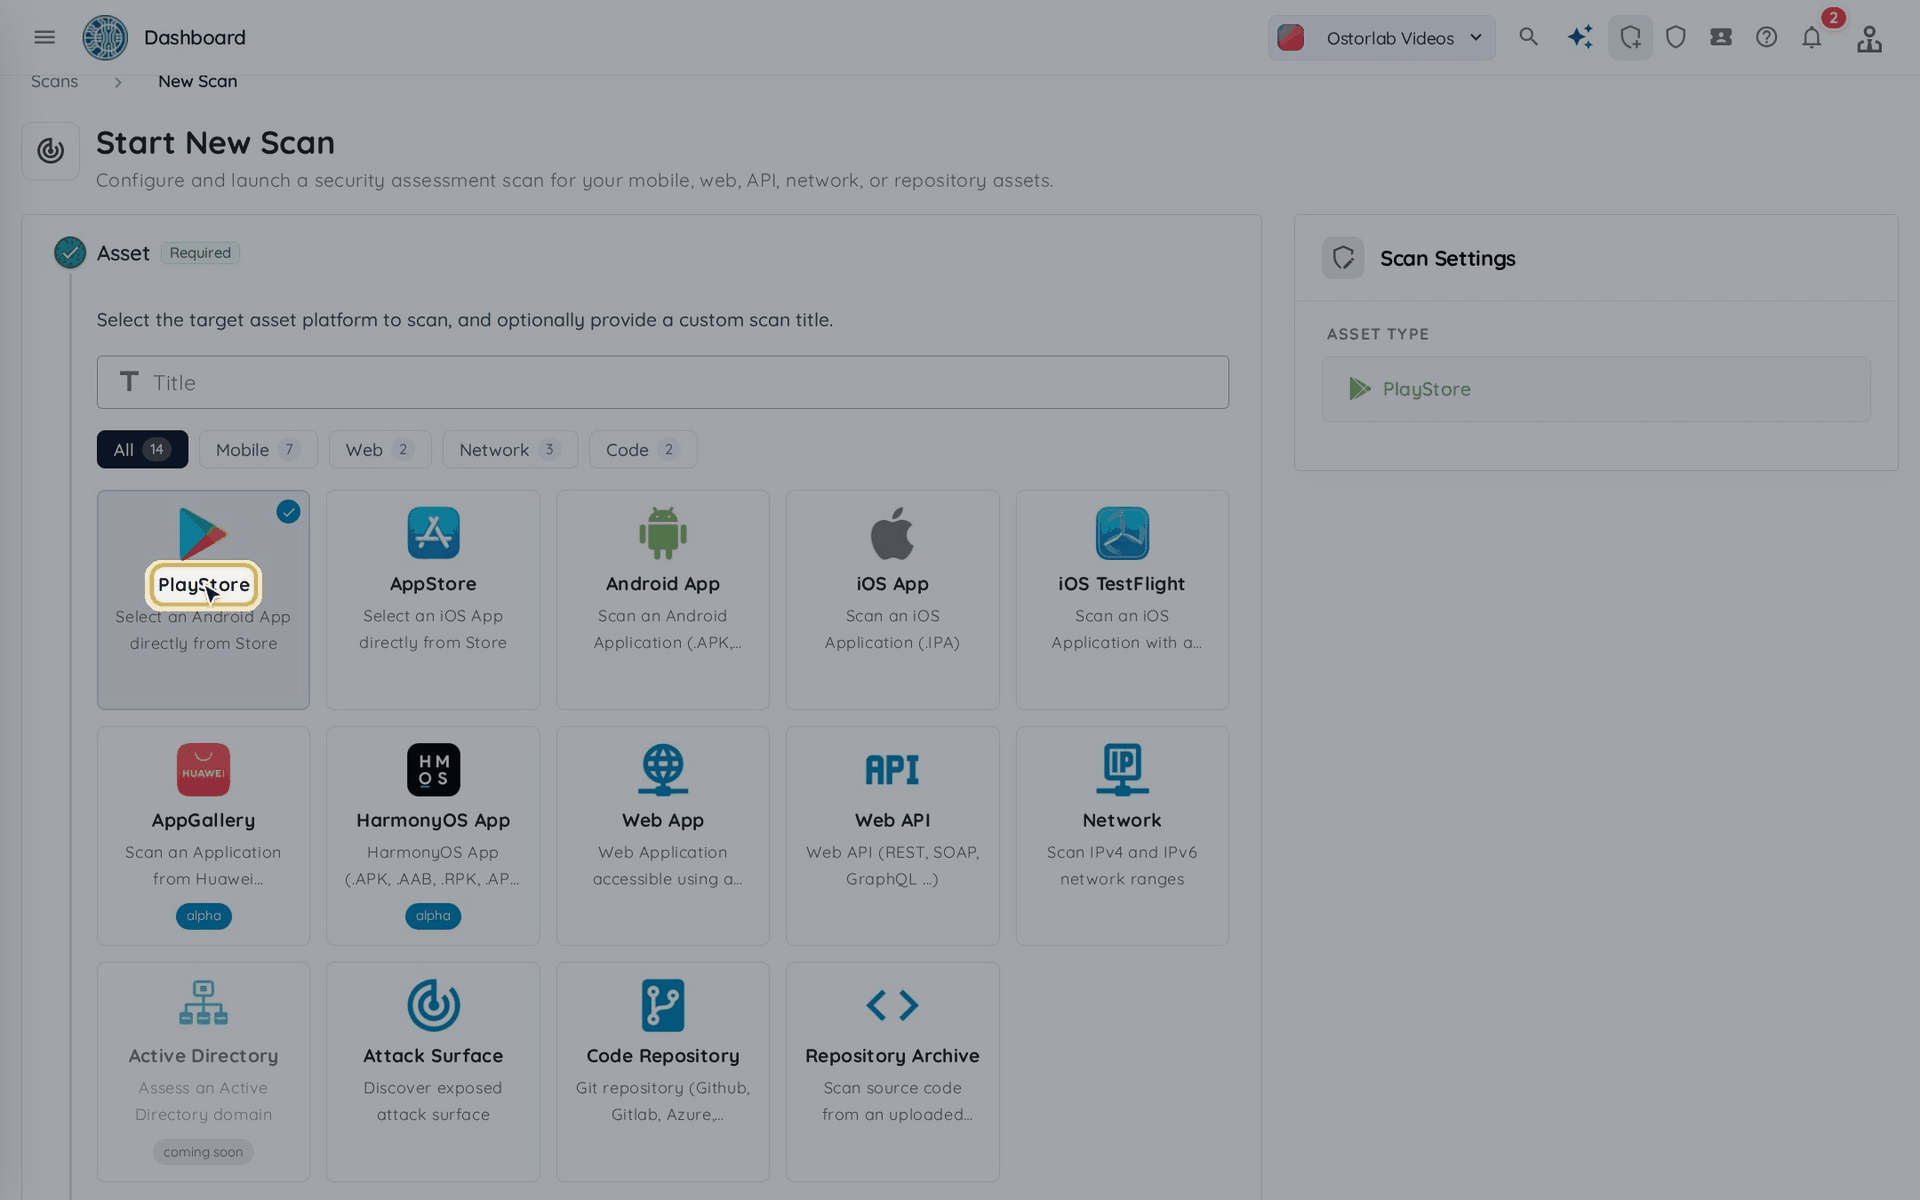
Choose where the app comes from, for example PlayStore, AppStore, Android App or iOS App (a file you upload), or iOS TestFlight. For this example, we'll select PlayStore.
3. Select the application
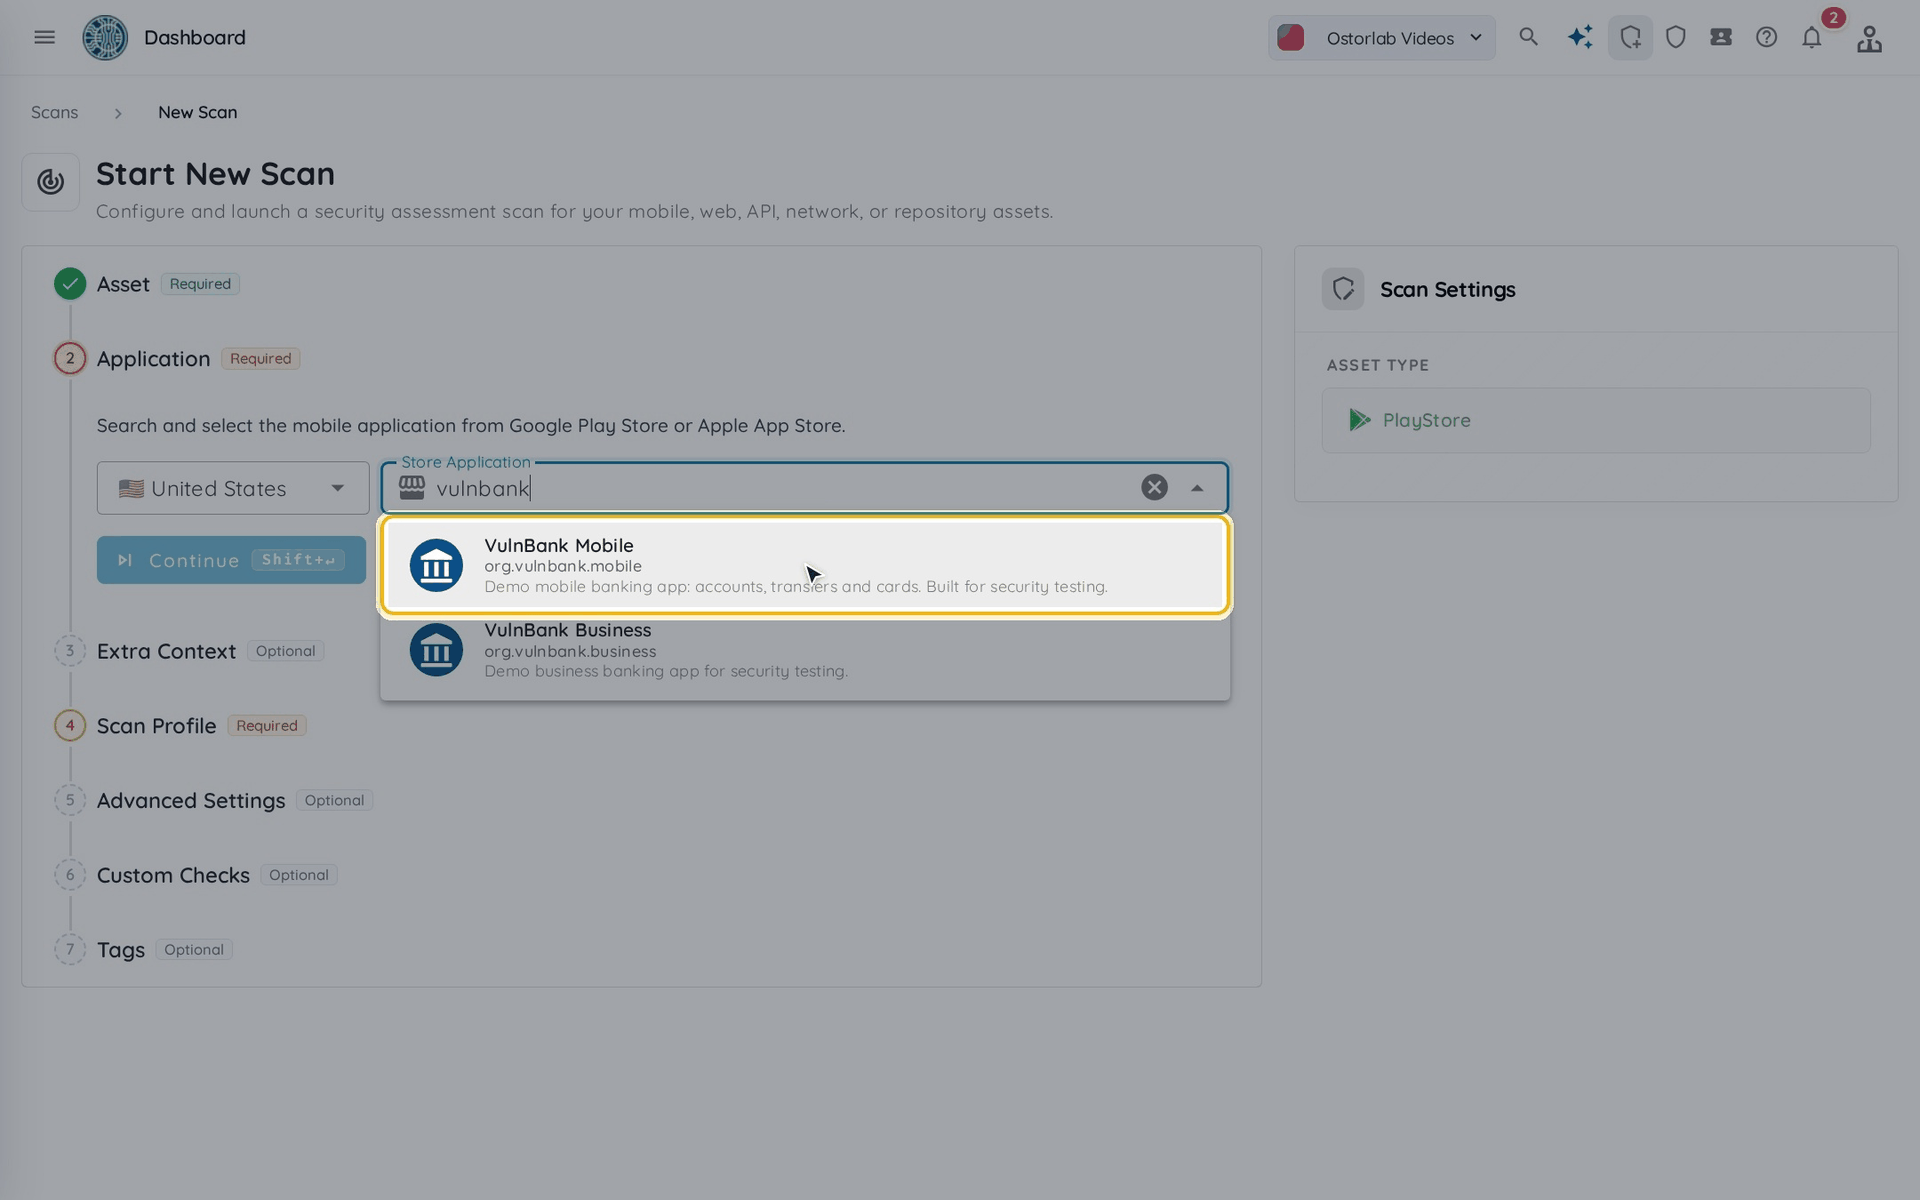
Search for the app by its name or package name, then pick it from the results and click Continue. The Extra Context step that follows is optional; click Continue again to skip it.
4. Choose a scan profile
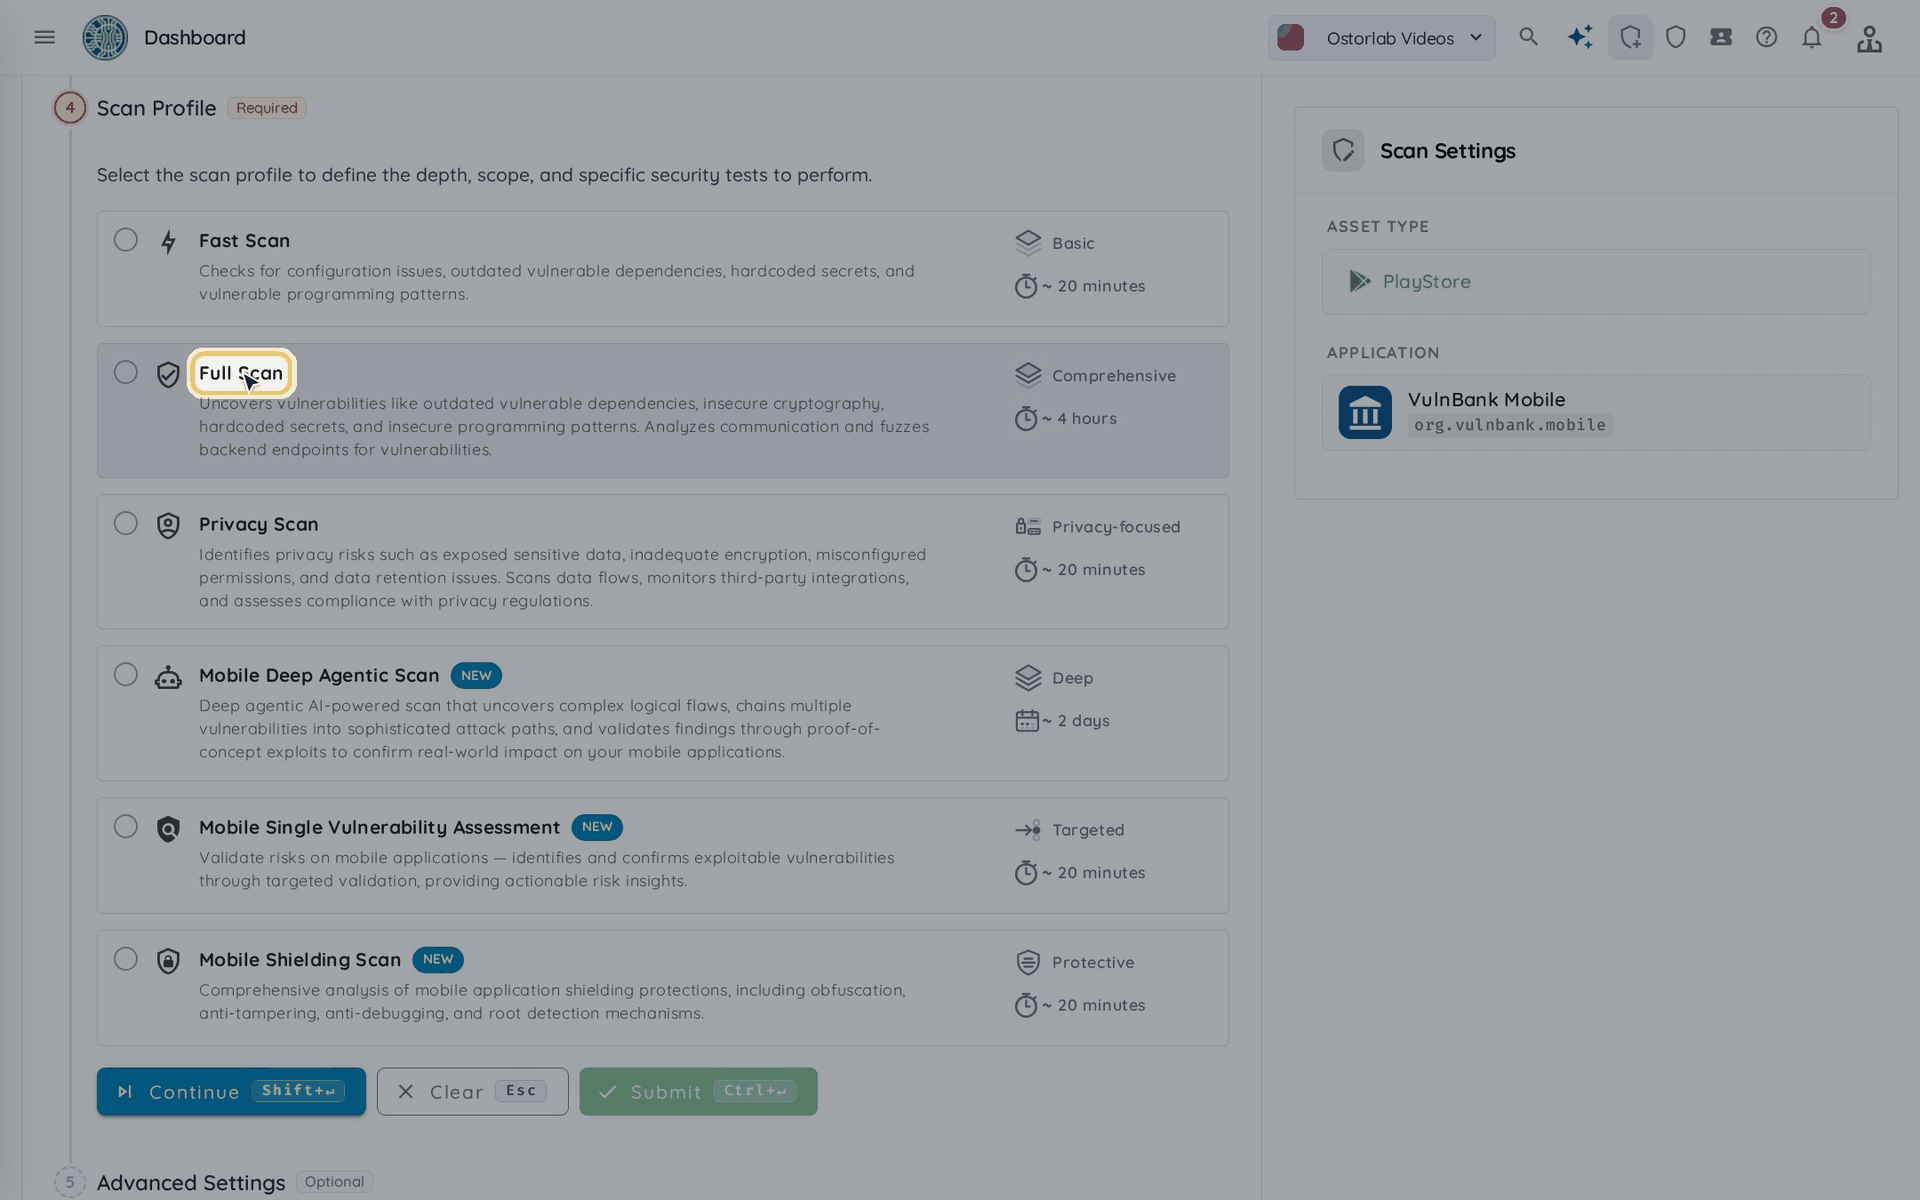
Select a scan profile, for example Full Scan, then click Continue.
5. Add test credentials (optional)
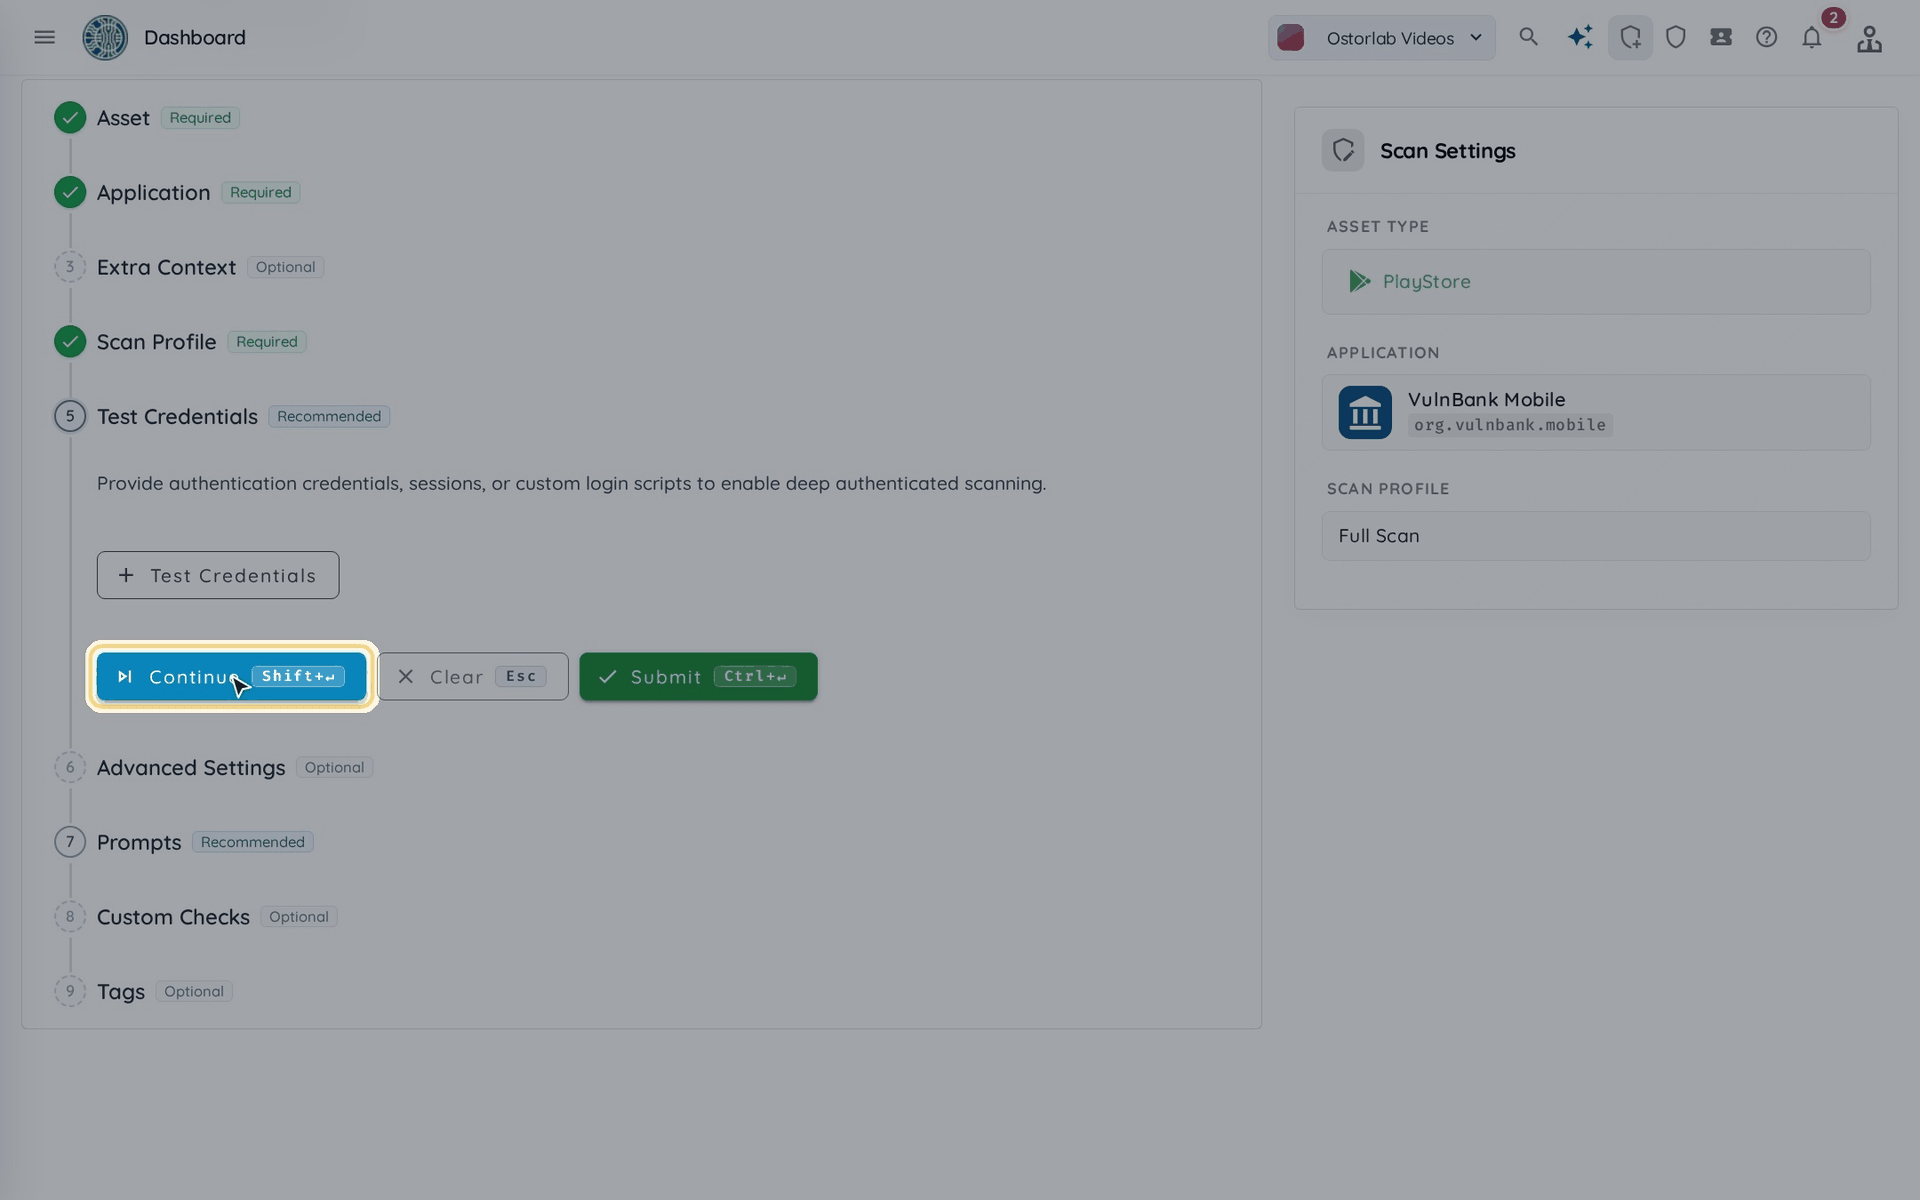
Add test credentials if the app needs a login, or click Continue to skip this step.
6. Provide the domains to whitelist
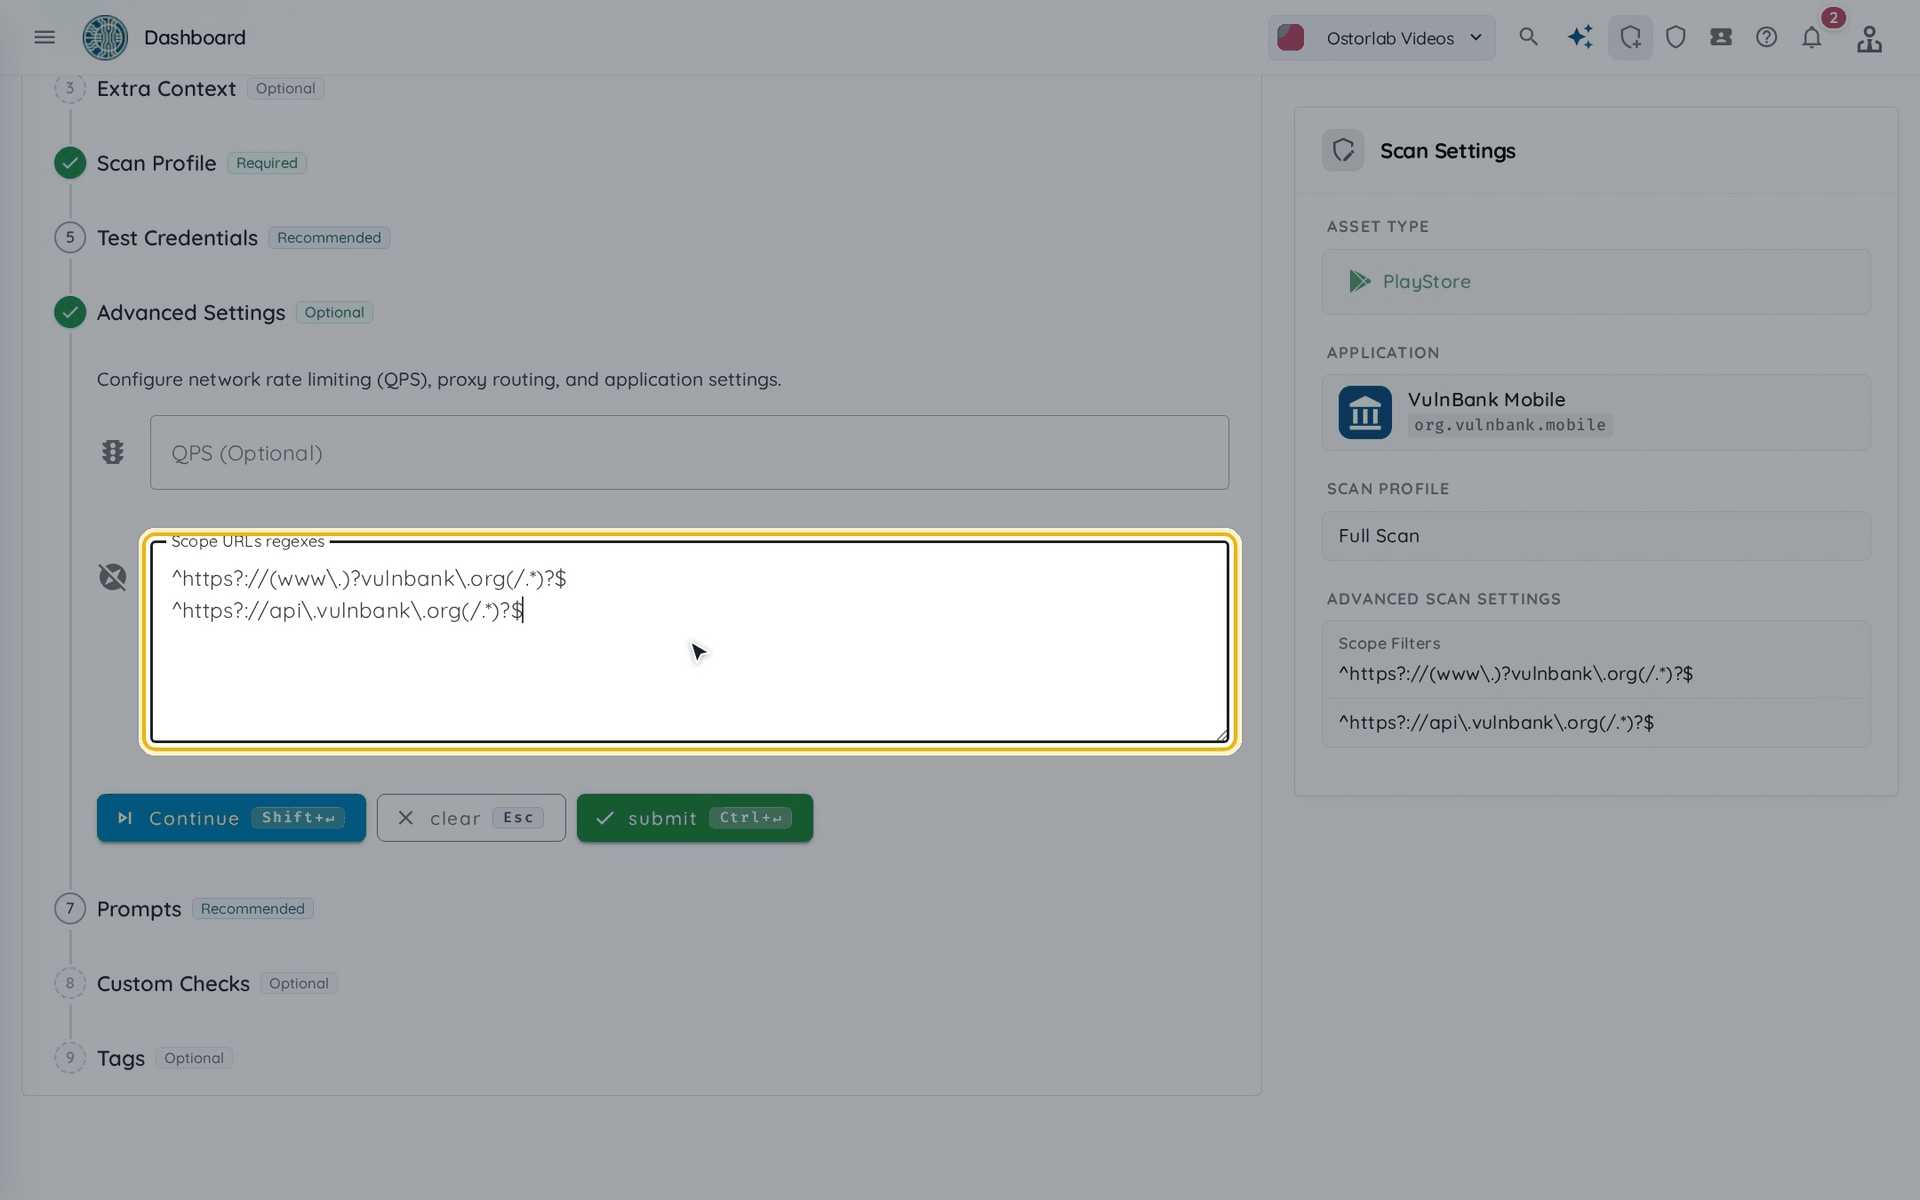
In Advanced Settings, enter the domains to test in the Scope URLs regexes field. Each entry is a regular expression; add each one on a new line. They appear under Scope Filters in the Scan Settings summary on the right.
For example, to test only vulnbank.org and its API:
^https?://(www\.)?vulnbank\.org(/.*)?$
^https?://api\.vulnbank\.org(/.*)?$
7. Click "Submit"
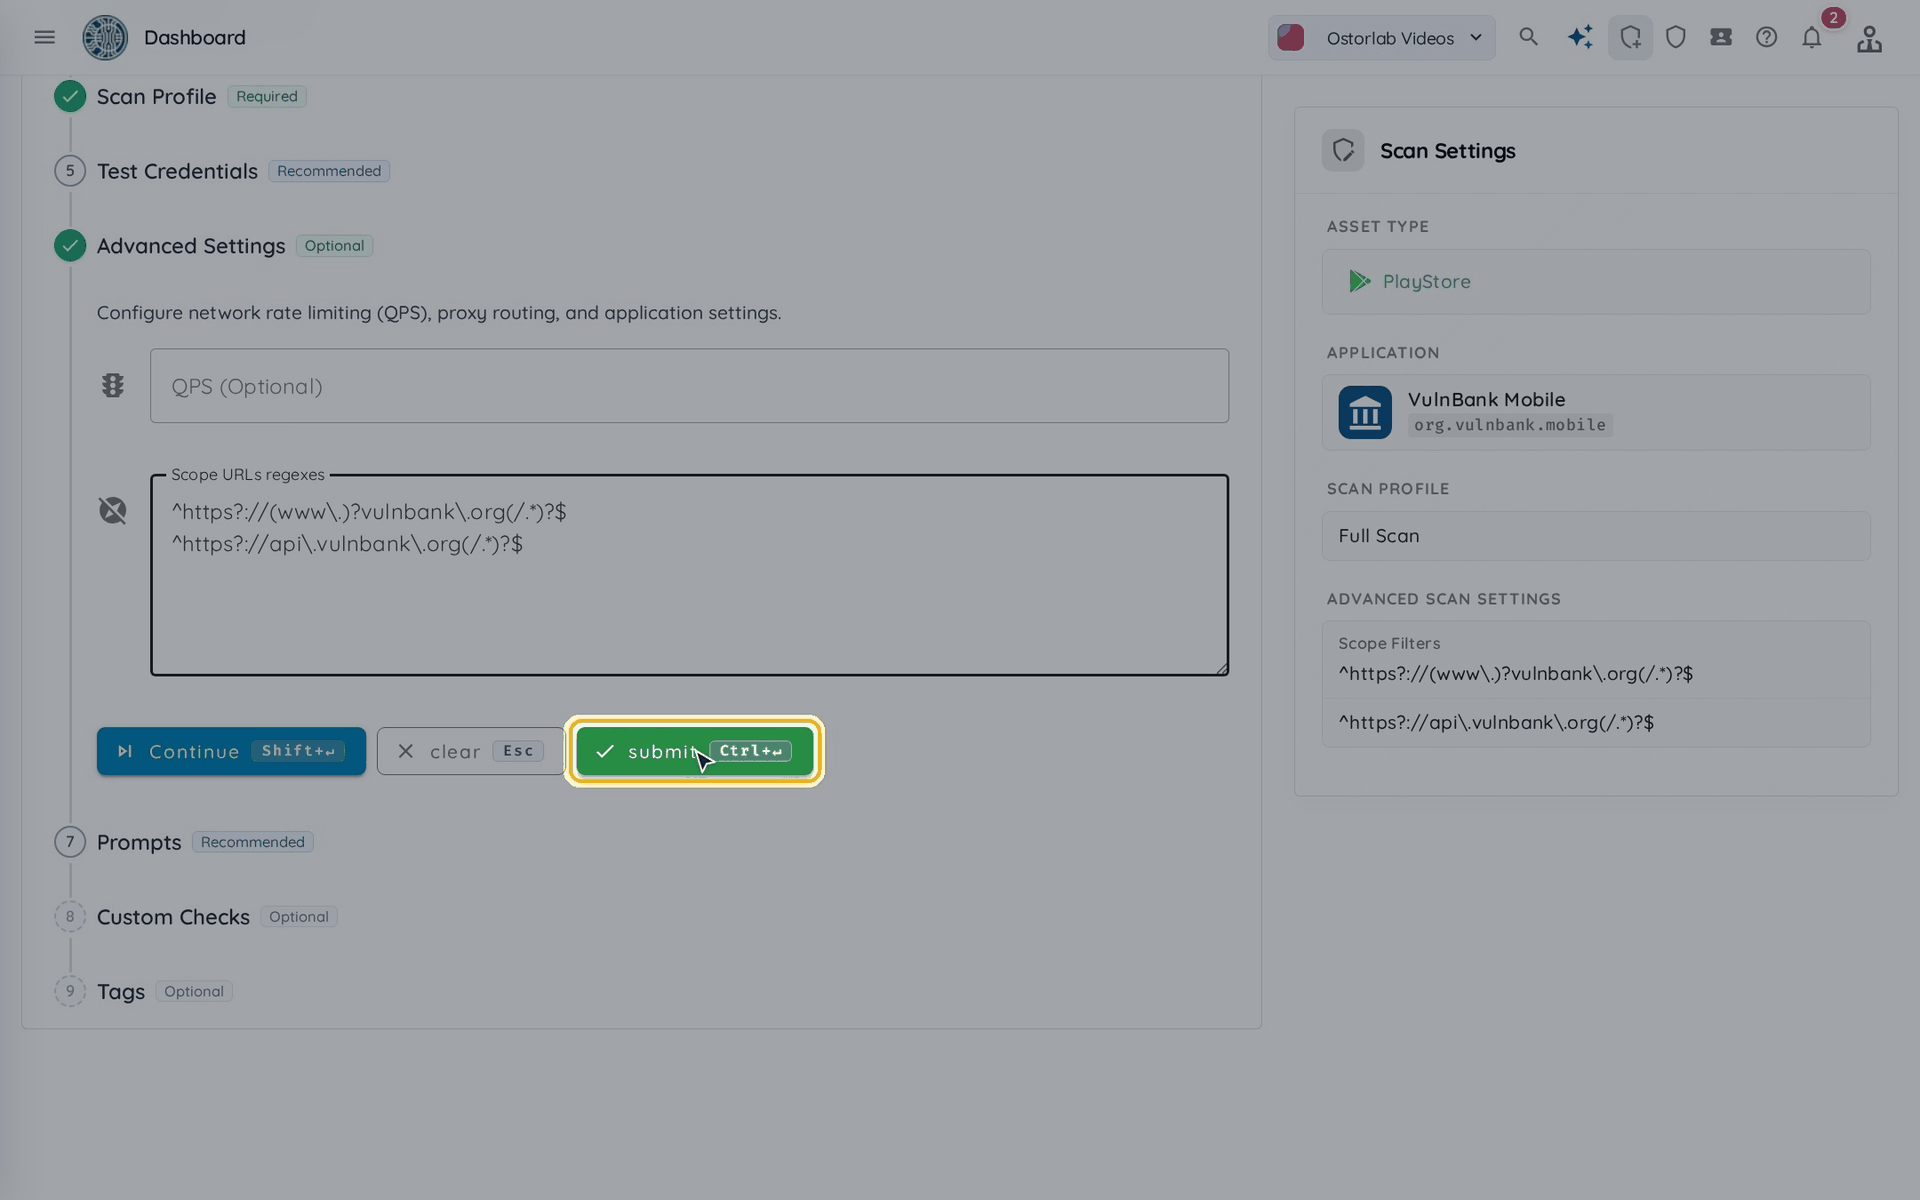
Click Submit to create the scan. The remaining steps (Prompts, Custom Checks and Tags) are optional.
8. Open your scans
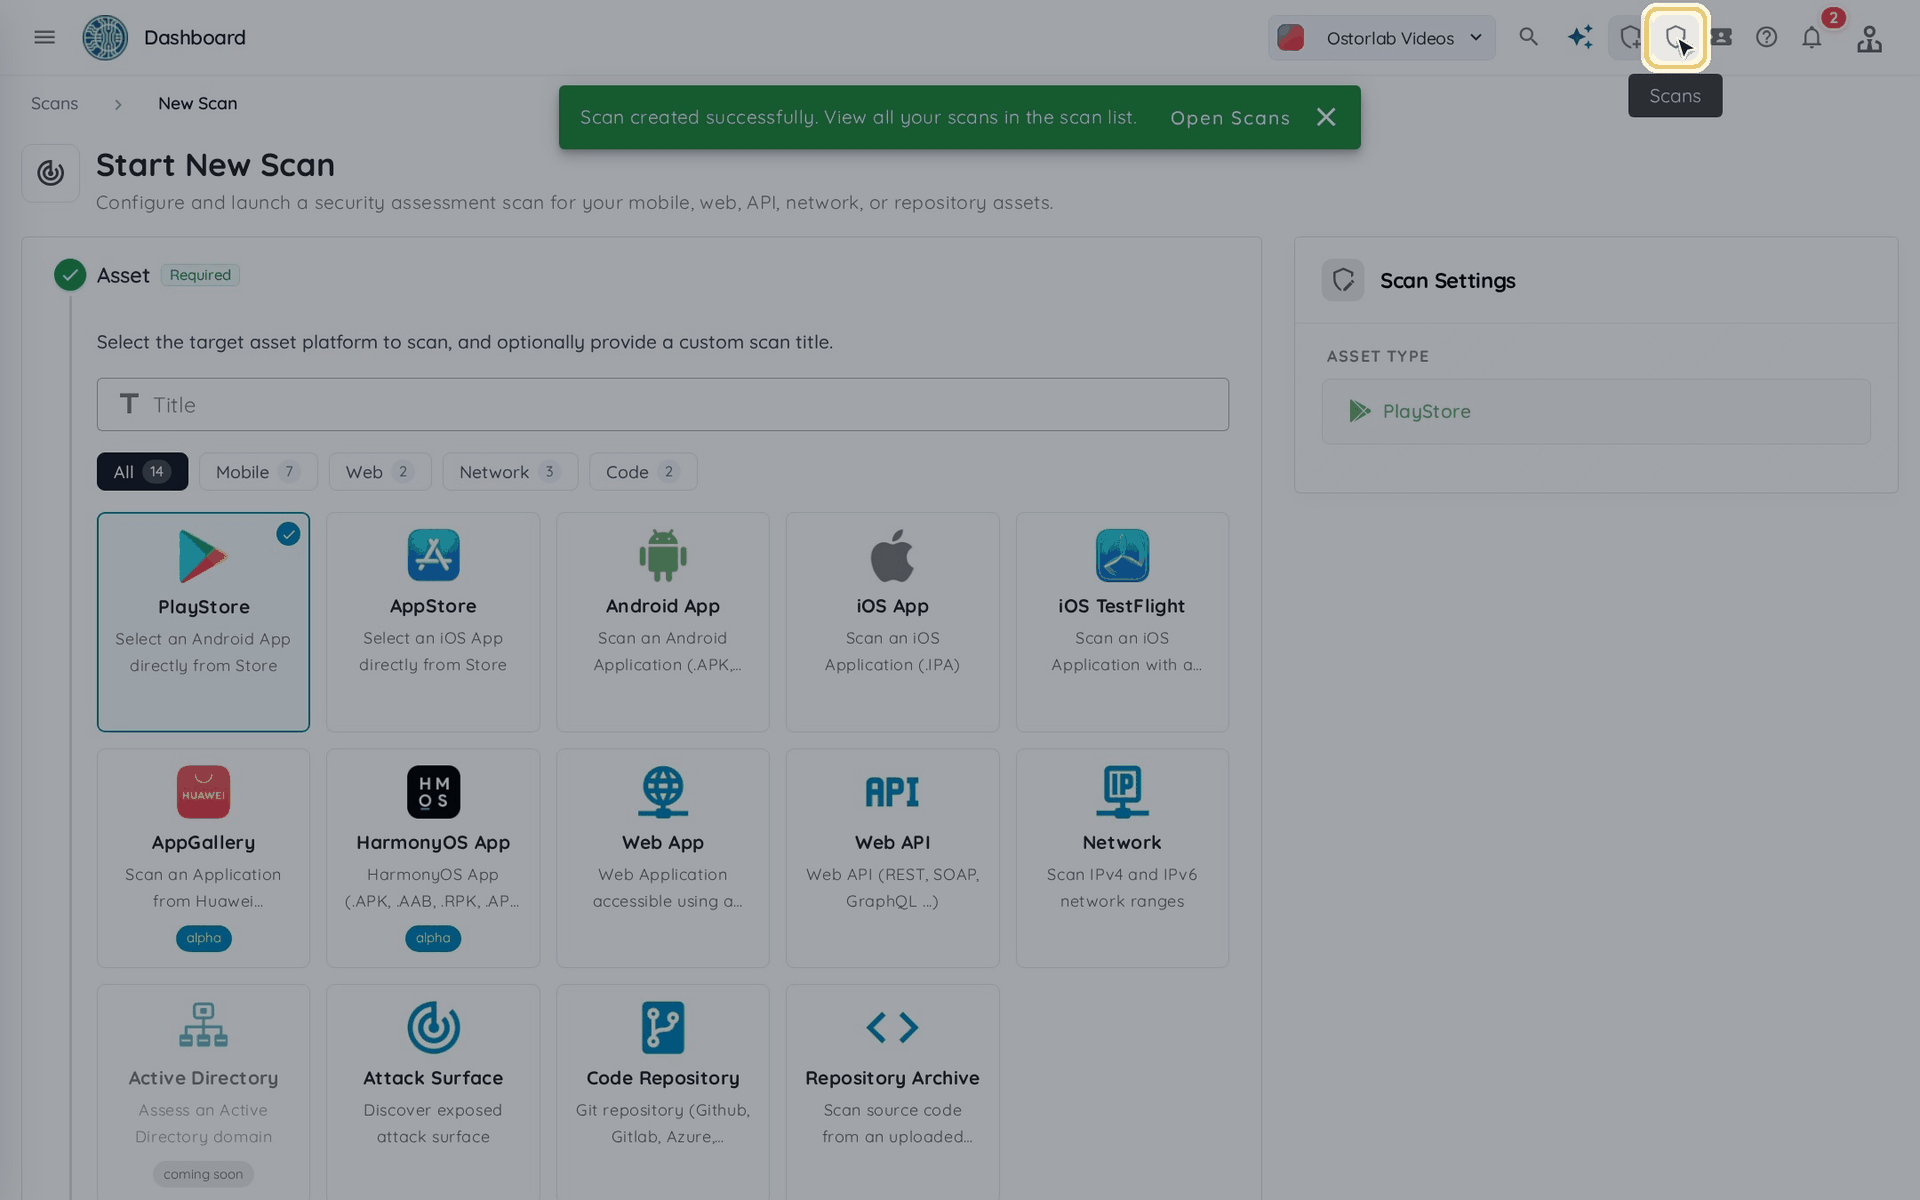
A message confirms that the scan was created. Click Open Scans in that message, or the Scans icon in the top bar.
9. List of scans
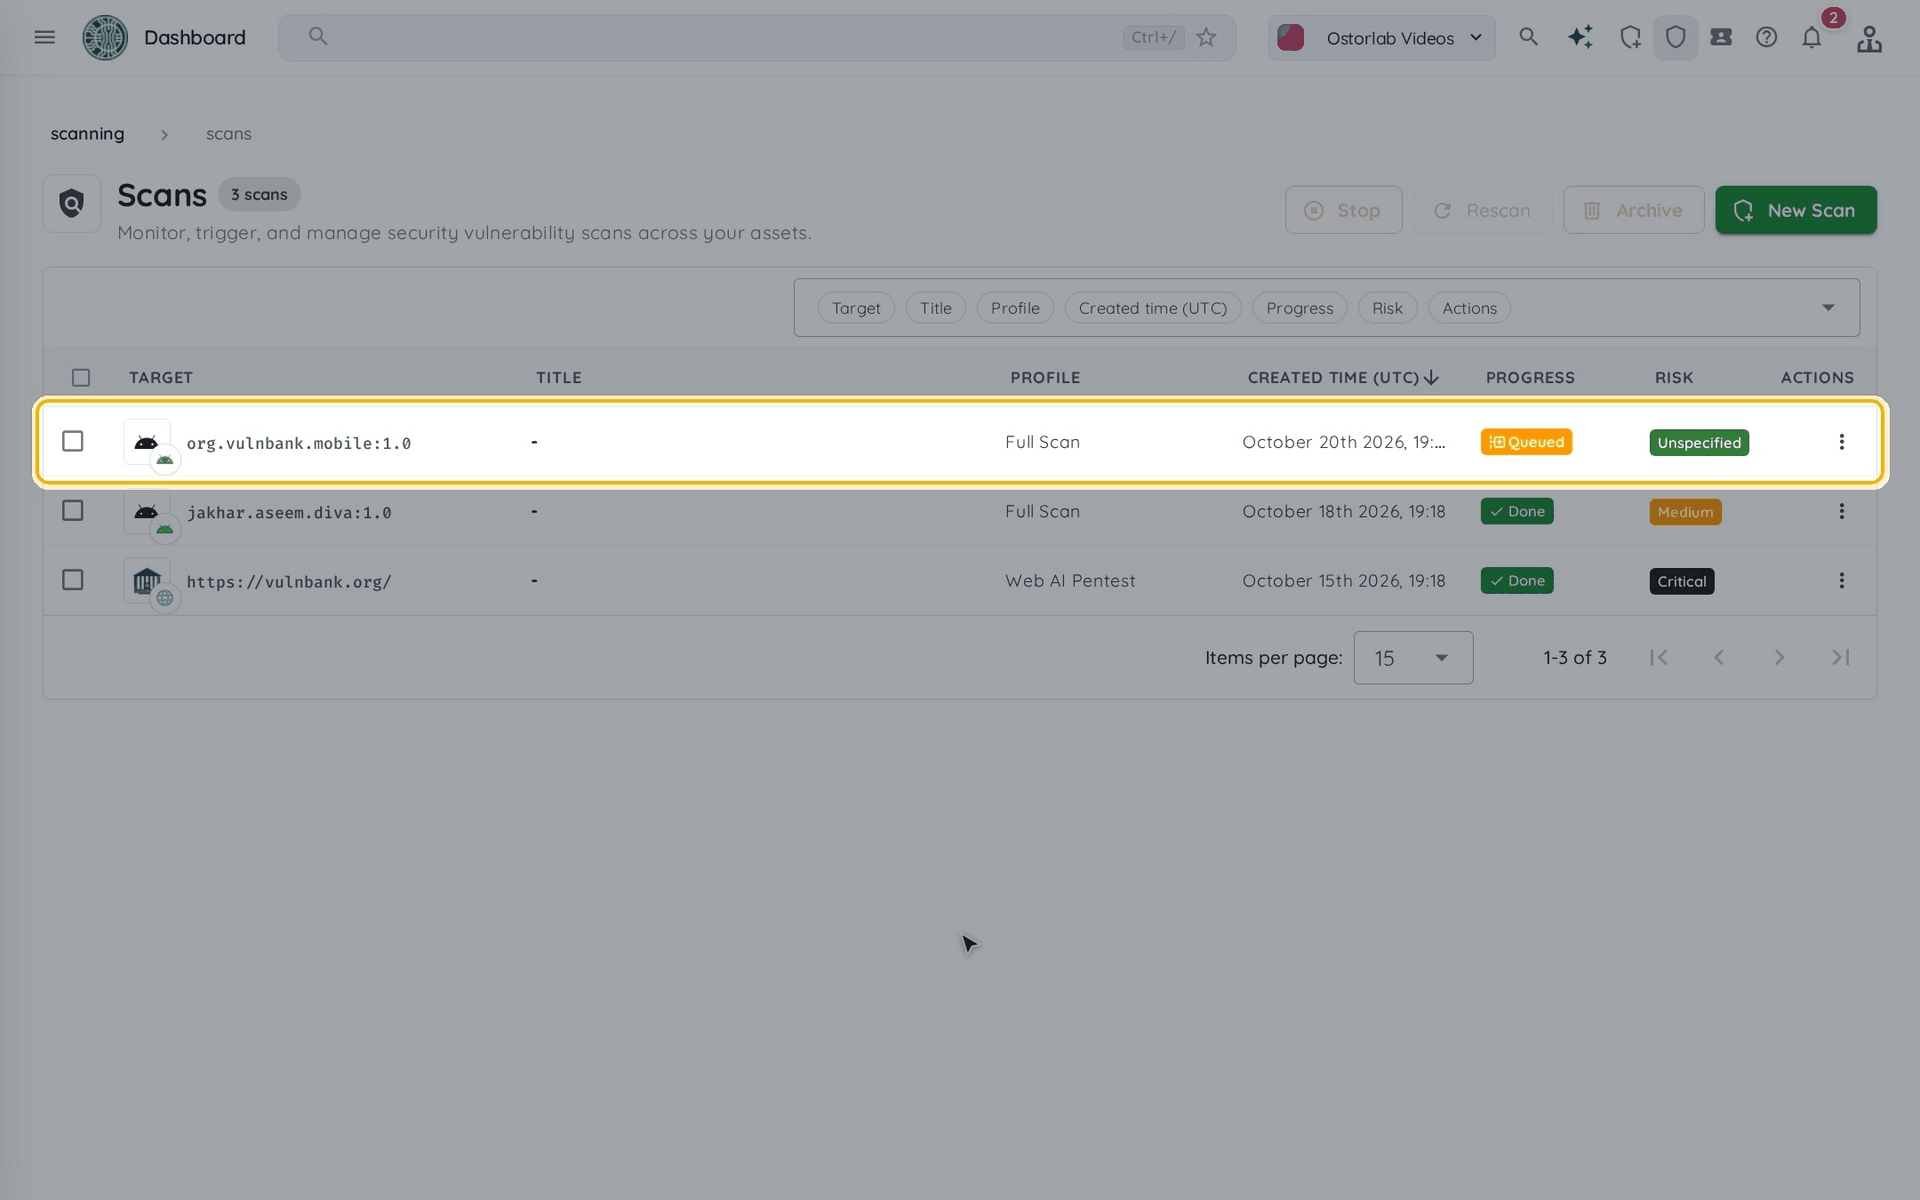
The scan is listed in the scans table. It is queued first, then runs.
This video walked through creating a mobile scan with whitelisted domains, so that only in-scope targets are tested.