Ticket Creation
=================================================================================
Welcome to the Ostorlab tutorial on creating a ticket. This guide will walk you through the steps to effectively create a ticket using the Ostorlab platform.
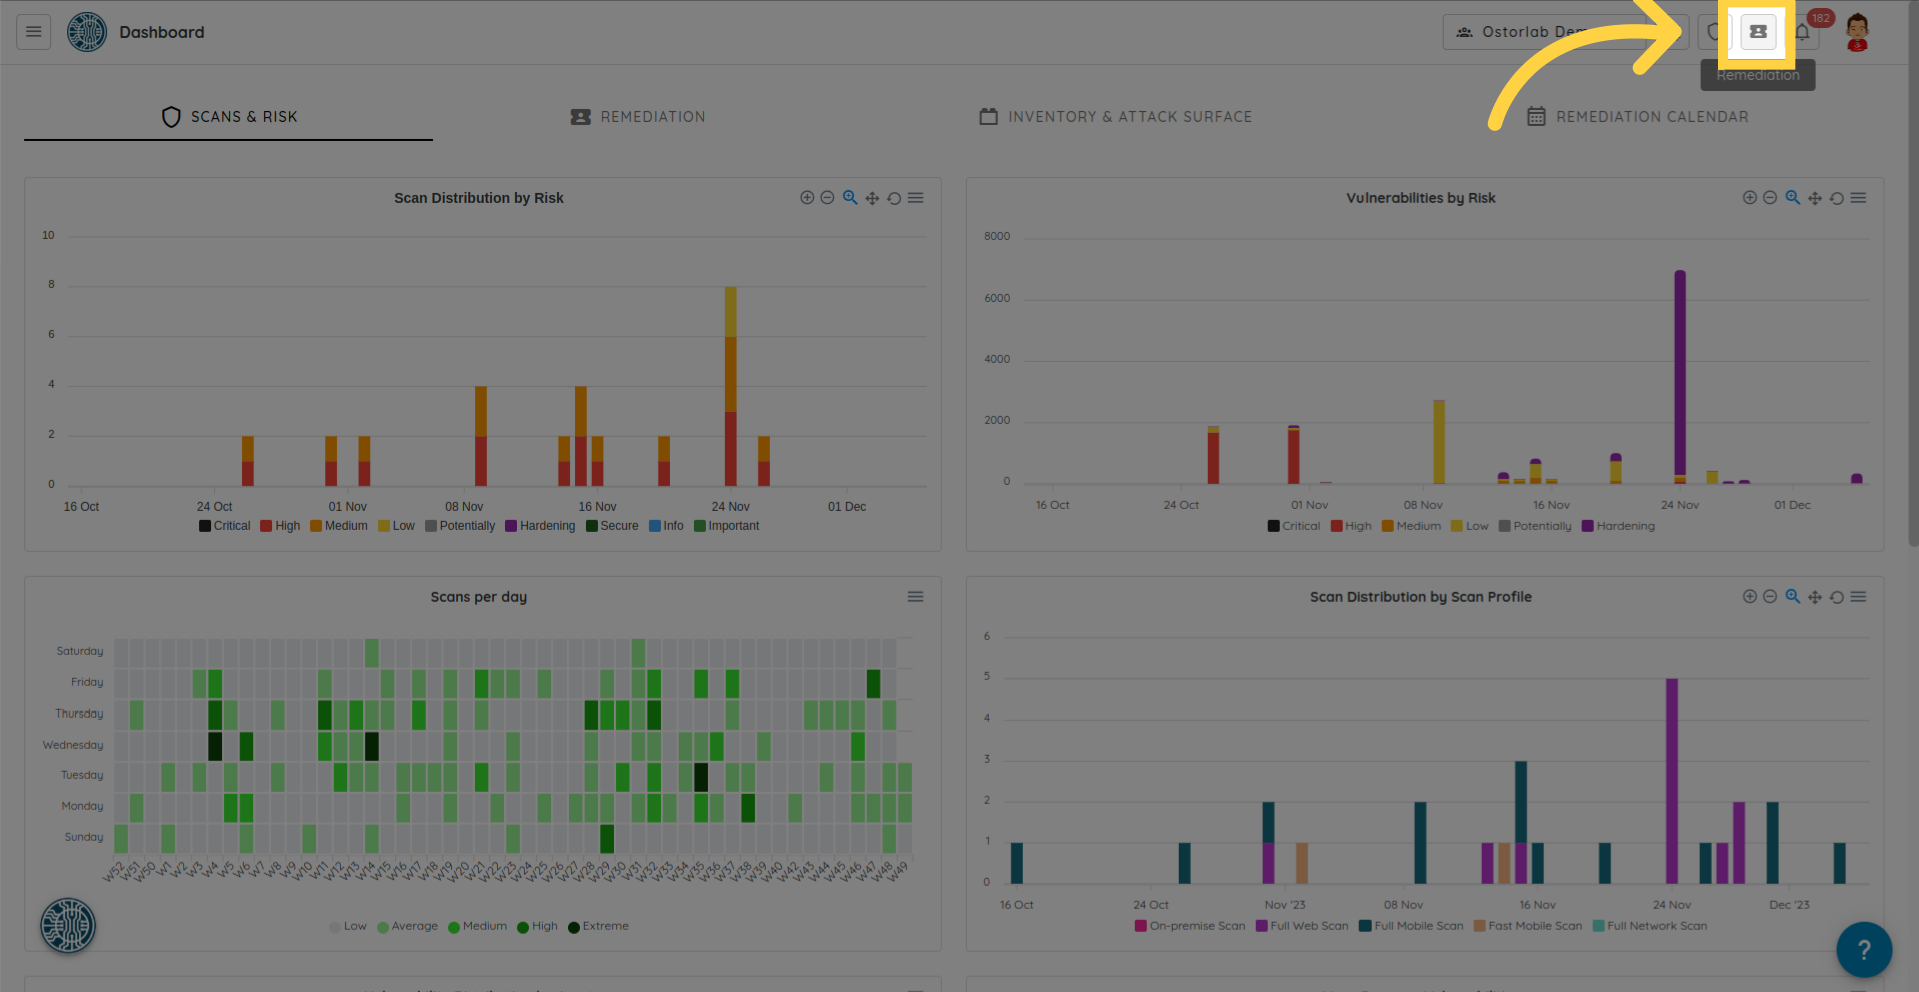
Step 1: Navigate to Remediation
To begin, locate the Remediation option in the left menu or simply click on the Remediation button at the top of the page.
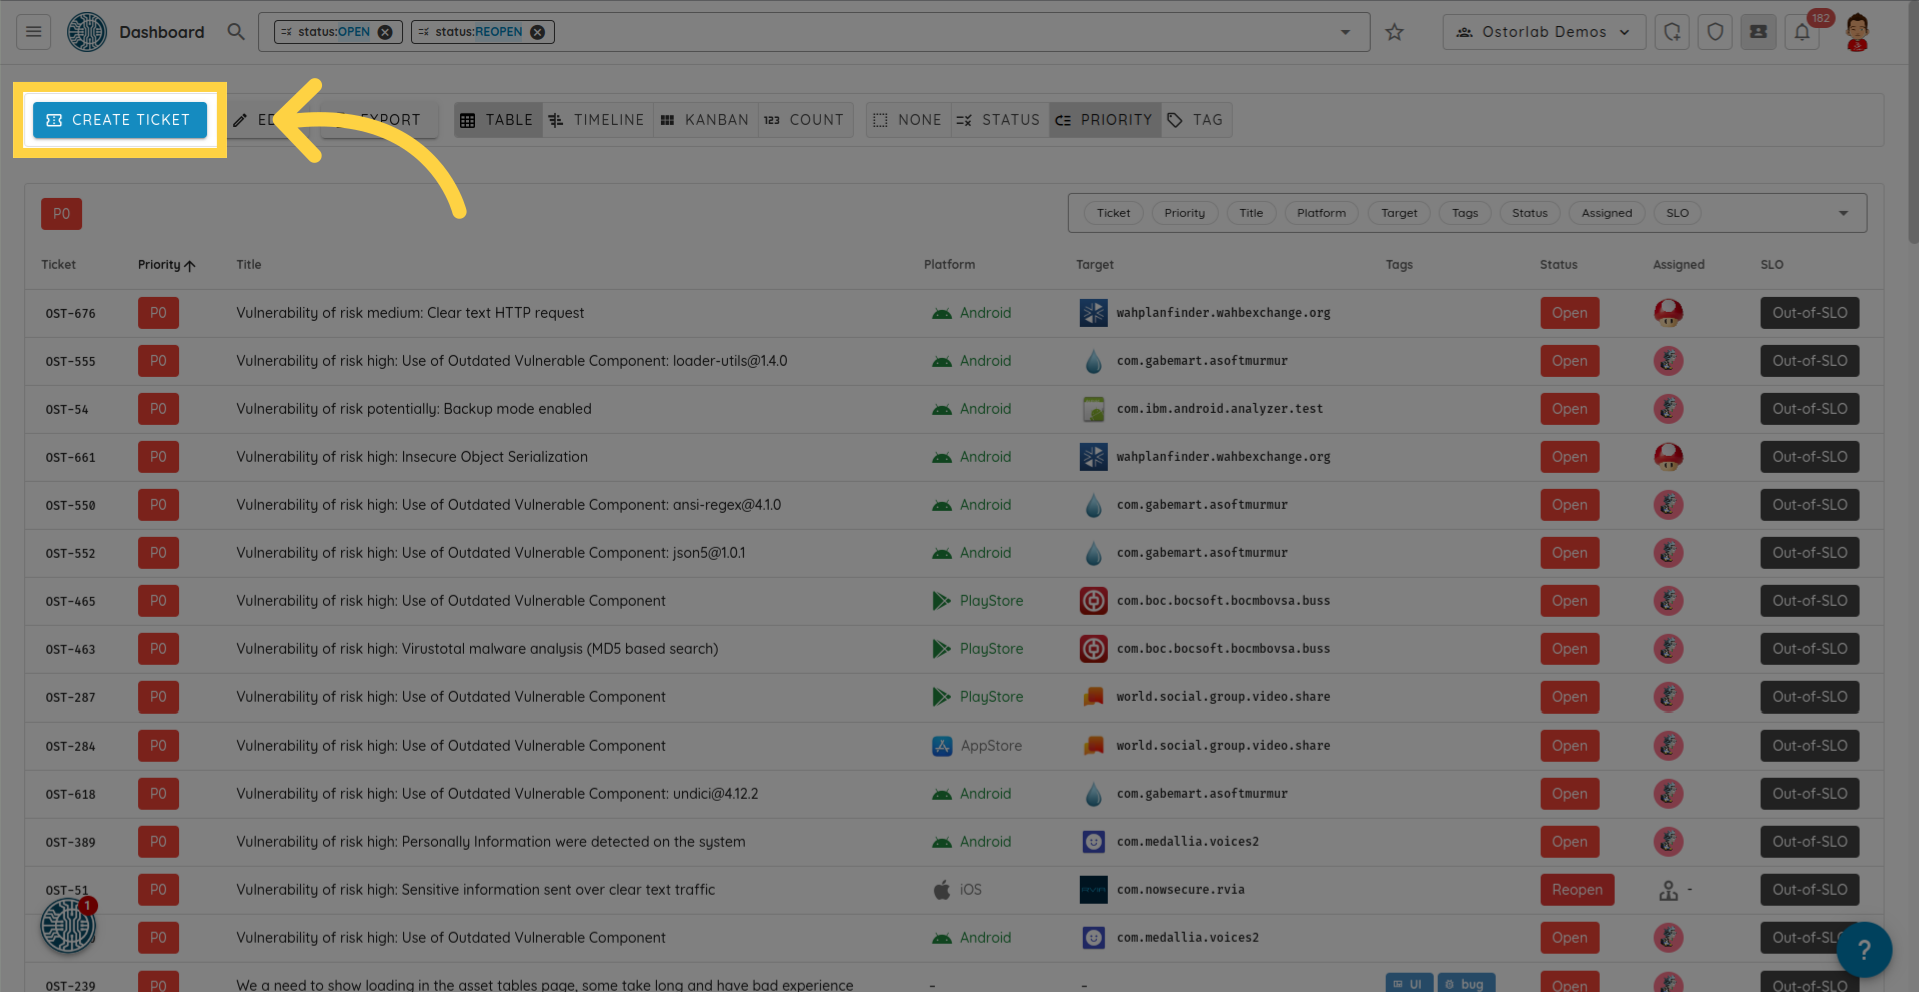
Next, click on the "Create Ticket" button.
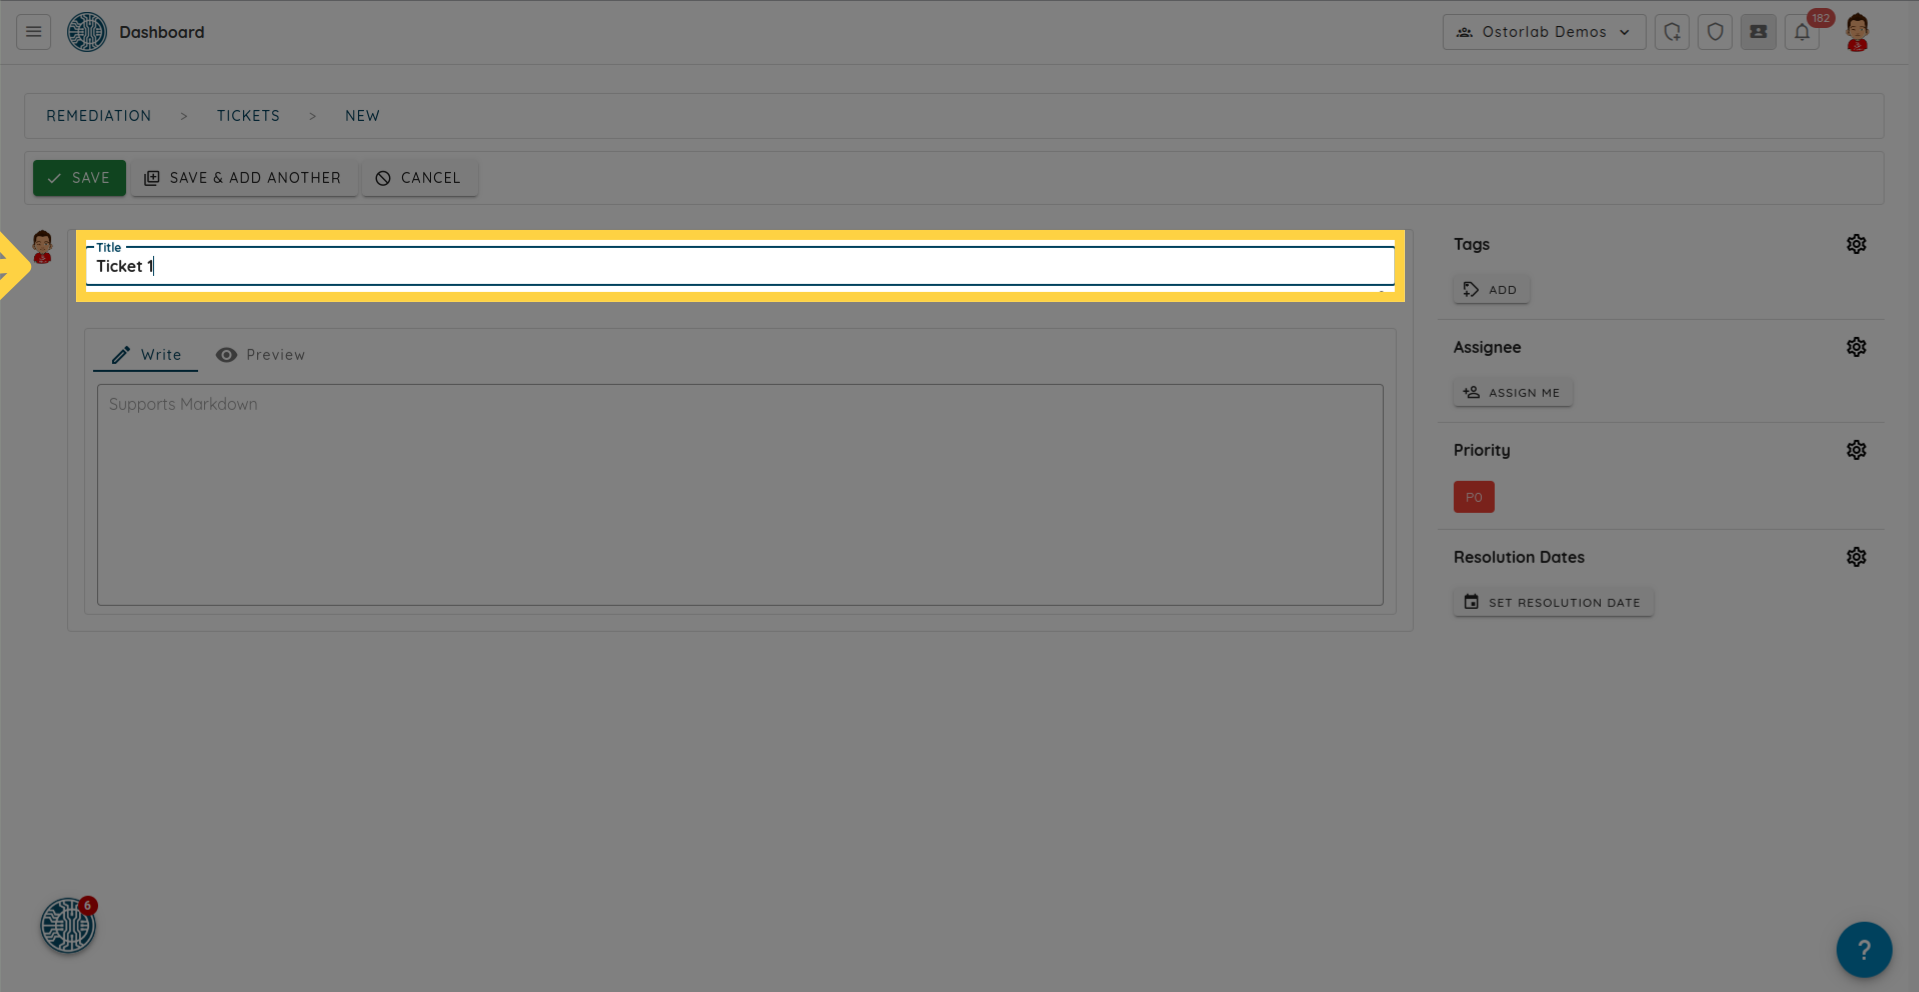
Step 2: Add Title
Provide a meaningful title for your ticket.
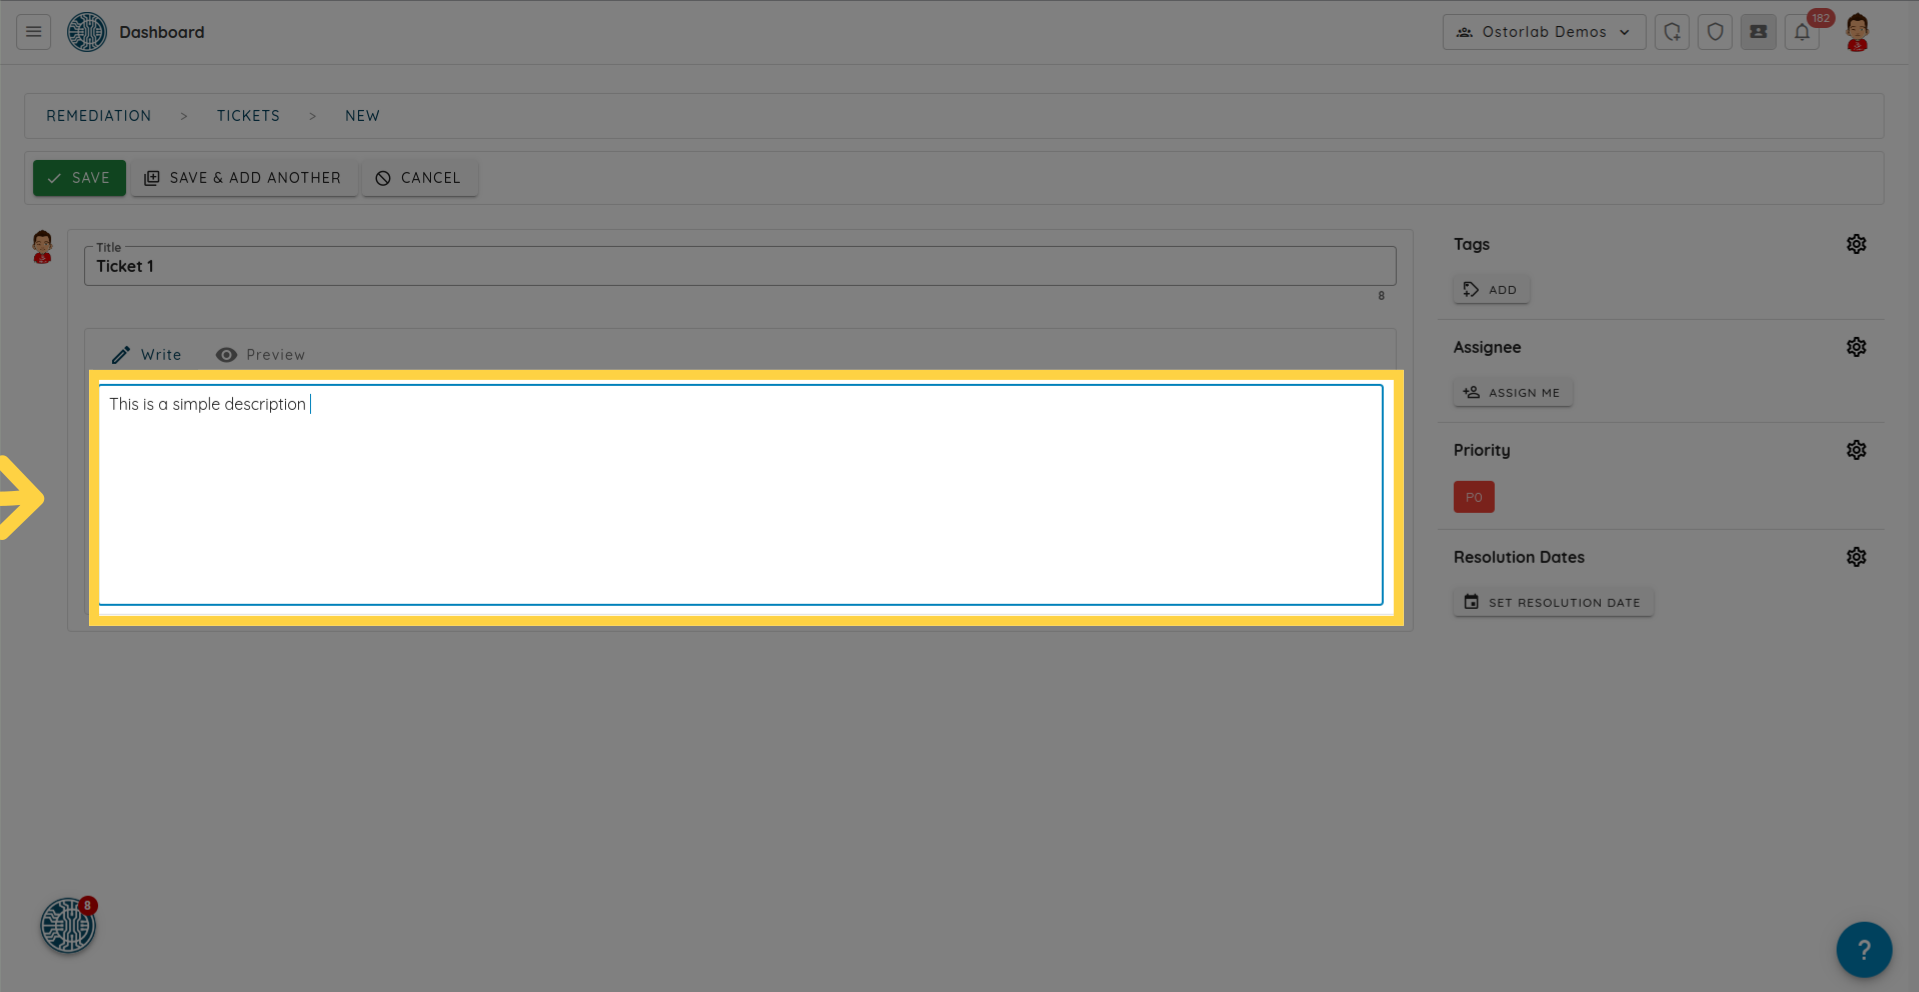
Step 3: Add Description
Include detailed information about the issue in the provided field, utilizing Markdown format for clarity.
Step 4: Select Priority
Assign a priority level to your ticket by clicking on the settings icon.
![]()
The current priority is set to 0. To modify it, click on the drop-down menu and choose your desired priority.

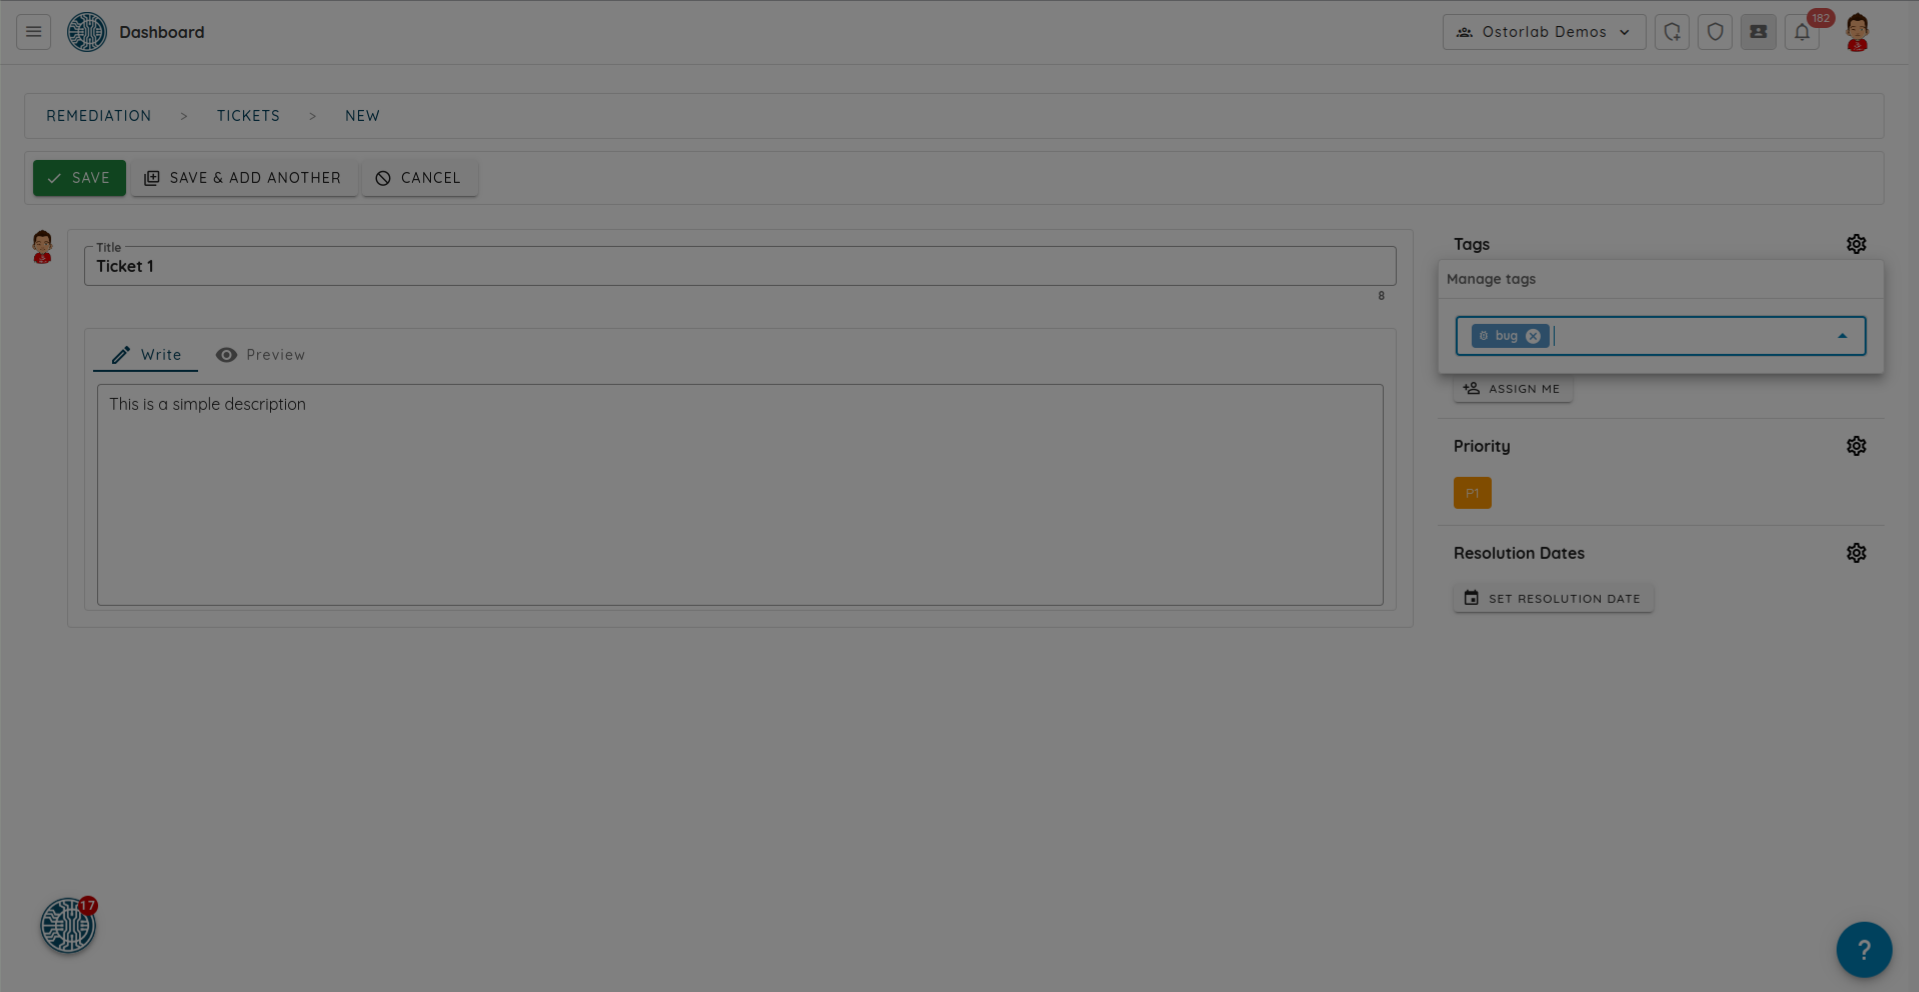
Step 5: Add Tags
Enhance ticket categorization by adding relevant tags. Click on the Add icon and input the desired tags, such as "bug".
![]()
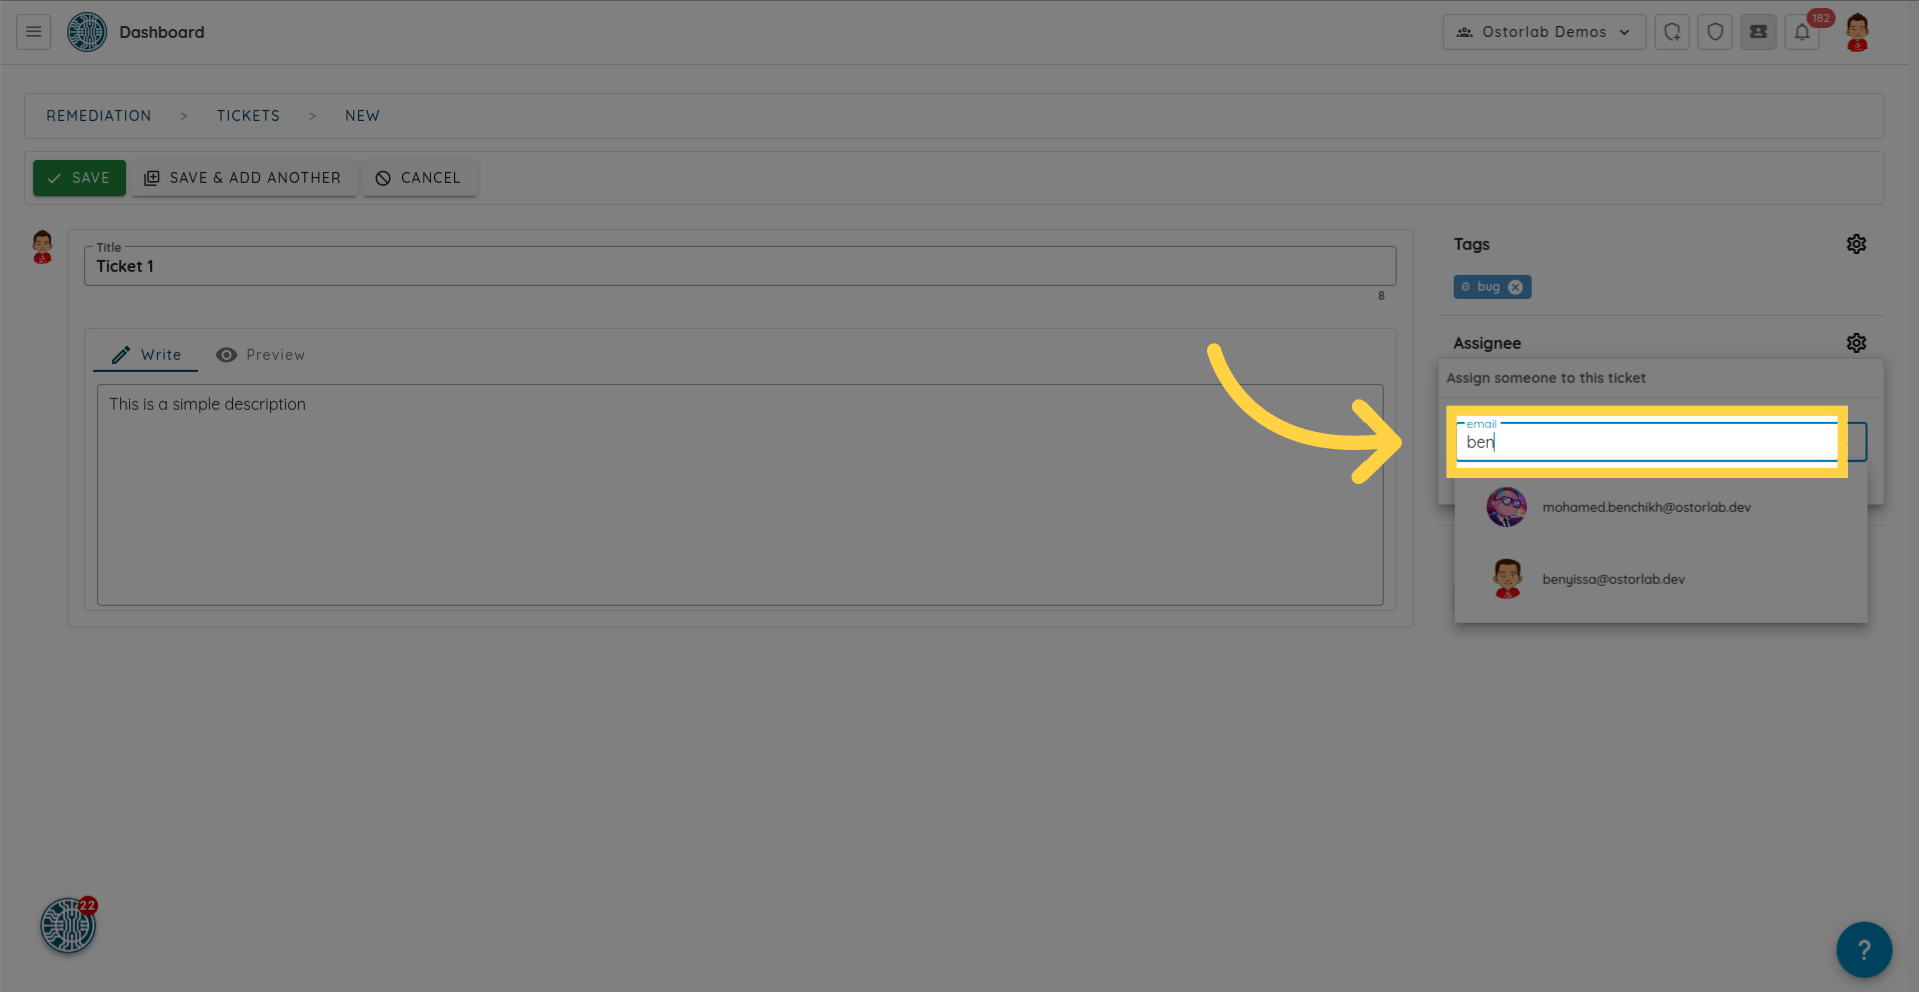
Step 6: Assign Ticket to a User
Assign the ticket to a specific user in your organization by clicking on the user icon.
![]()
Enter the user's email and select the appropriate user from the list.

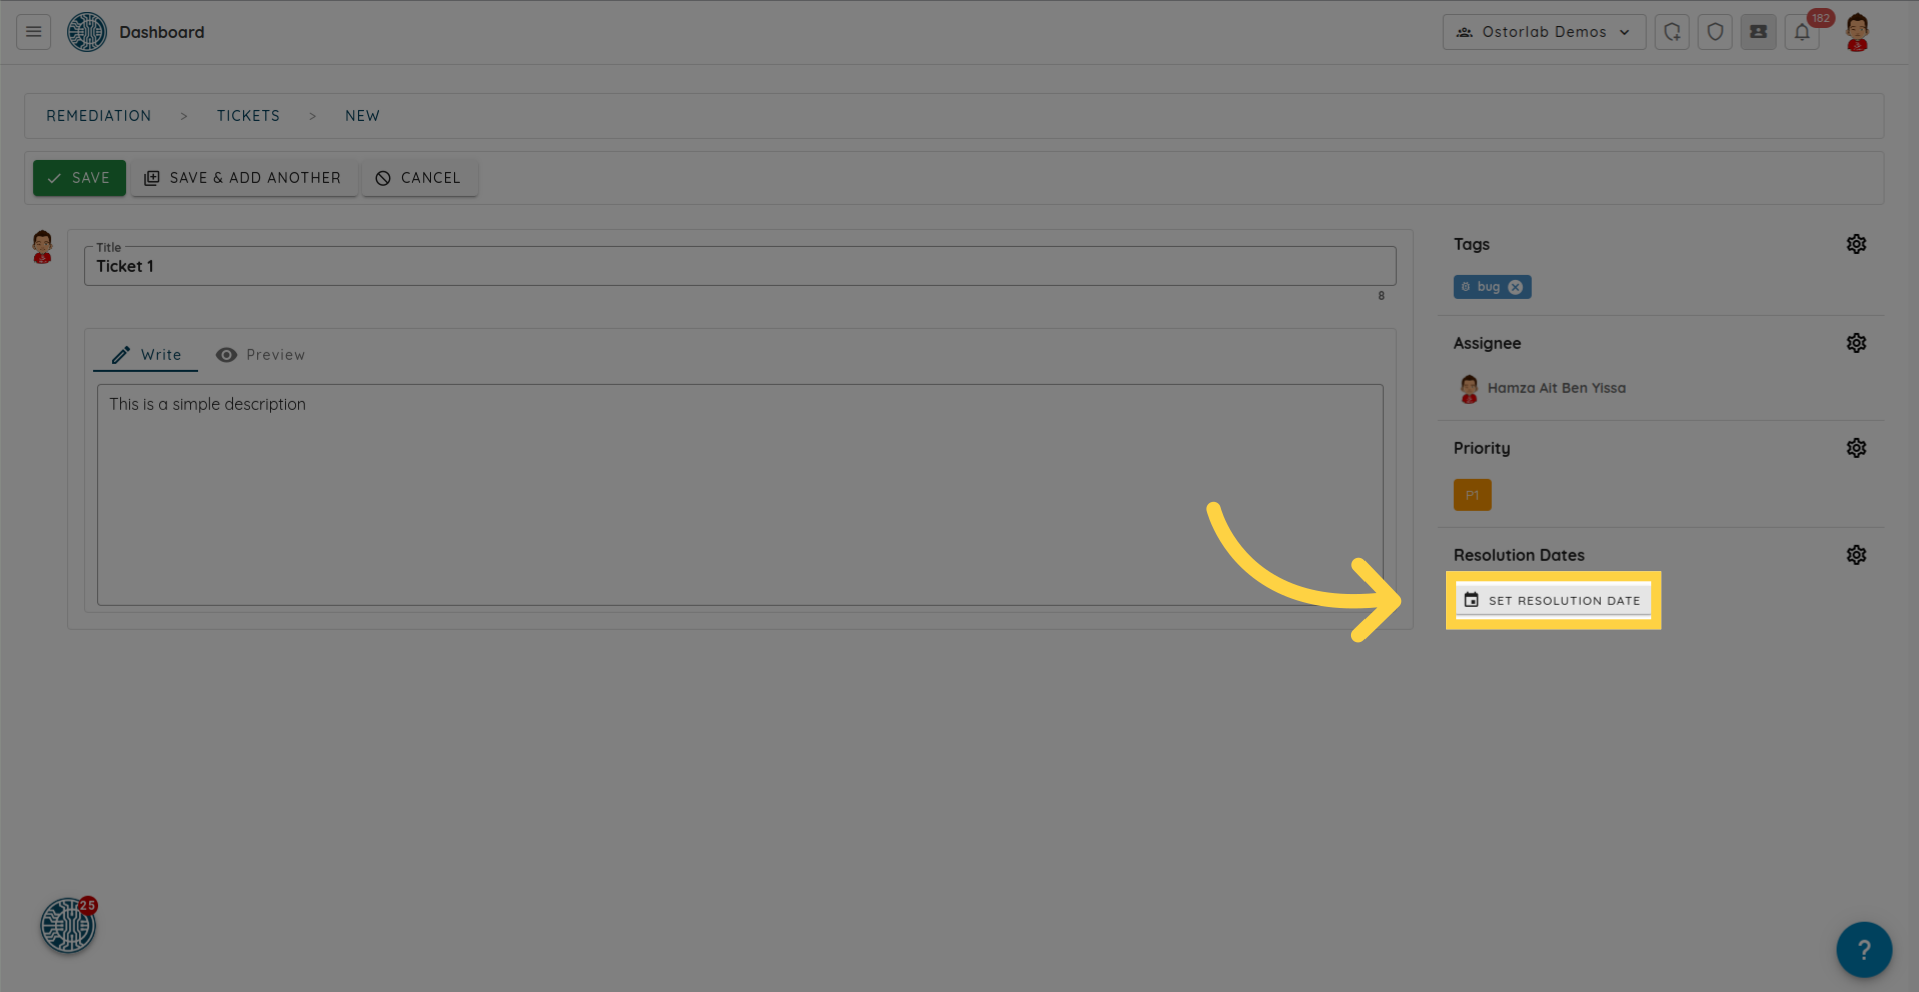
Step 7: Set Resolution Date
Specify resolution dates for the ticket by clicking on the respective option.
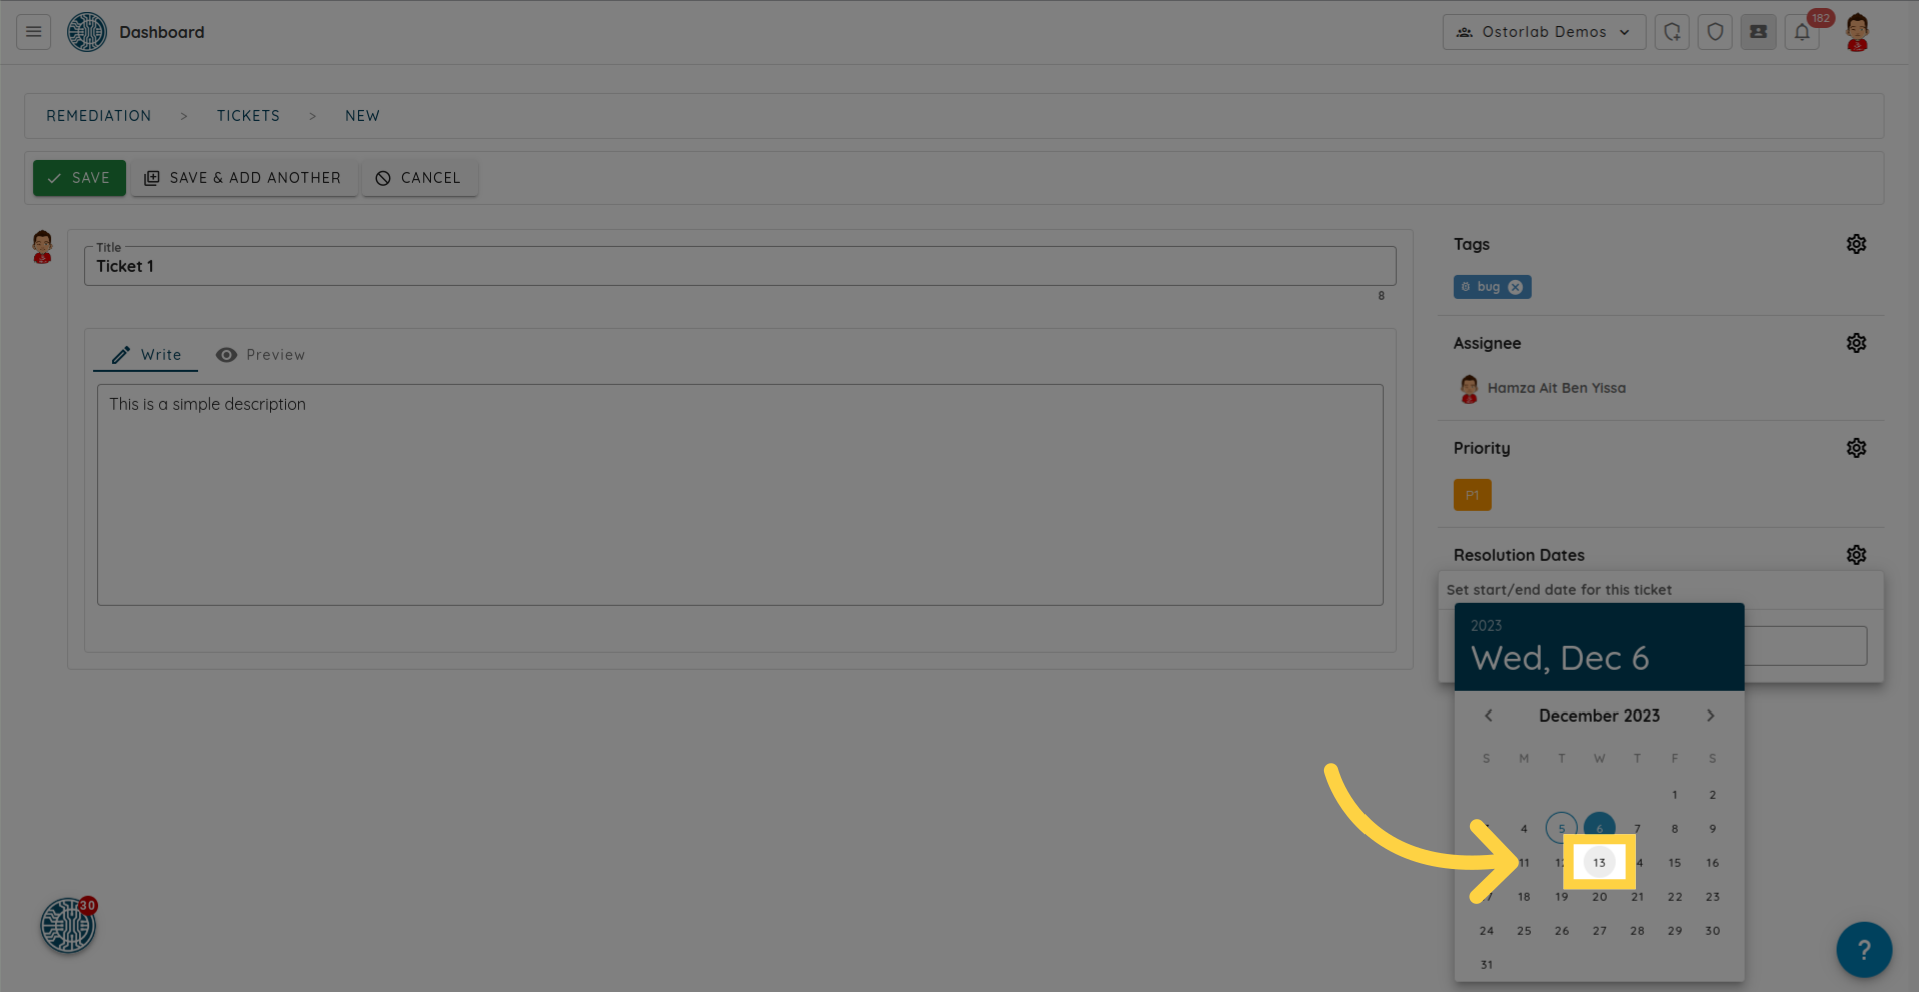
Choose the desired dates for resolution.
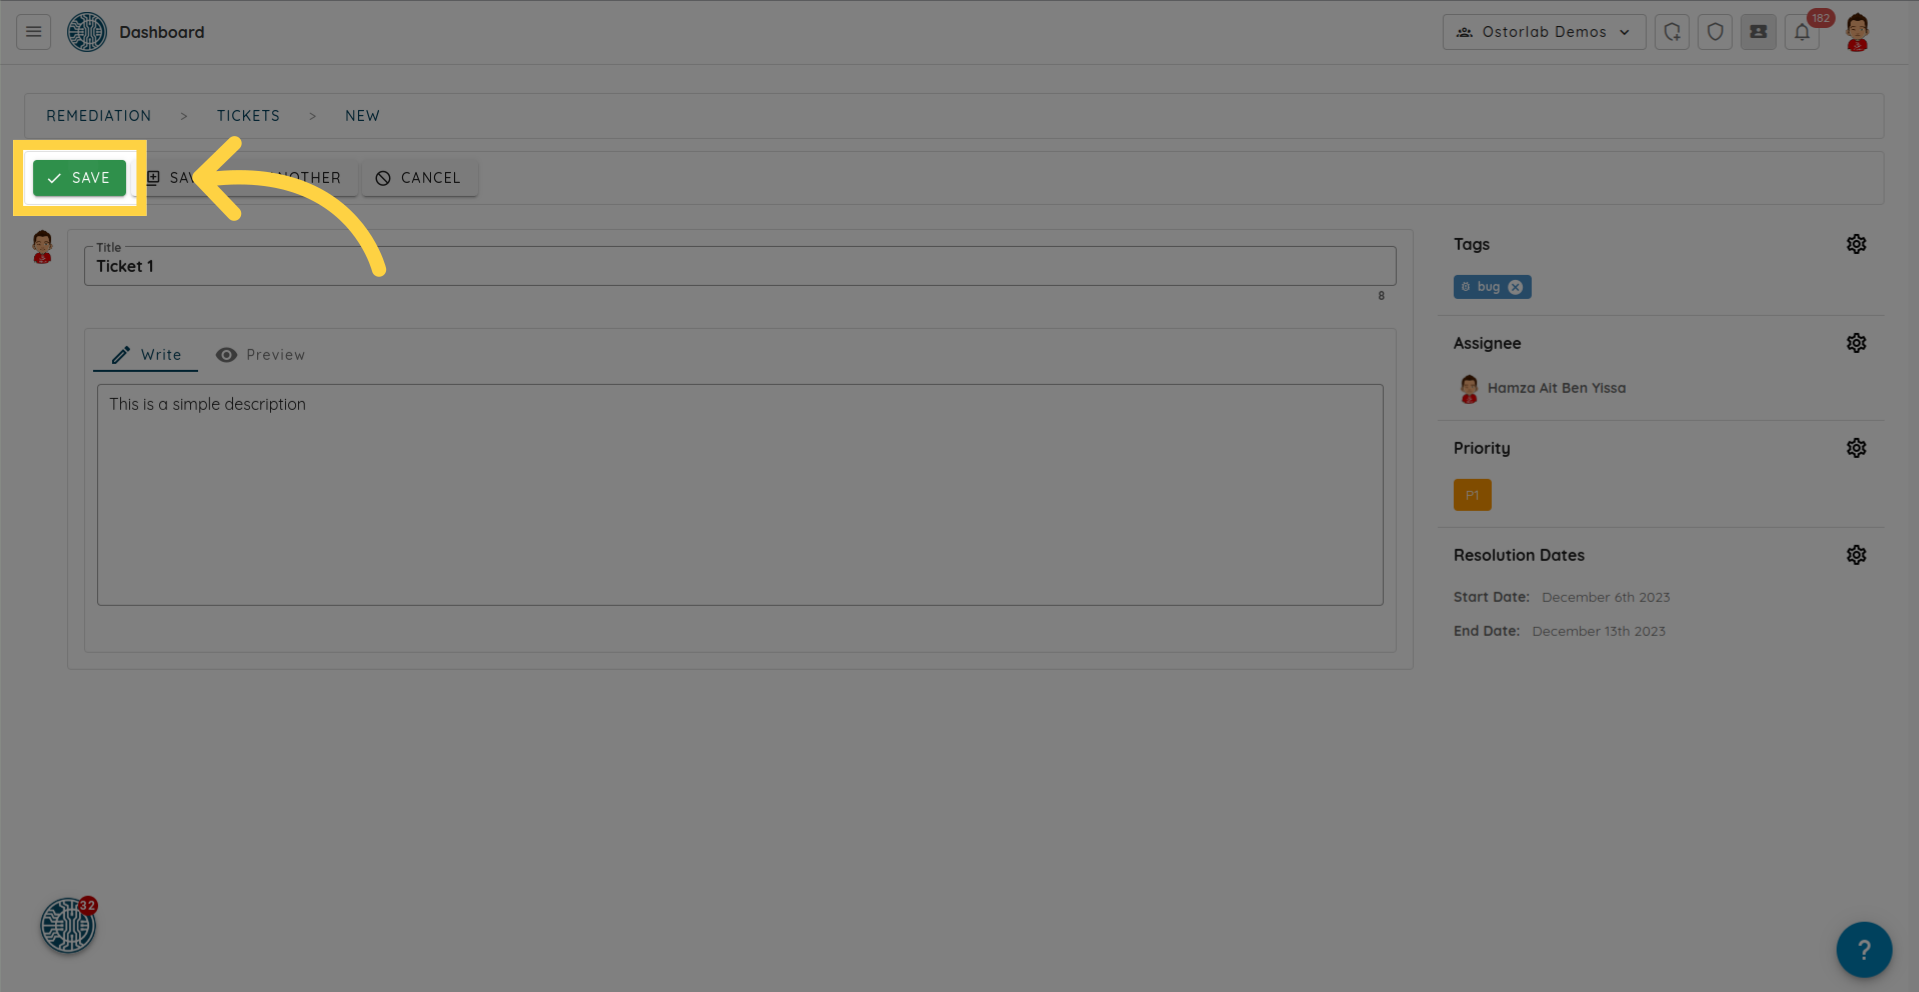
Step 8: Save Ticket
Finally, save the ticket by clicking on the save button at the top of the ticket interface.
This guide covered the essential steps for a seamless ticket creation process.