Configure patching policy
=================================================================================
Welcome to the Ostorlab tutorial on configuring the patching policy for your organization. The Patching Policy establishes a schedule for addressing vulnerabilities to efficiently manage risk. Utilizing deadlines determined by the risk rating and priority of each vulnerability, it provides guidance for metrics tracking and facilitates remediation efforts to meet established SLOs.
Configuring Patching Policy Based on Risk Rating.
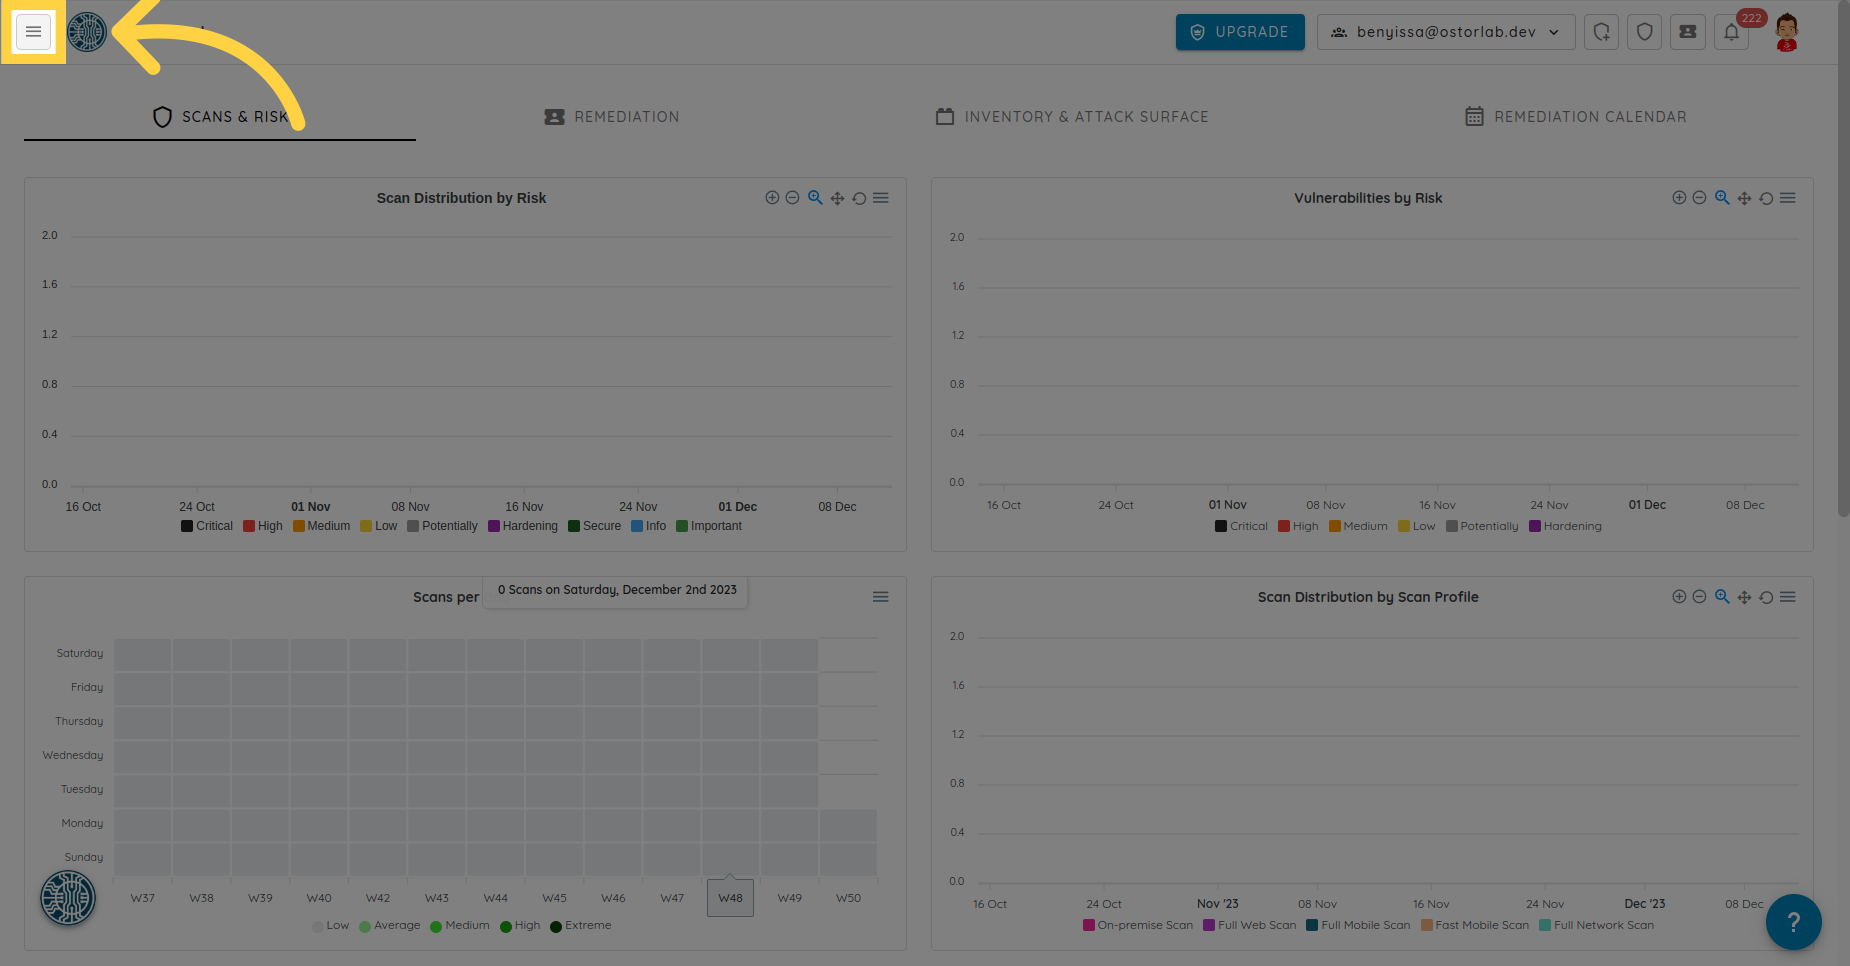
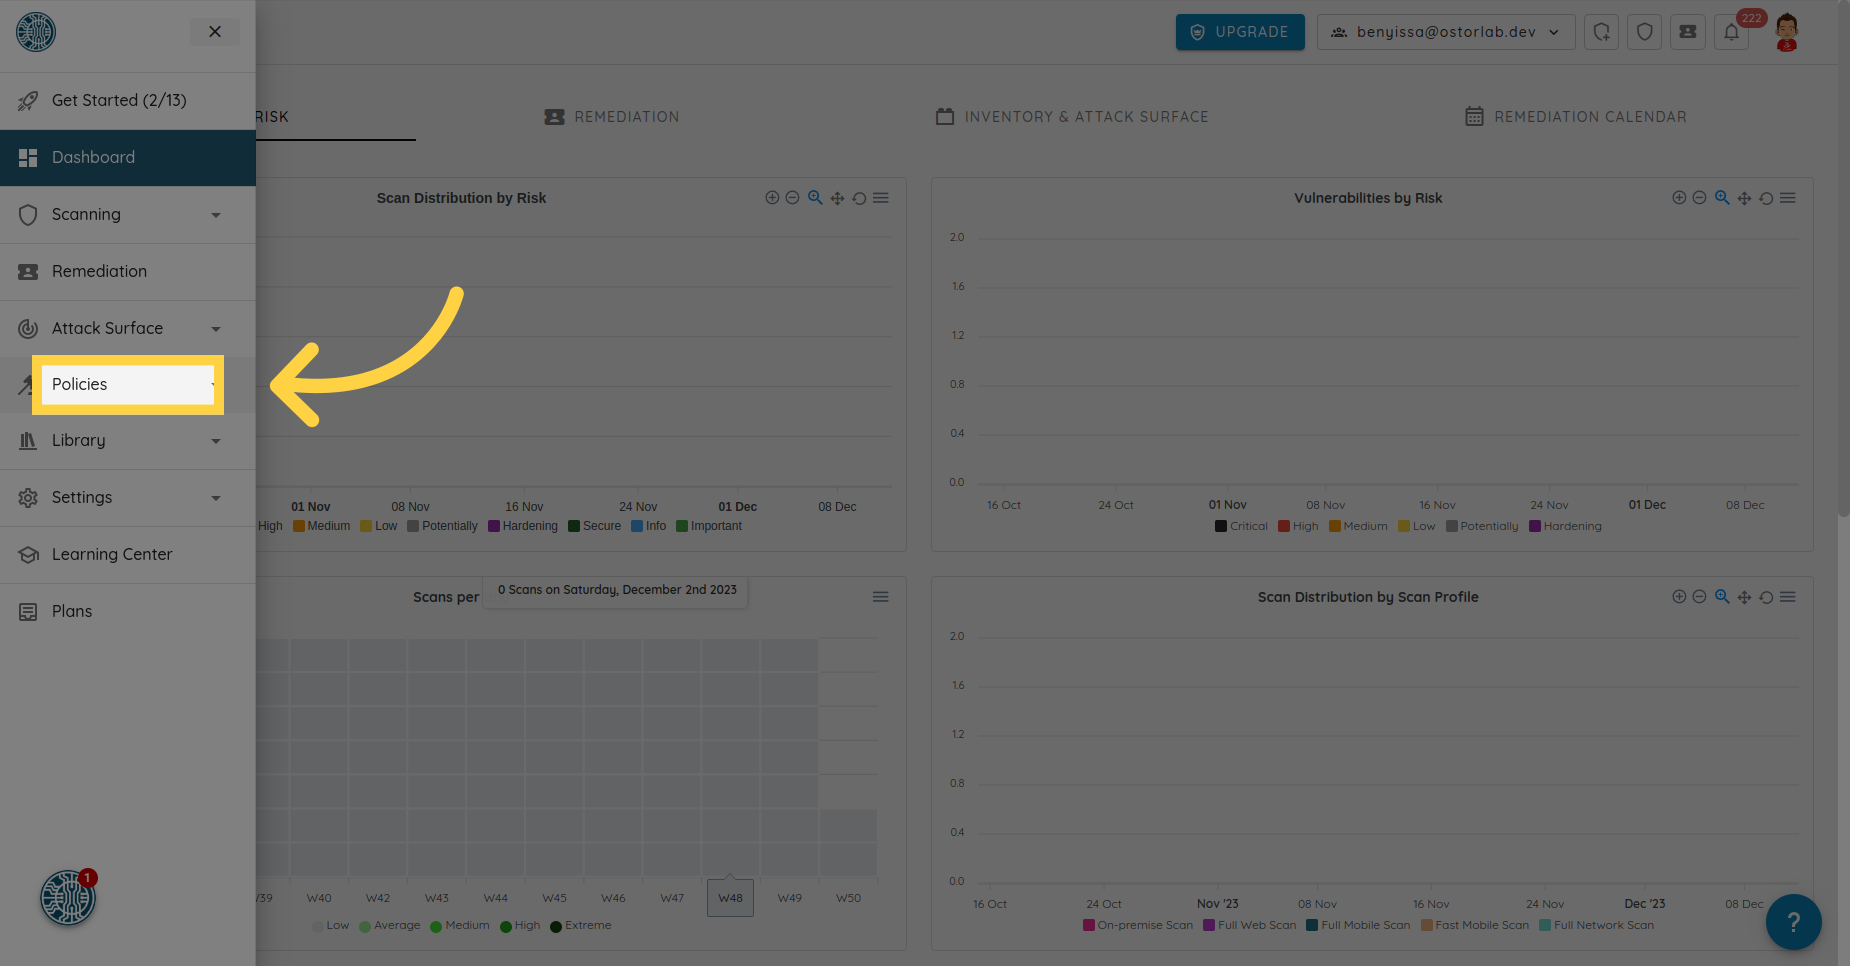
Navigate to the Policies section in the side menu.
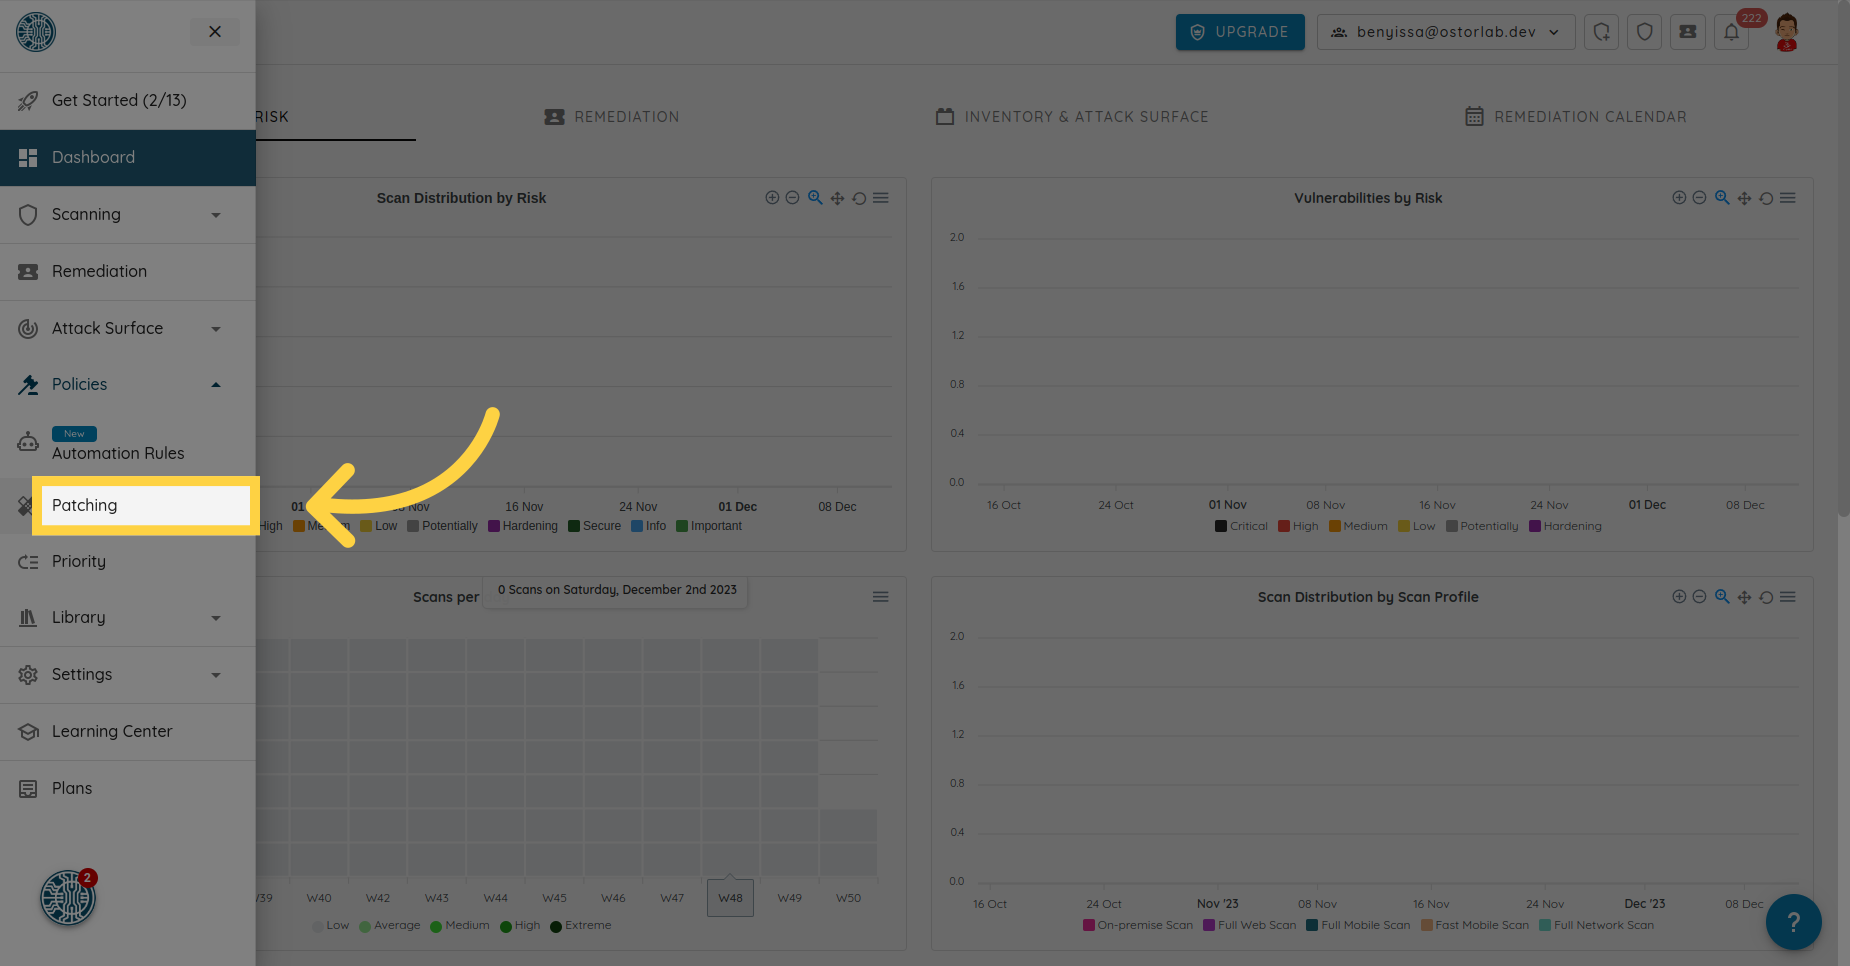
Then click on Patching.
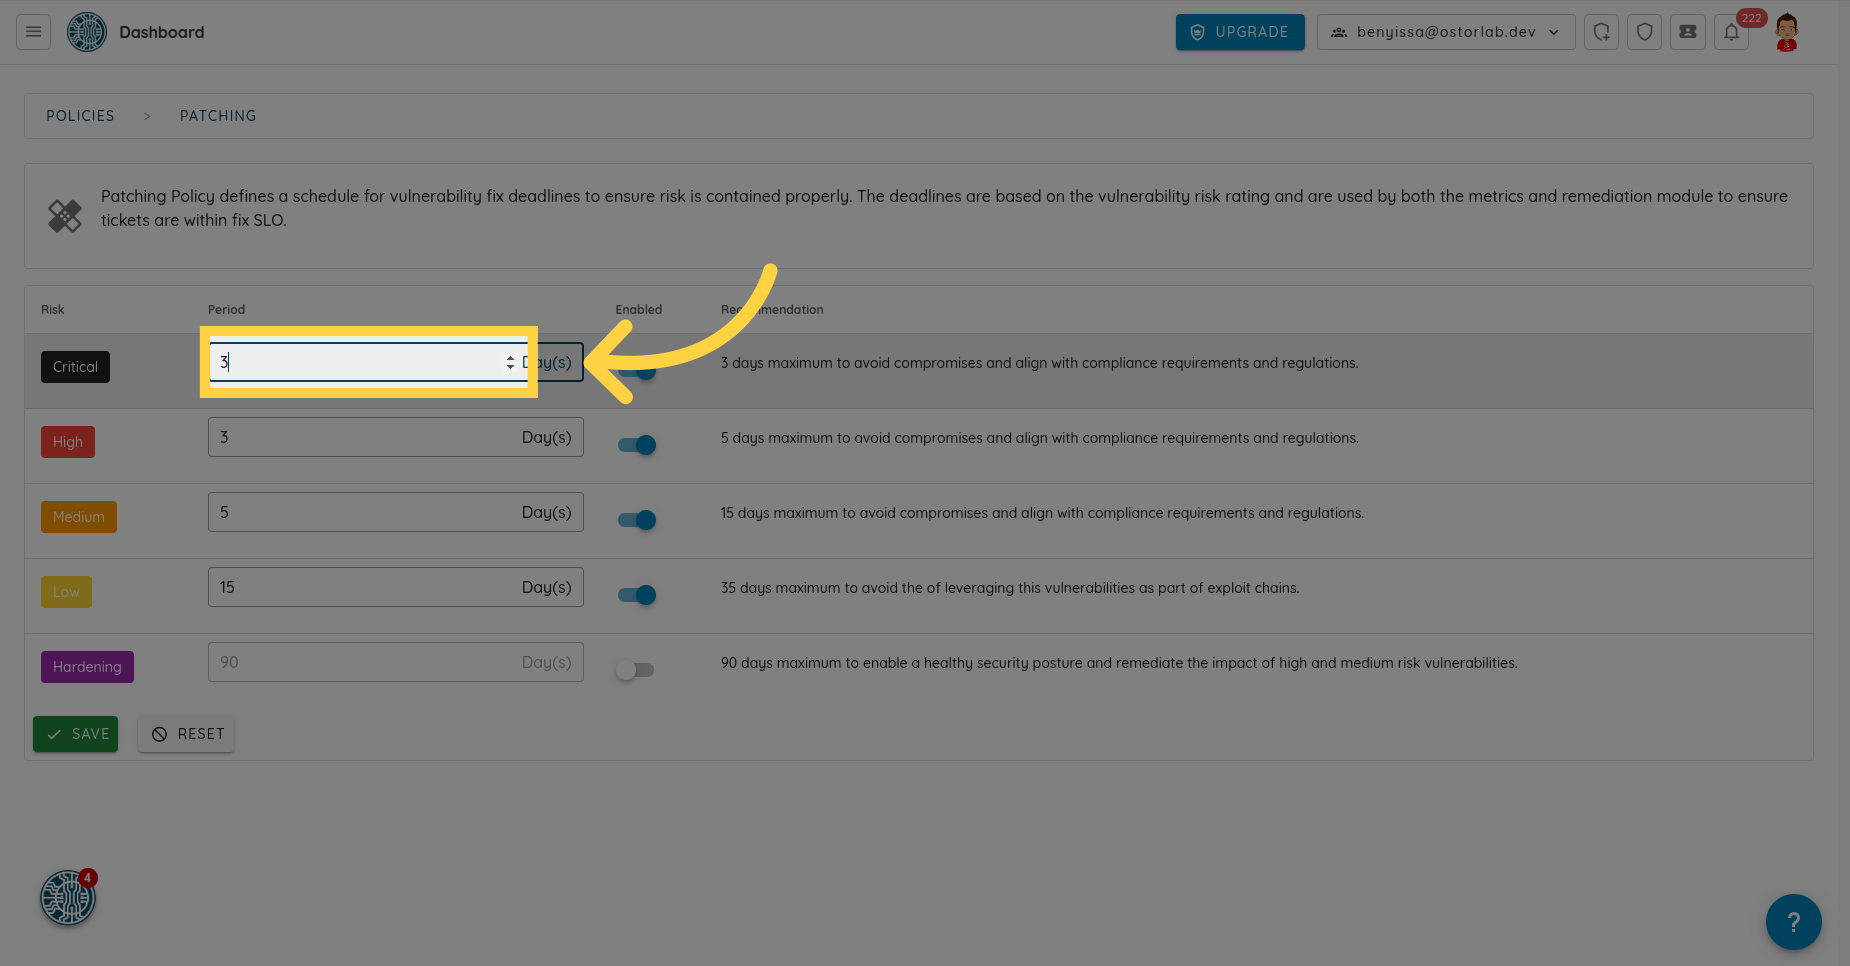
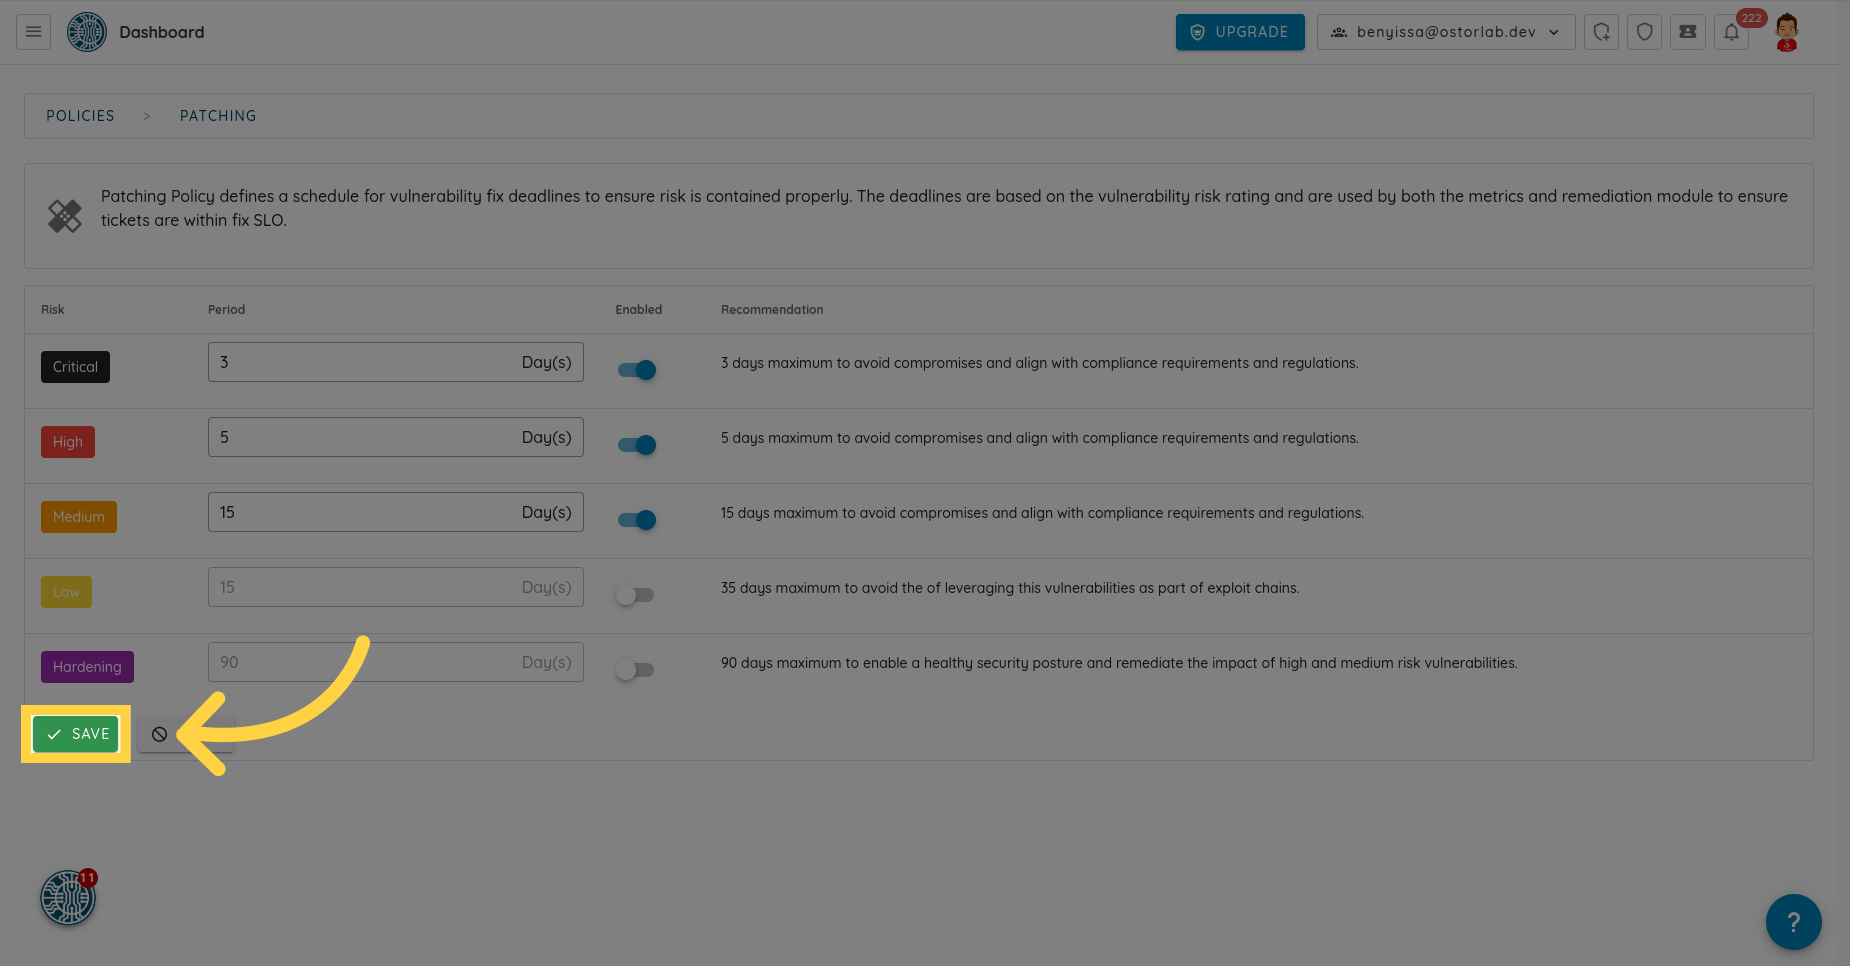
You can configure the SLO period for each risk rating: Critical, High, Medium, Low, and Hardening.
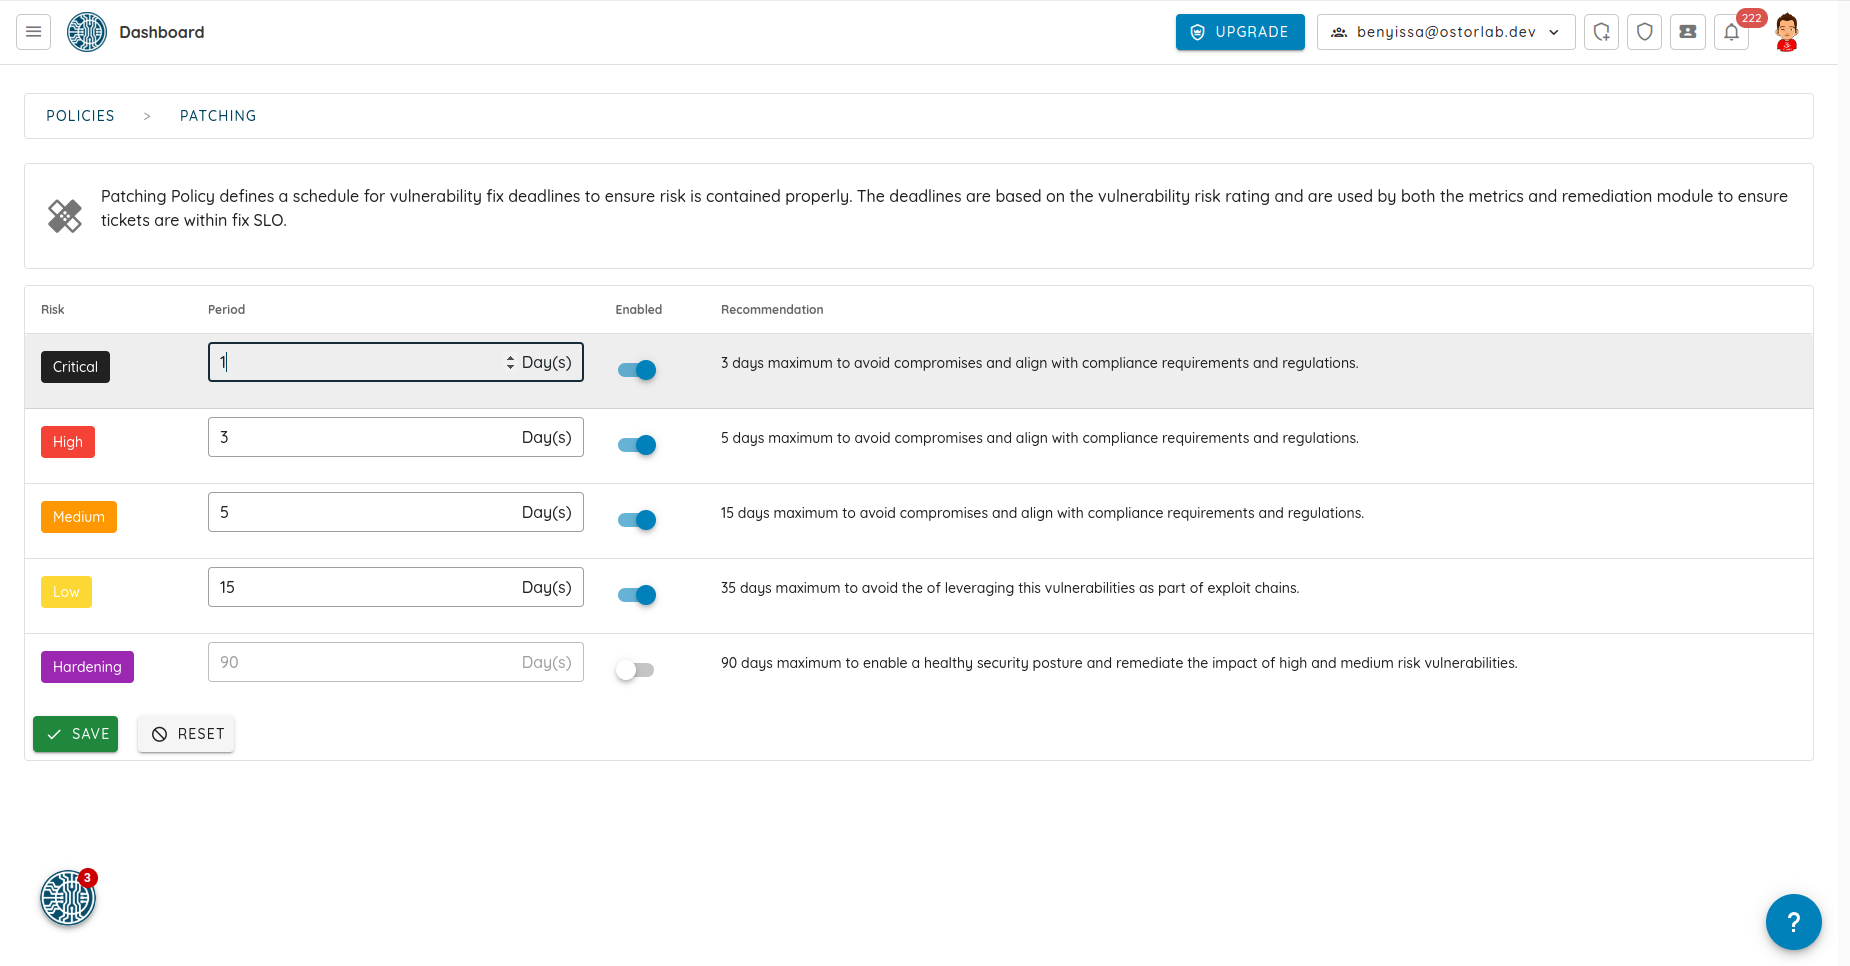
For example, let's set a 3-day period for critical vulnerabilities.
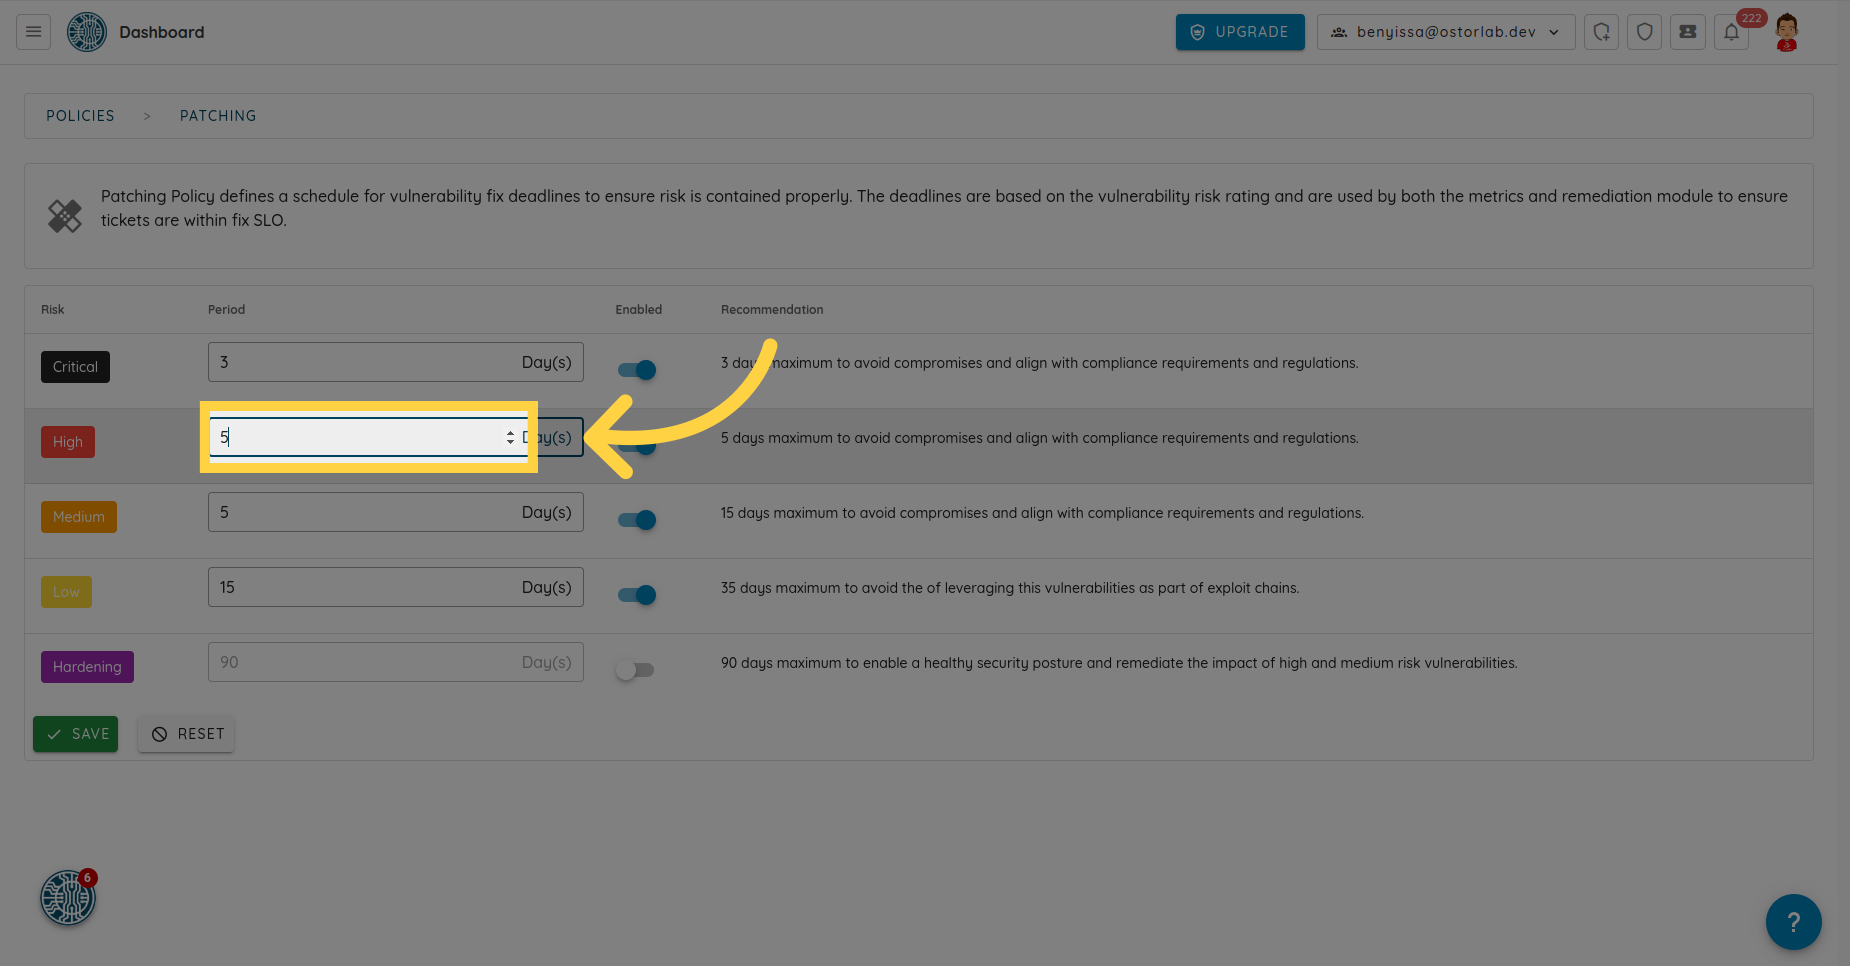
And 5 days for high ones.
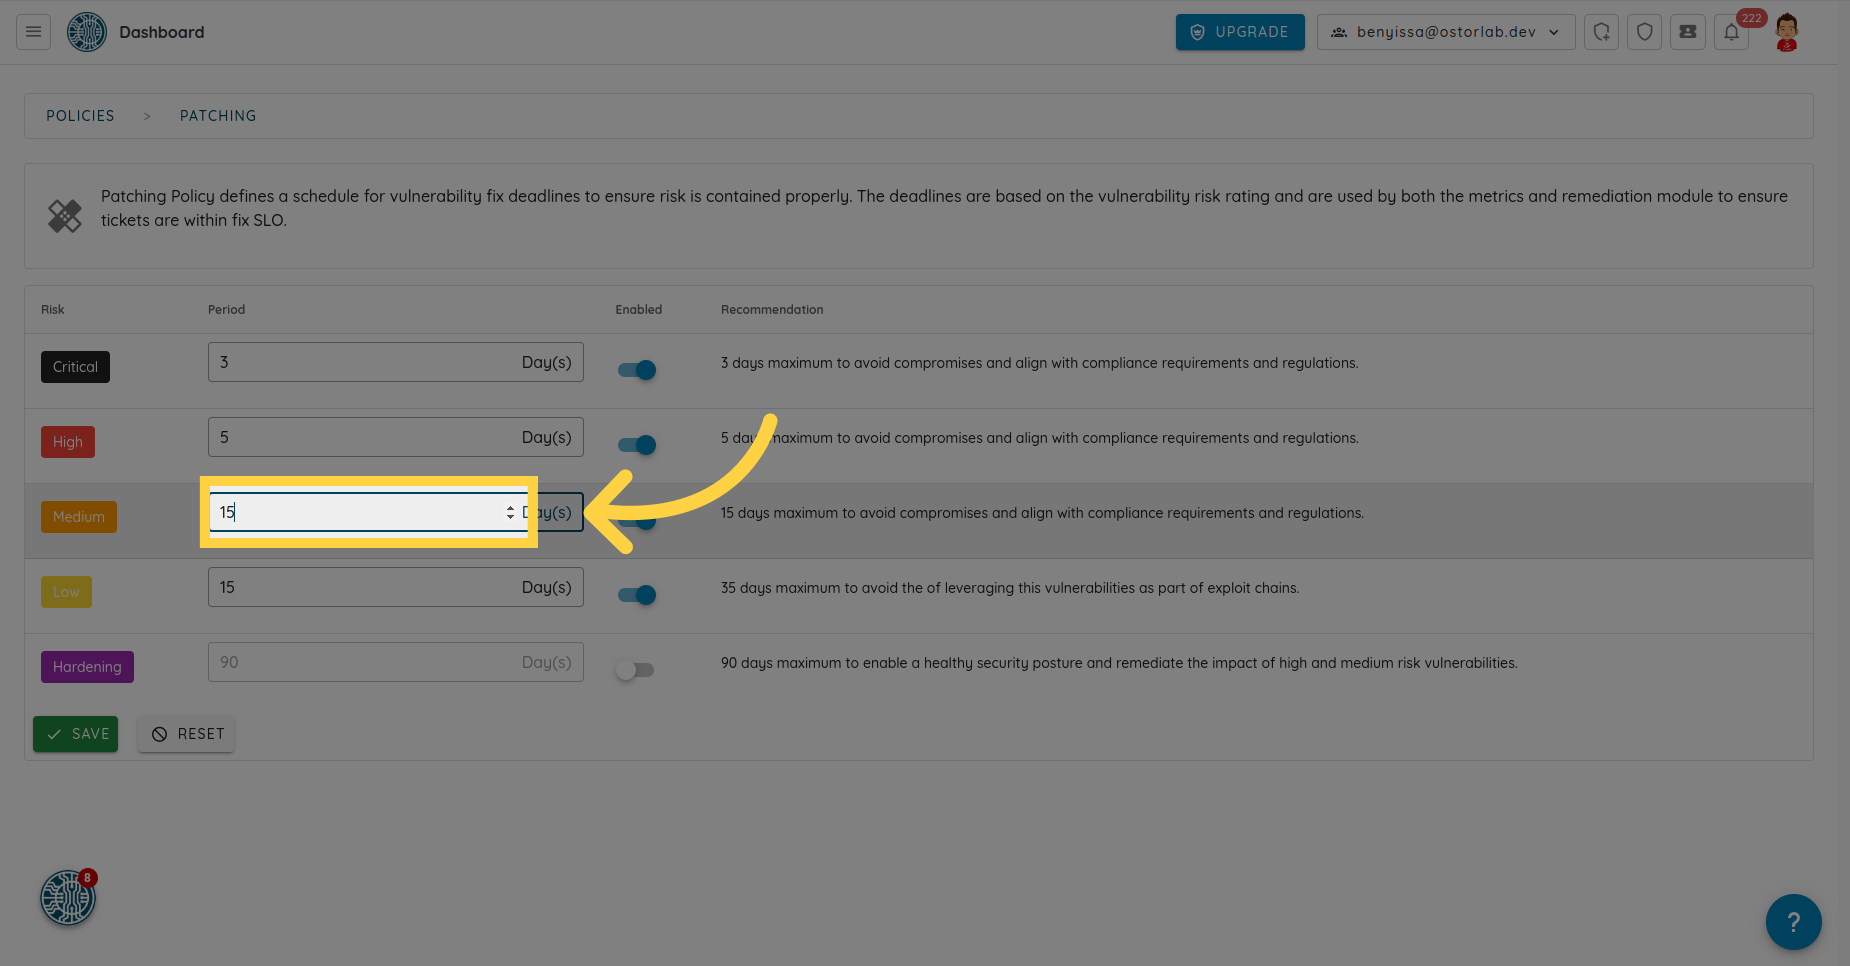
Then, 15-day for medium vulnz.
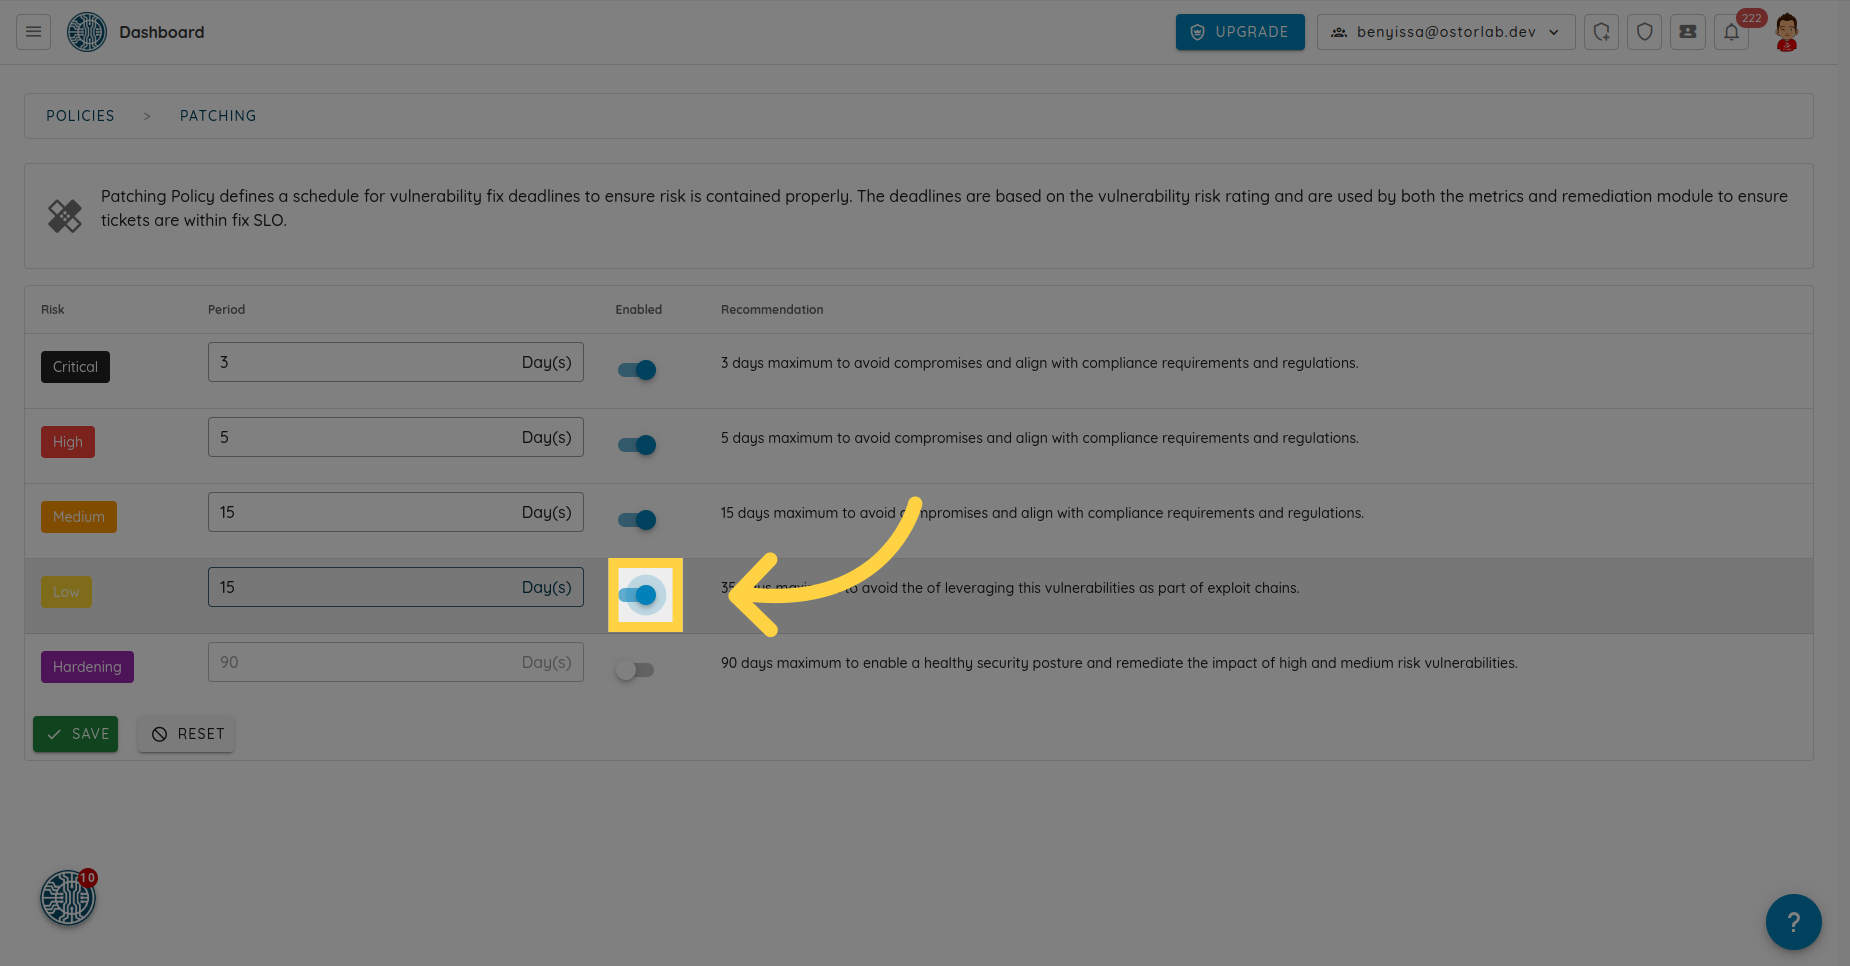
You can enable or disable an SLO for a specific risk rating by toggling this button.
After completing your configuration, don't forget to click on the SAVE button to apply your patching policy settings.
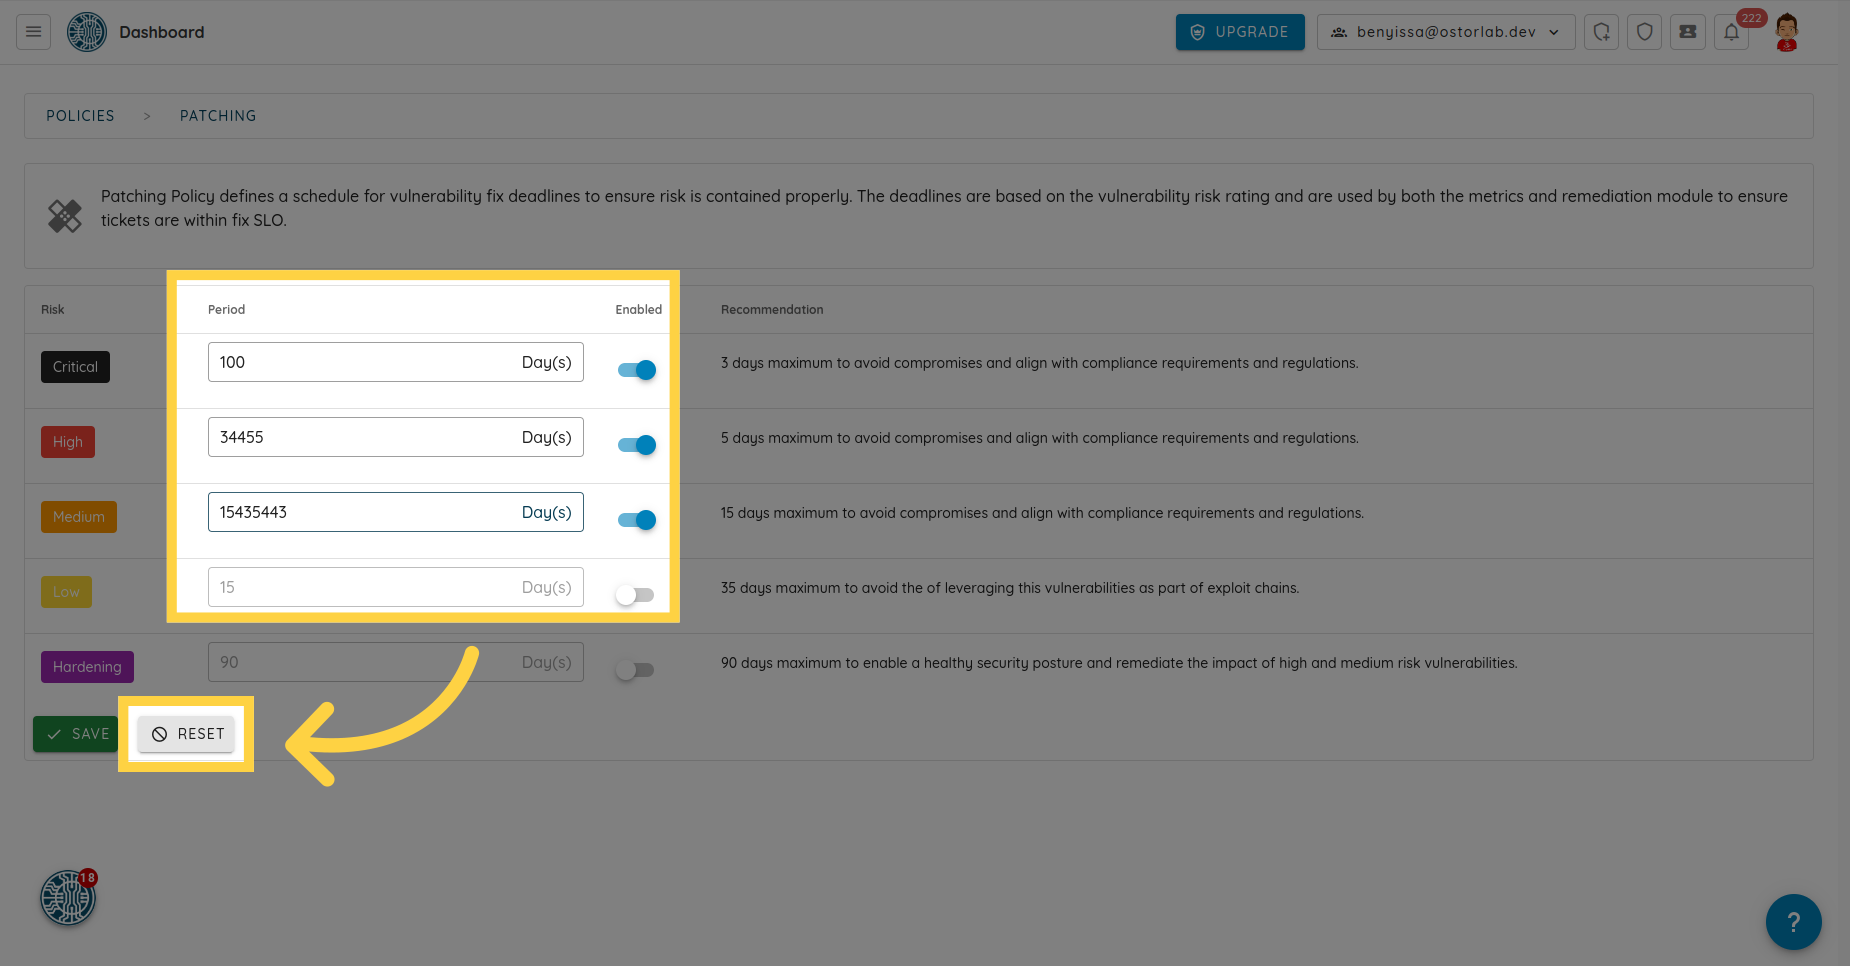
When editing the current configuration, you can click on the Reset button to restore the configuration if you are unsure about your changes.
Configuring Patching Policy Based on Ticket Priority.
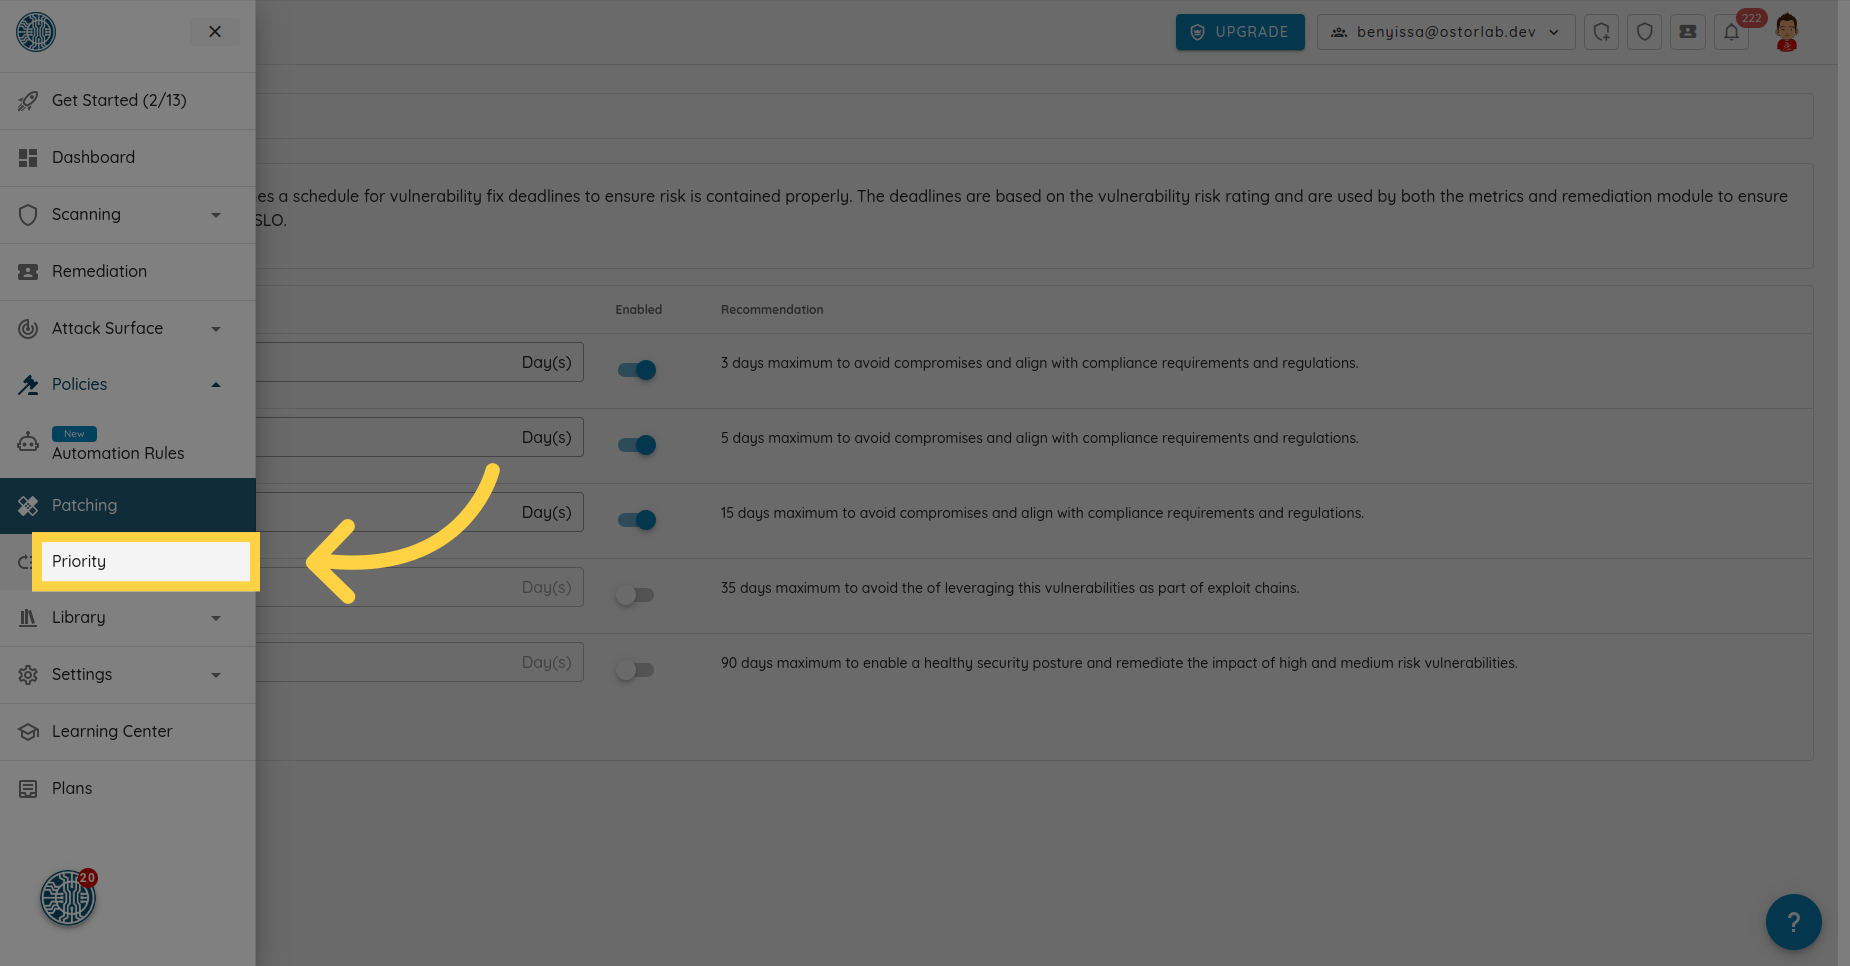
Go back to the menu.

Select the option labeled "Priority".
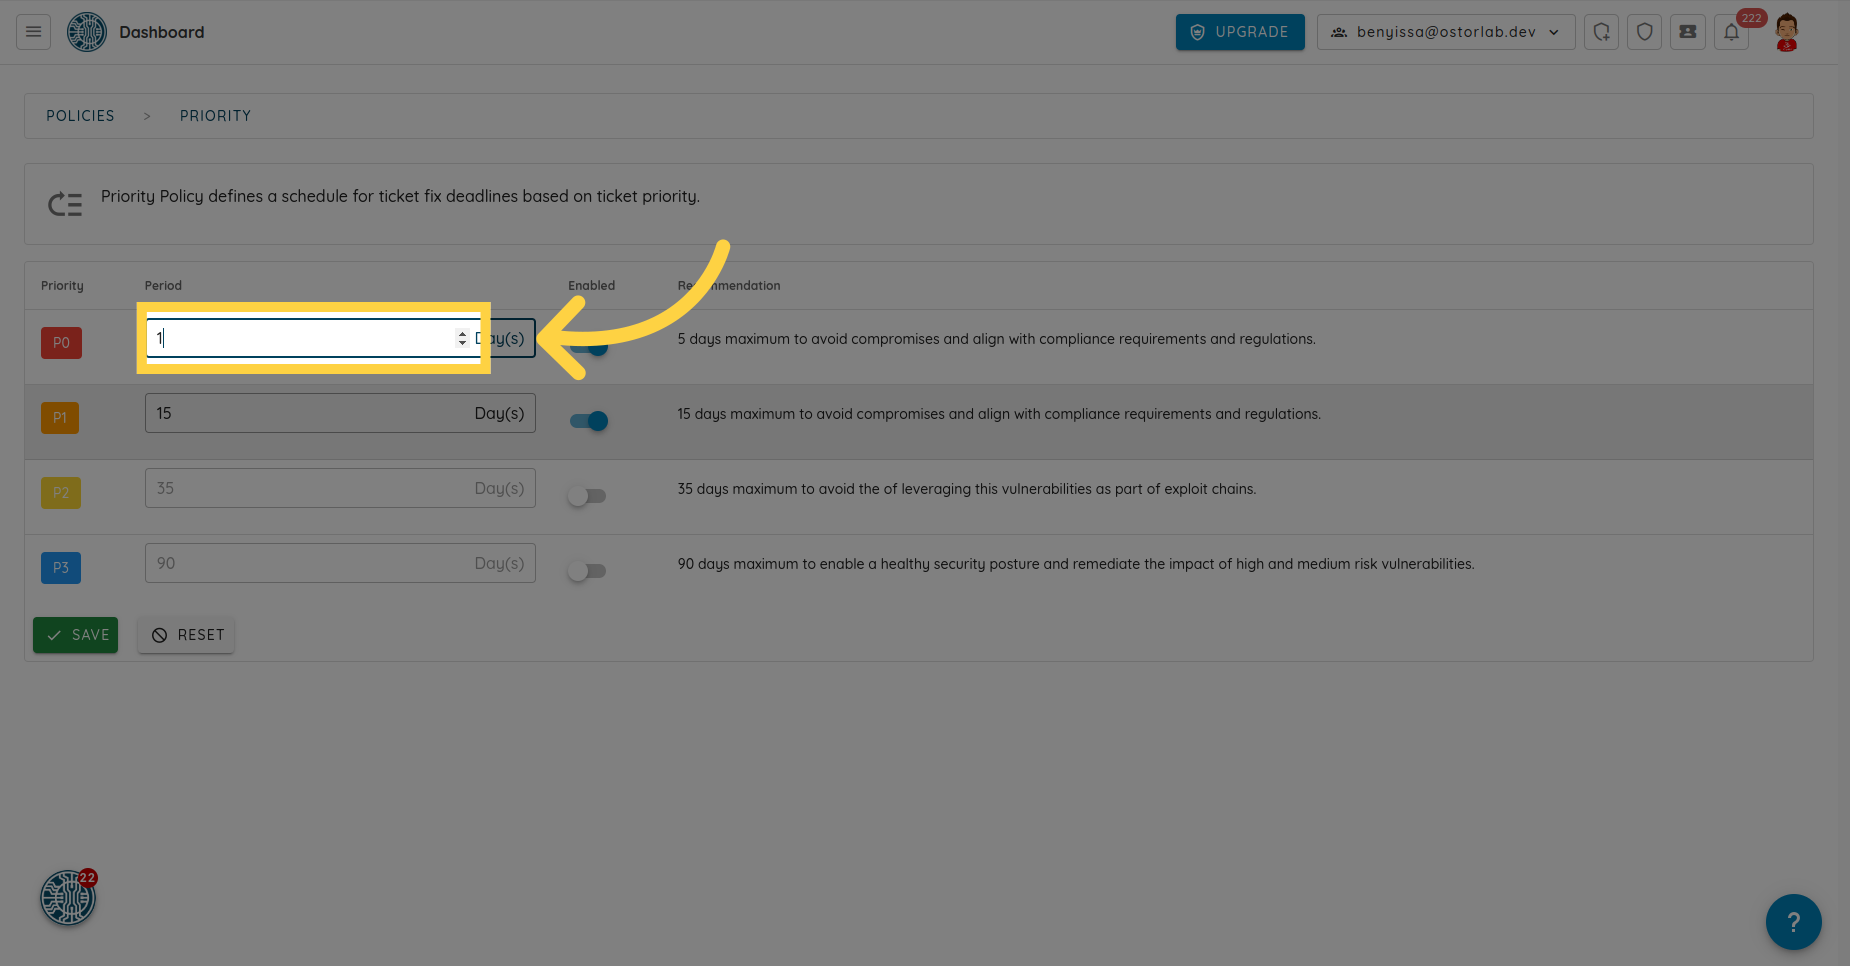
You can configure the SLO period for each priority: P0, P1, P2, and P3.
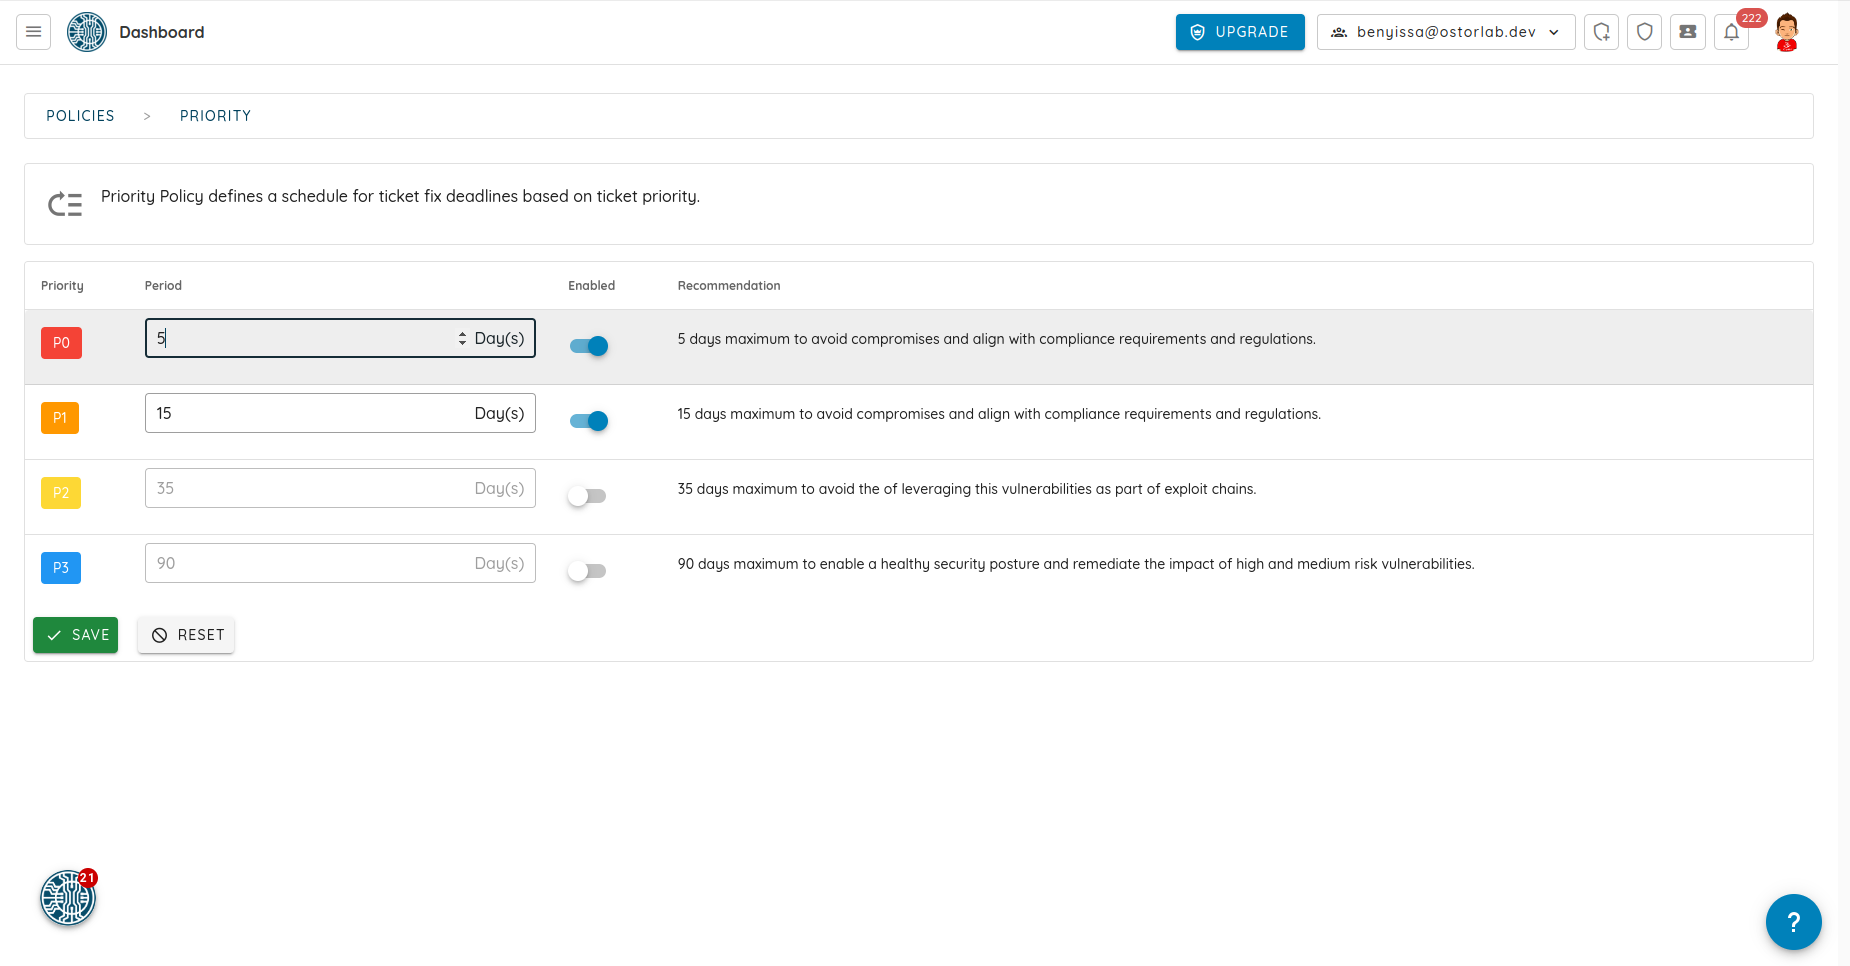
For example, let's set a maximum of 1 day for tickets with priority P0.
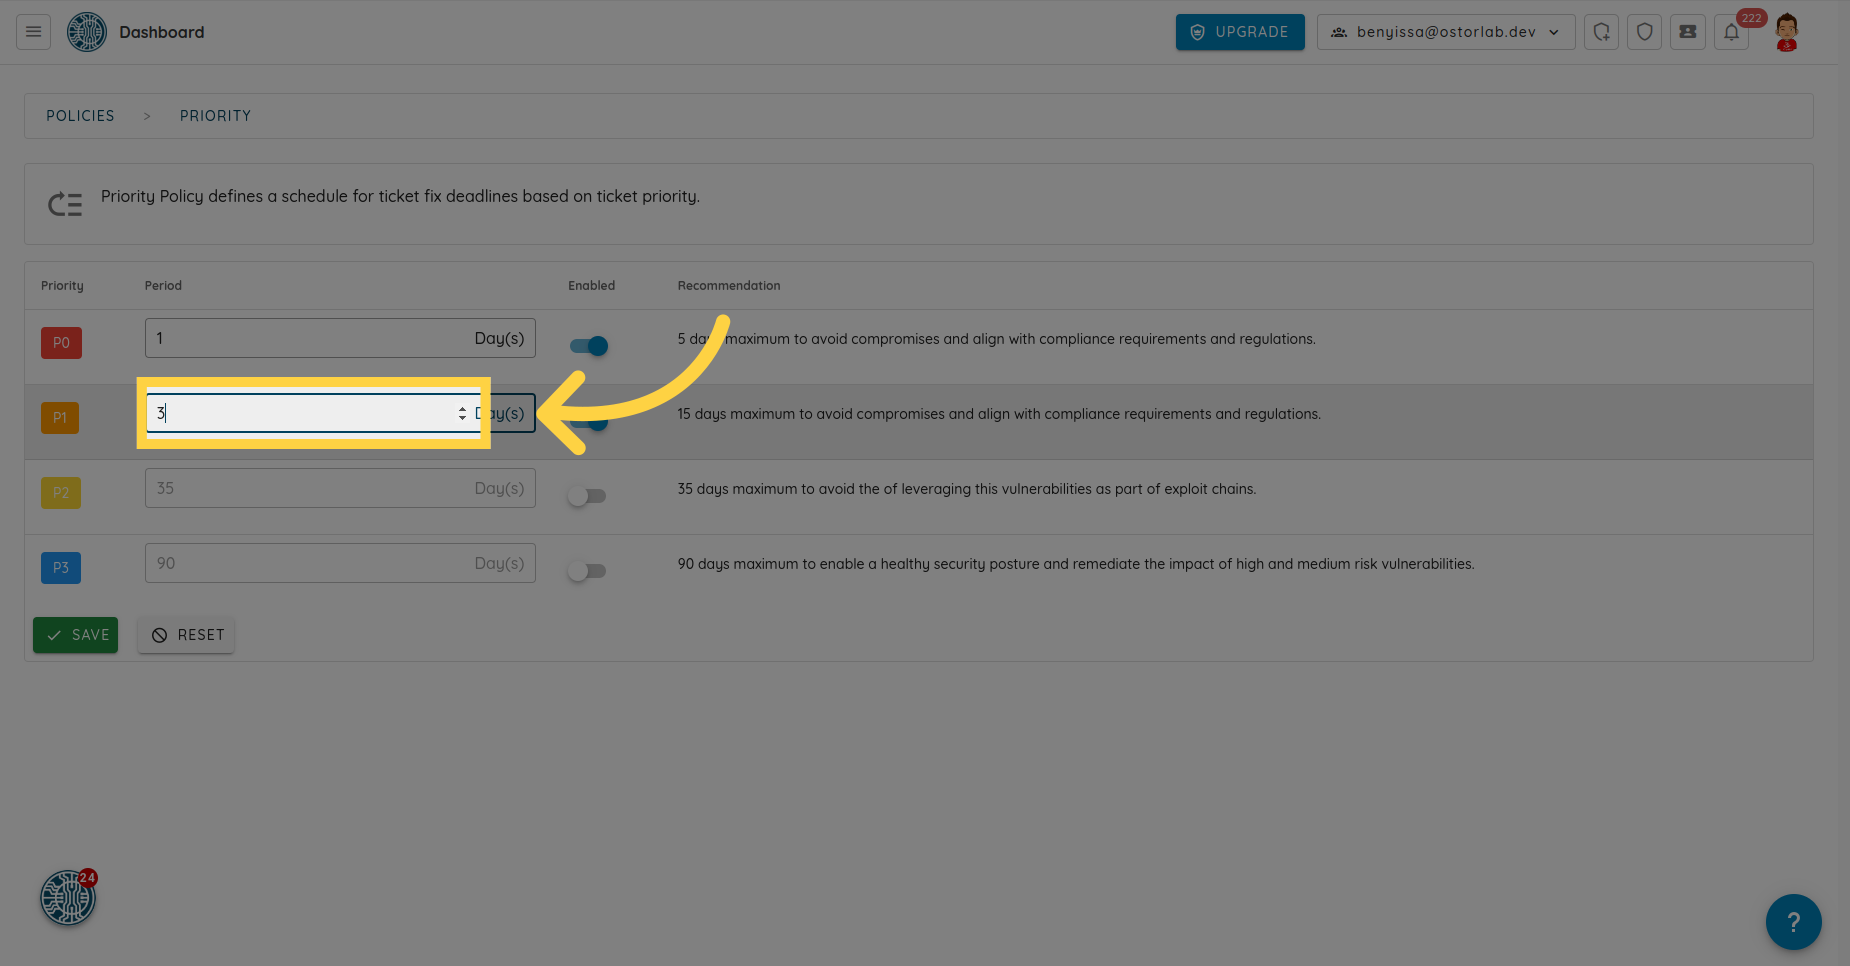
And a maximum of 3 days for tickets with P1.
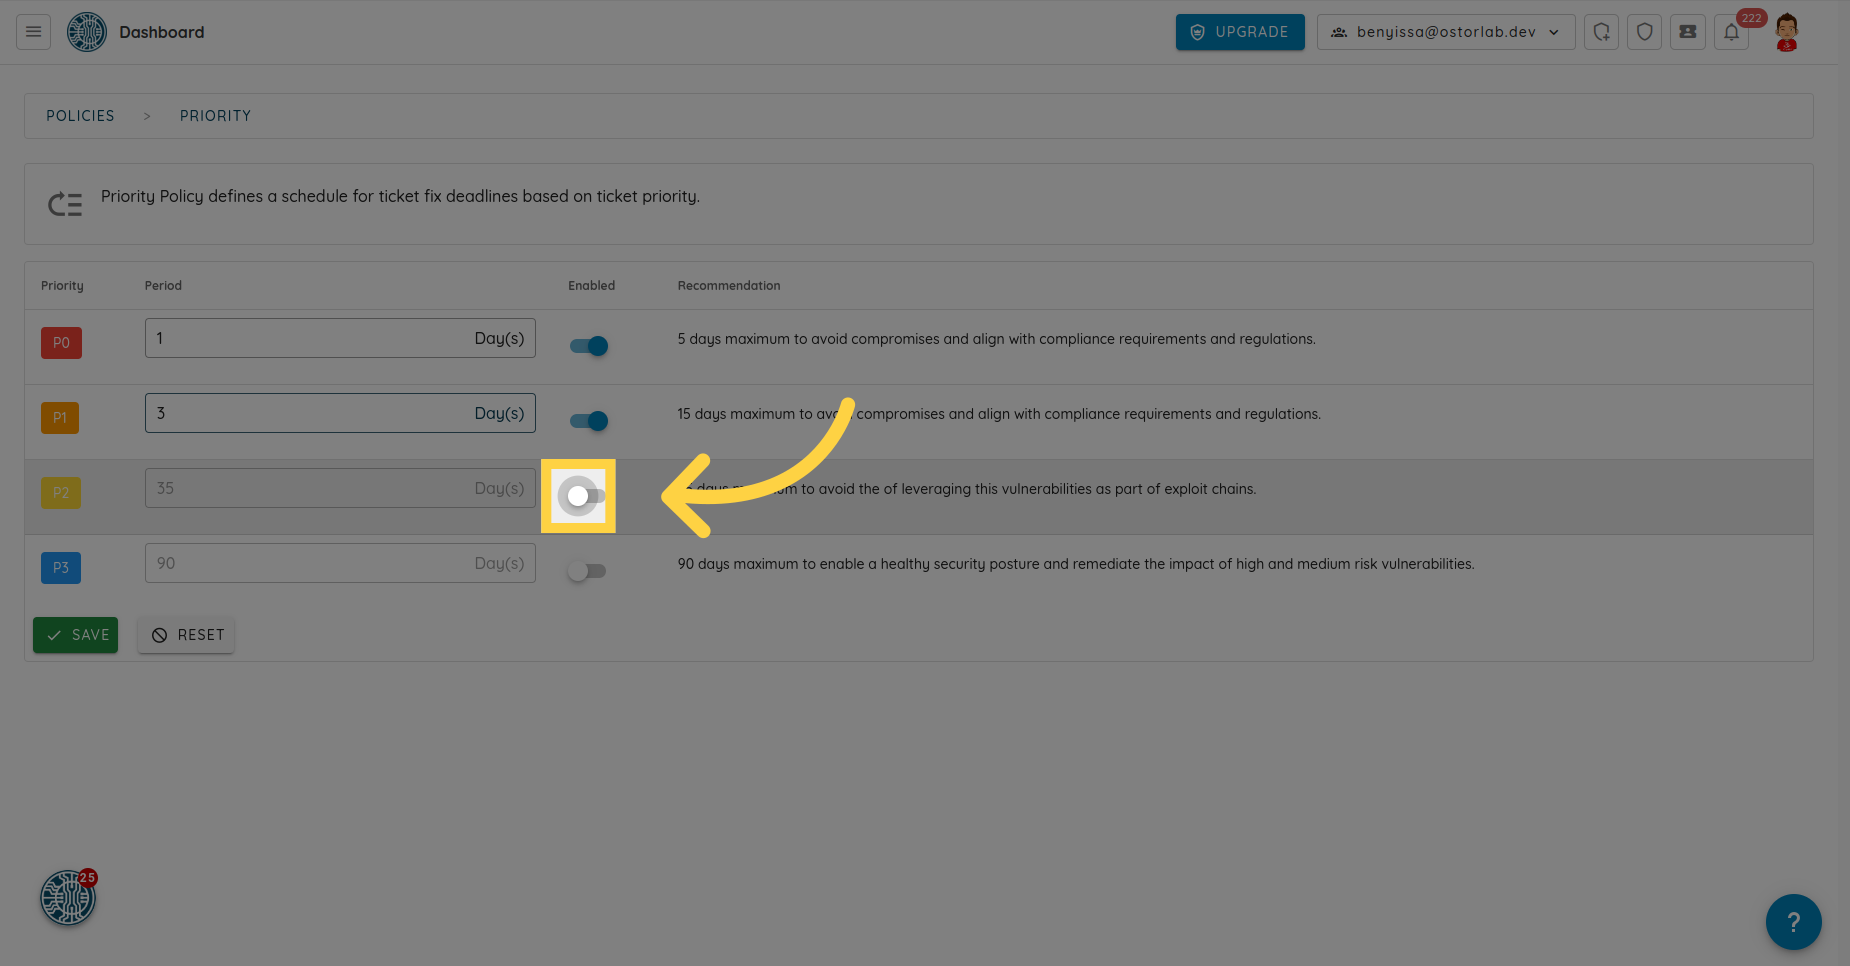
You can also enable or disable an SLO for a specific priority.

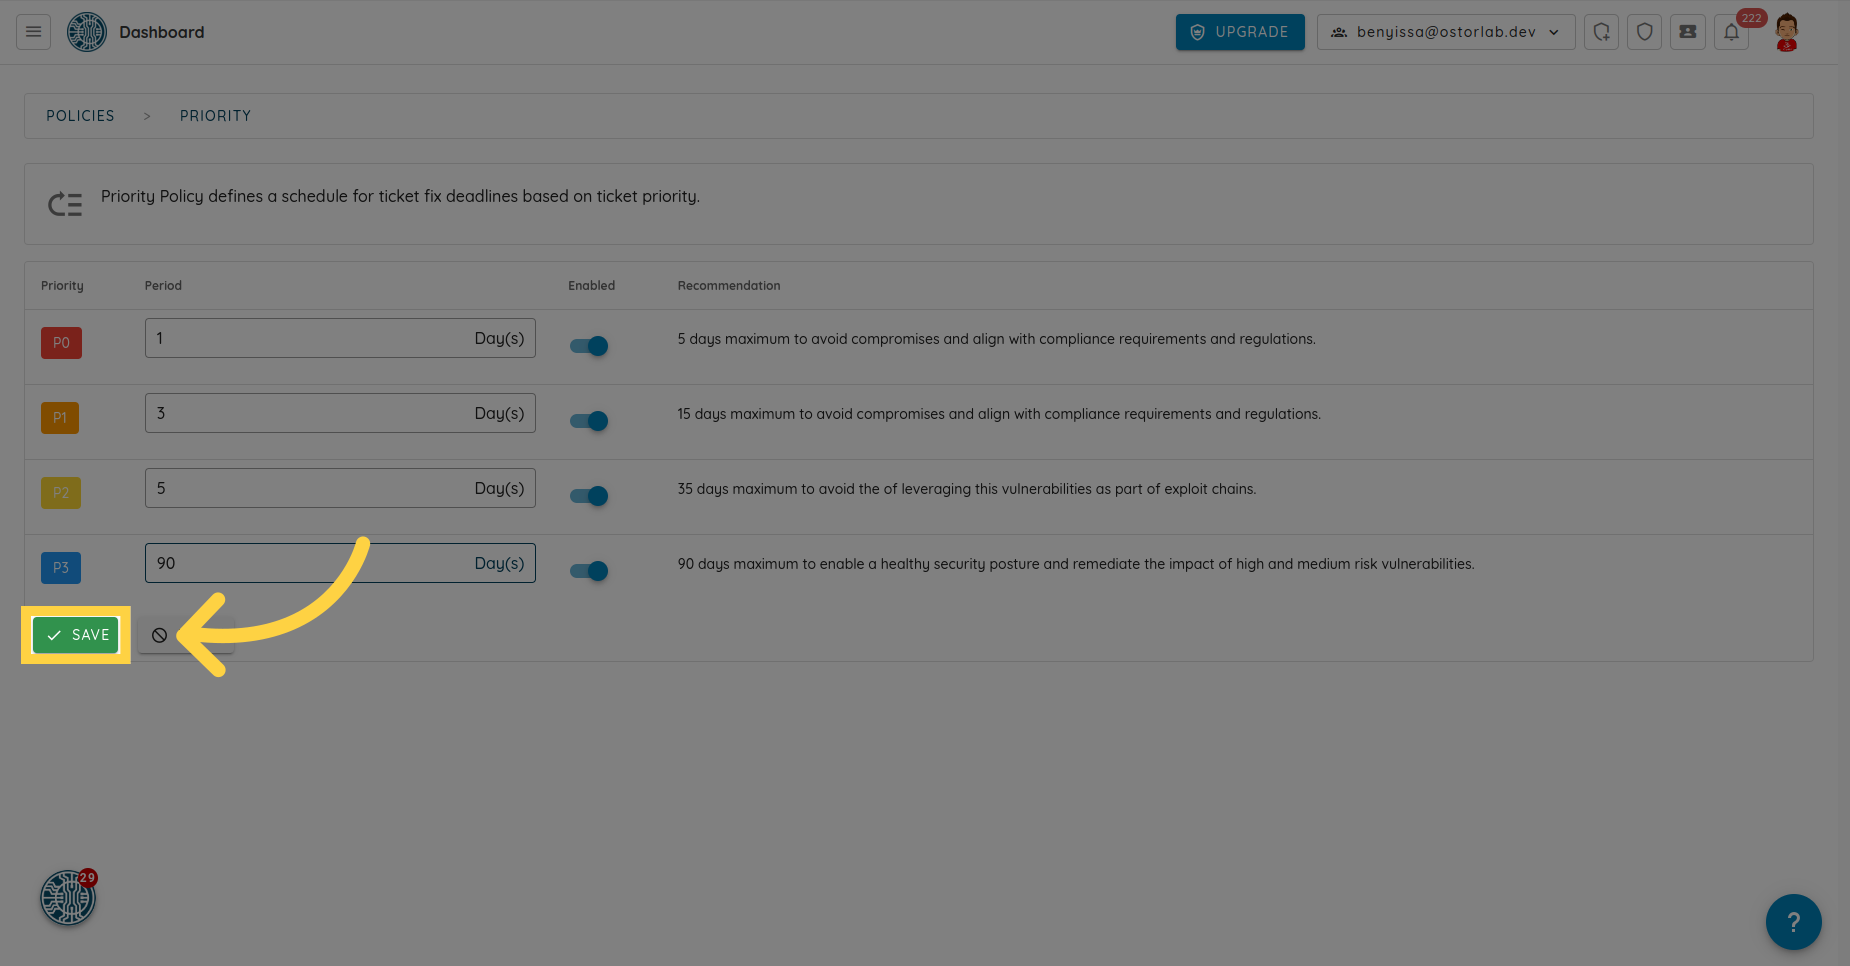
Finally, click on Save to apply your changes.
This guide covered the steps to configure the patching policy. By following these instructions, you can set up your patching policy with ease.