Custom Checks Scan
To run a custom checks scan:
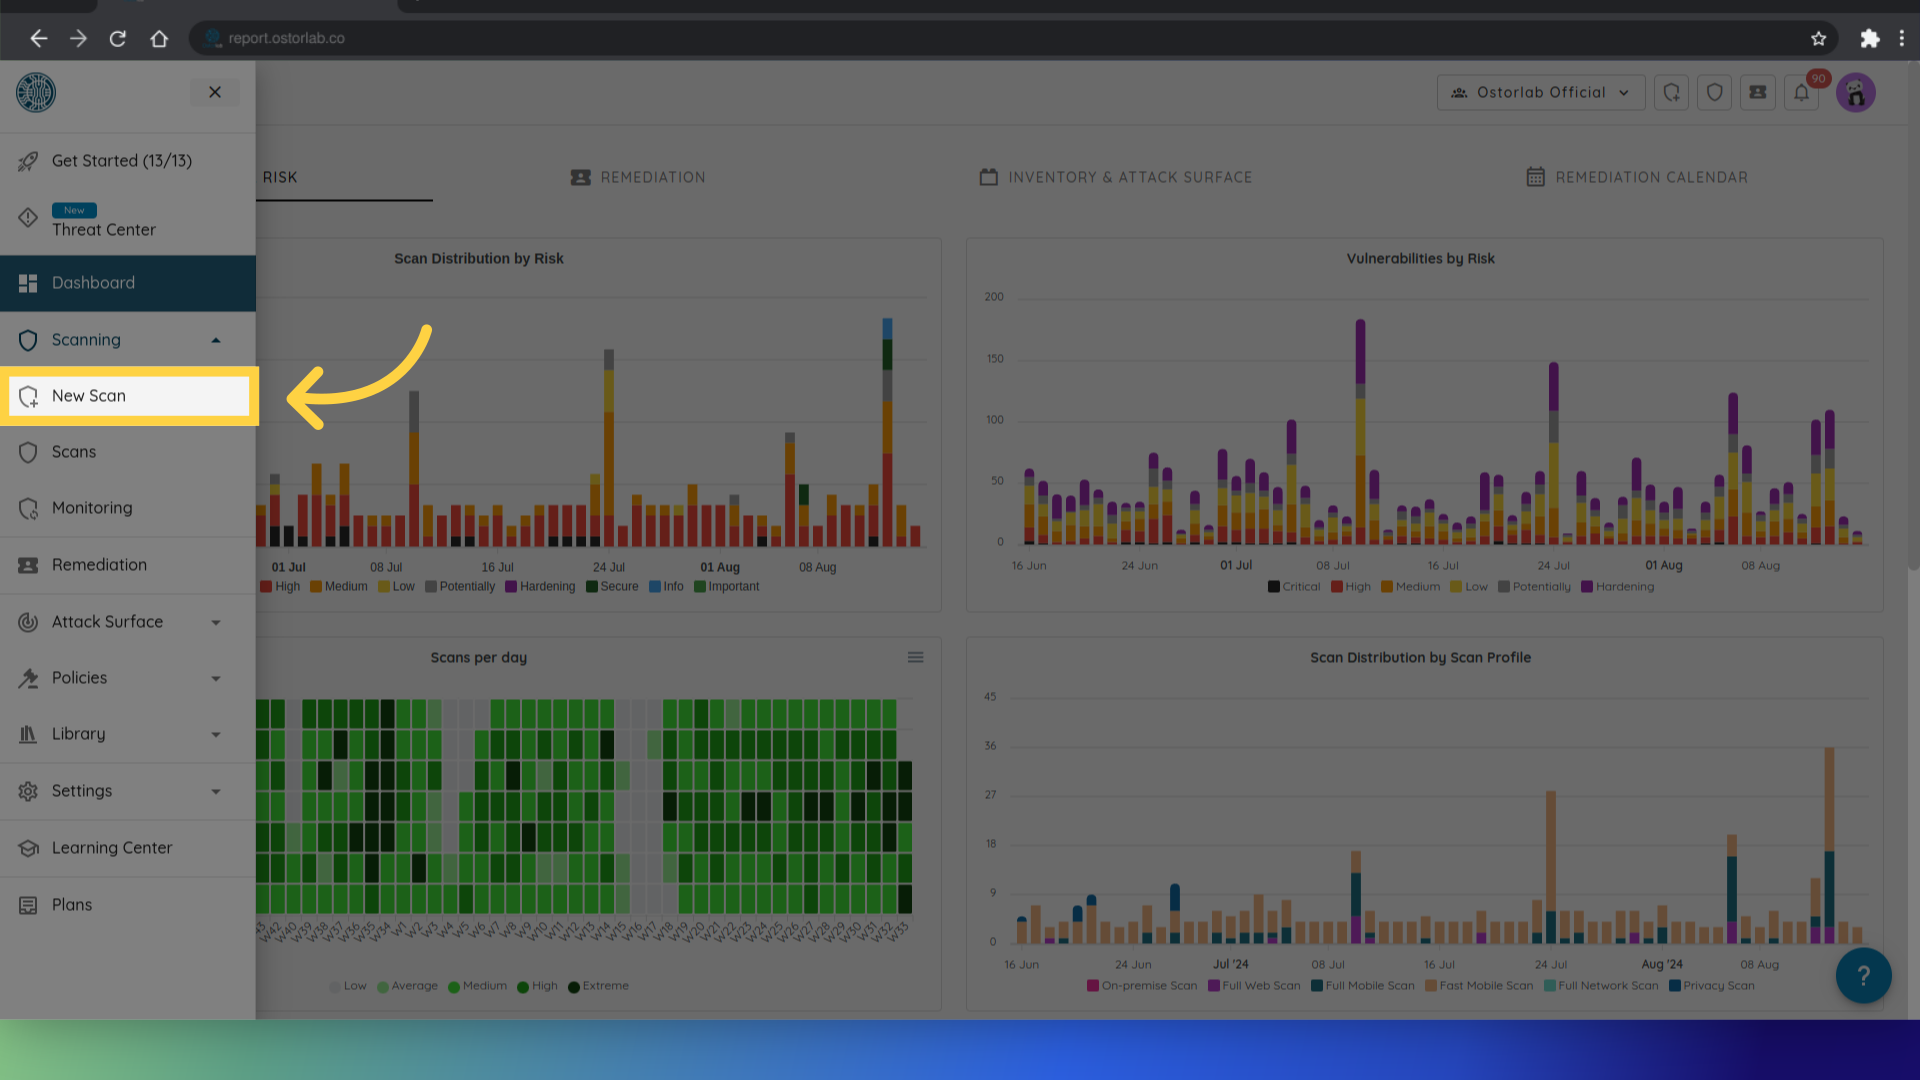
- Navigate to the "New Scan" menu.
Open the new scan page from the left menu bar
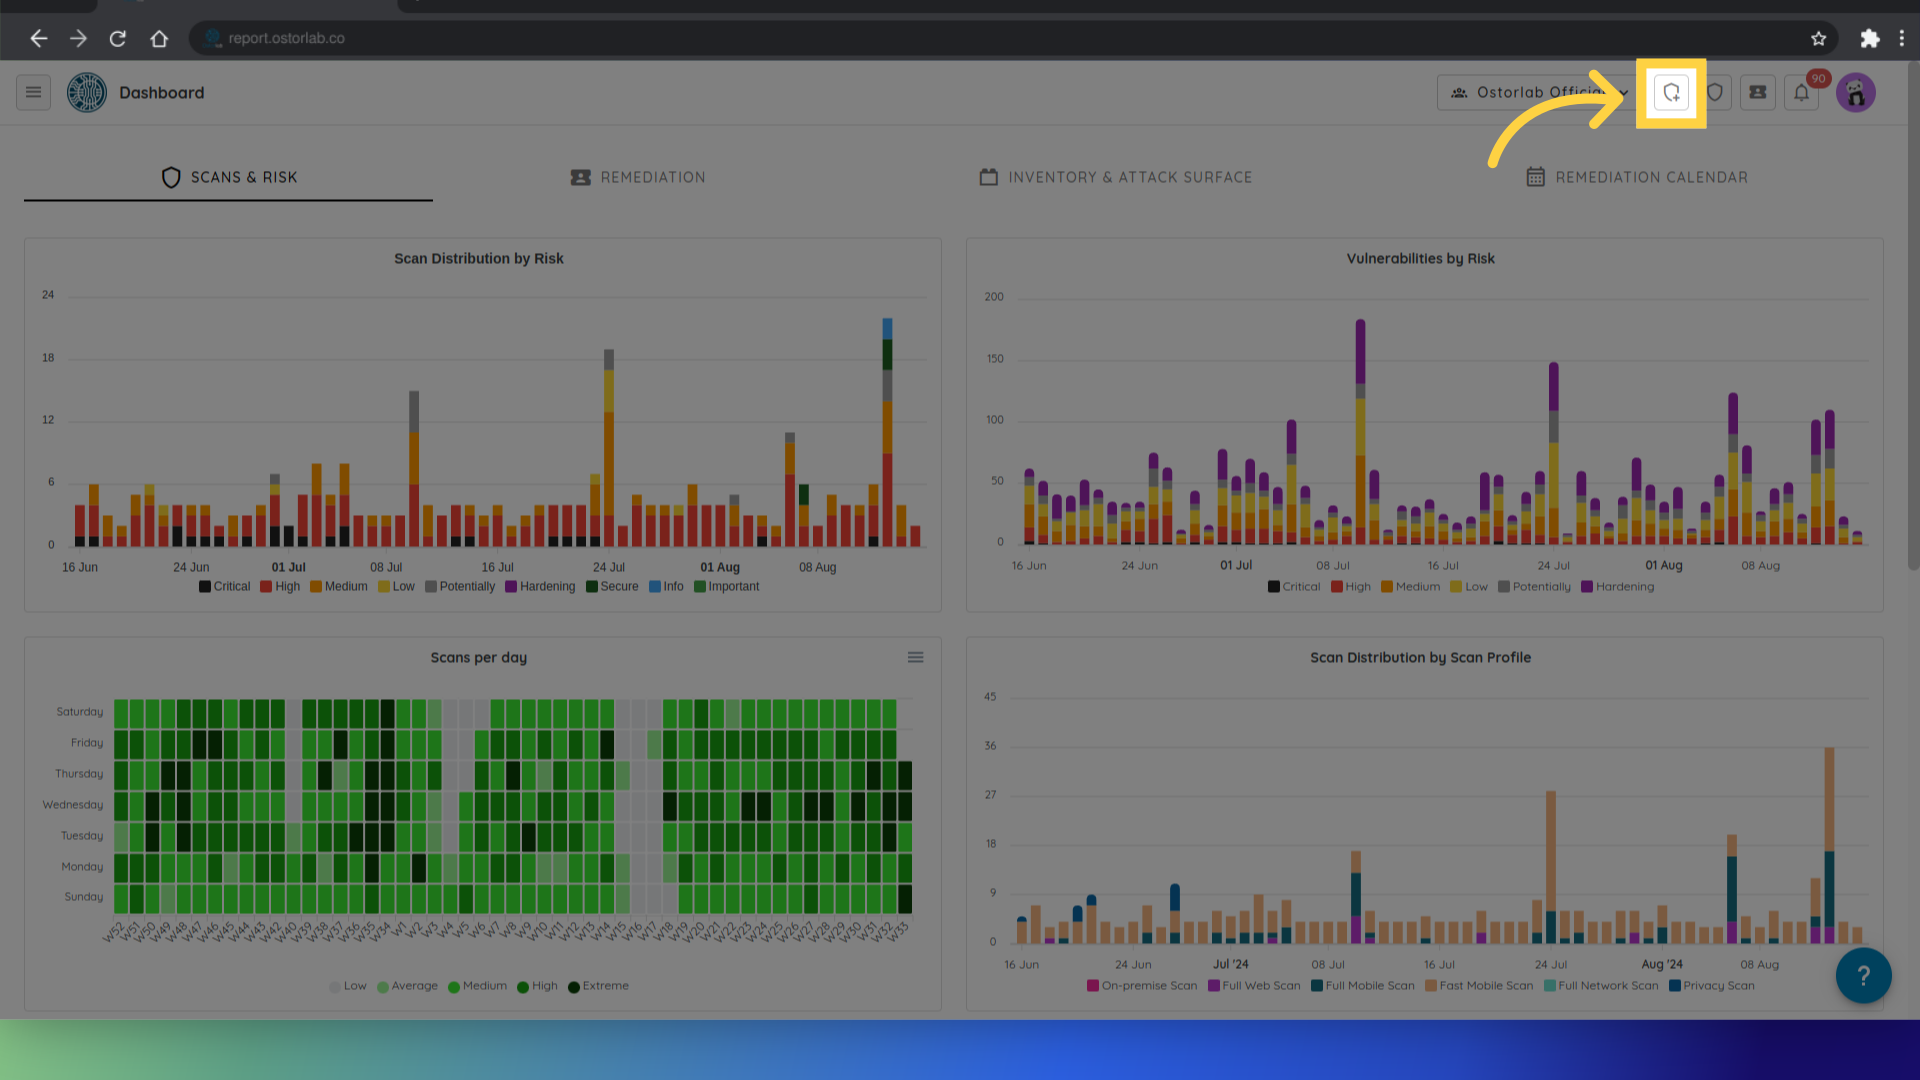
Or use the top right button shortcut.
- Provide scan details.
After that, a form will appear where you can provide the necessary details of the scan.
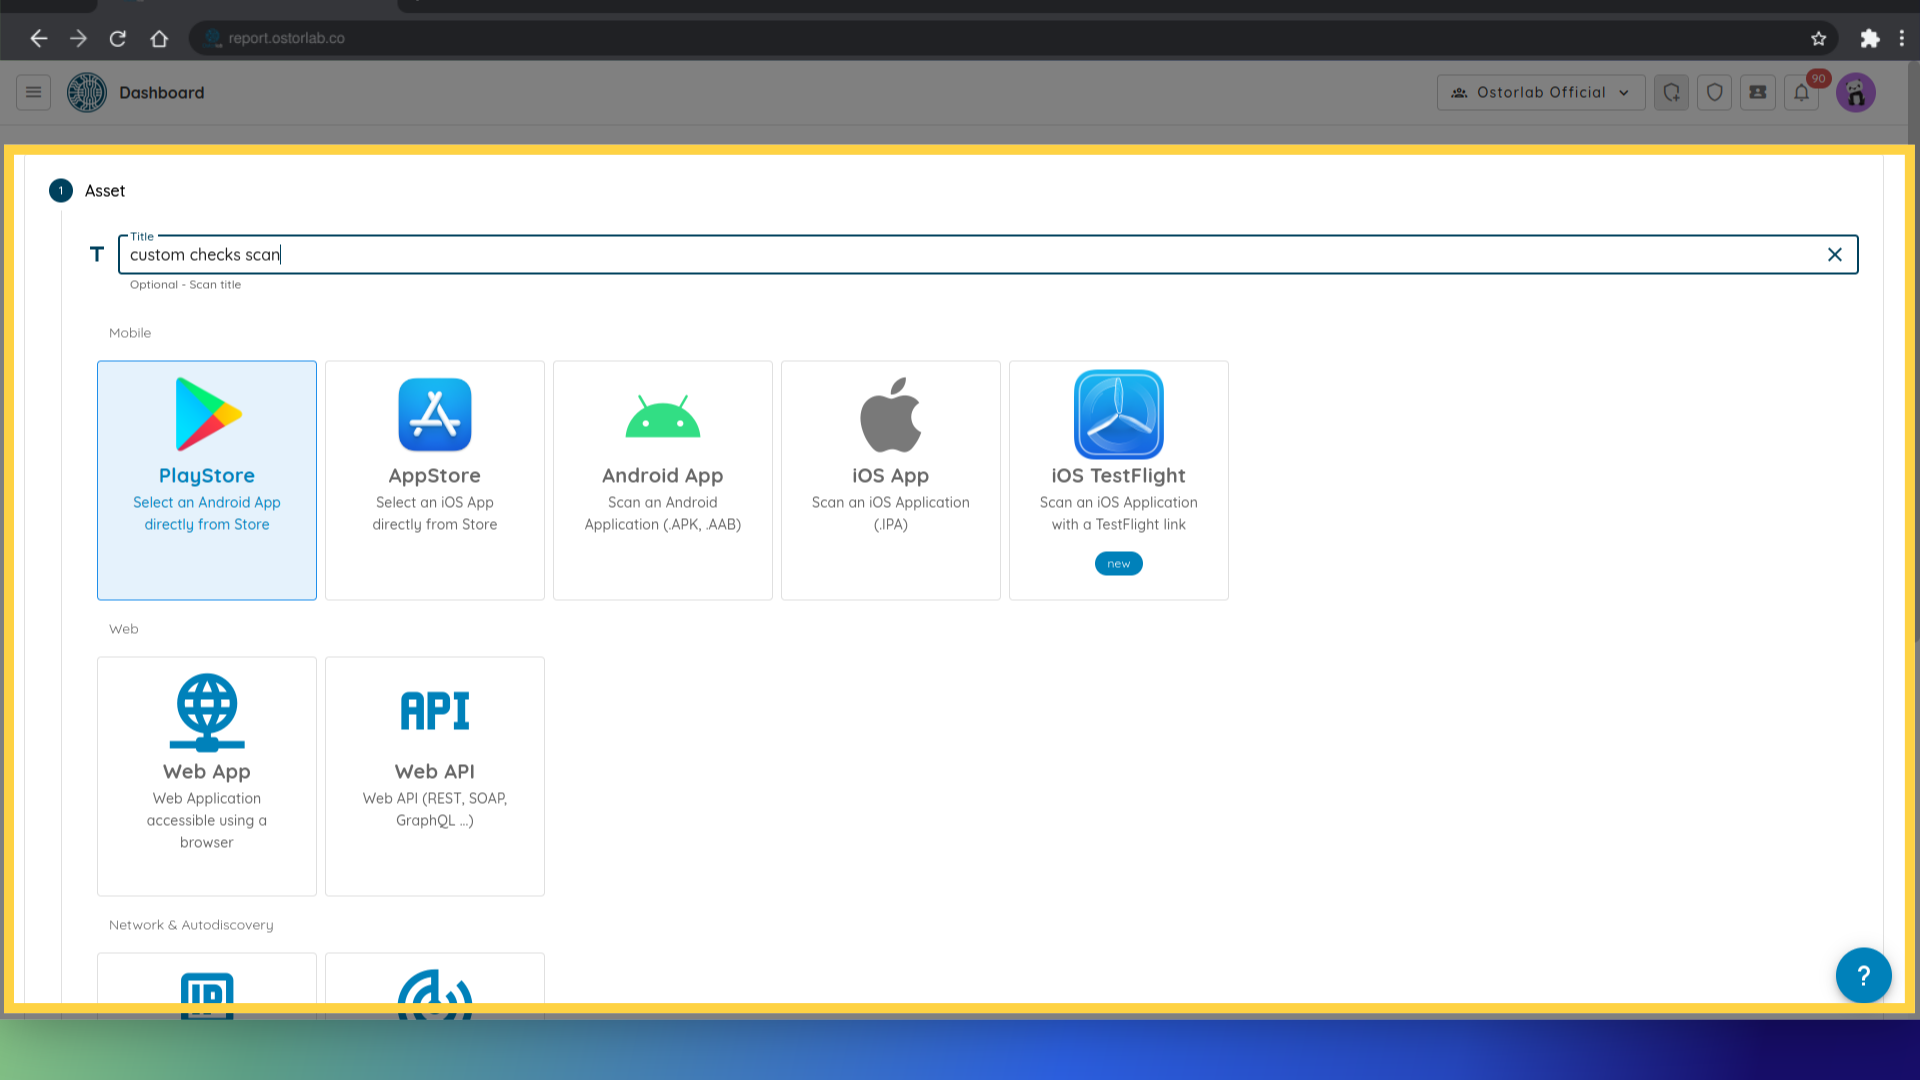
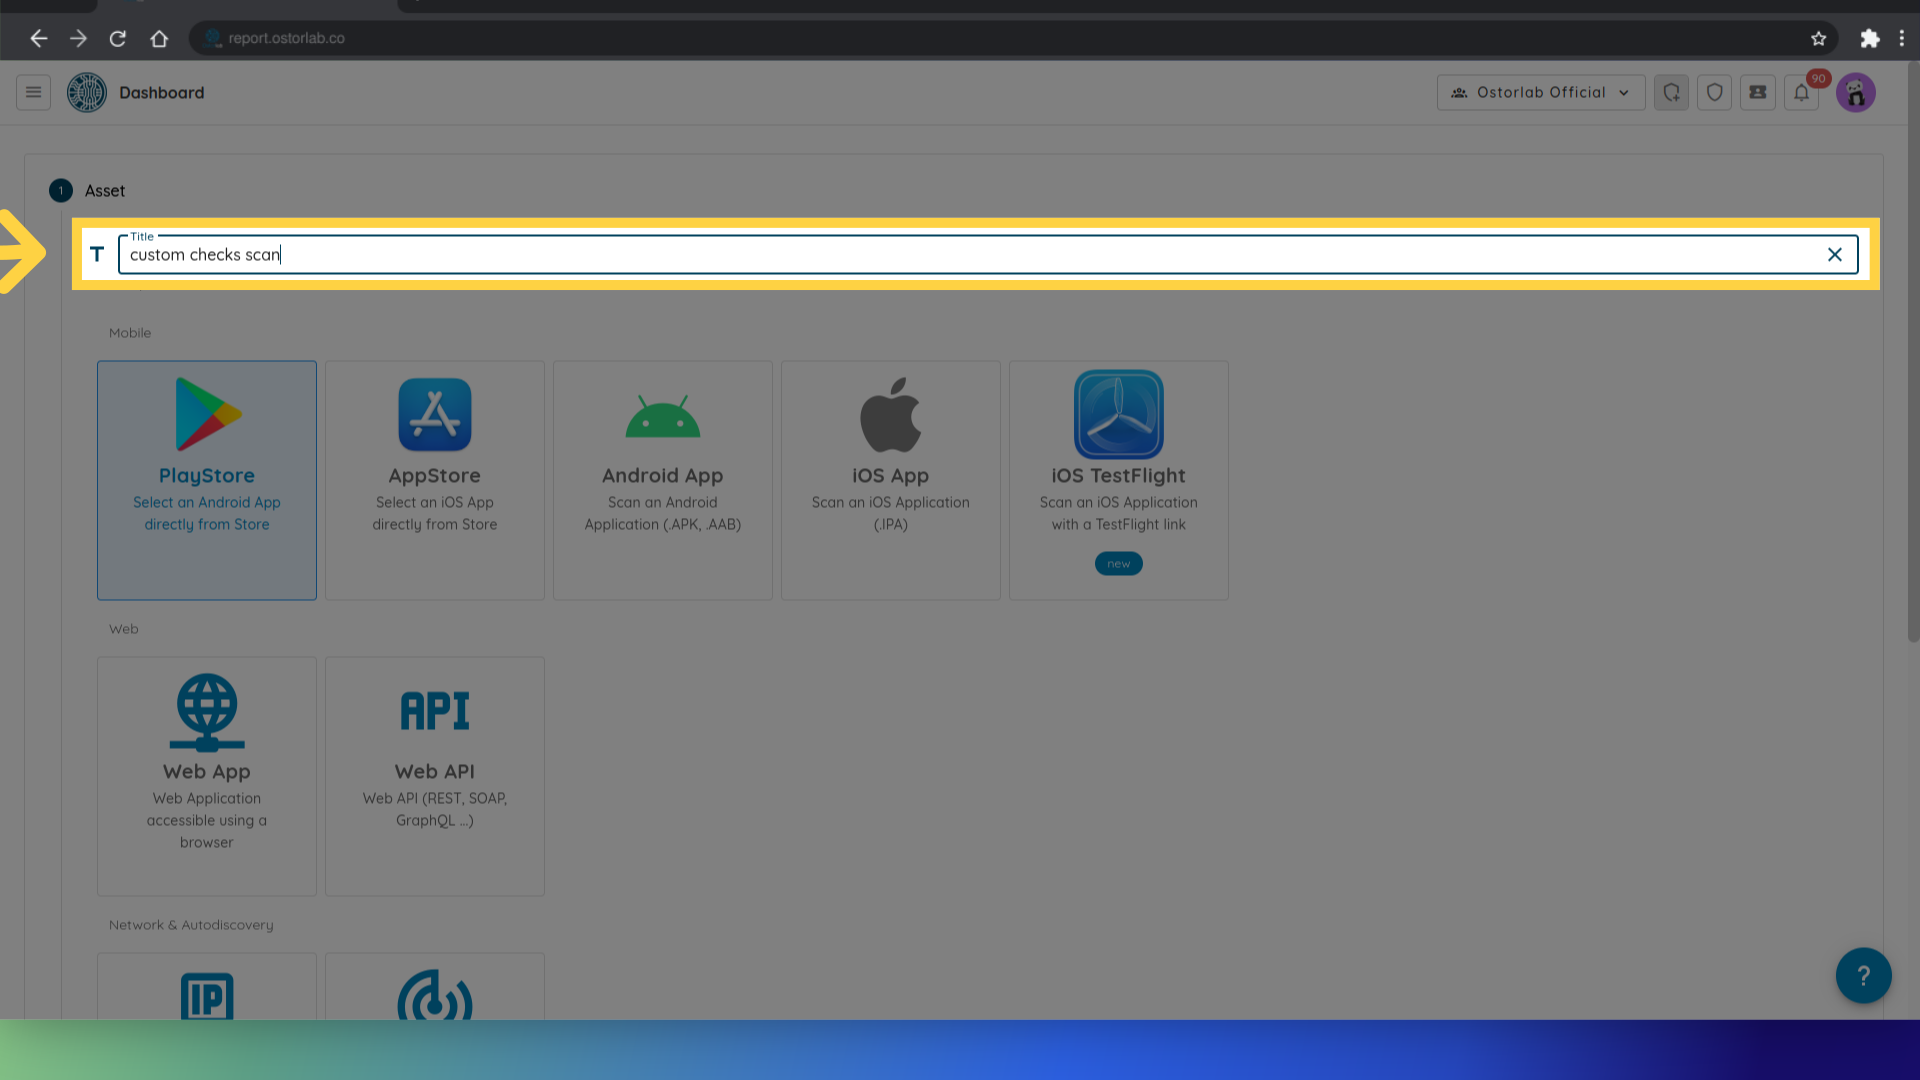
Title: This field is optional and allows you to give a title or name to the scan.
Asset: This is a required field where you specify the asset that will undergo the scan. It could be an Android or iOS application, an IOS testflight application, a web application, an API, or a network. In our case we will choose "PlayStore".

After selecting the asset type, you can provide the package name that the scanner will target during the scan process.
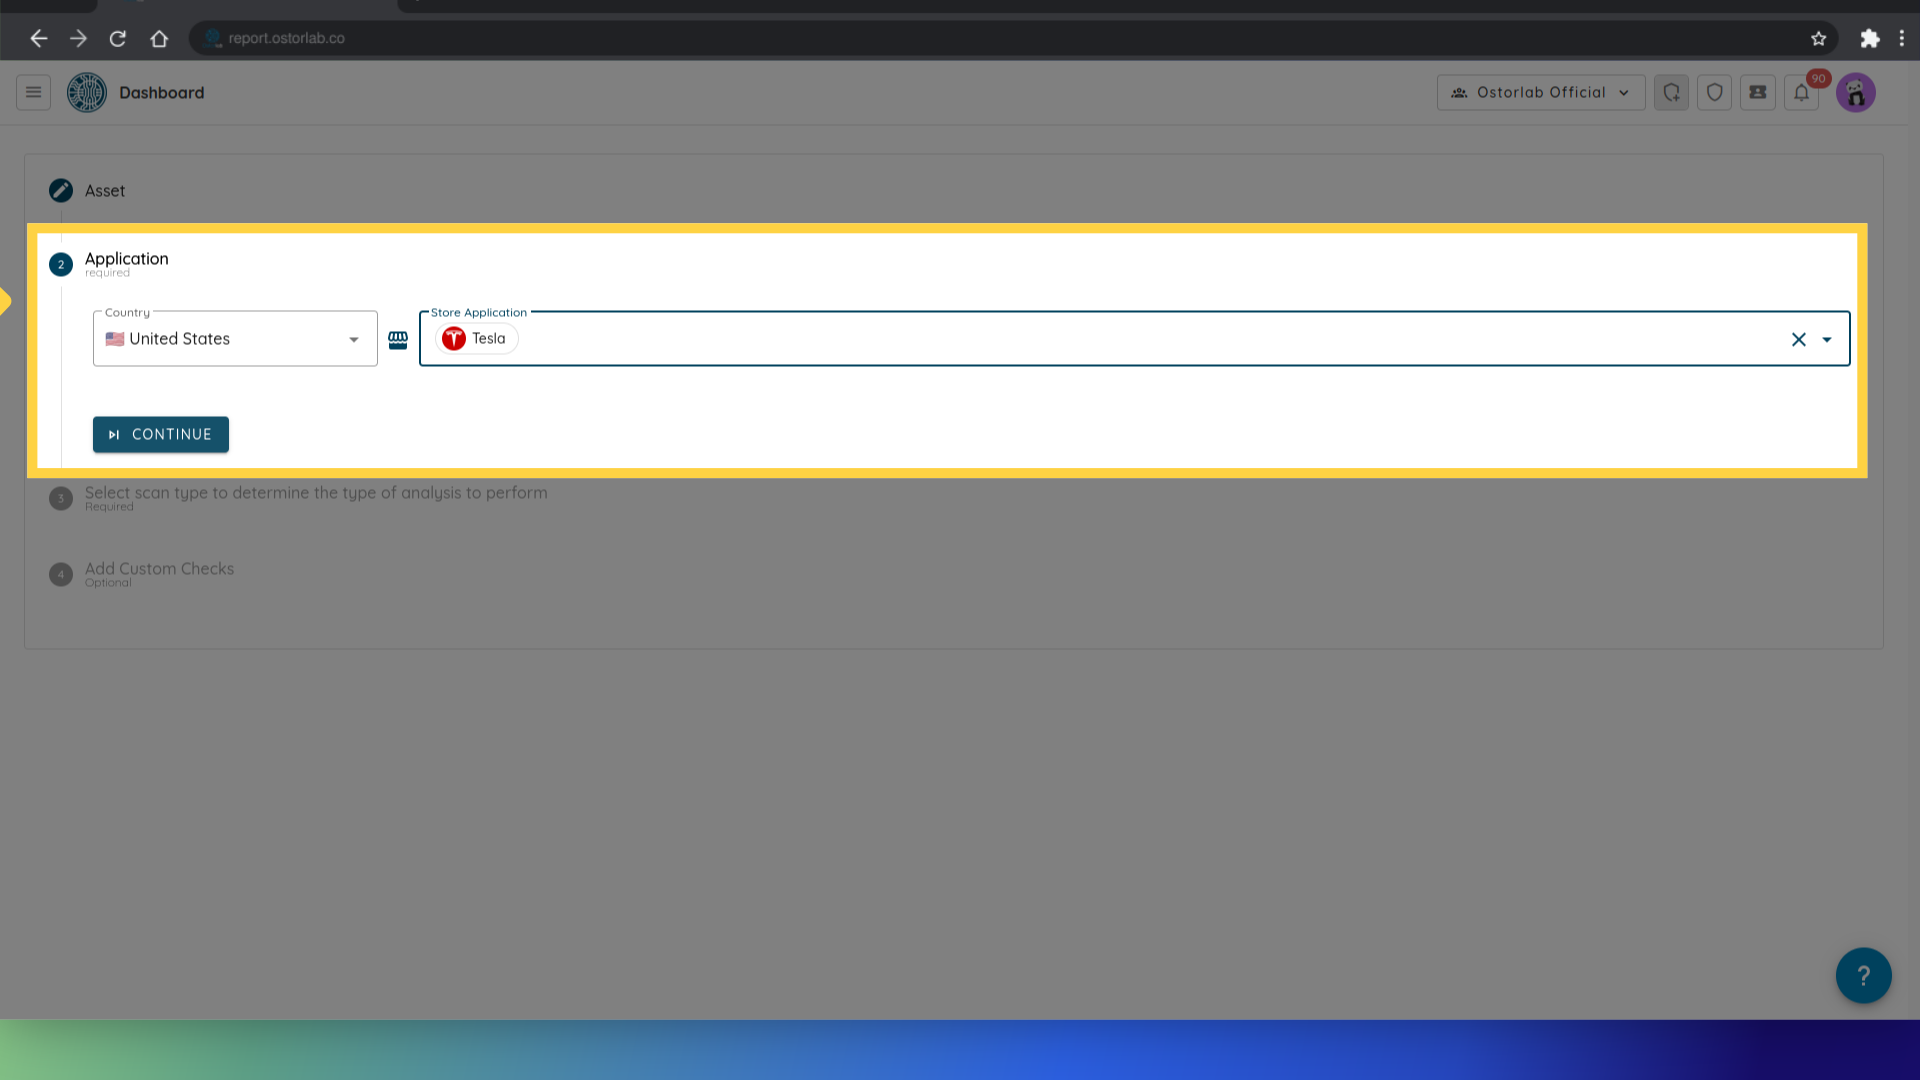
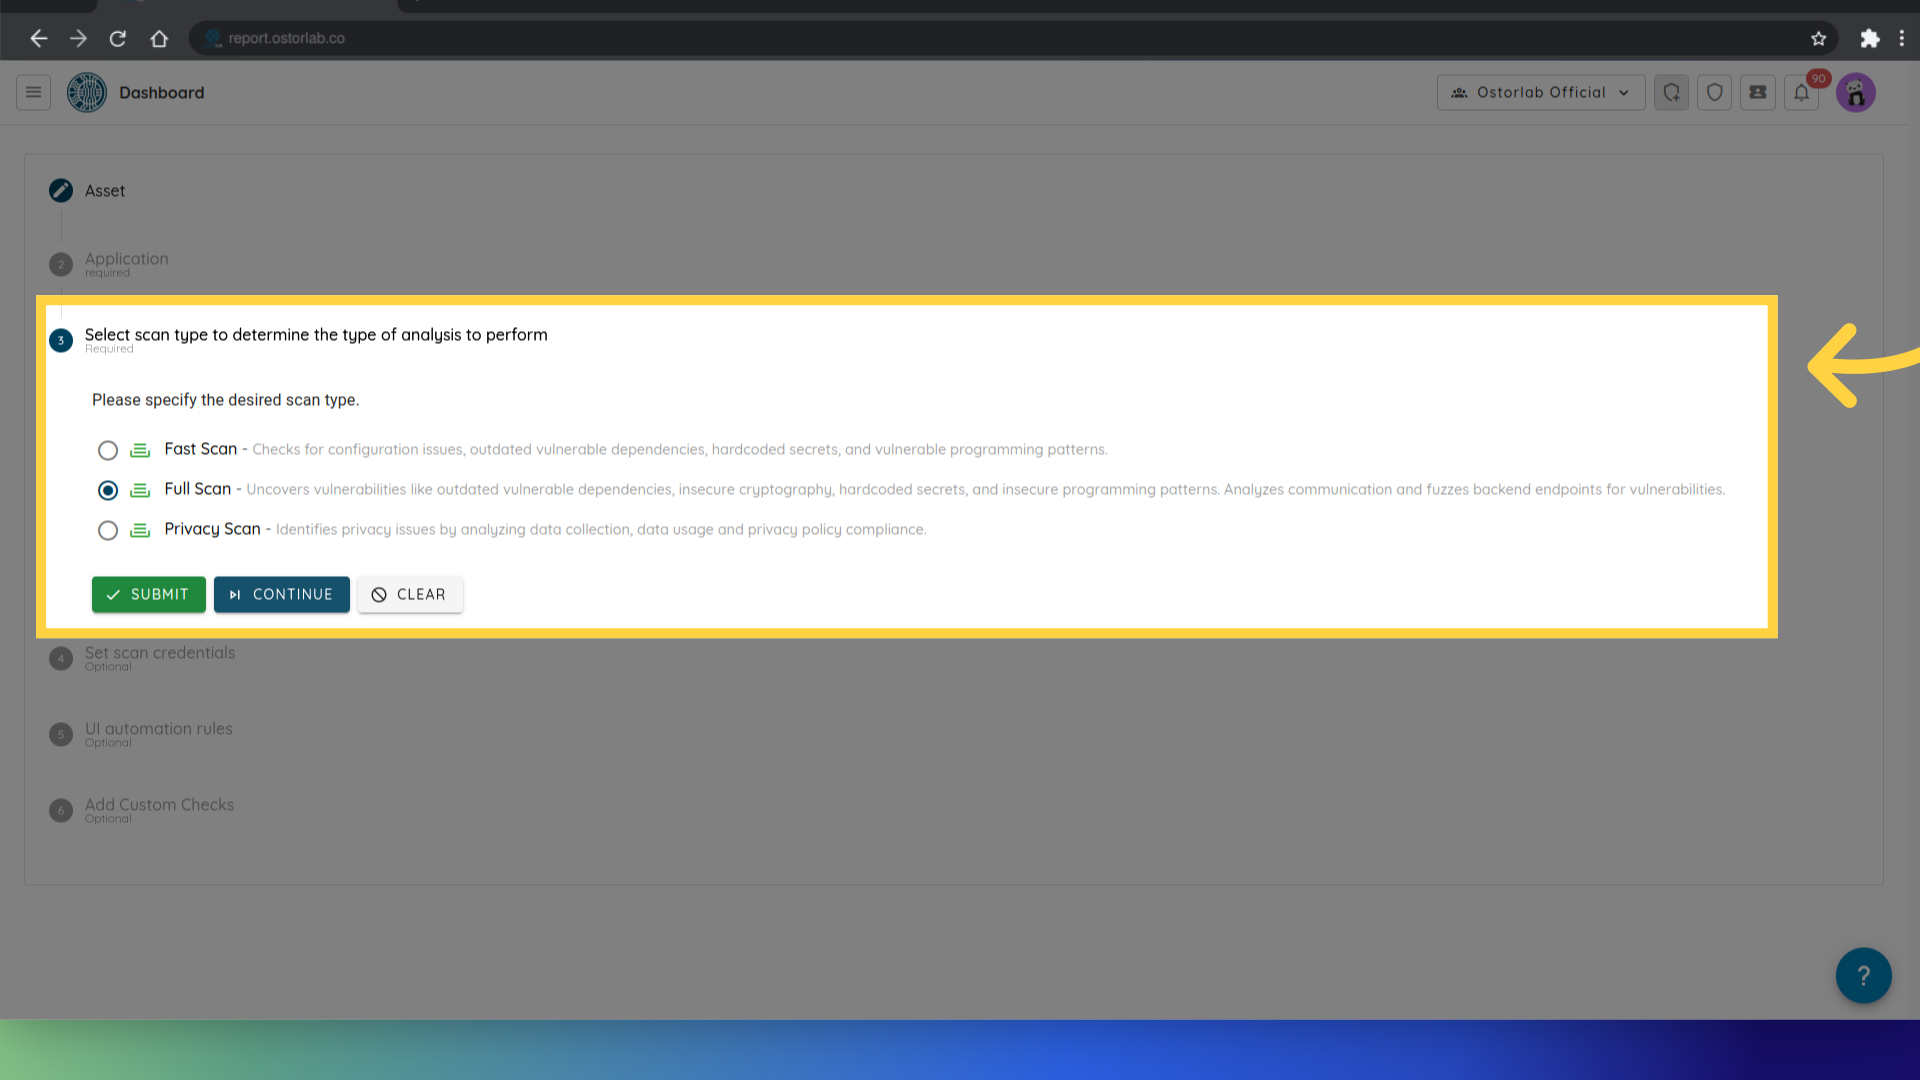
Then choose the type of assessment, for example Full scan.
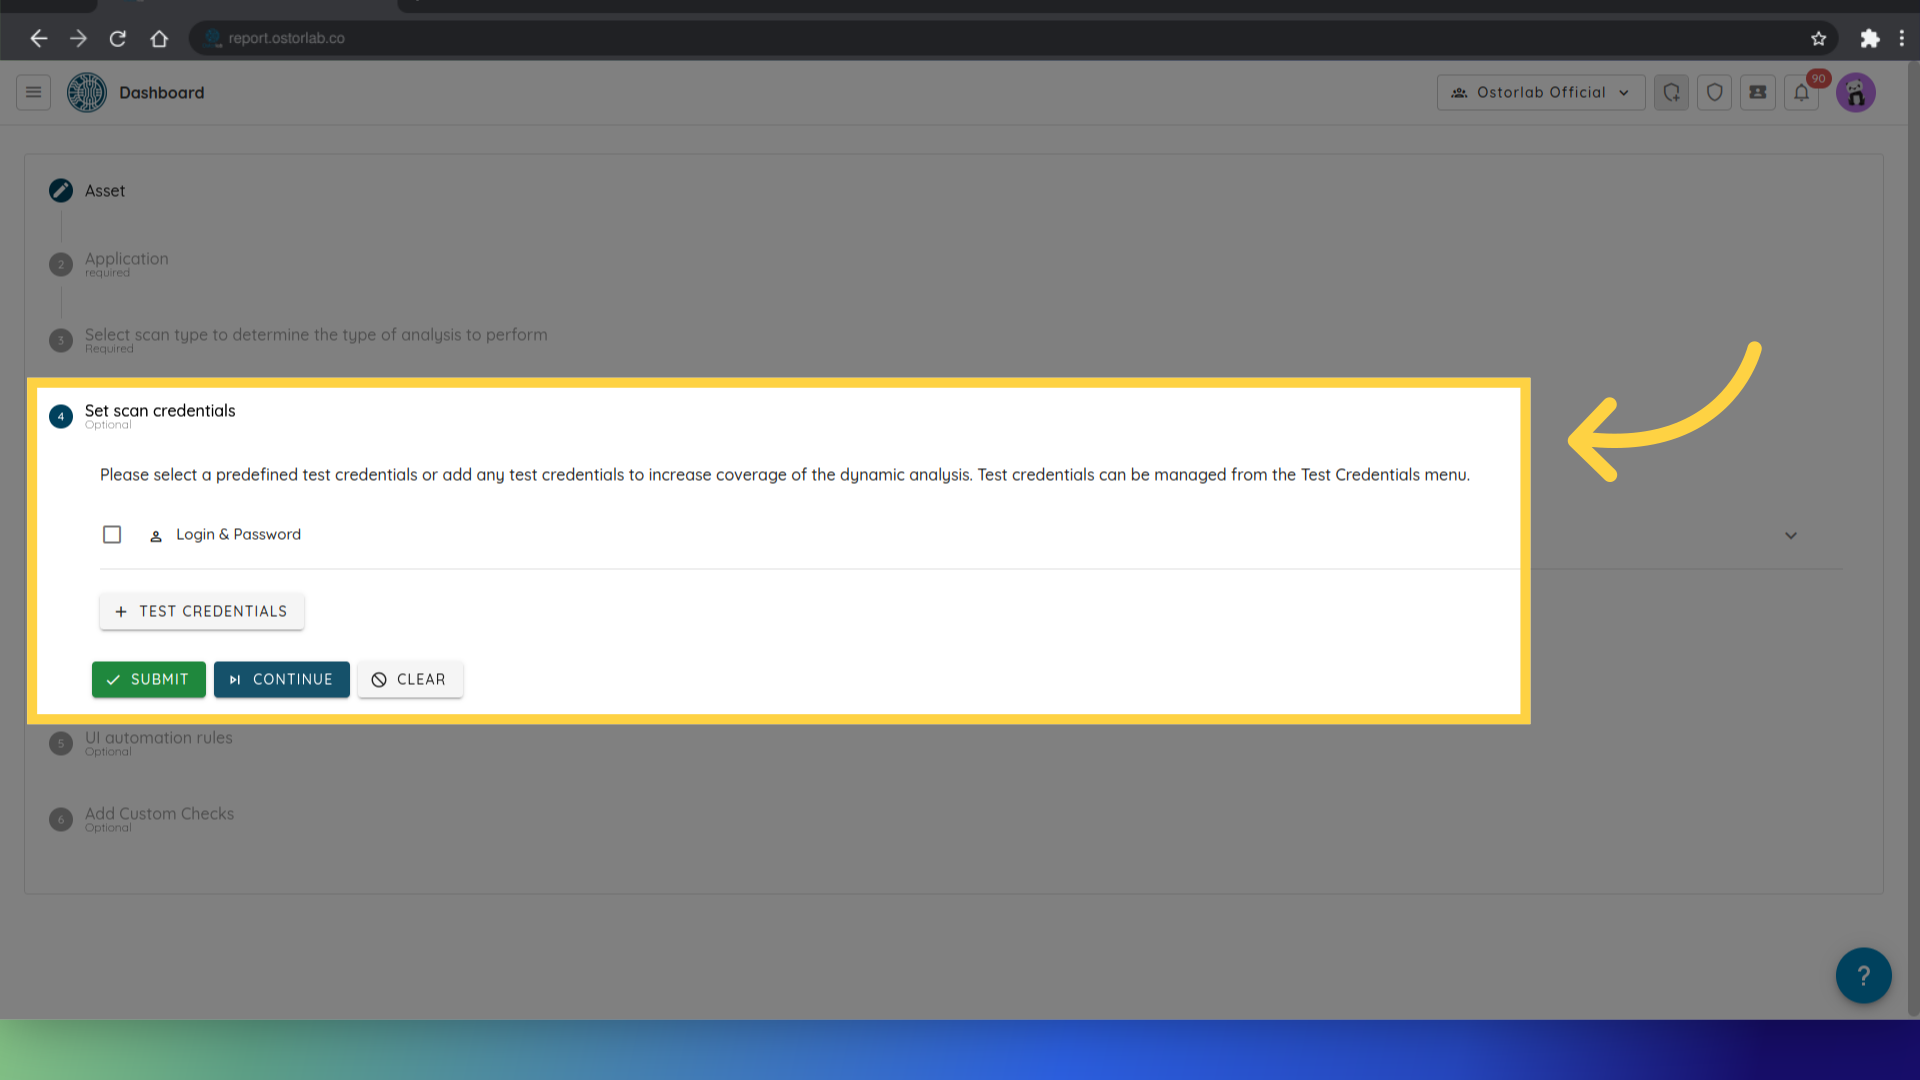
You can also specify the credentials for your application.
Finally, you can select, modify or add extra agents to run with this scan.
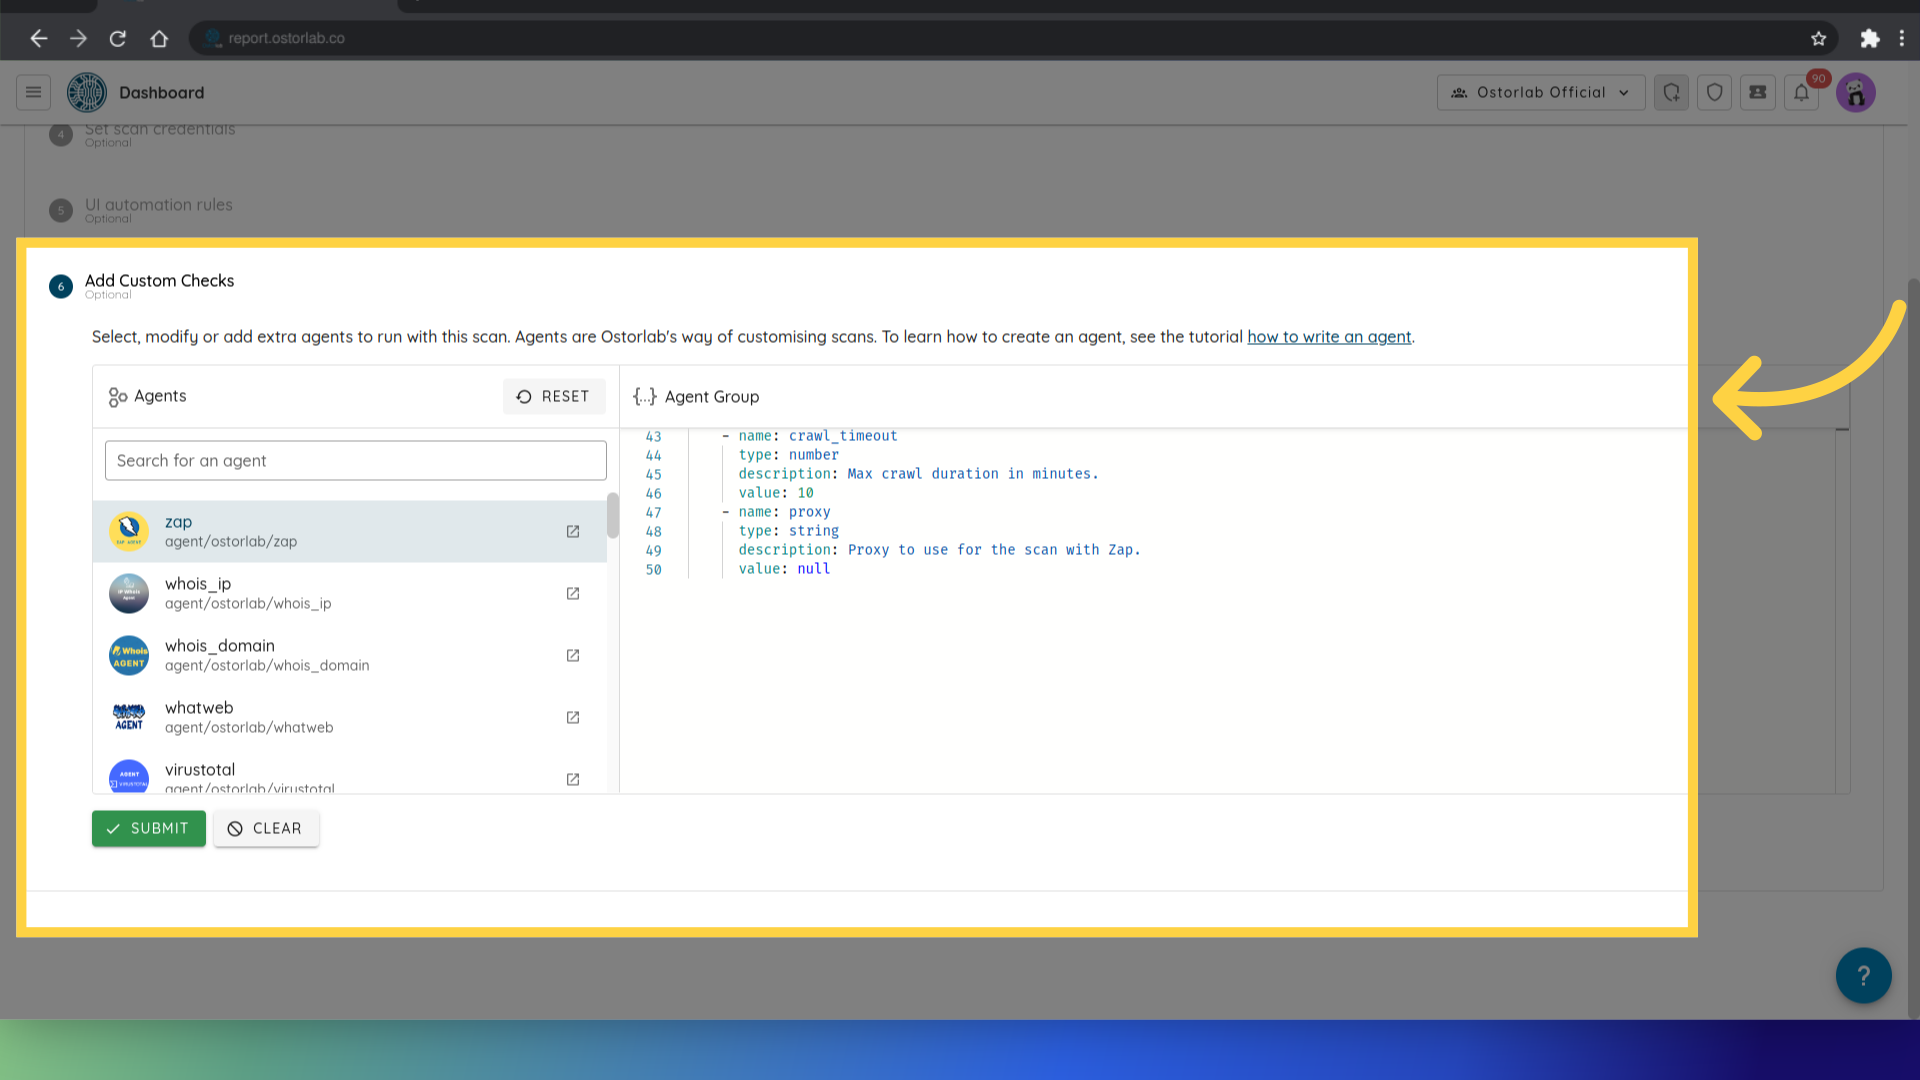
In the list of agents, you can see both the agents you own and the public agents available to you. You have the flexibility to customize each agent by adjusting their settings and parameters to suit your specific needs.
After choosing the extra agents, click on Submit to run the scan, and then proceed.
This guide covered the process of running a new custom checks scan, including specifying scan details such as title, asset, credentials and finally choose the extra agent to run in the scan.