On-Prem Scanners
Ostorlab supports on-premise scanning by deploying an Ostorlab scanner on user-controlled infrastructure. Depending on your license, you can run scans on mobile applications, Web/APIs, and private networks.
Following are the steps needed to run scans on-premise.
Go to report.ostorlab.co
1. Declare Scanner
Click on the menu button.
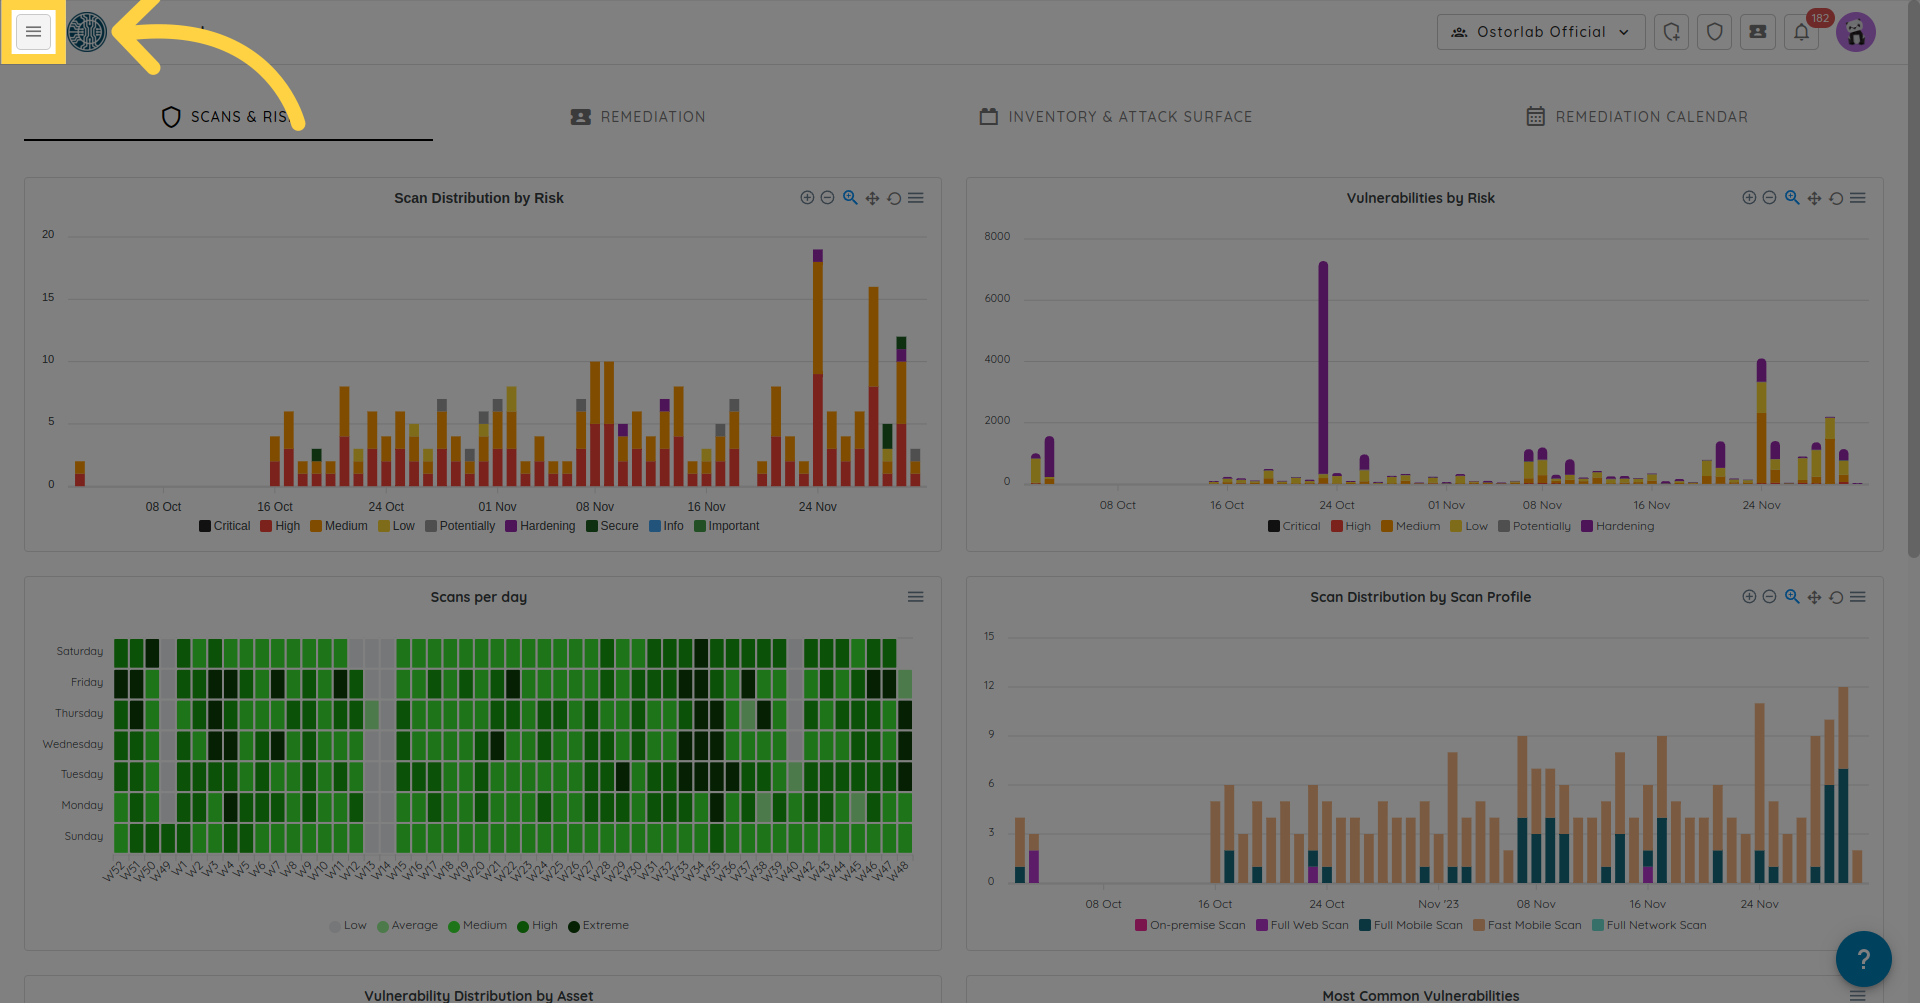
Click Scan to expand.
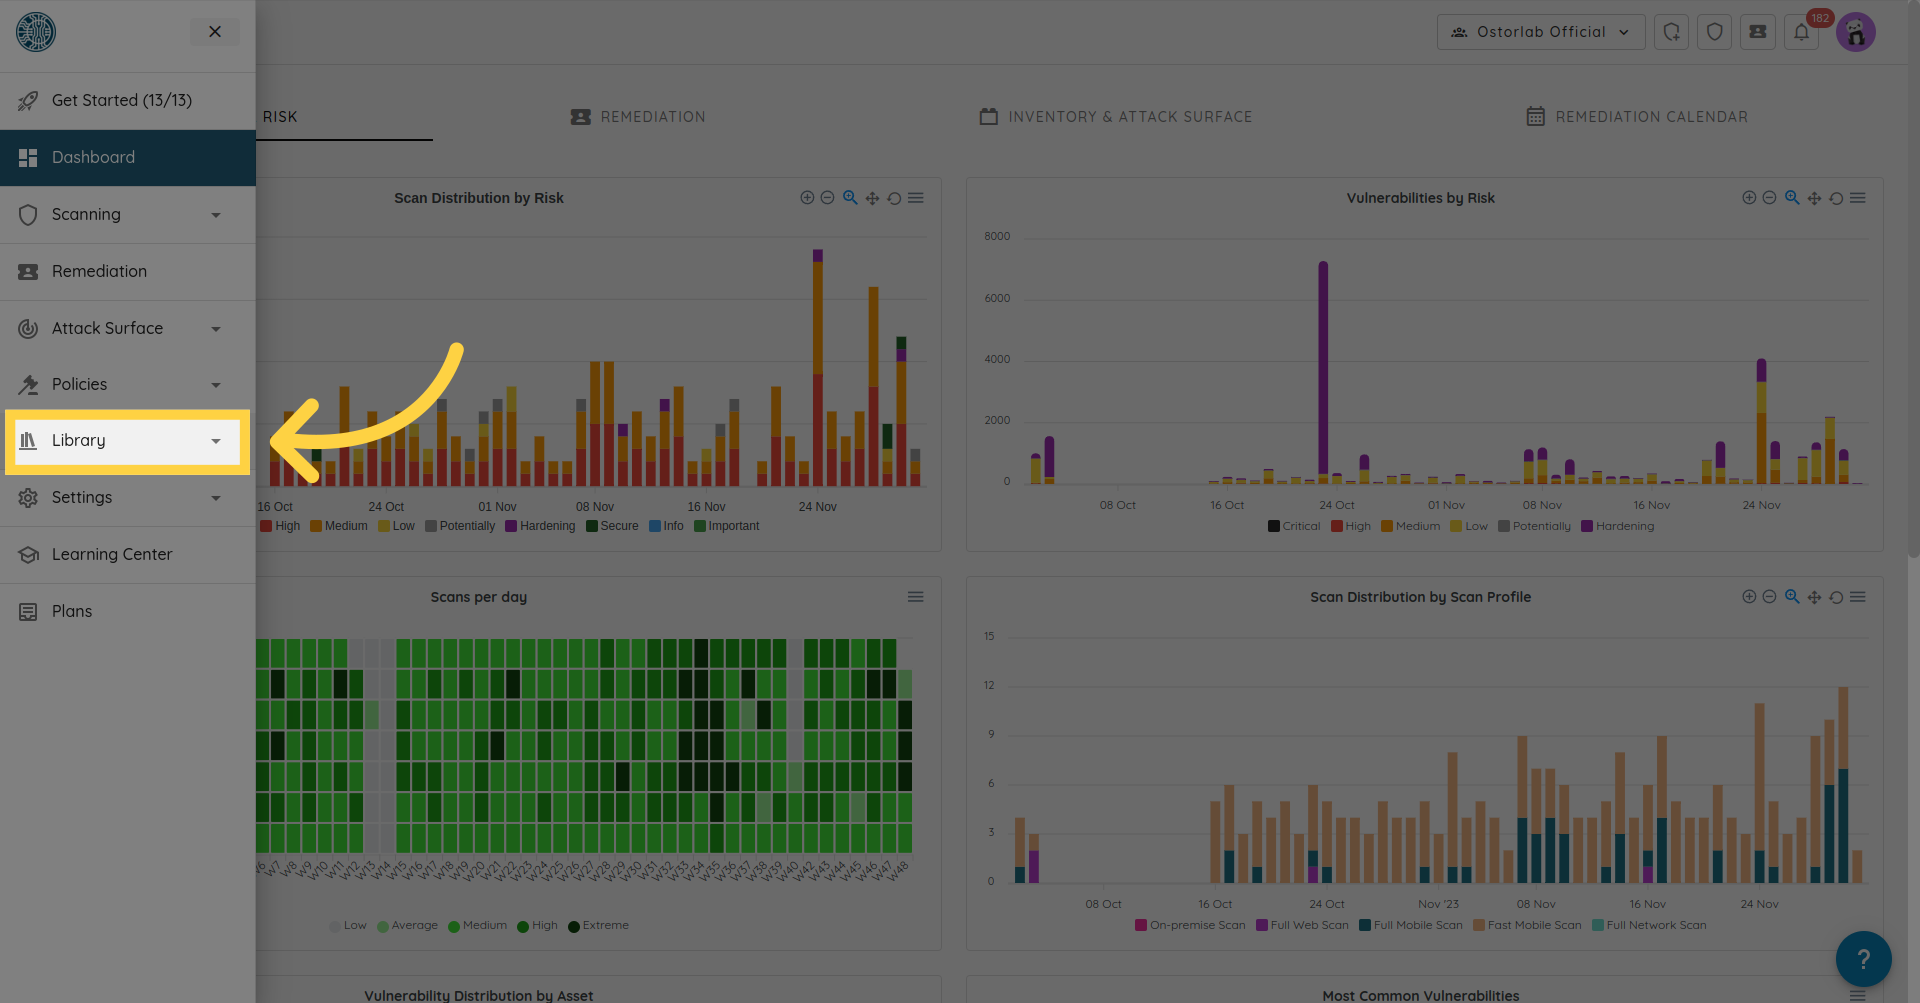
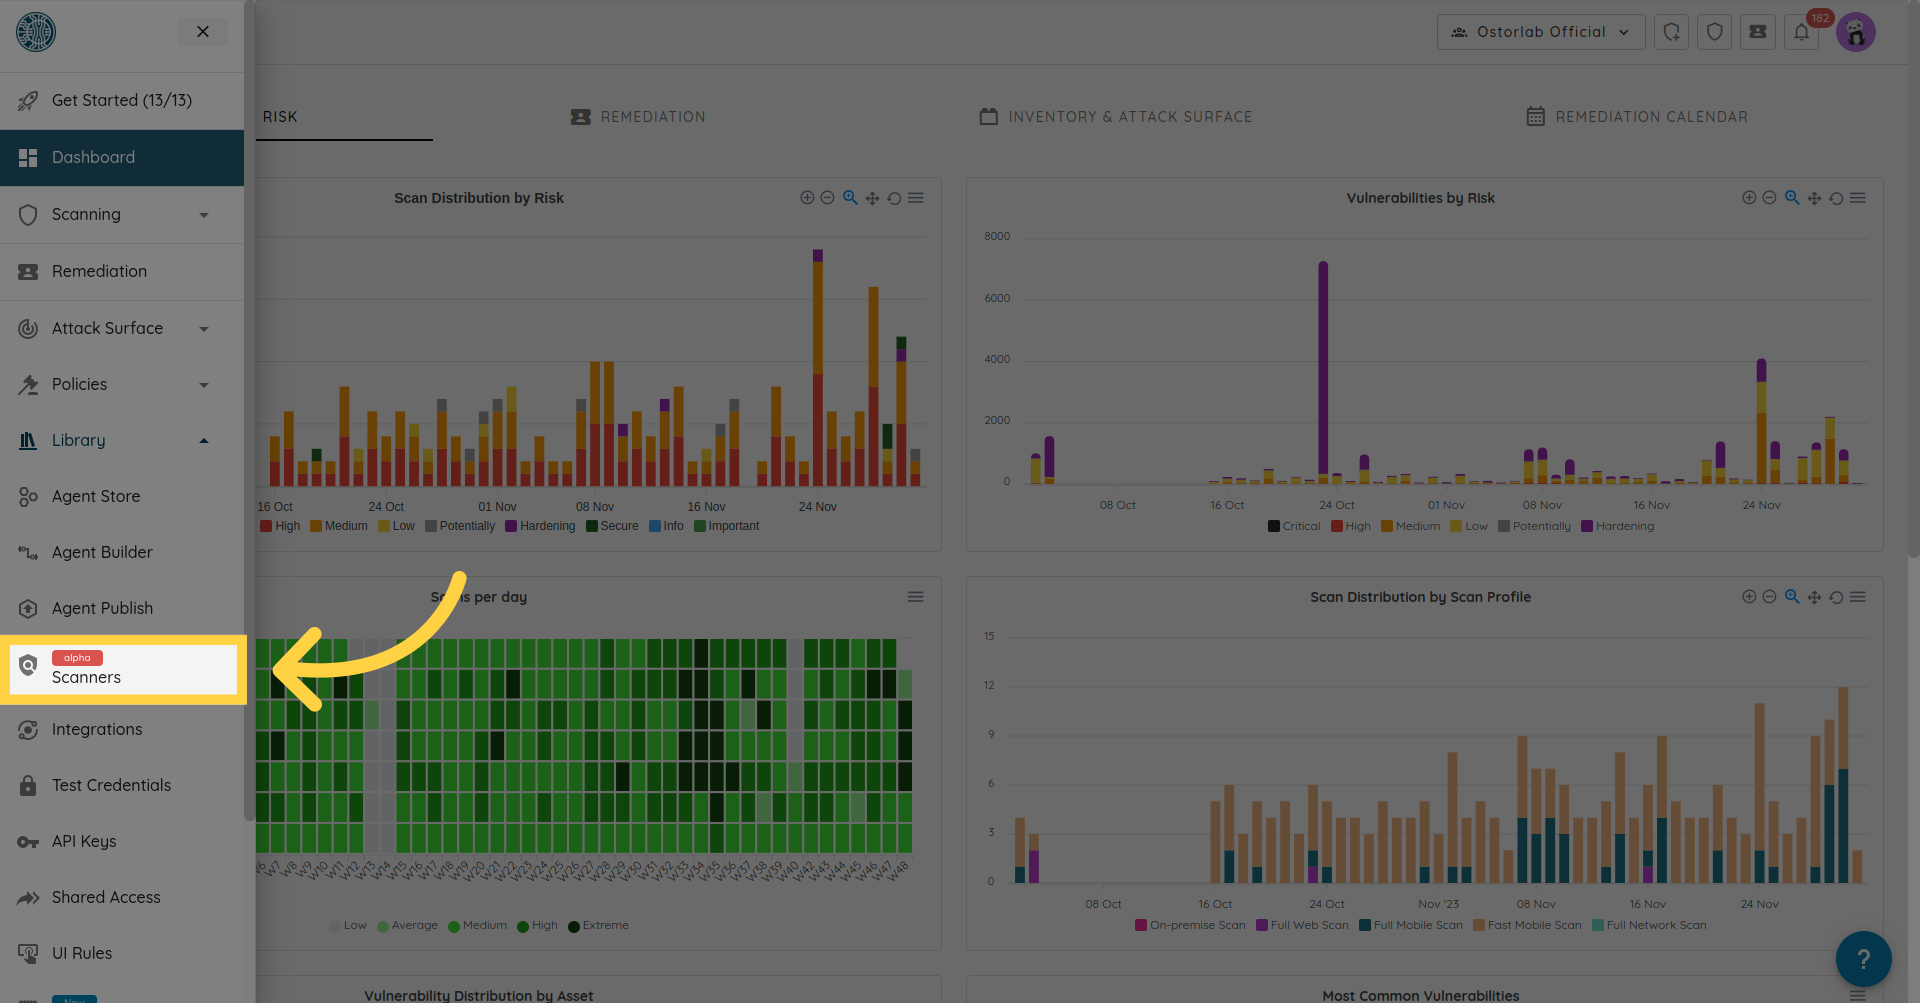
And choose Scanners.
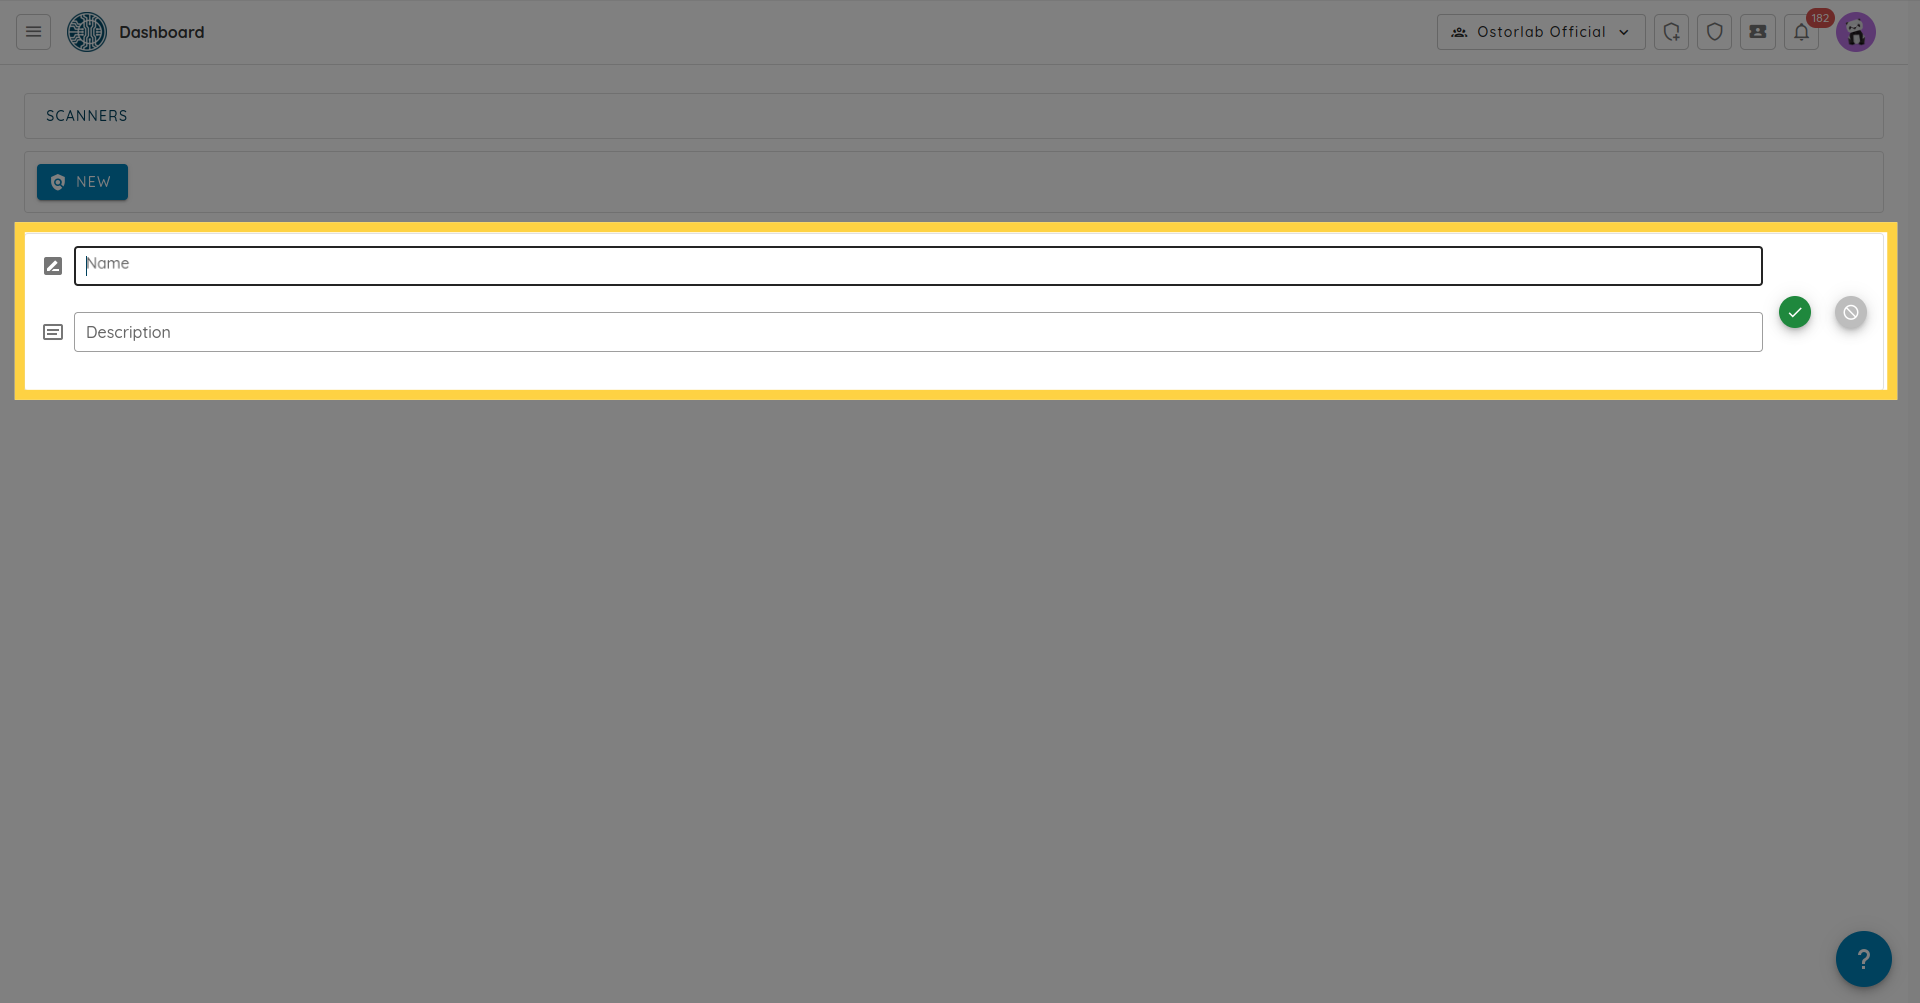
To declare a new scanner click on NEW.
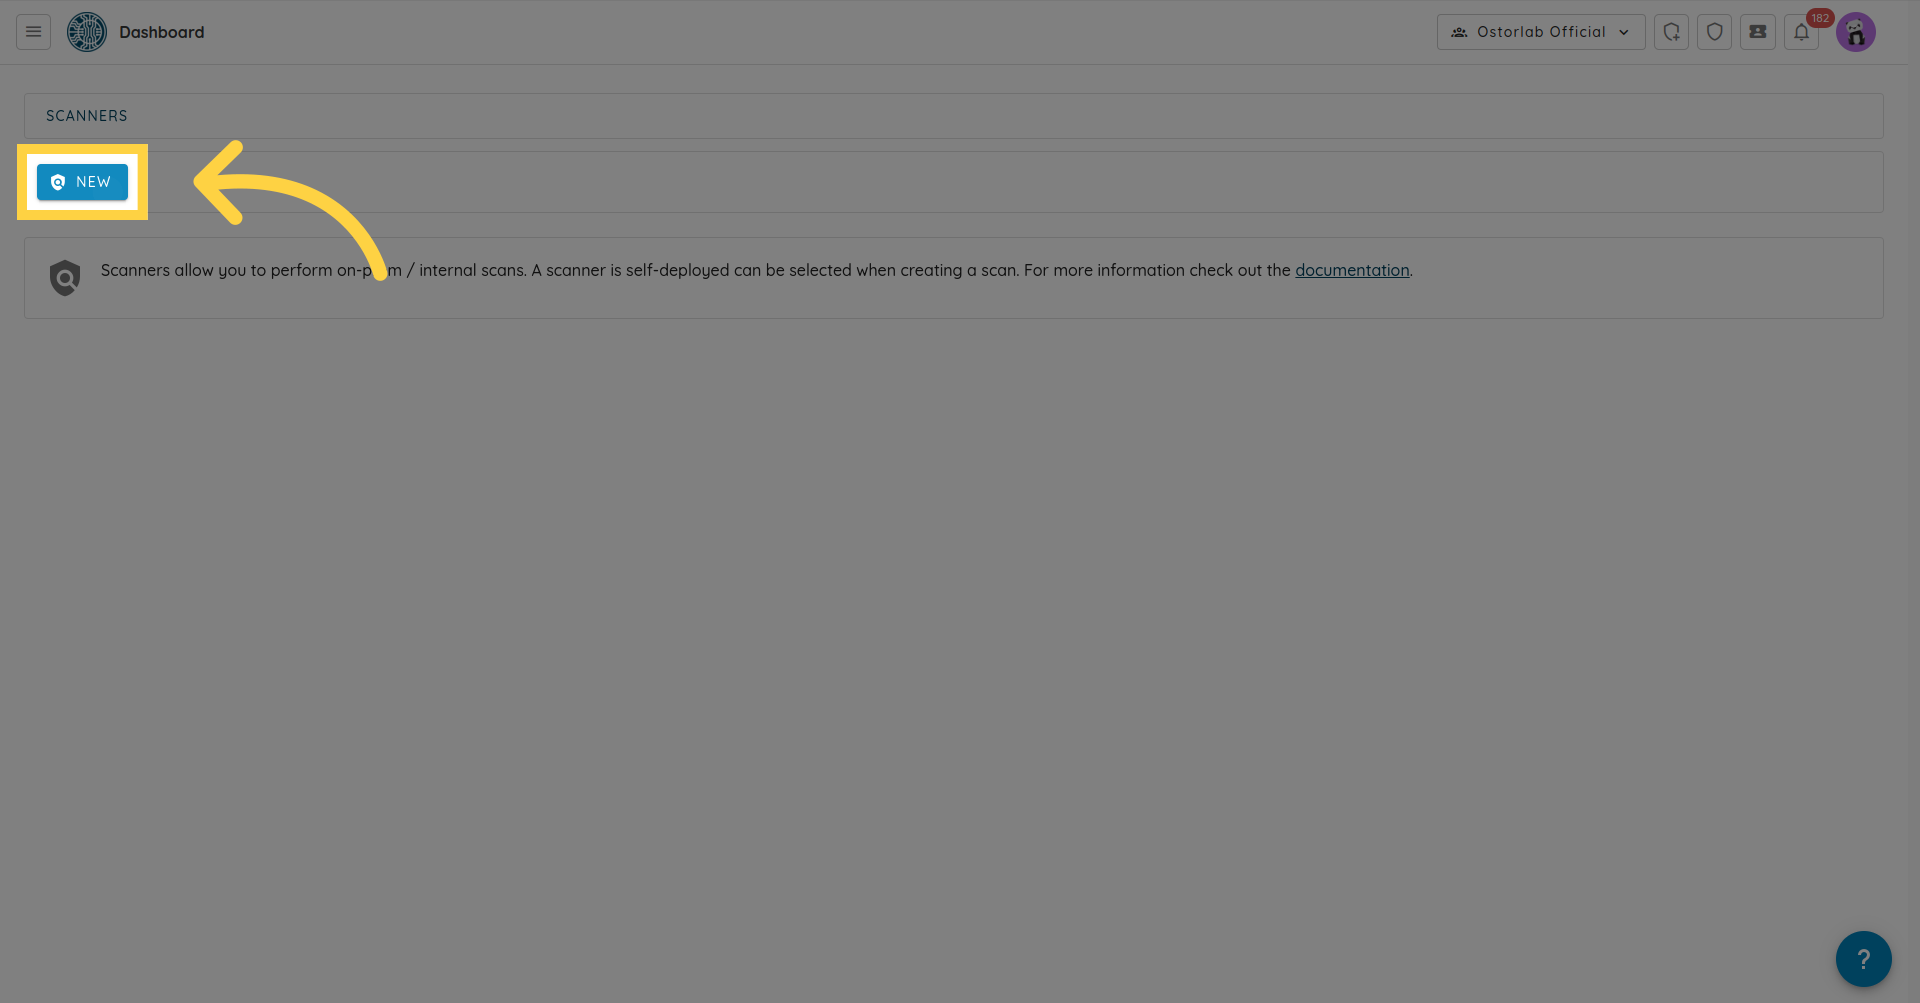
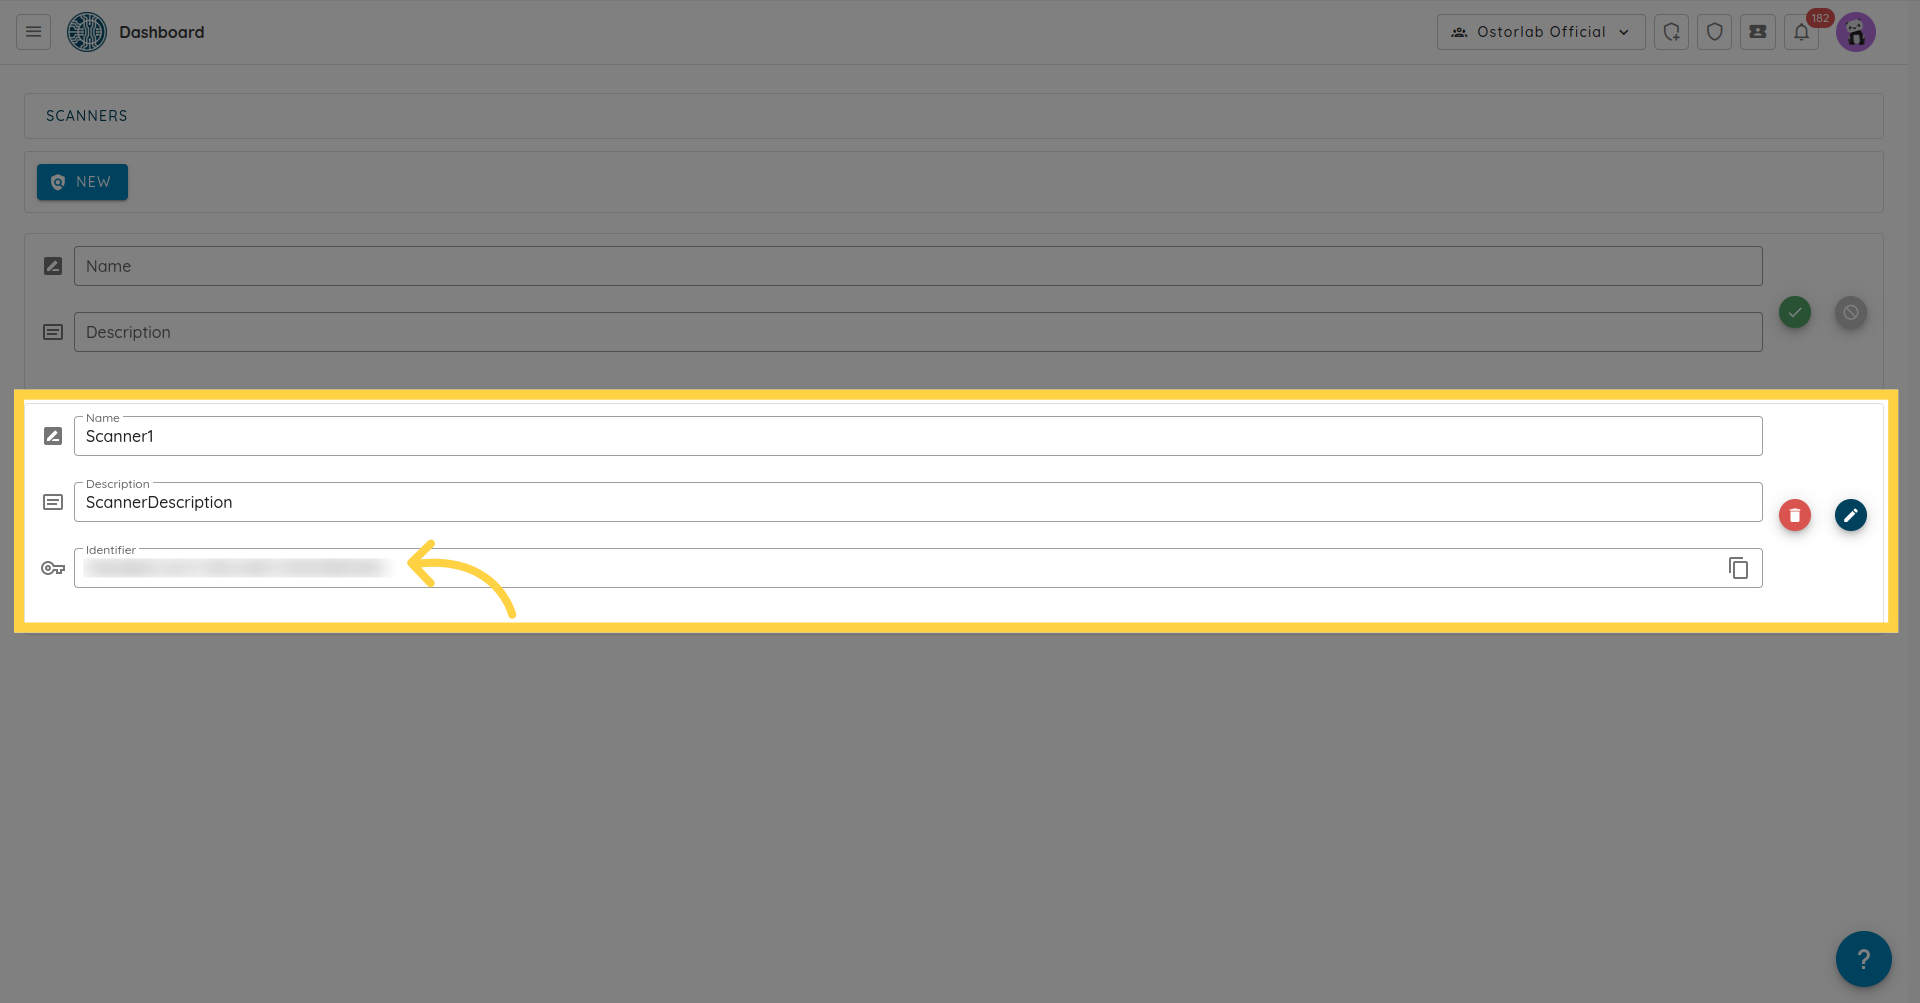
Fill in the Scanner name and description.
Save the scanner-identifier of your scanner, it will be used by the ostorlab scanning tool. This will create a scanner instance, with the required configuration & credentials to receive scans and use ostorlab agents to run the scans.
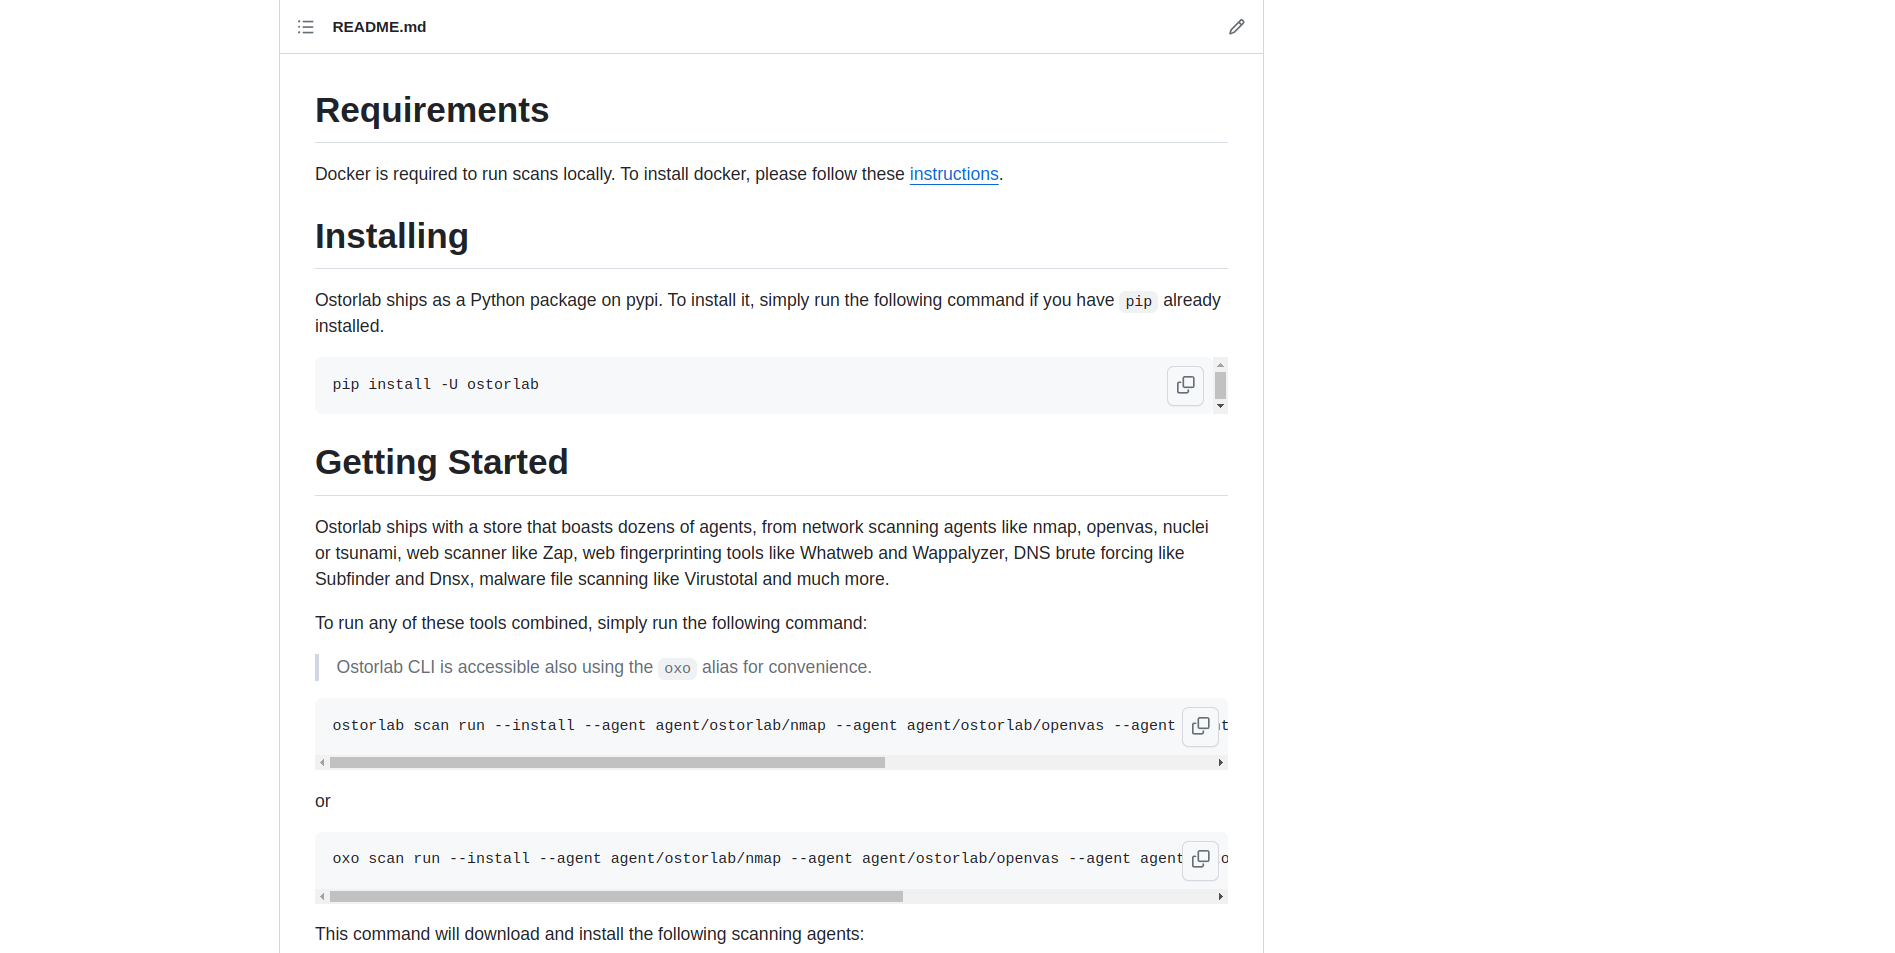
After creating a scanner, you need first to install ostorlab, for more details, you can follow the instructions on github repository of ostorlab https://github.com/Ostorlab/ostorlab.
After that, login to your ostorlab account, by filling in your username & password.

And run the following command, with the ID of the scanner created earlier.

2. Run scan
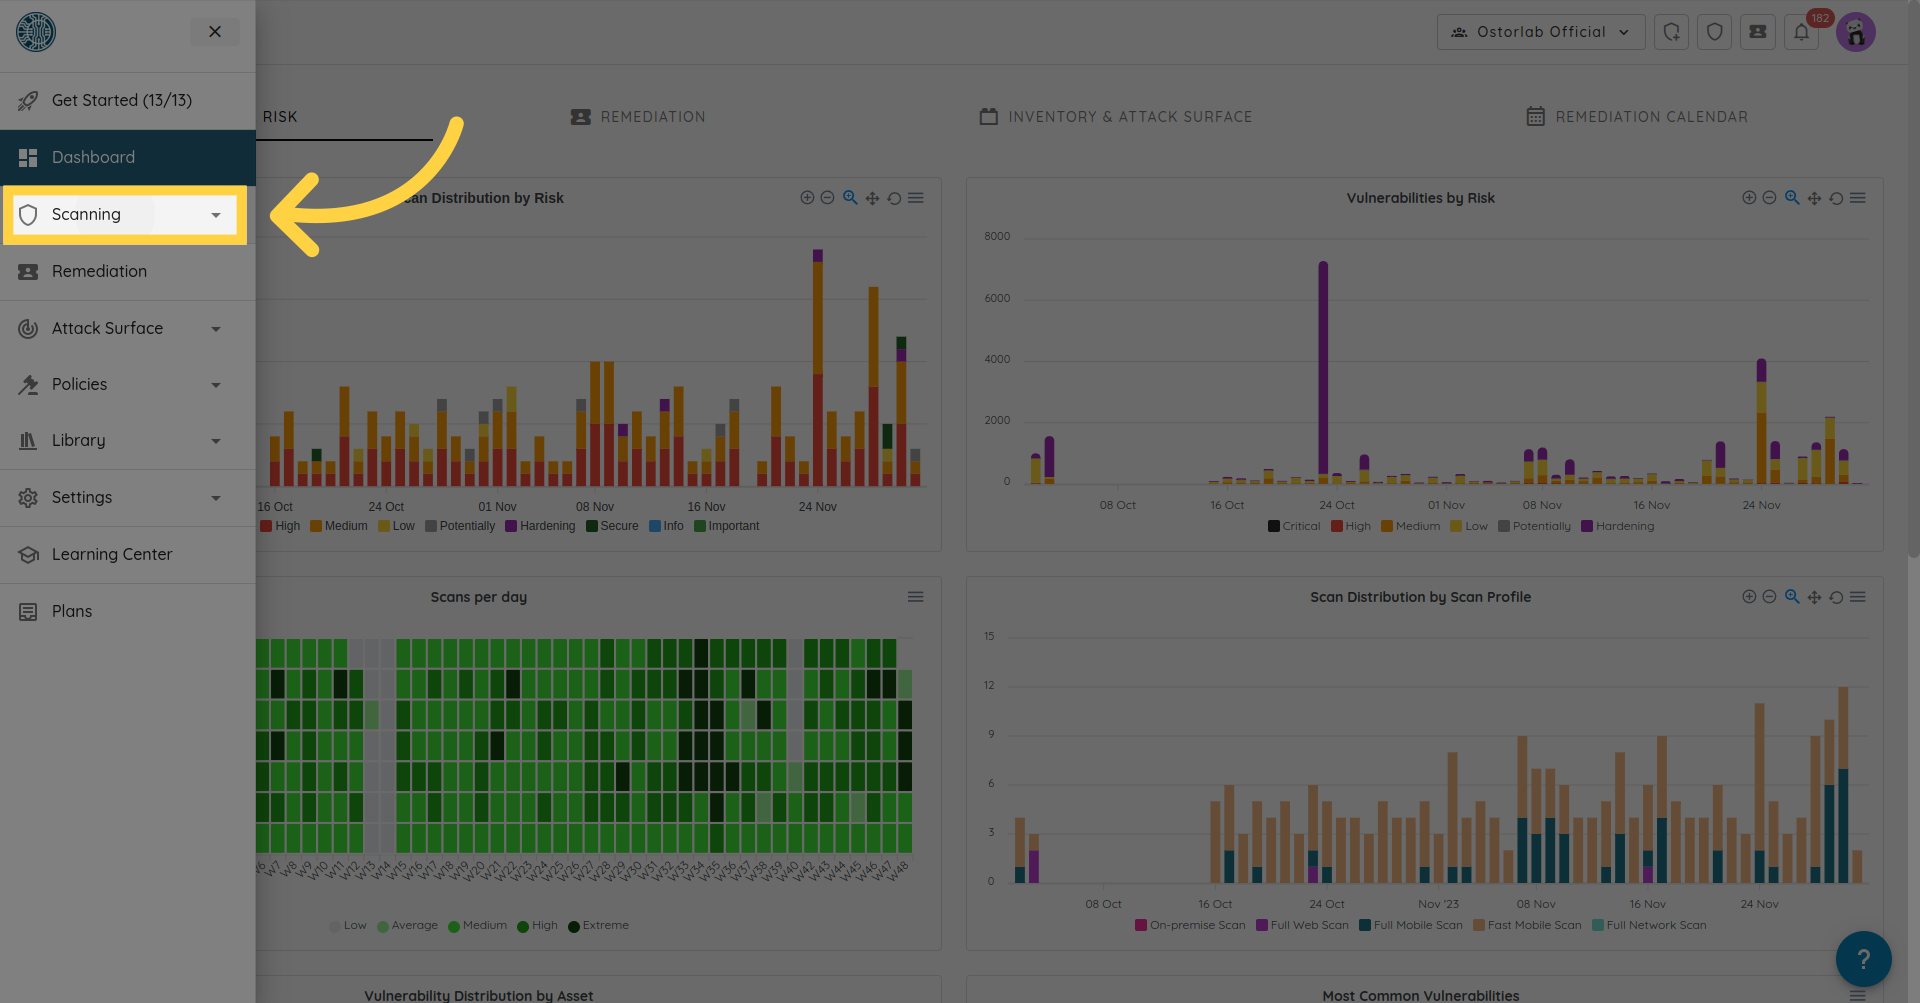
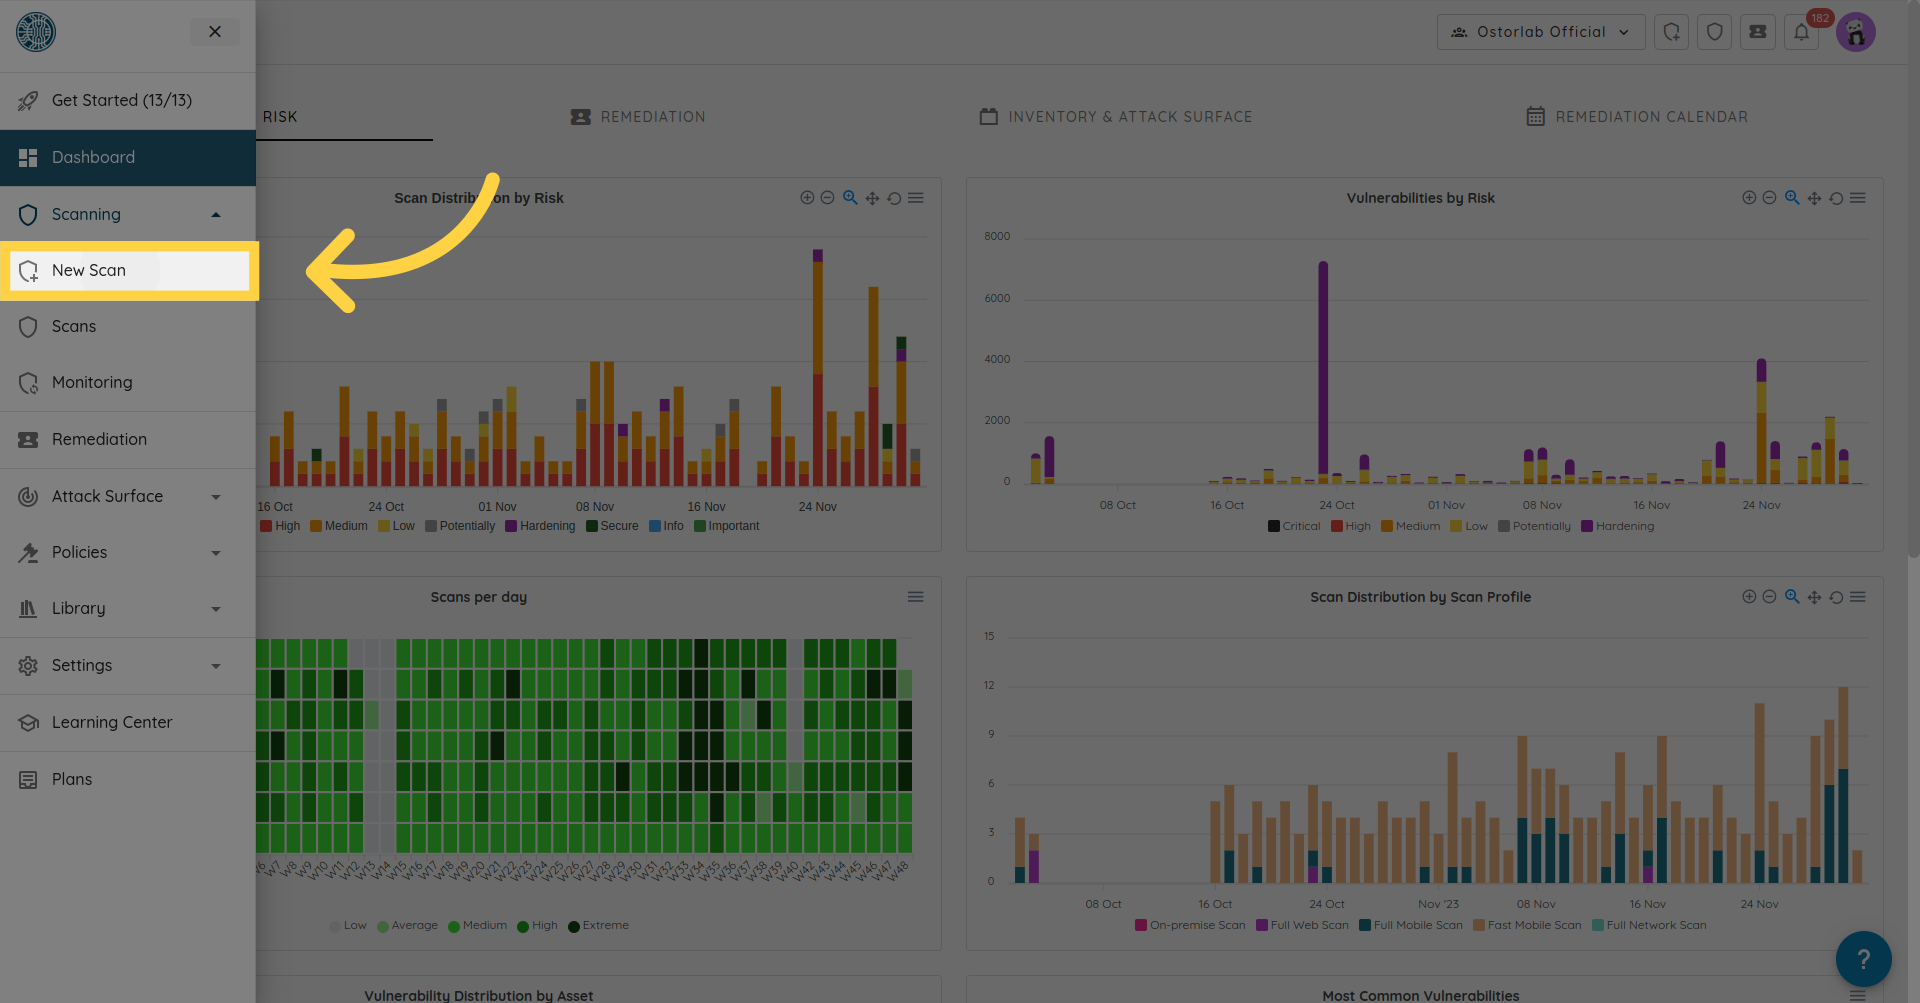
Now to run a scan head back to the ostorlab platform and click on the menu button.

Click scanning.
And choose New Scan.
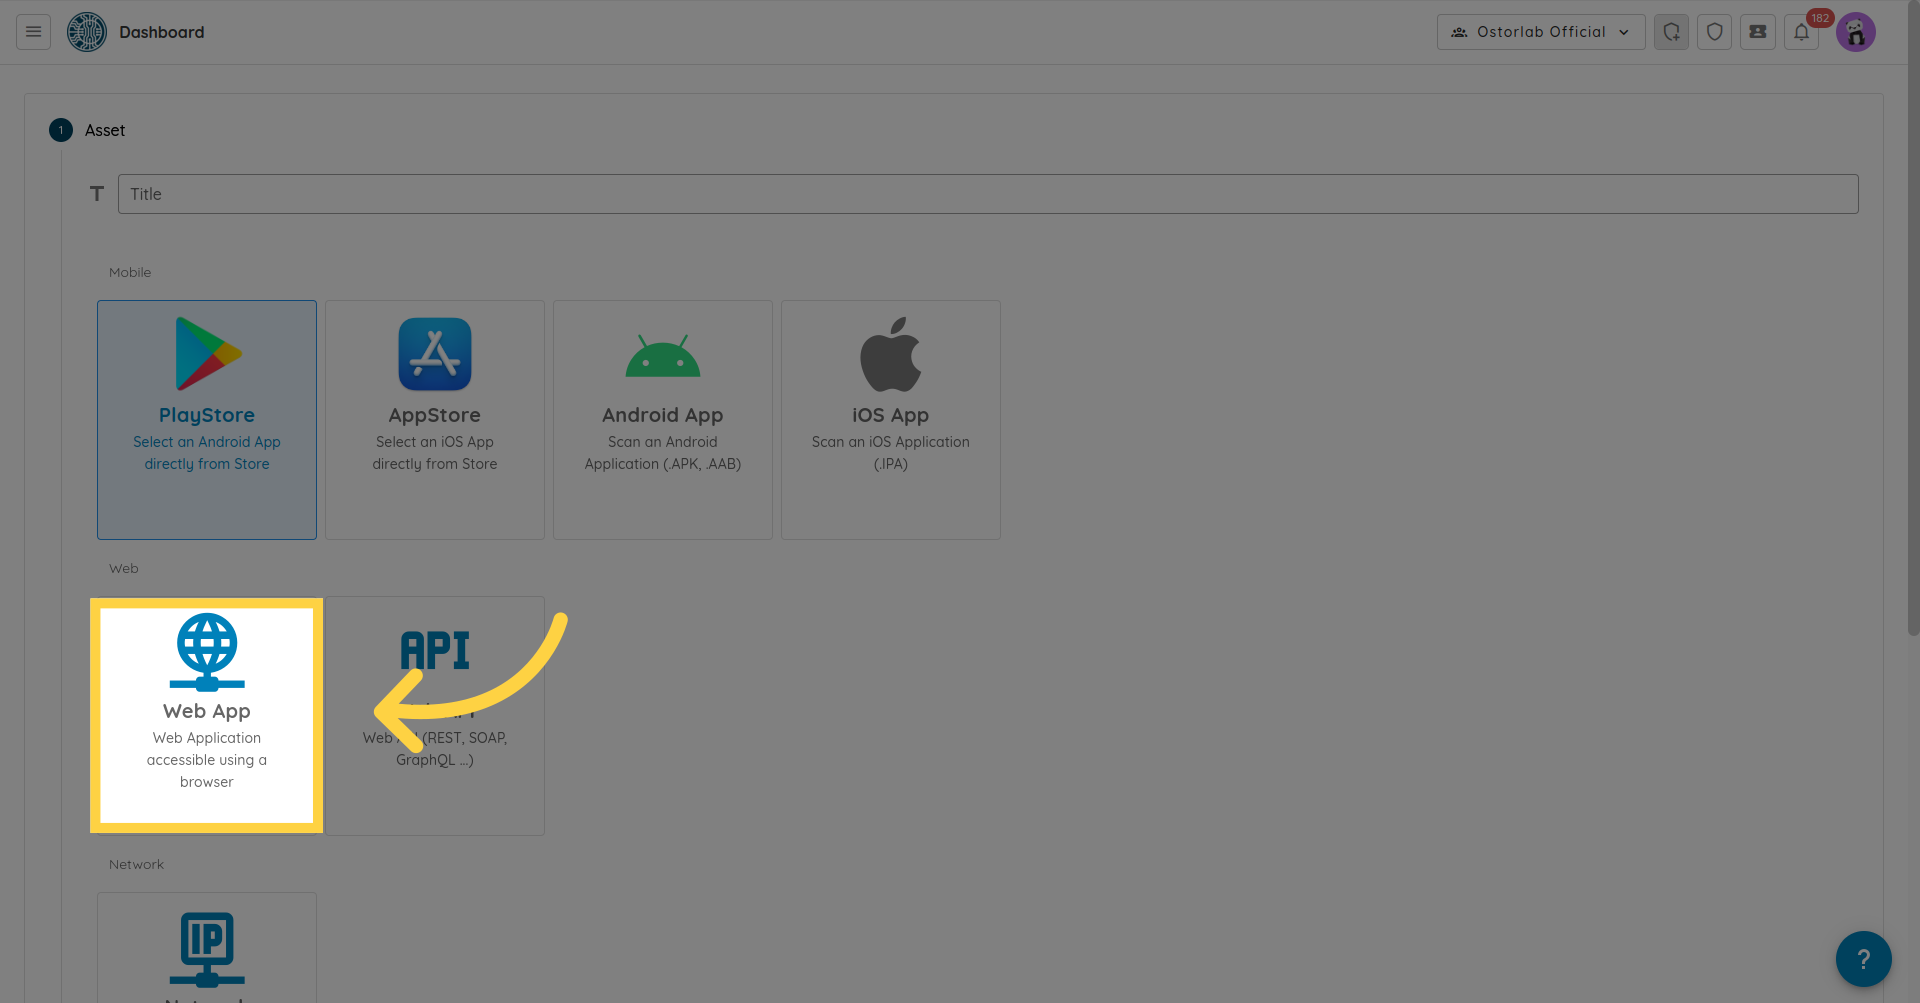
Choose your asset, eg Web App.
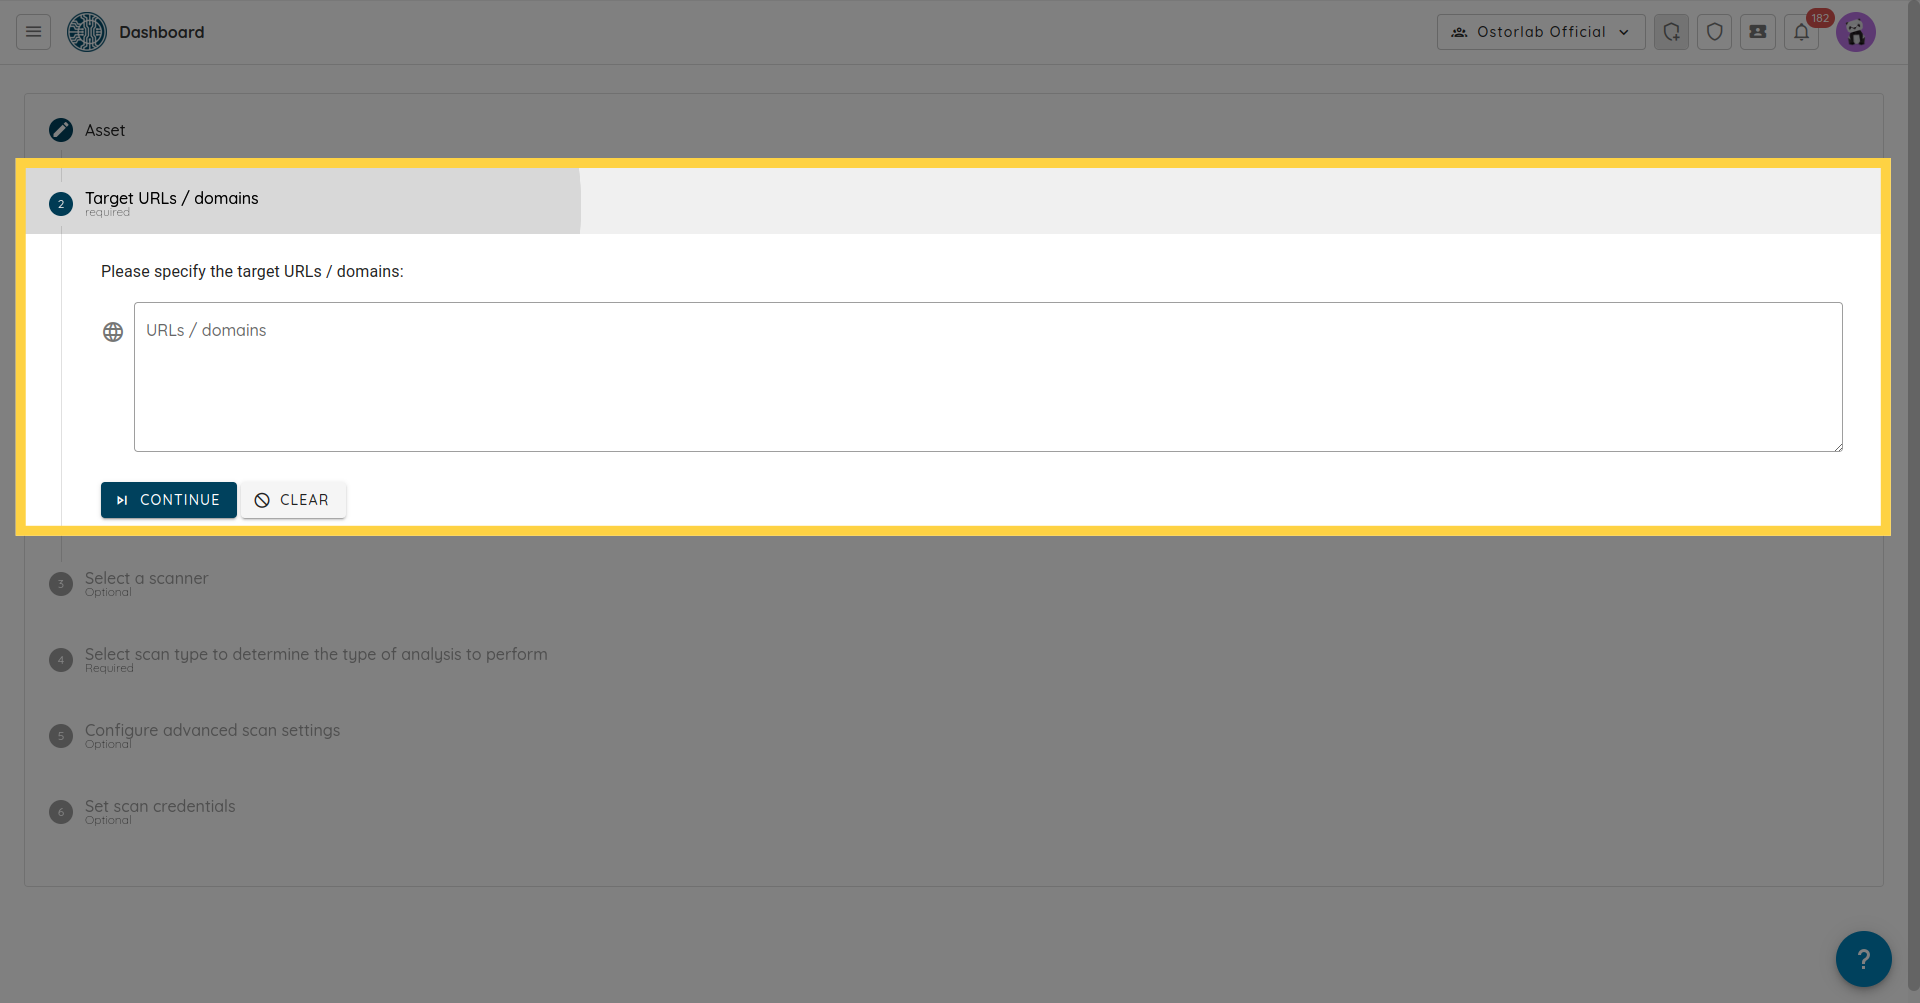
Fill in your targets, and click Continue.
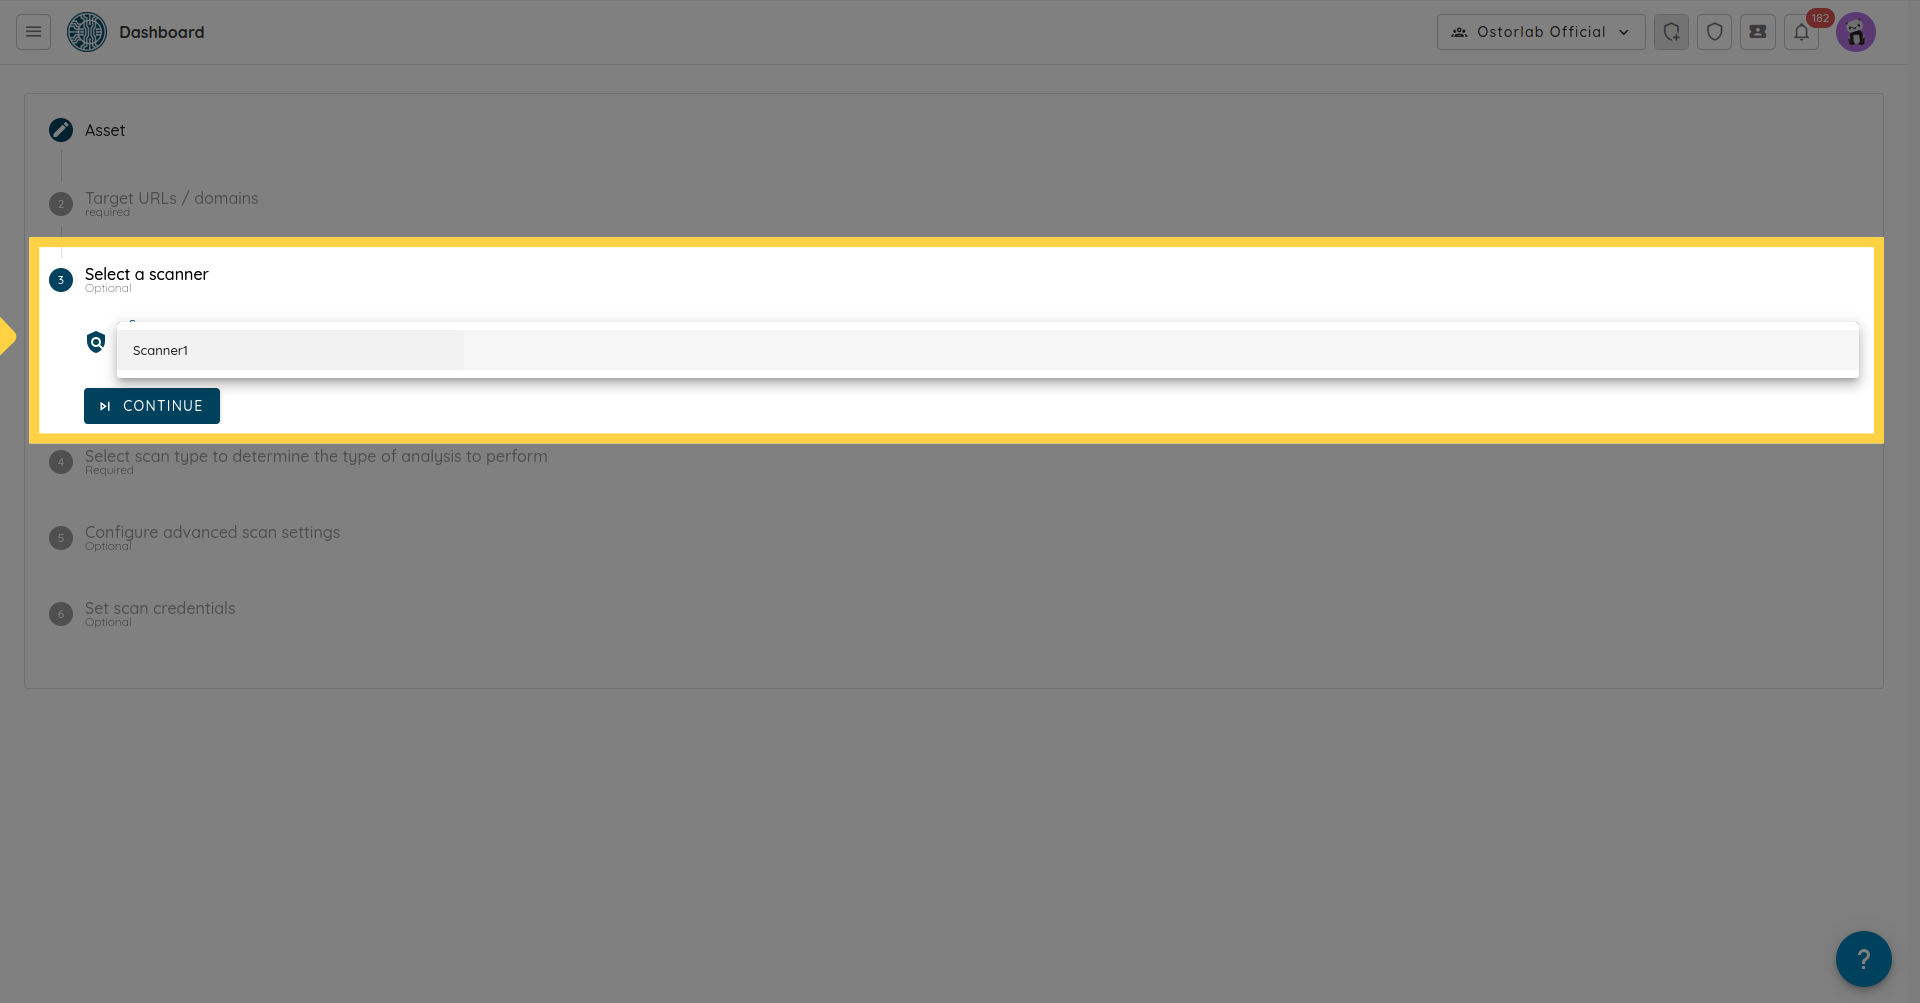
A section for selecting a scanner will pop up, choose the scanner you have created previously, and click Continue.
Select the scan type, eg: Full Web Scan.
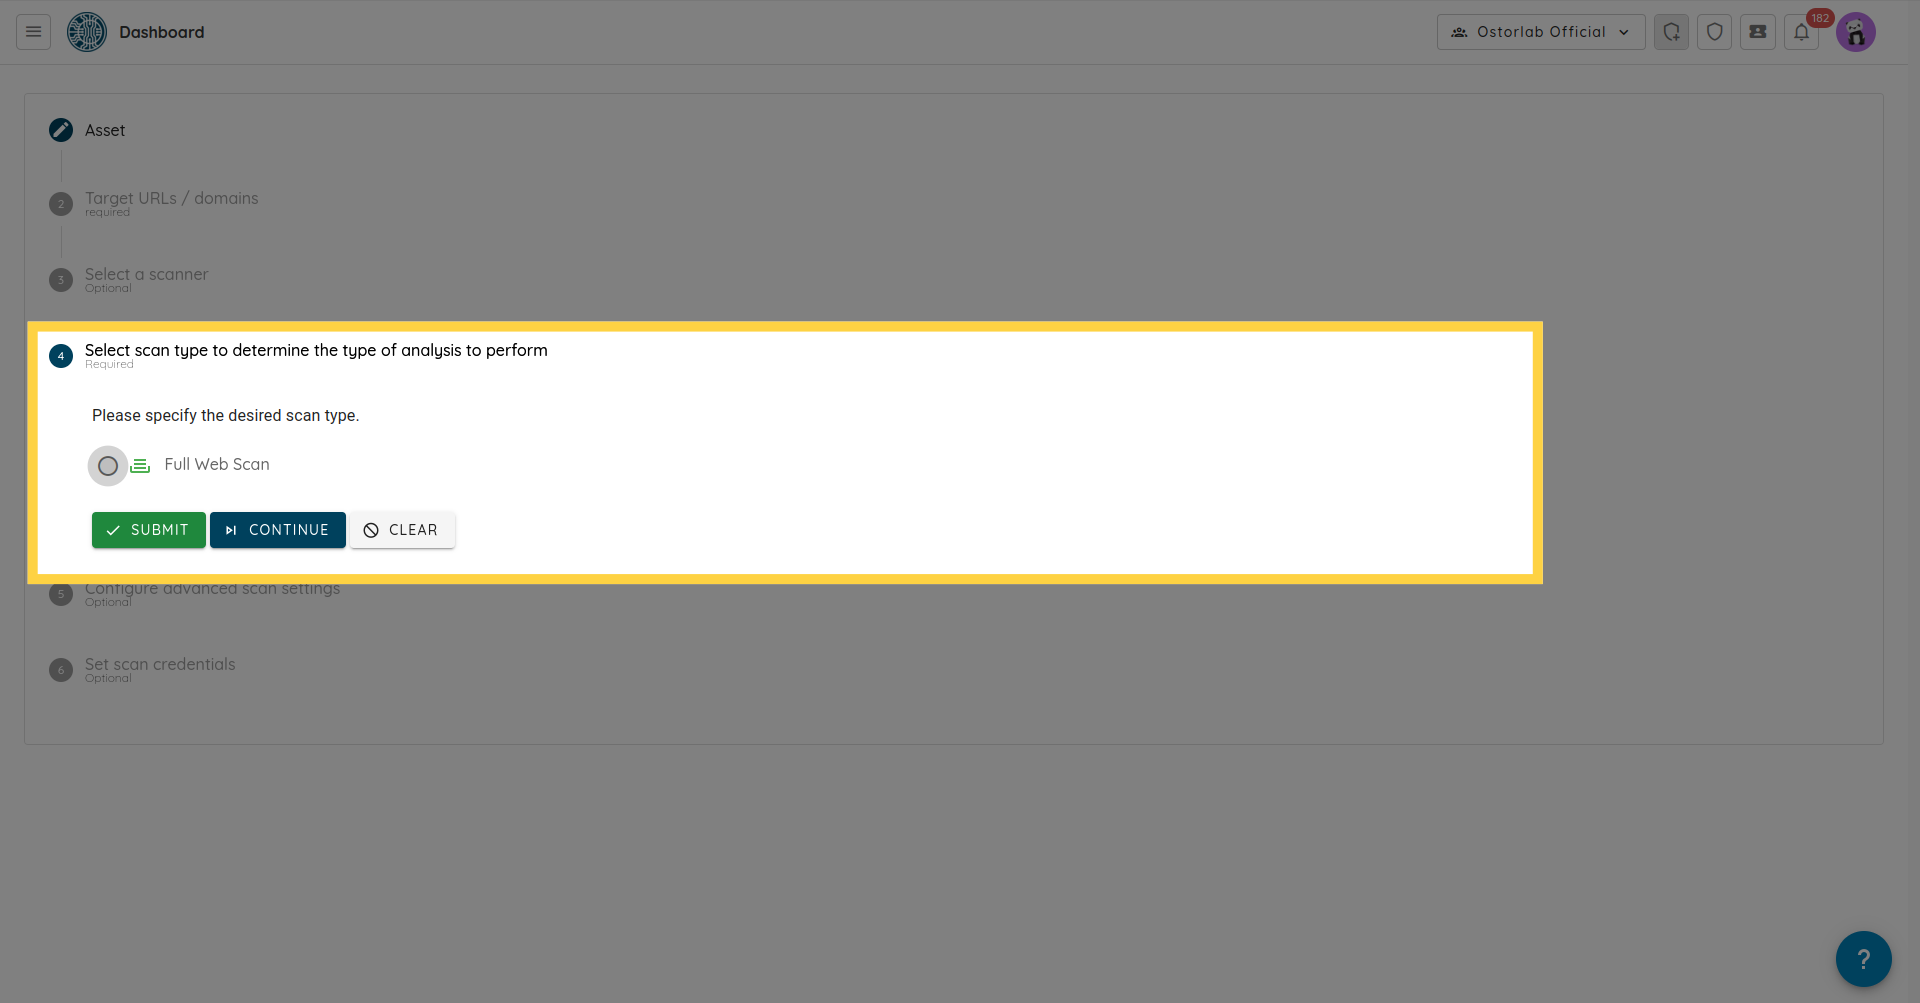
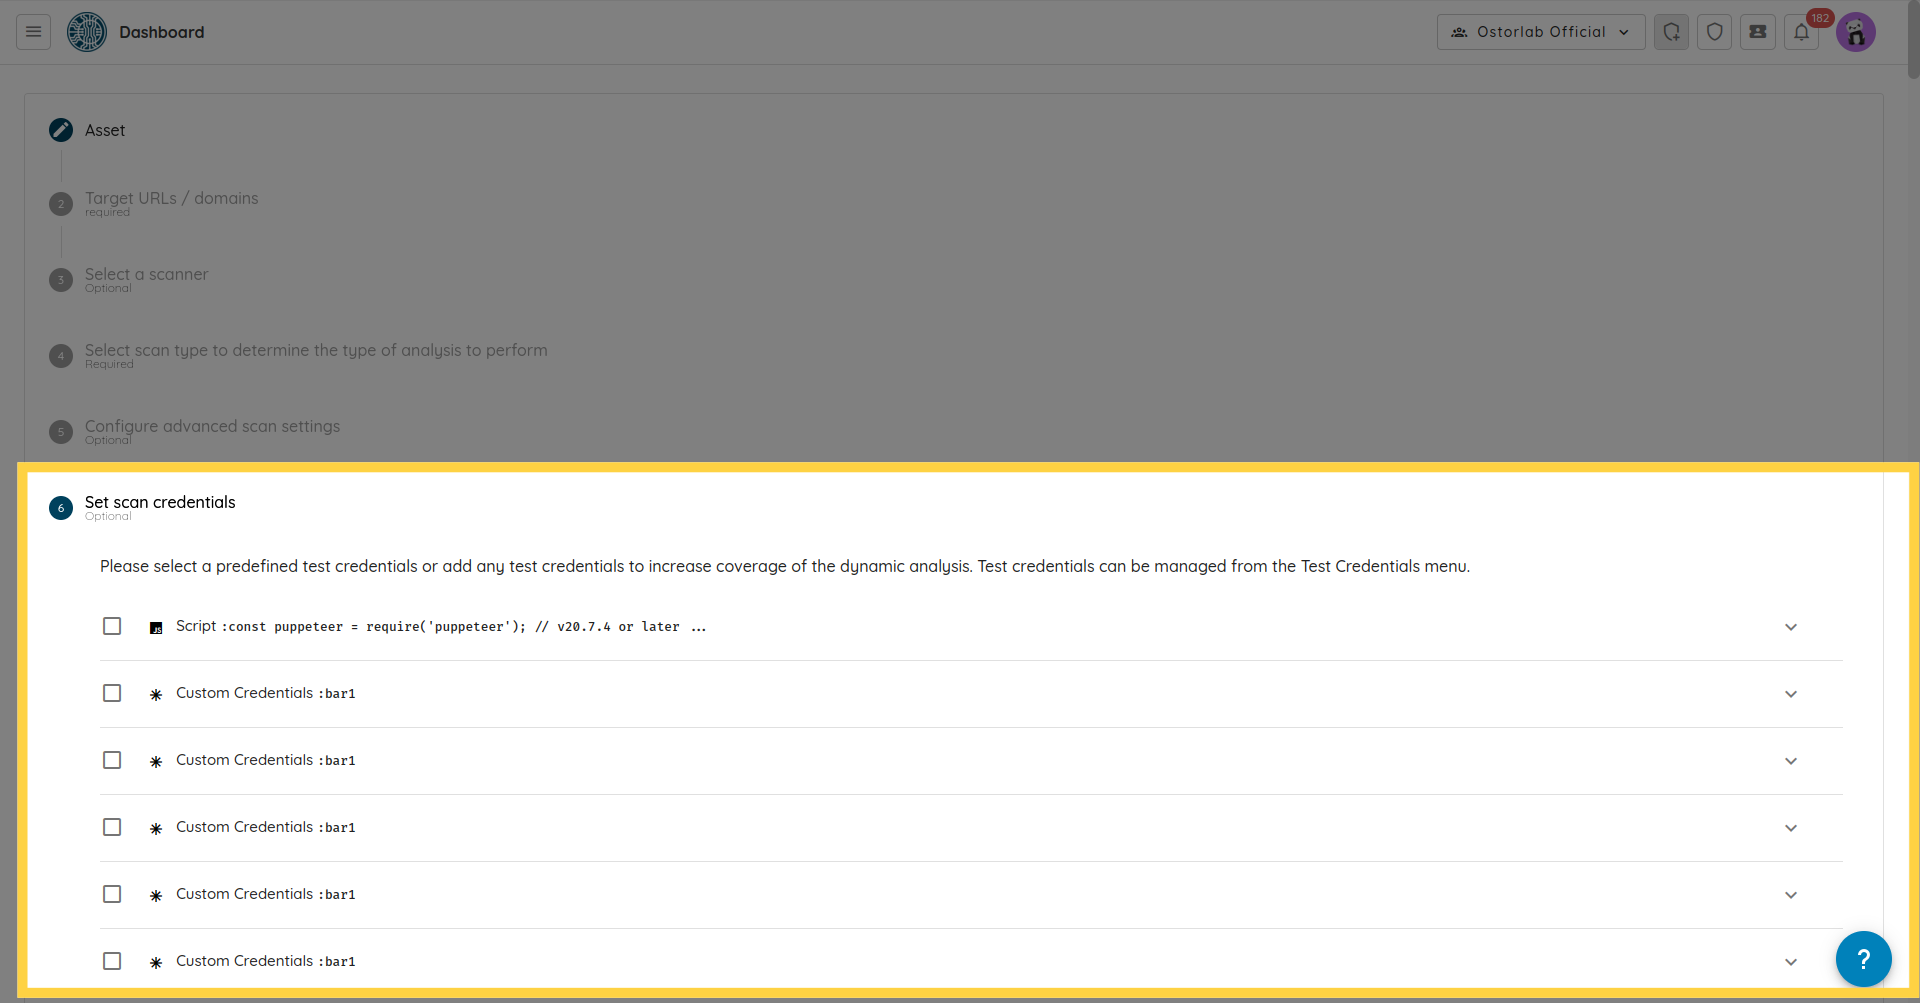
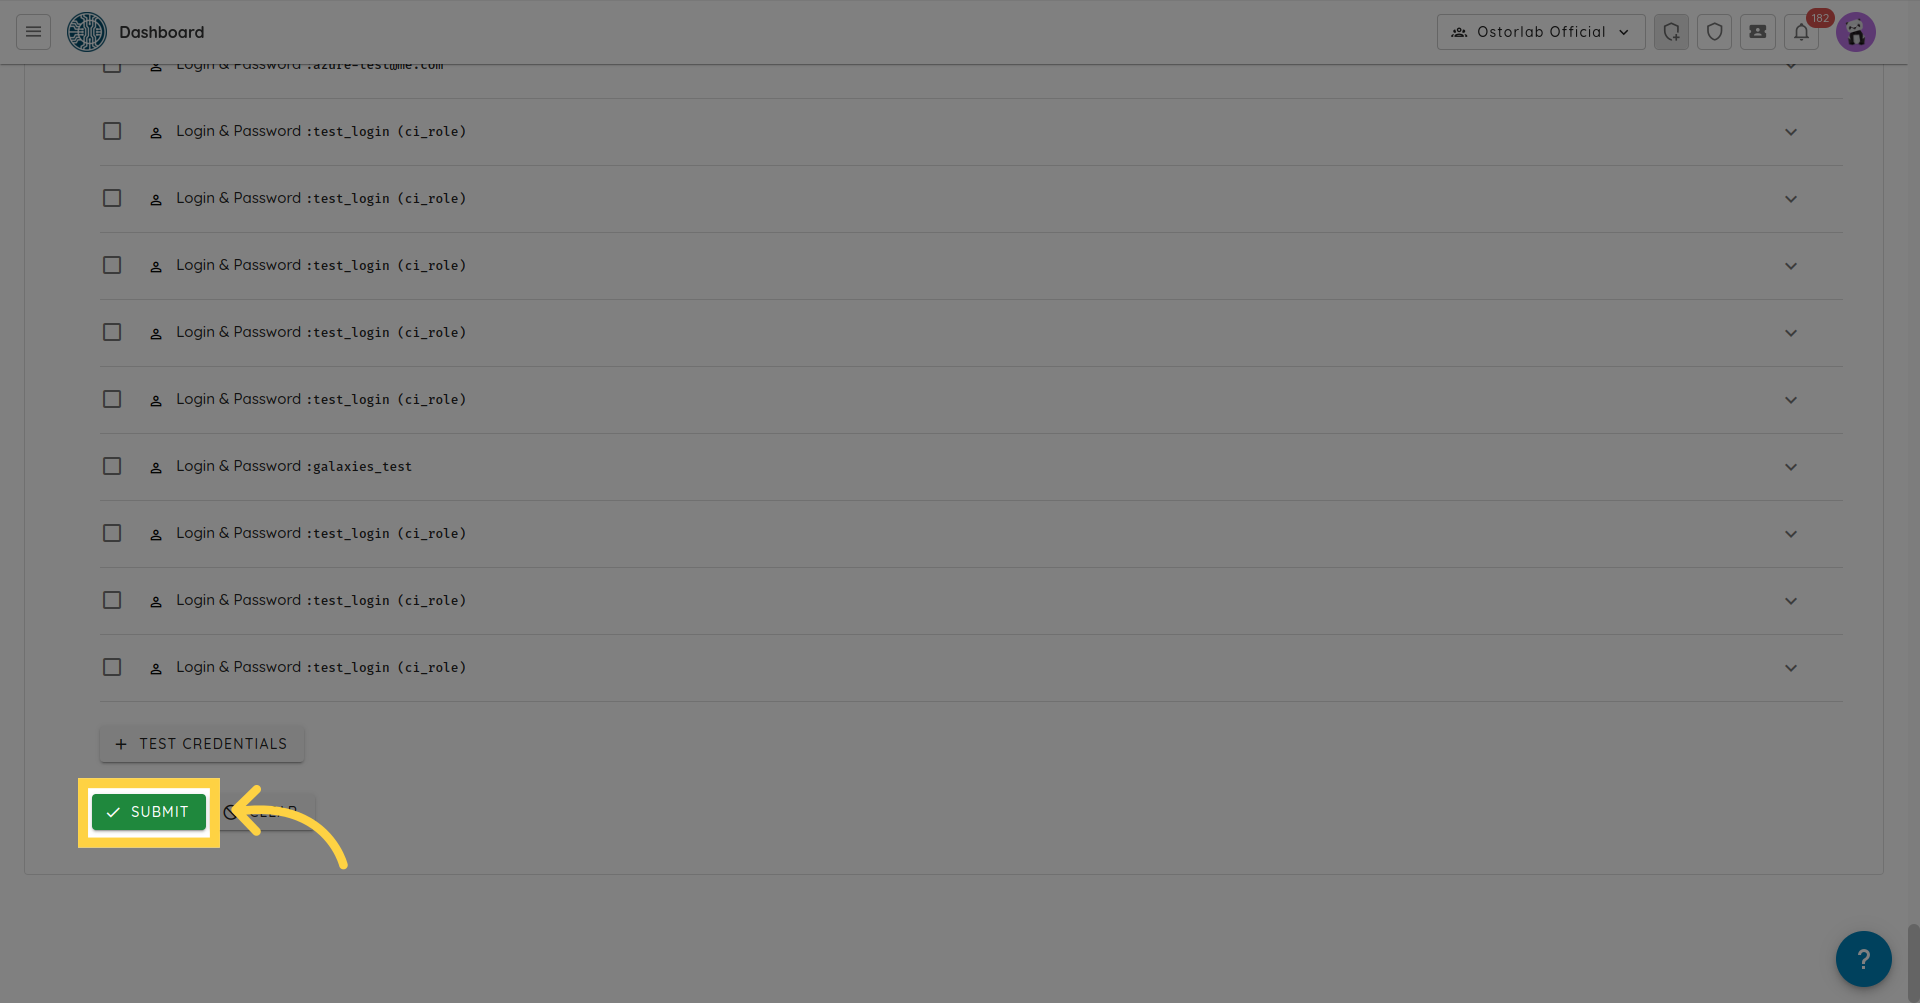
Next setup credentials if needed.
And click Submit.
A scan will be created on the list of scans and will start on the machine, where you ran the ostorlab scanner command.
This guide presented a comprehensive walk-through of on-premise scanning, spanning from the declaration of a scanner to the creation of a scan on that designated scanner.