Creating a Monitoring Rule
This guide provides step-by-step instructions on enabling monitoring for your assets. Whether you prefer periodic monitoring or want to be alerted to any detected changes, you can effortlessly trigger scans to stay informed about vulnerabilities.
Steps:
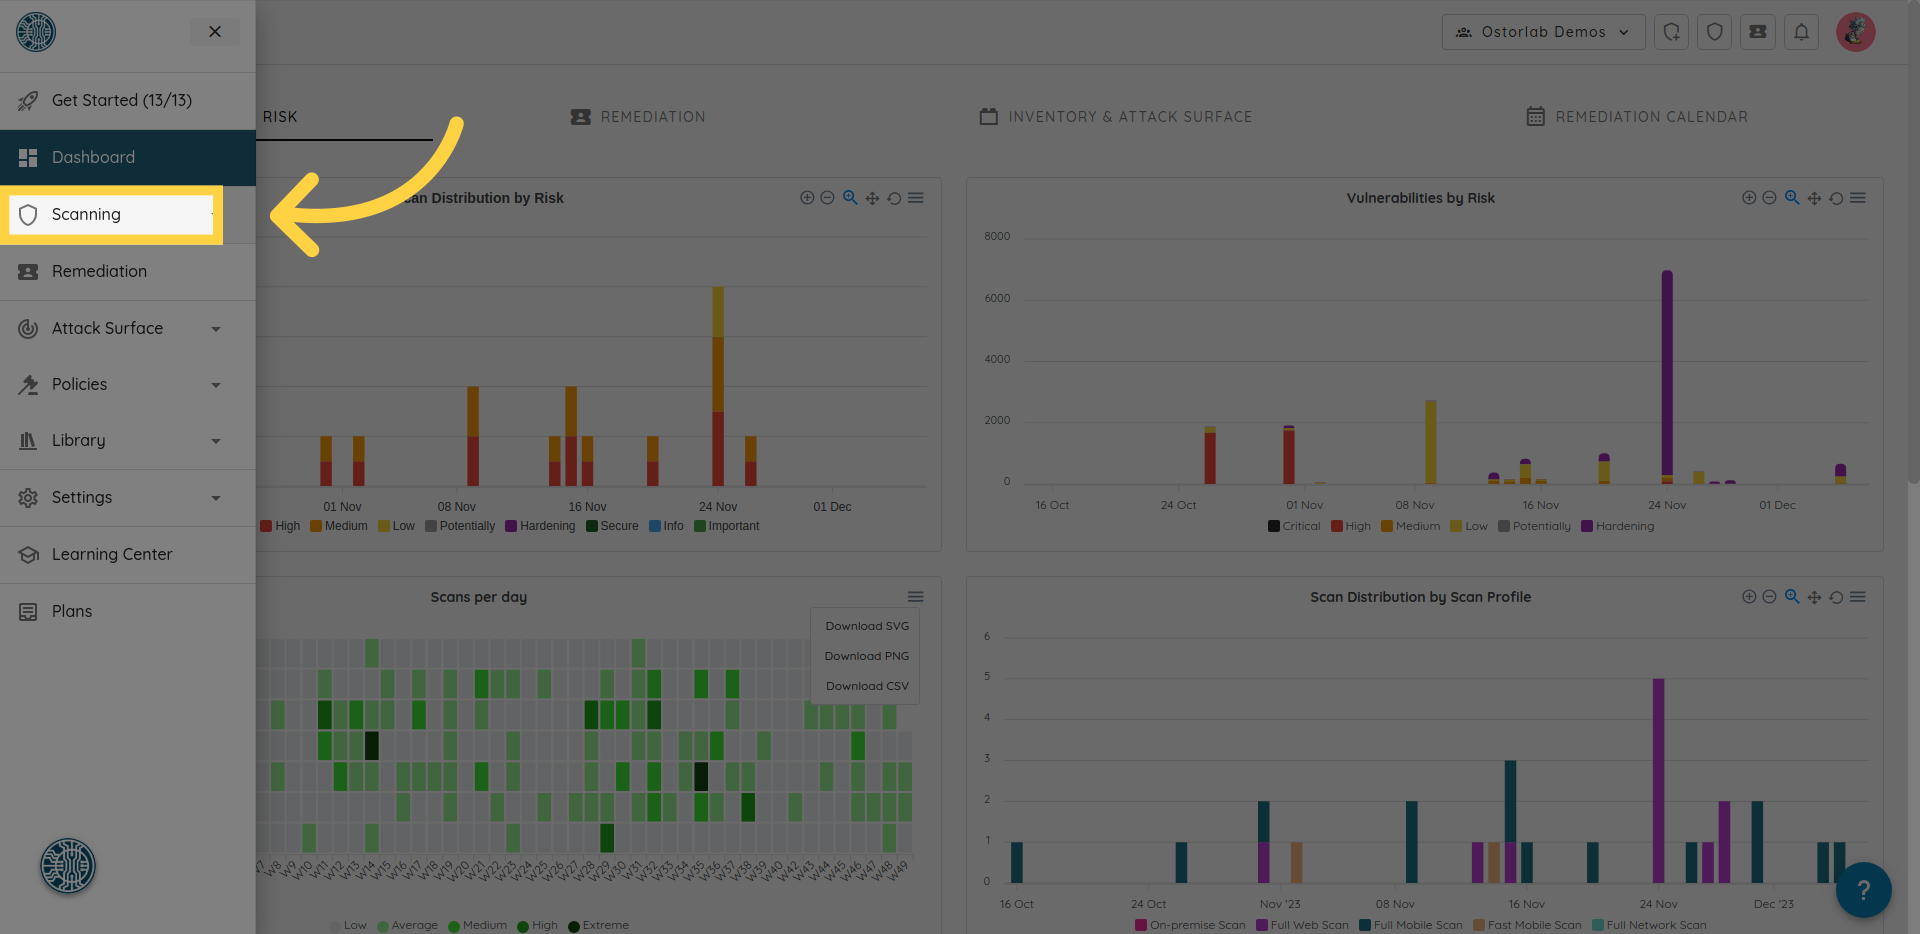
1. Navigate to the Monitoring Section
- Click on "Scanning" in the left menu.
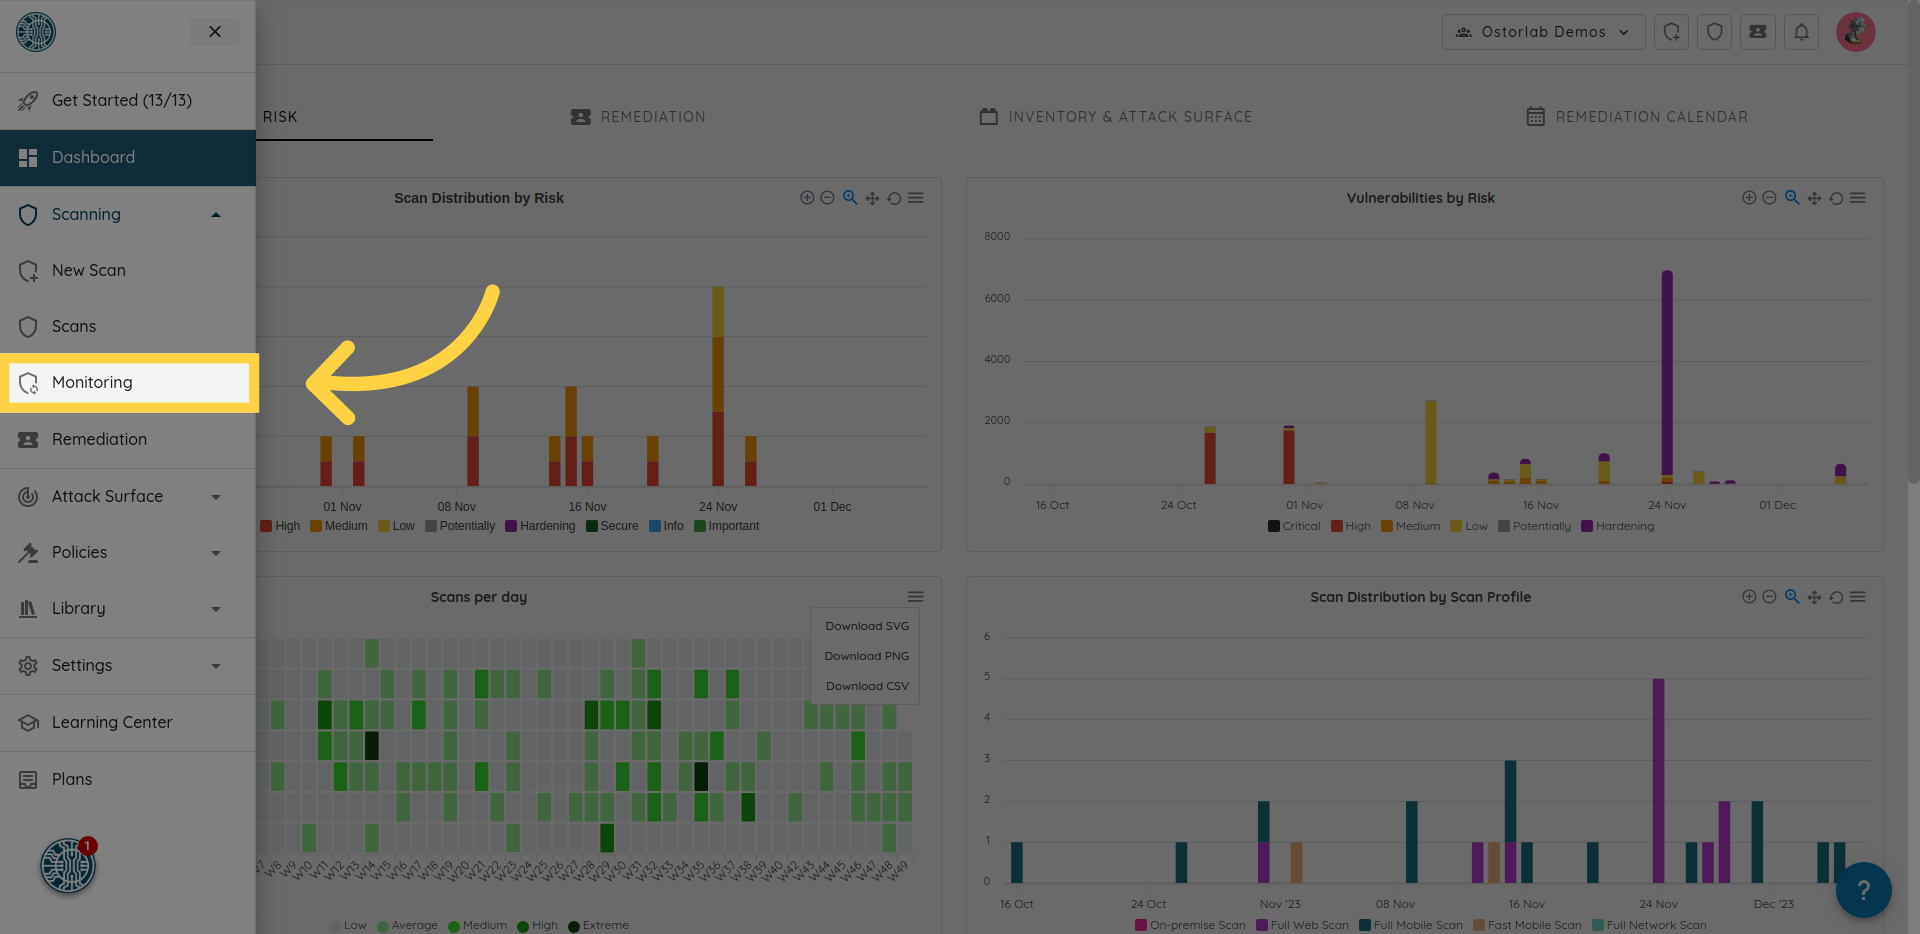
- Then, click on "Monitoring."
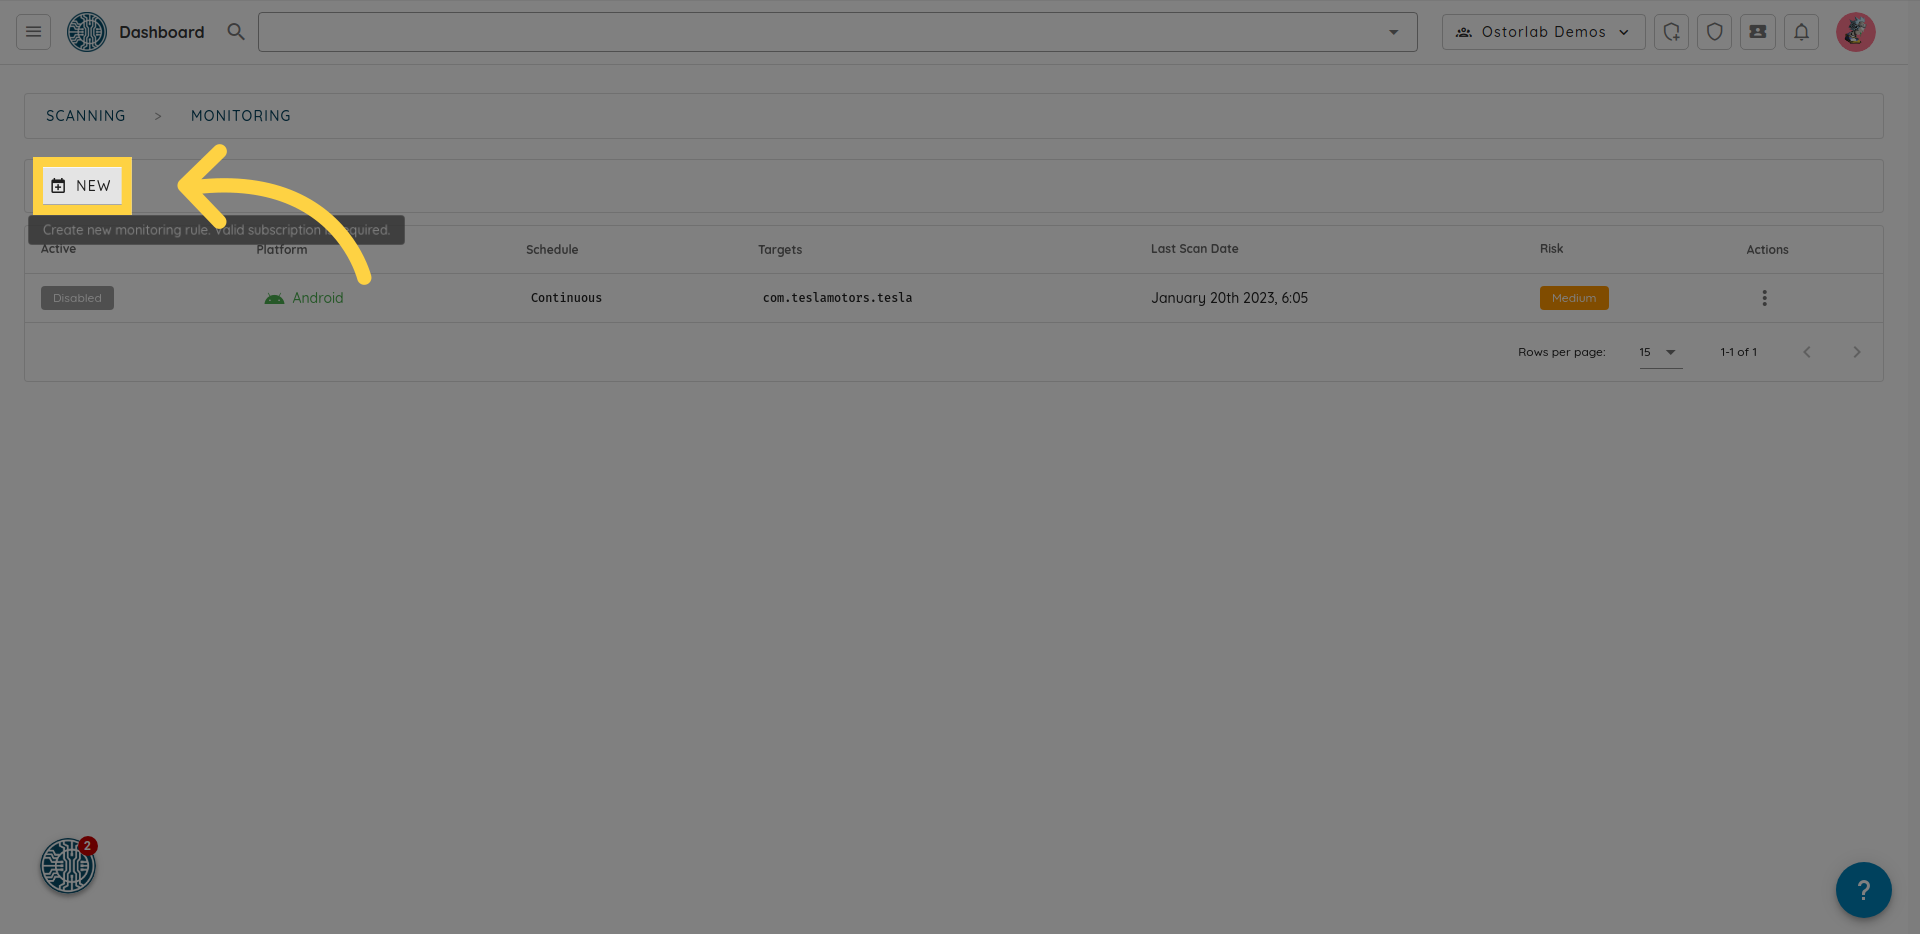
2. Create a New Monitoring Rule
- Click on the "NEW" button to initiate the process.
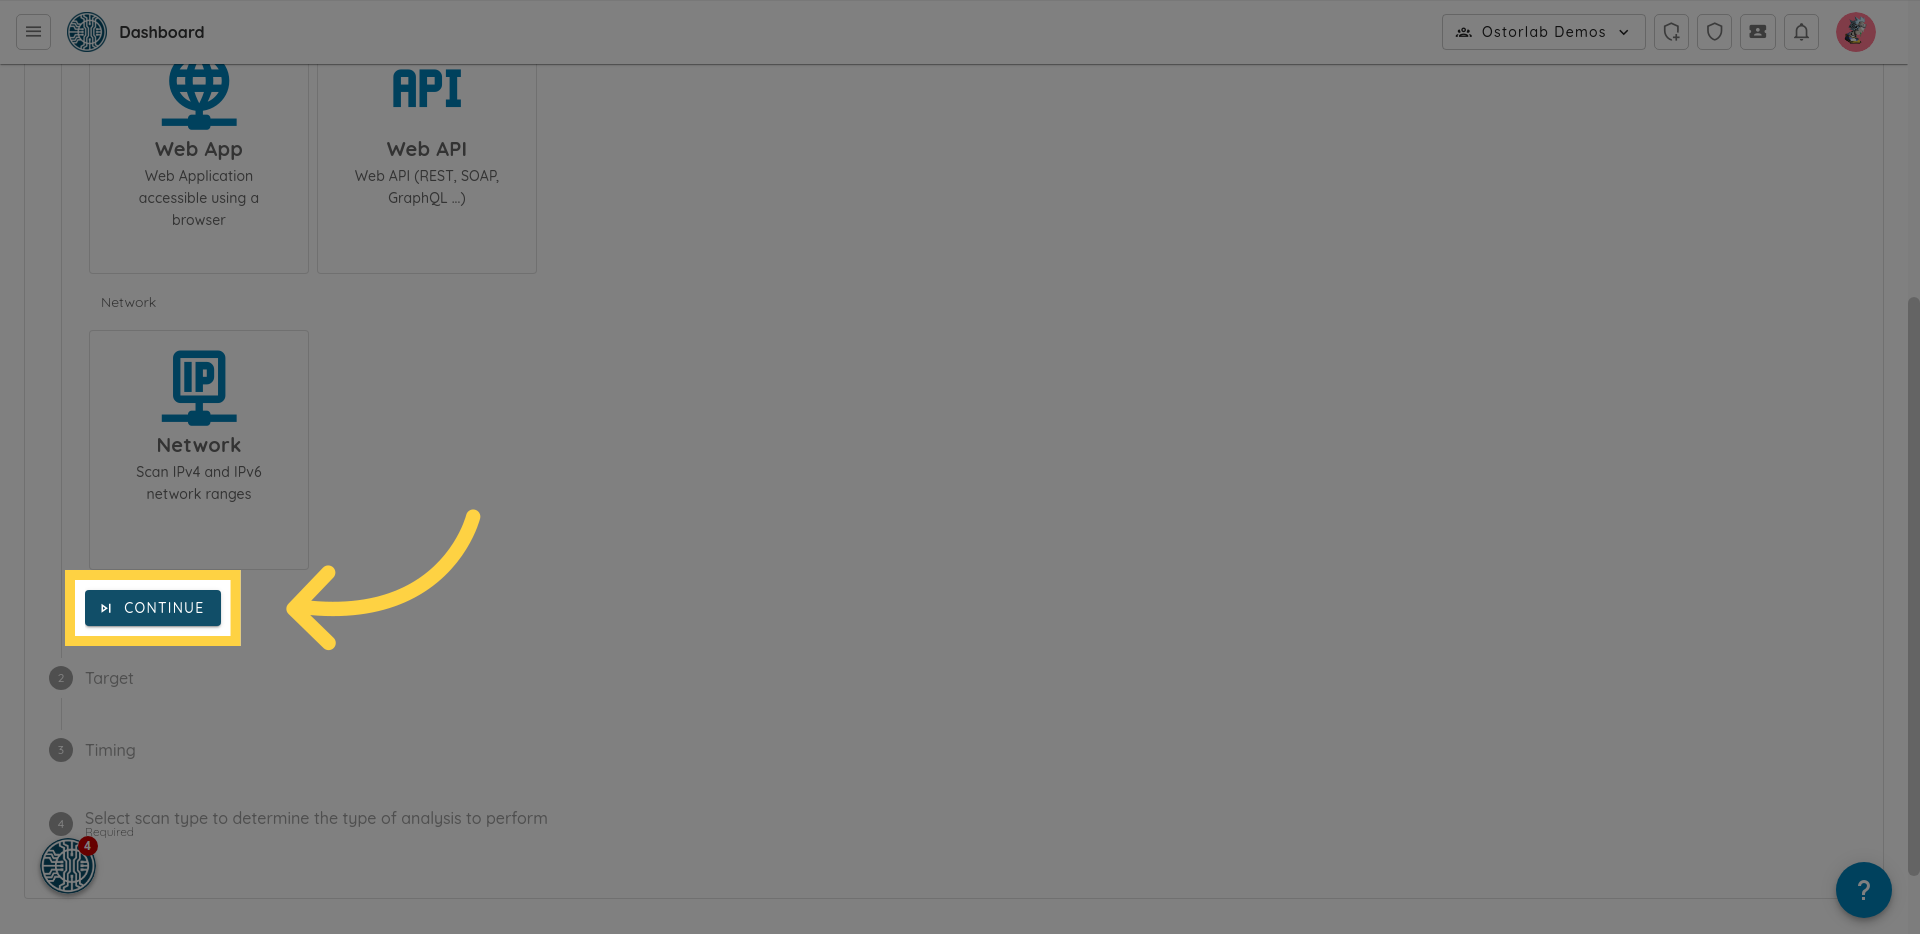
3. Specify the Type of Asset to Monitor
- In this step, specify the type of asset you want to monitor.

- Click "Continue."
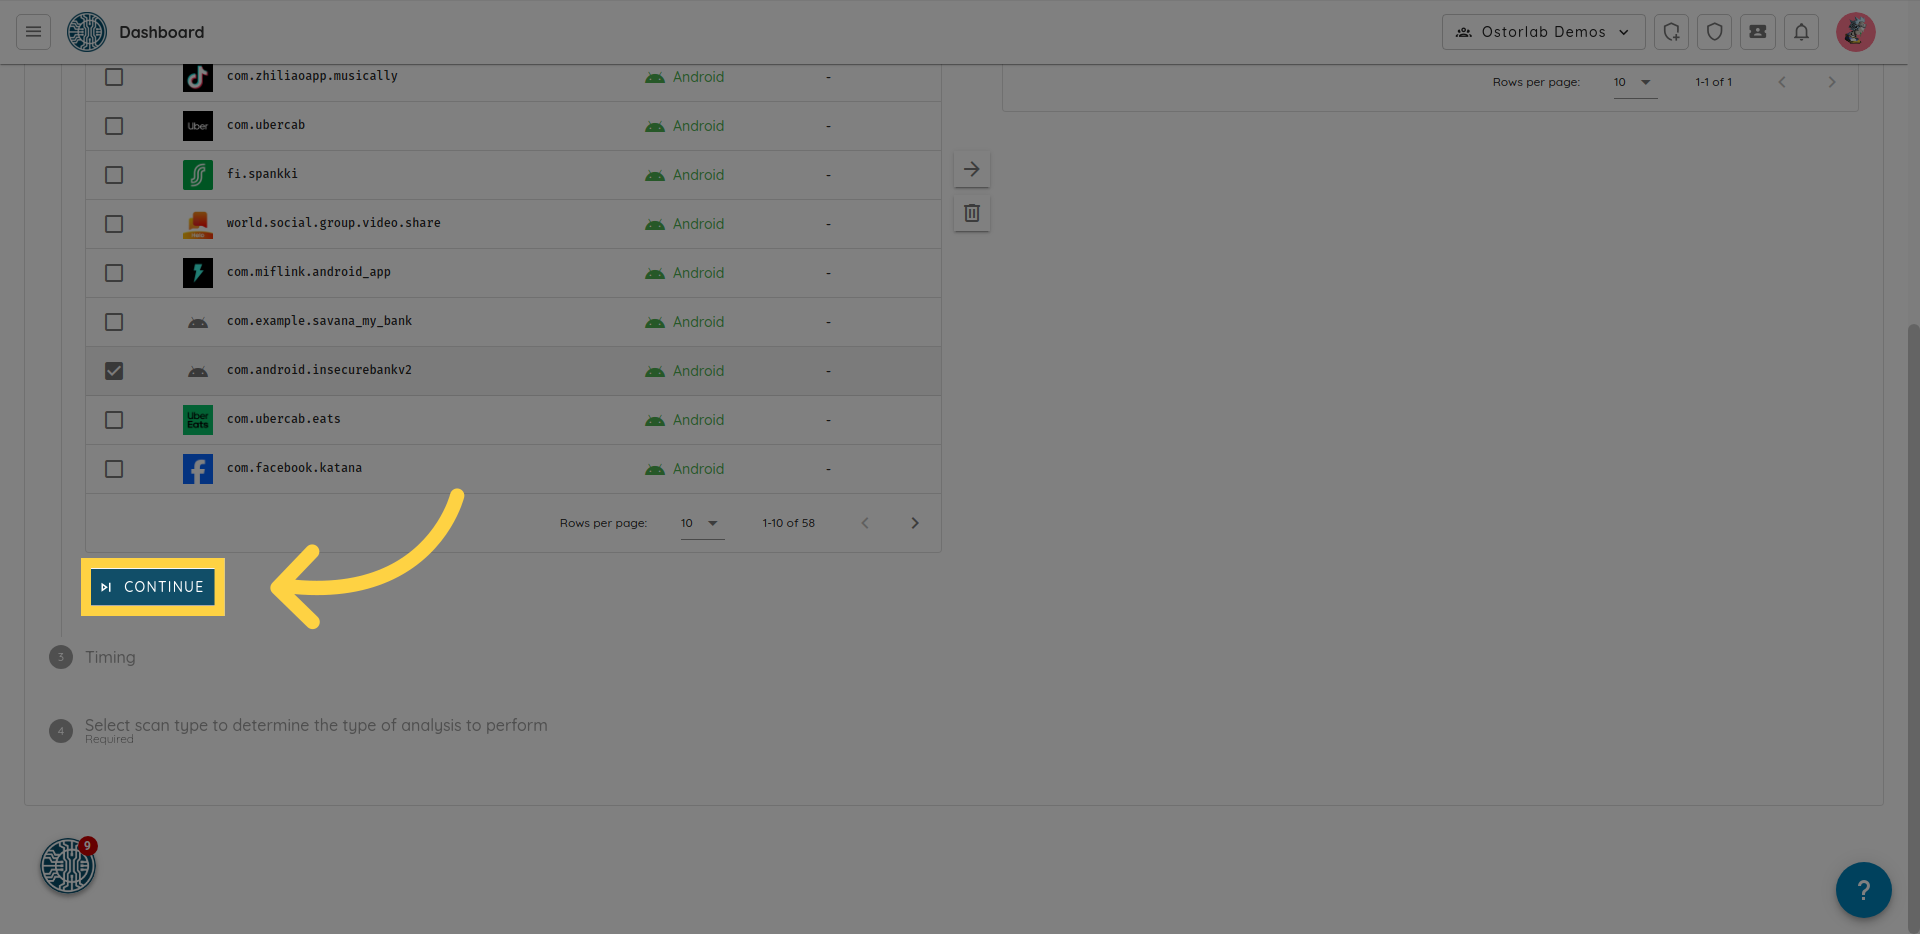
4. Select Assets
- From the table on the left, select multiple assets or add new ones by clicking on the "add asset" button.
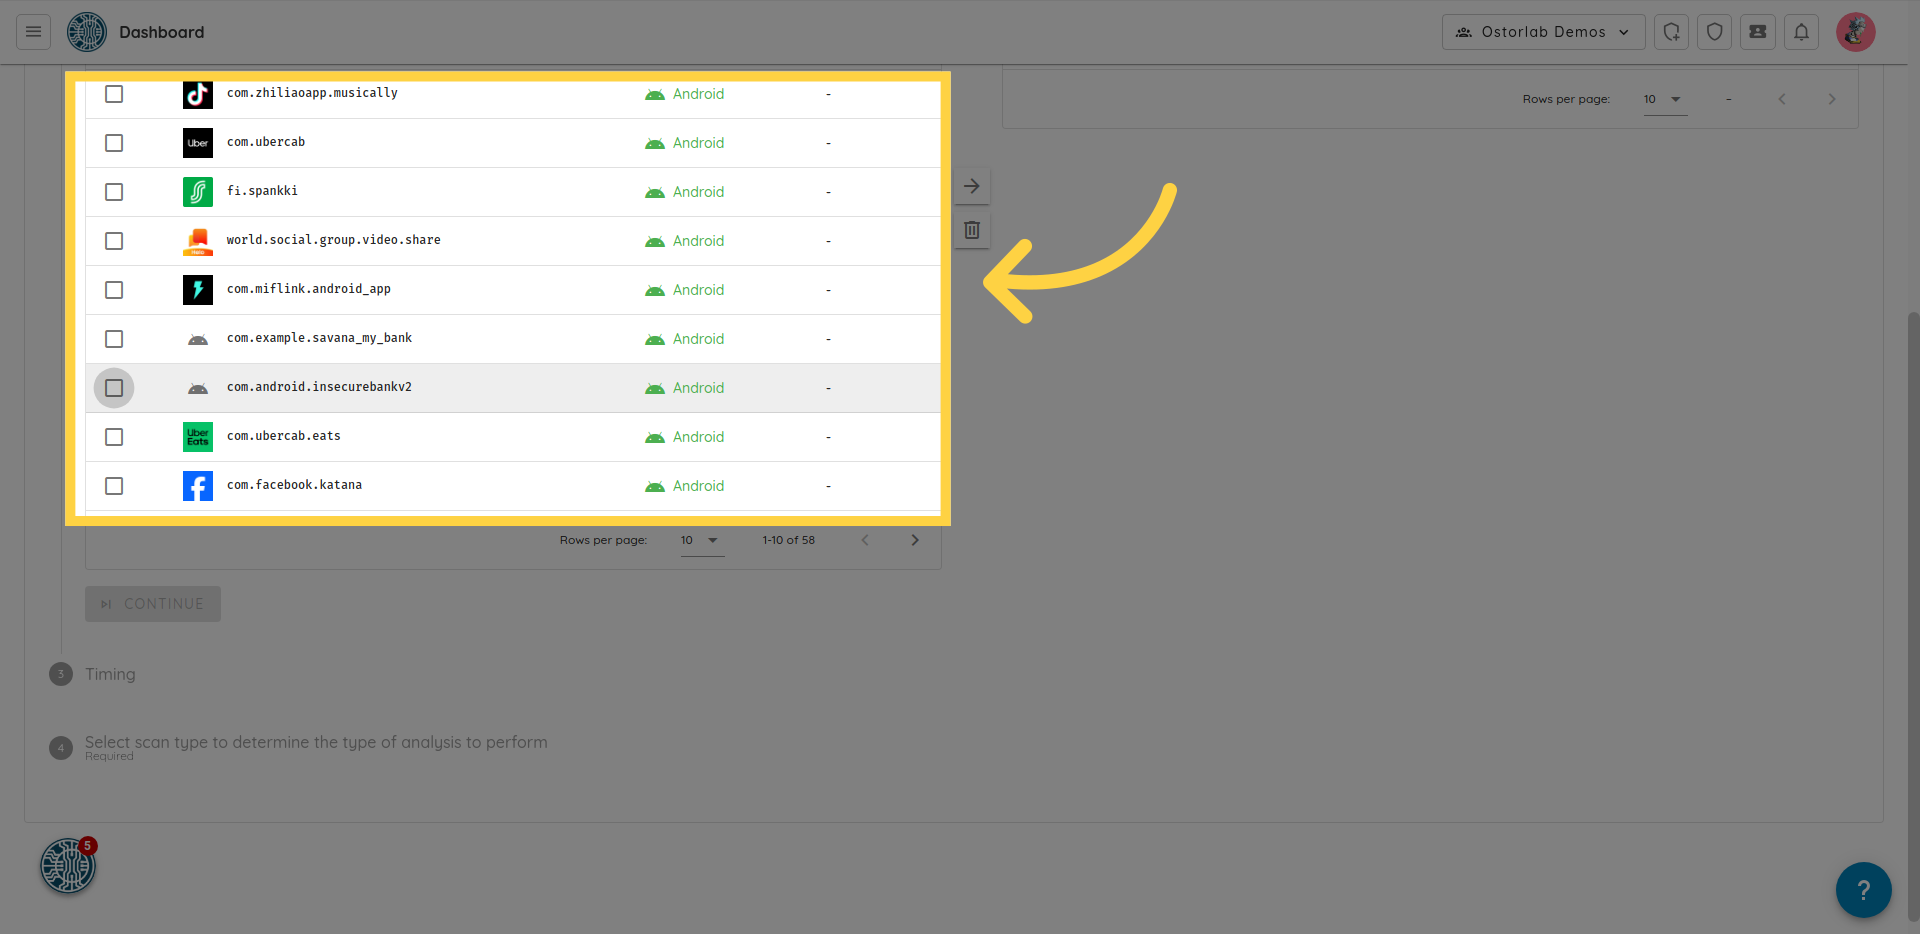

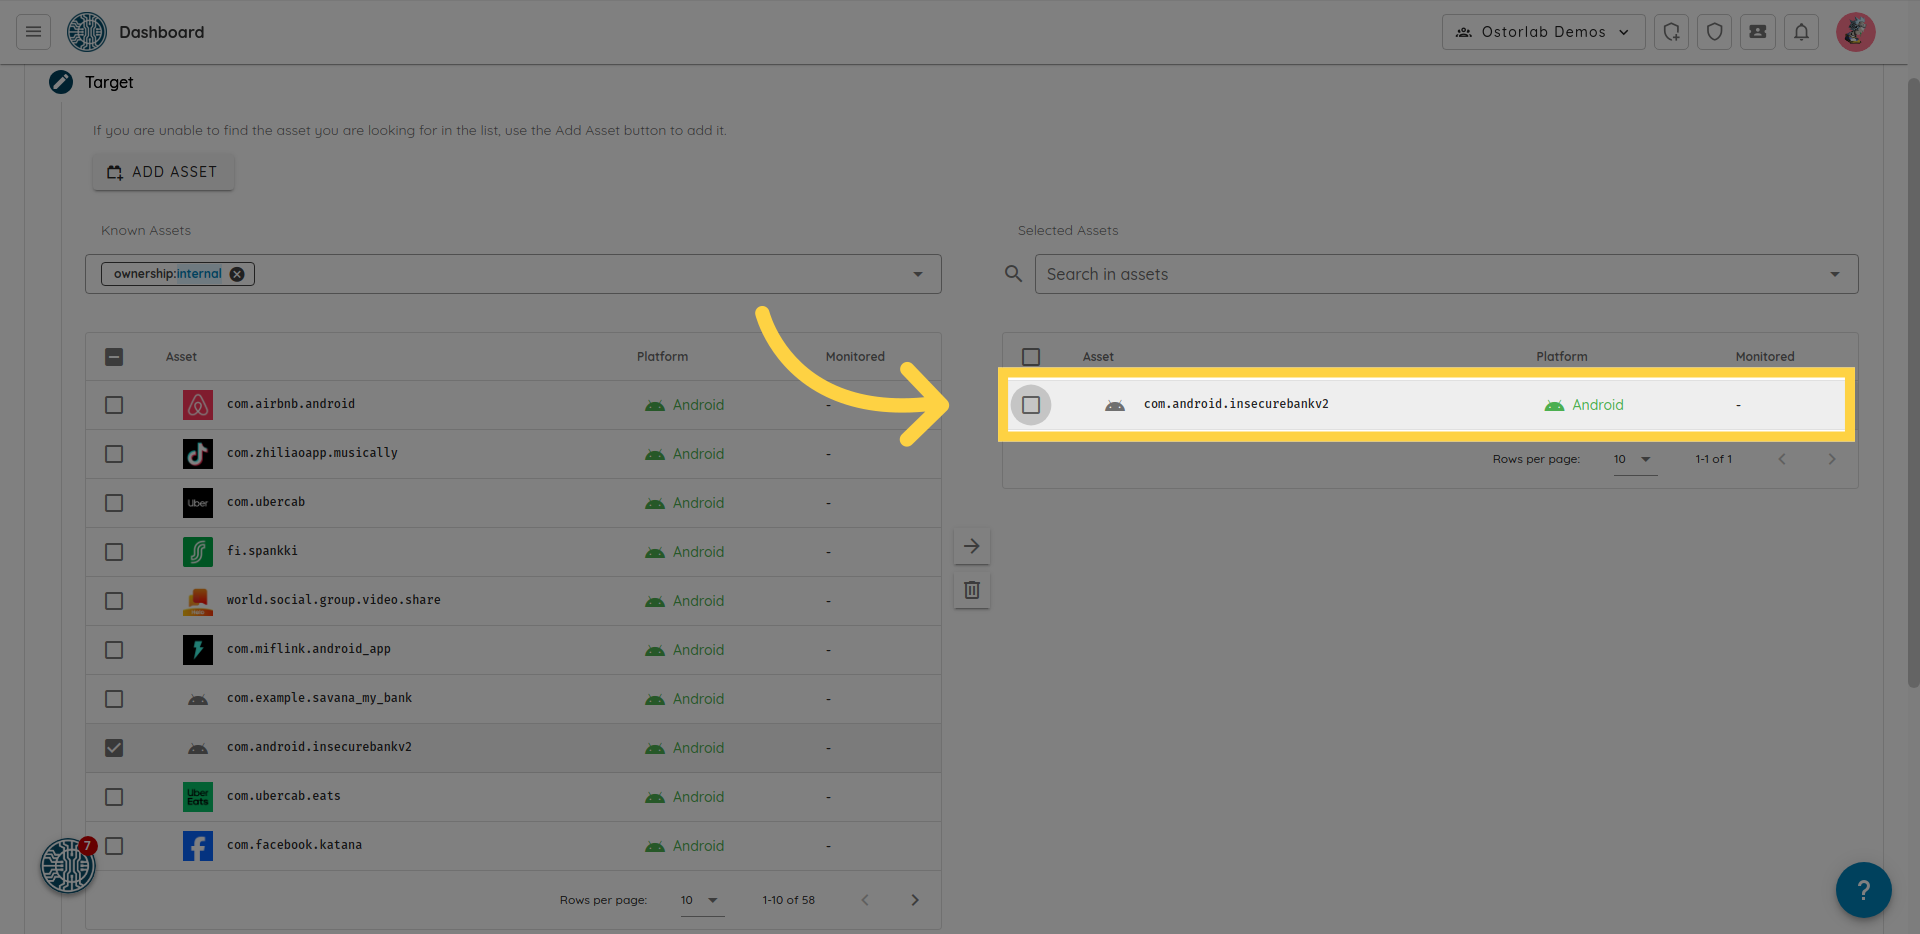
- Click "Continue."
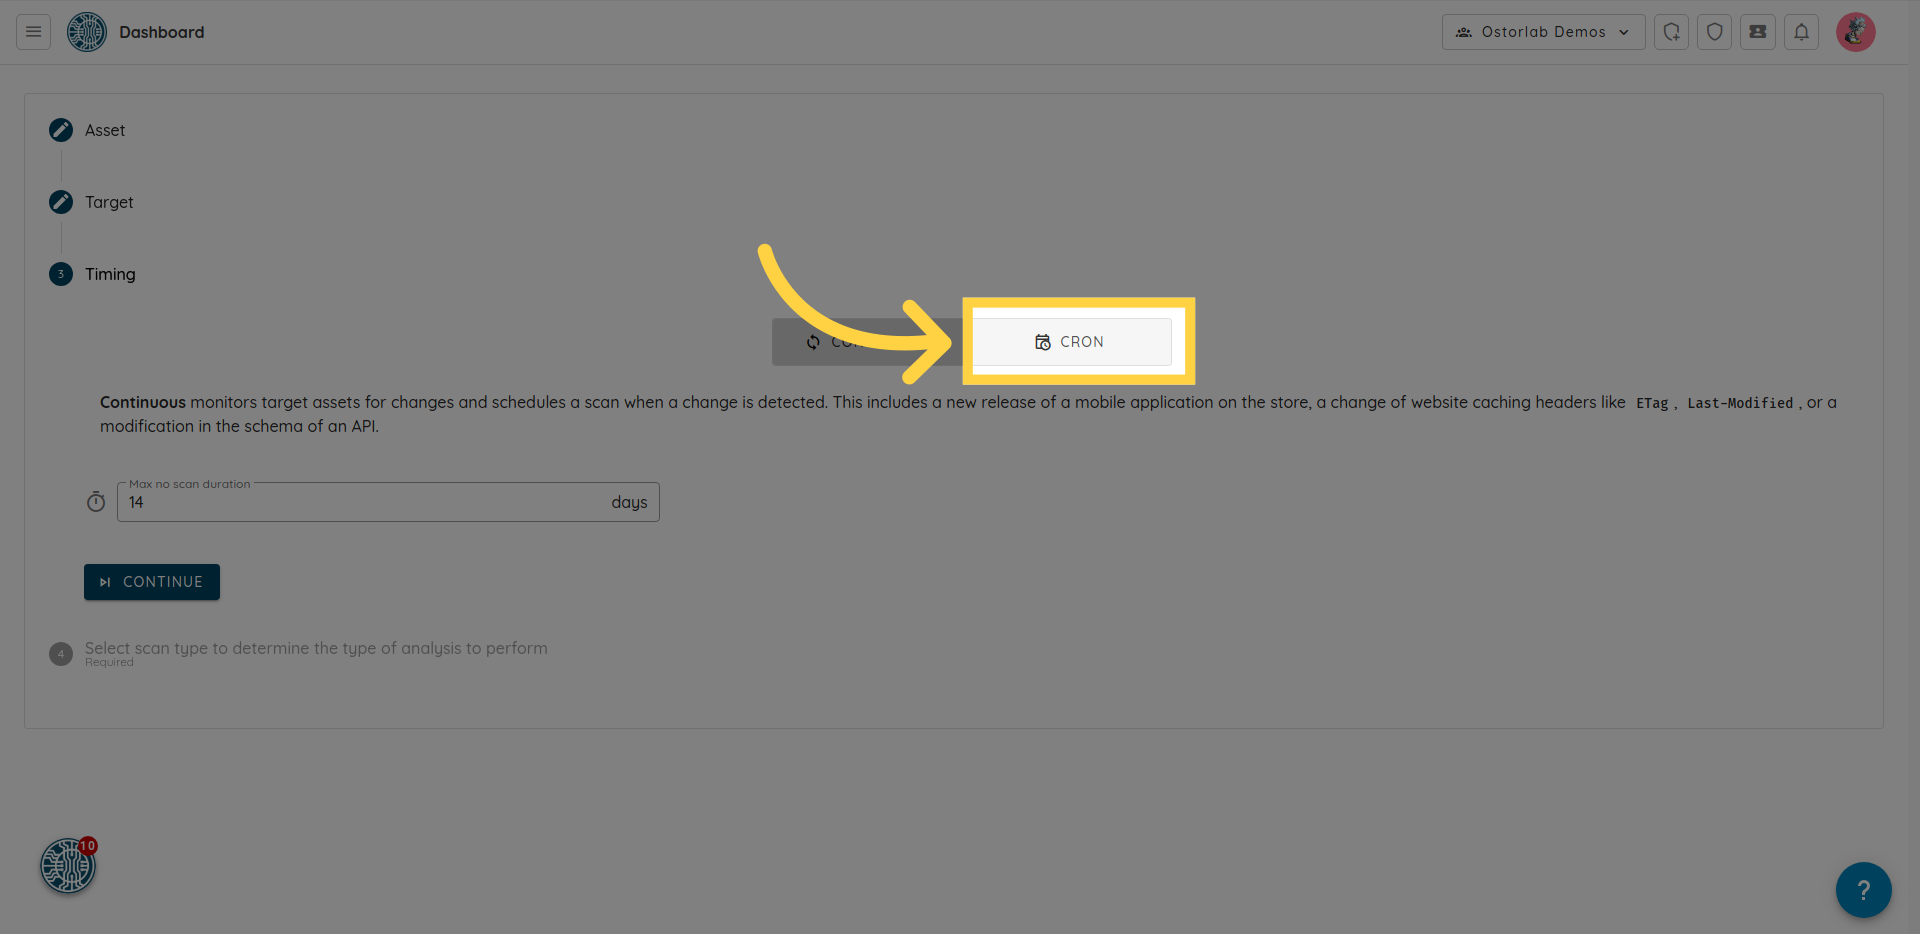
5. Select Scan Frequency
-
Choose between CONTINUOUS and CRON options.
- CONTINUOUS: Monitors assets for changes and triggers a scan when a change is detected. Set the Max no scan duration to initiate a scan after a specified duration, even if no change is detected.
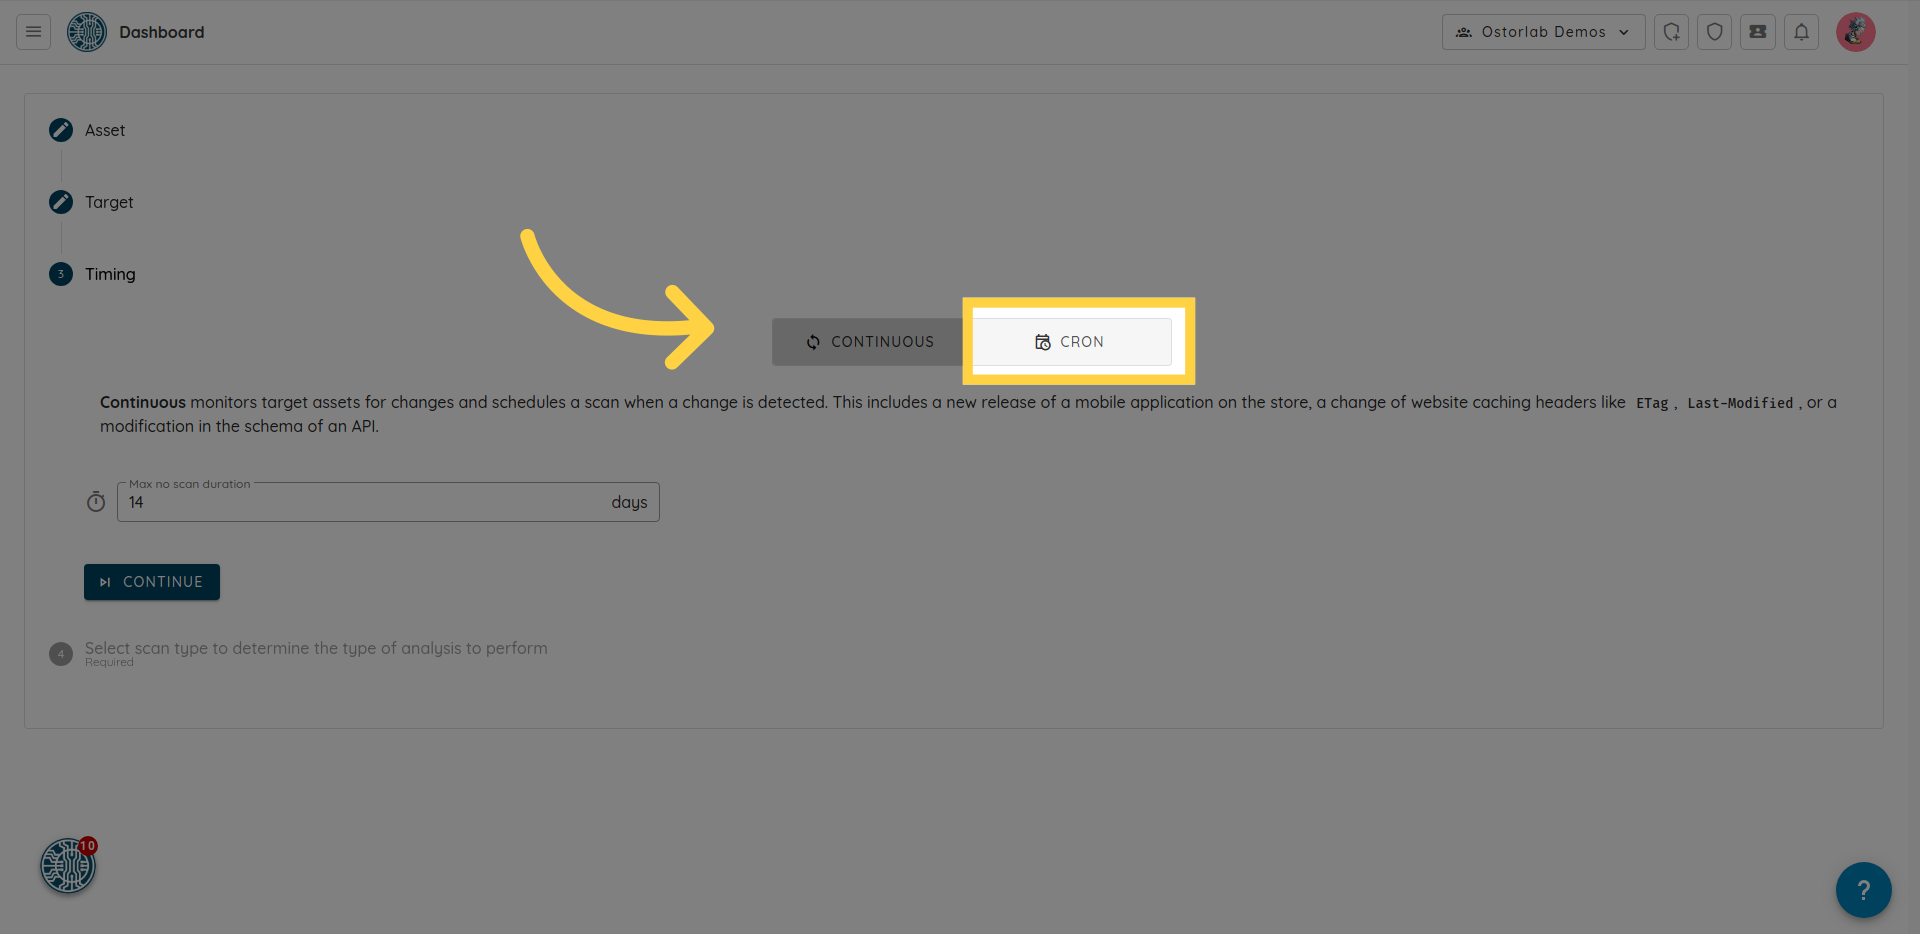
- CRON: Schedule scans to run at a specific time and frequency.
-
Click "Continue."

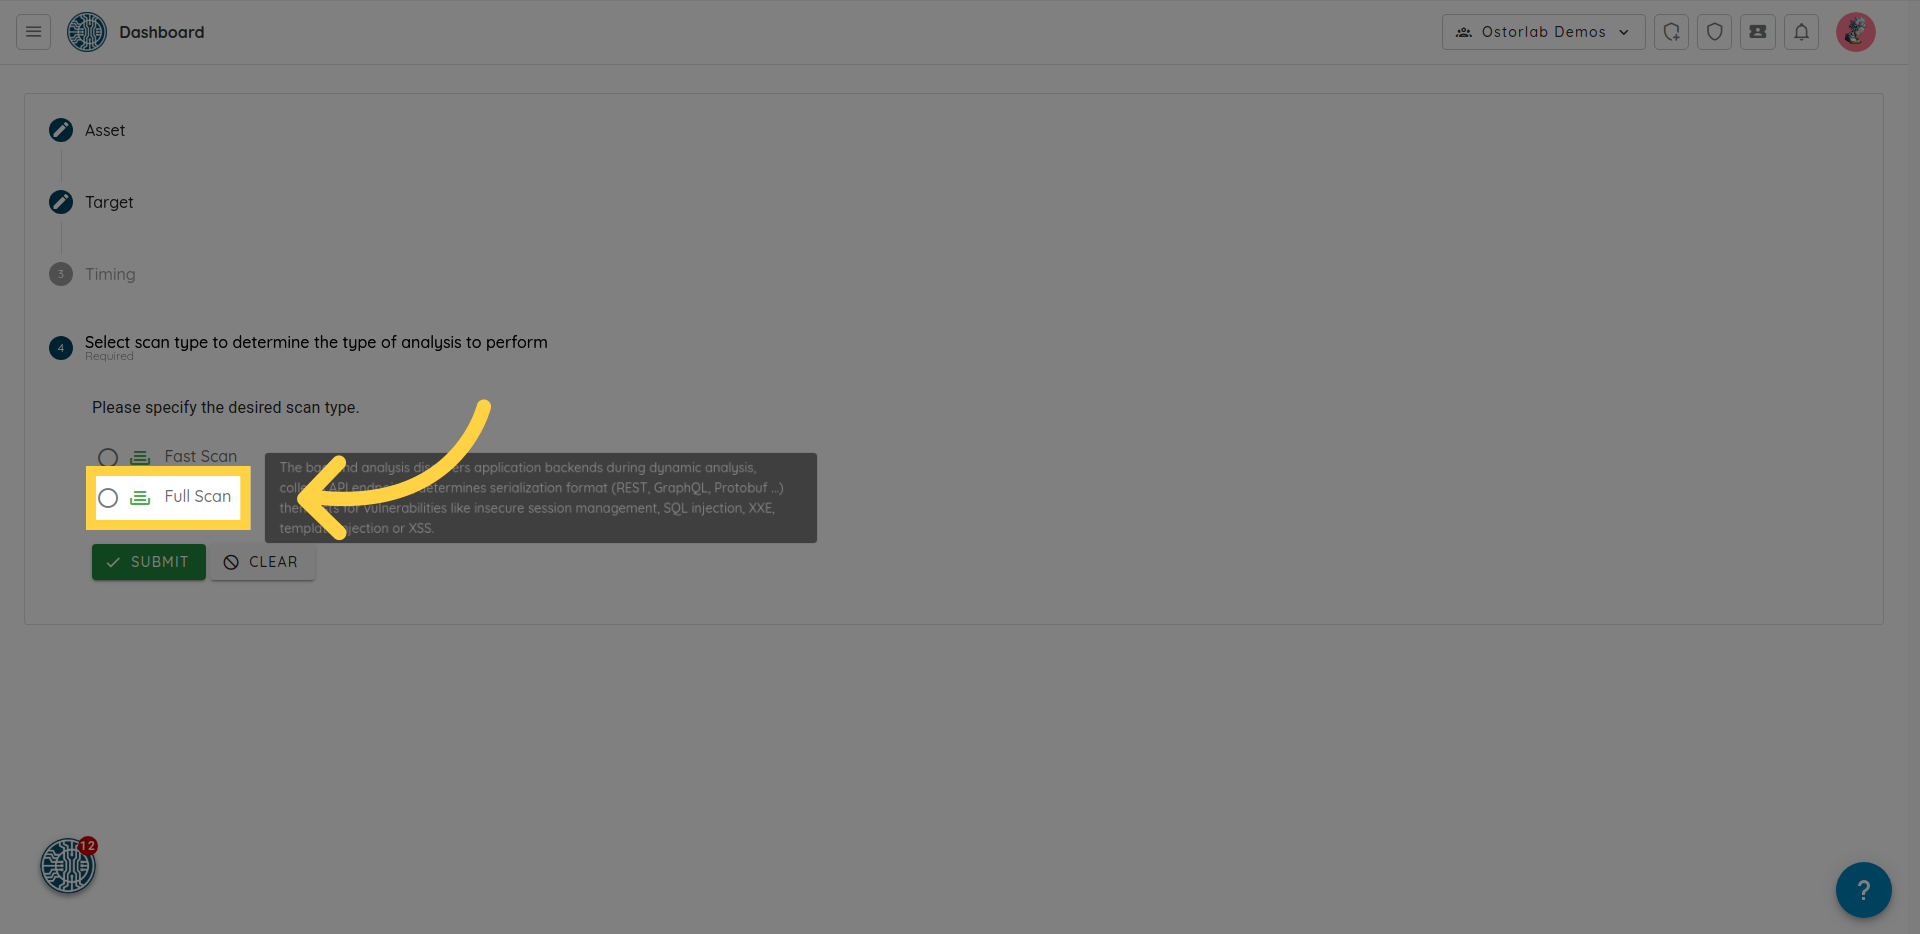
6. Select "Full Scan" option.
select the Full Scan option and click Submit to finalize the creation of your monitoring rule.