Scan Networks
This guide will walk you through the process of running a network scan for both individual IPv4 and IPv6 addresses and network ranges.
1. Click on the menu icon on the left
Click on the menu icon on the left.
![]()
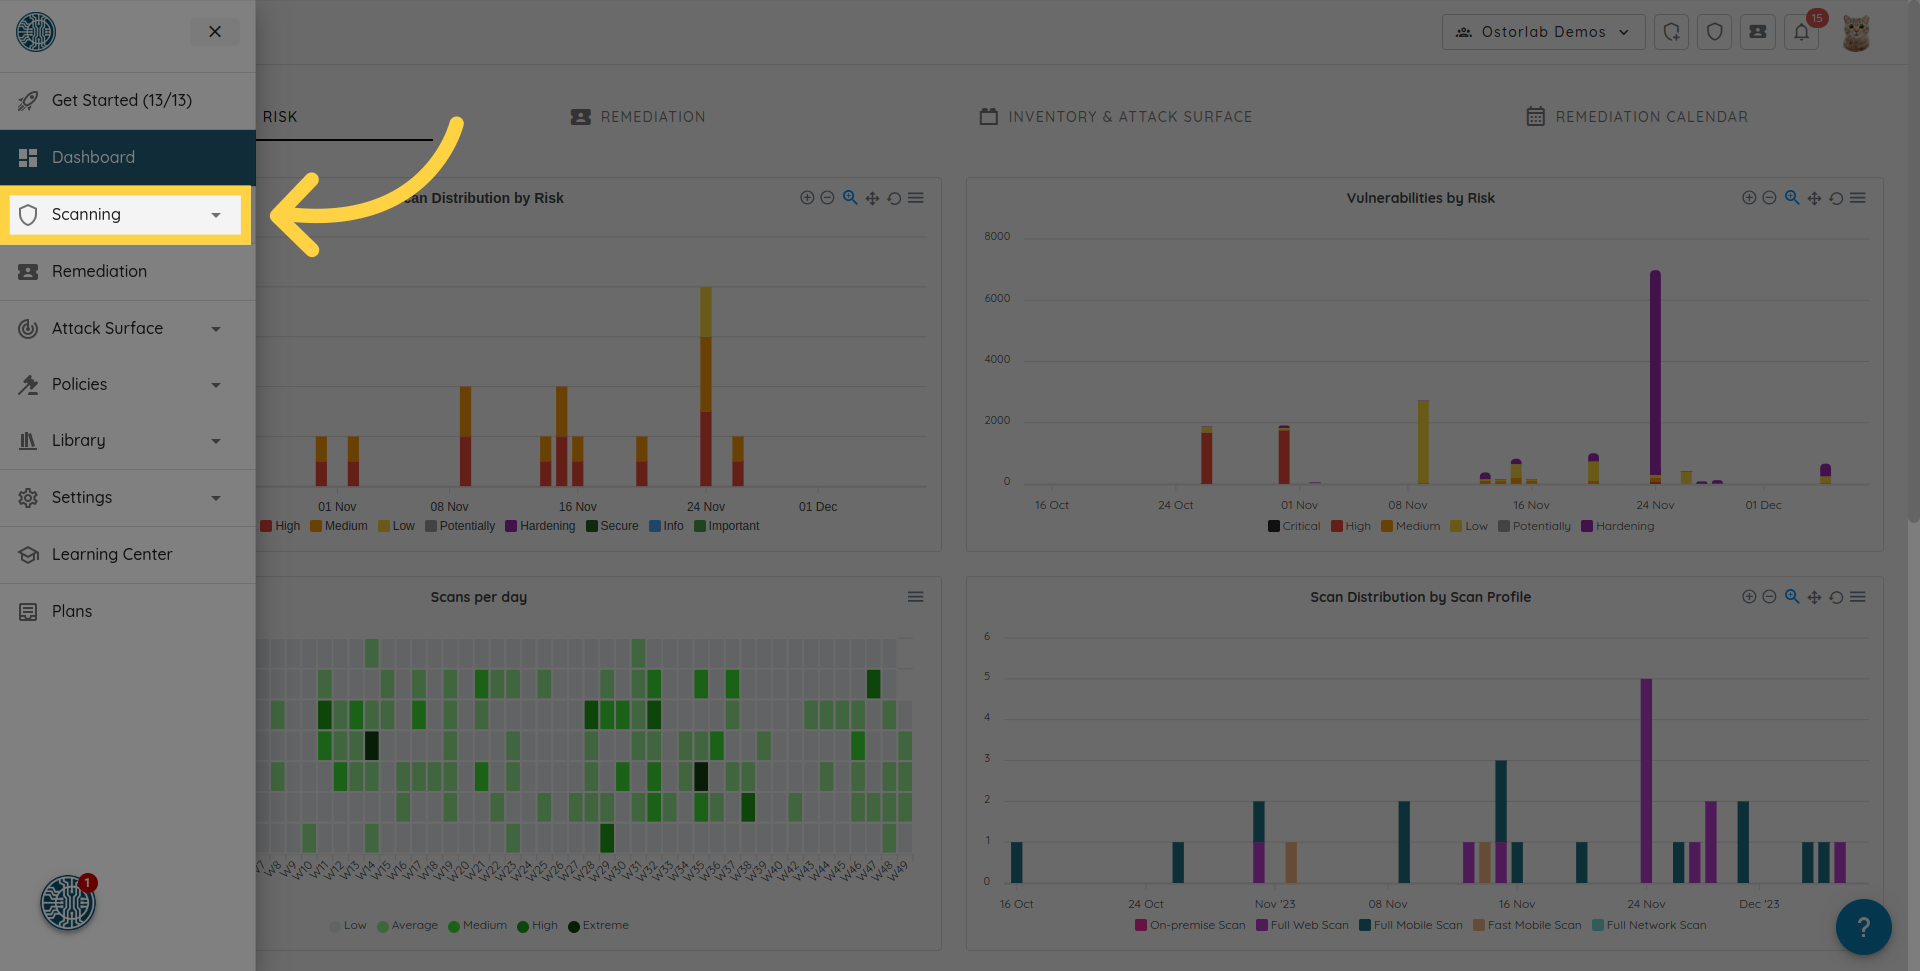
2. Navigate to the "Scanning" section in the menu
Navigate to the "Scanning" section in the menu.
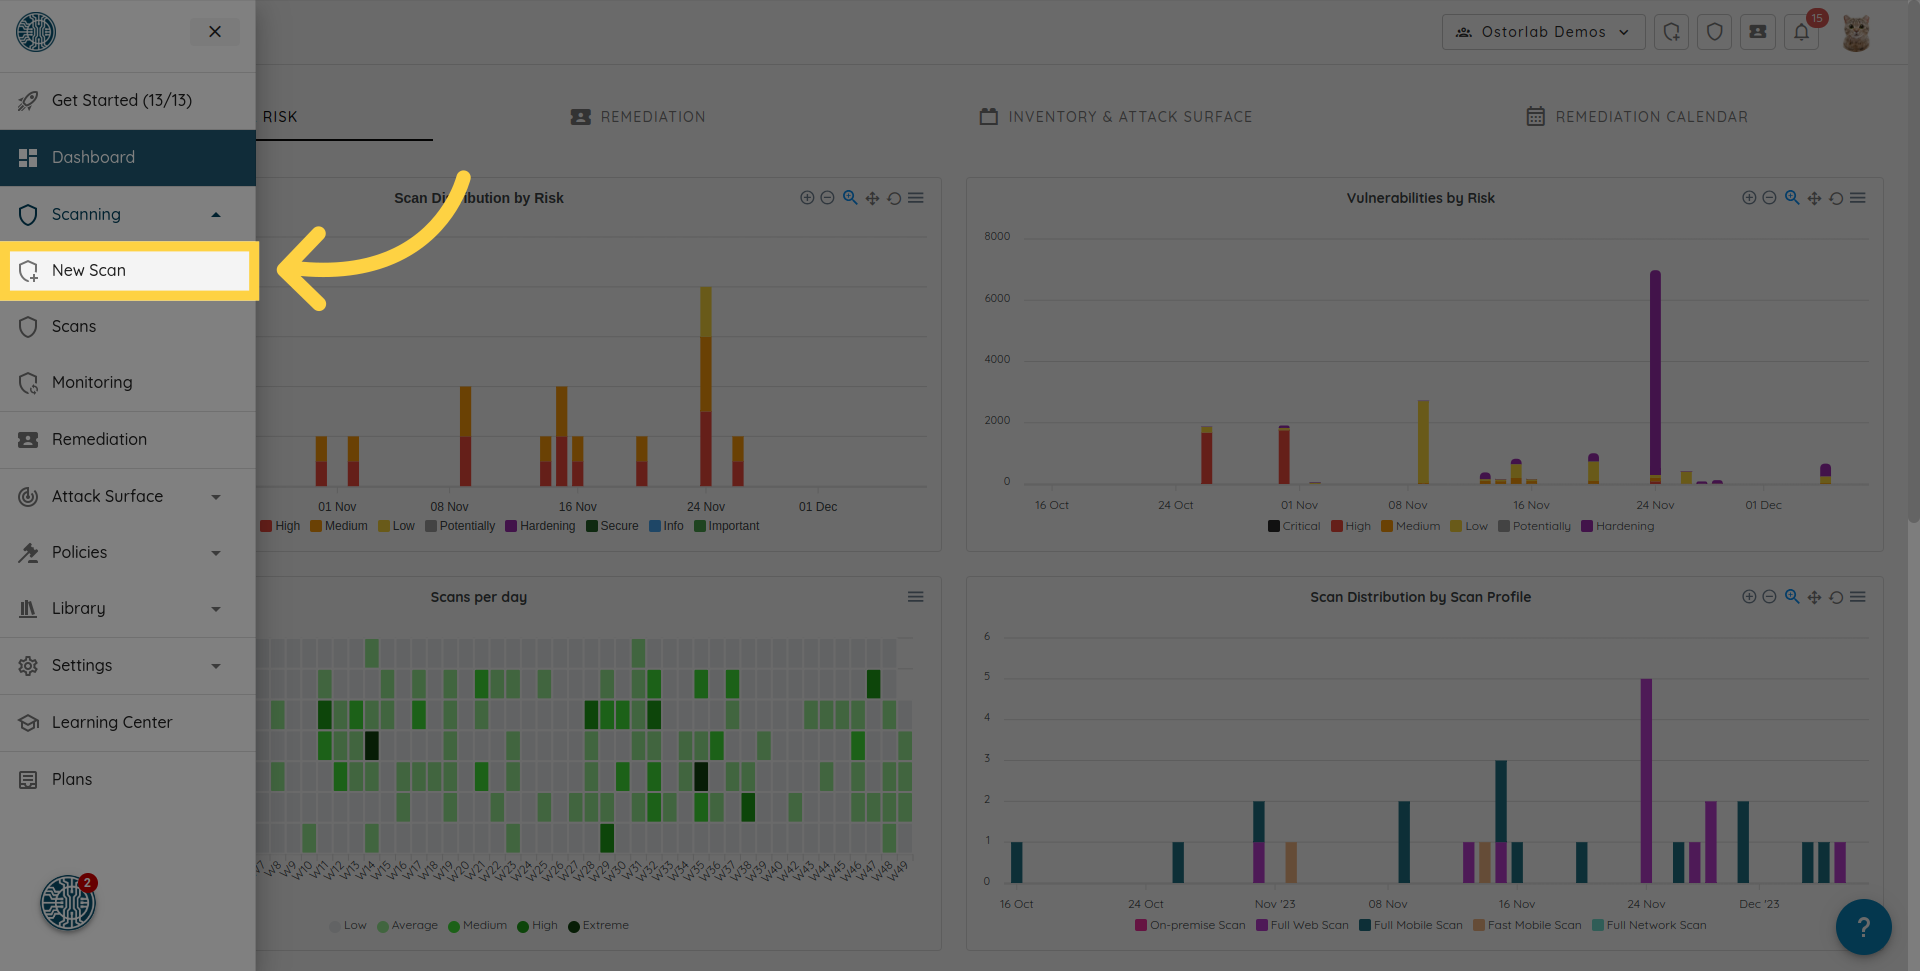
3. Click on the "New Scan" option
Initiate a new scan by selecting the "New Scan" option.
4. Click "Network"
Choose the "Network" option from the available scan types.

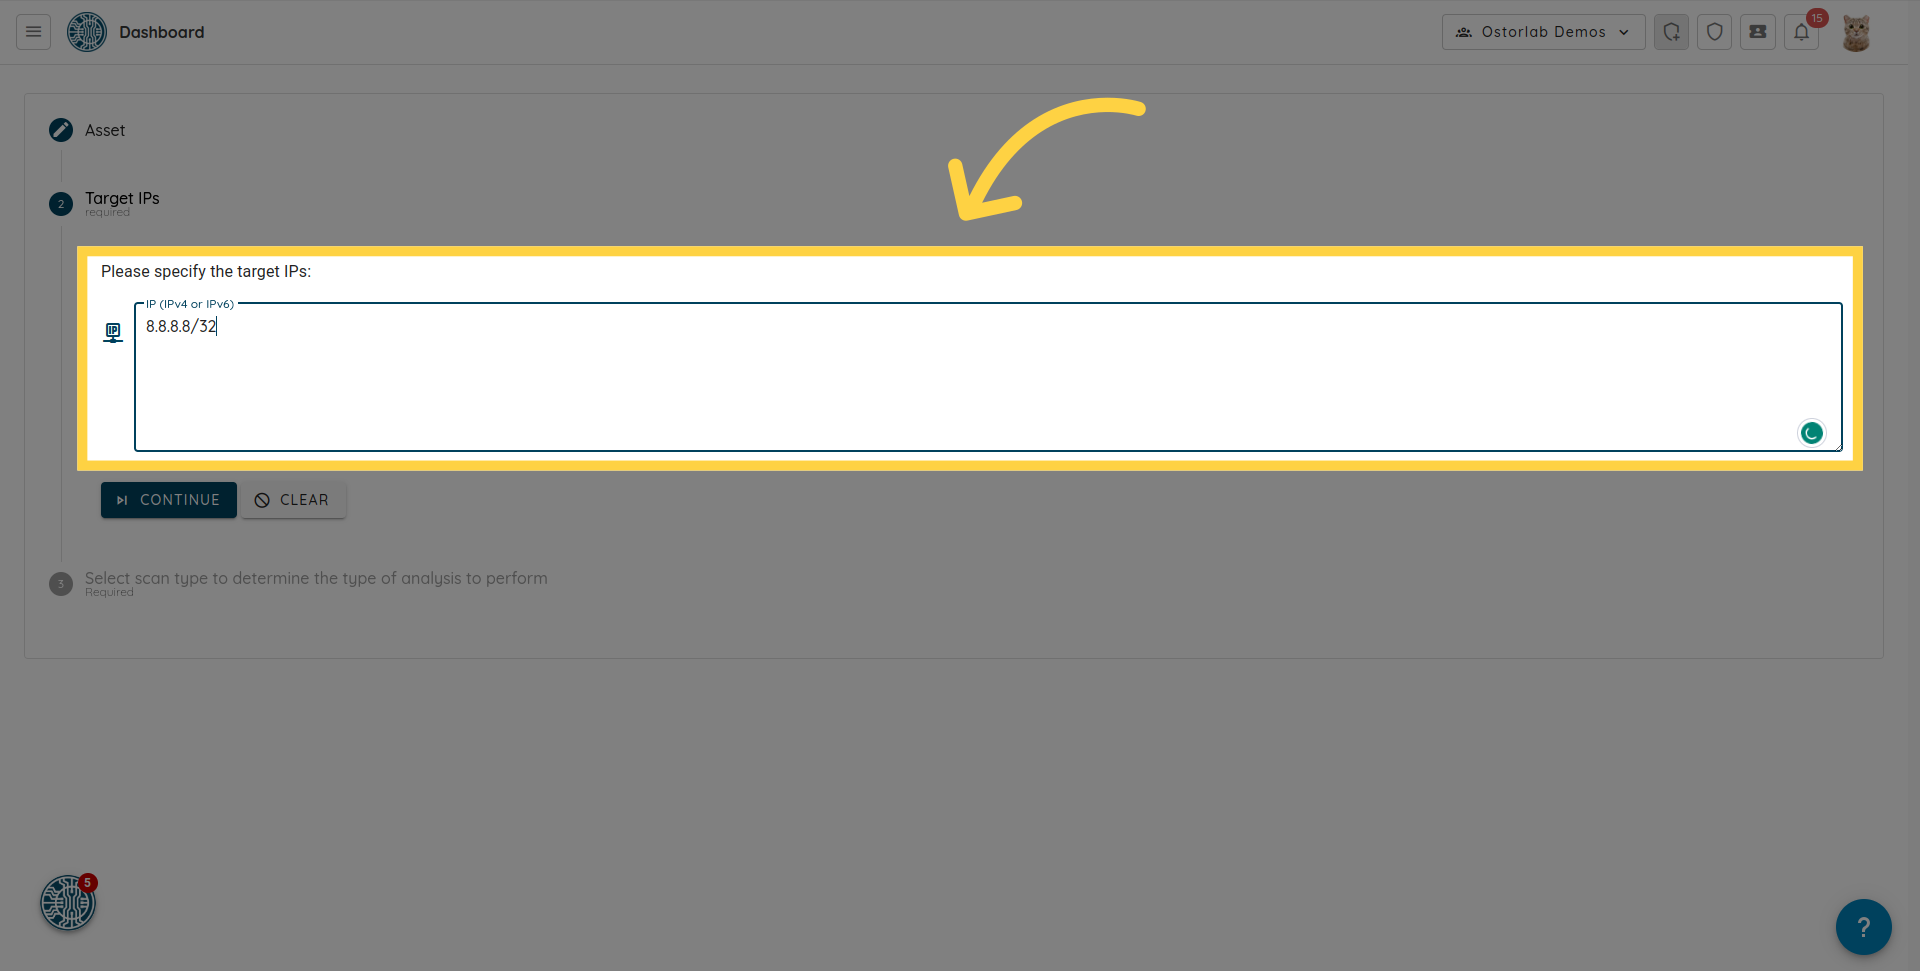
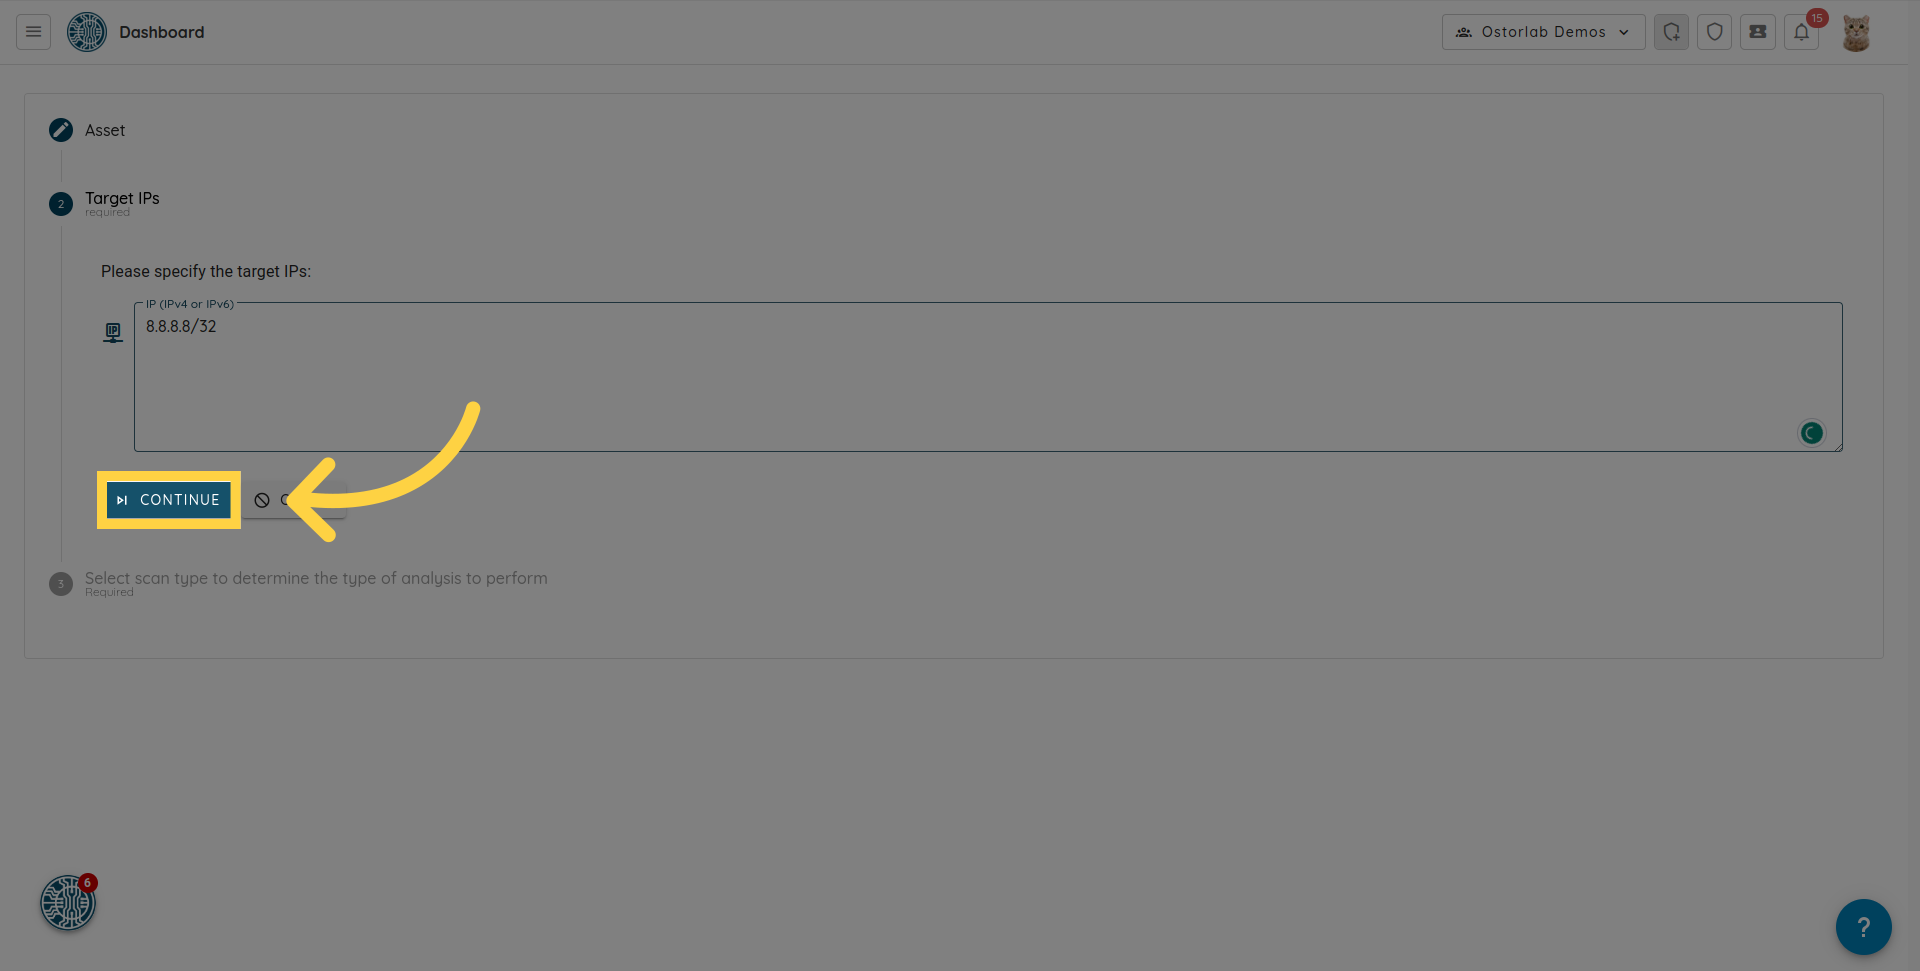
5. Specify the target IPs
Enter an individual IP address or range. Ostorlab supports scanning both IPv4 and IPv6 addresses or ranges. You can add multiple IPs or IP ranges by entering each on a new line.
6. Click "Continue"
Proceed to the next step by clicking on "Continue."
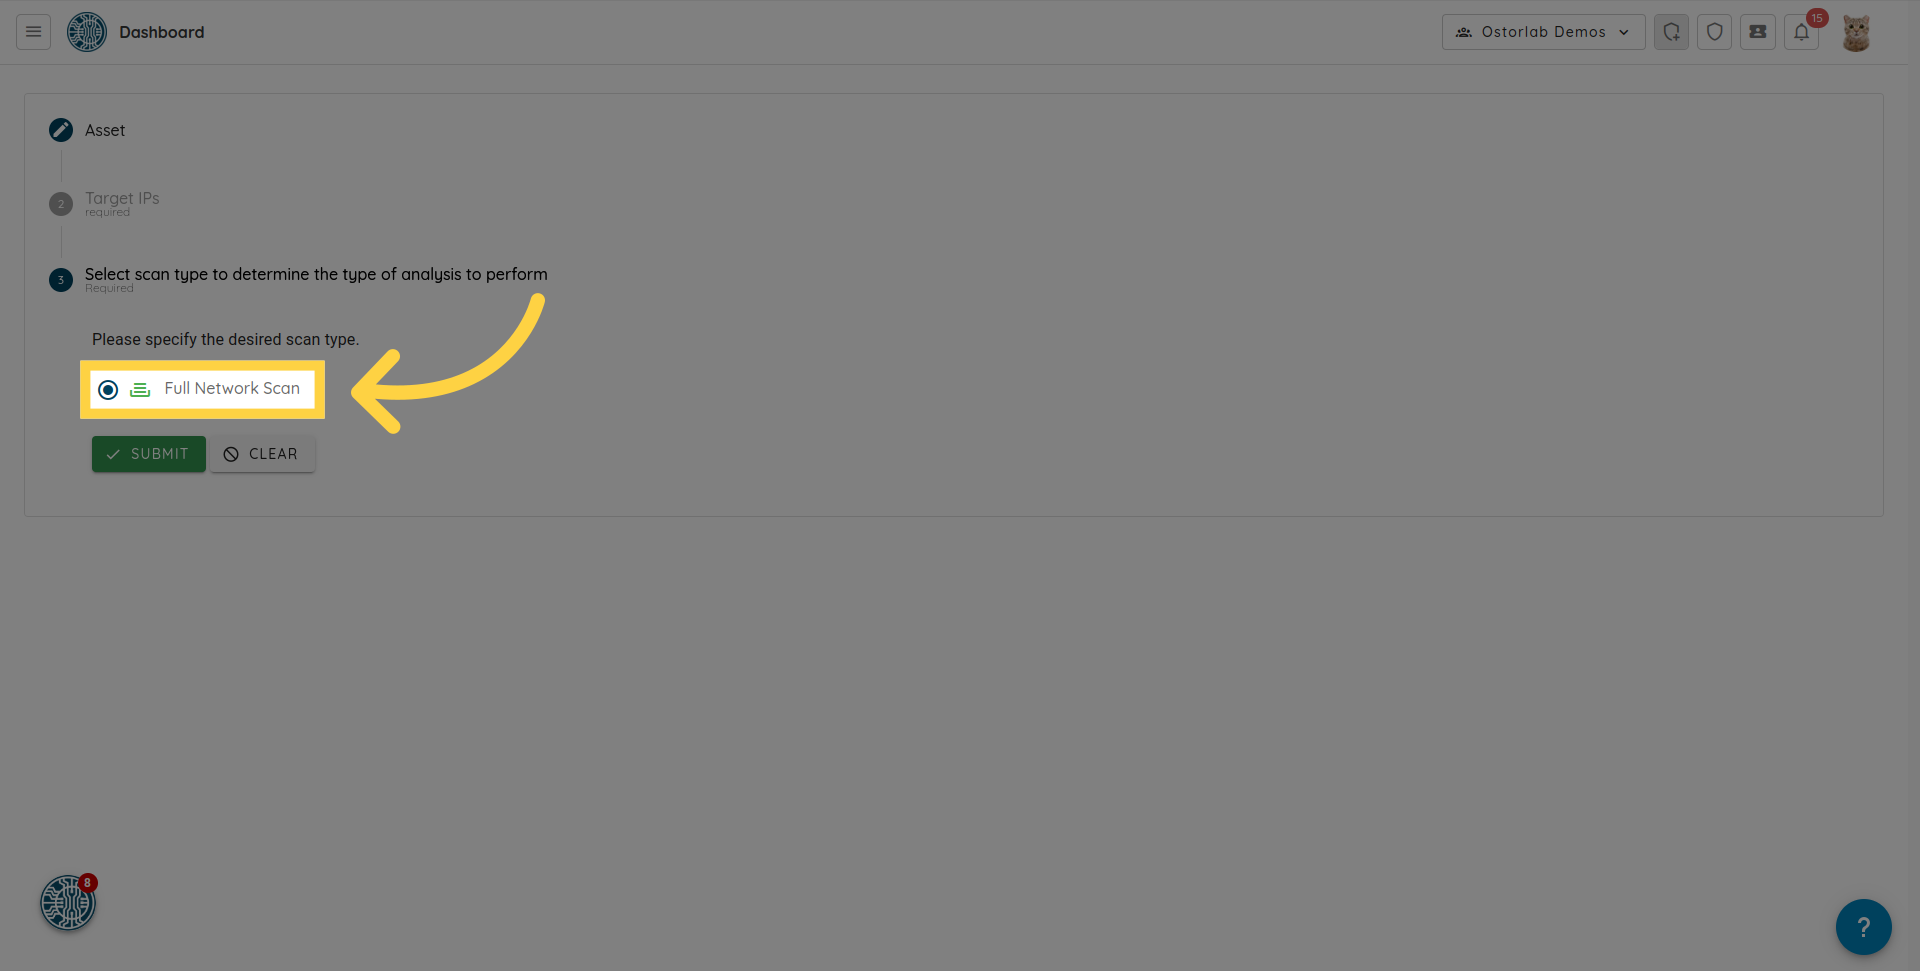
7. Click "Full Network Scan"
Select the "Full Network Scan" option.
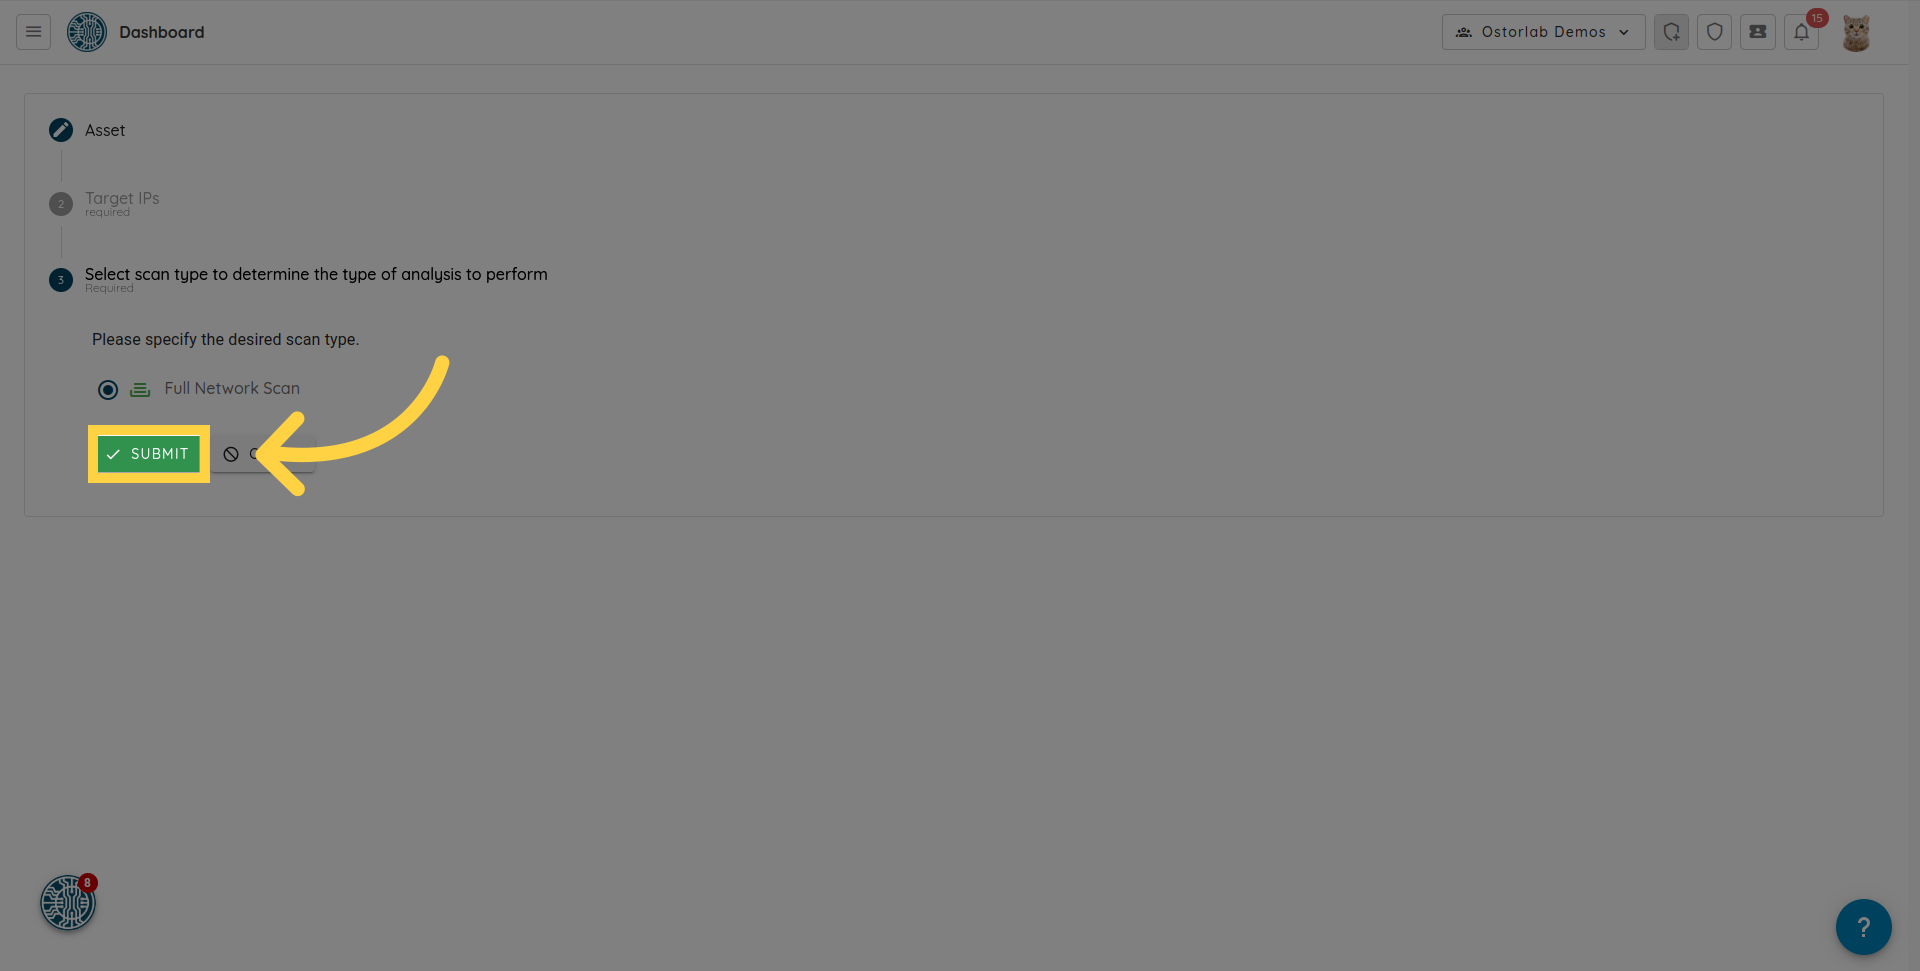
8. Click "Submit"
Click on the "submit" button to create the scan.
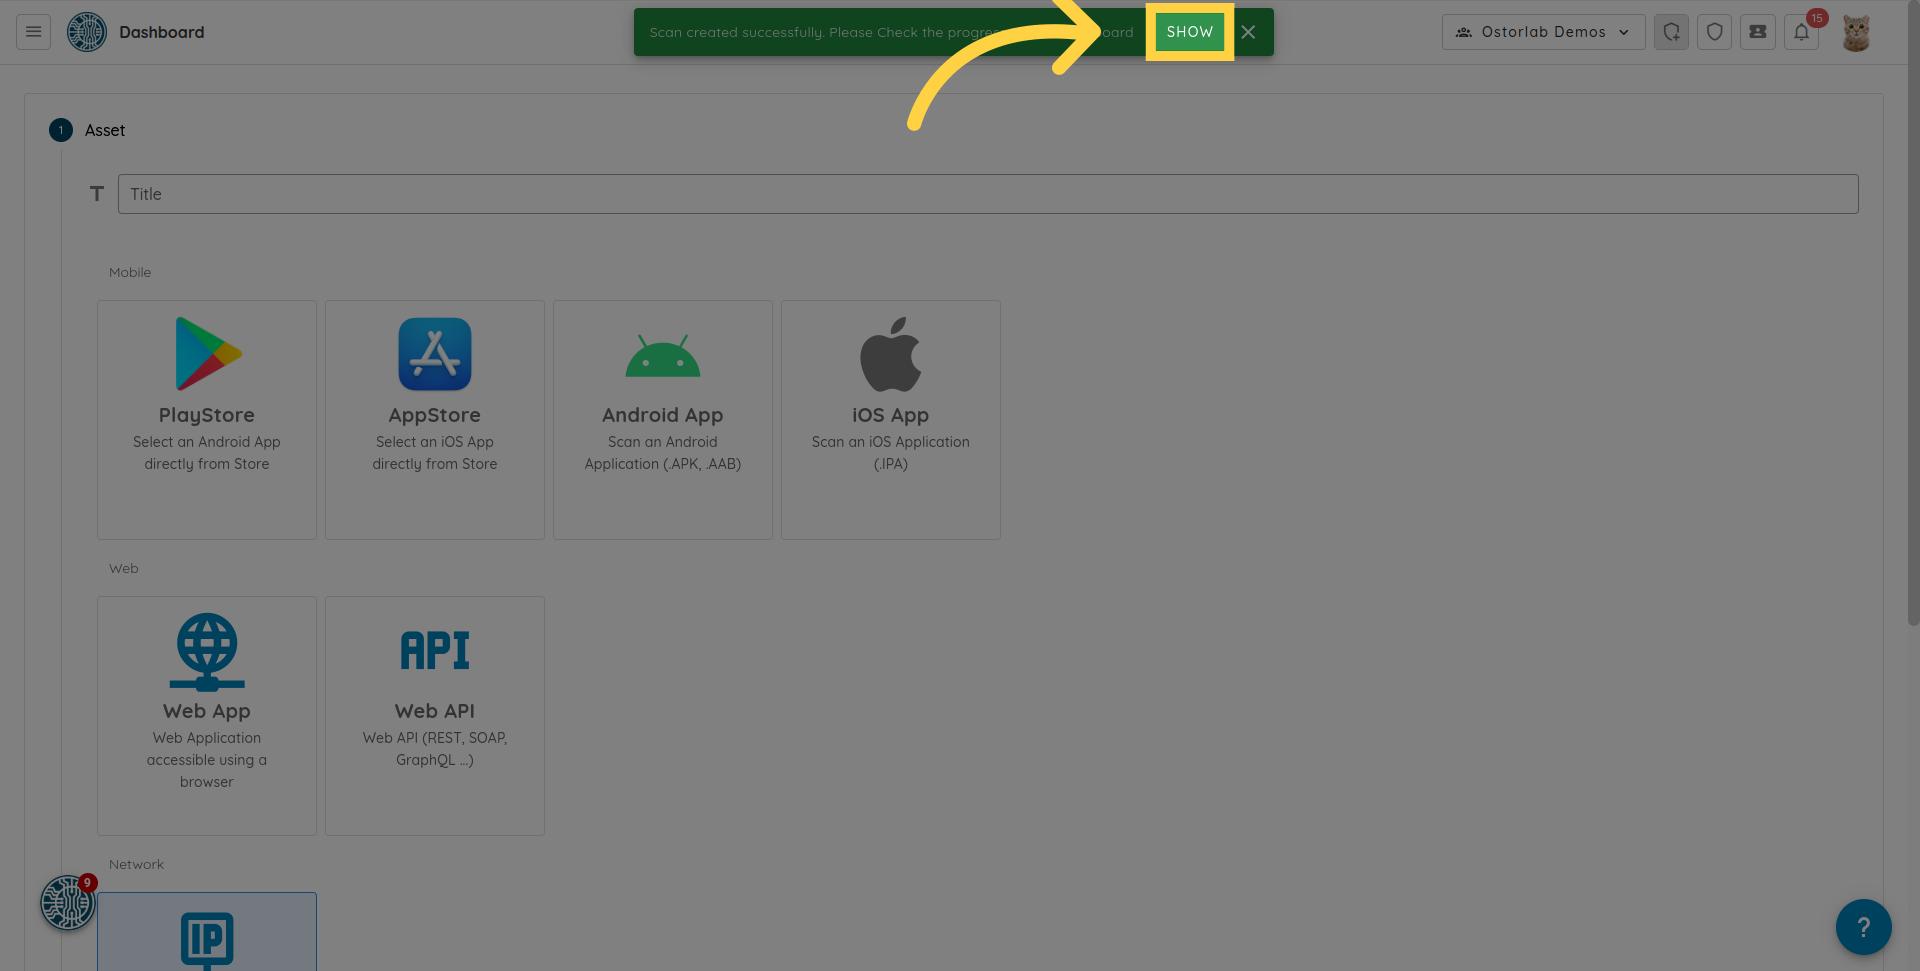
9. Click "Show"
The network scan will be created. You can click "Show" in the alert to go to the list of scans.