Saml with Azure Active Directory
This guide walks you through configuring your Azure Active Directory (Azure AD) as a SAML SSO identity provider (IDP) for Ostorlab.
Prerequisites
Configuring Azure AD
Add an application to your Azure AD tenant
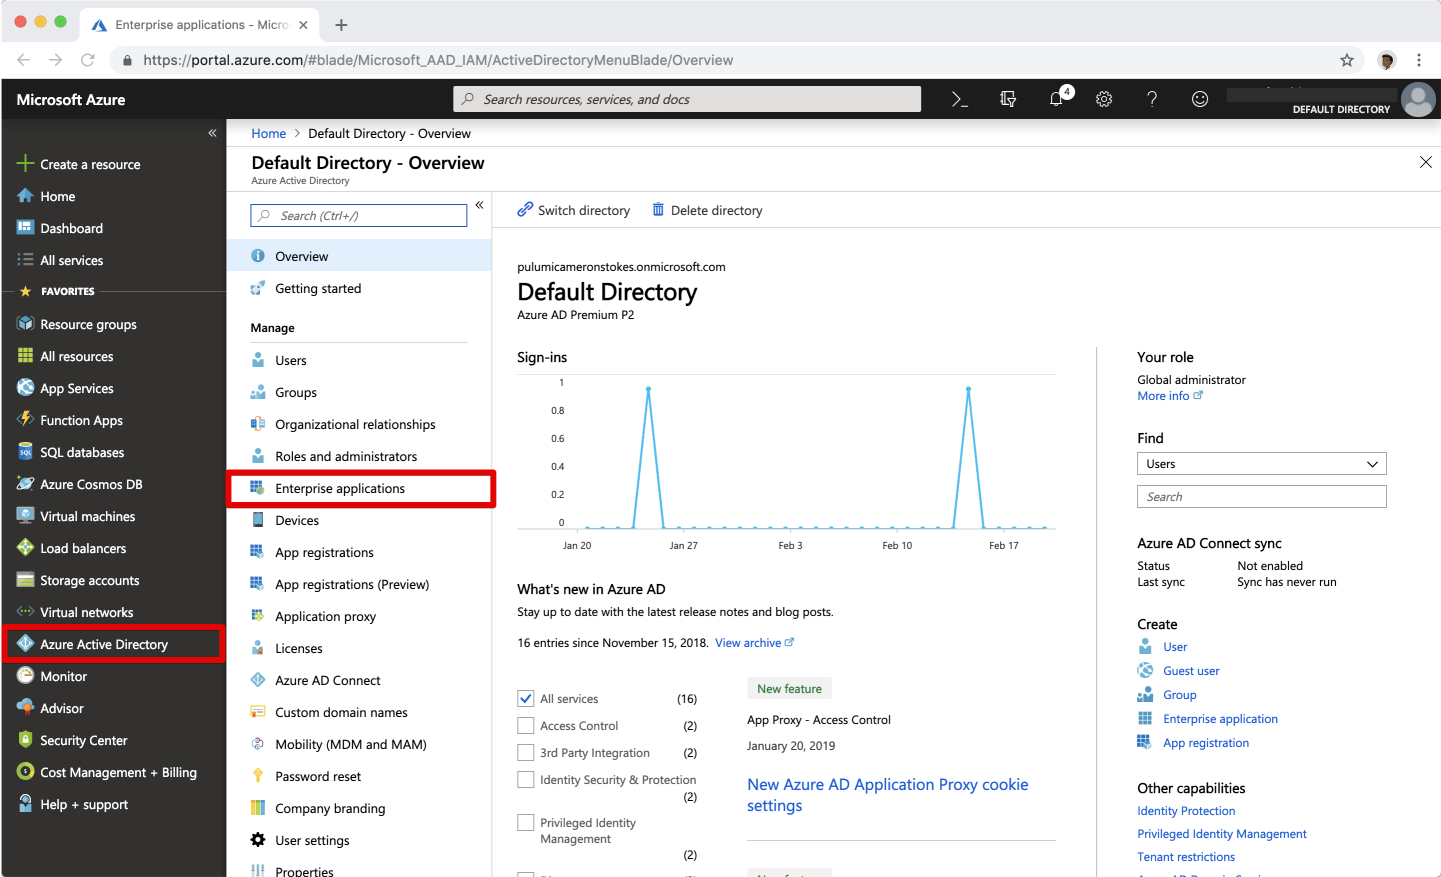
- In the Azure portal, on the left navigation panel, select Azure Active Directory.
-
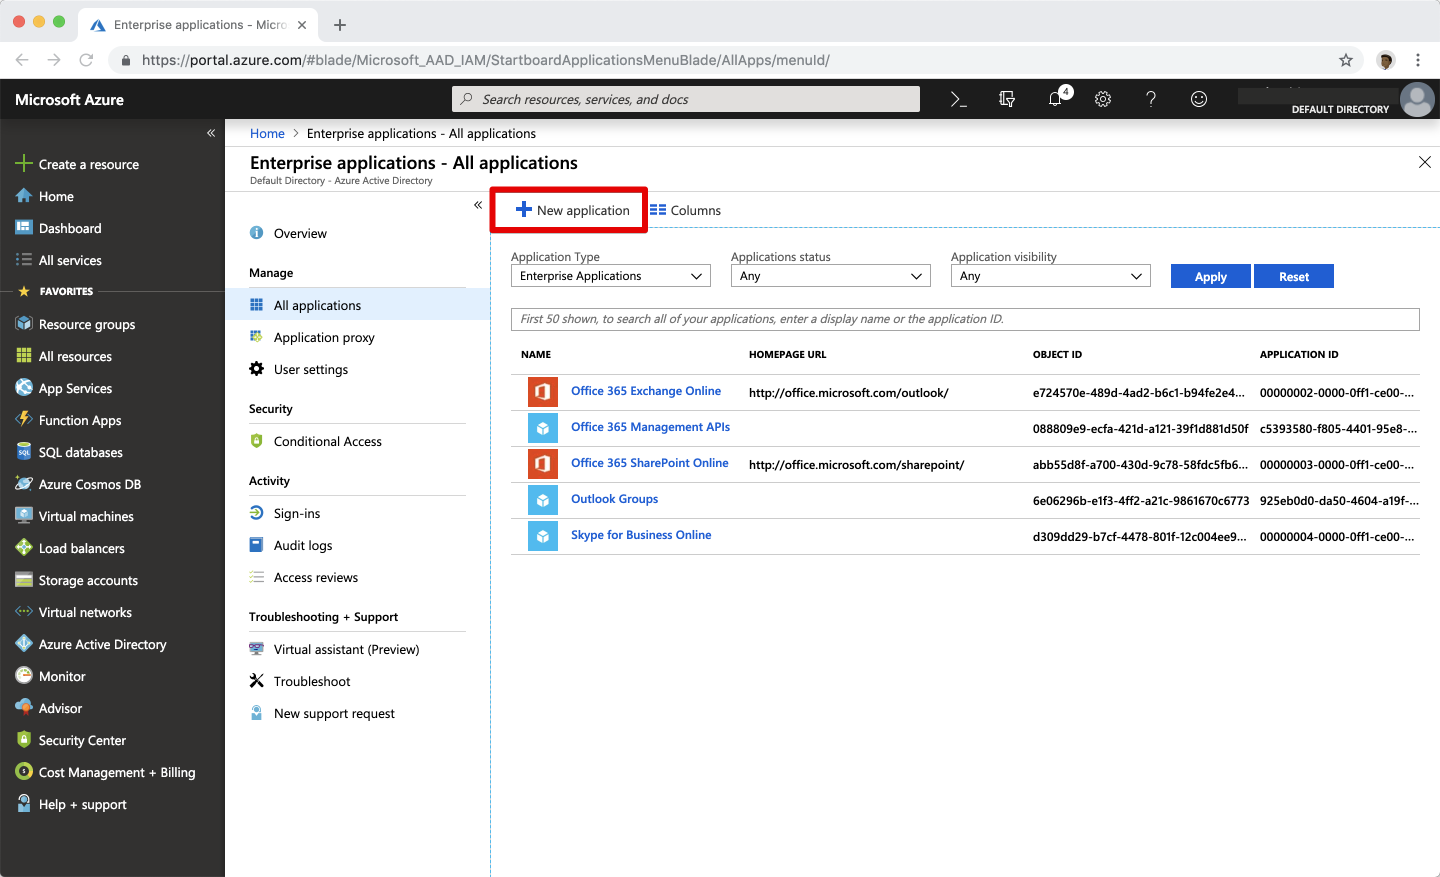
Select Enterprise applications. It will show some of the existing applications in your Azure AD tenant.
-
Select New application.
-
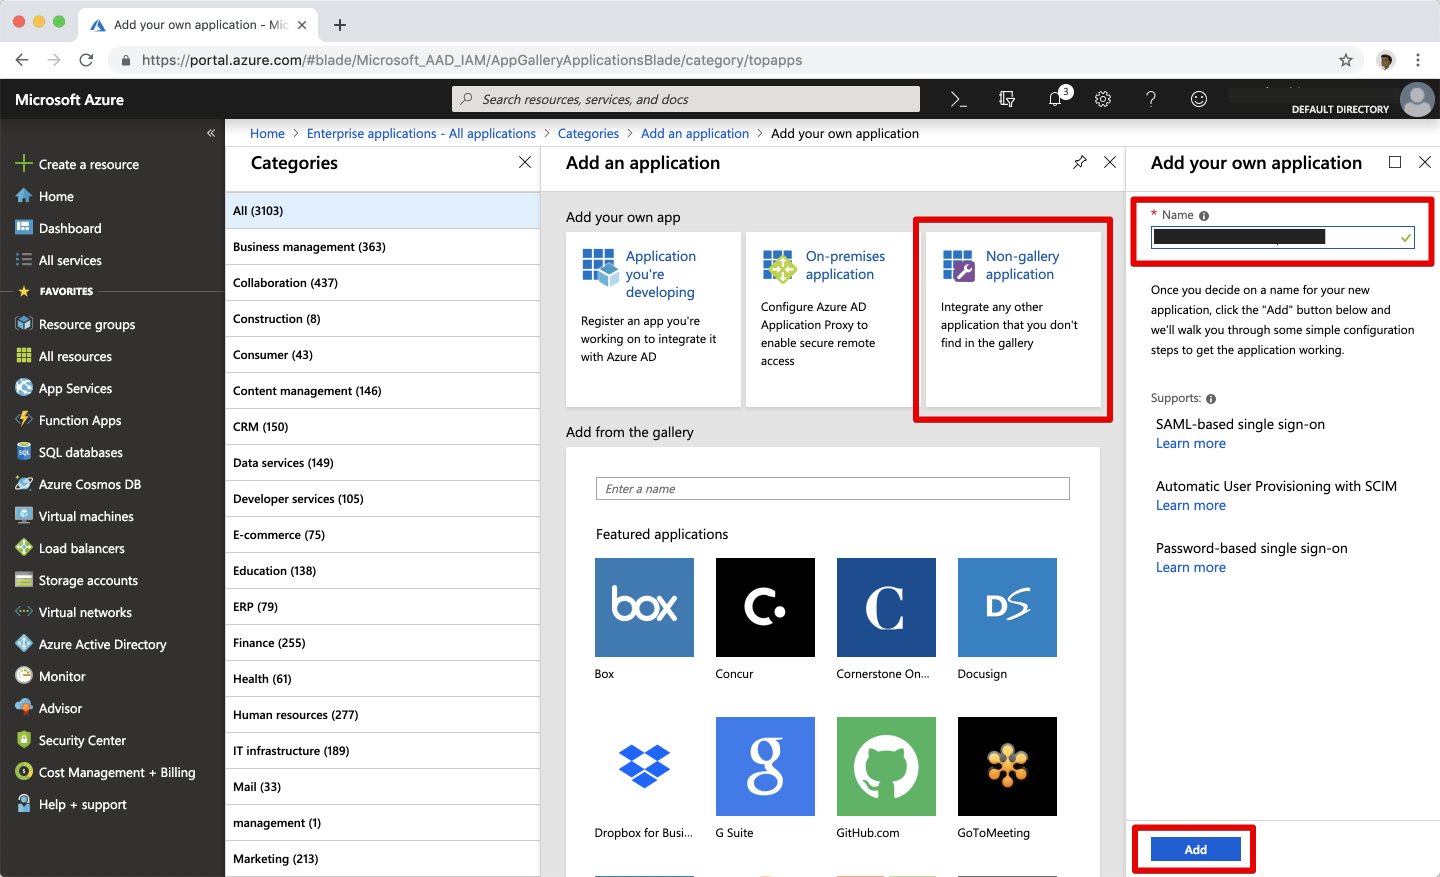
Select Non-gallery application tile and in the Add your own application panel, enter Ostorlab as the application name then select Add.
-
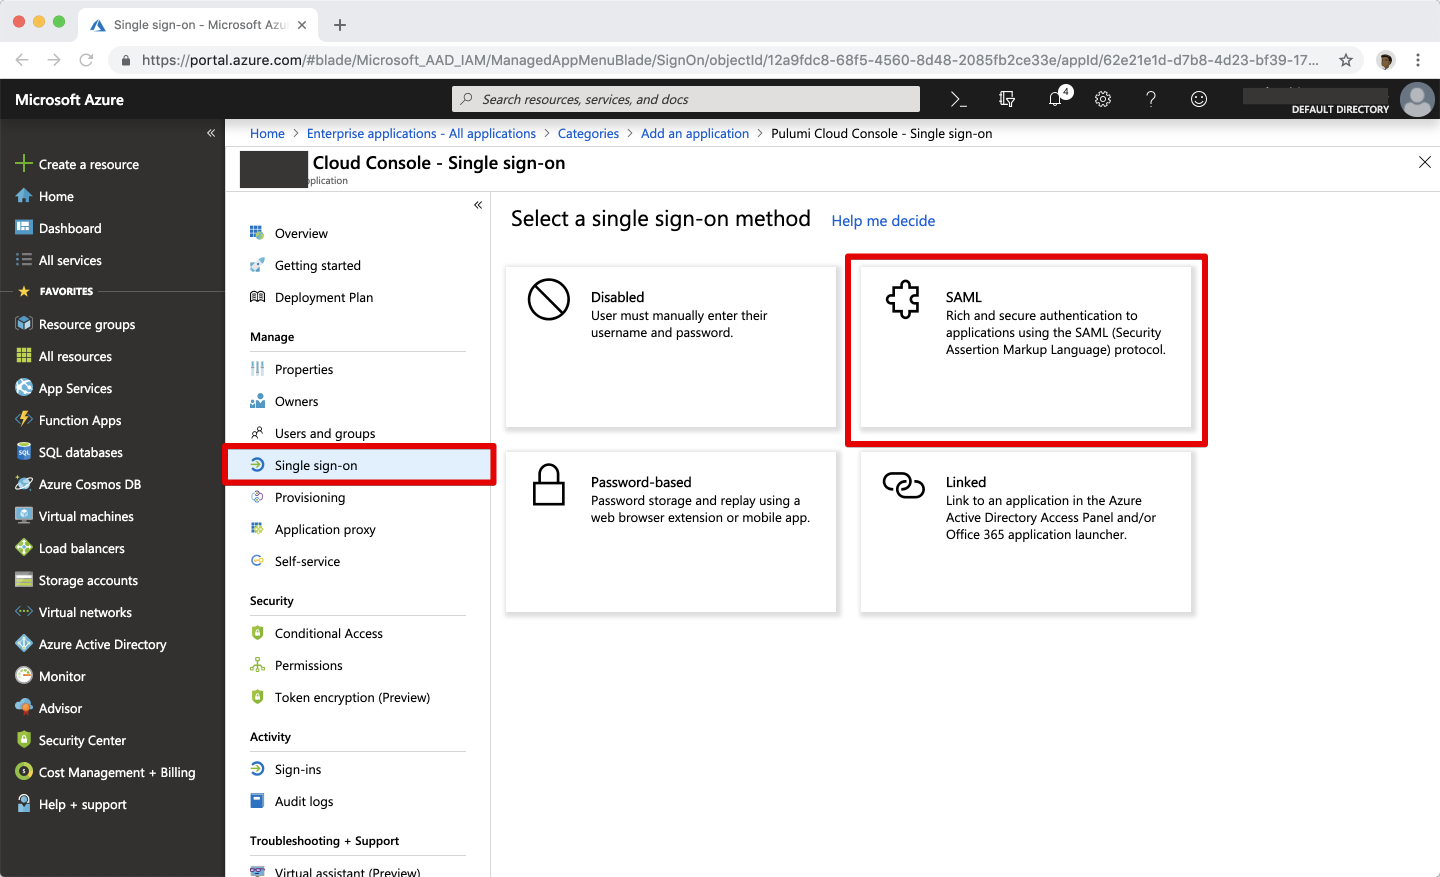
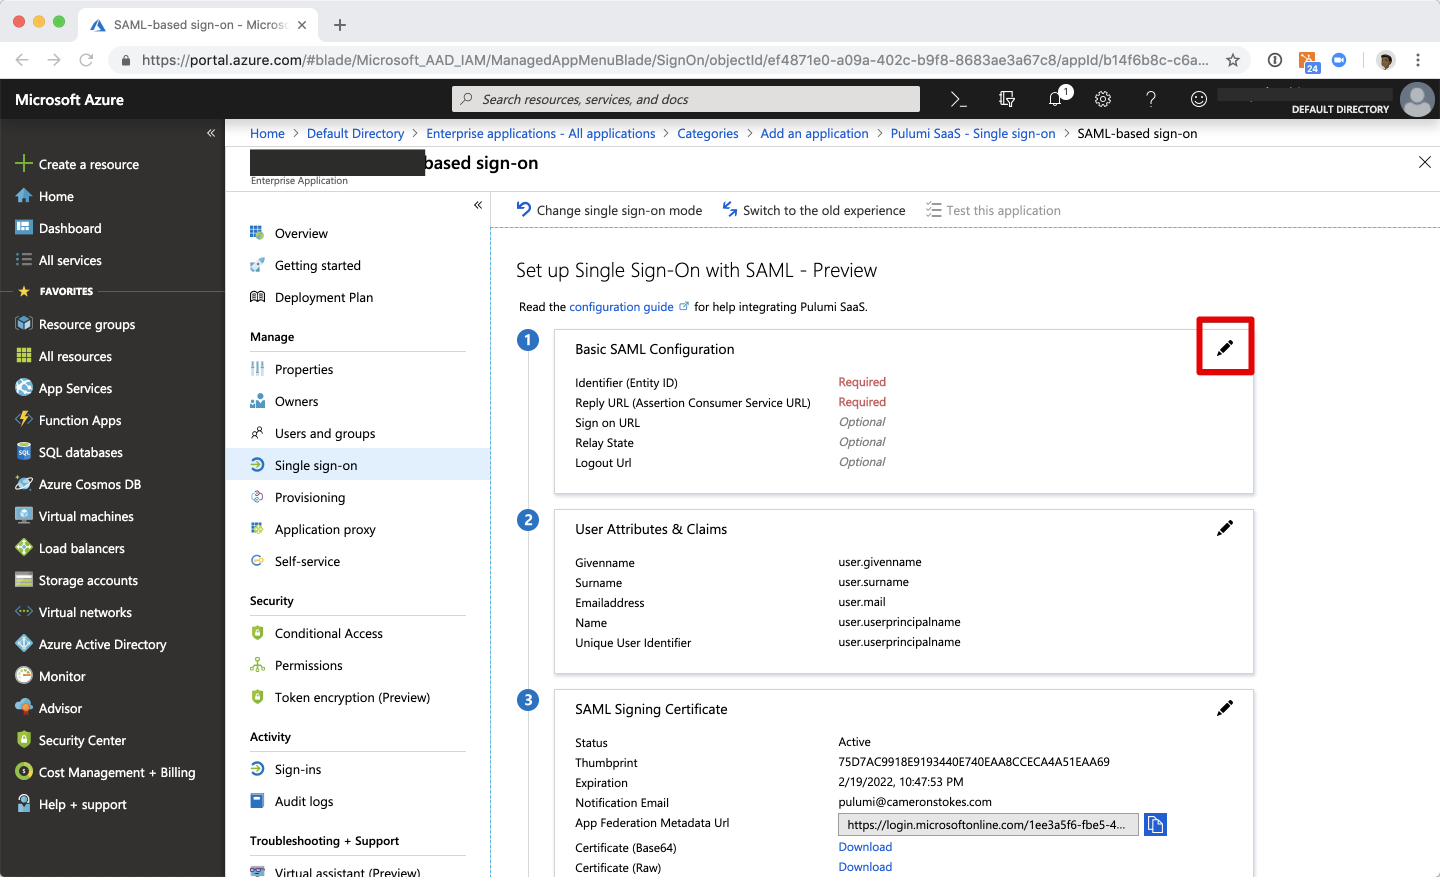
In the new Ostorlab application, navigate to the Single sign-on section, and select SAML.
-
Select the Edit icon on the Basic SAML Configuration panel.
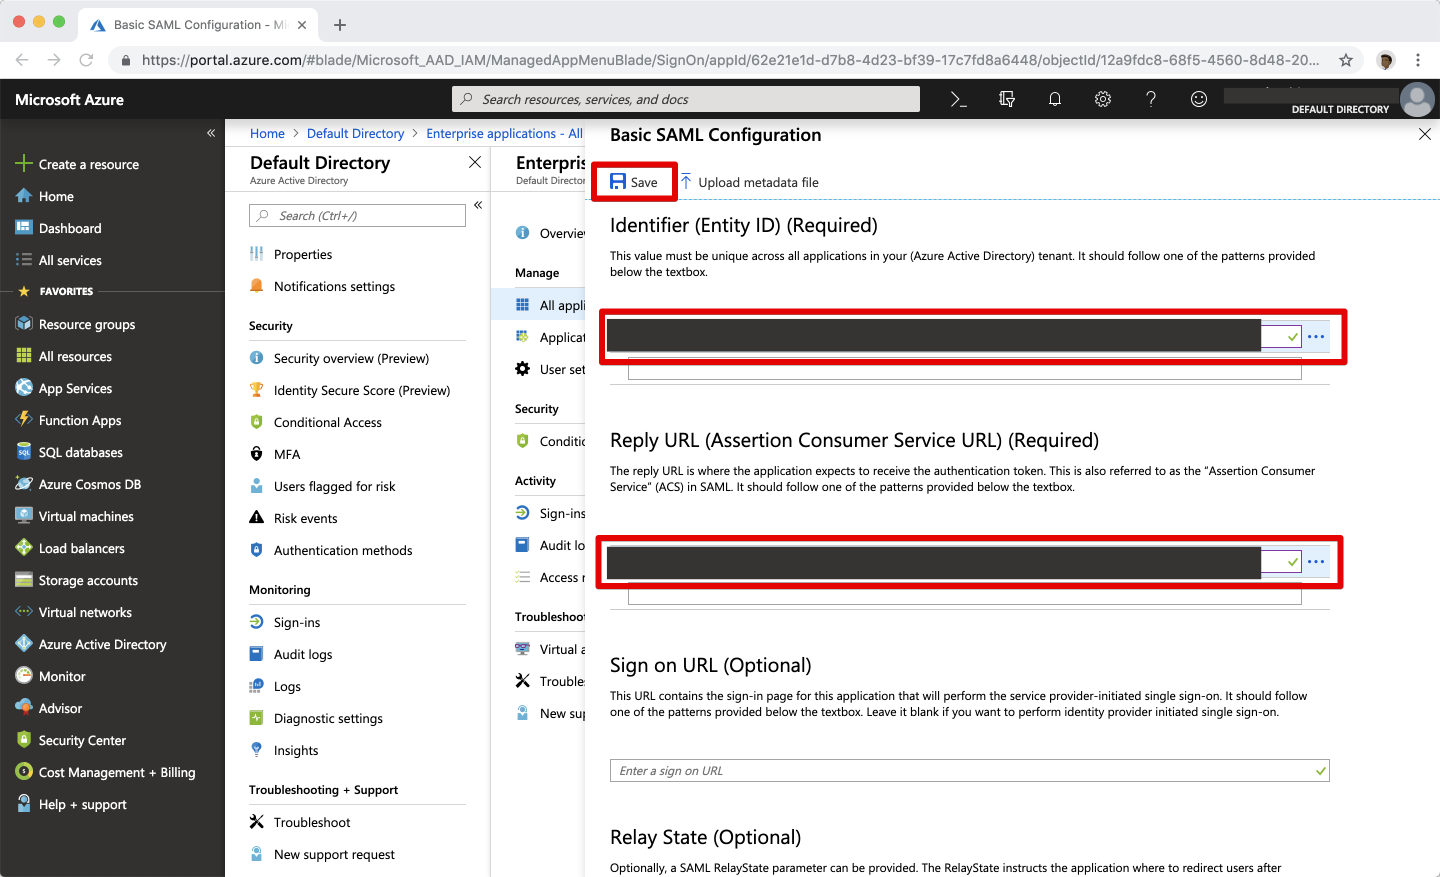
Enter Ostorlab configuration into your Azure AD application
The values you need to use are dependent upon your Ostorlab organisation prefix. Be sure to replace
<os>with your actual organisation prefix
| SAML Setting | Value |
|---|---|
| Identifier (Entity ID) | https://api.ostorlab.co/saml/metadata/ |
| Reply URL | https://api.ostorlab.co/saml/acs/?org=<organisation_prefix> |
| Relay State | Empty |
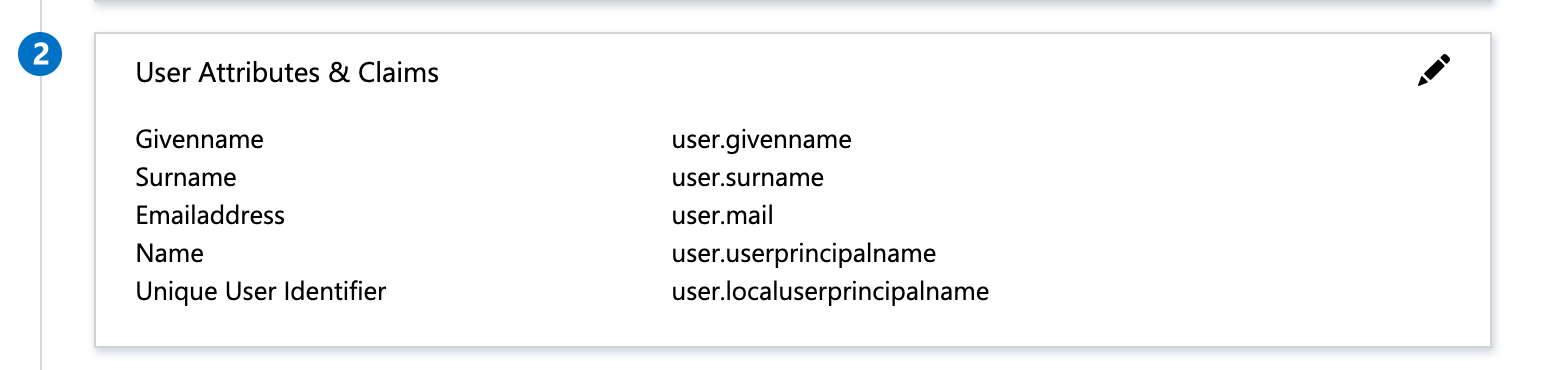
Configure the name identifier format
-
Select the Edit icon on the User Attributes & Claims panel.
-
Then, select the Edit icon next to Name identifier value.
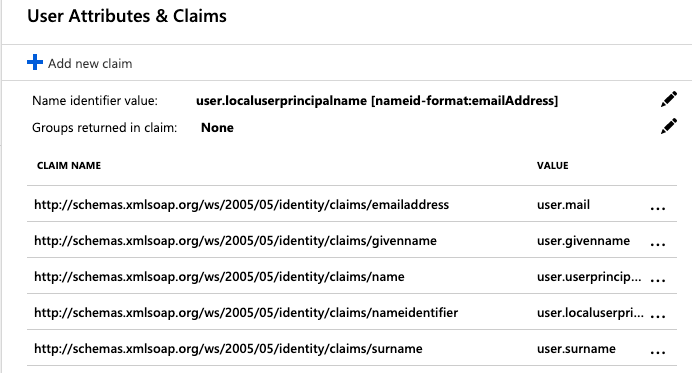
-
In the Manage User Claims panel, expand Choose name identifier format and select Email address.

-
Finally, select Save at the bottom of the Manage User Claims panel.
Important: Do not change the value of Name ID Format value once your users have started using Ostorlab—not even switching its value between Email or Persistent
Note: Be sure to assign users and groups to use your new Ostorlab SAML application. That is how you can control membership access to your Ostorlab organisation. See the Azure AD documentation for more information.
Now that the Azure AD-side of the SAML SSO configuration is complete, you will need to configure the Ostorlab to receive SAML SSO requests from your Azure AD.
Configuring Your Ostorlab Organisation
To configure your Ostorlab organisation to accept SAML SSO requests from Azure AD, you will need to provide the Identity Provider Entity ID and Sign-On Service URl from Azure Active Directory.
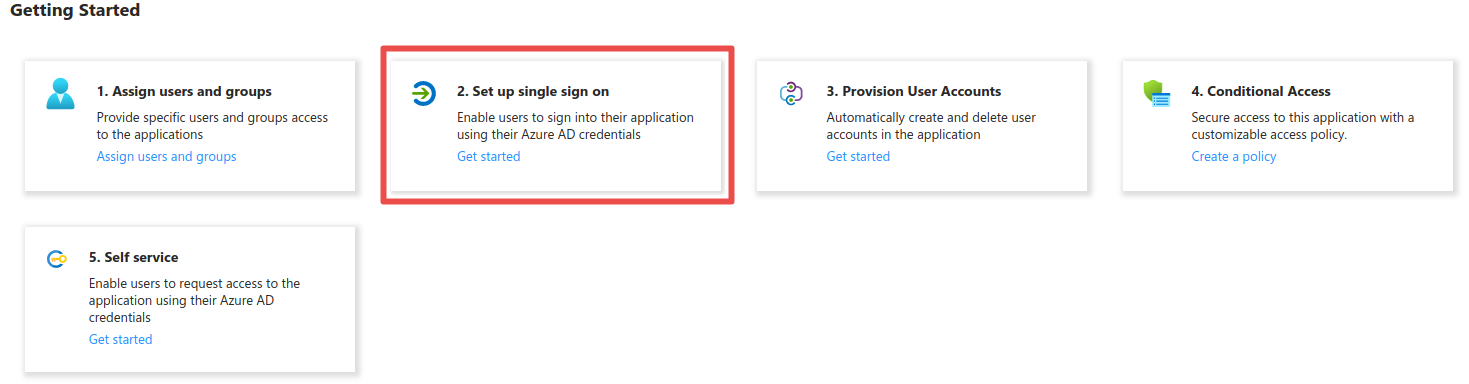
To do this, go to the Azure Portal, select Enterprise applications and click on the application you created in the steps above. Click Get Started under Set up single sign on.
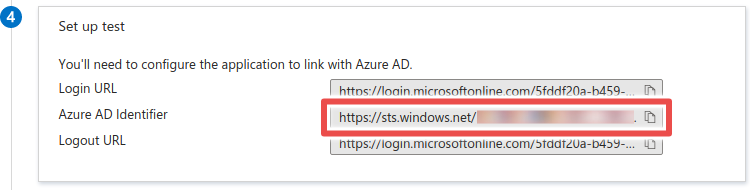
- Scroll down to Set up test and copy the Azure AD Identifier. This is the Identity Provider Entity ID.
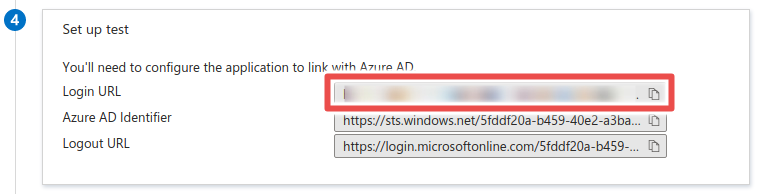
- Copy the Login URL. This is the Sign-On Service URL.
Adding the configuration on Ostolab
-
Go the SAML integration page https://report.ostorlab.co/integrations/saml and switch to the configuration tab.
-
Enter the Identity Provider Entity ID and Sign-On Service URL you copied in the previous steps.
- Select
urn:oasis:names:tc:SAML:2.0:bindings:HTTP-POSTas the Sign-On Service Binding. - Paste your certificate in the X.509 Certificate field.
- Click Save/Update.
Signing into Ostorlab using Azure AD
Once your Azure AD application is created, and its configuration data passed to Ostorlab, you can now sign in to Ostorlab using your SAML SSO credentials.
Navigate to https://report.ostorlab.co/account/login, click LOGIN VIA SSO and enter the prefix of your Ostorlab organisation. If everything is configured correctly, you should be prompted to sign in to your Azure AD instance, and then immediately be redirected back to Ostorlab.