ServiceNow
Configure ServiceNow Integration
This guide shows how to configure the ServiceNow integration in the Ostorlab platform, including authentication and synchronization settings.
Go to report.ostorlab.co
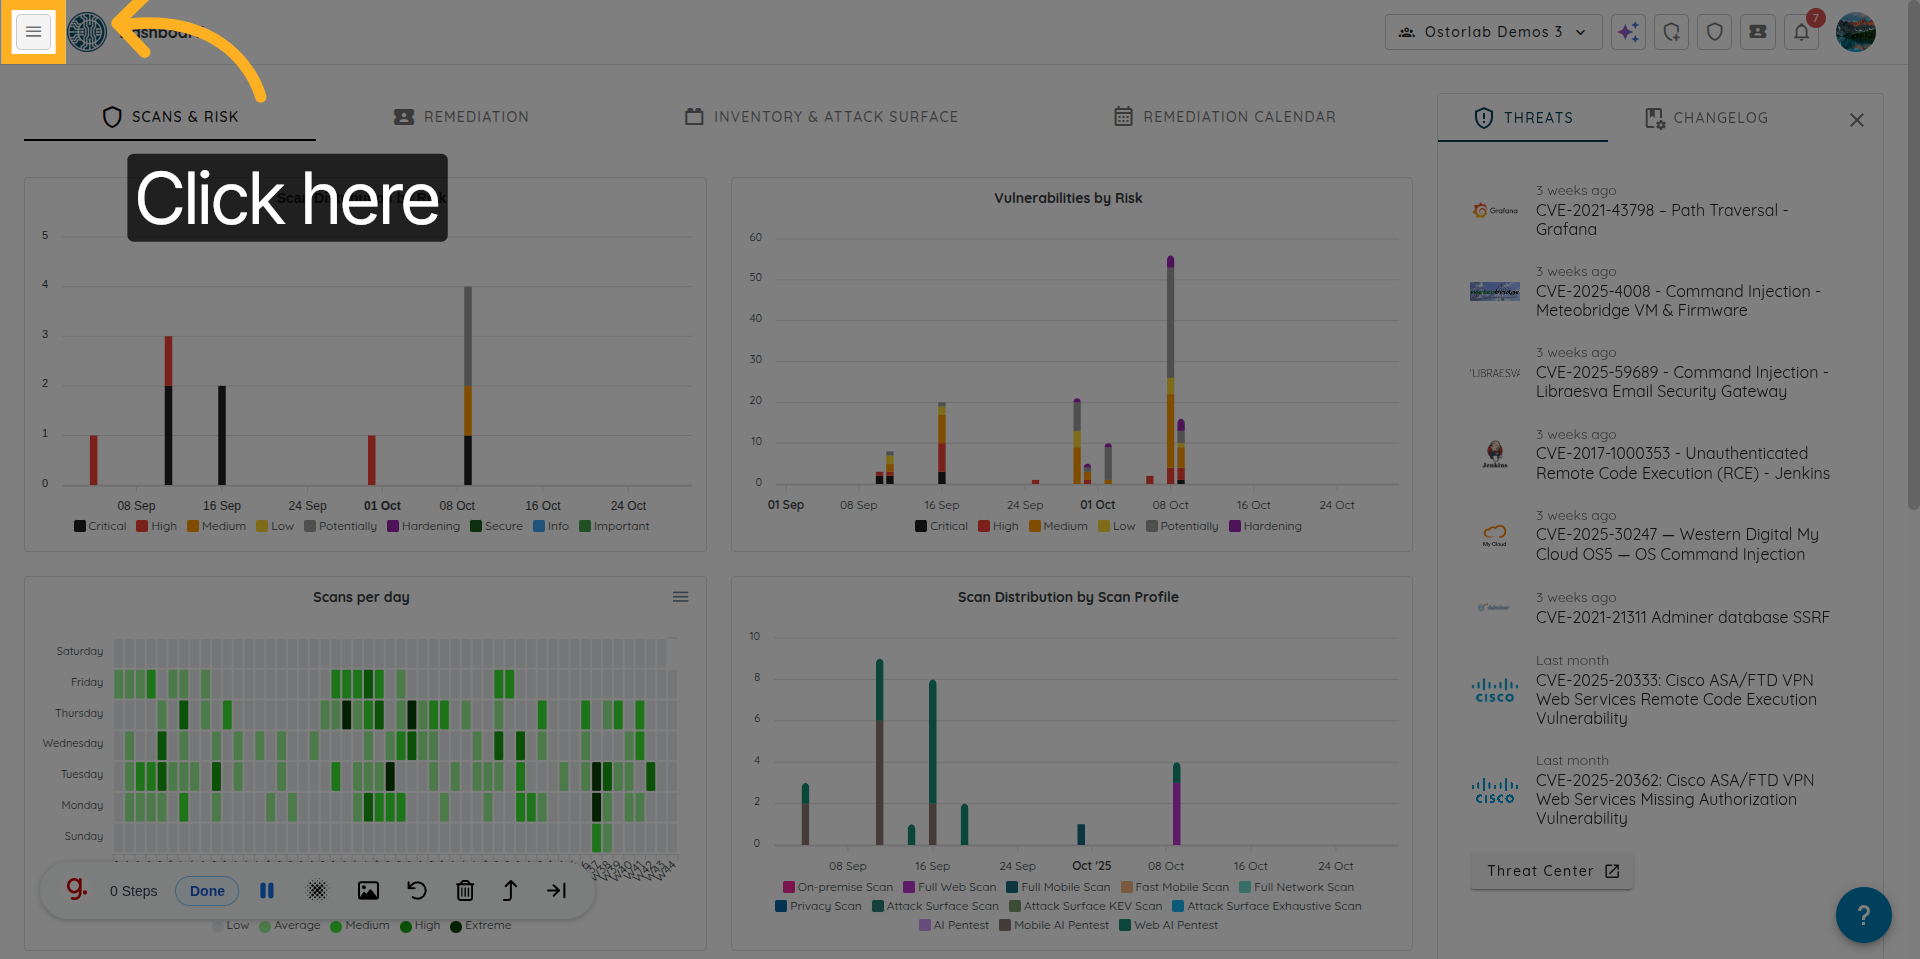
1. Open the Ostorlab Main Menu
Click here to open the main menu in the Ostorlab platform, where you can access various features and settings.
2. Navigate to the Integrations/API Section
Click "Integrations/API" to expand the section.

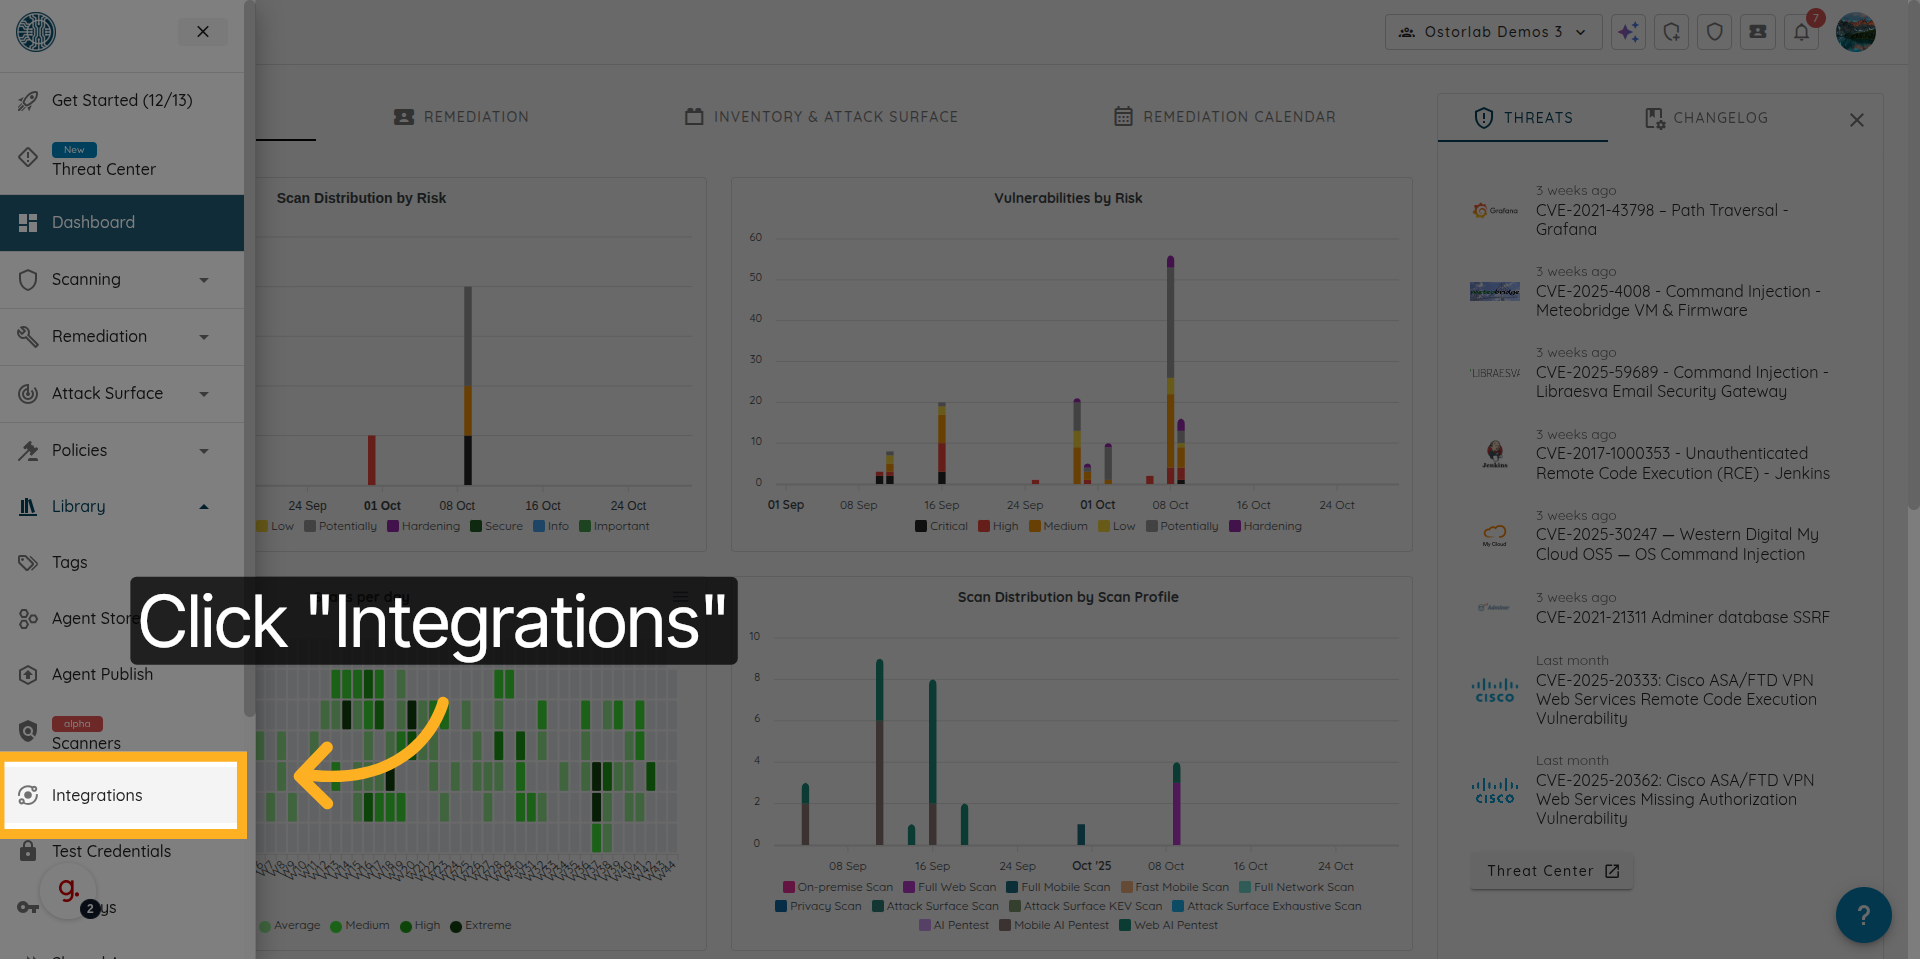
3. Open the Integrations Page
Click "Integrations" to view available integrations.
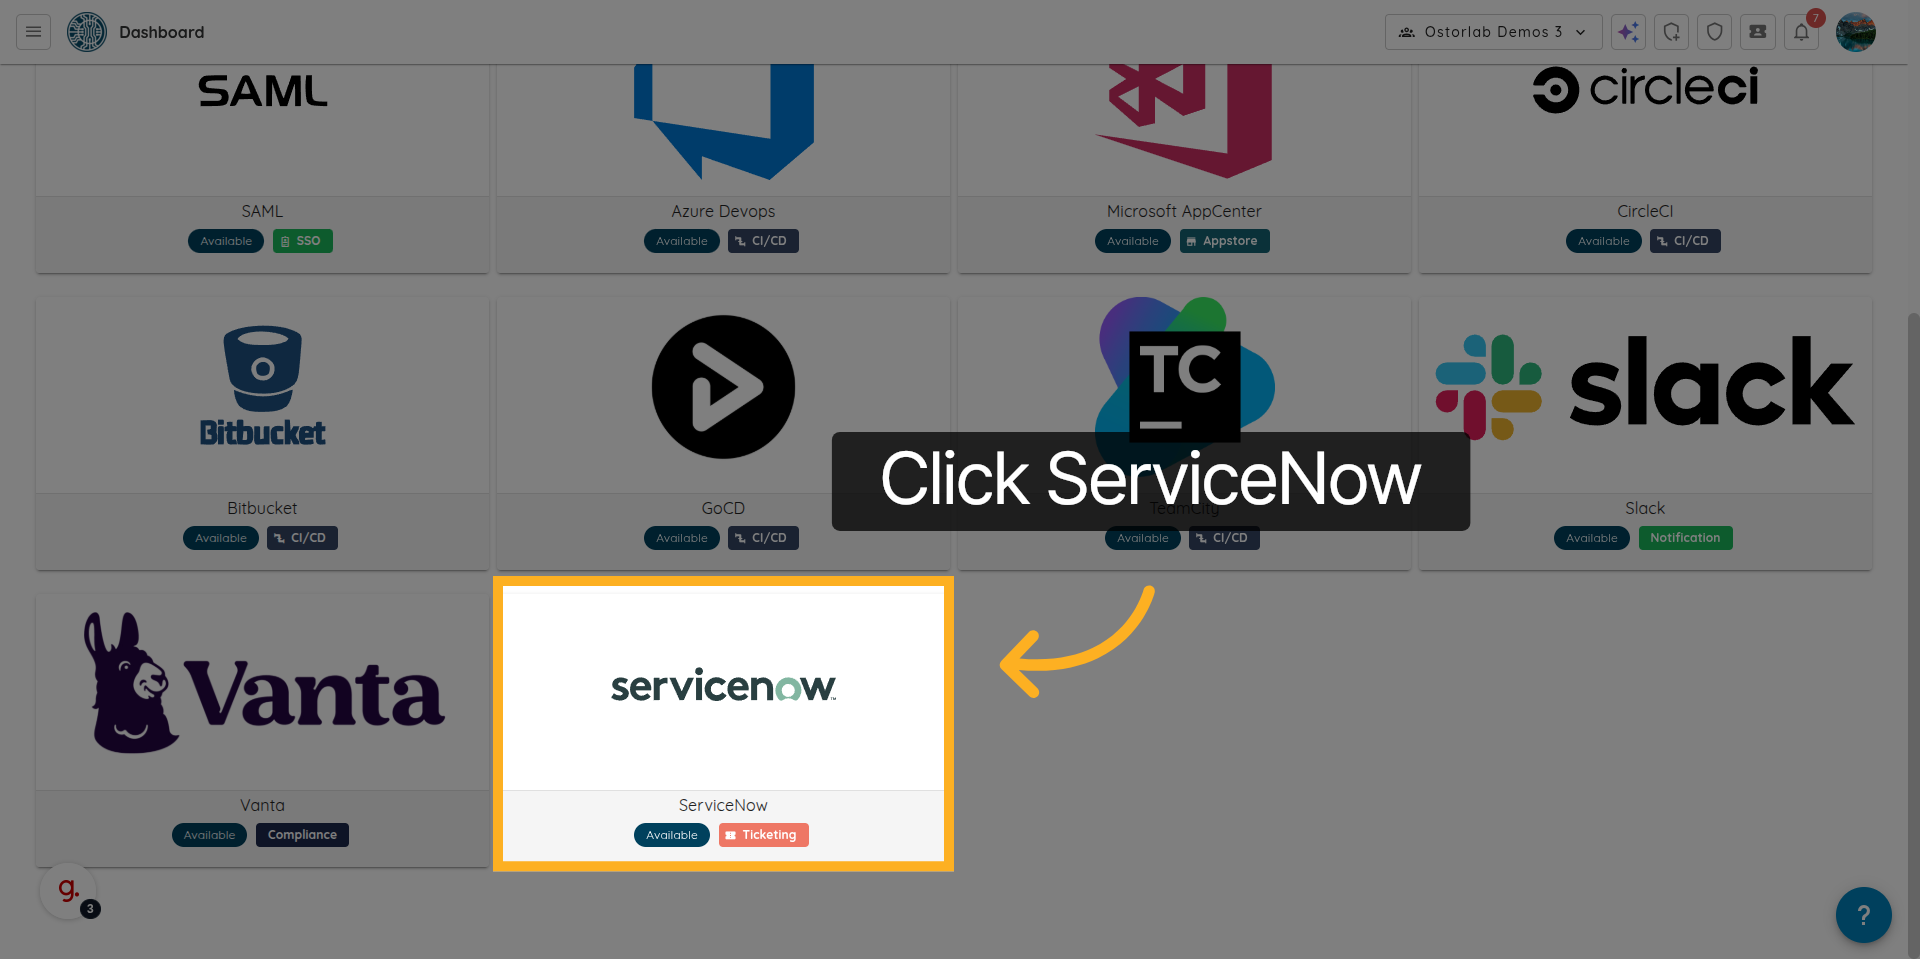
4. Open the ServiceNow Integration
Click here to open the ServiceNow integration interface.
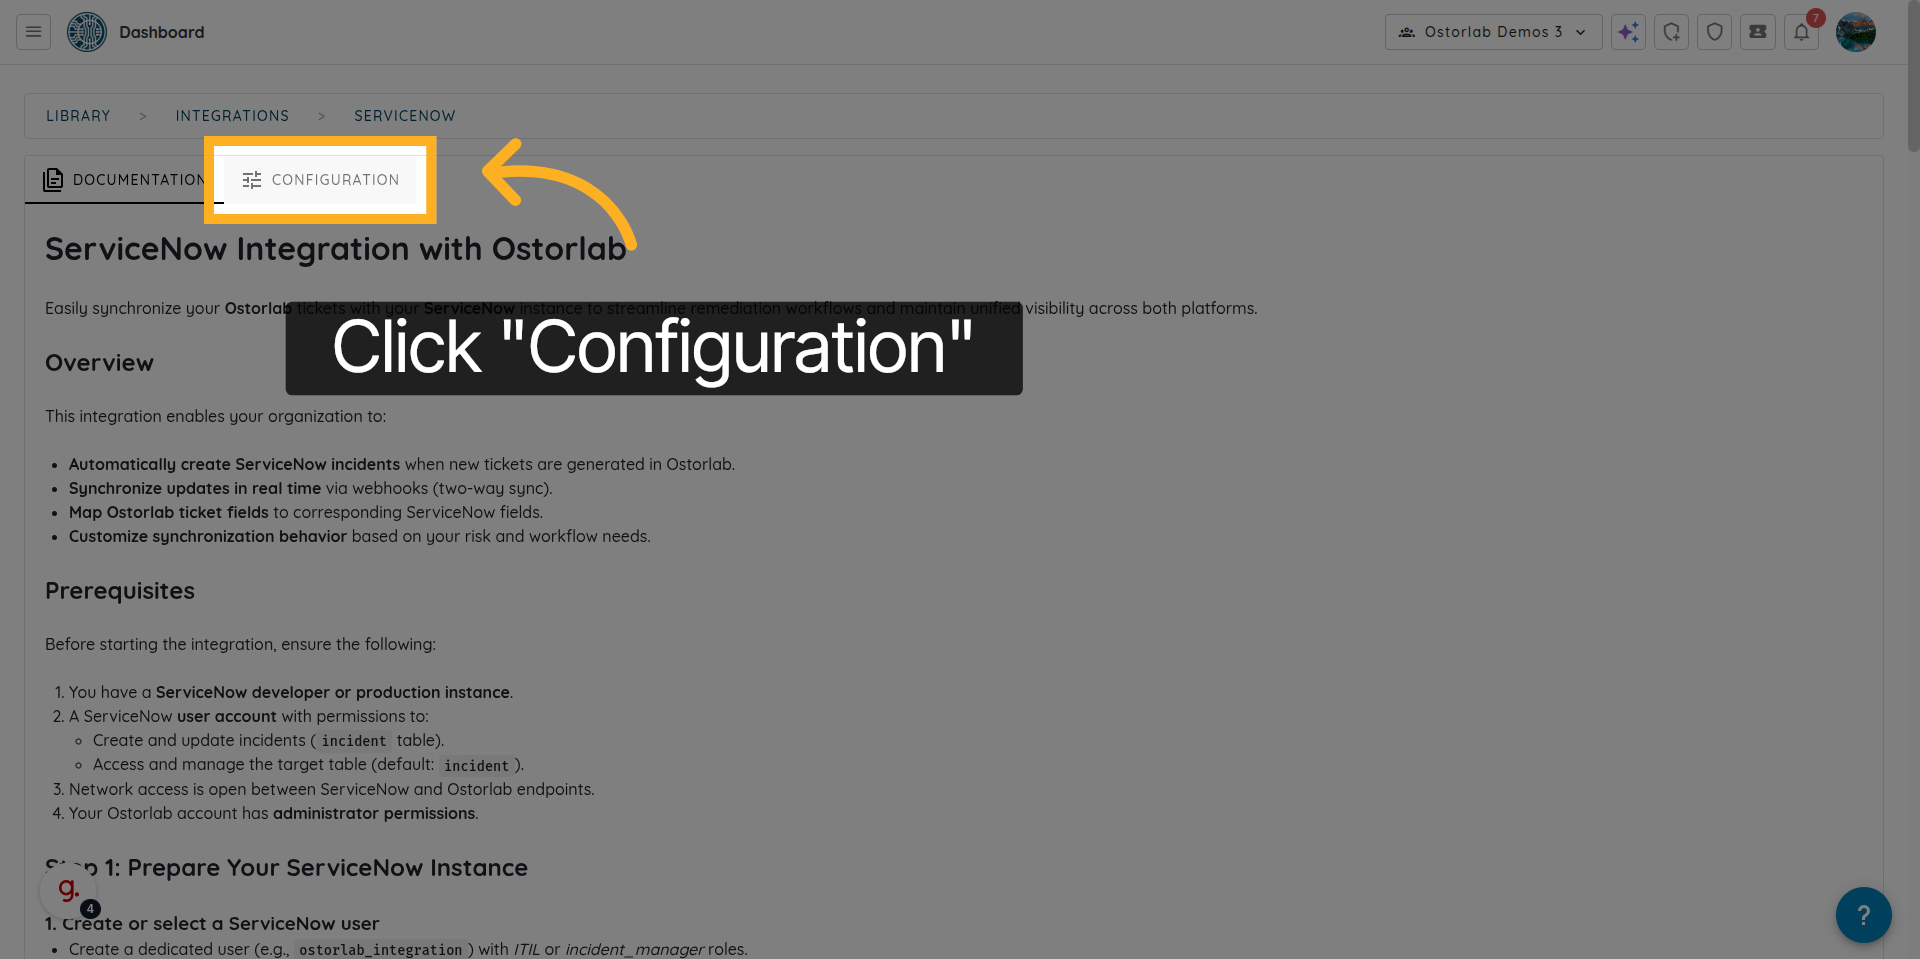
5. Access the Configuration Tab
Click "Configuration" to access the settings for managing integrations.
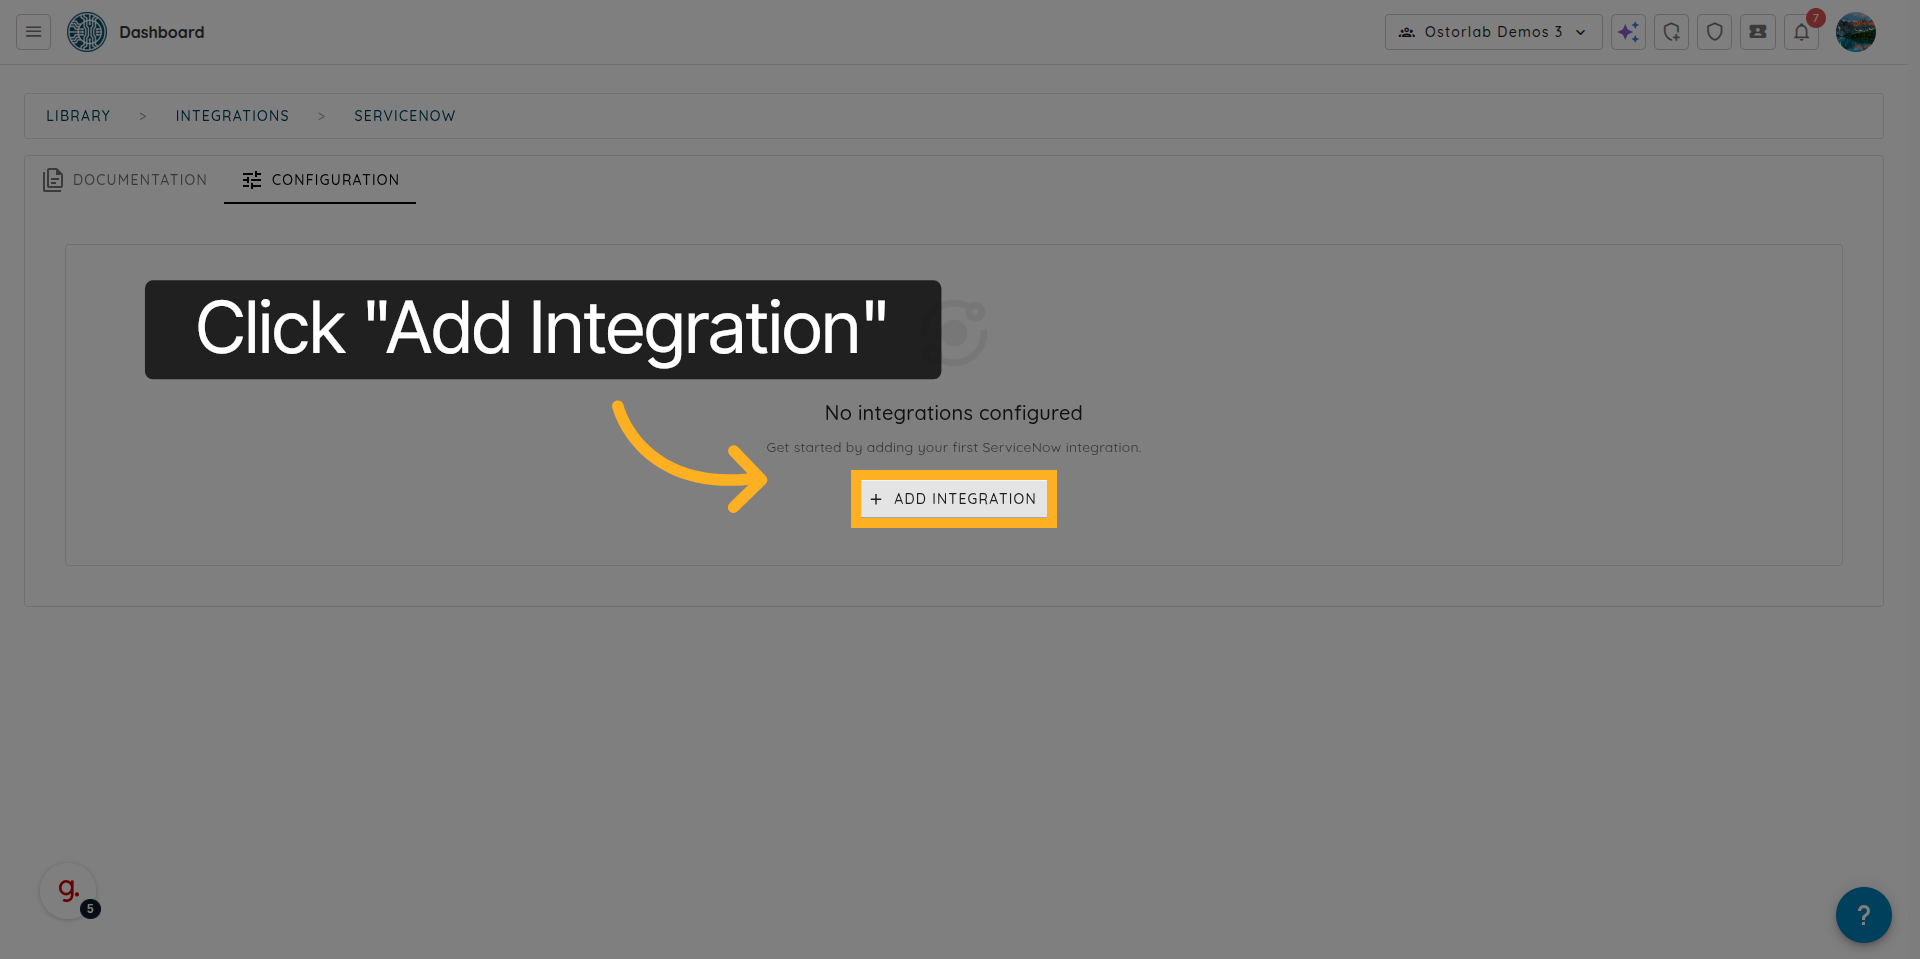
6. Add a New Integration
Click "Add Integration" to start creating a new servicenow integration in Ostorlab.
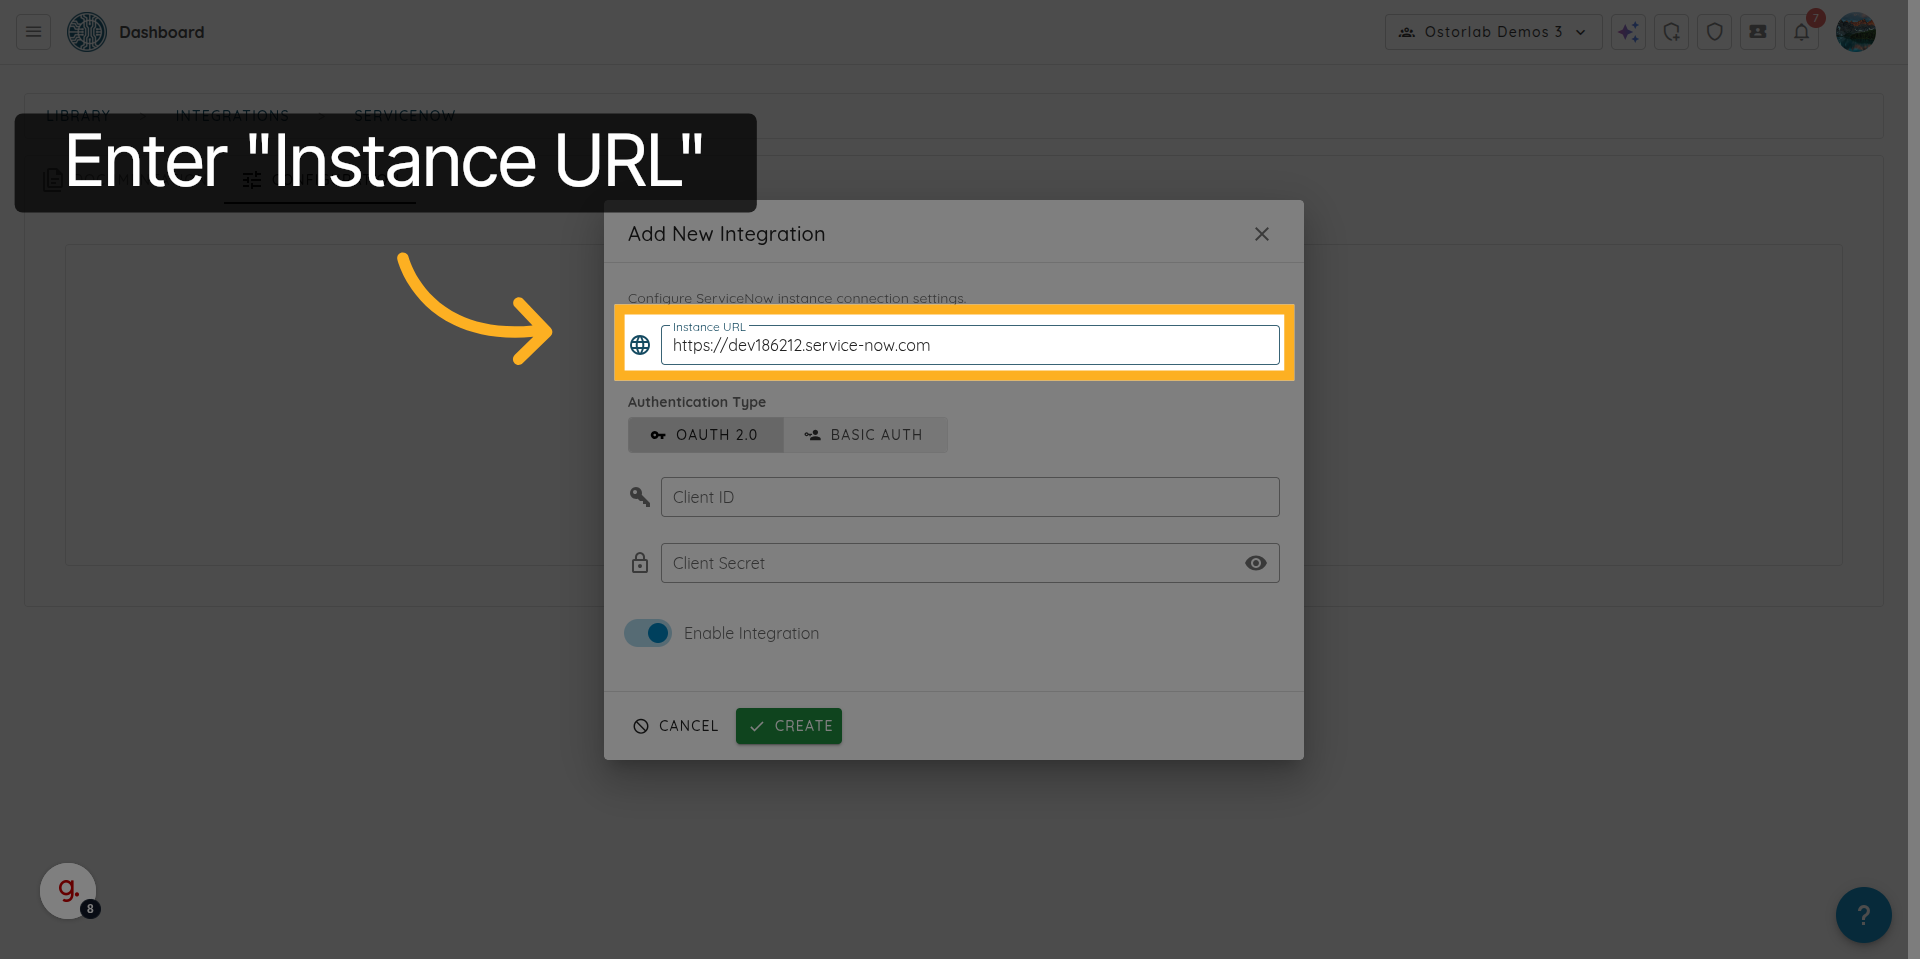
7. Enter the ServiceNow Instance URL
Enter the servicenow instance URL
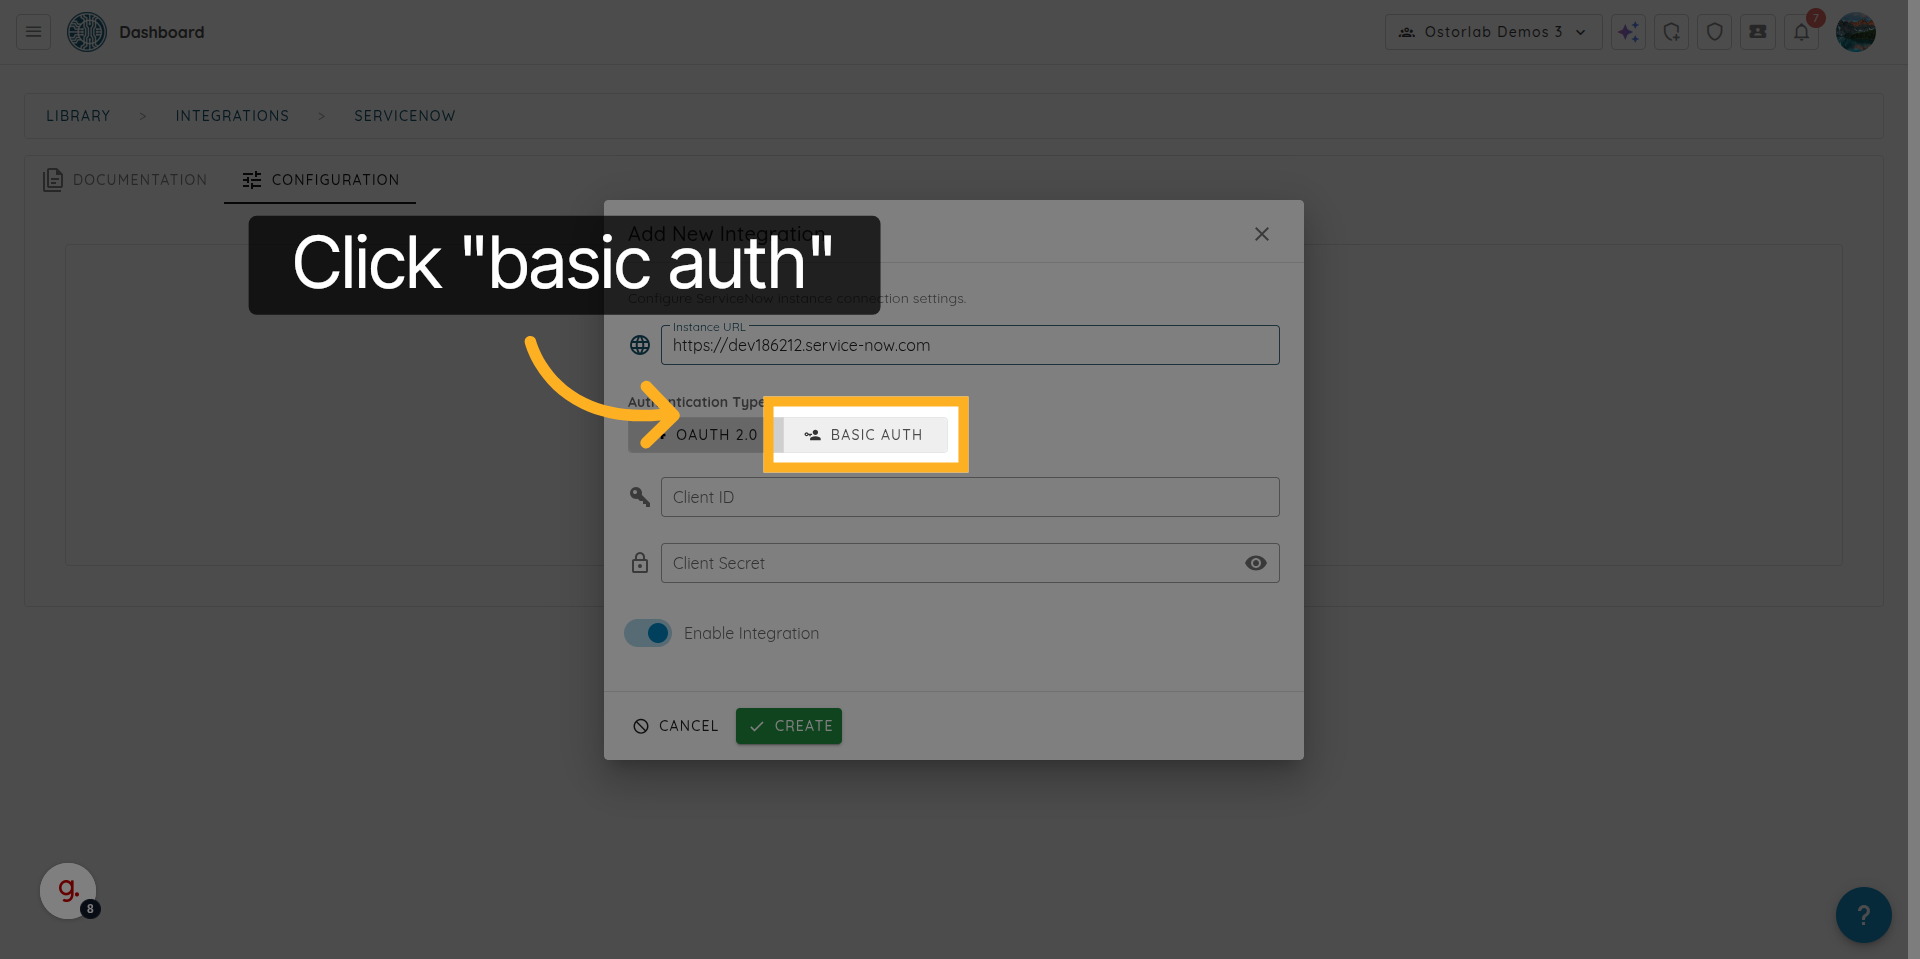
8. Select the Authentication Method (Basic Auth)
Choose your Authentication Method. Here, we are choosing Basic Auth.
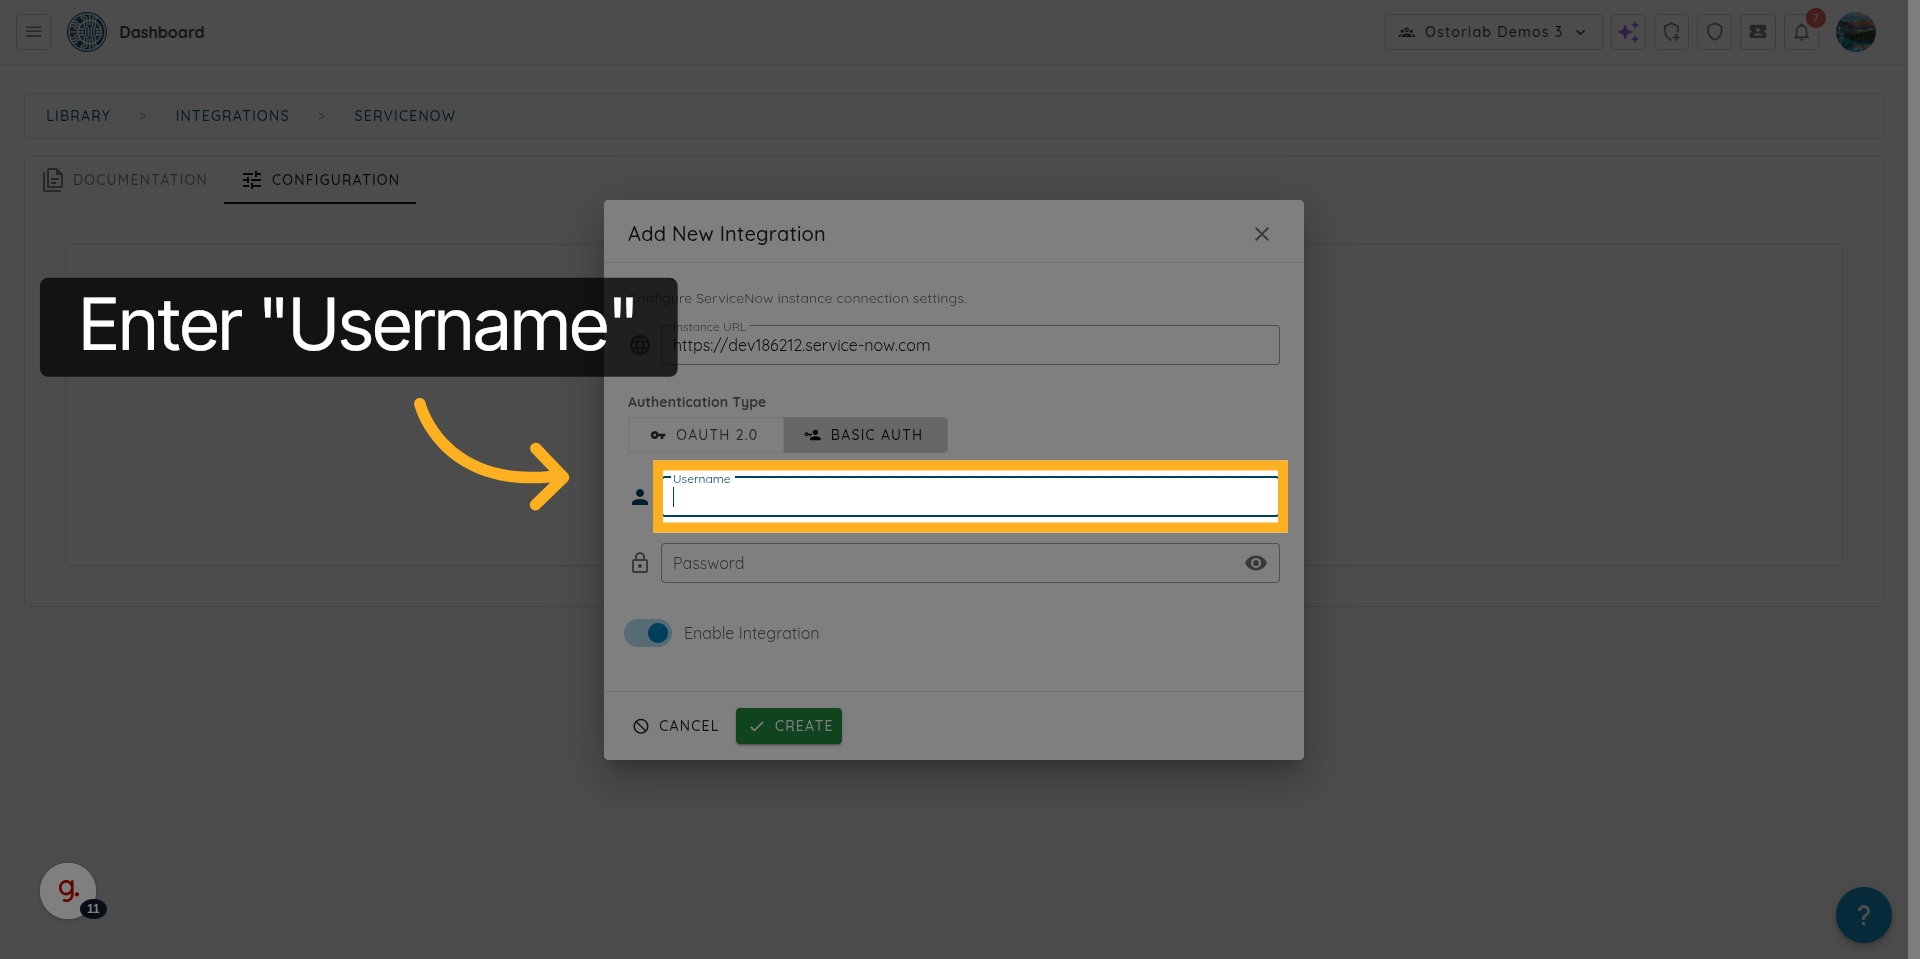
9. Enter the ServiceNow Username
Enter the “Username” to the ServiceNow account that will be used for authentication.
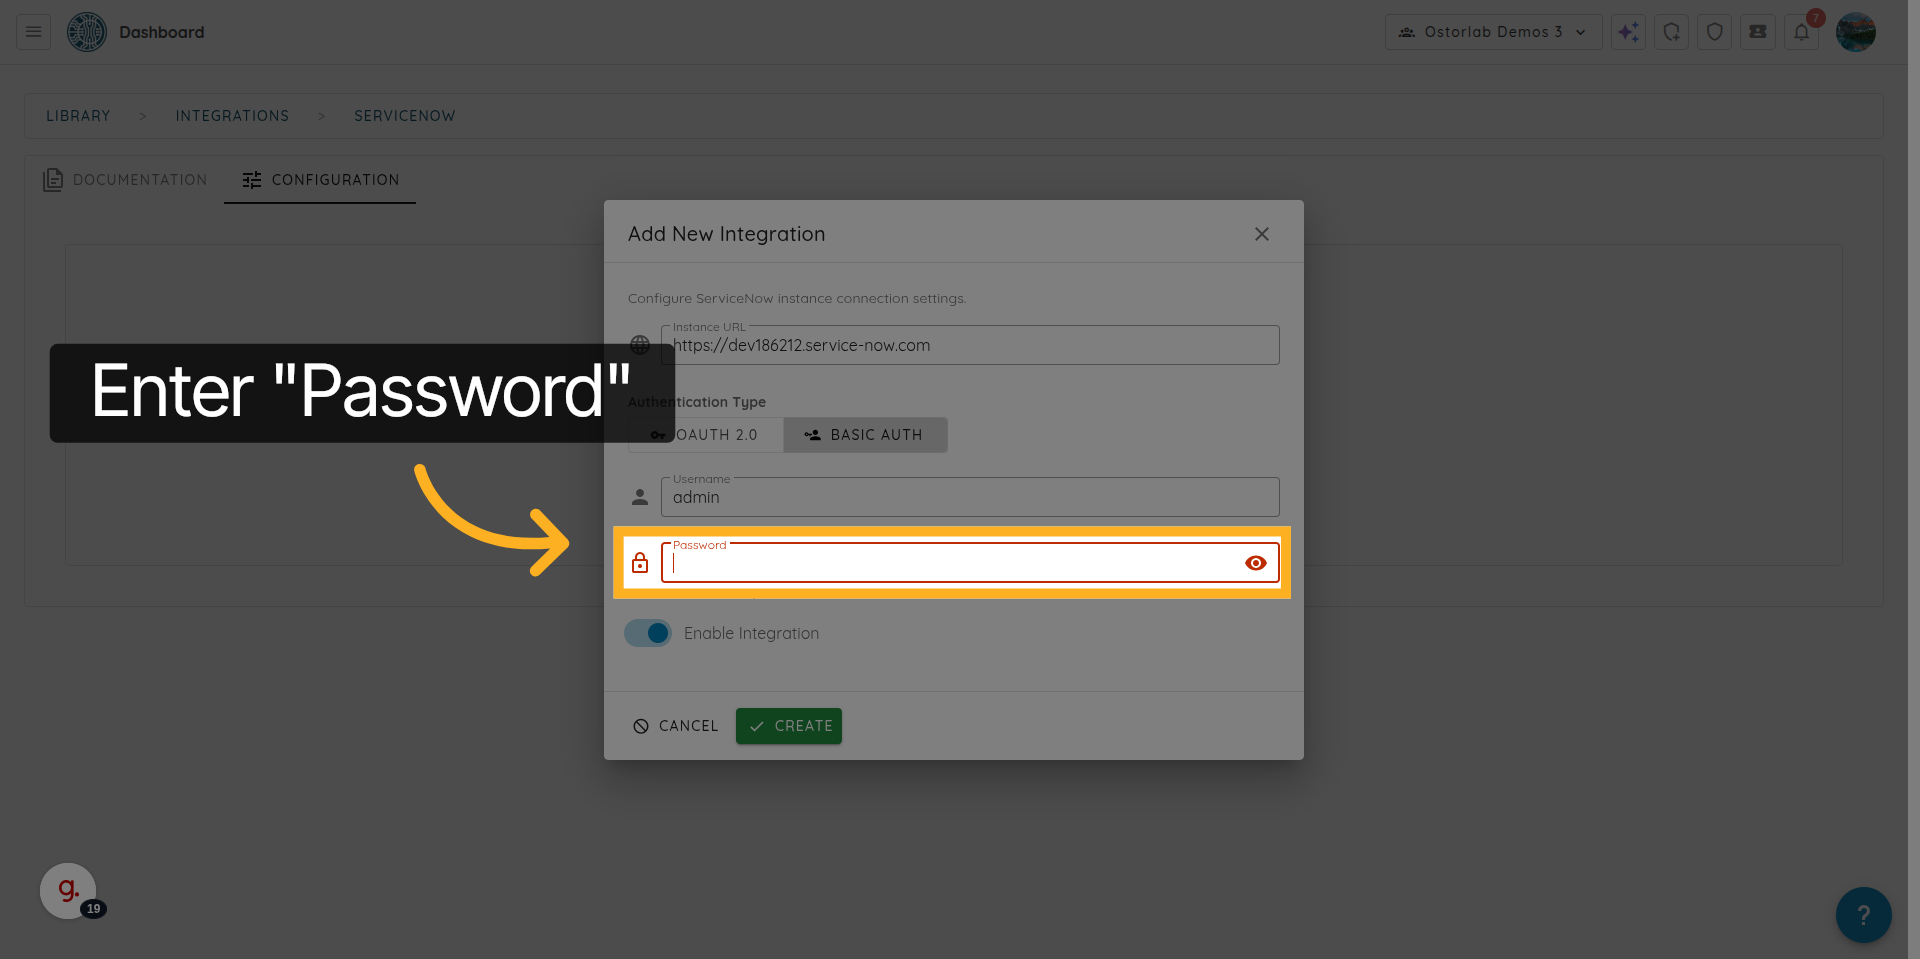
10. Enter the ServiceNow Password
Enter the “Password” to the ServiceNow account password used for authentication.
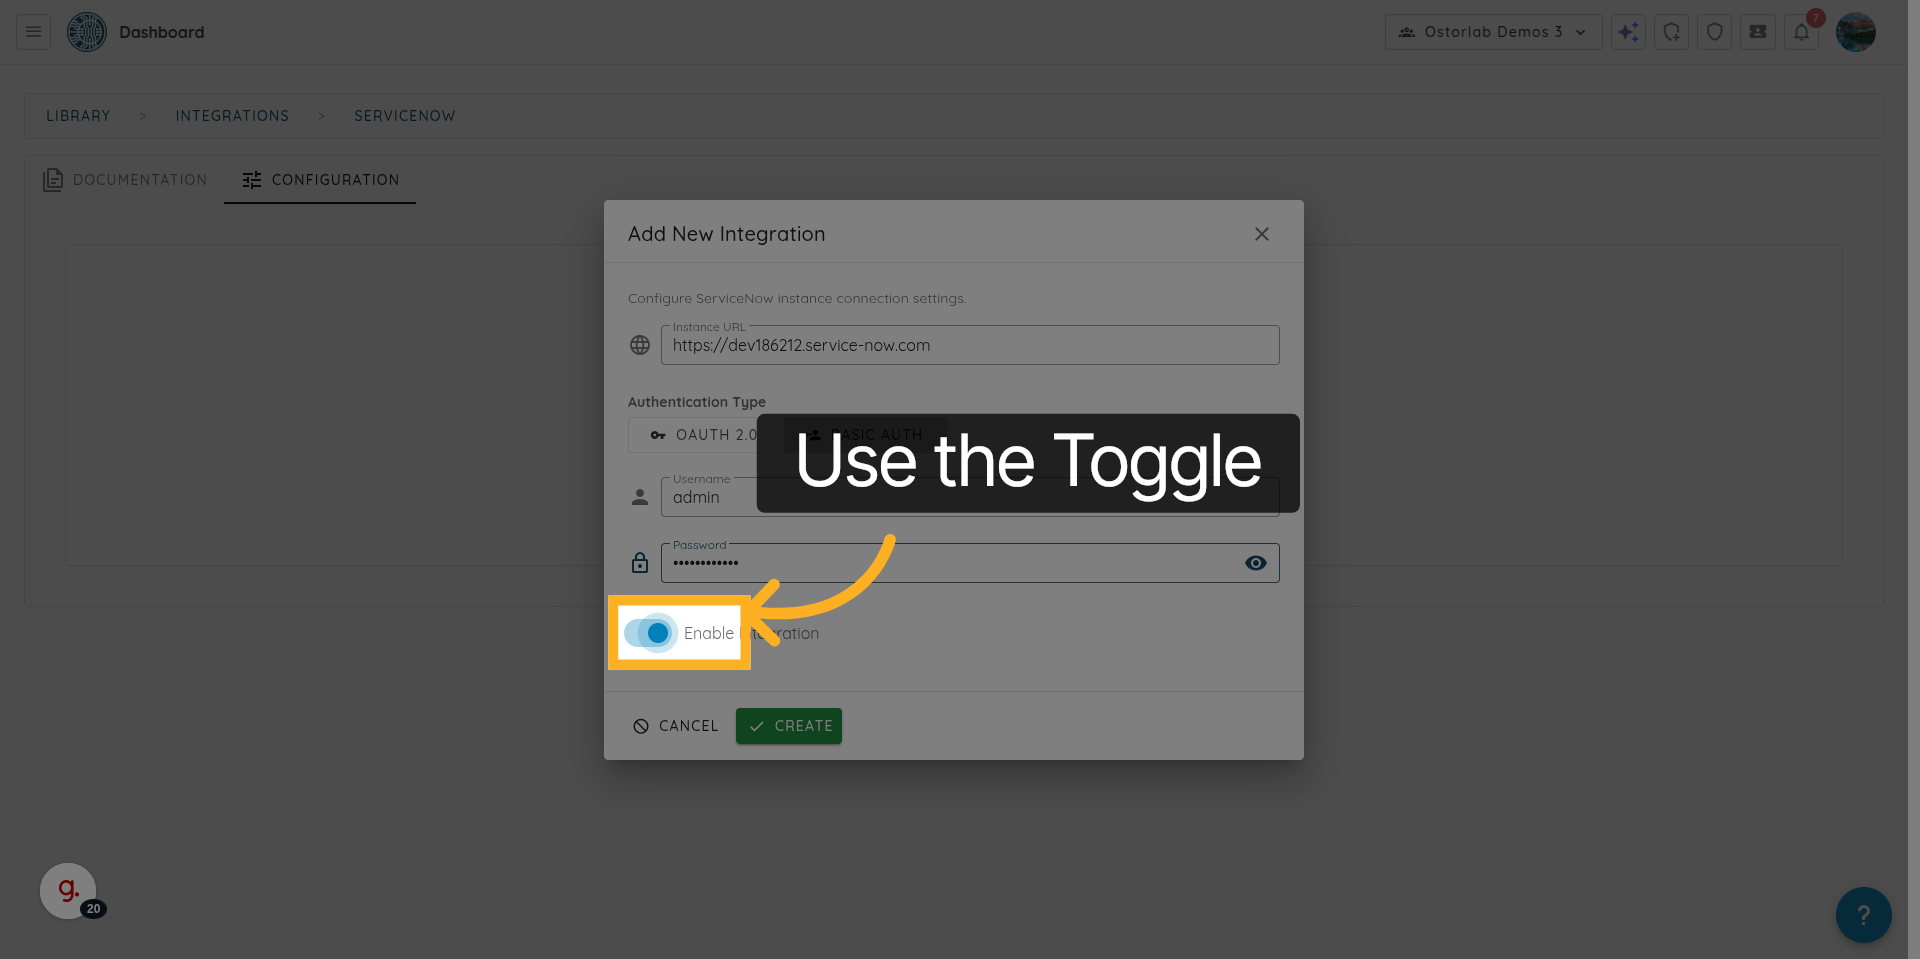
11. Enable or Disable the Integration
Use the toggle to enable or disable the ServiceNow integration.
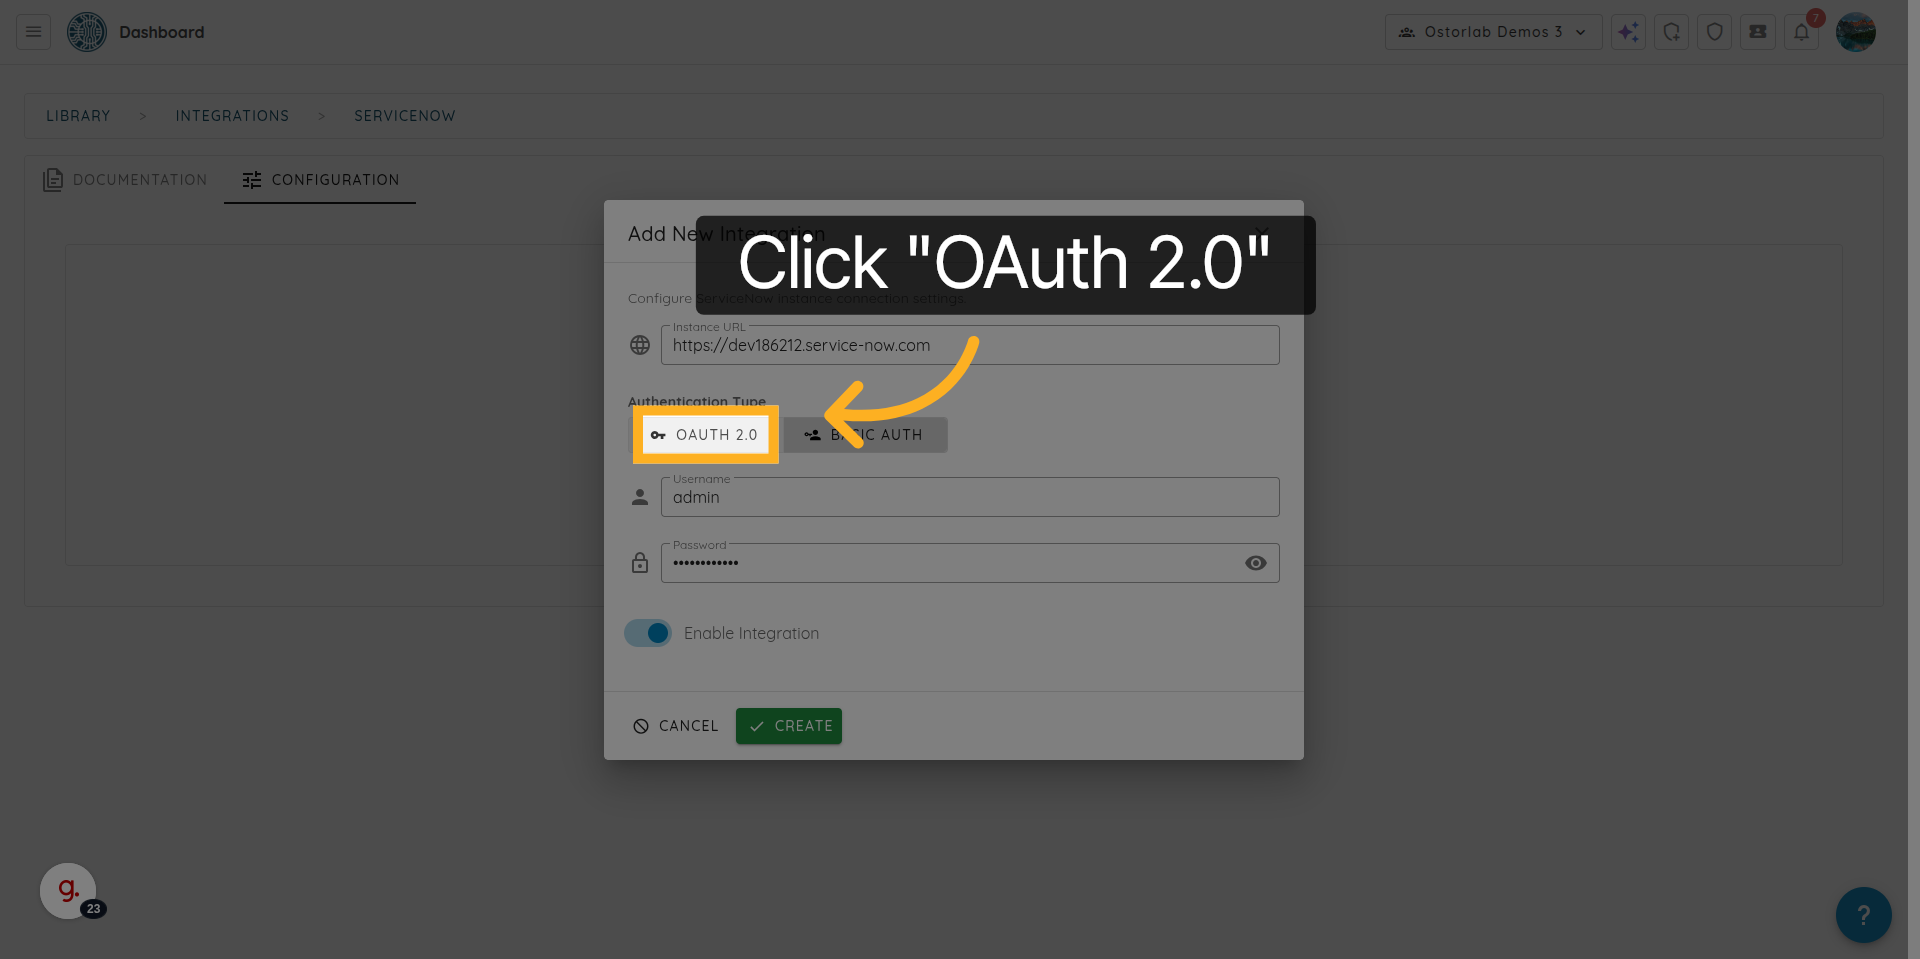
12. Select OAuth 2.0 Authentication
Click "OAuth 2.0" to choose OAuth 2.0 as the authentication method for the integration.
13. Enter the OAuth Client ID
Enter Client ID
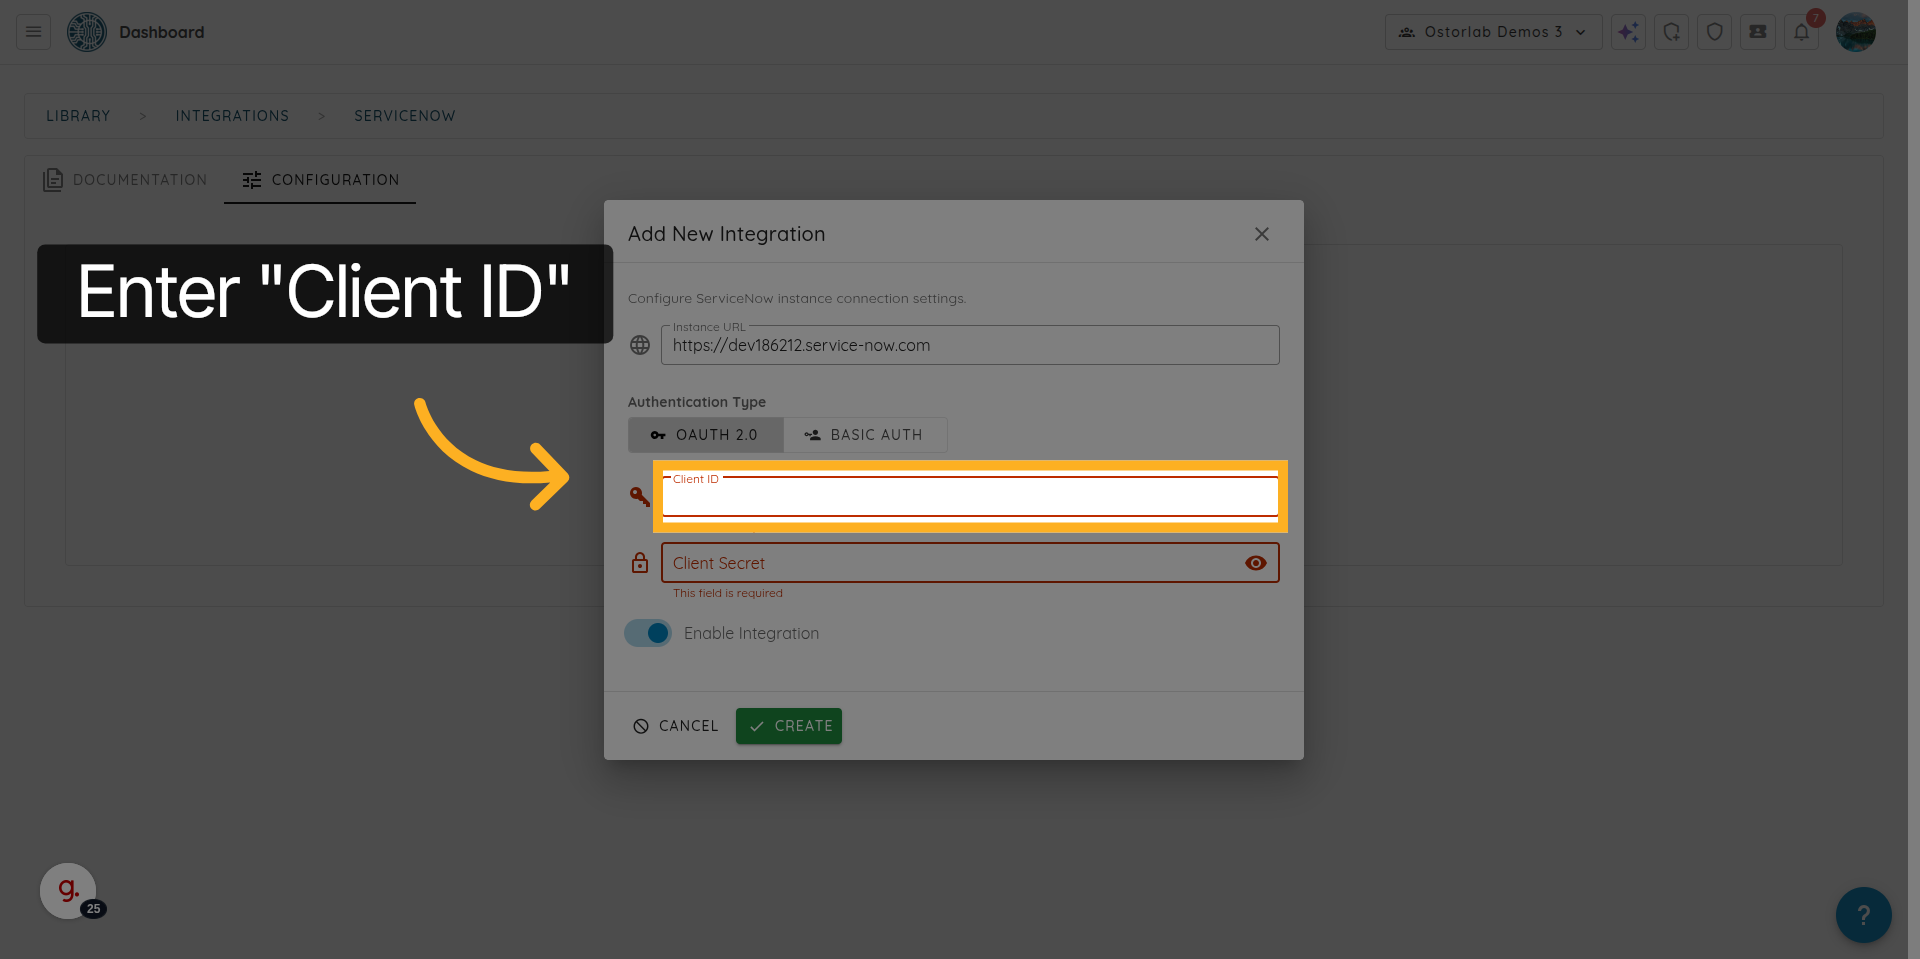
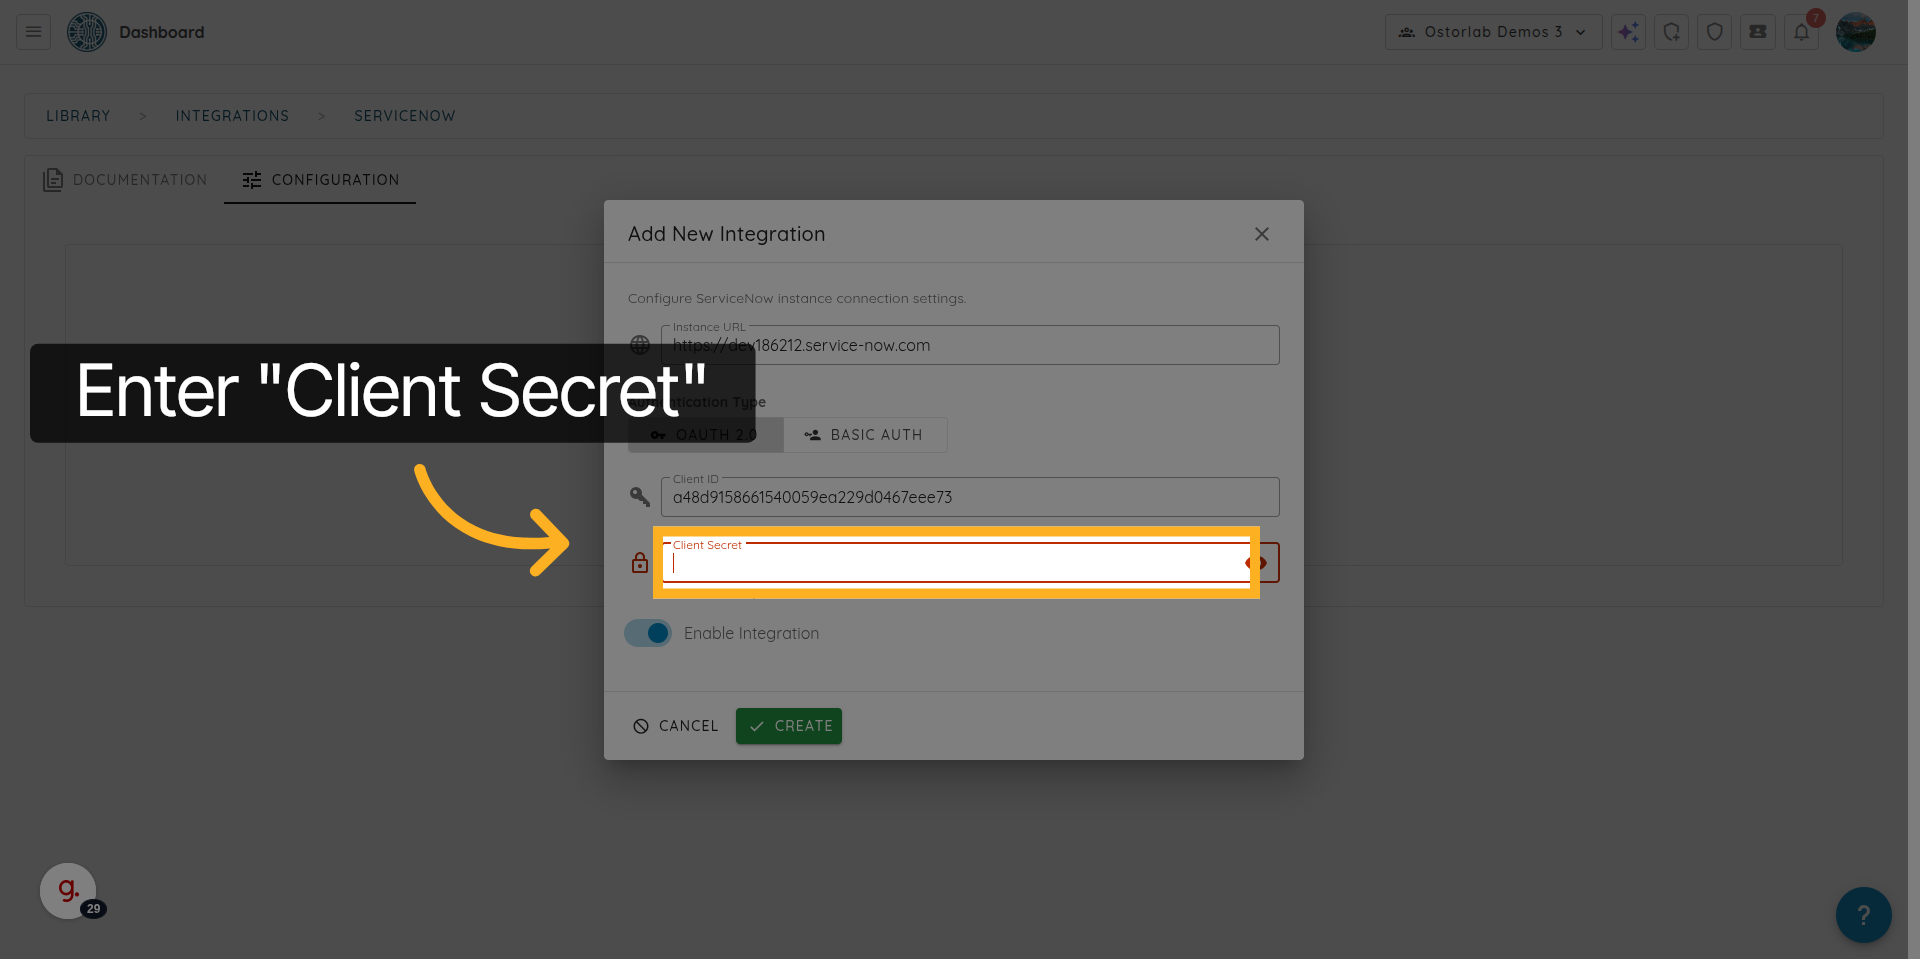
14. Enter the OAuth Client Secret
Enter Client Secret
15. Create the Integration
Click Create to save the integration

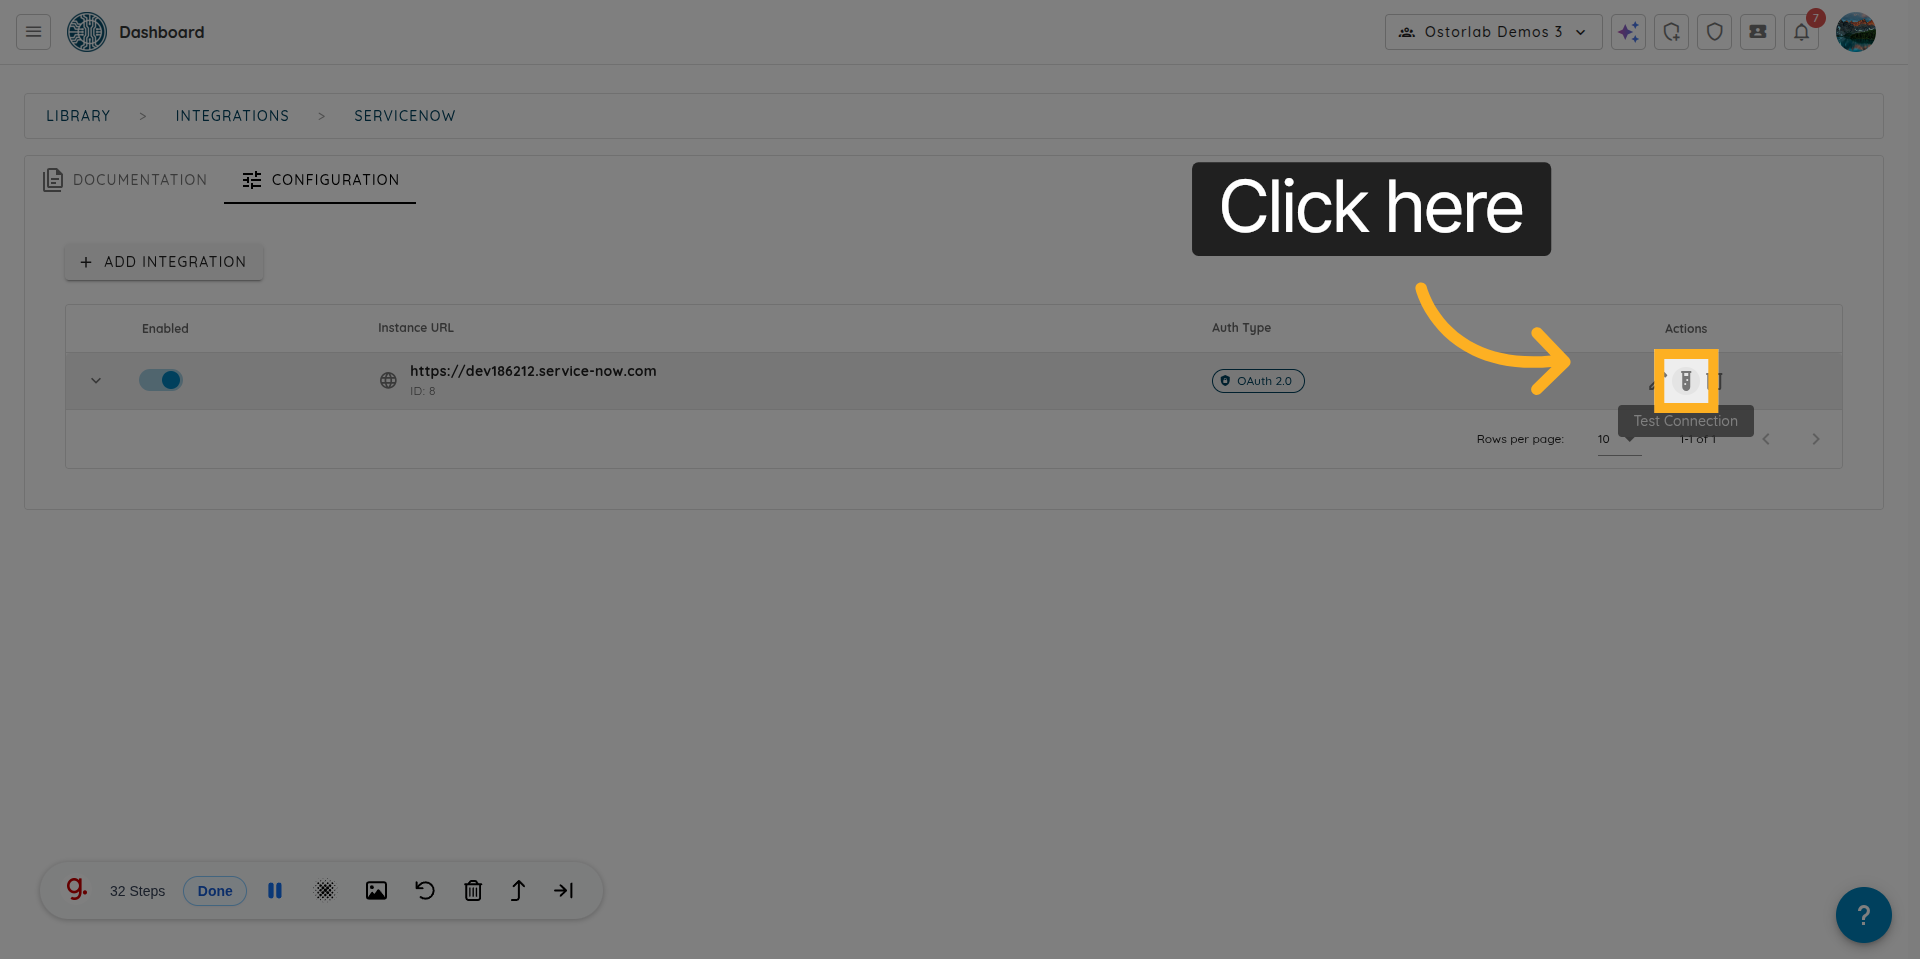
16. Test the ServiceNow Connection
Click here to test the connection with your ServiceNow instance.
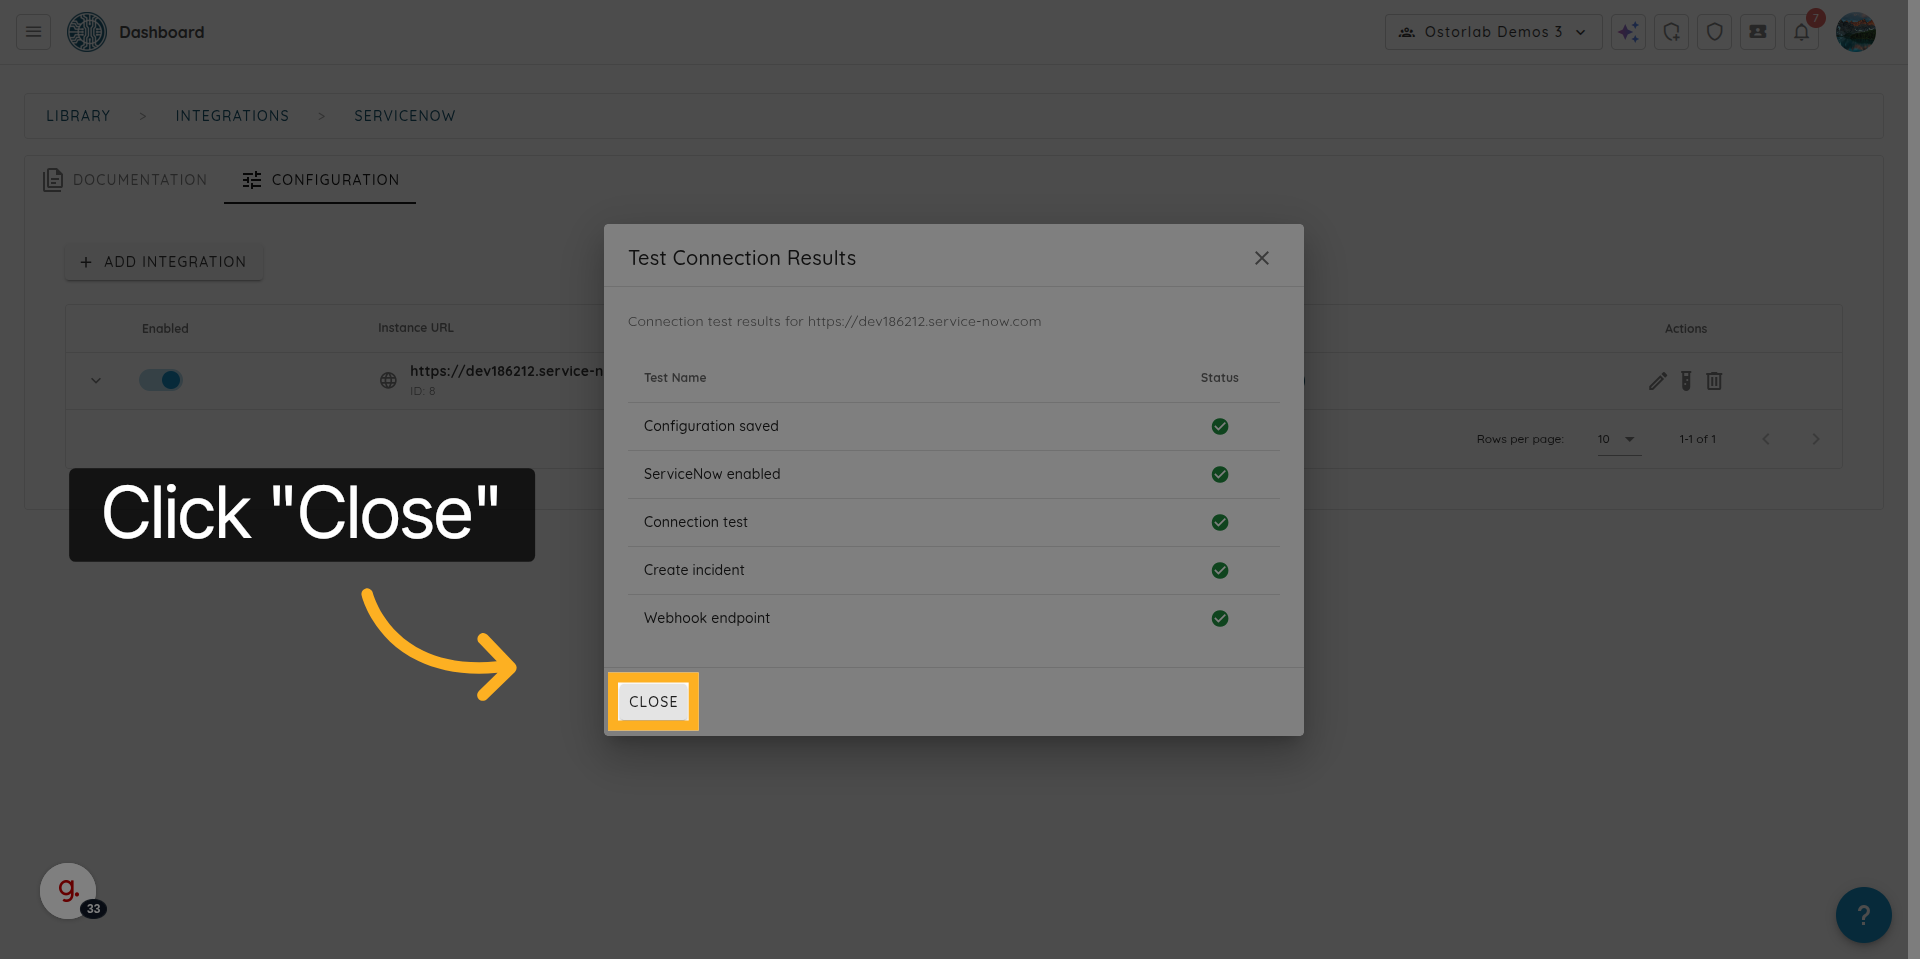
17. Close the Test Results Window
Click “Close” to exit the test results.
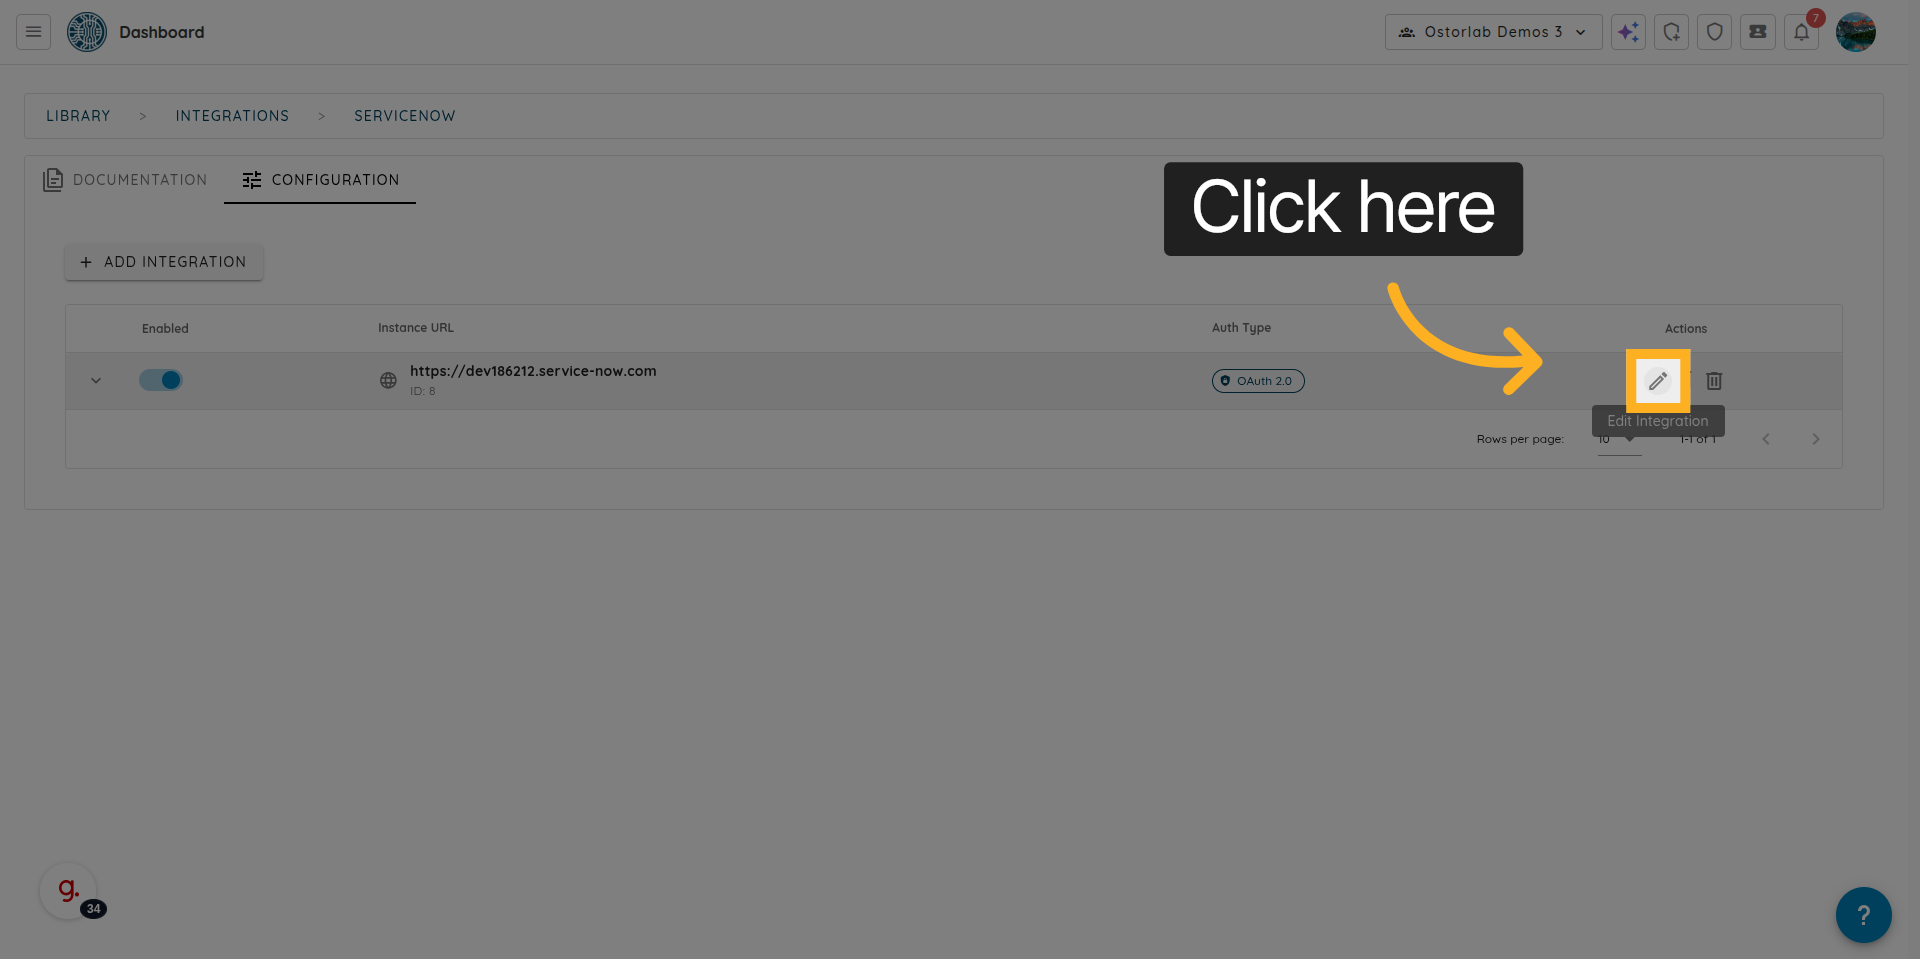
18. Open Integration Settings
Click here to access the settings for the ServiceNow integration.
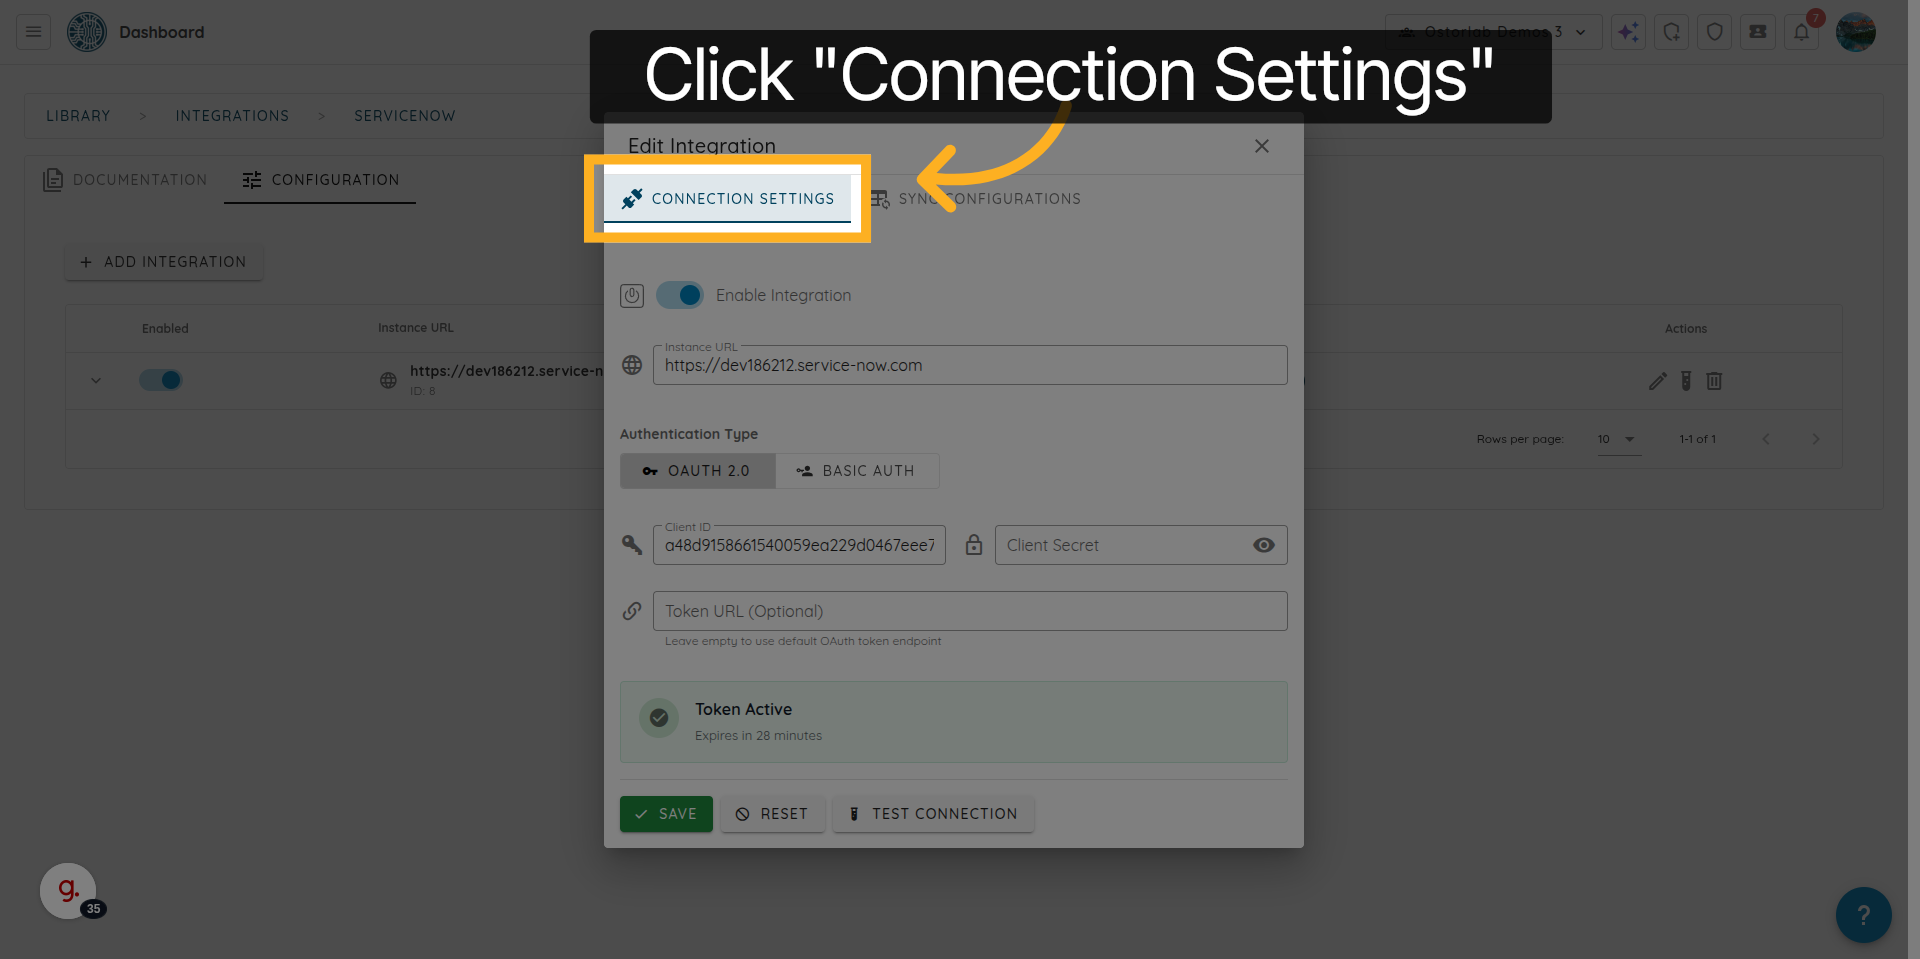
19. Open Connection Settings
Click “Connection Settings” to configure or update how Ostorlab connects to ServiceNow.
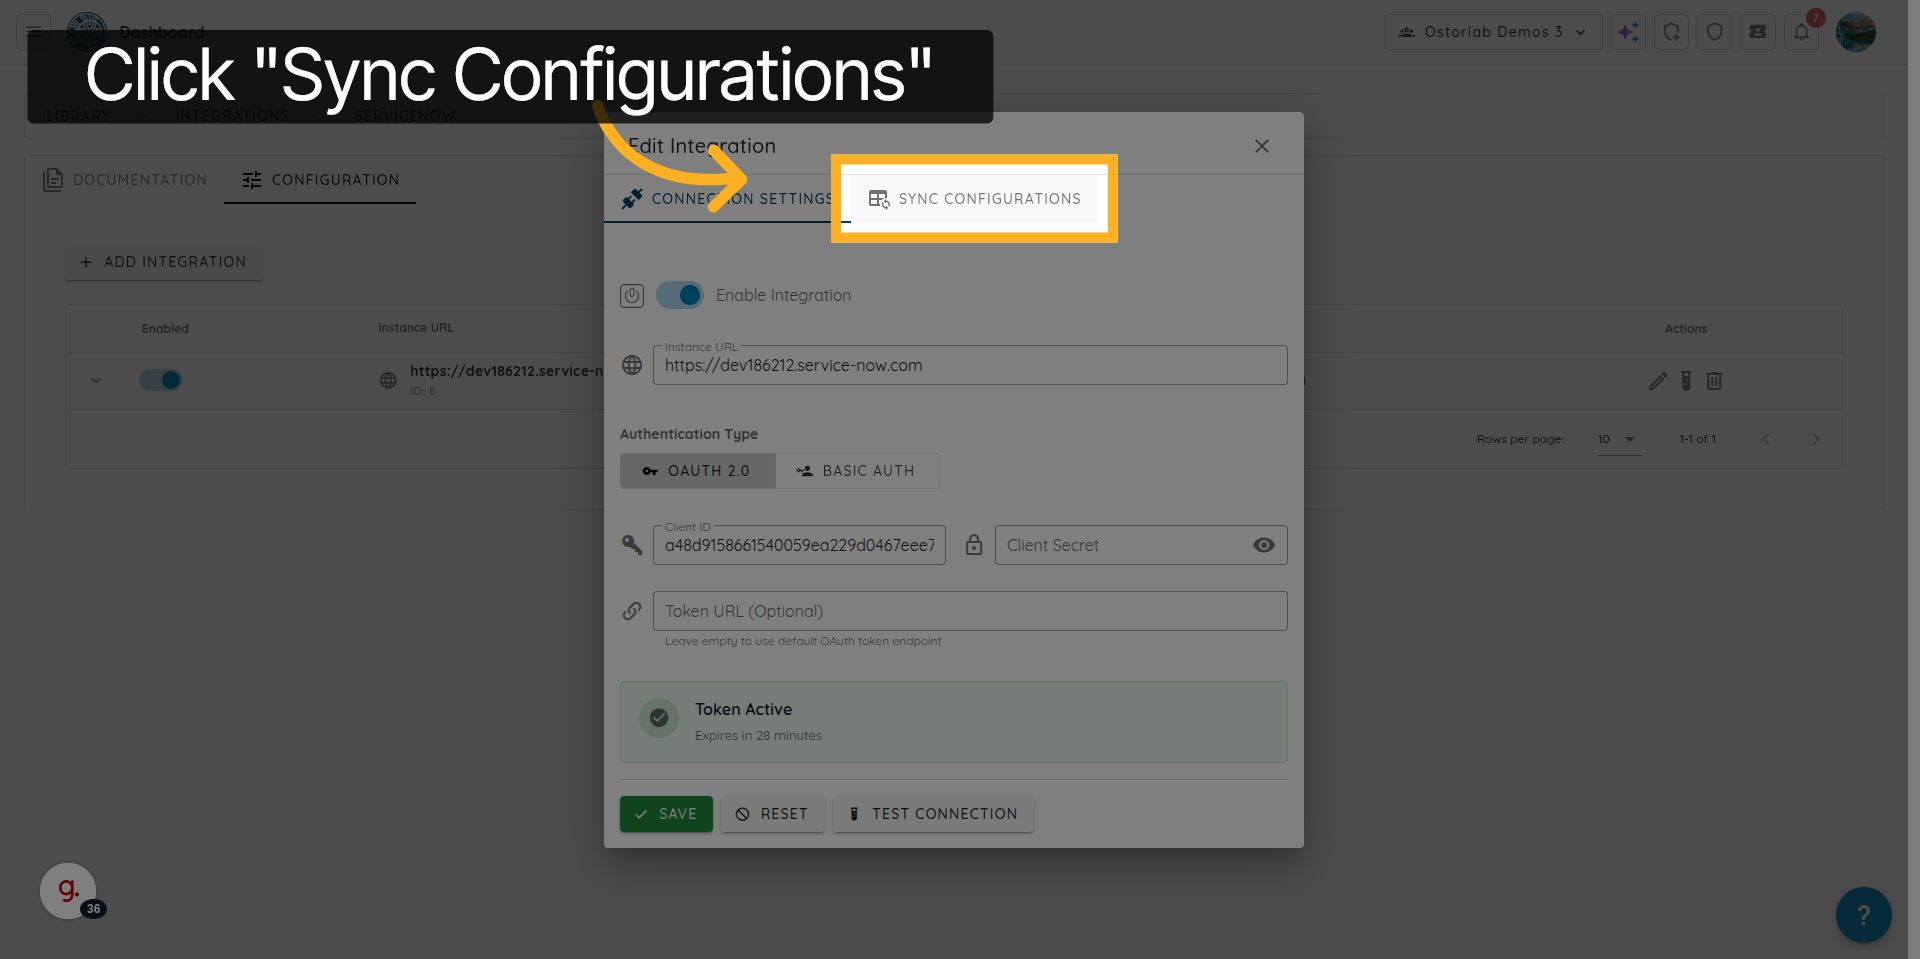
20. Open Sync Configuration Settings
Click “Sync Configurations” to manage how tickets are synchronized with ServiceNow.
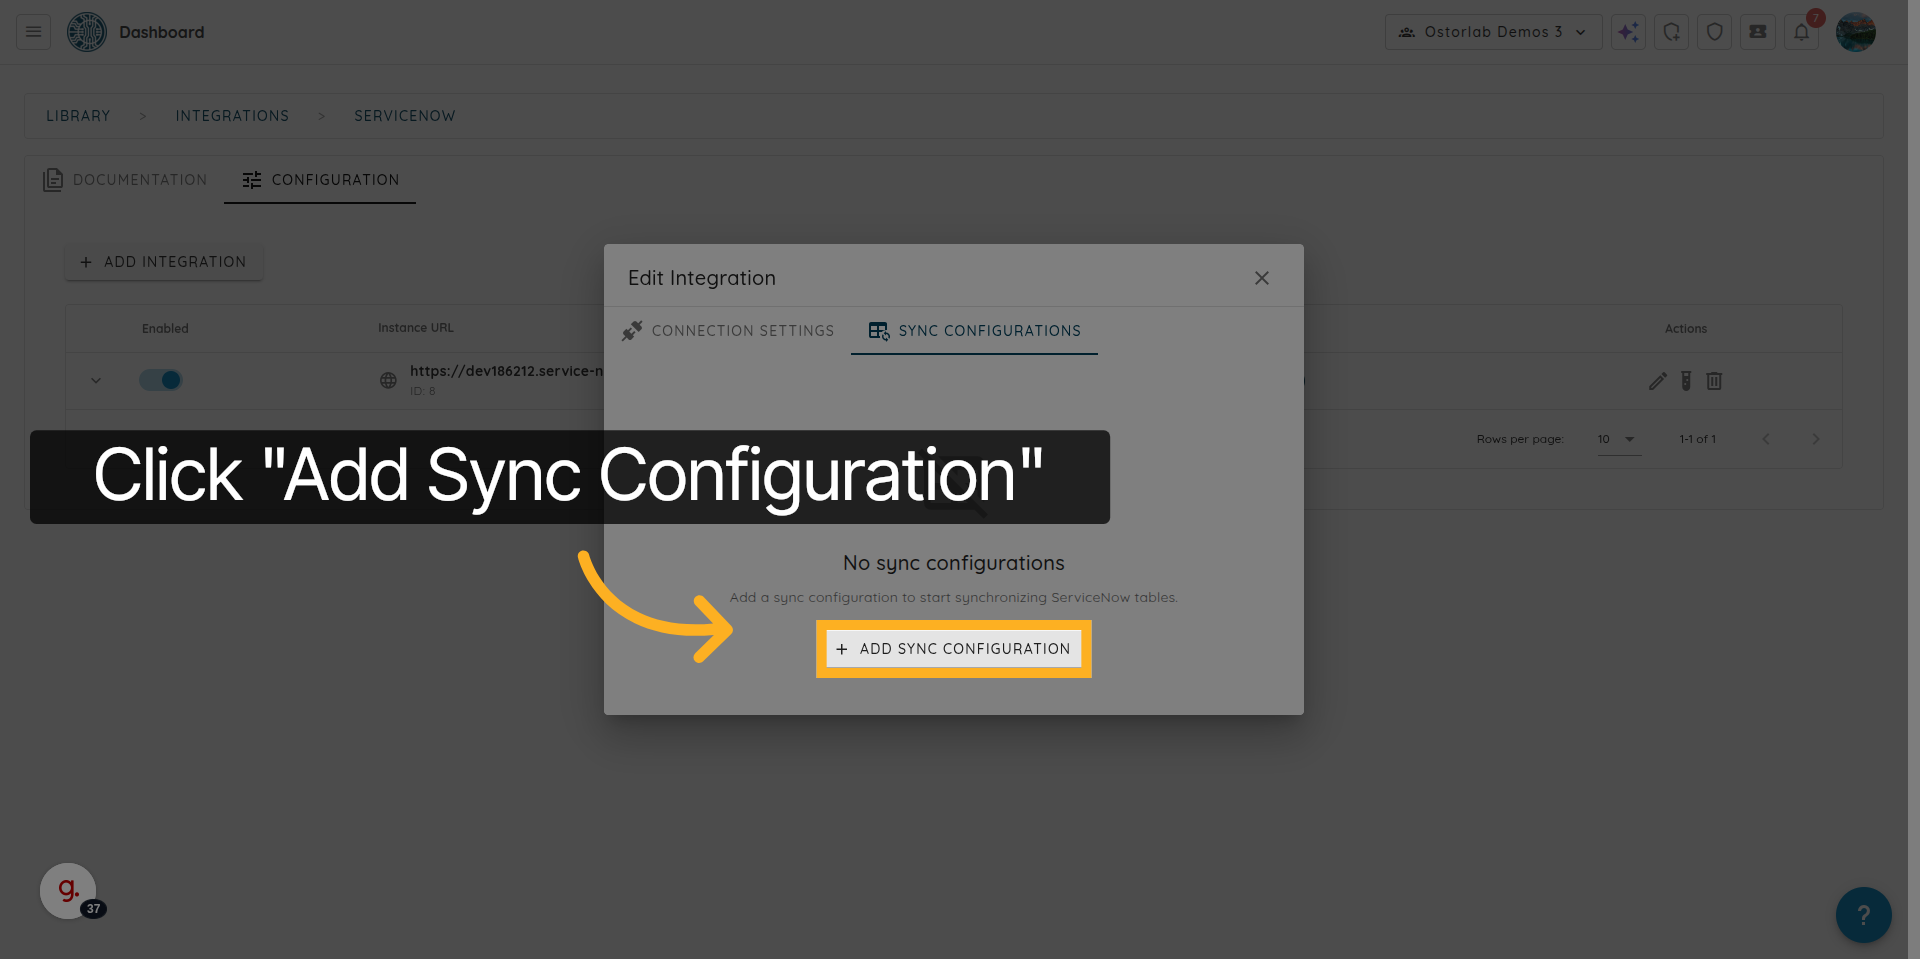
21. Add a Sync Configuration
Click "Add Sync Configuration" to create a new synchronization rule.
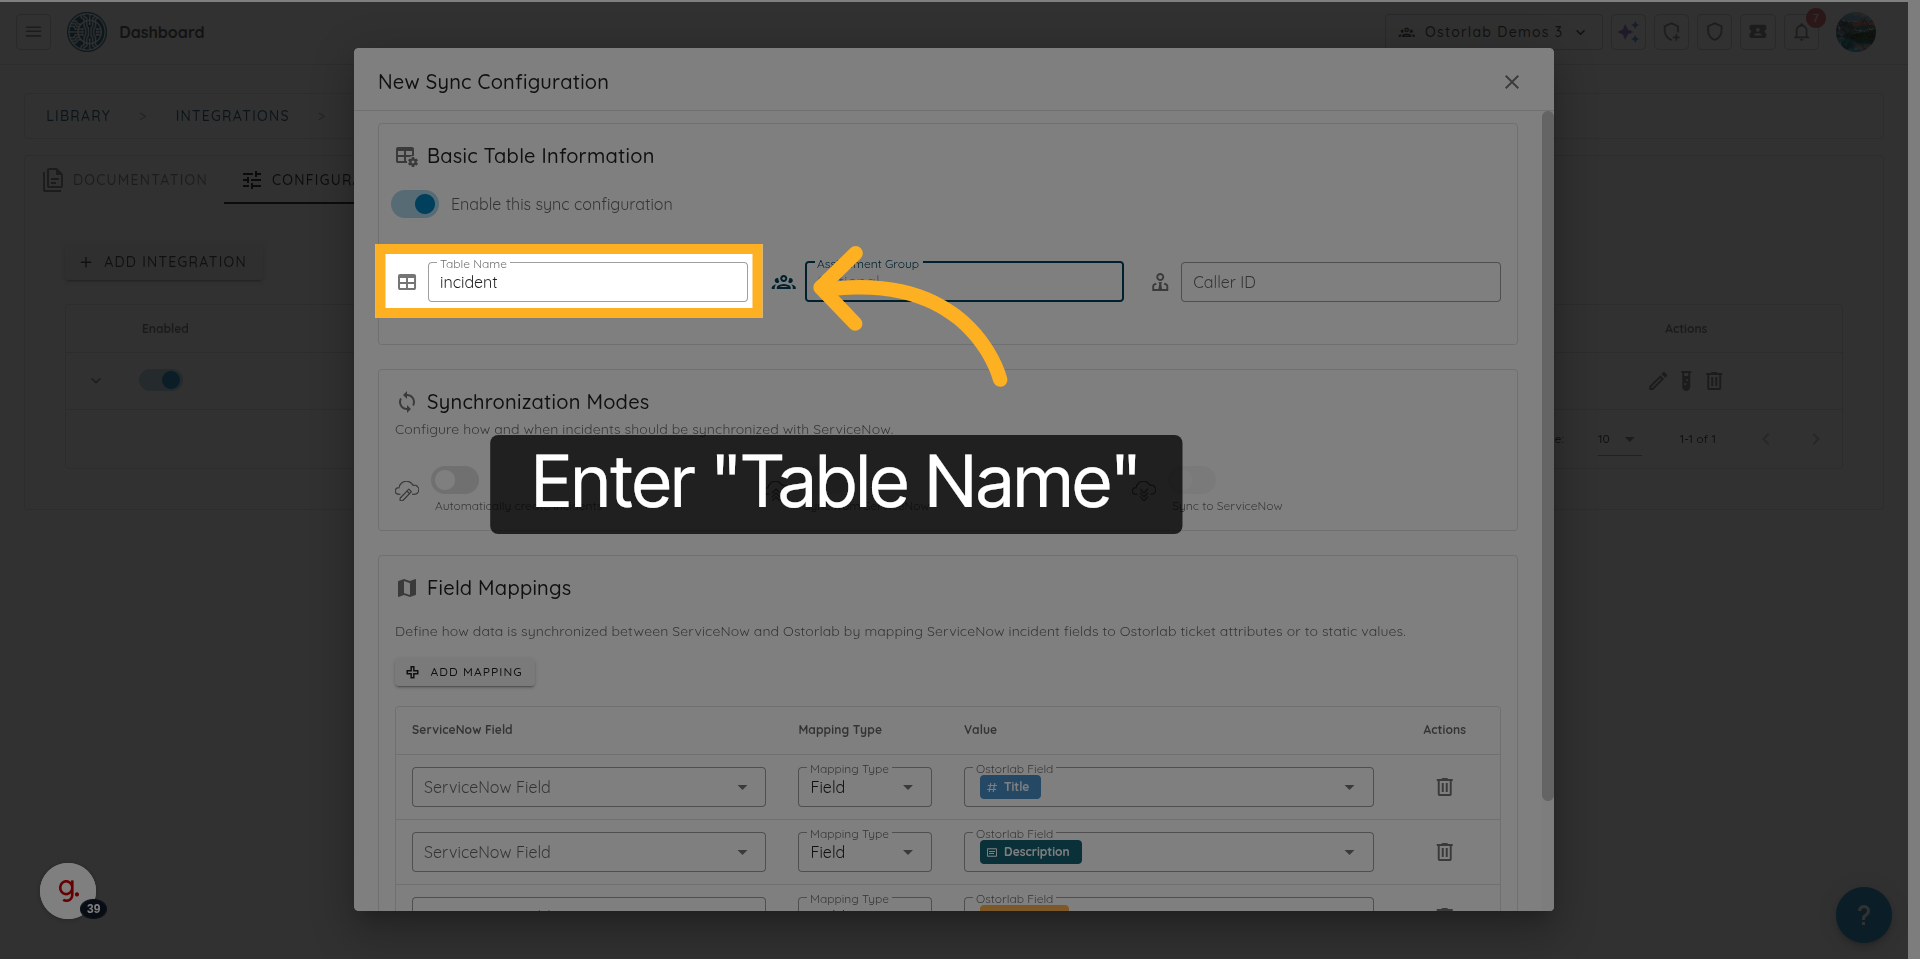
22. Specify the ServiceNow Table Name
Enter the servicenow “Table Name”.
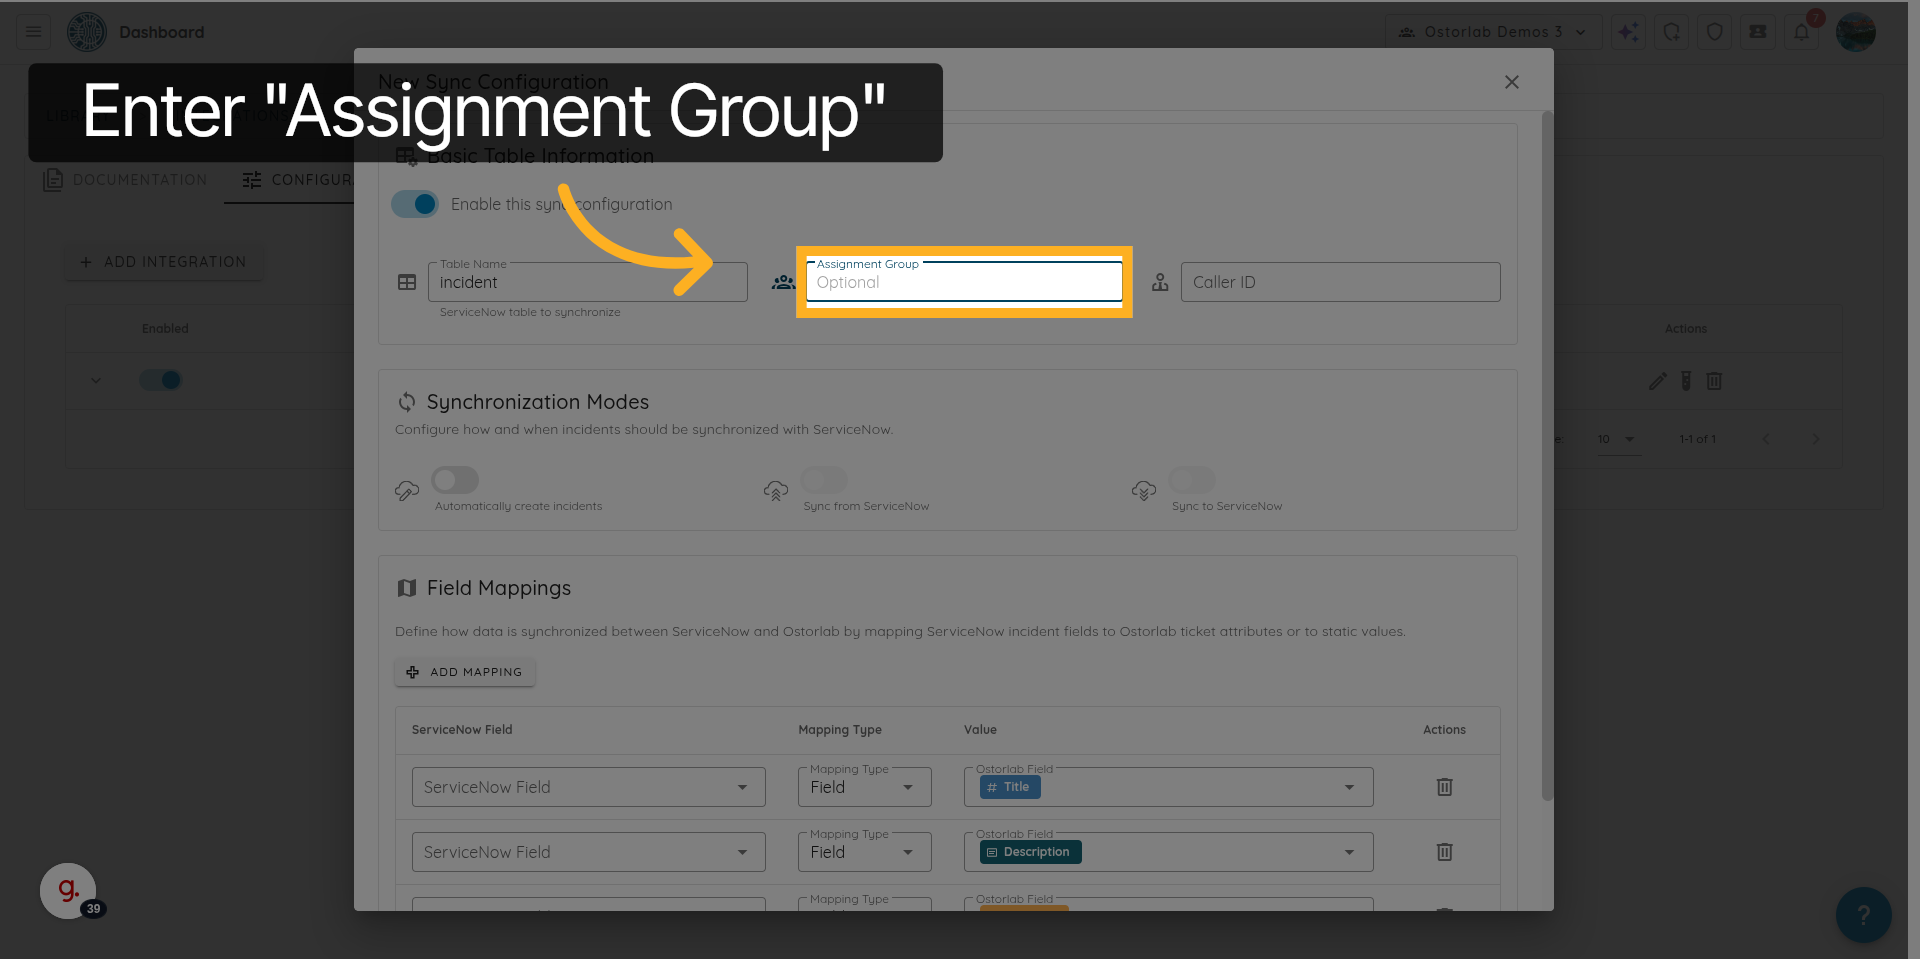
23. Specify the Assignment Group (Optional)
Enter the “Assignment Group” if required.
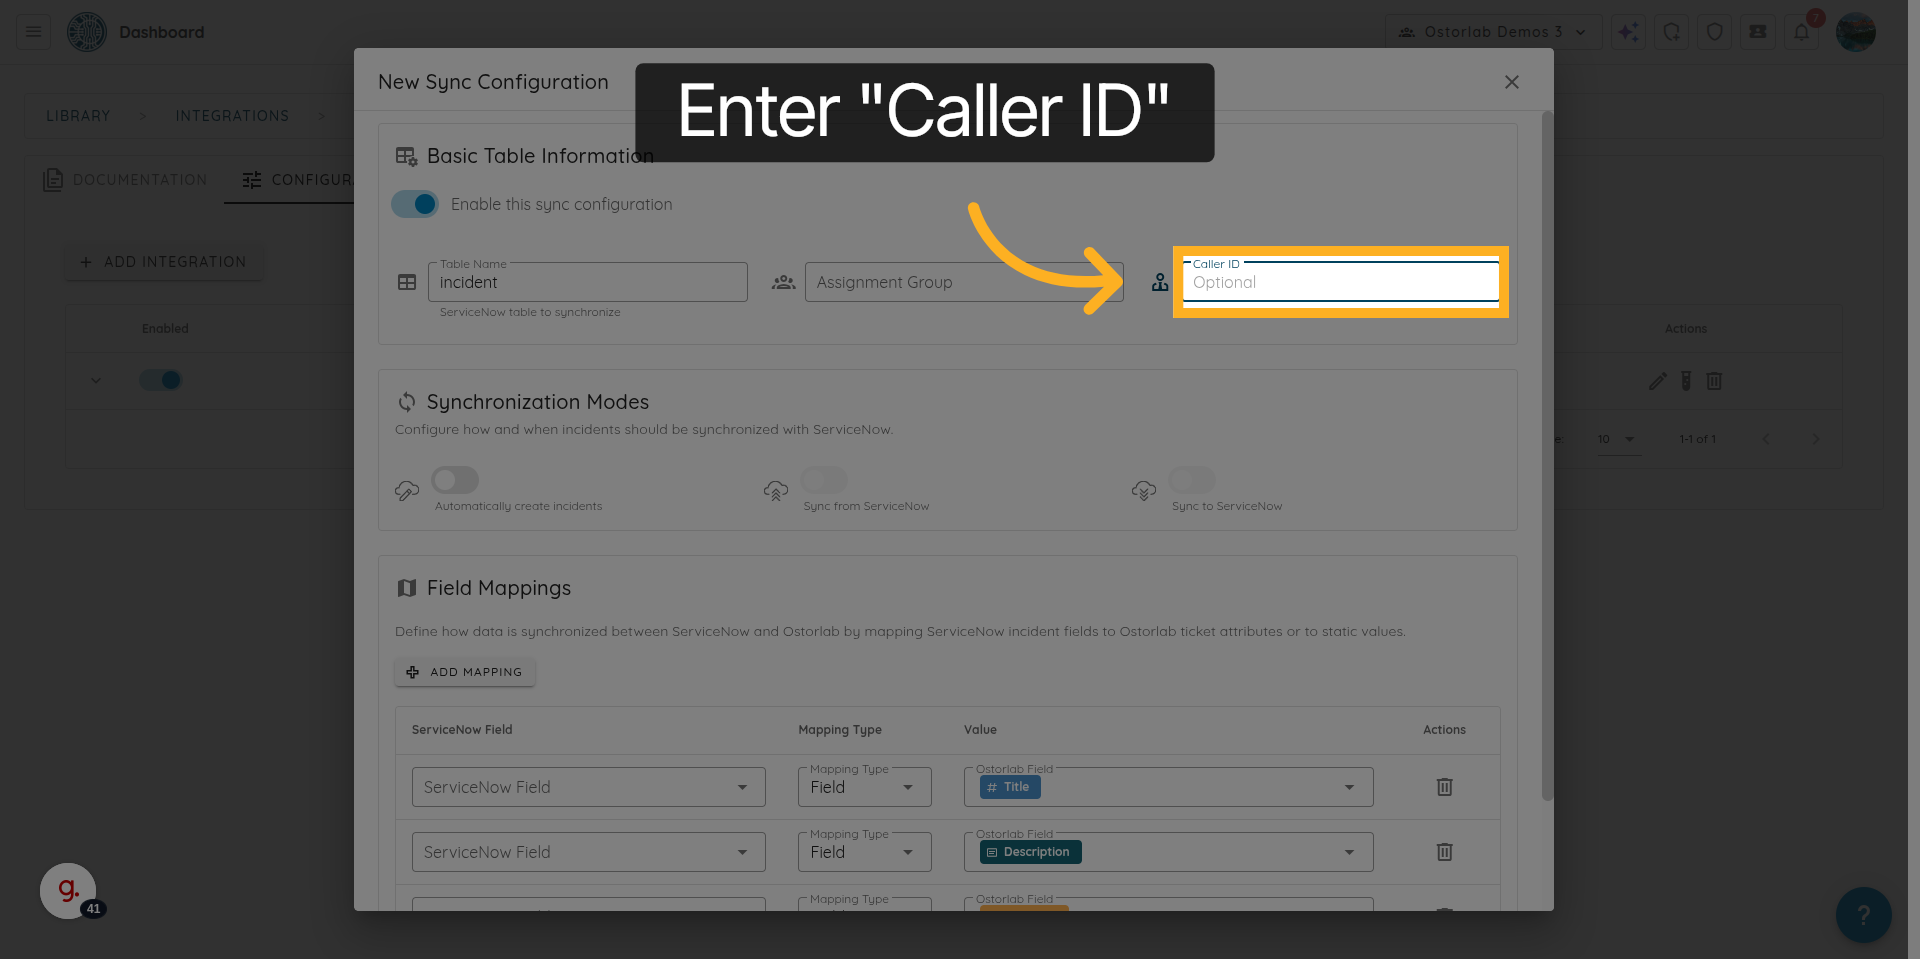
24. Specify the Caller ID (Optional)
Enter the “Caller ID” if required.
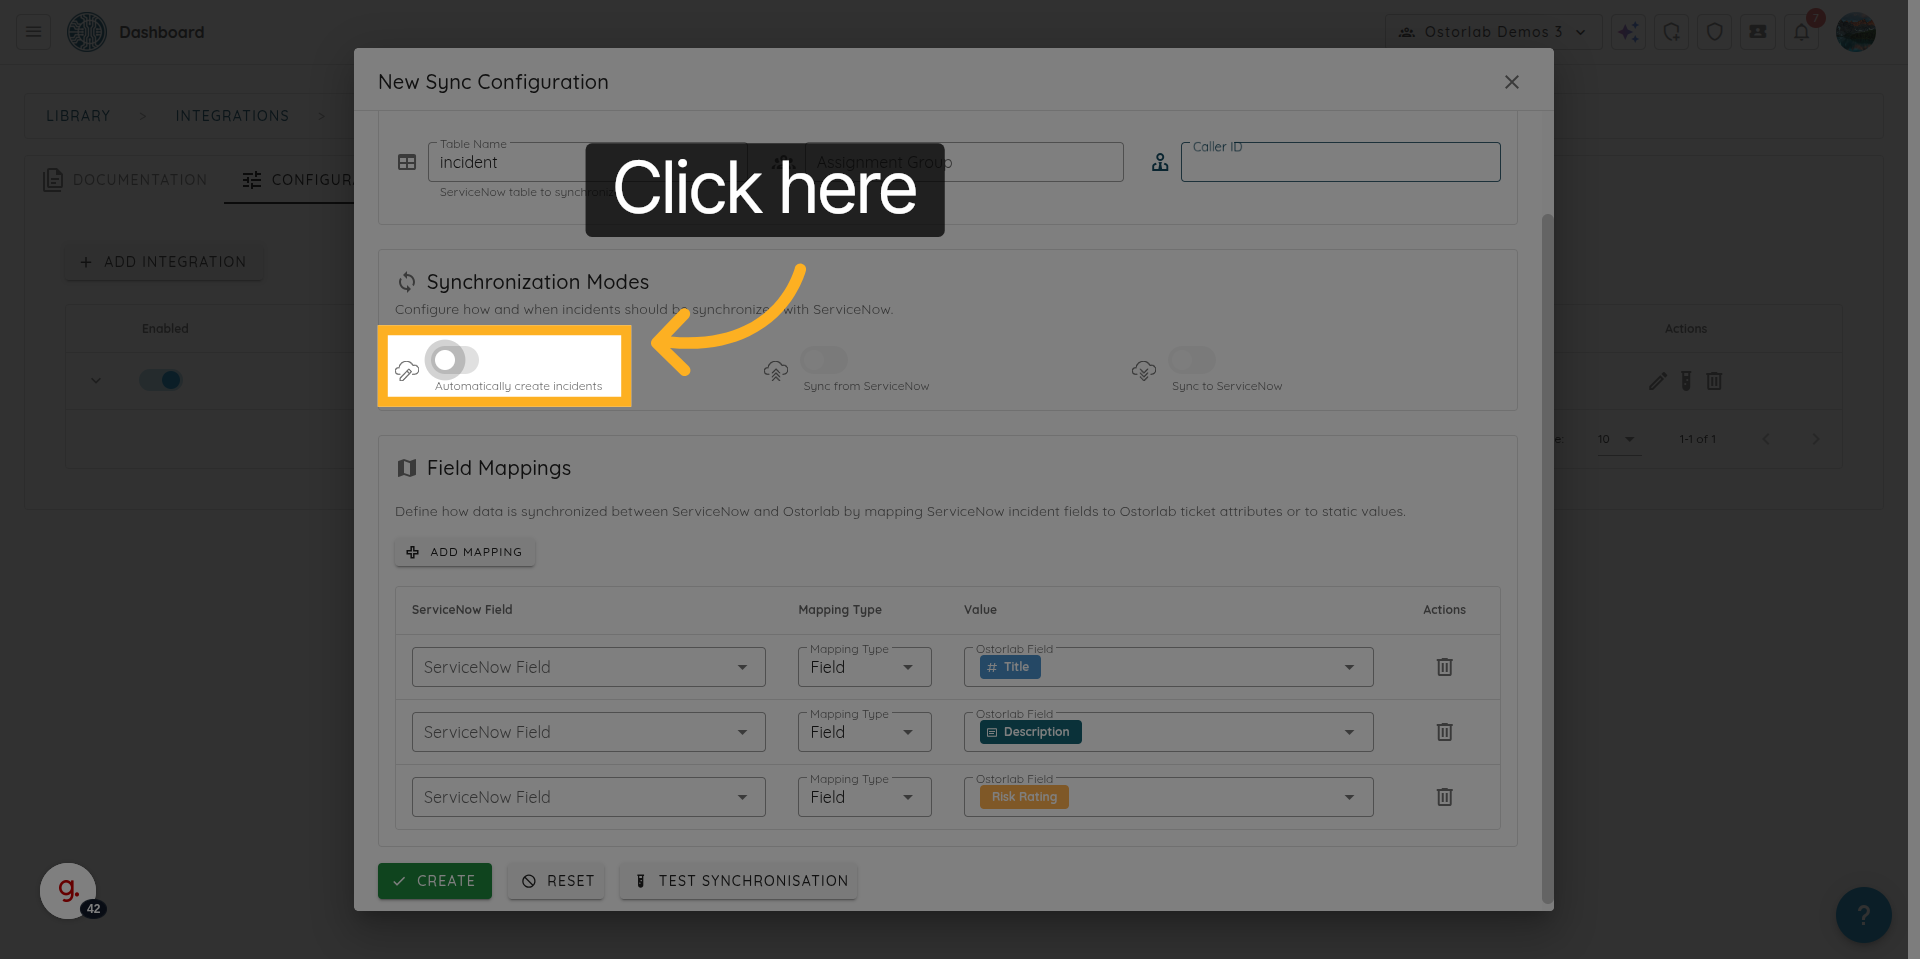
25. Enable or Disable Automatic Ticket Creation
Click here to activate or deactivate automatic incident creation.
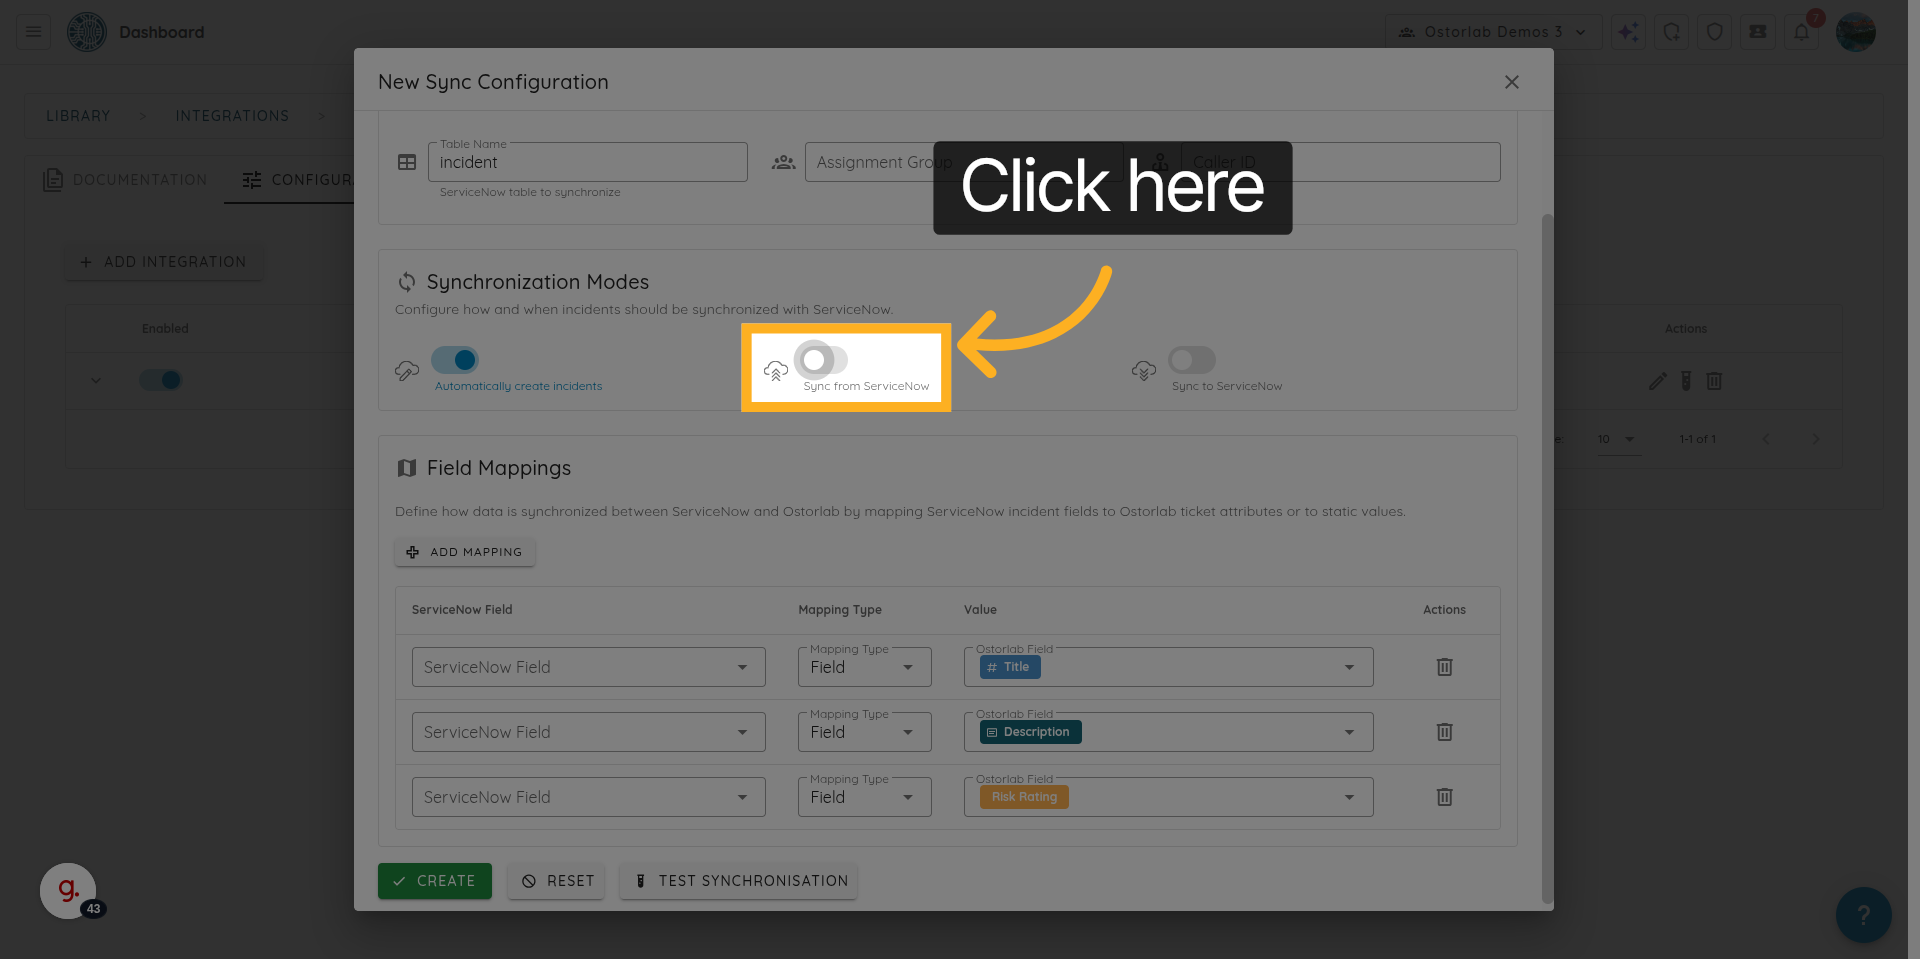
26. Enable or Disable Sync from ServiceNow to Ostorlab
Click here to enable or disable synchronization from ServiceNow to Ostorlab.
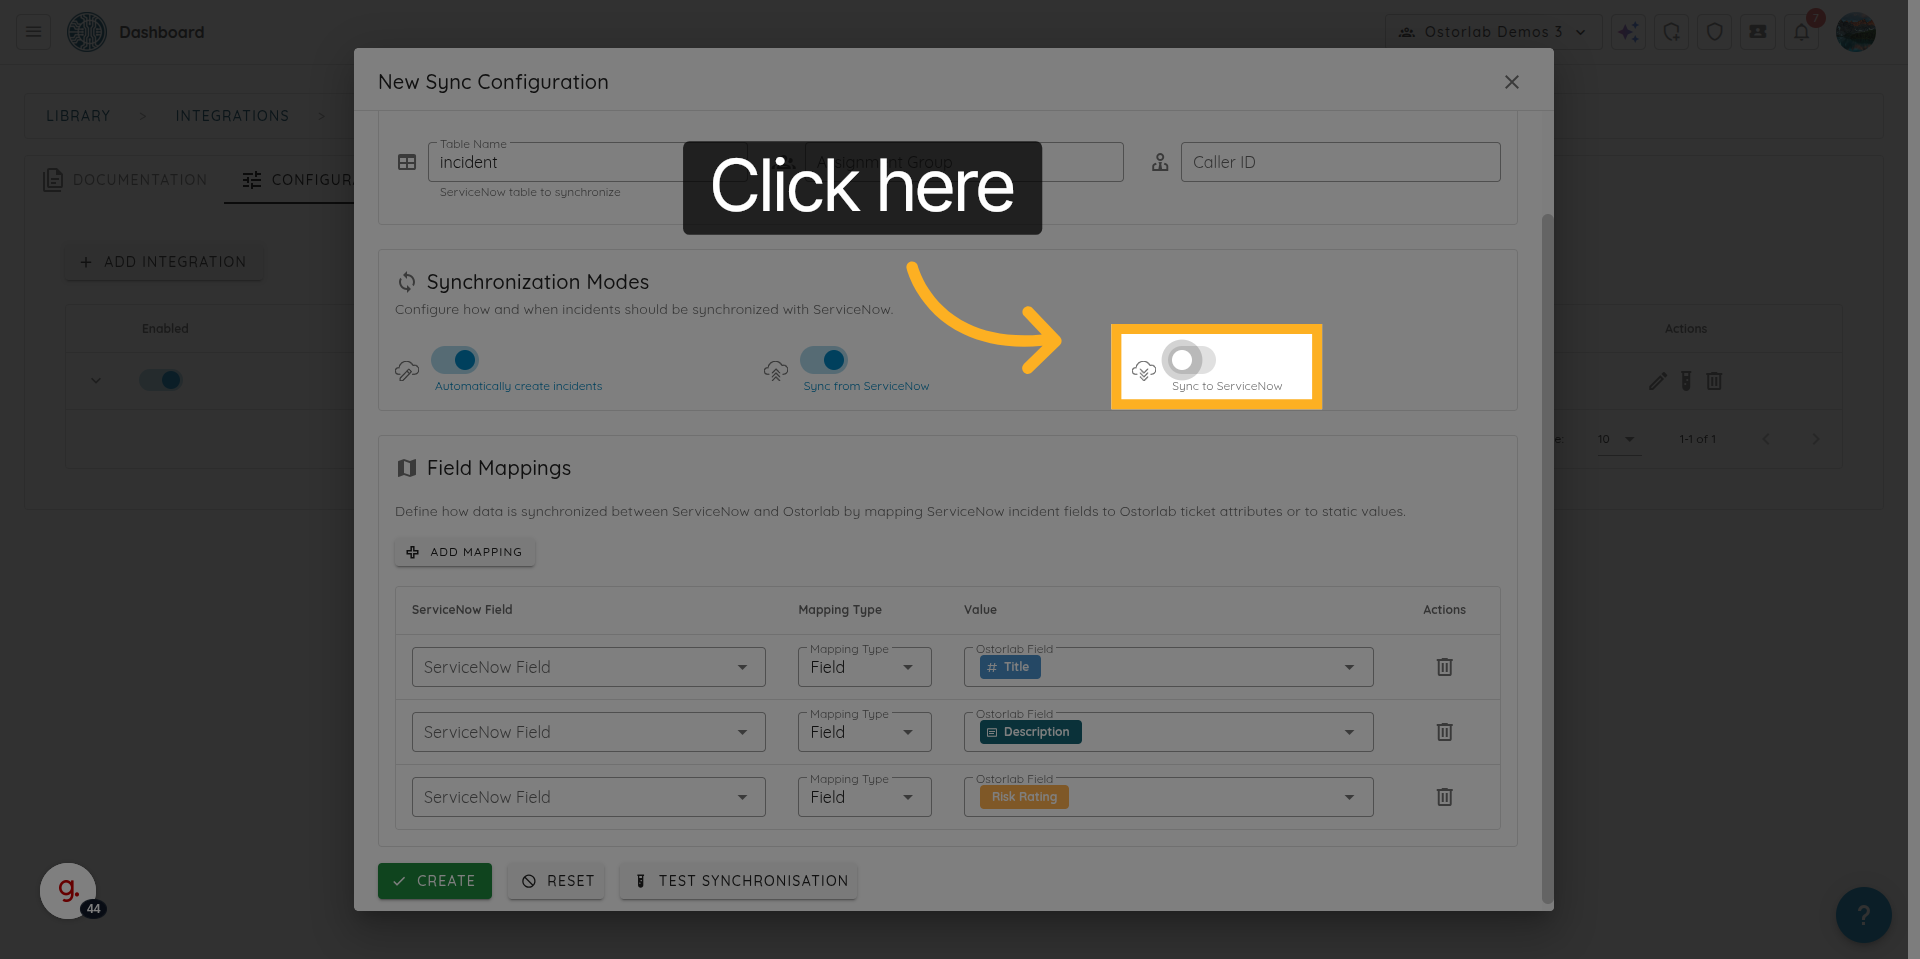
27. Enable or Disable Sync from Ostorlab to ServiceNow
Click here to enable or disable synchronization from Ostorlab to ServiceNow.
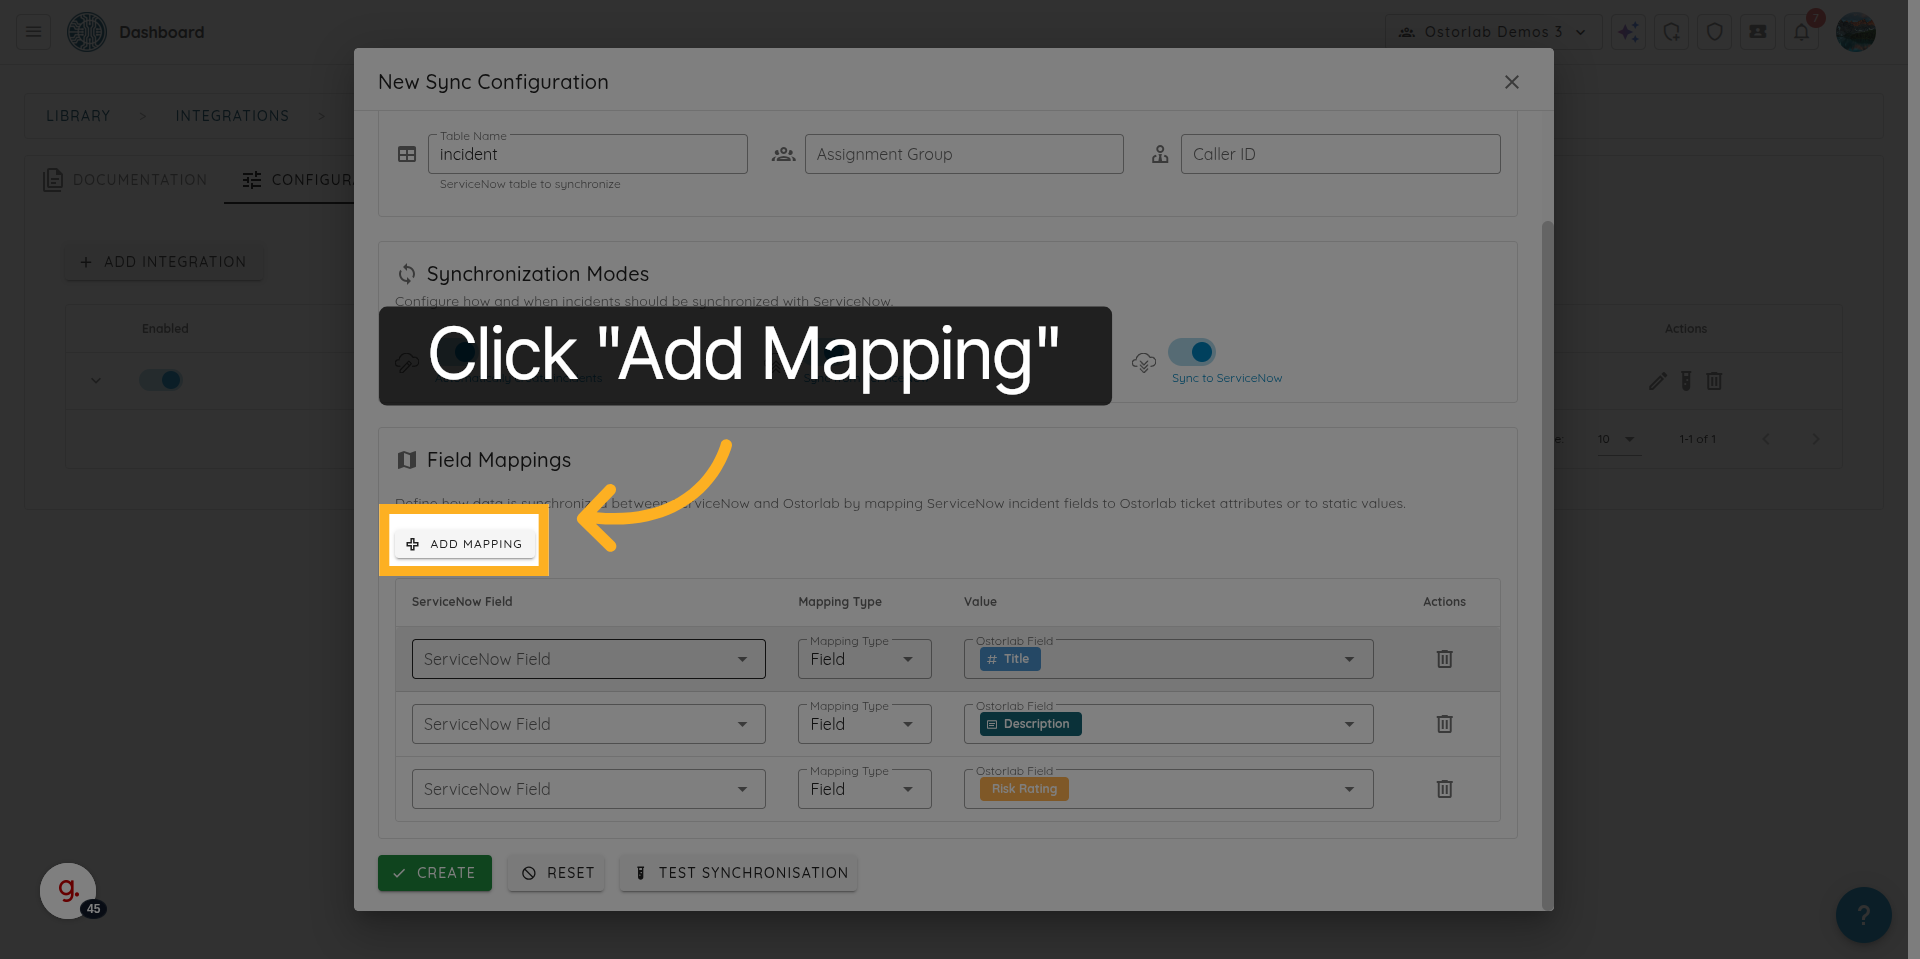
28. Add a Field Mapping
Click here to add new field mapping
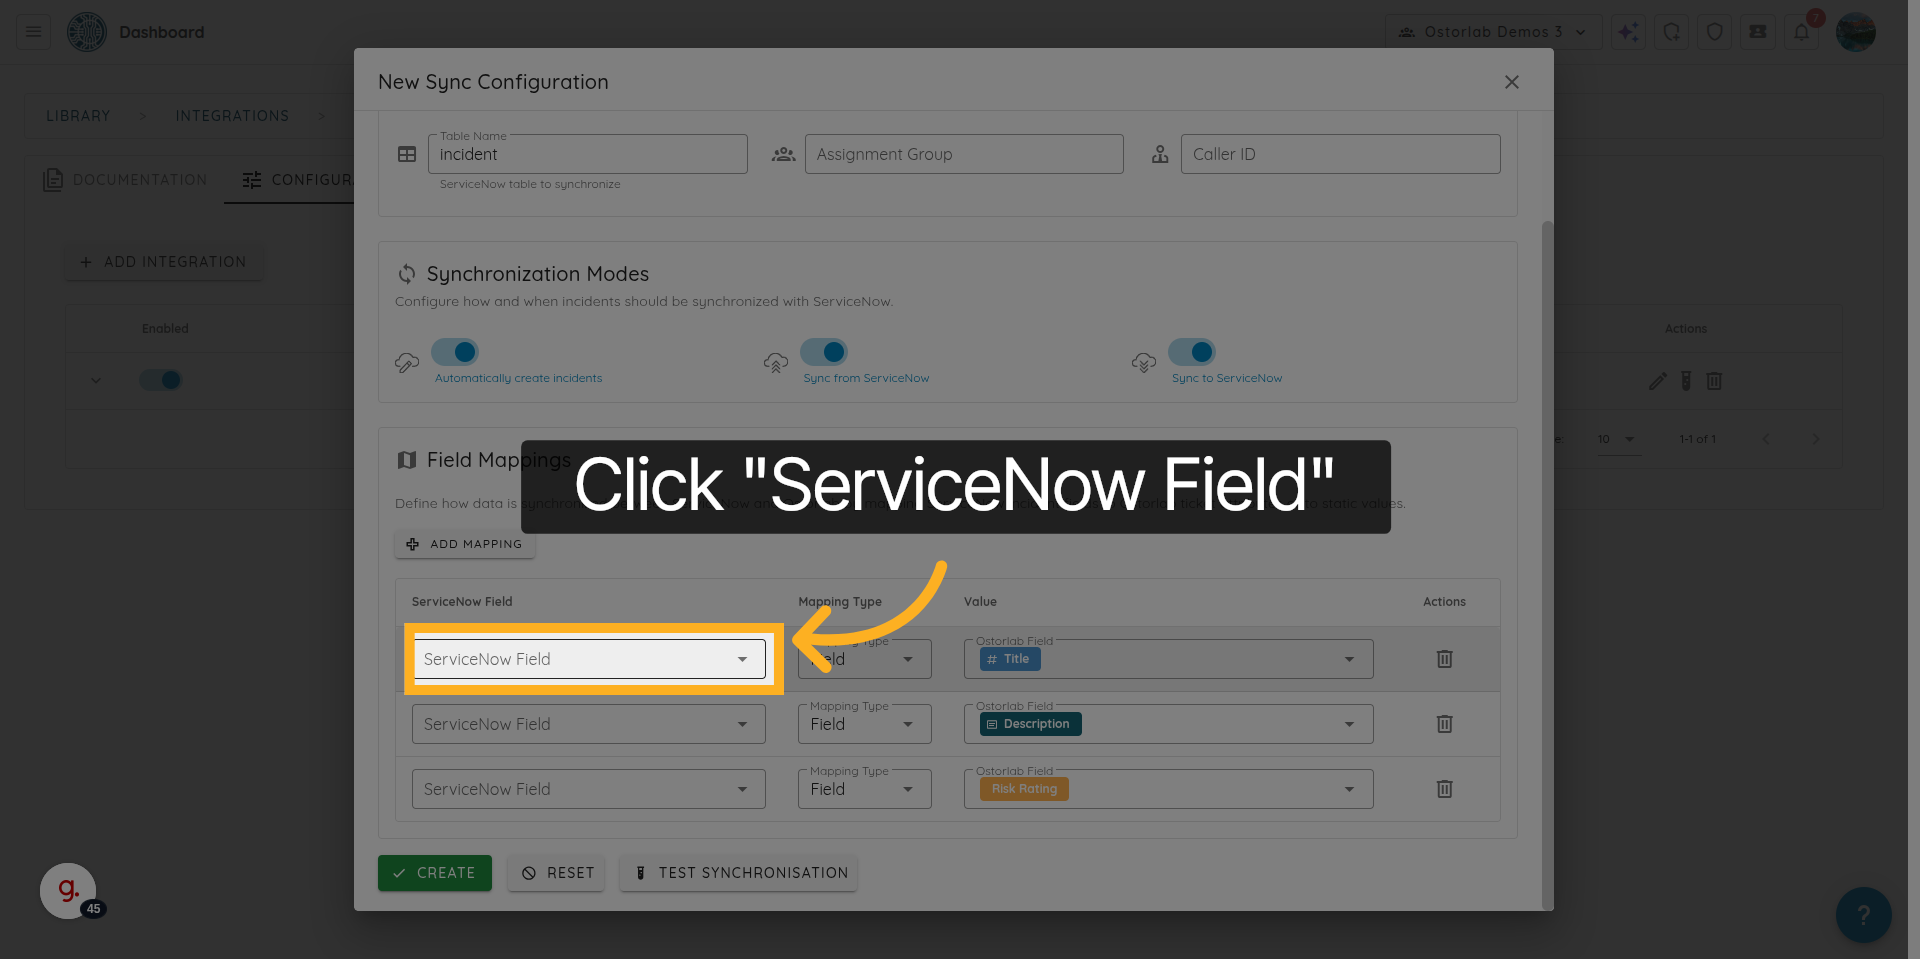
29. Select a ServiceNow Field to Map
Select the ServiceNow field you want to map to an Ostorlab field.
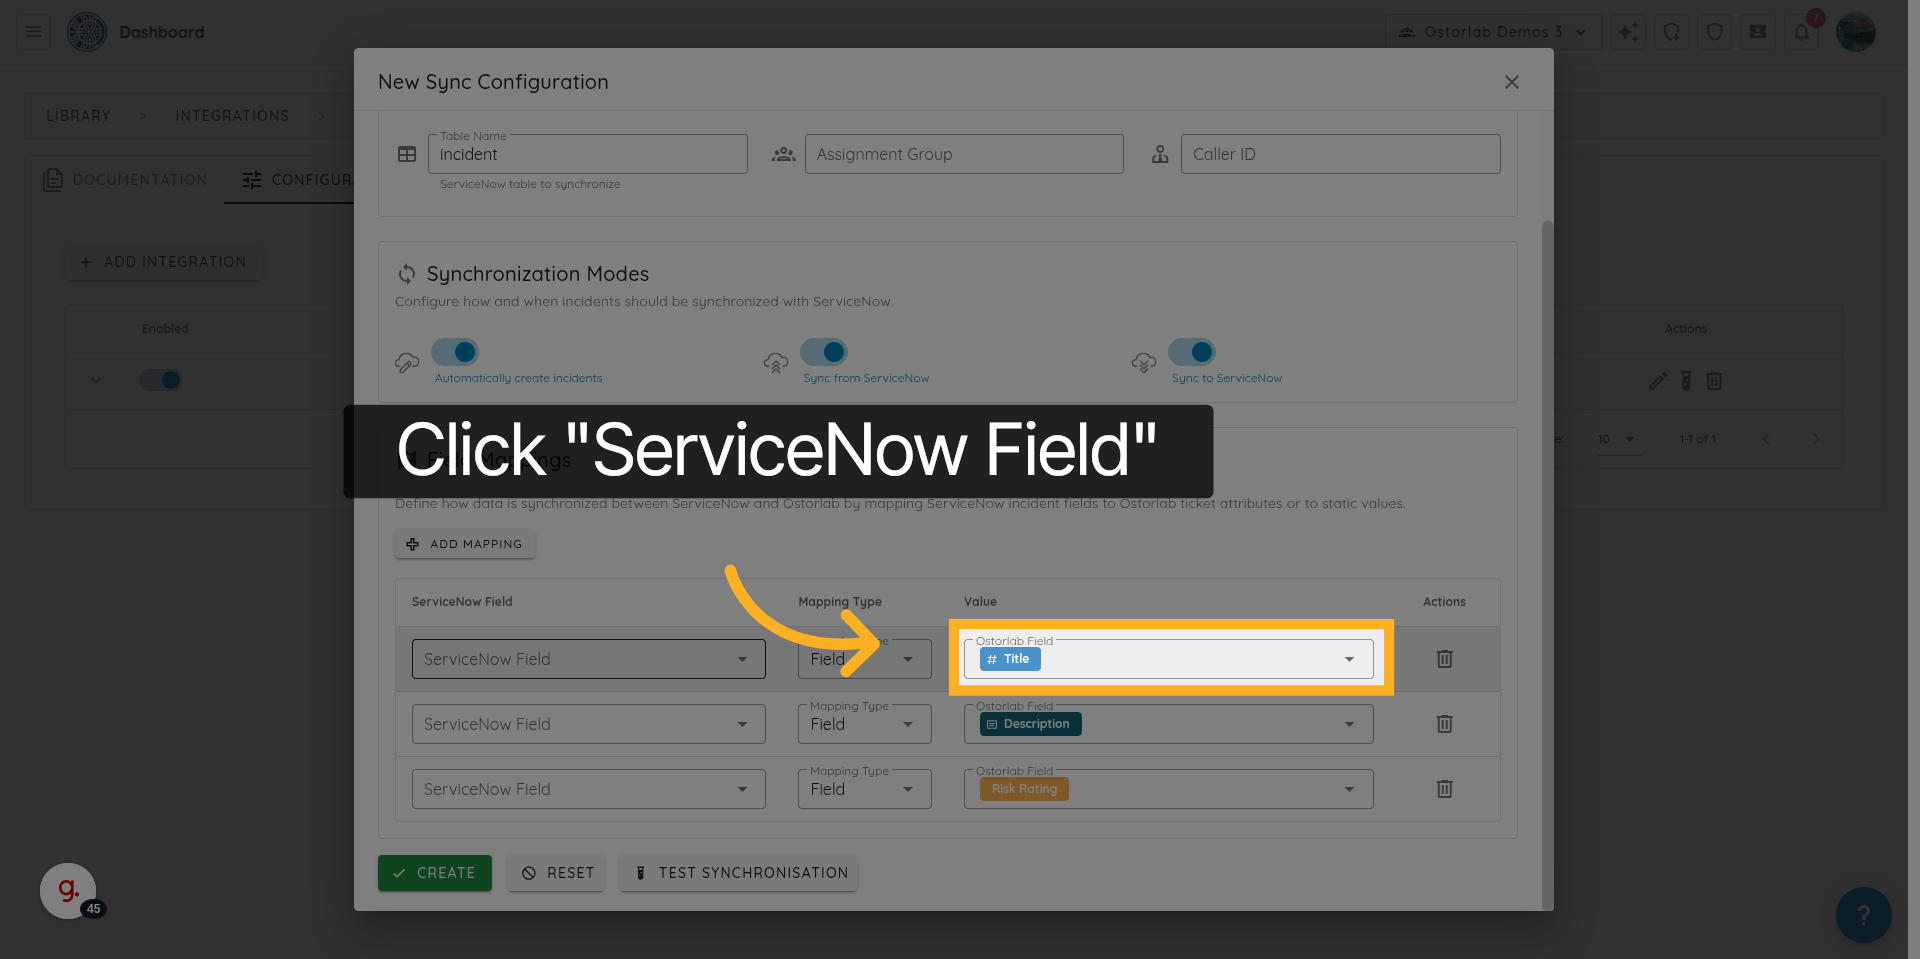
30. Select an Ostorlab Ticket Field
Select the Ostorlab ticket field.
31. Test the Synchronisation Configuration
Click “Test Synchronisation” to verify that the sync is working correctly.

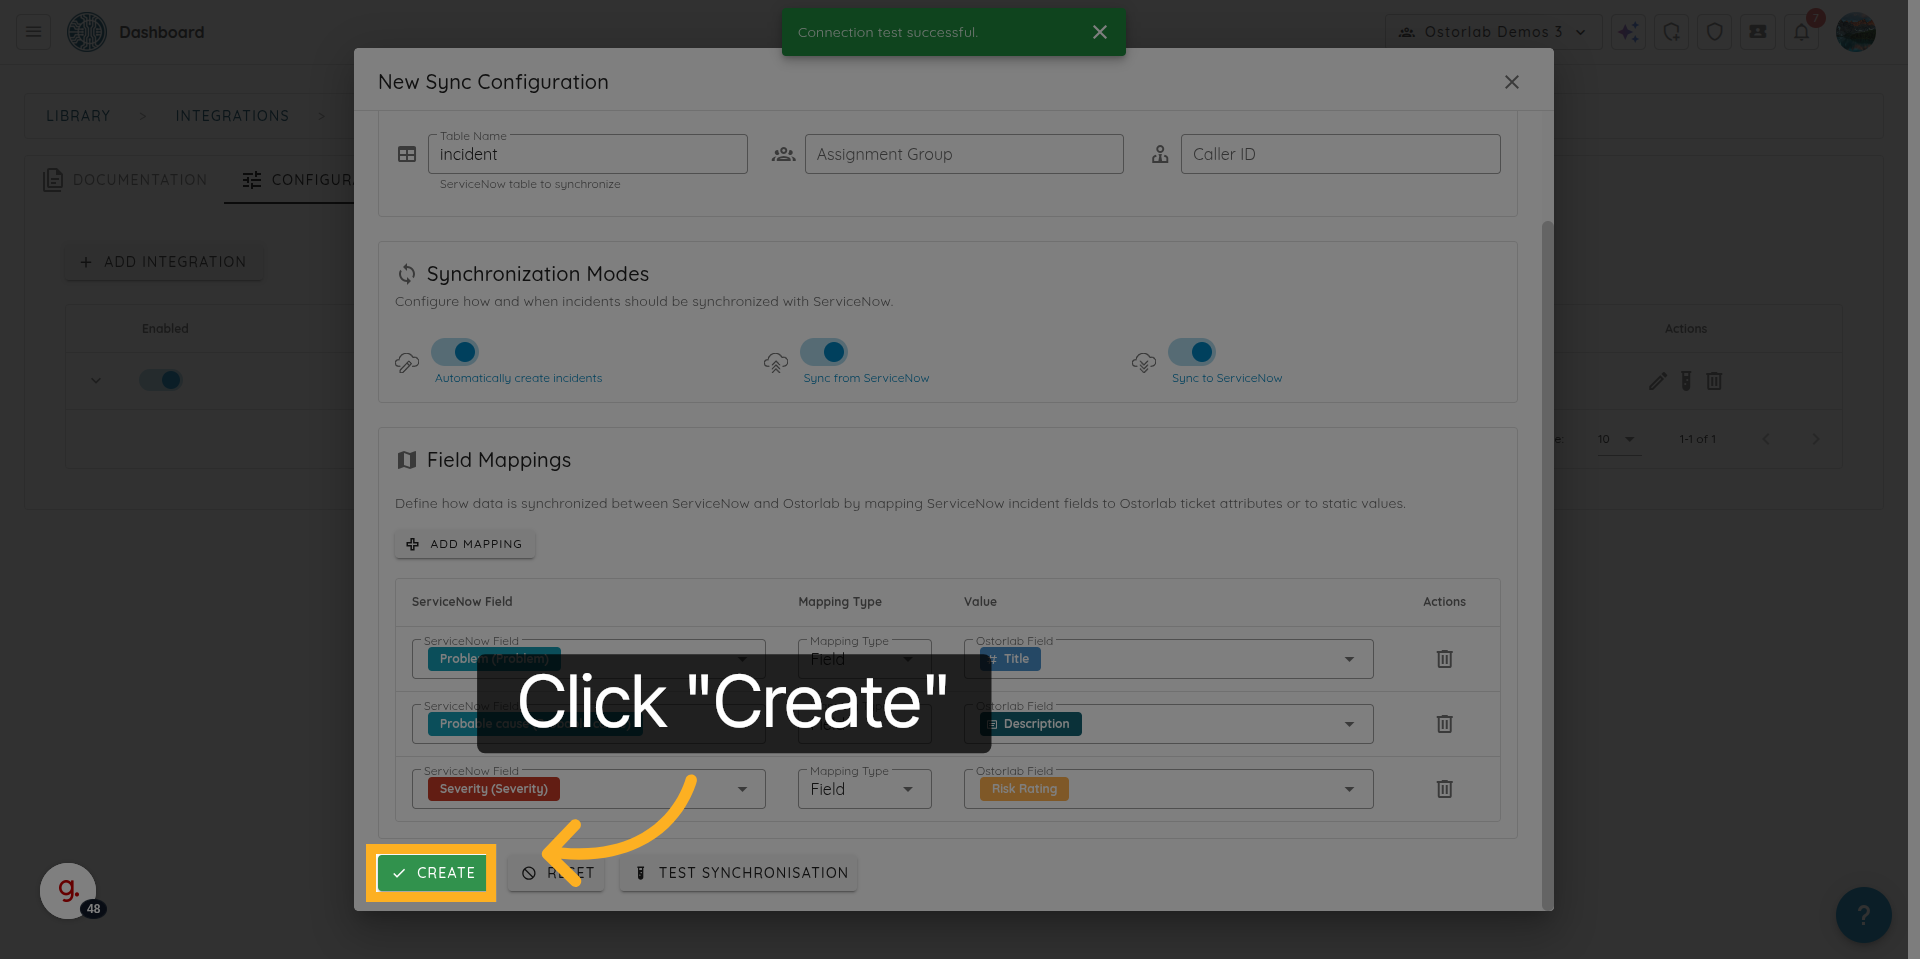
32. Save the Sync Configuration
Click “Create” to save the synchronization configuration.
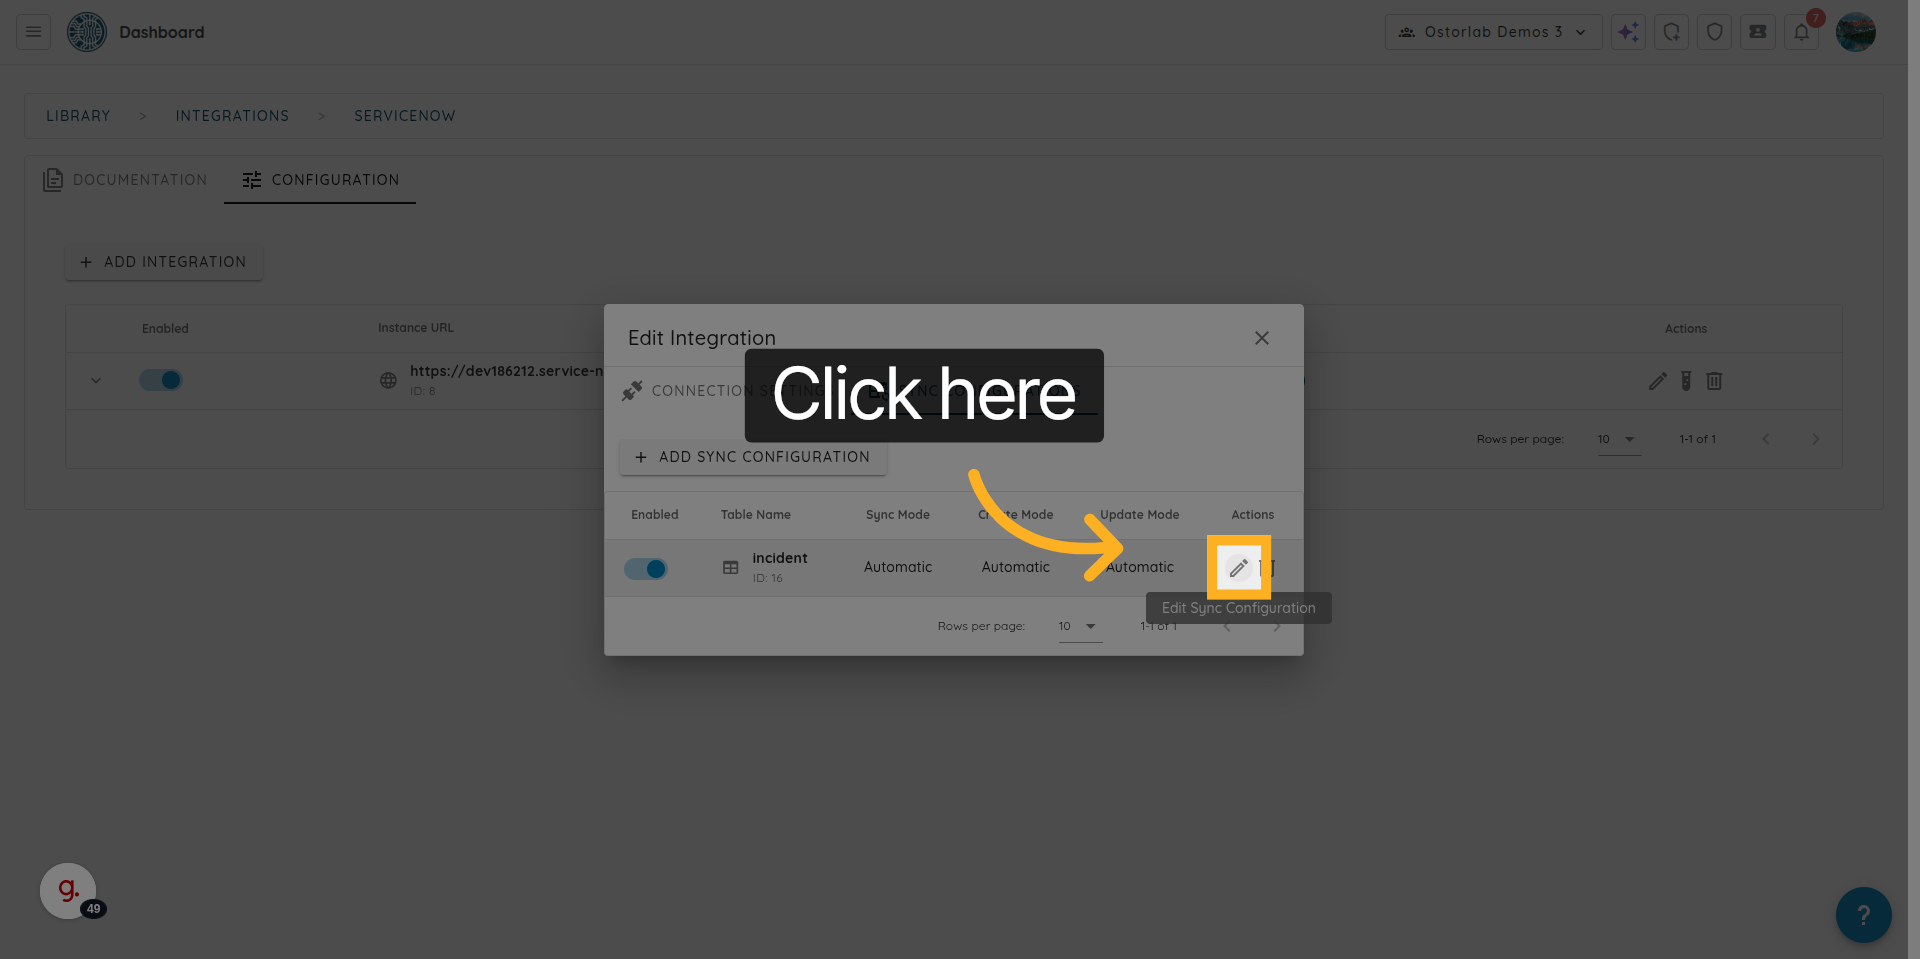
33. Manage Sync Configuration Settings
Click here to manage or modify the synchronization settings.
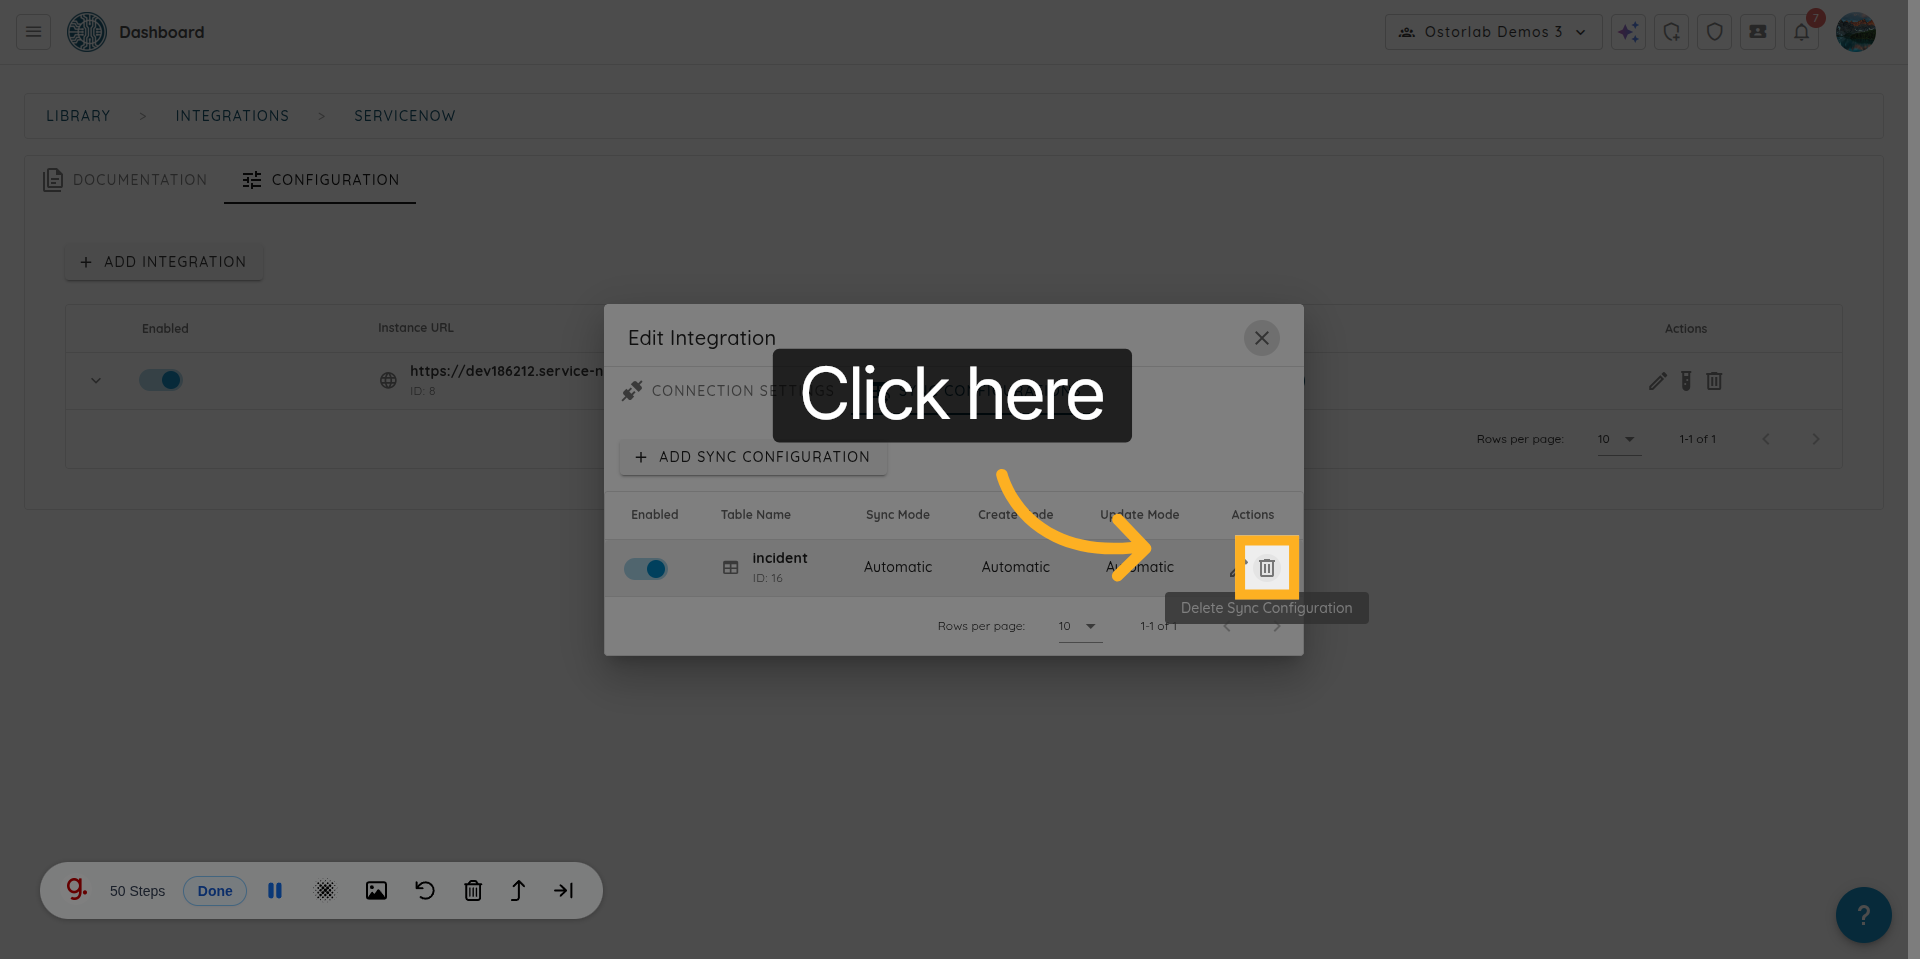
34. Delete the Sync Configuration
Click "Delete" to remove the synchronization configuration if no longer needed.
You have successfully configured a ServiceNow integration within the Ostorlab platform, including authentication and synchronization settings.