Web AI Pentest Scan
The AI Pentest scan enables you to describe exactly what you want to test and analyzes your description to uncover everything from critical logic flaws to subtle edge-case vulnerabilities that traditional scanners often miss. It delivers validated, developer-ready findings so your teams can quickly understand and fix security issues in targeted areas.
To create a Web AI Pentest scan:
-
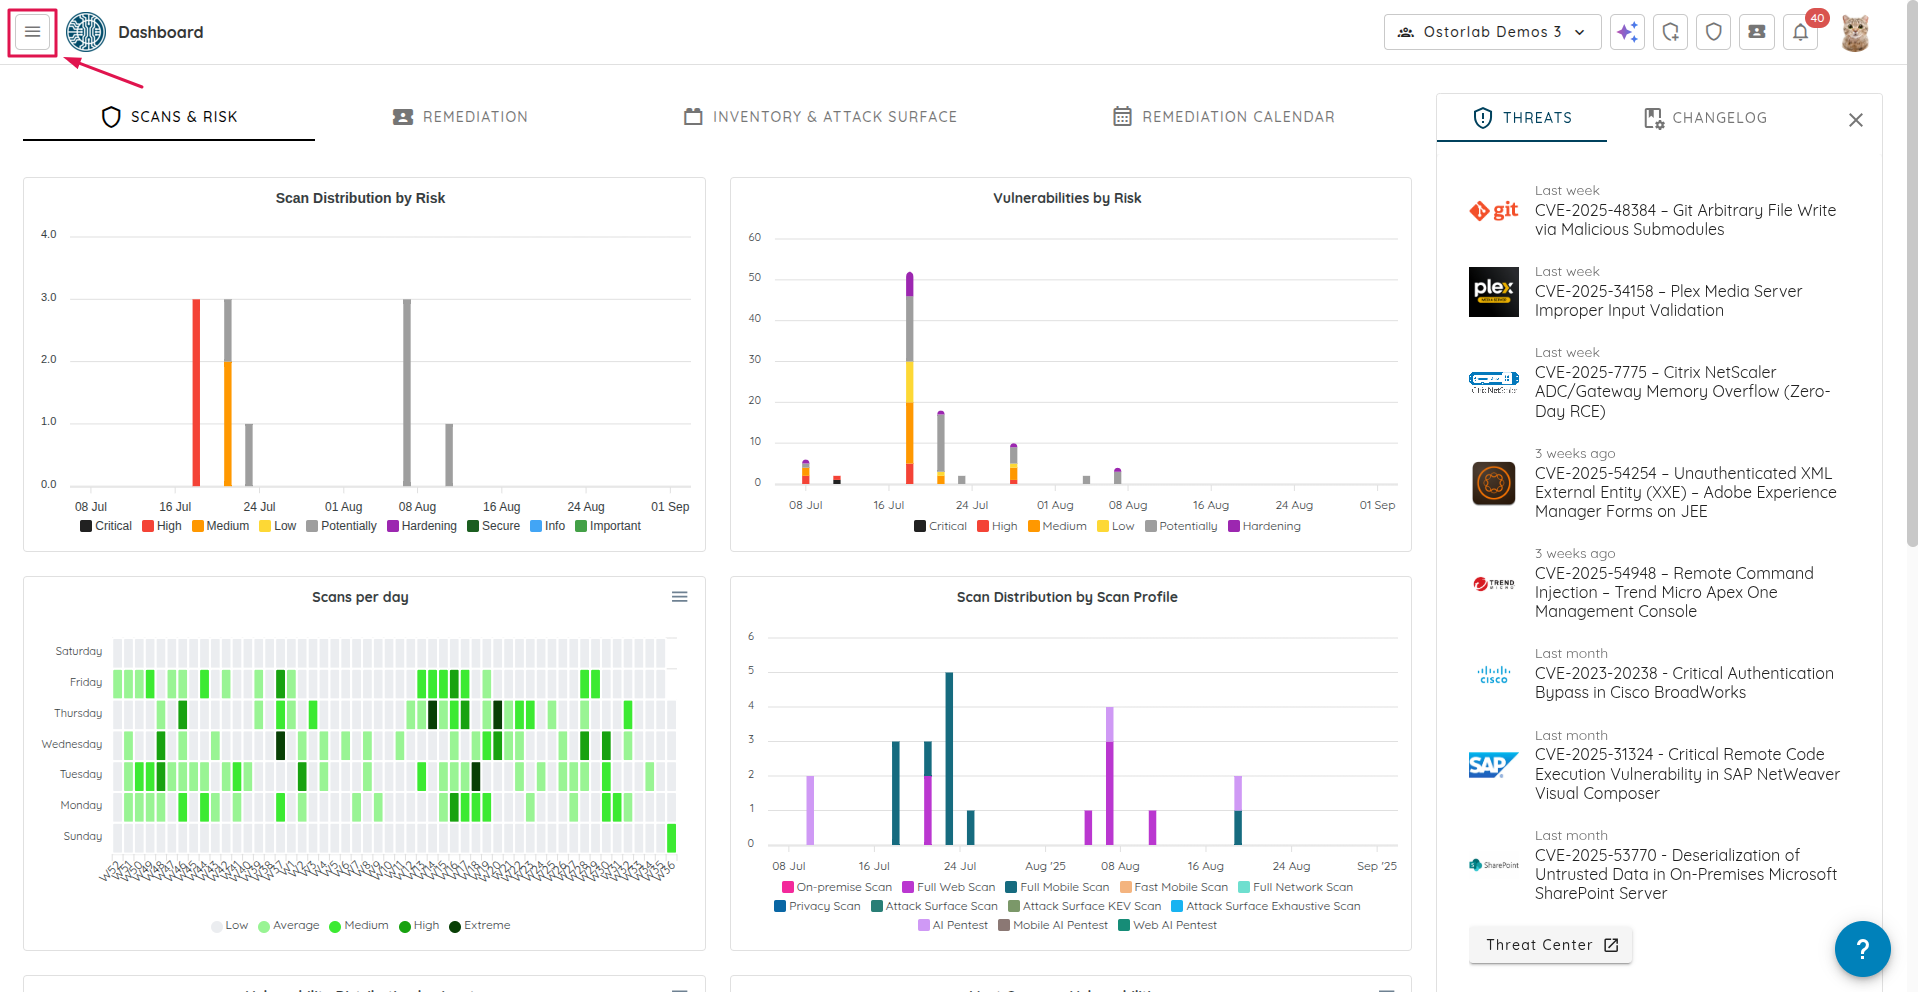
Click the "Hamburger" menu icon.
-
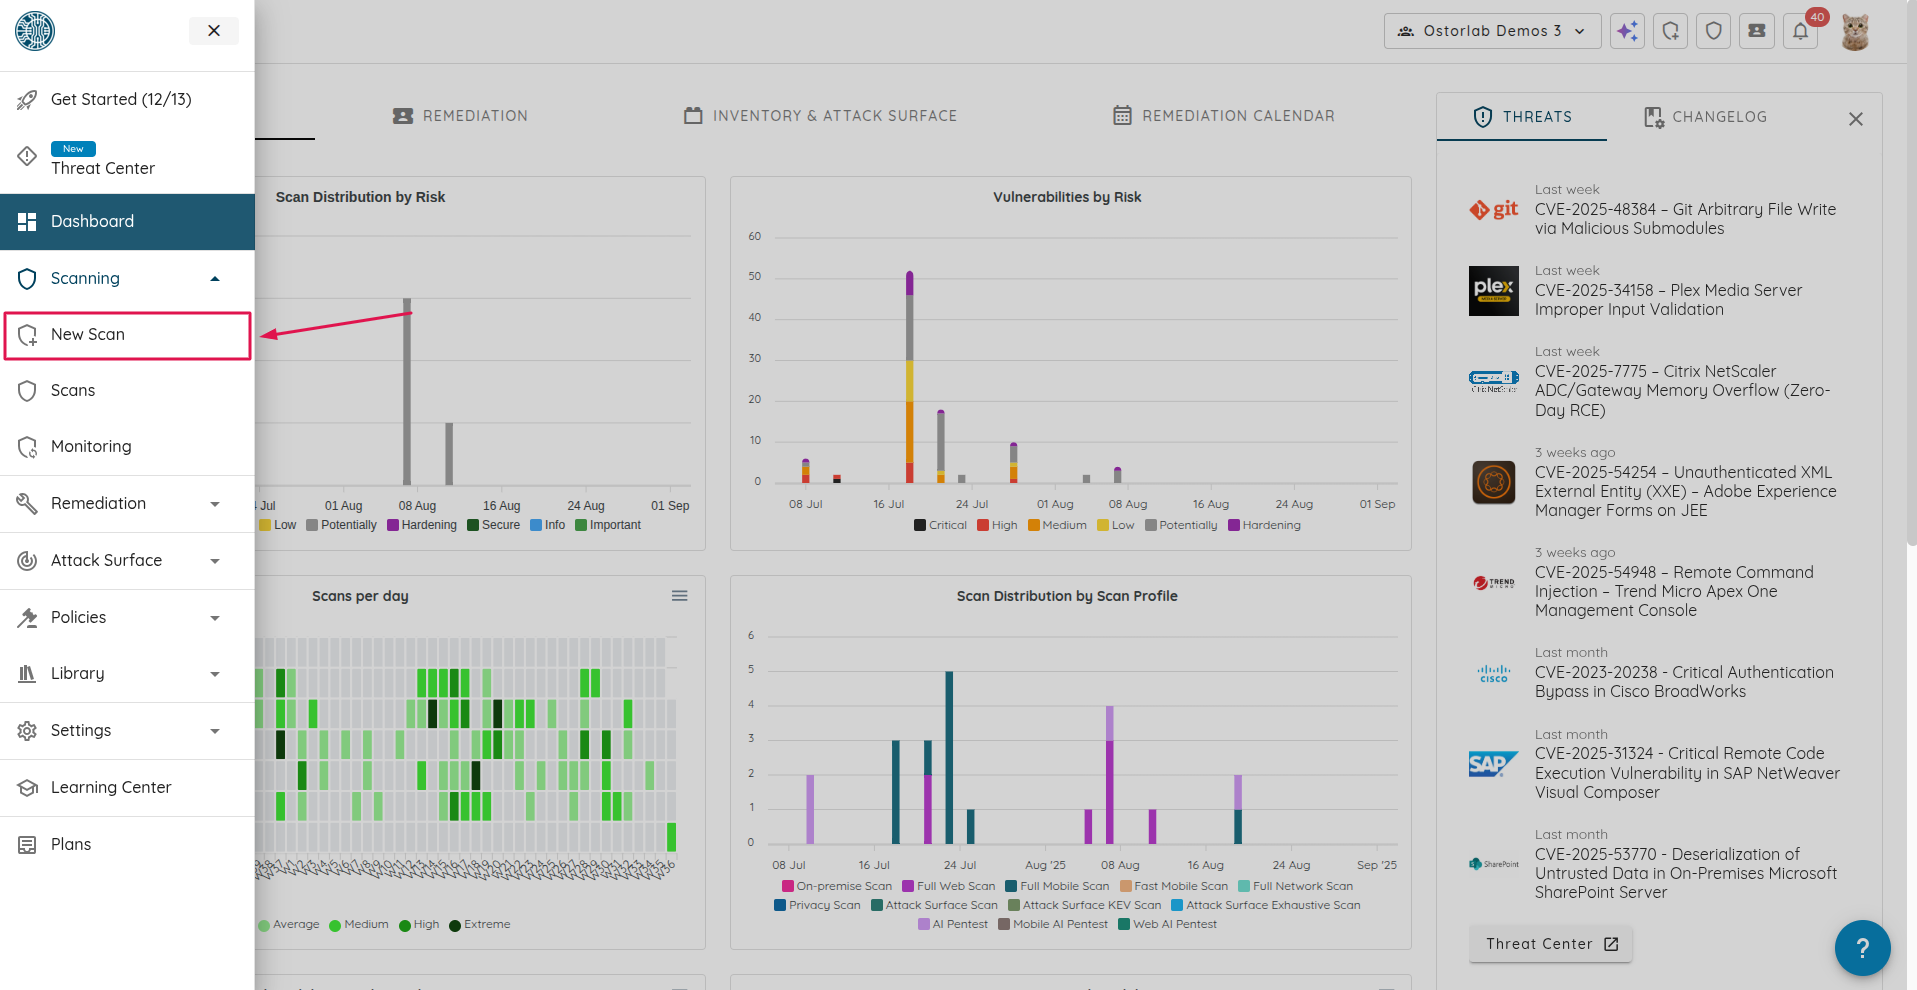
Click on "Scanning".

-
Navigate to the scan page by clicking "New Scan".
-
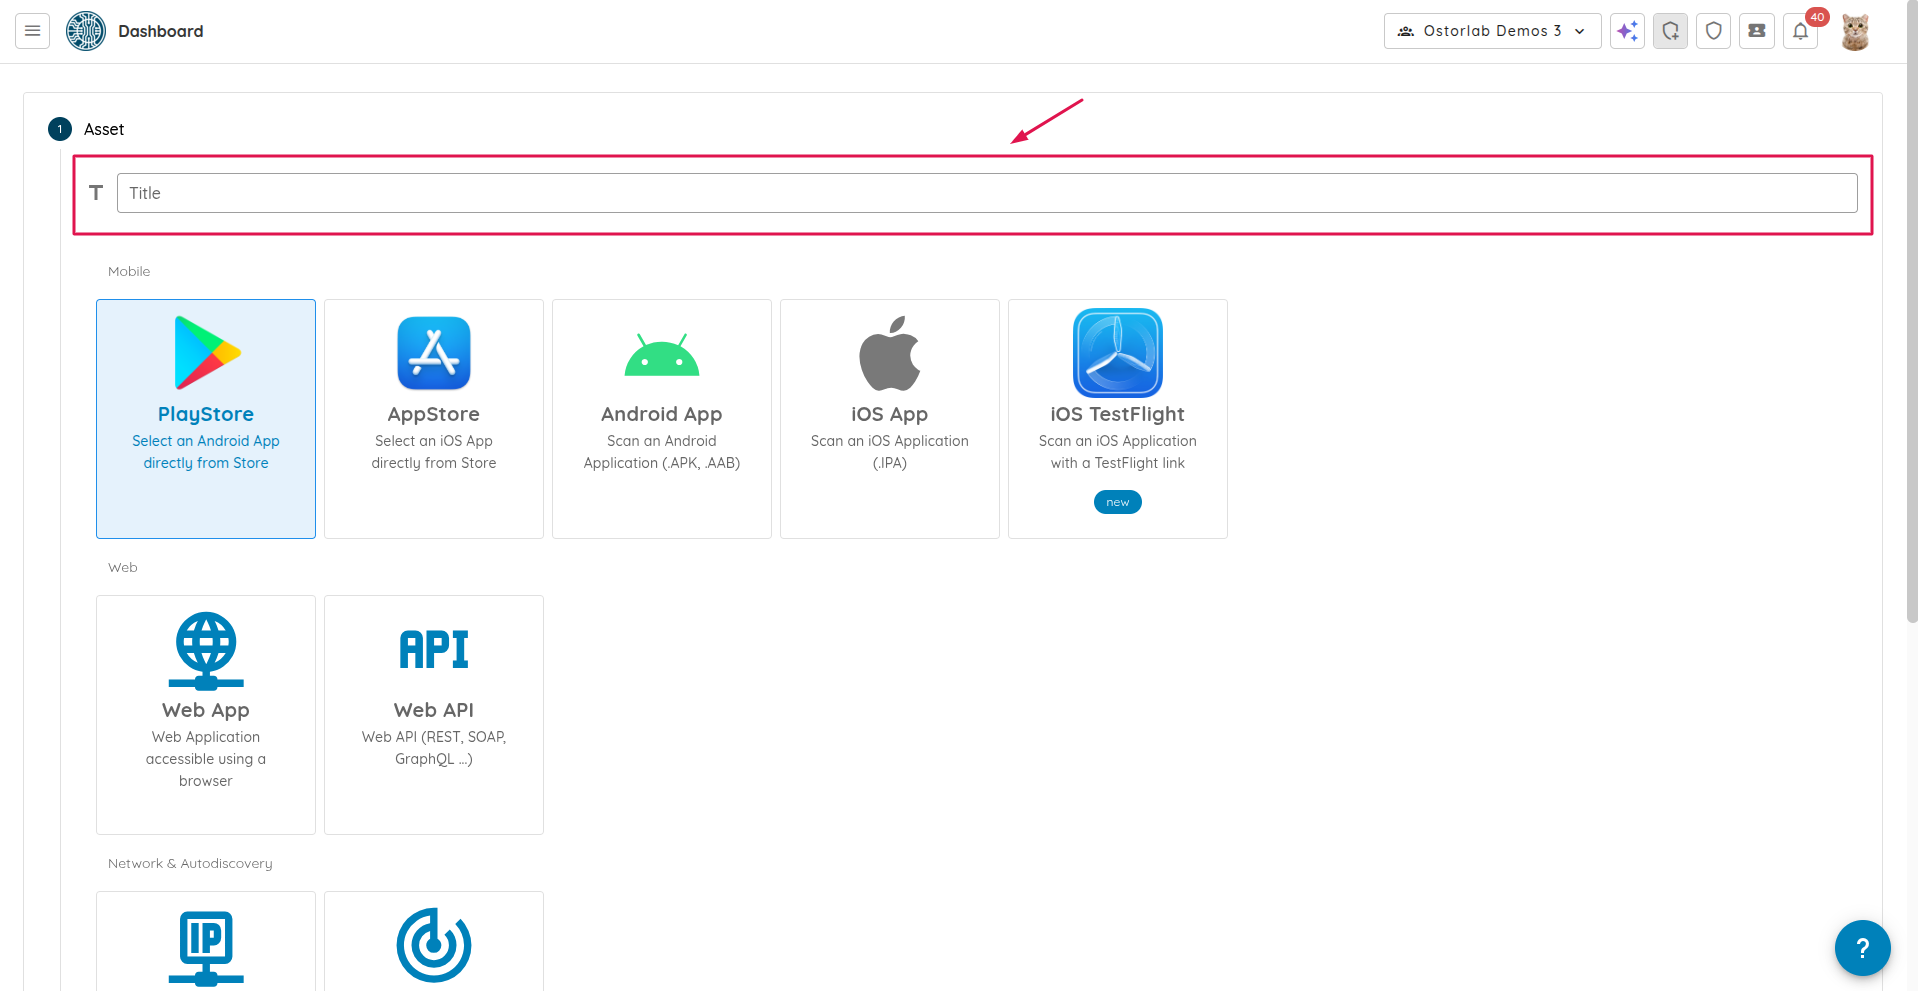
Enter a name for your scan in the "Title" field. This field is optional.
-
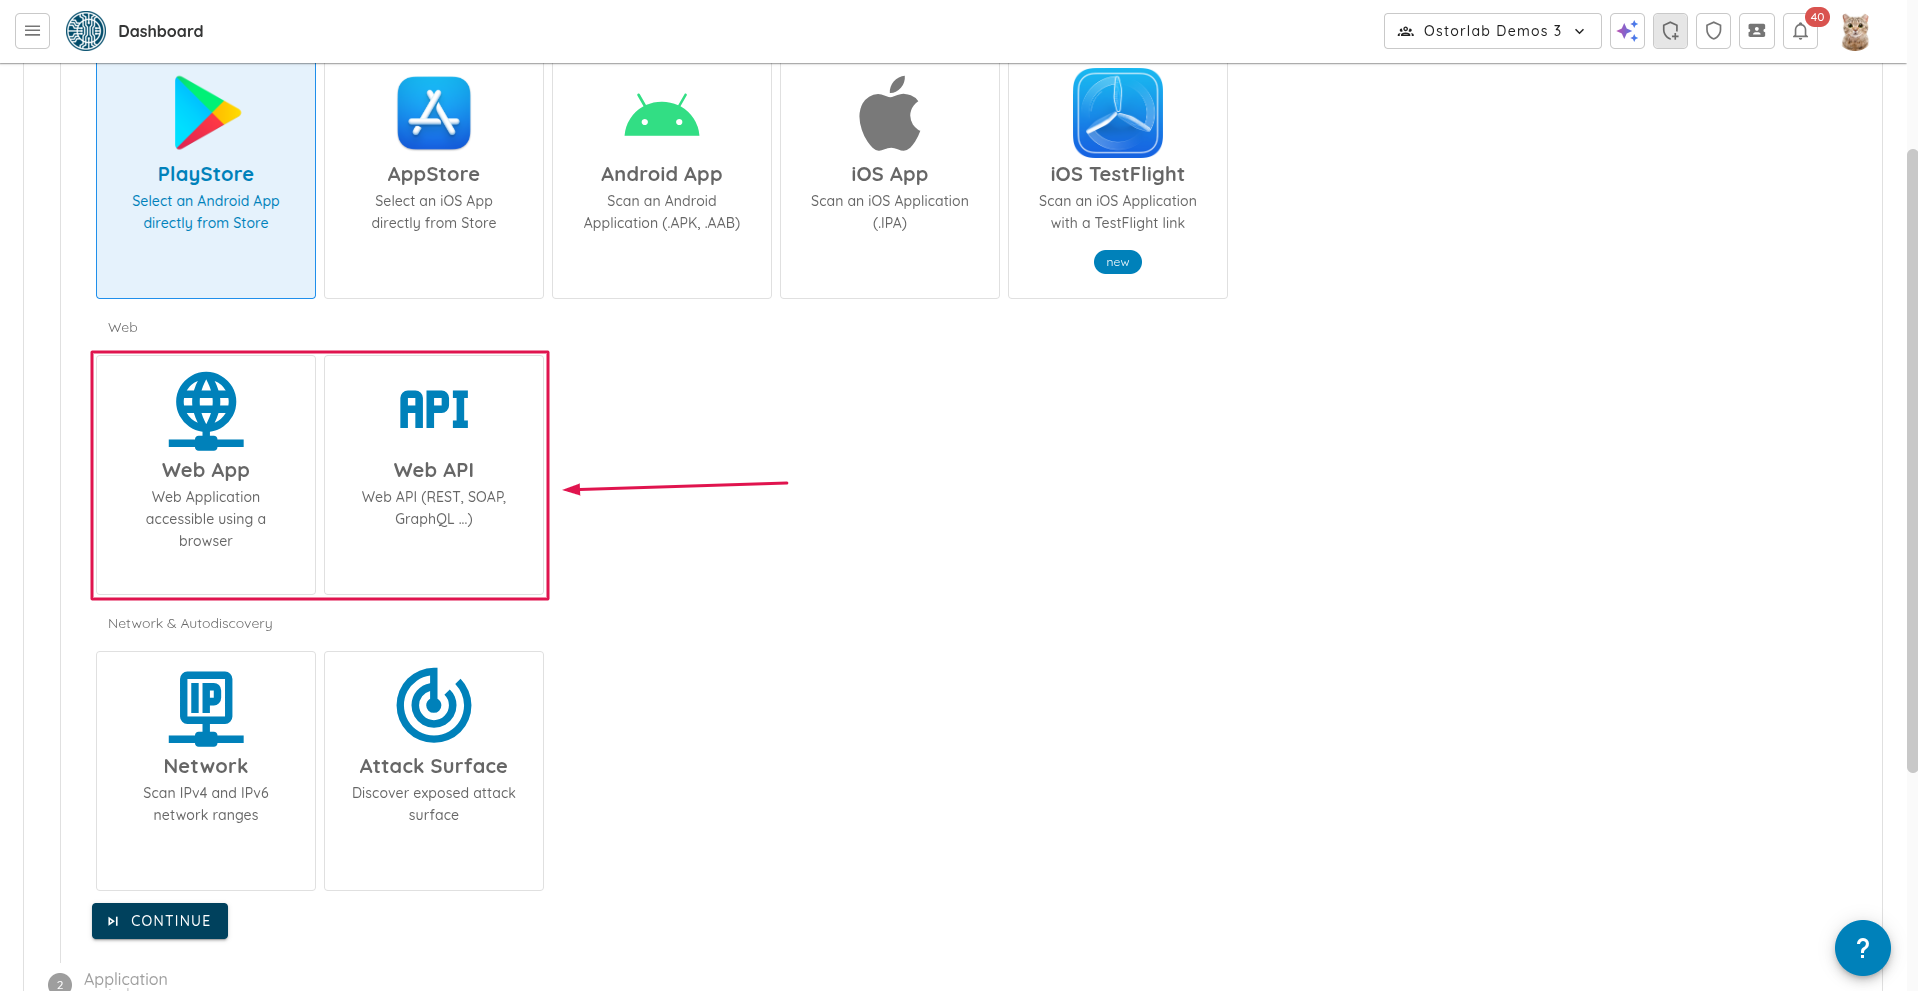
Select either "Web App" or "Web API".
-
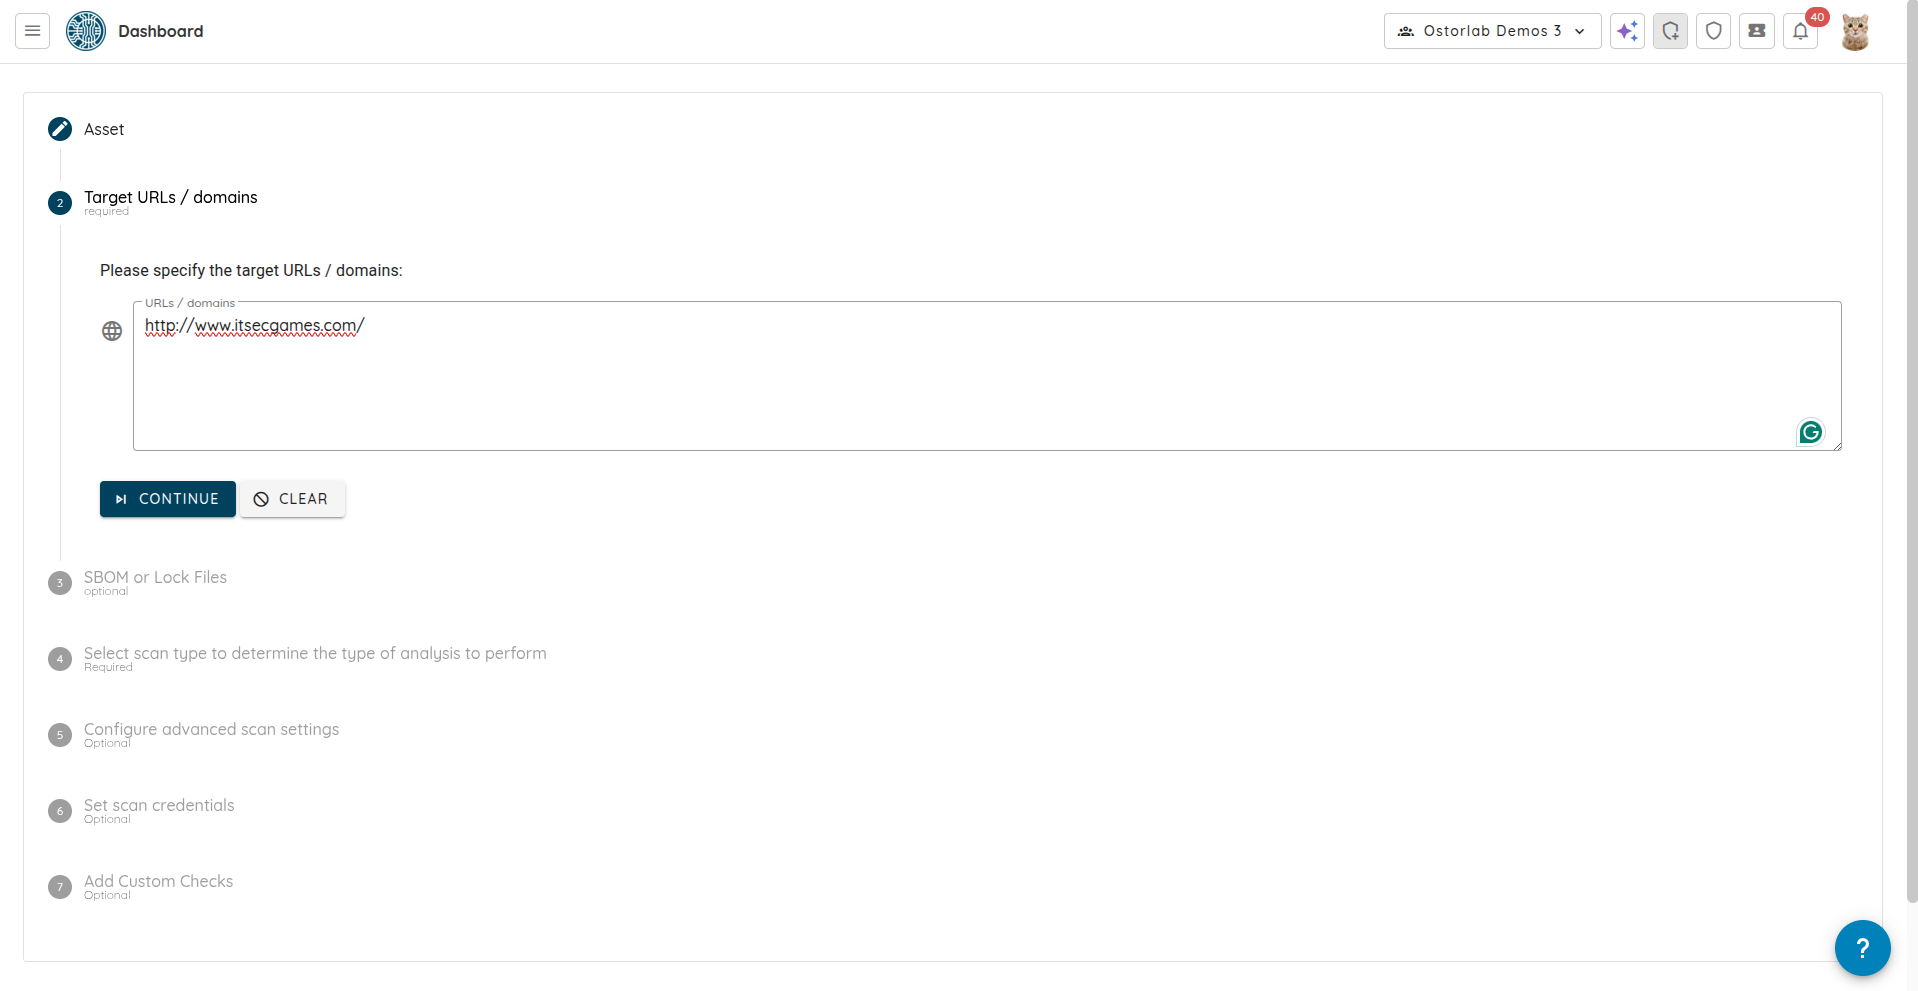
Specify the target URLs / domains. Click "Continue".
-
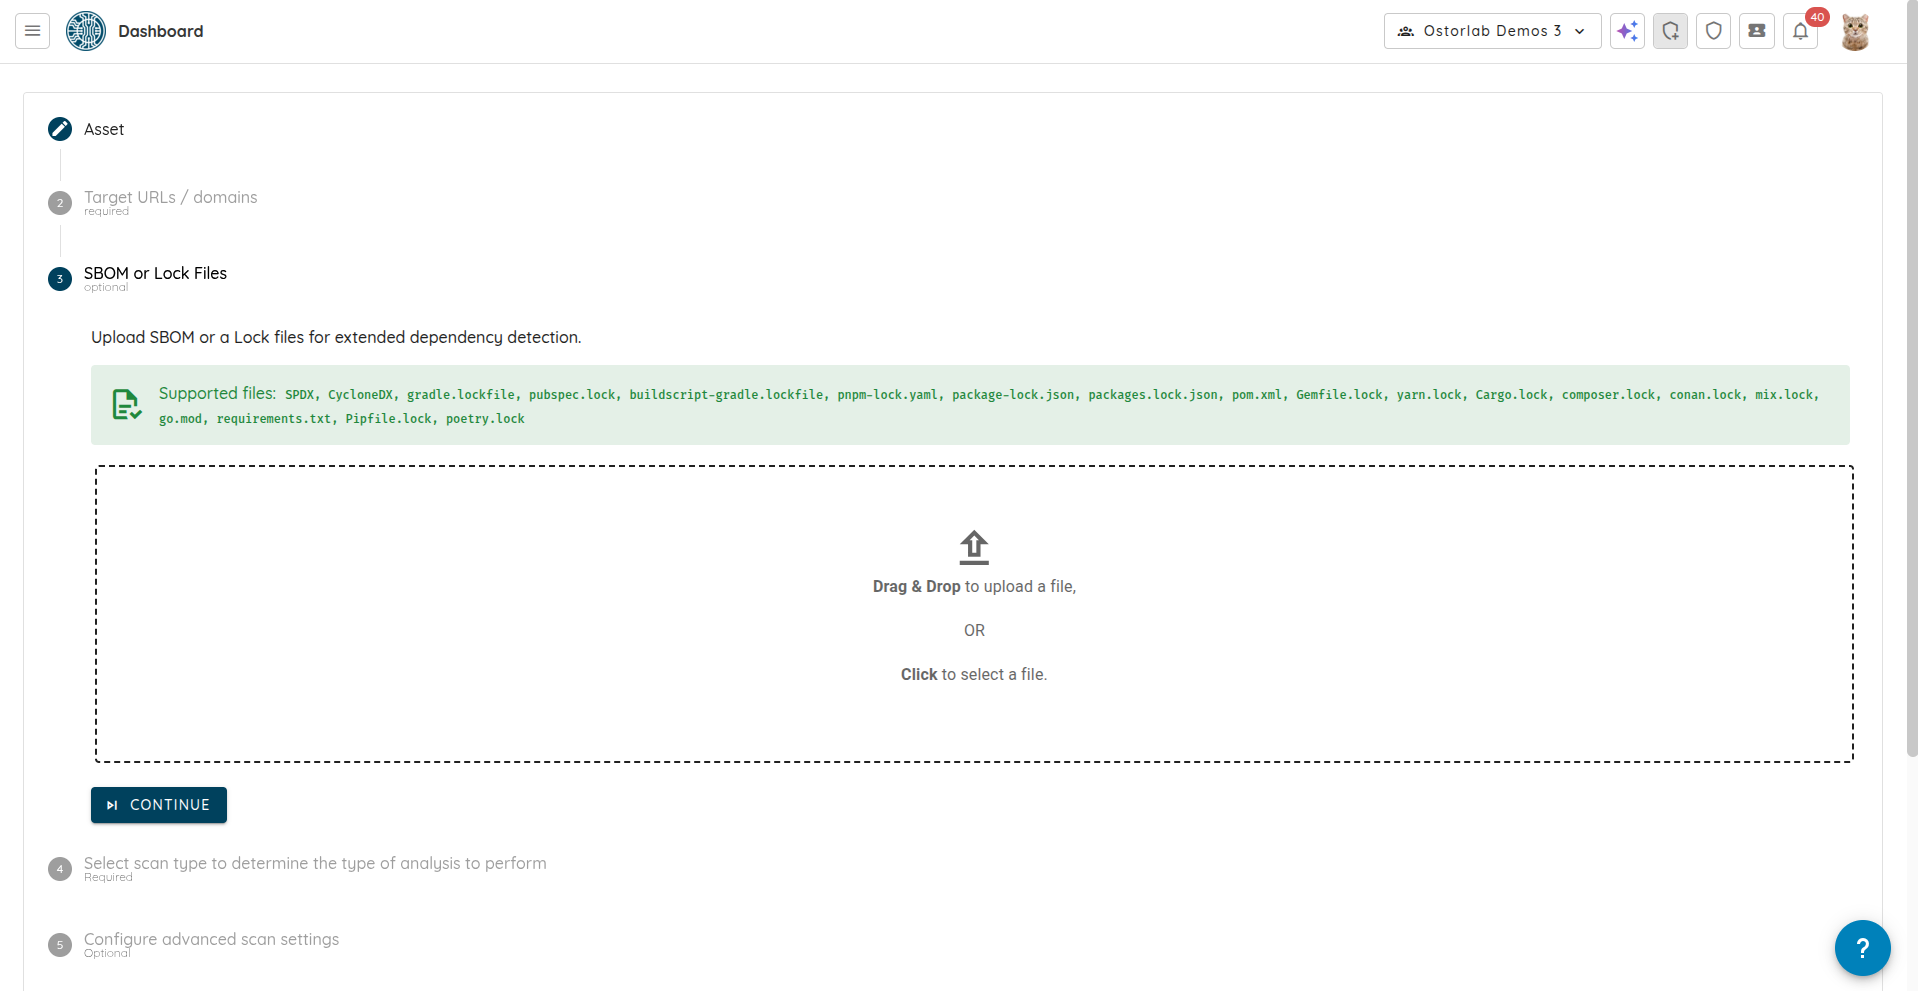
Optionally provide SBOM or lock files for extended dependency detection. Click "Continue".
-
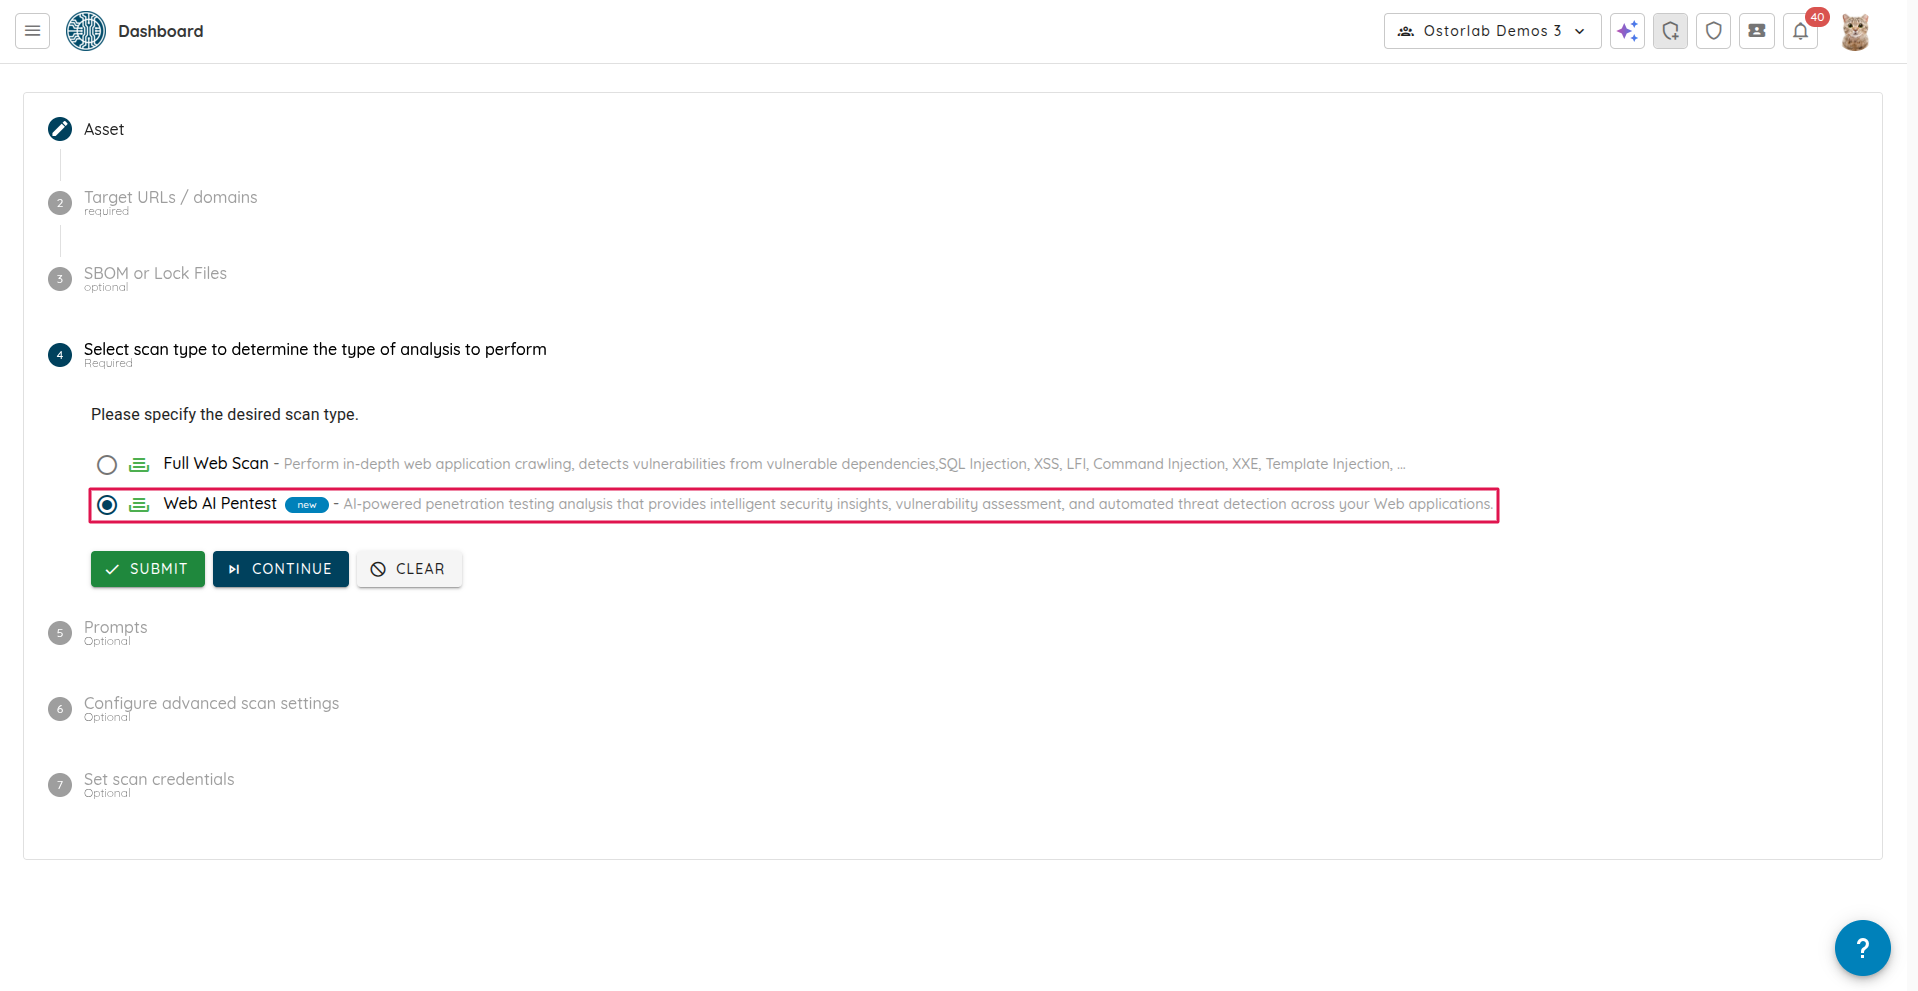
Select "Web AI Pentest" as the scan type. At this point, you can create the scan by clicking "Submit" or you can choose to provide specific instructions for the AI to focus on particular areas of the web application. To do this, click on "Continue".
-
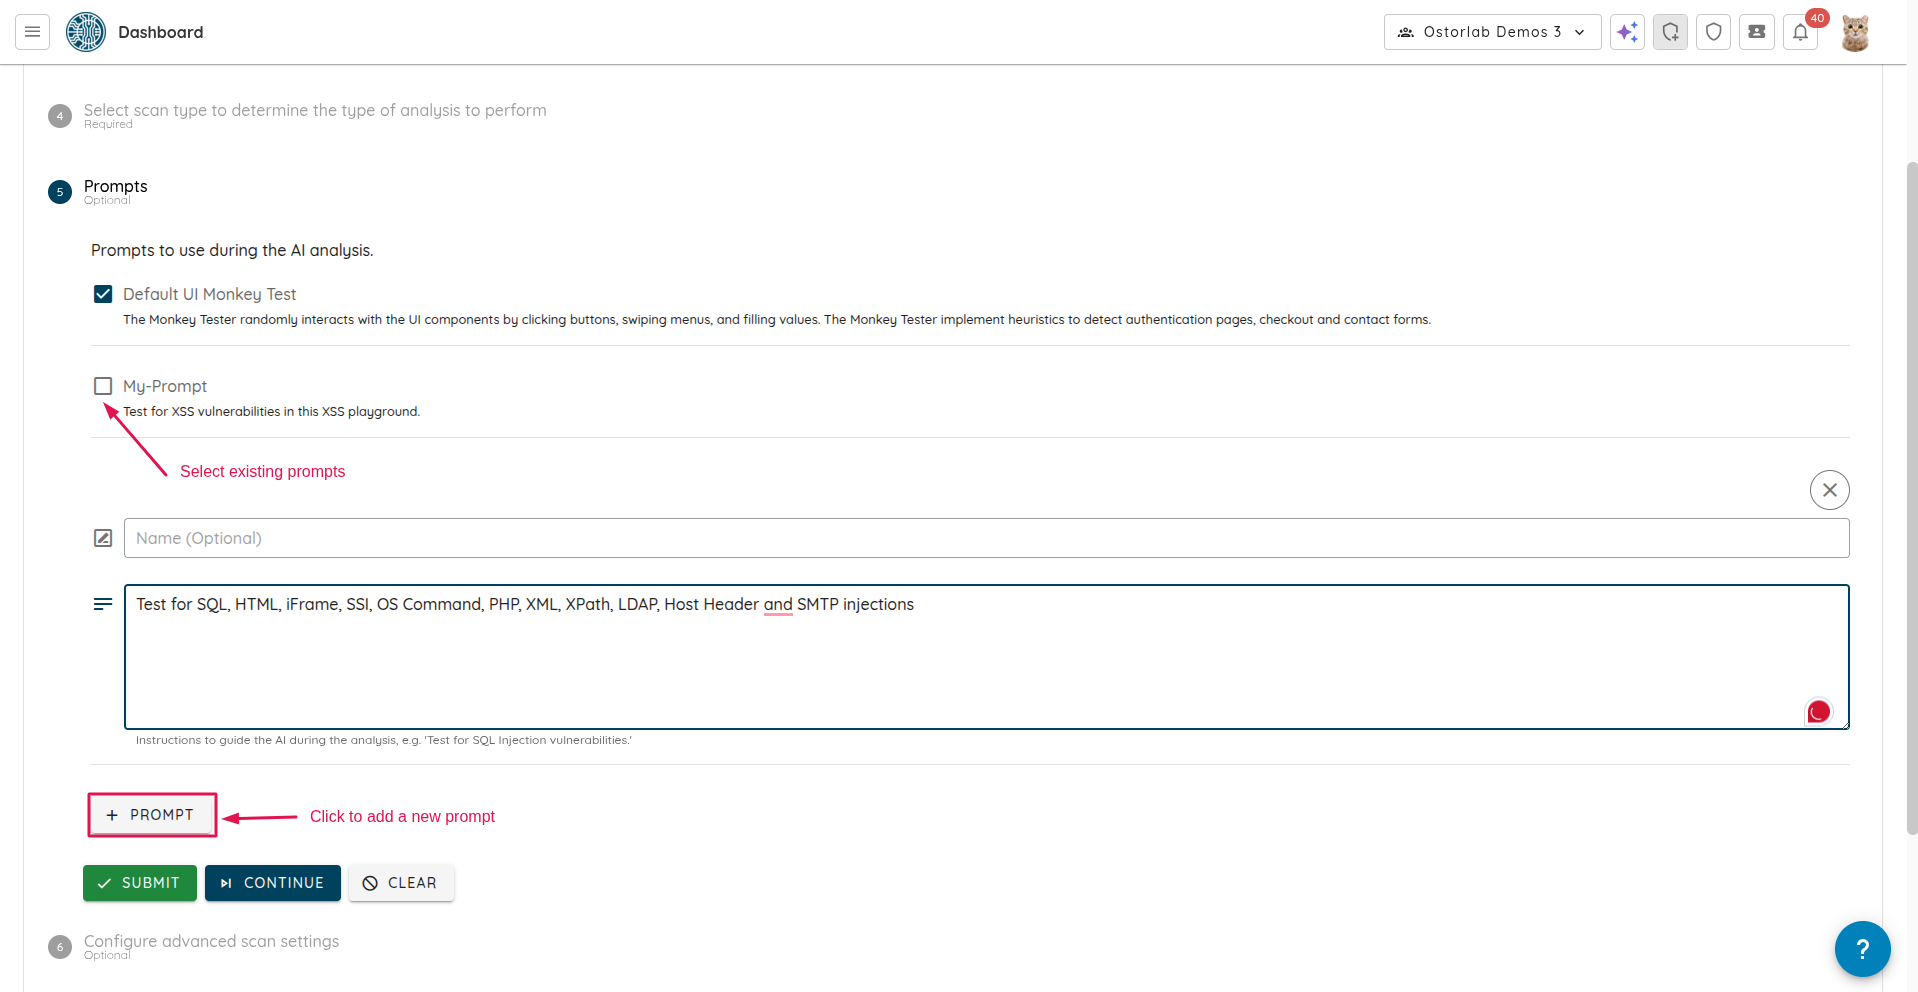
Prompts allow you to guide the AI on what to test. You can select from existing prompts or create your own by clicking on "+ Prompt". After selecting or adding the desired prompts, click on "Continue".
-
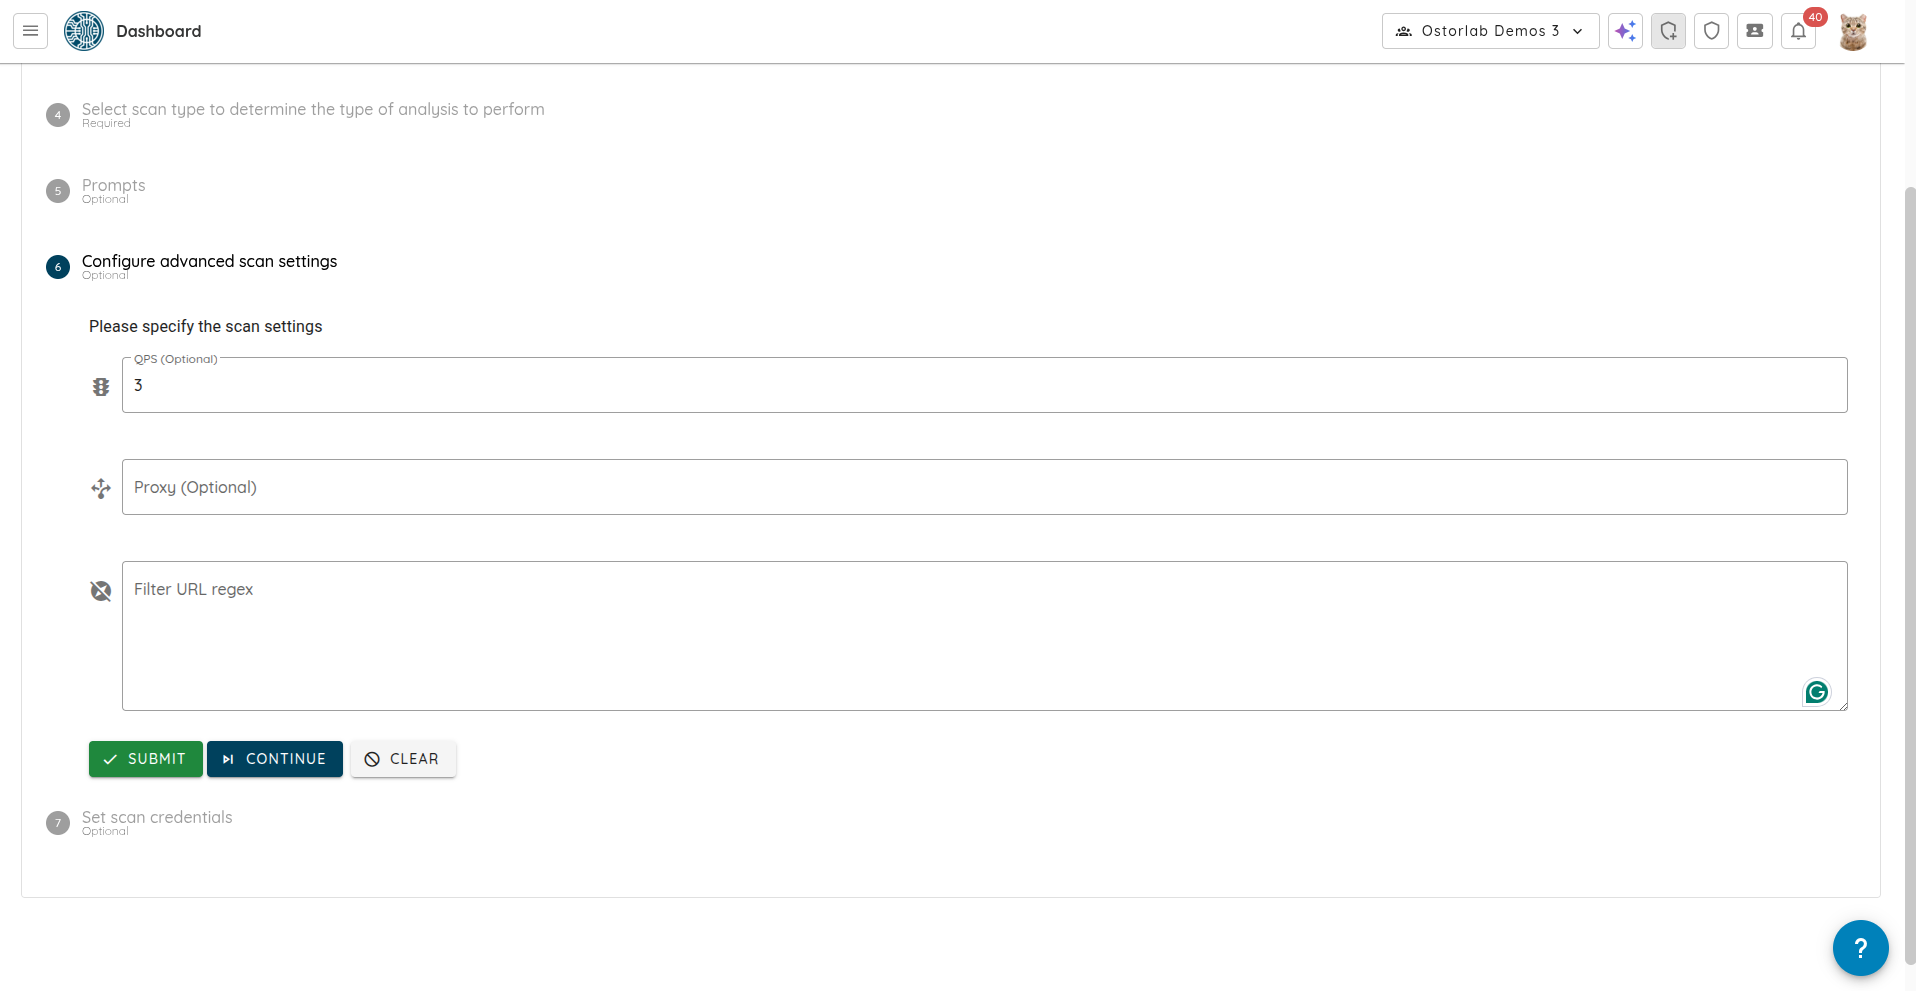
You can configure advanced settings like the Queries Per Second (QPS), Proxy, and Filter URL regex (allows you to exclude specific URLs from being scanned).
-
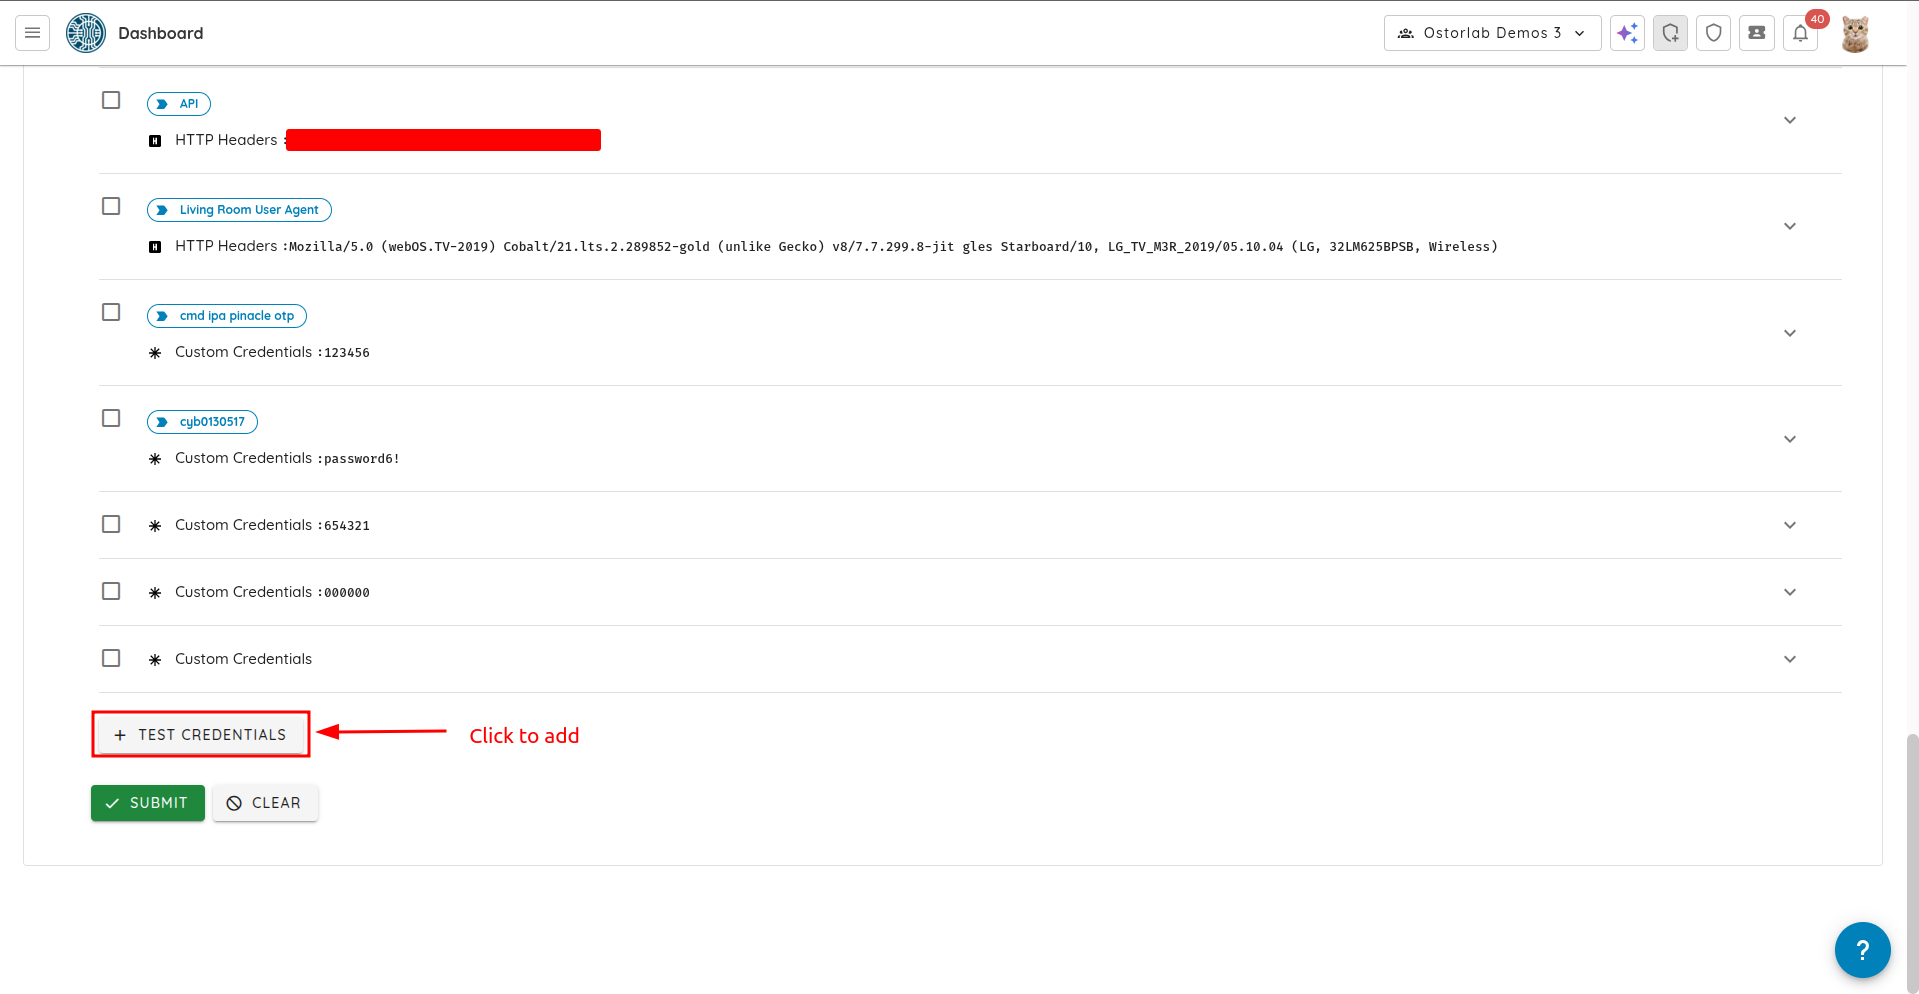
Select or add new test credentials to enable the AI to perform authenticated testing. After selecting or adding the desired credentials, click on "Submit".
-
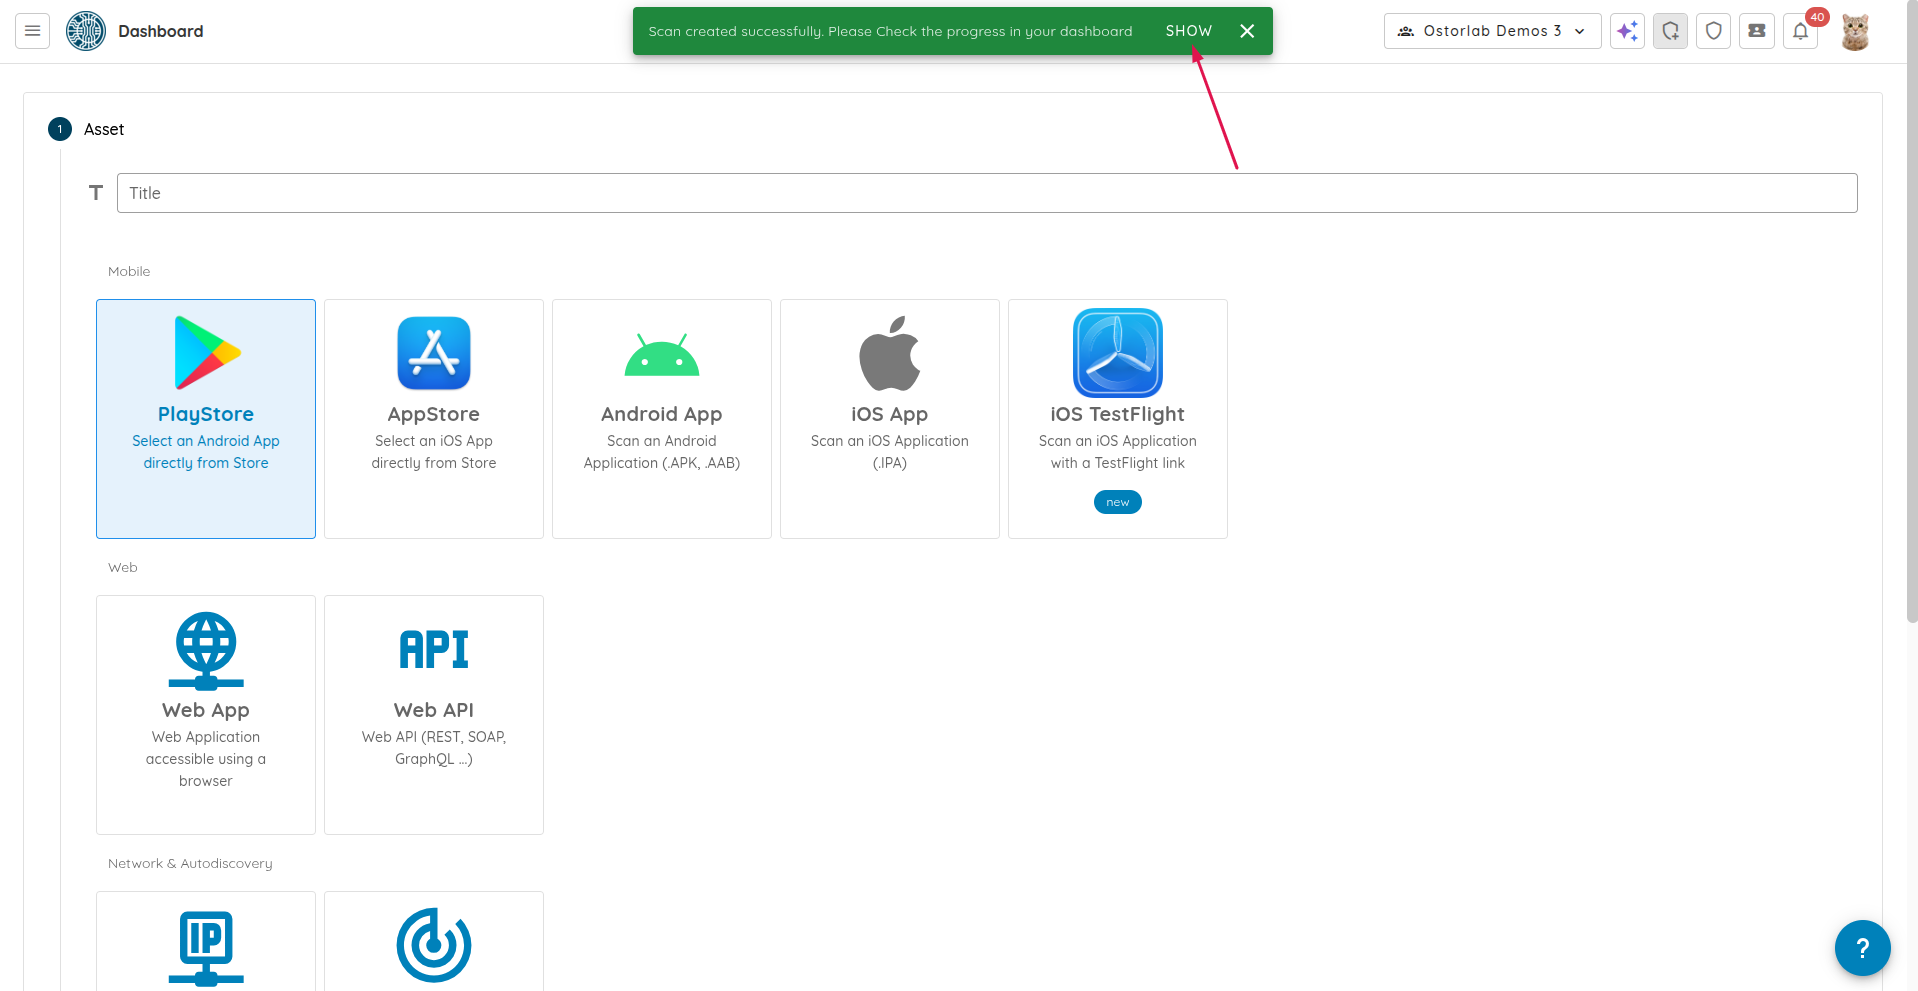
Click on "Show" to see the scan.
This tutorial demonstrated how to create a Web AI Pentest scan for Web Apps and APIs.