How to Scan a Web API with an API Schema File
This guide provides a step-by-step walkthrough on how to scan a web API using a schema file with Ostorlab.
1. Go to report.ostorlab.co
2. Click on the Menu Icon
First, click on the menu icon on the left.
![]()
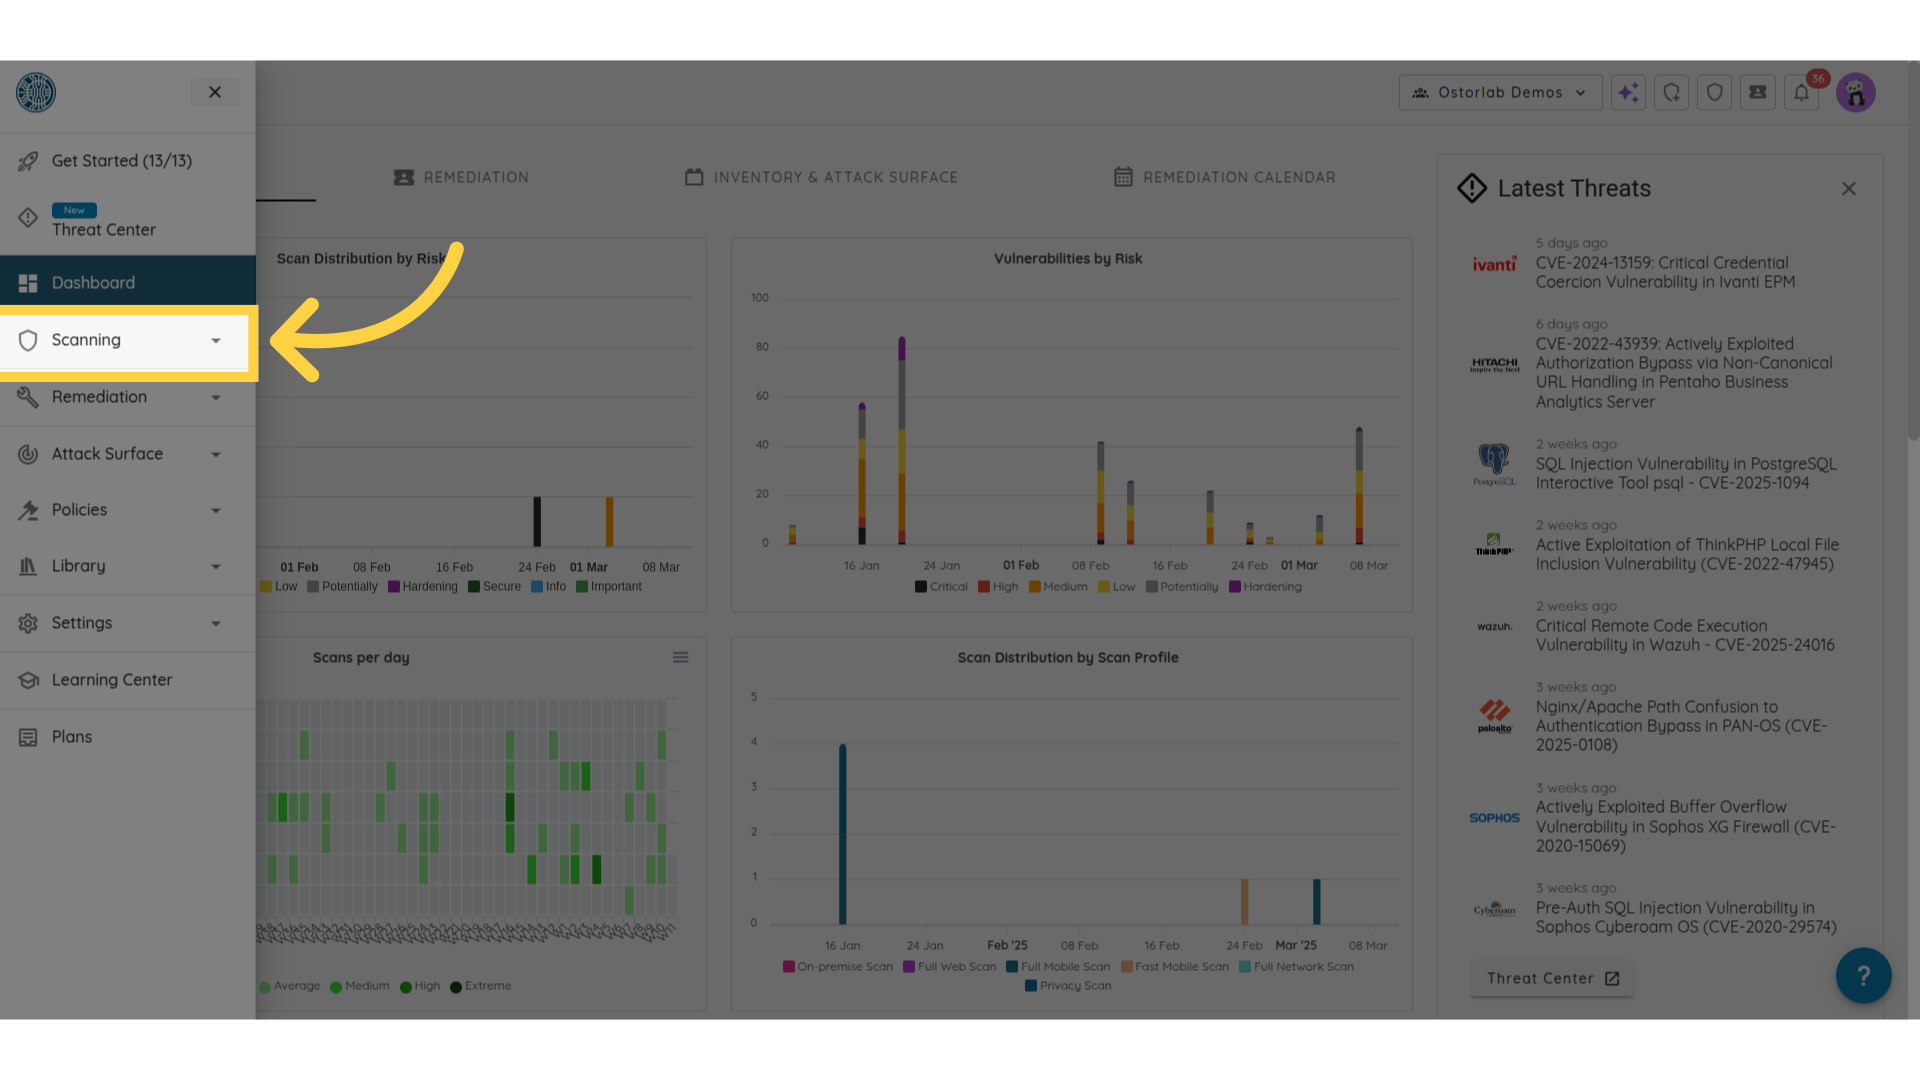
3. Select "Scanning" from the Menu
Next, navigate to the "Scanning" section in the menu.
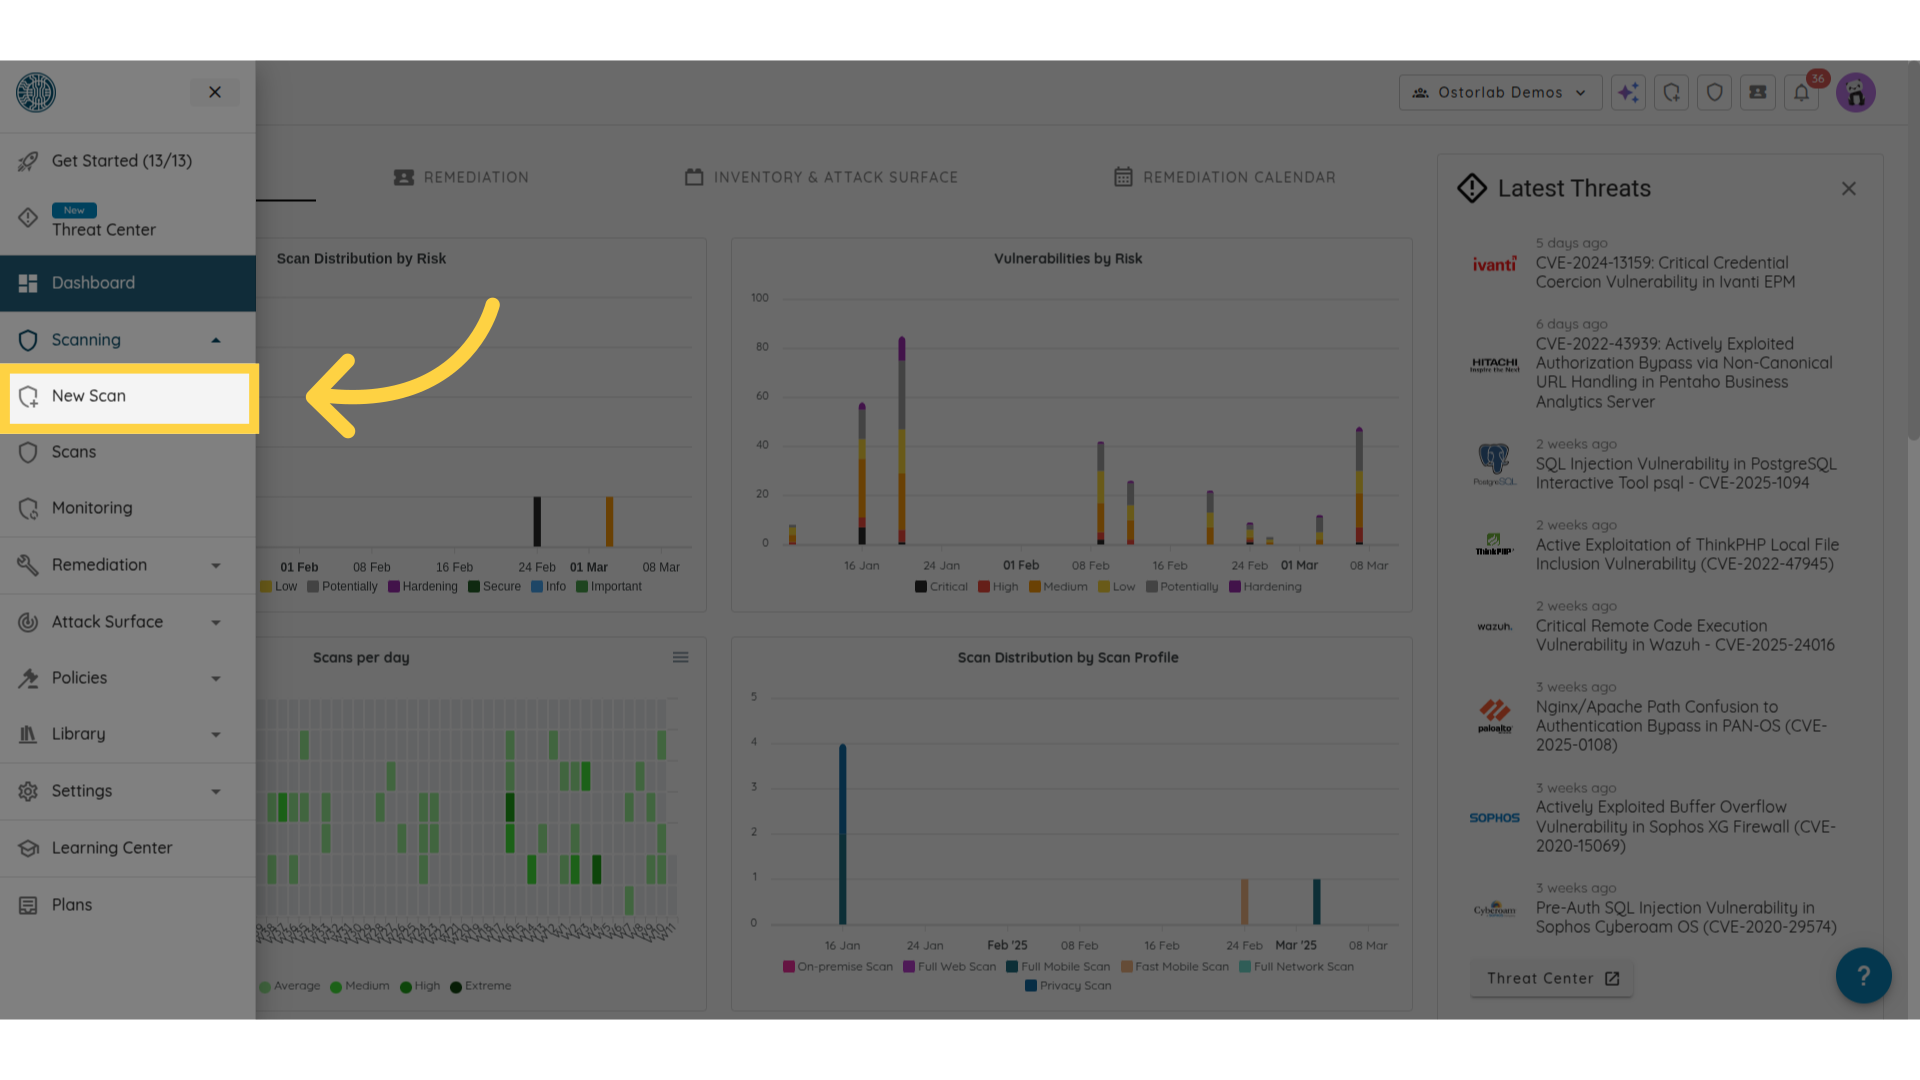
4. Click on "New Scan"
After that, click on the "New Scan" option.
5. Select "Web API" for the Scan Type
Now, select "API Scan."

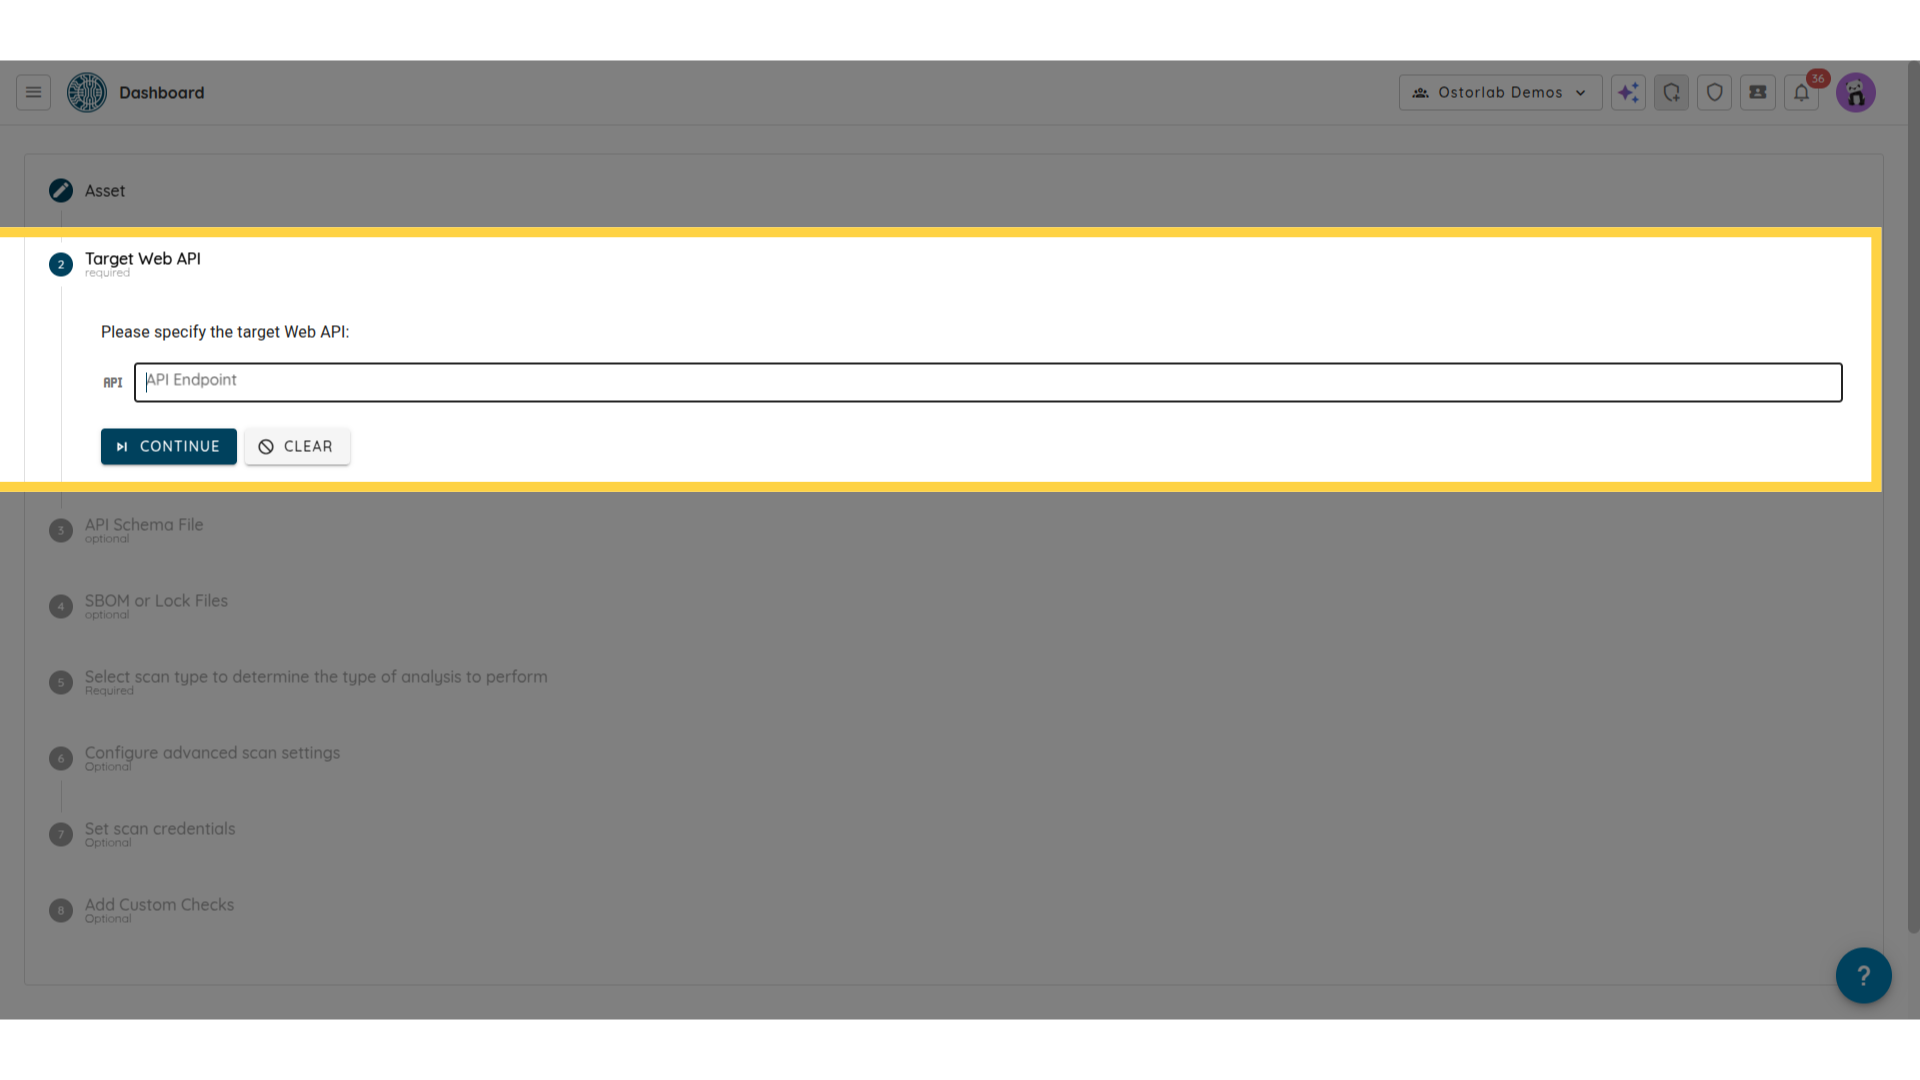
6. Enter the API Endpoint
After that, enter the API endpoint you wish to scan.
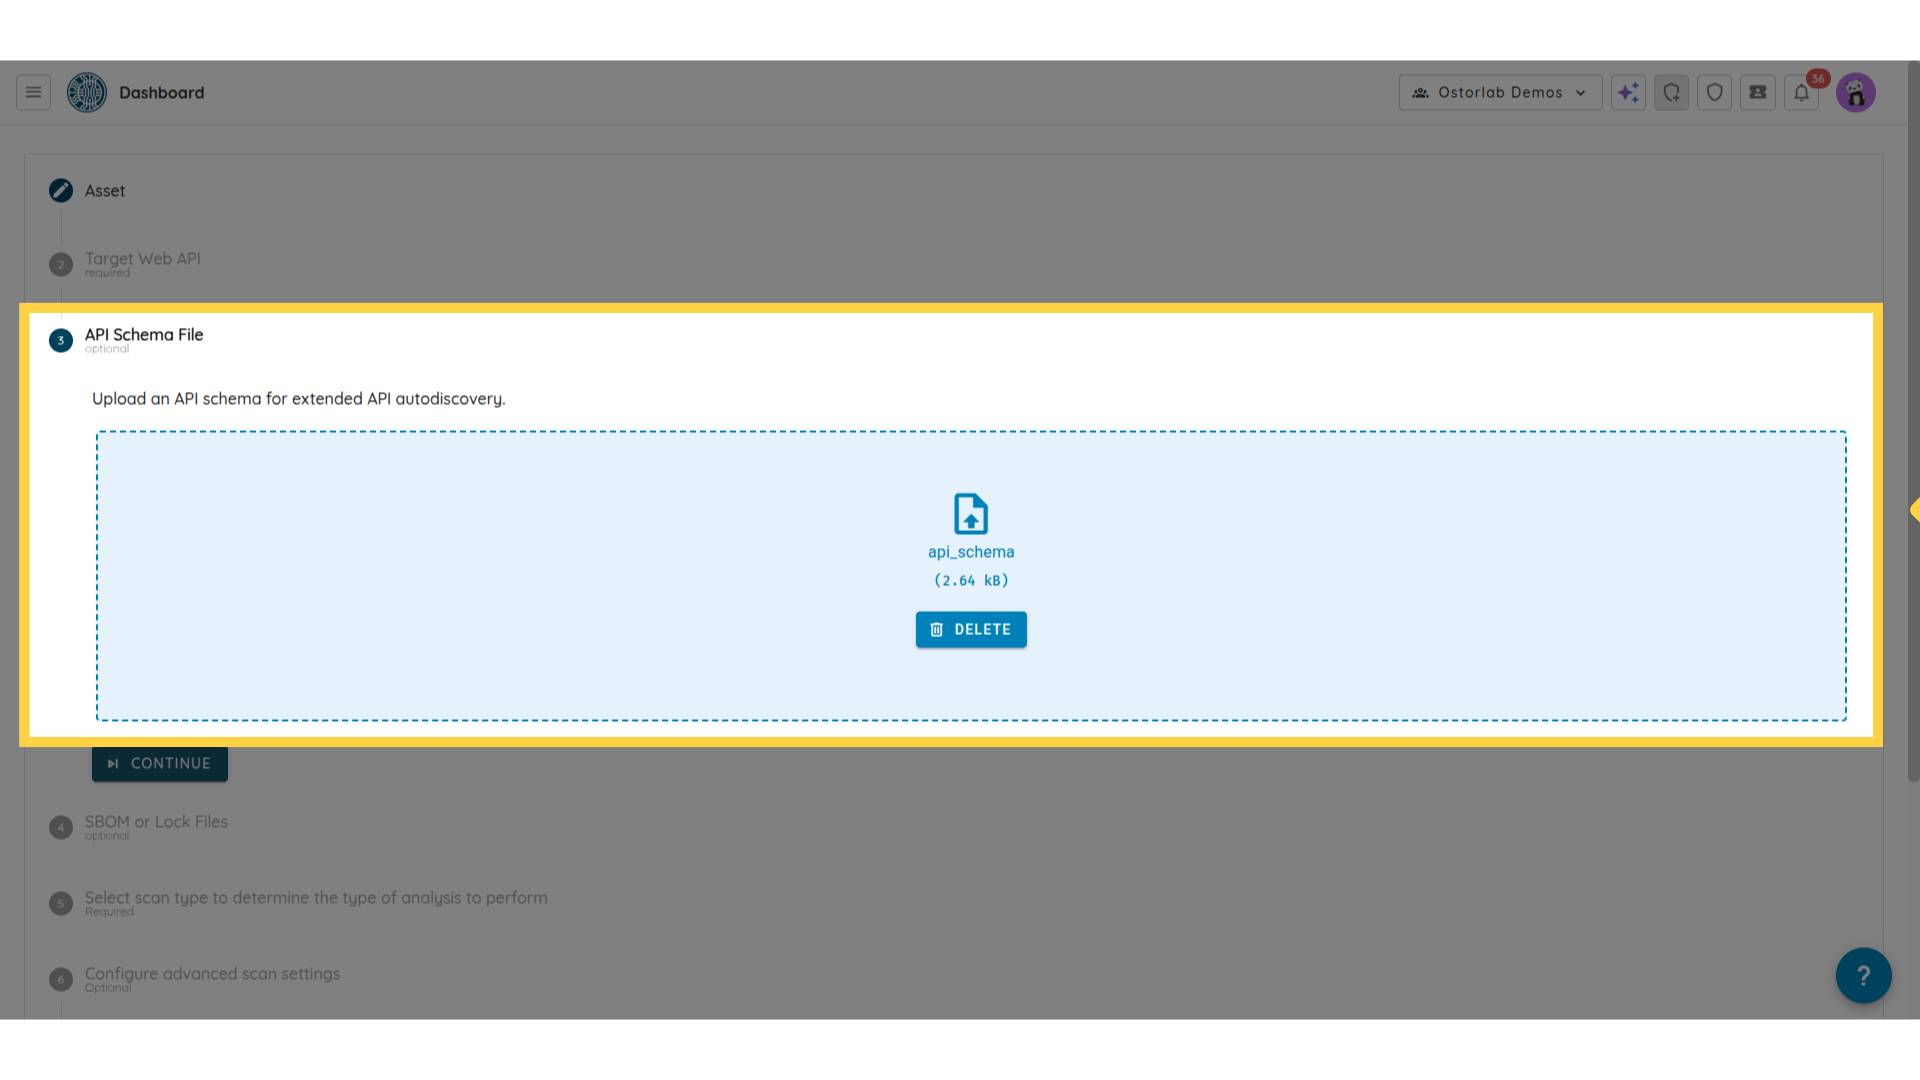
7. Upload the API Schema File
Then, upload the API Schema file from your device. Supported types are GraphQL, WSDL, and OpenAPI.
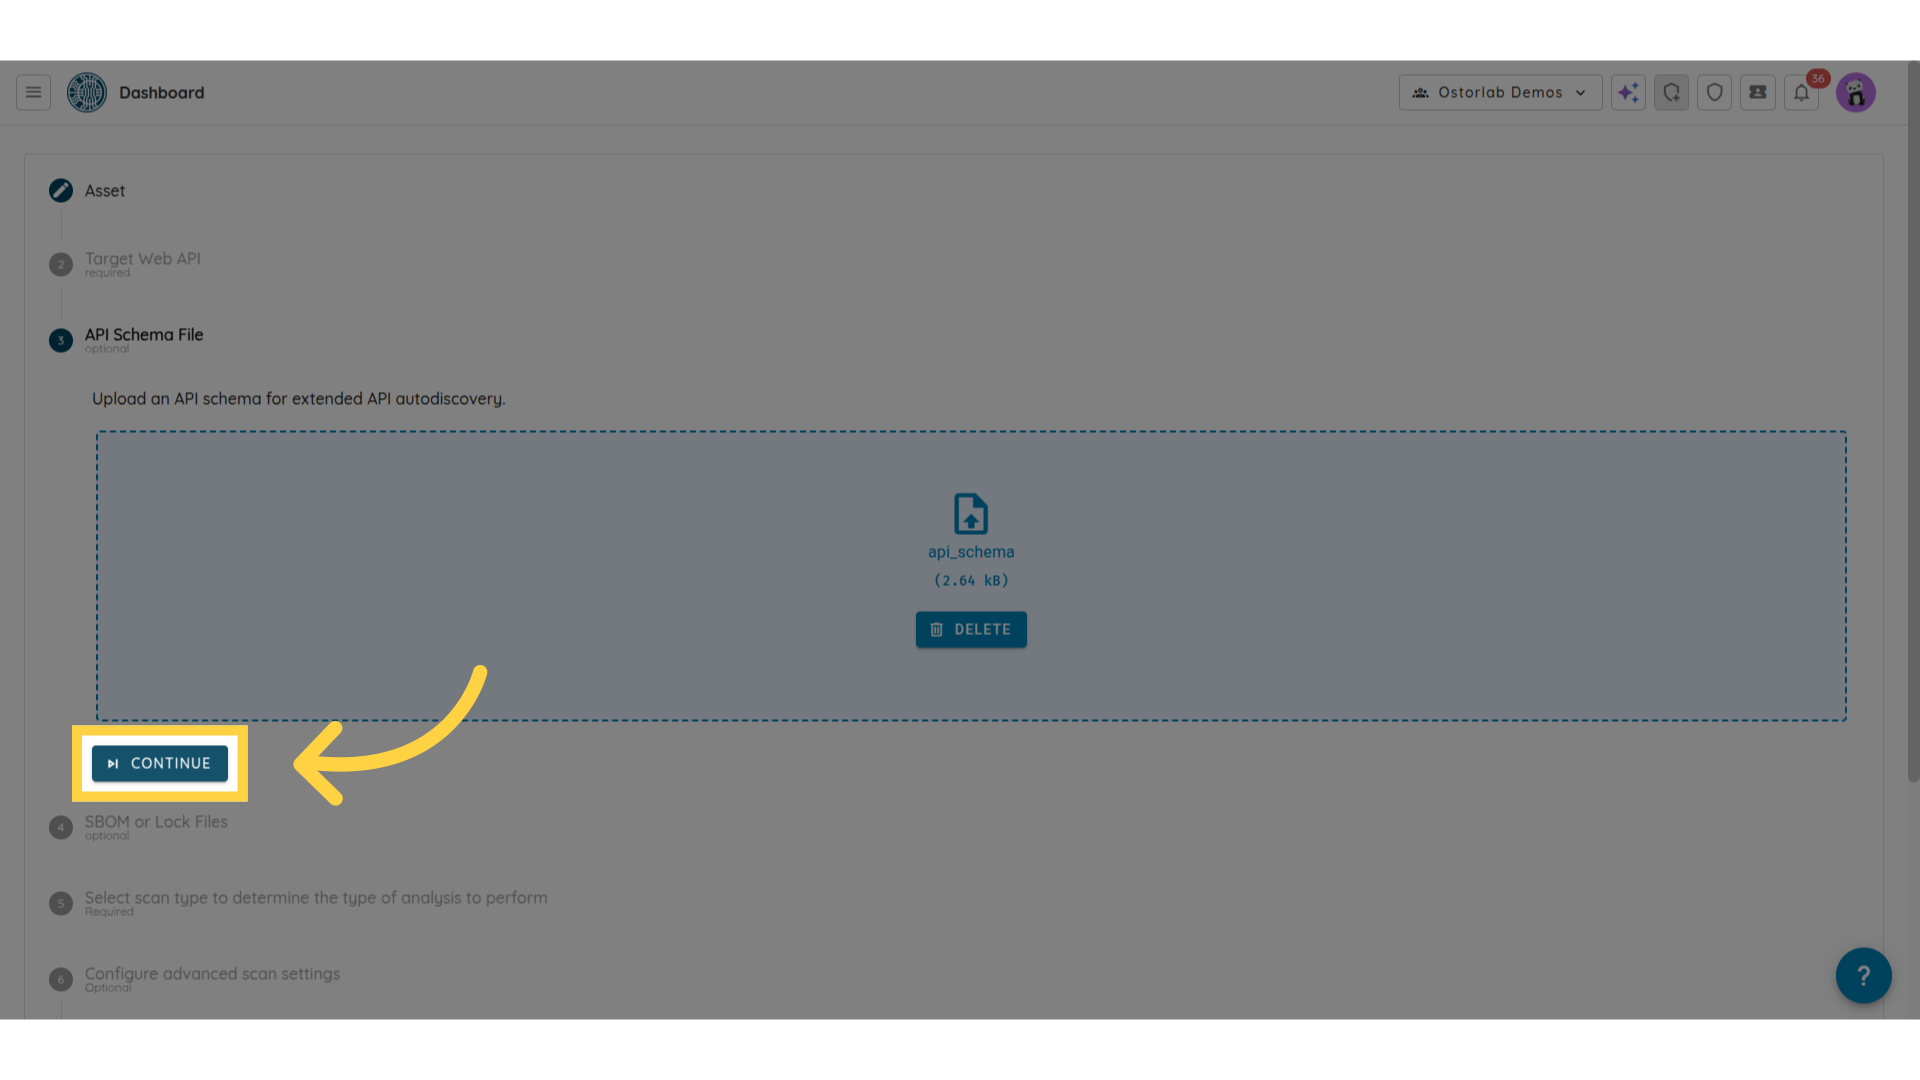
8. Click "Continue" to Proceed
Once uploaded, click "Continue."
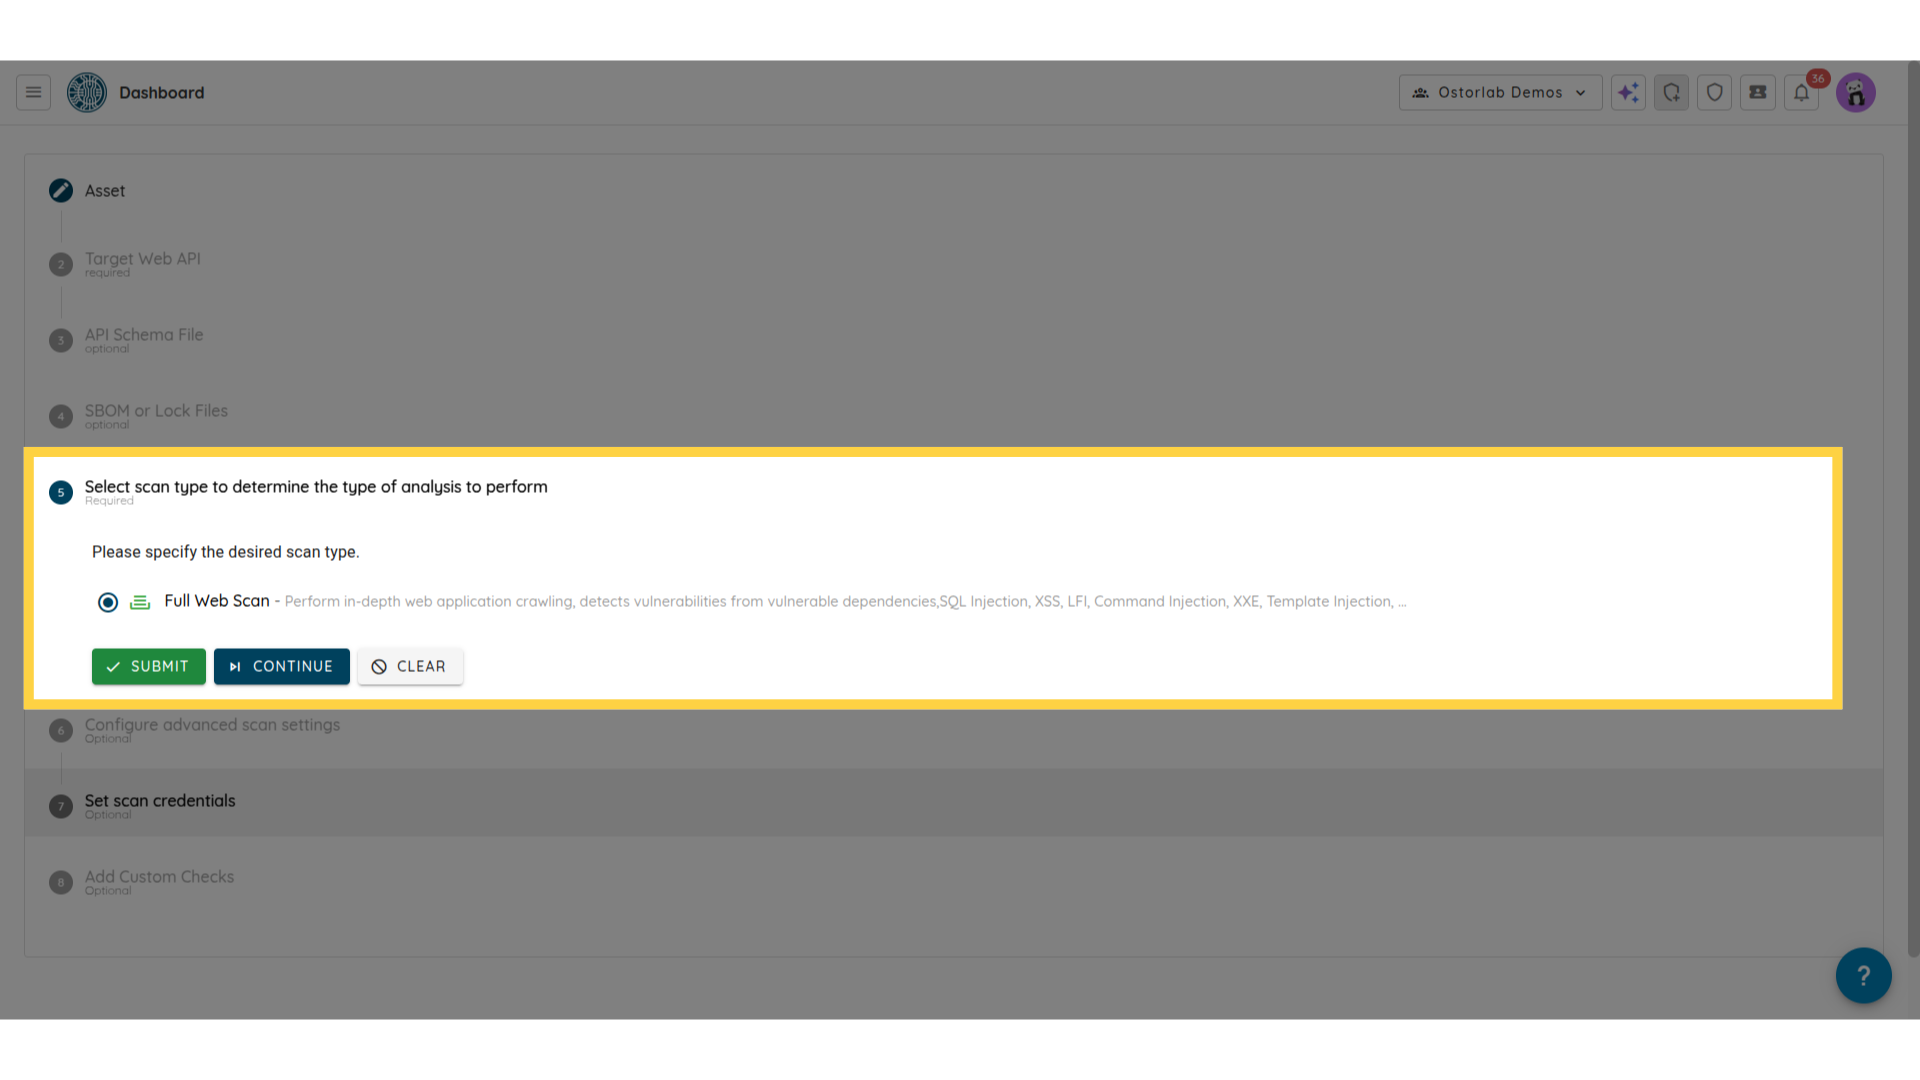
9. Choose the Type of Scan
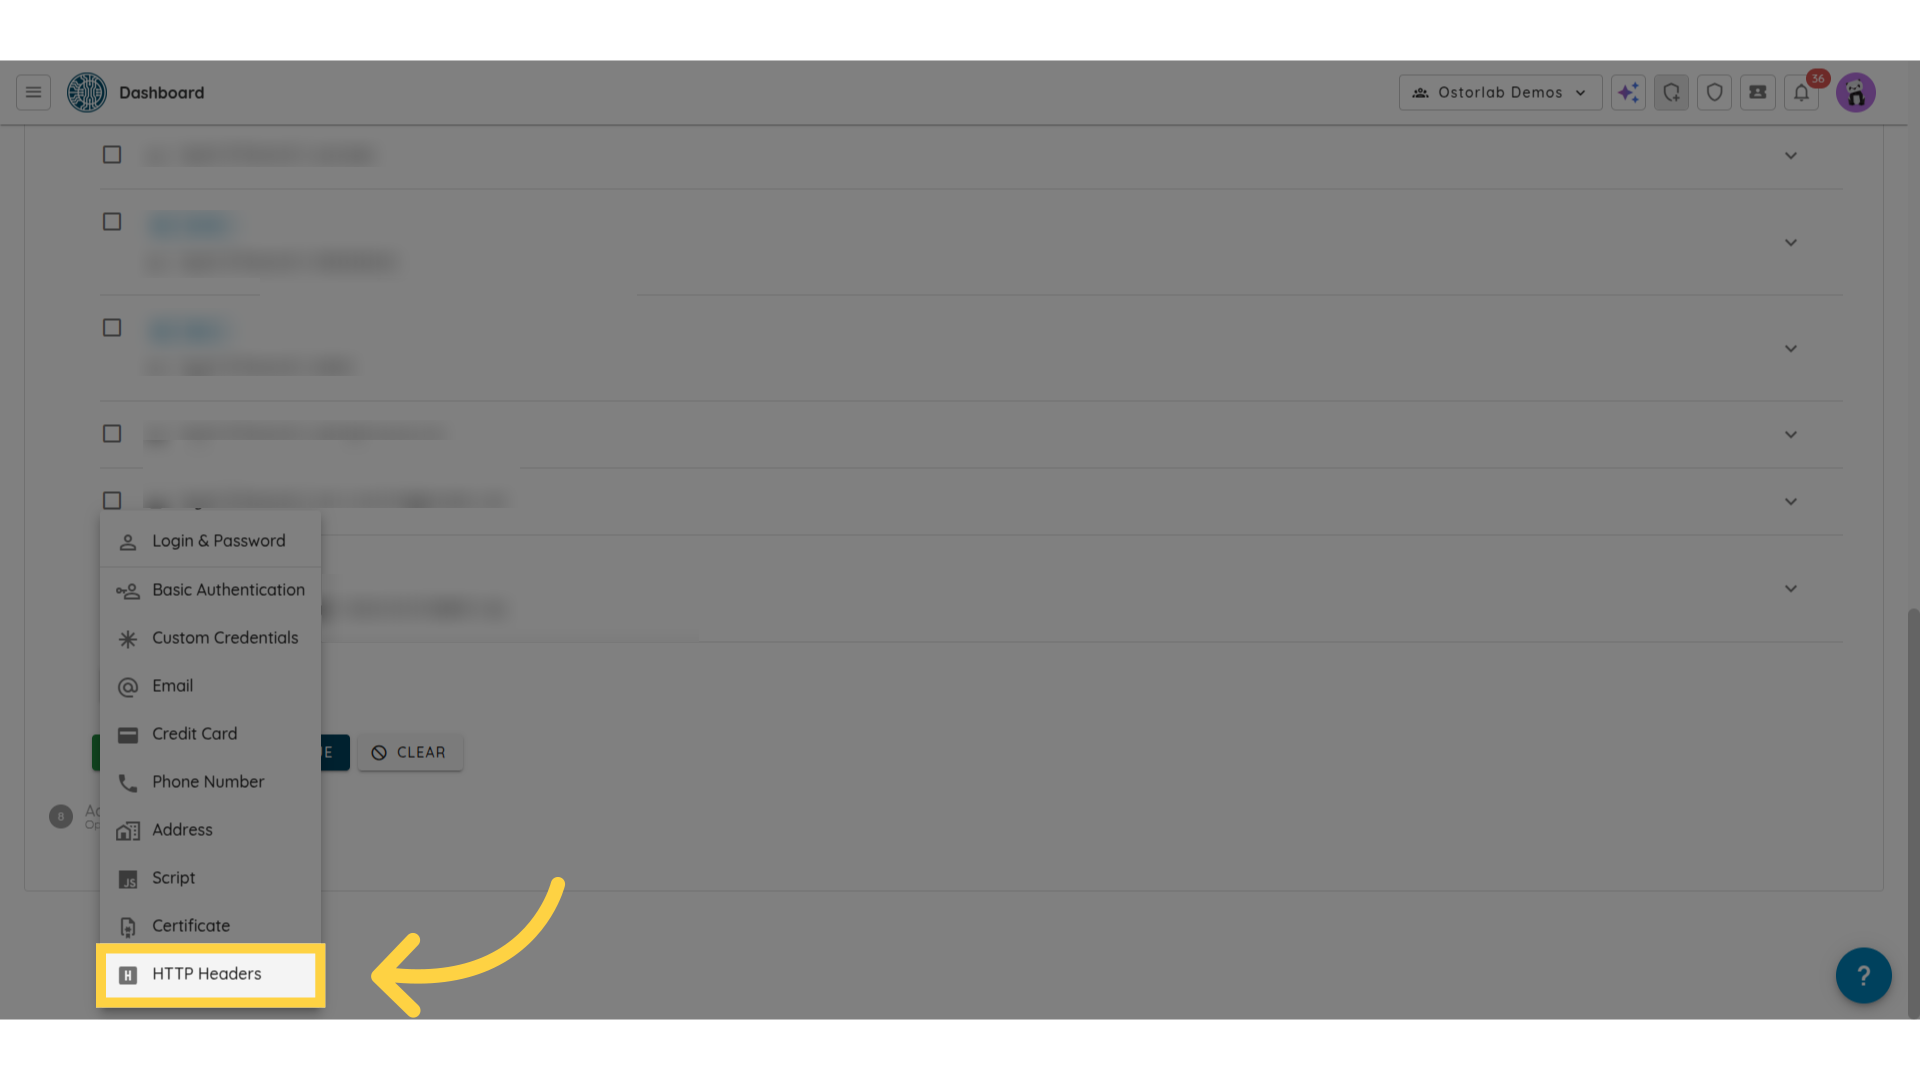
10. Set Scan Credentials (Optional)
If the API requires authentication, for example an X-API Key, follow these steps: First, click "HTTP Headers."
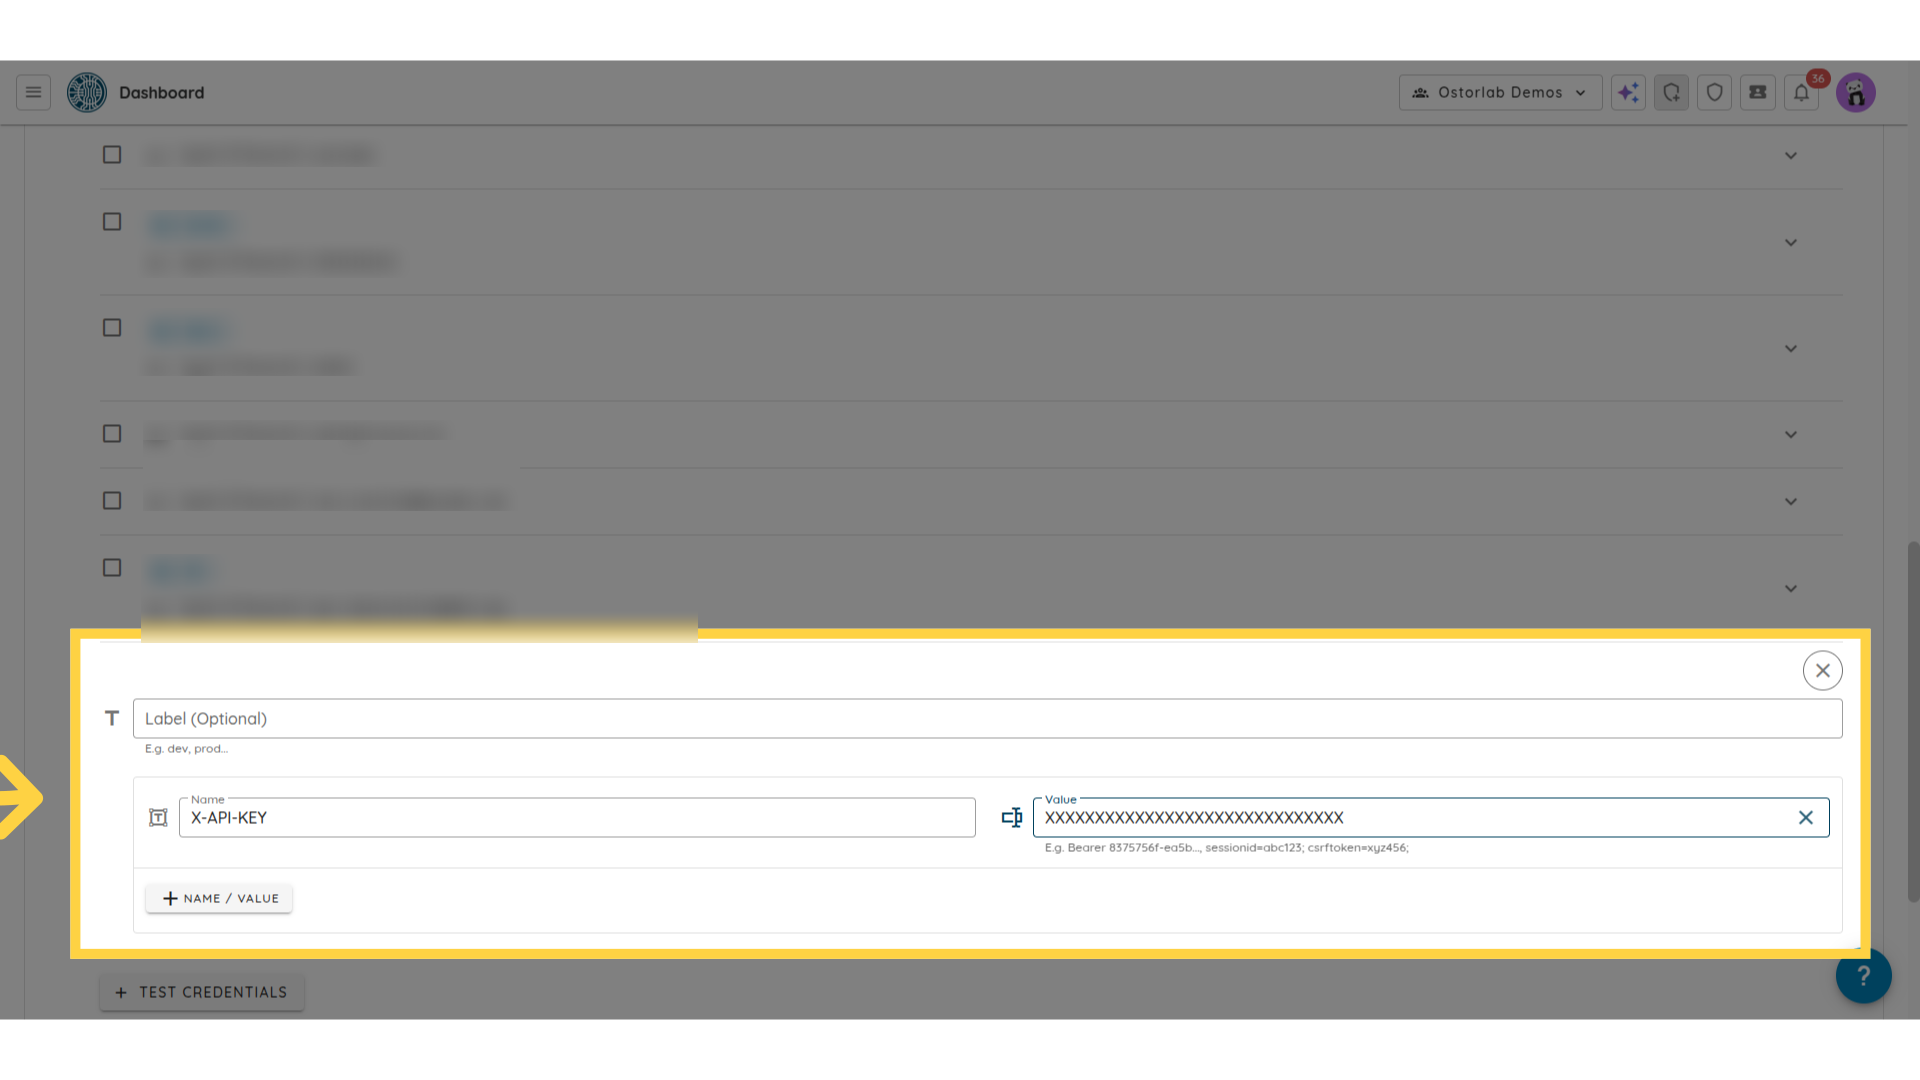
Then type the header name (e.g., X-API-KEY) and the header value. You can add multiple headers by clicking on Name/Value.
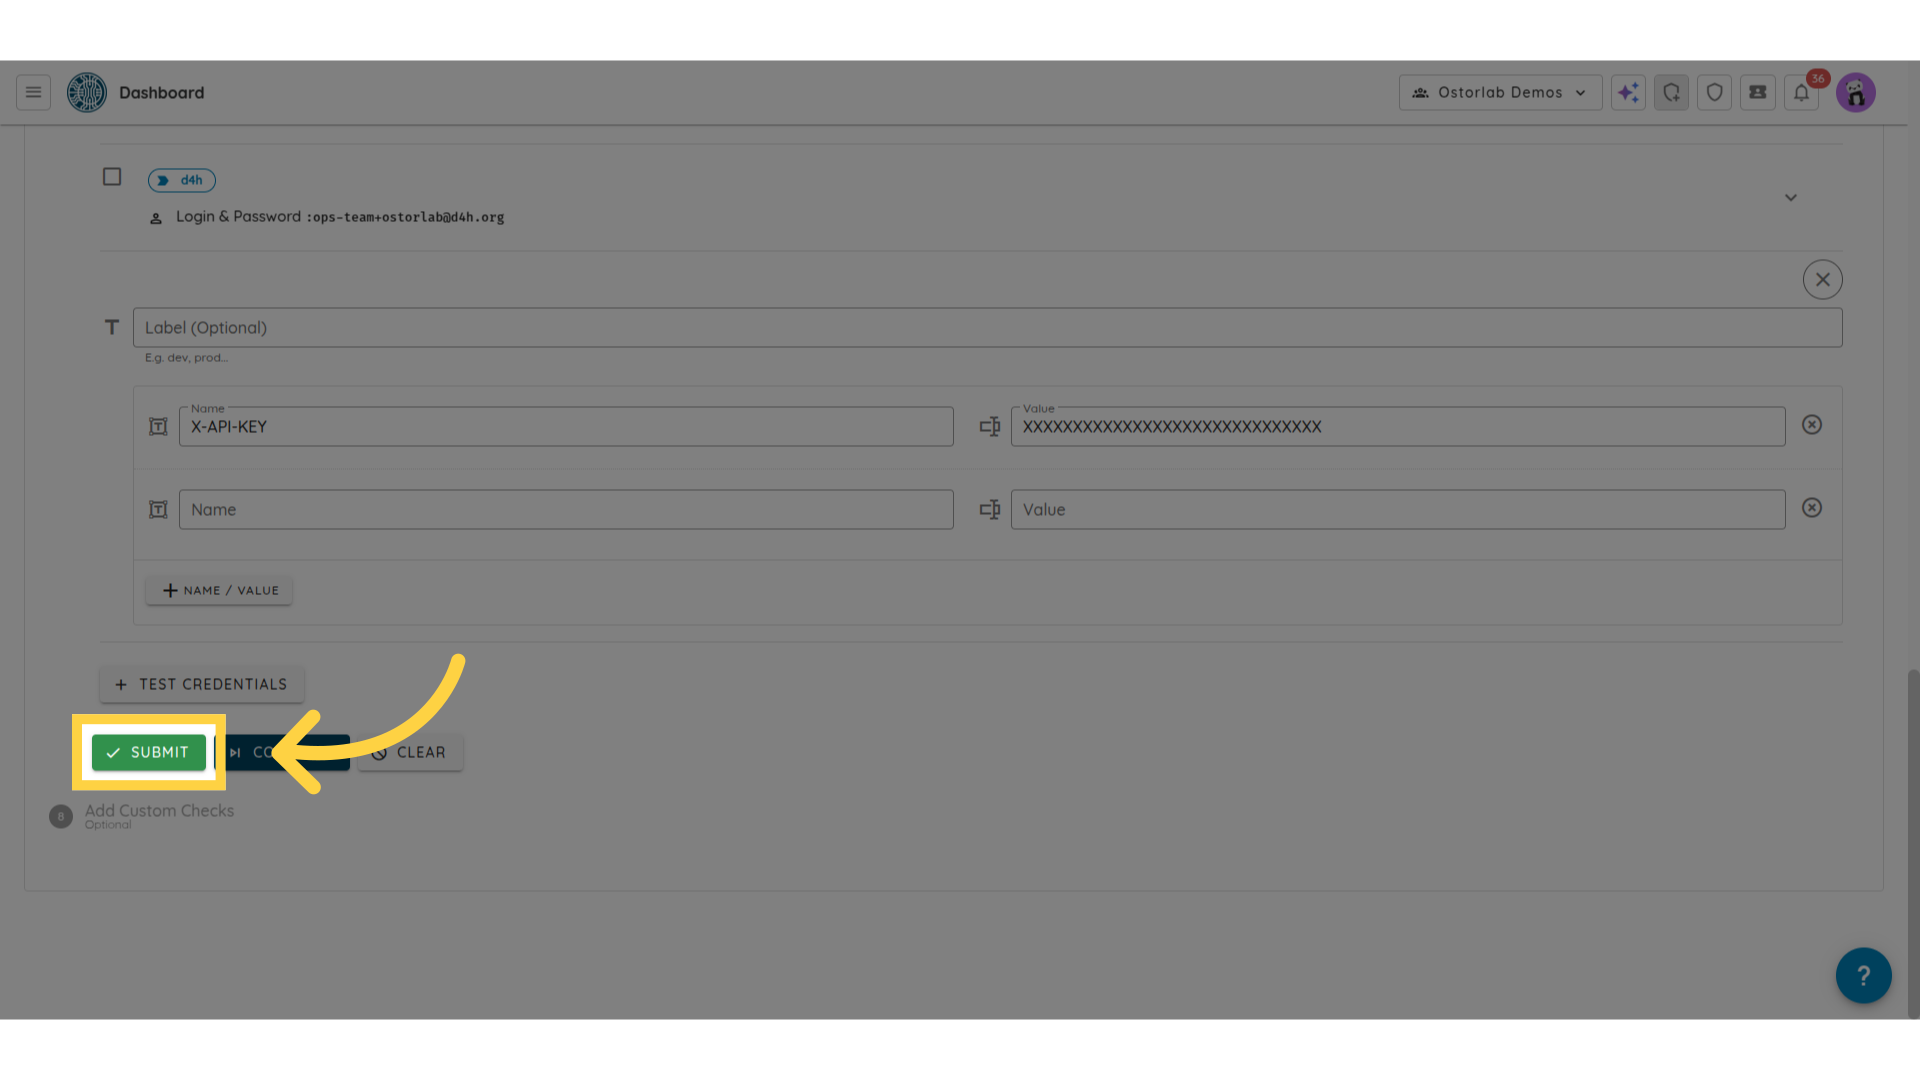
11. Click "Submit" to Start the Scan
With that, you've just finalized your scan setup. Now, click "Submit" to execute the scan.
In this guide, you learned how to scan a web API using an API schema file with Ostorlab. By following these structured steps, you can efficiently identify security risks in your API.