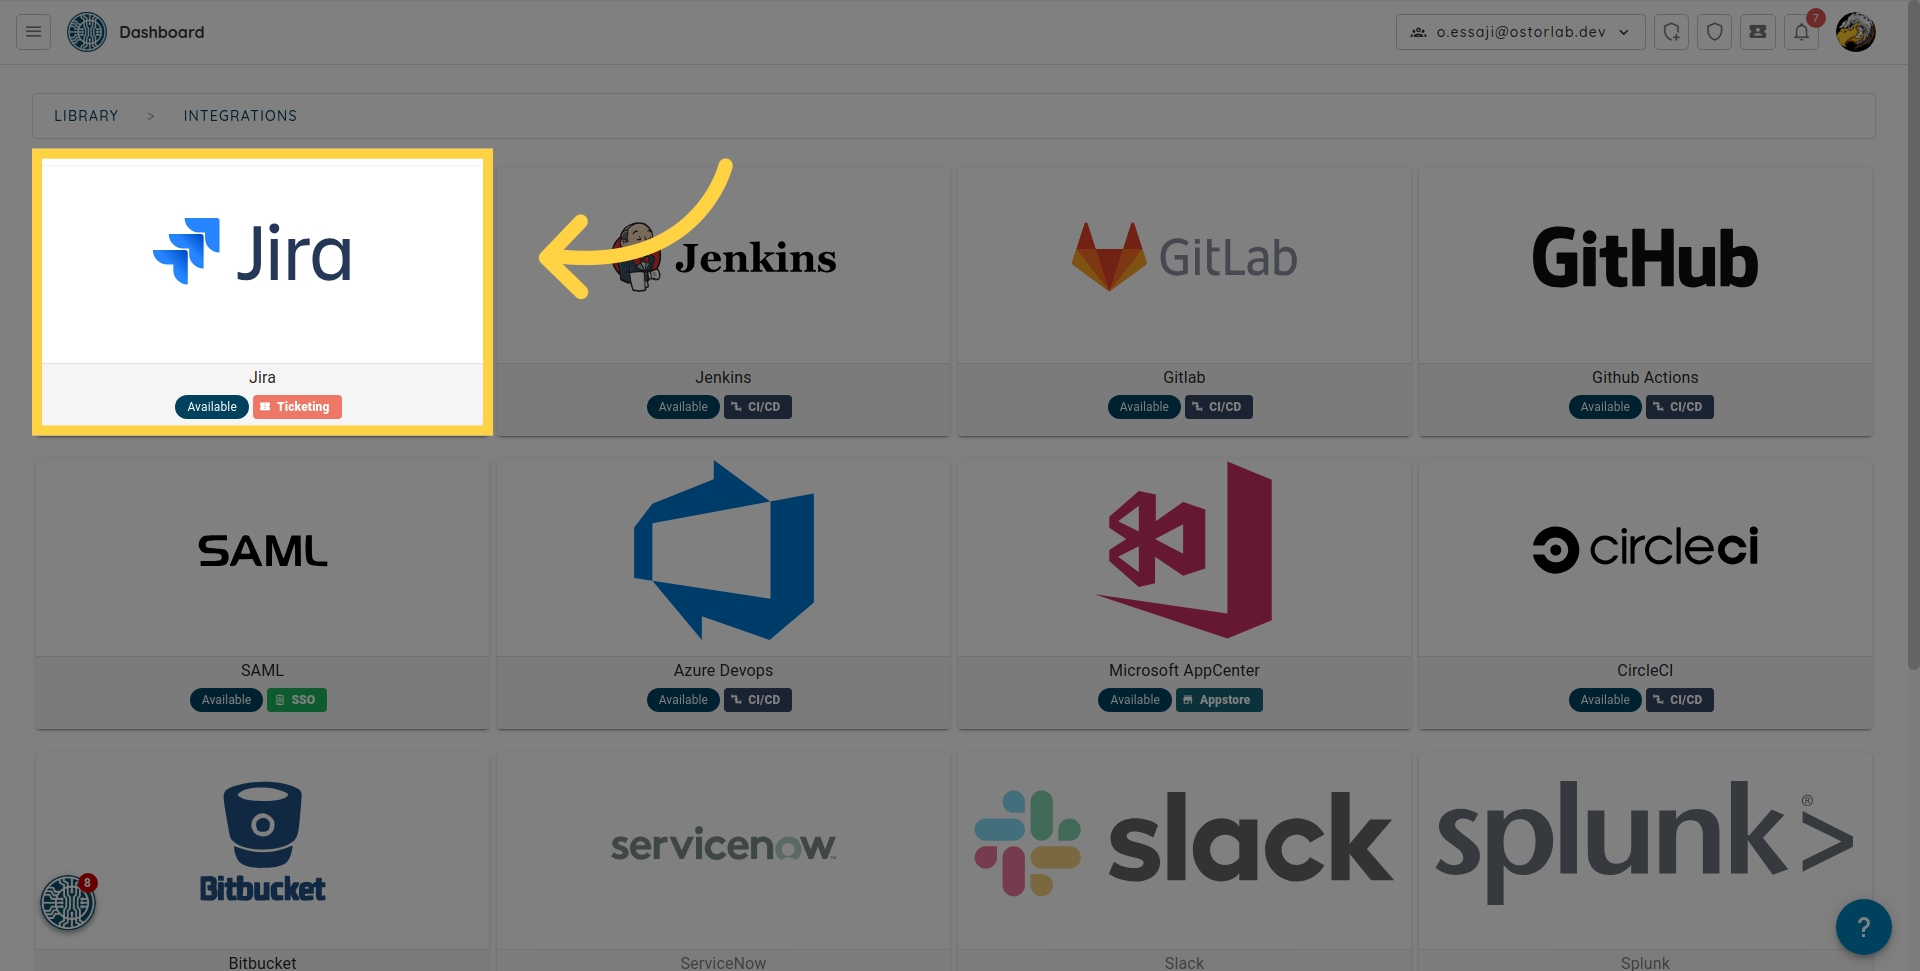
Jira
Configure JIRA Integration
Ostorlab offers the possibility to easily manage vulnerabilities using Ostorlab tickets and seamlessly sync them with Jira.
The Jira configuration can either be done:
-
At the organization level, each Ostorlab ticket will be synced either one way or two ways to Jira.
-
At the ticket level, only chosen tickets are synced either one way or two ways to Jira.
JIRA Configuration:
To enable Jira integration, the organization must have an enterprise subscription.
To connect to the JIRA workspace, we will be using the username and the API key.
Create Jira Api key:
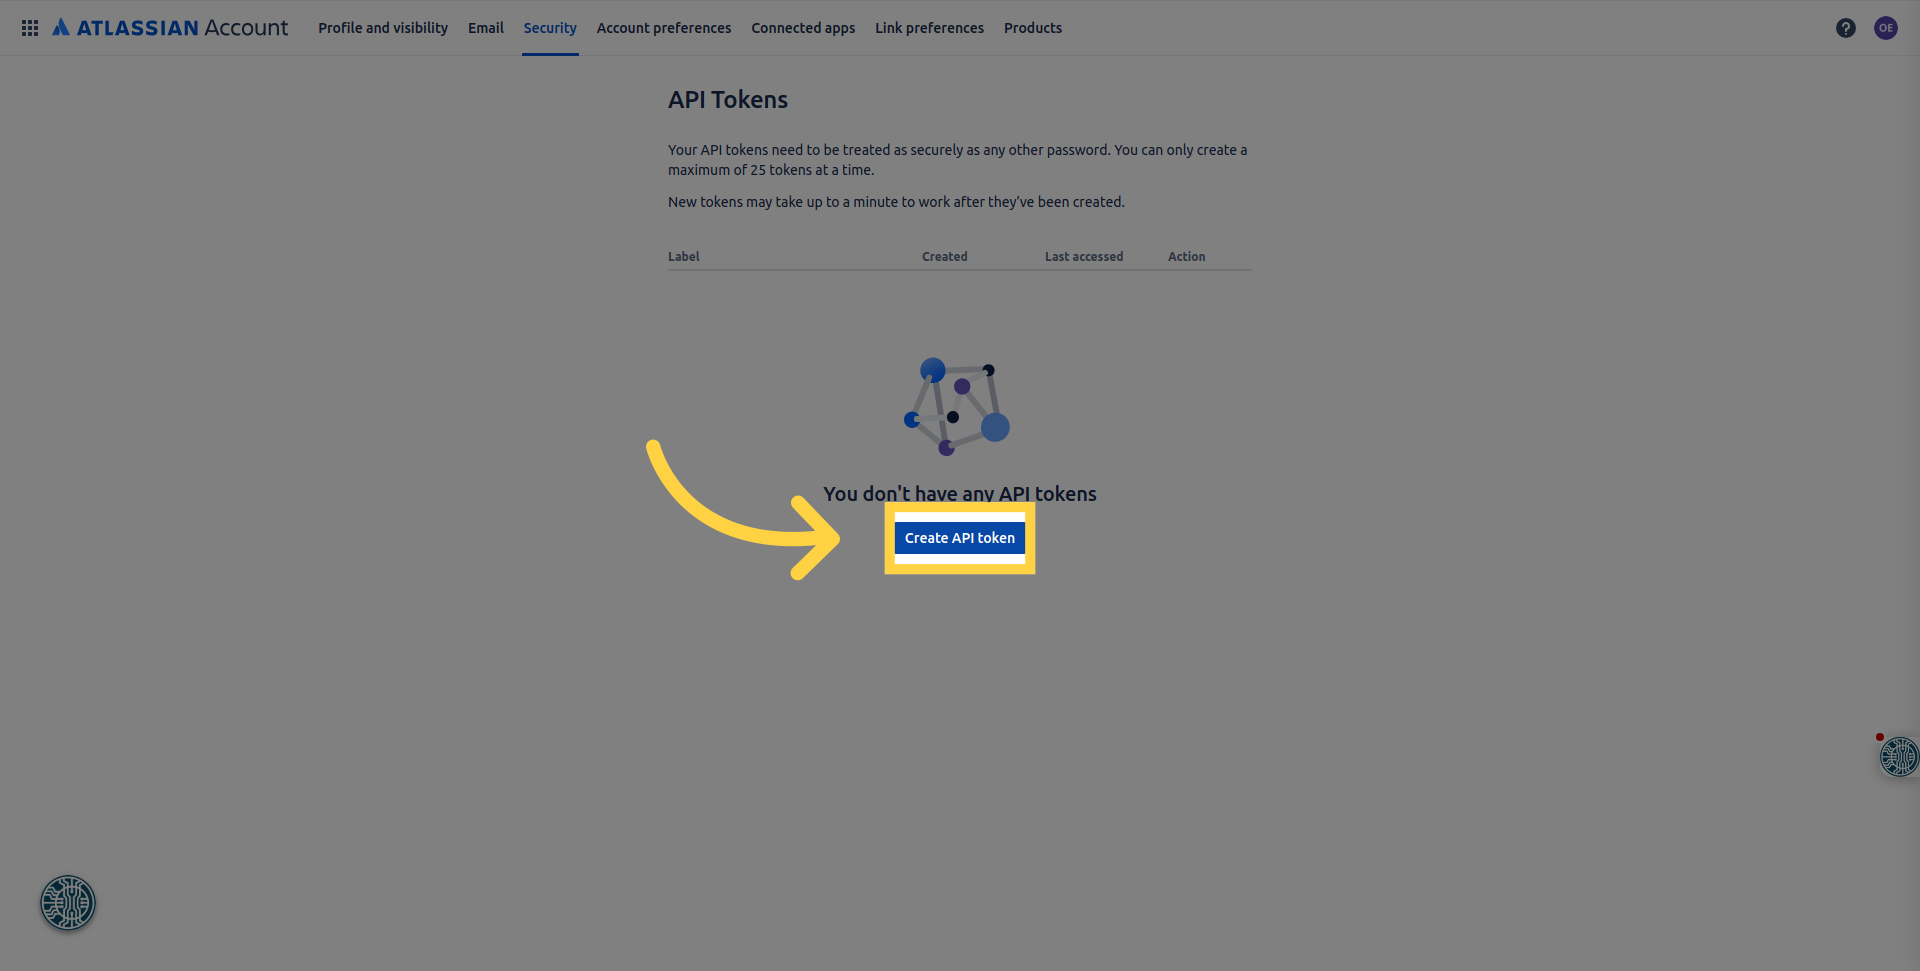
- Access the API Token Authentication menu.
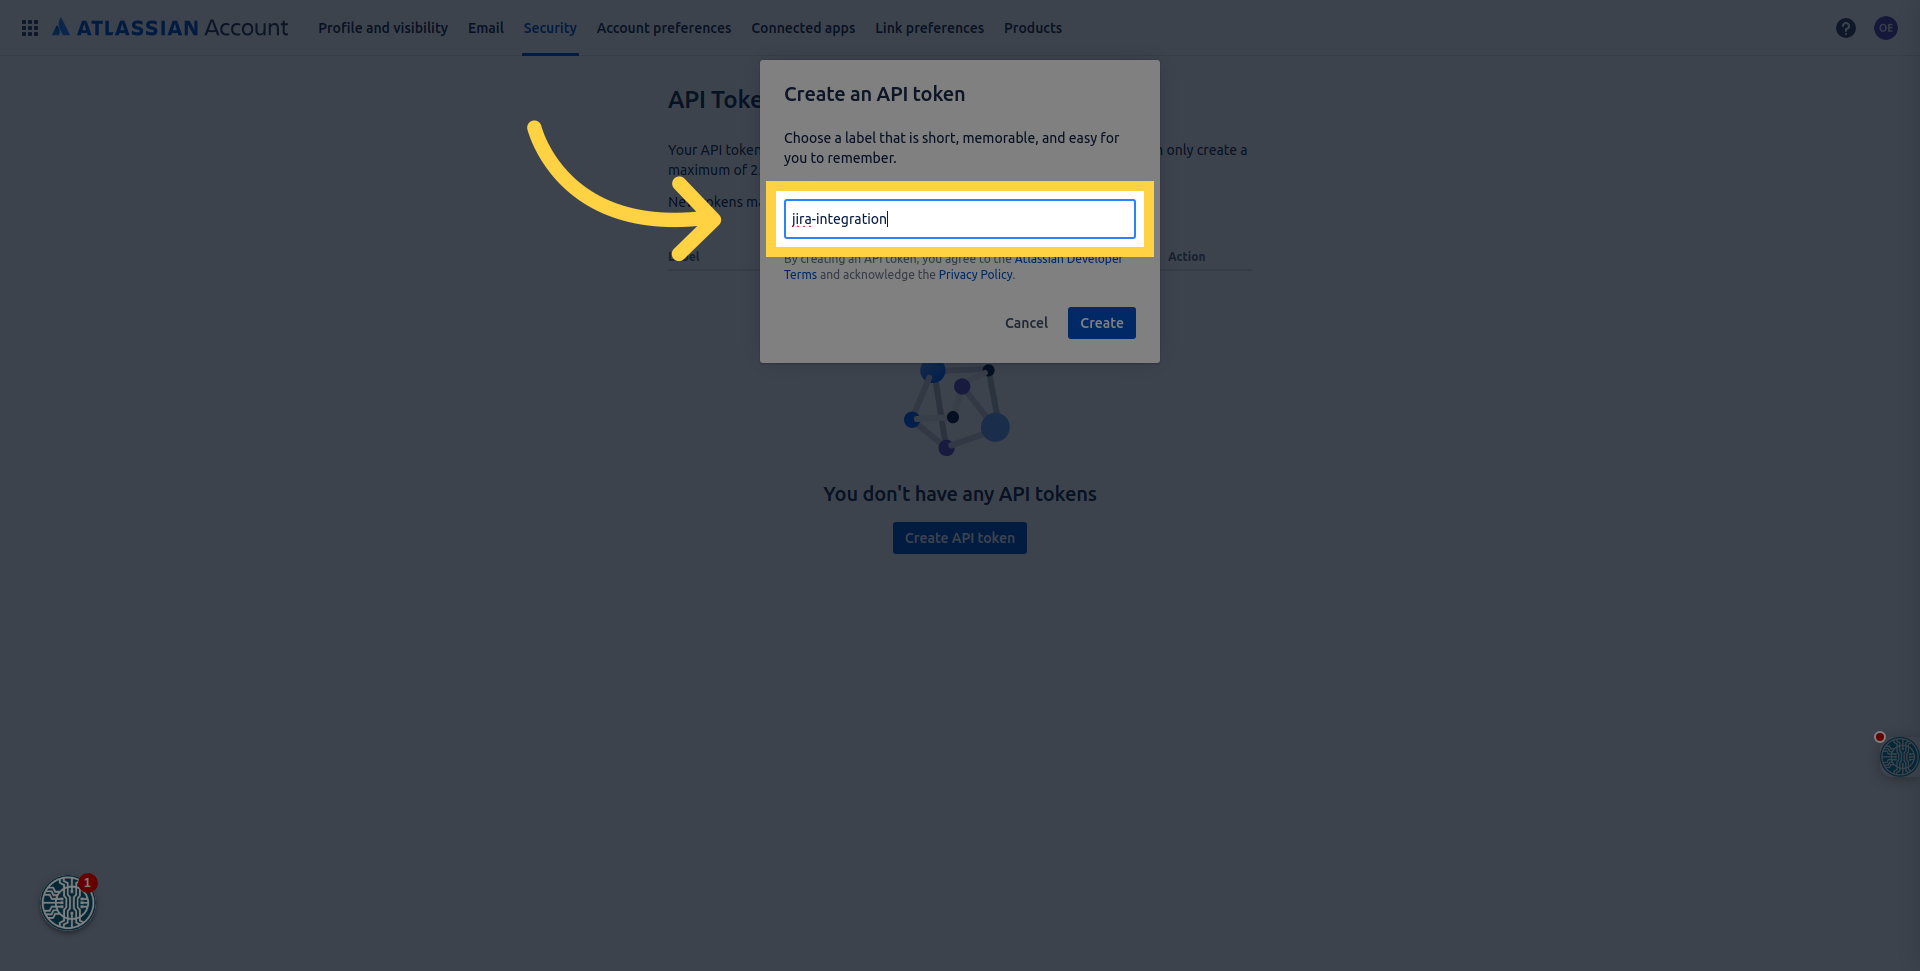
- Create an API token.
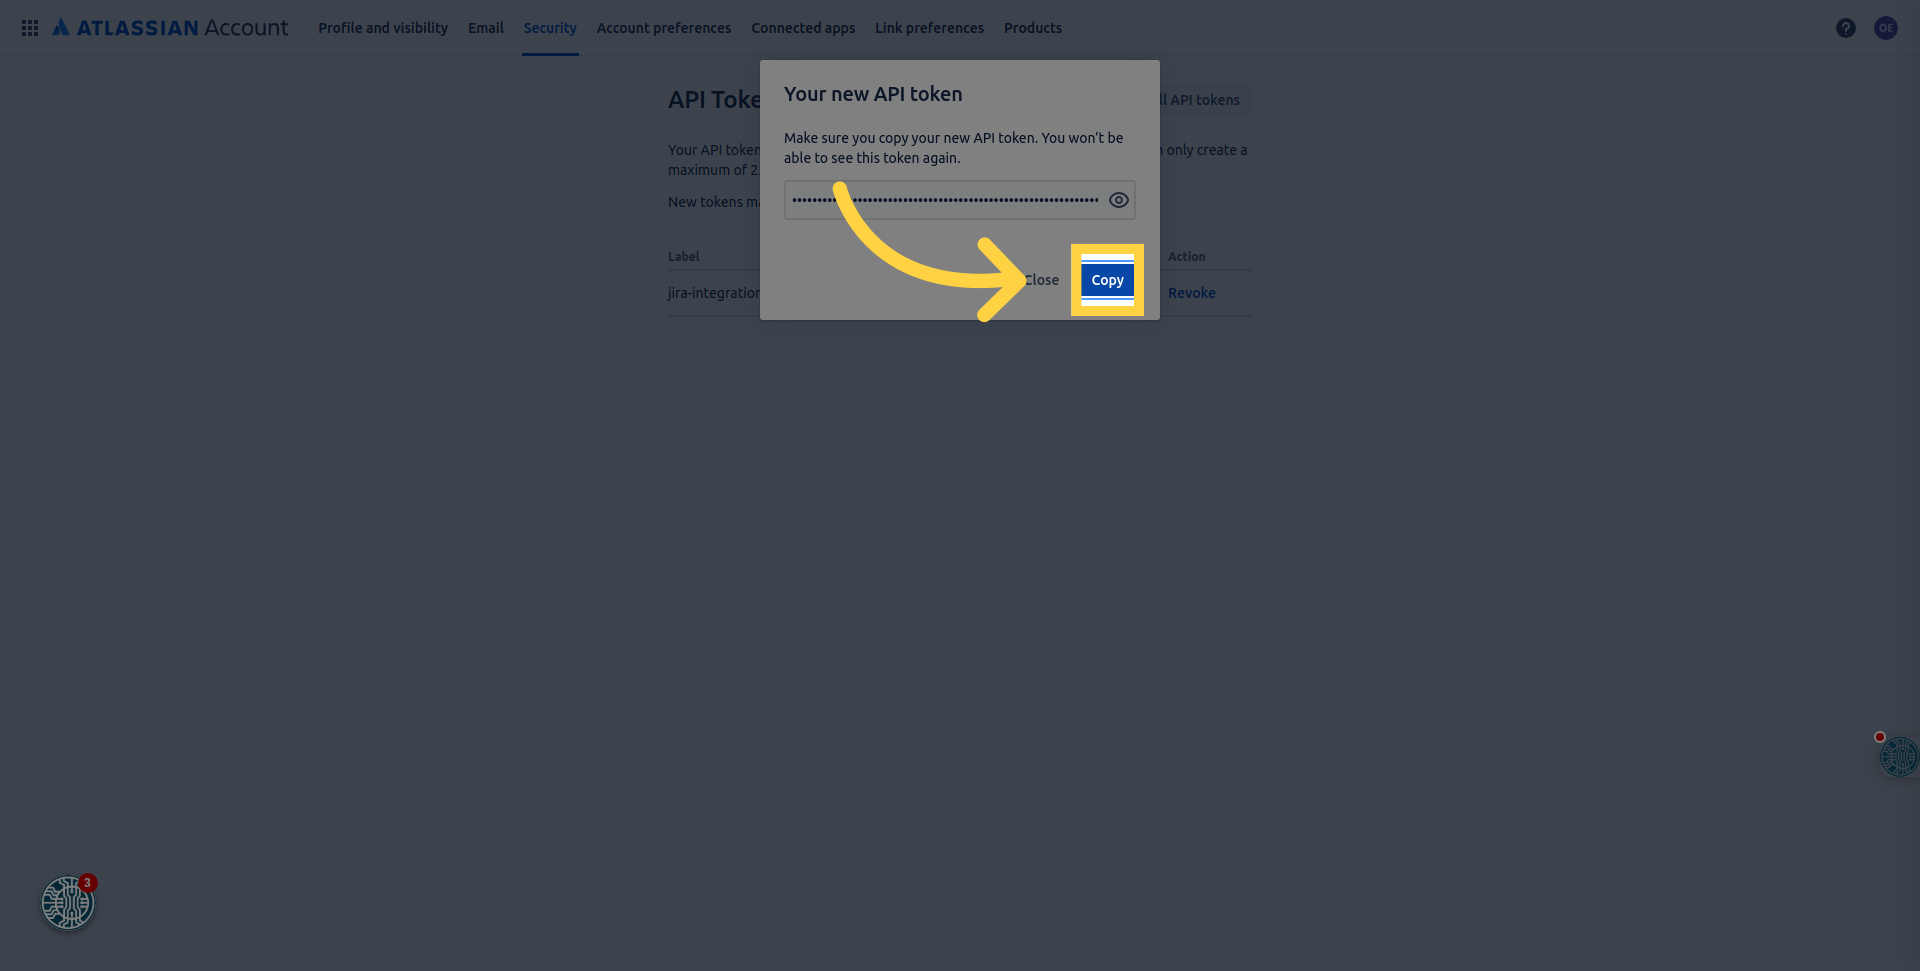
- Copy and paste the generated key.
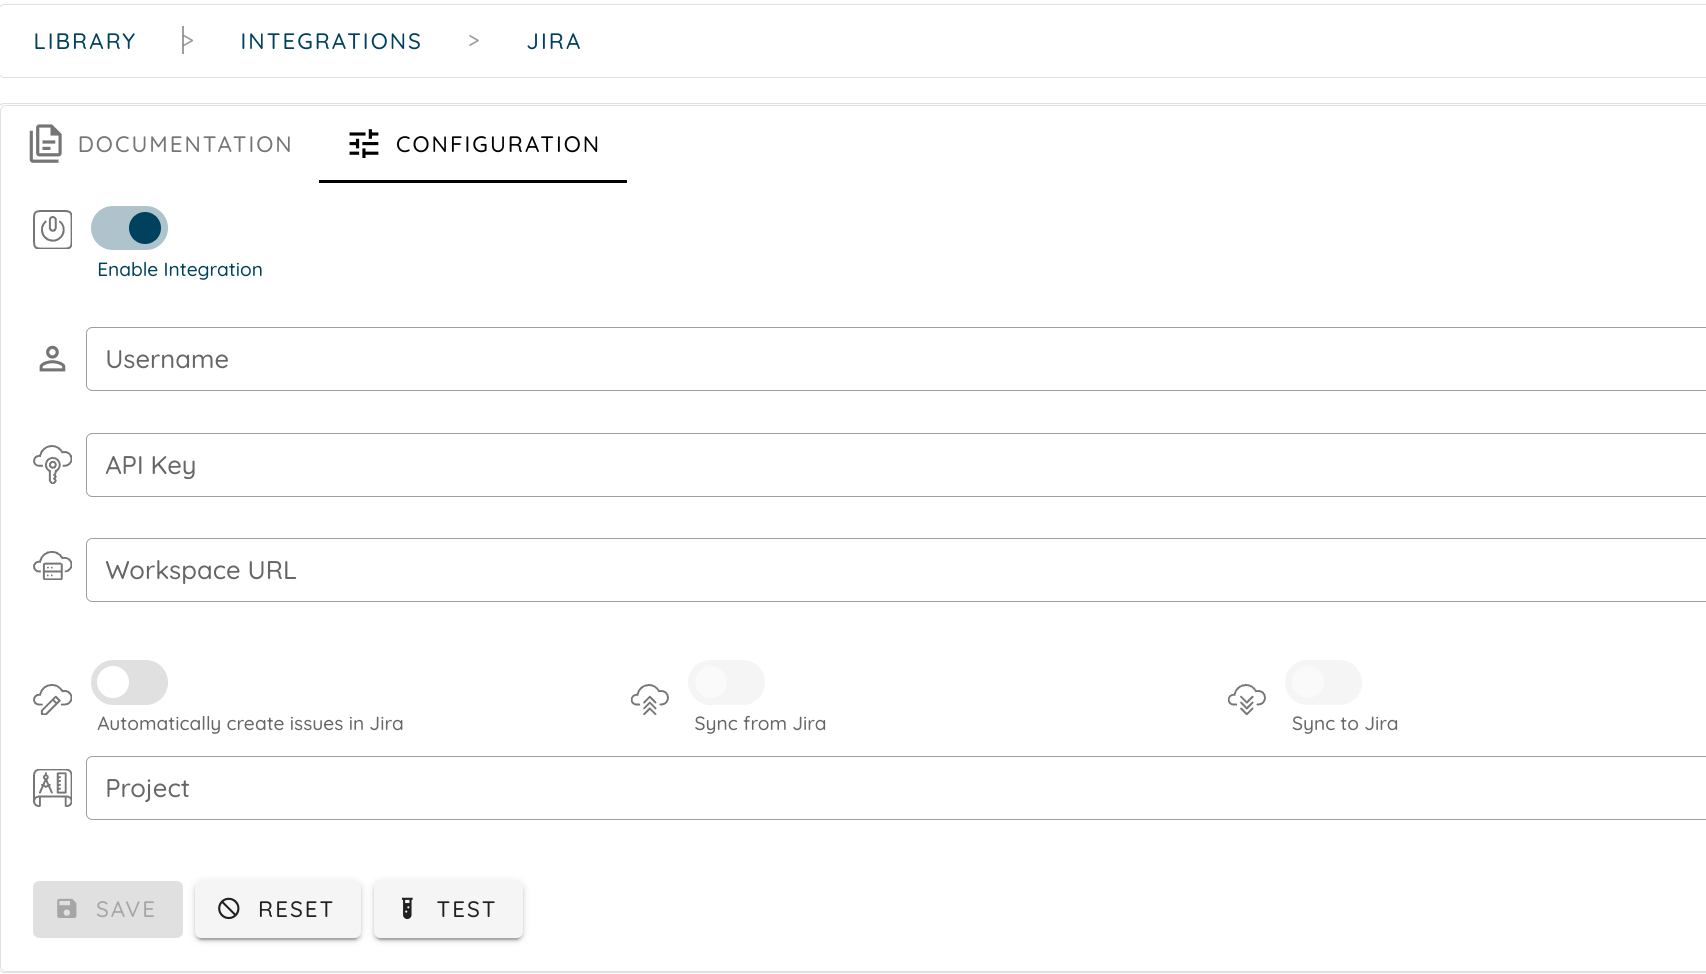
Connect Jira Integration:
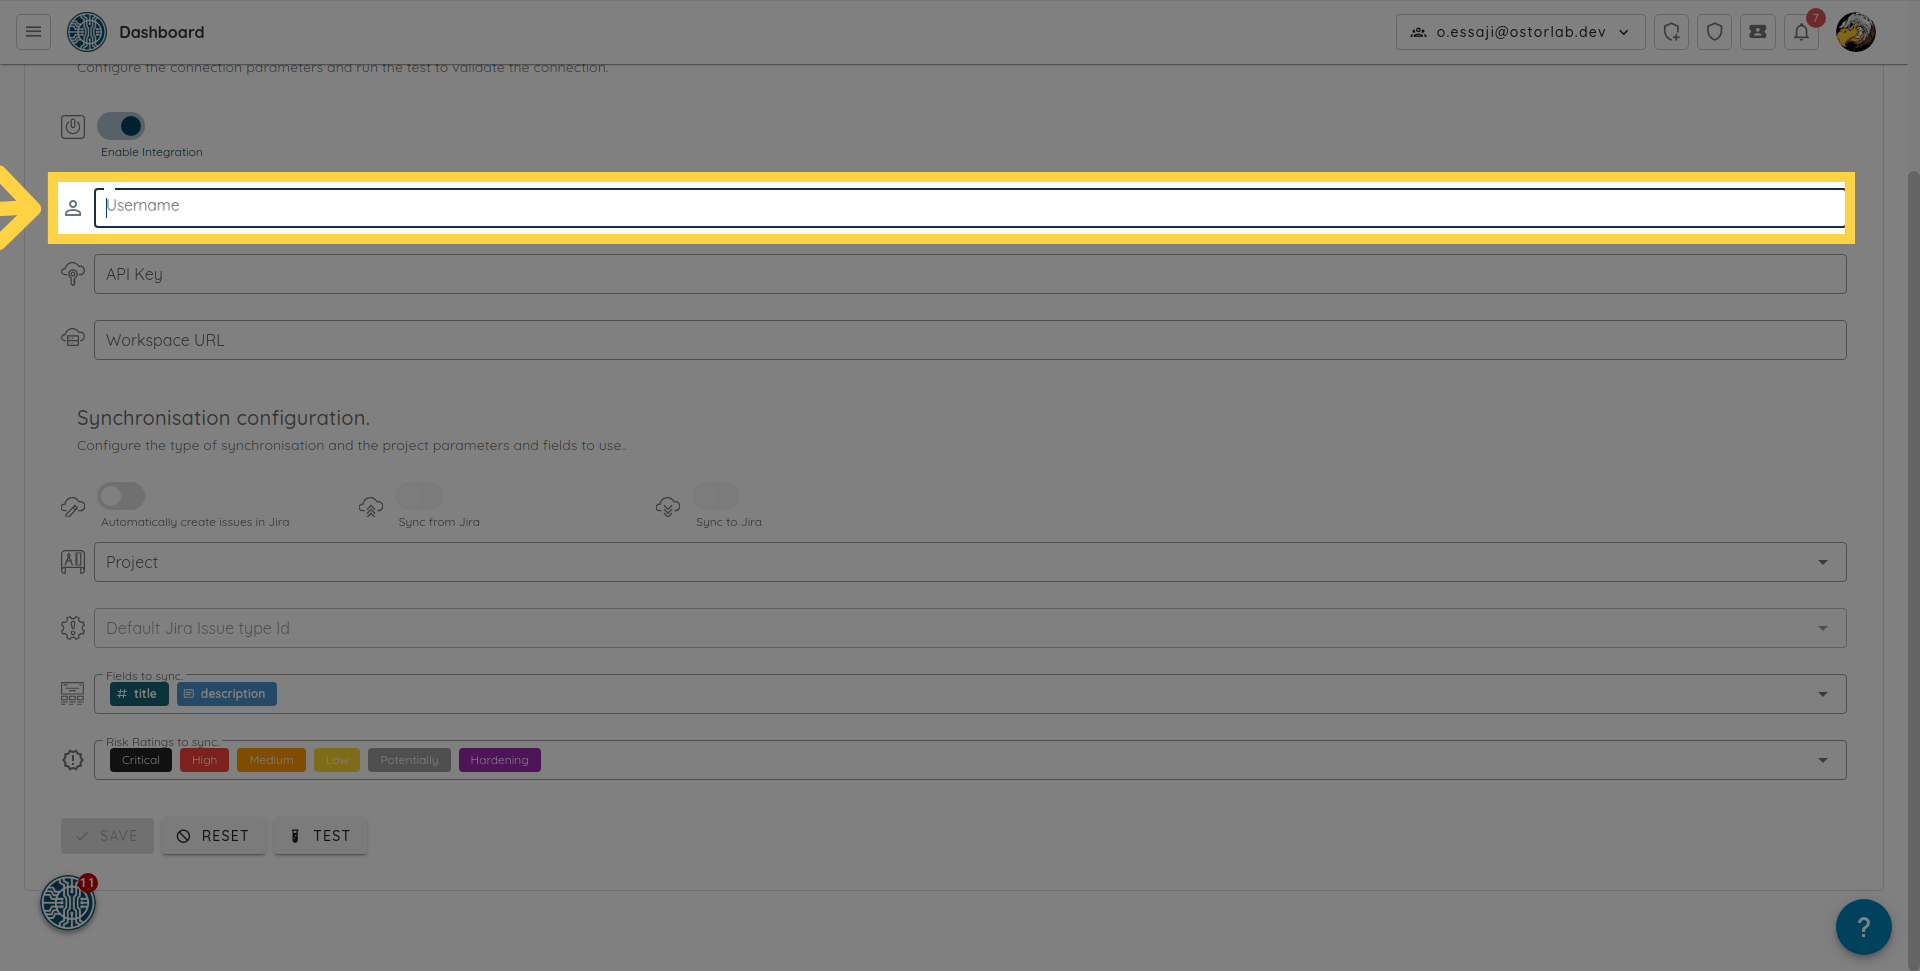
- Add your username.
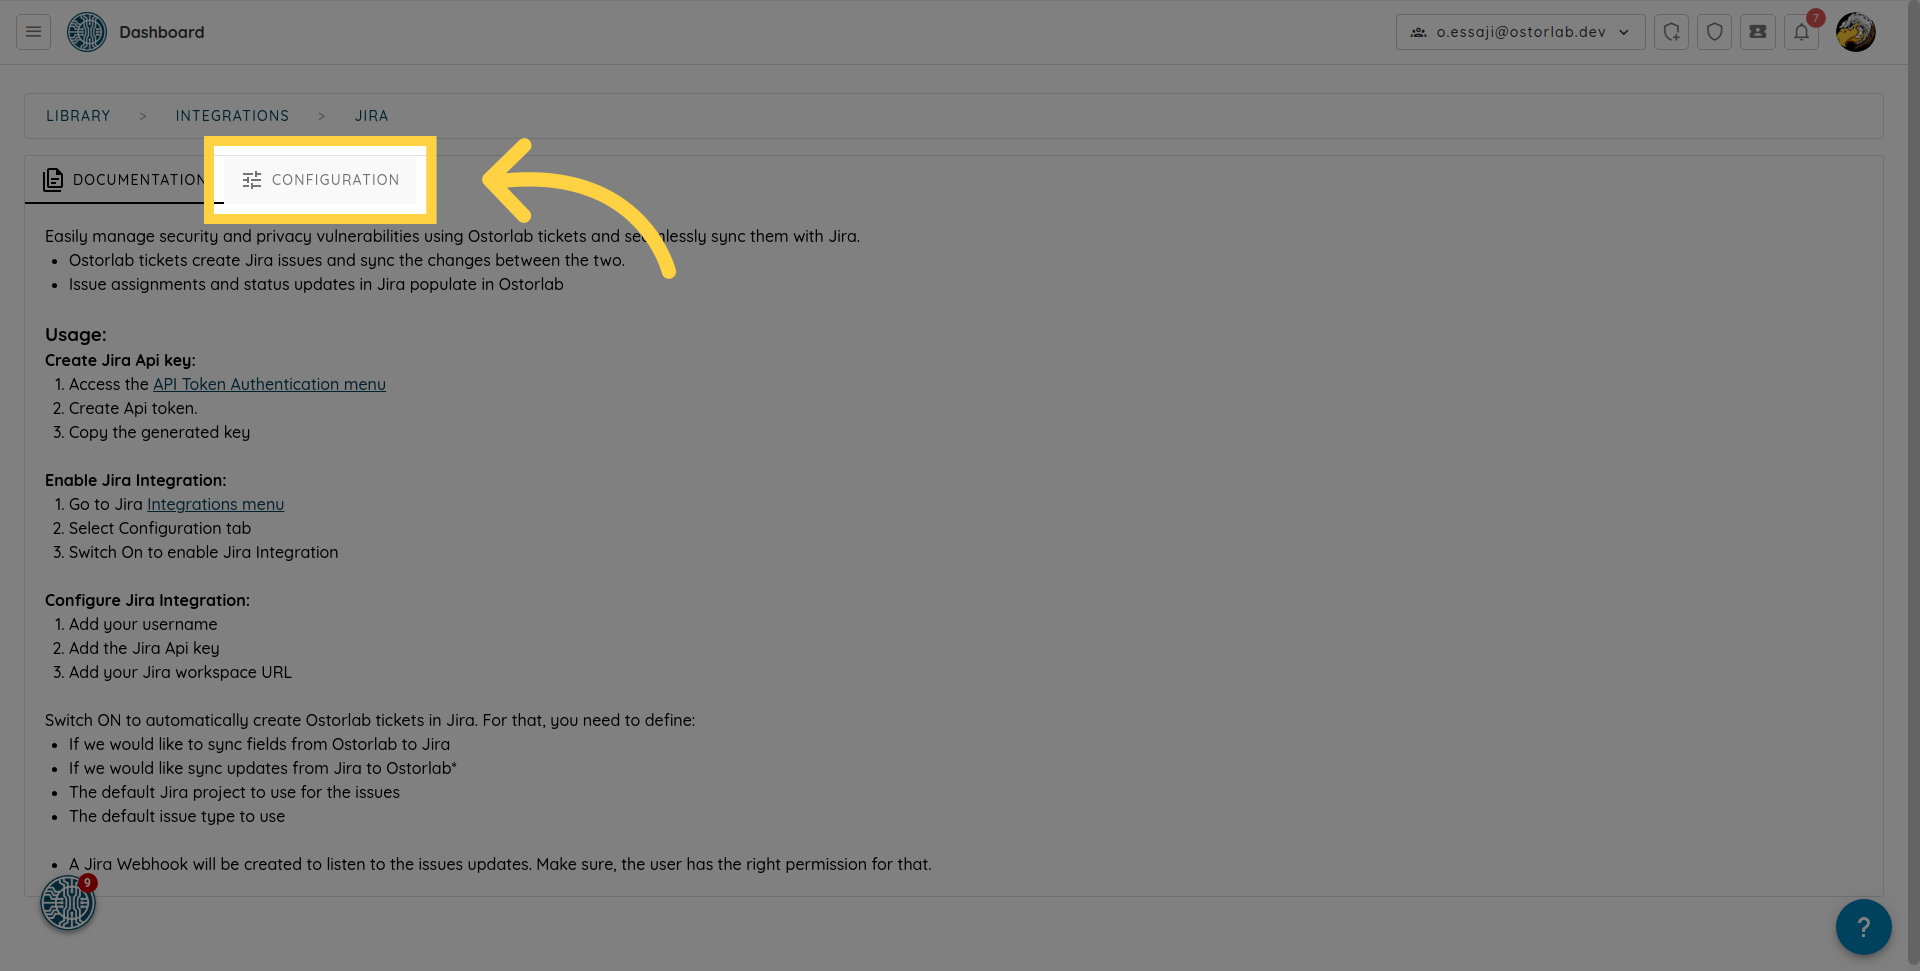
- Add the Jira Api key.
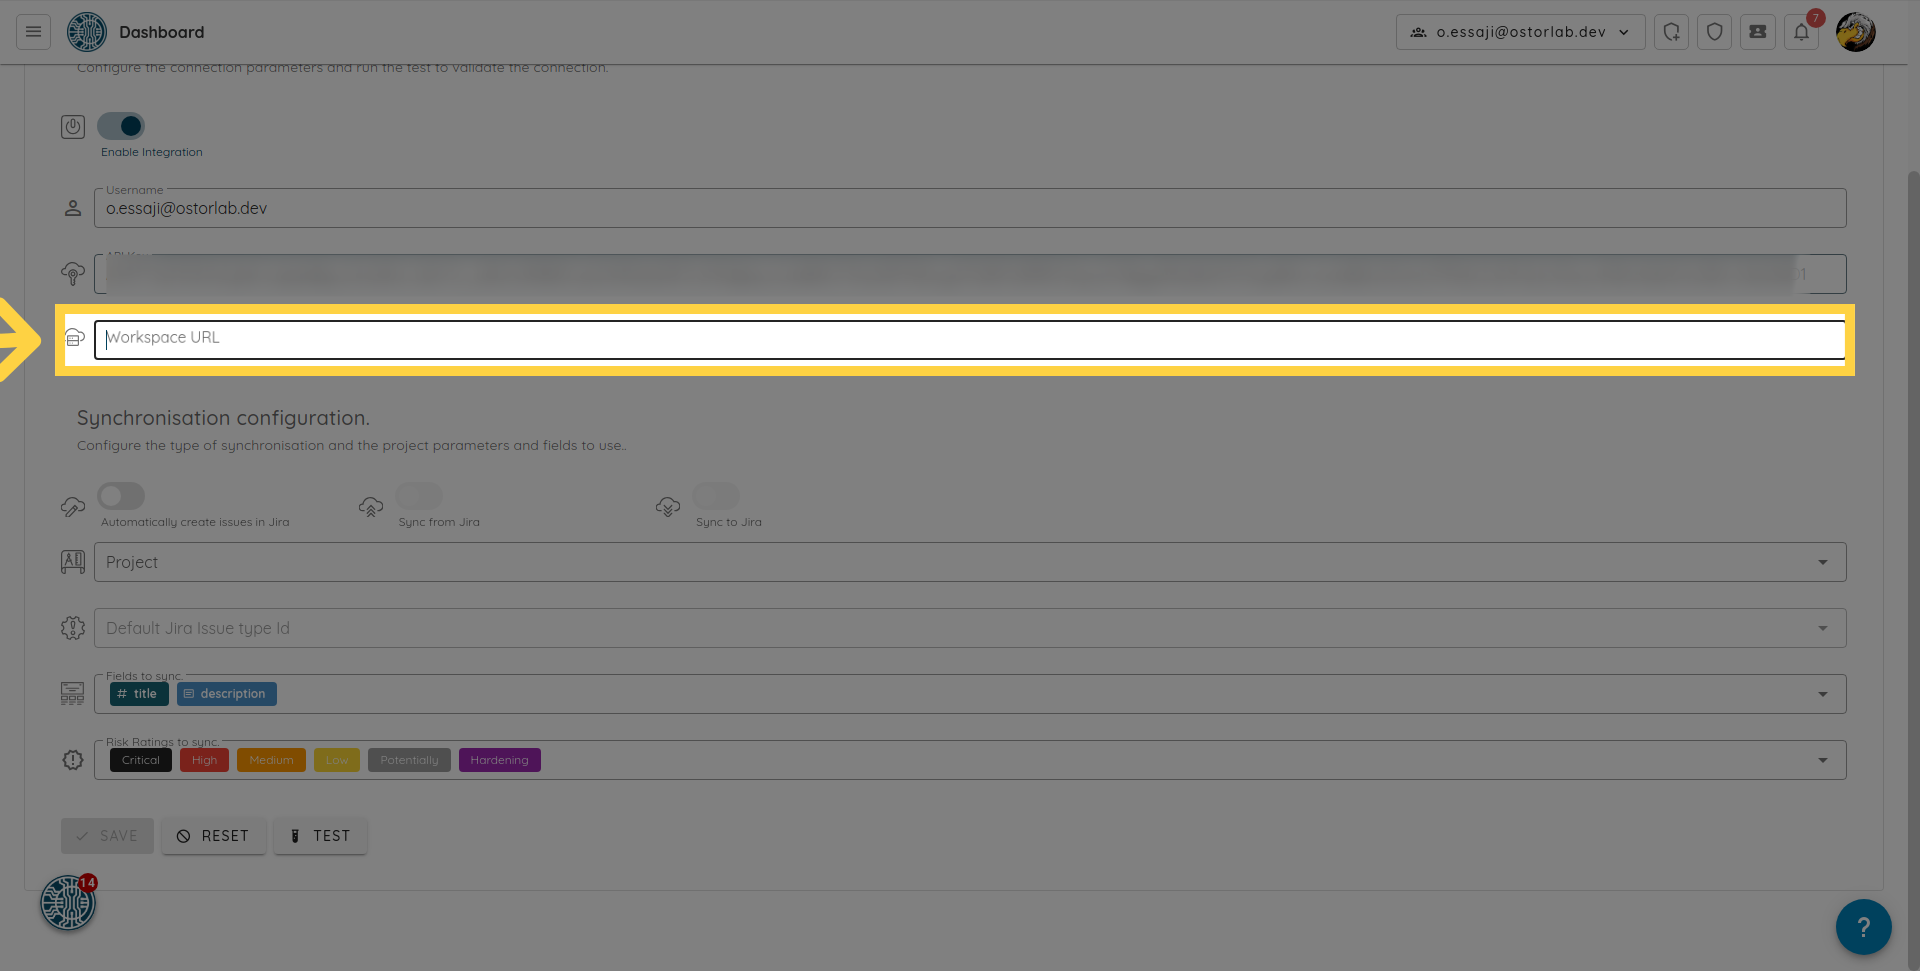
- Add your Jira workspace URL.
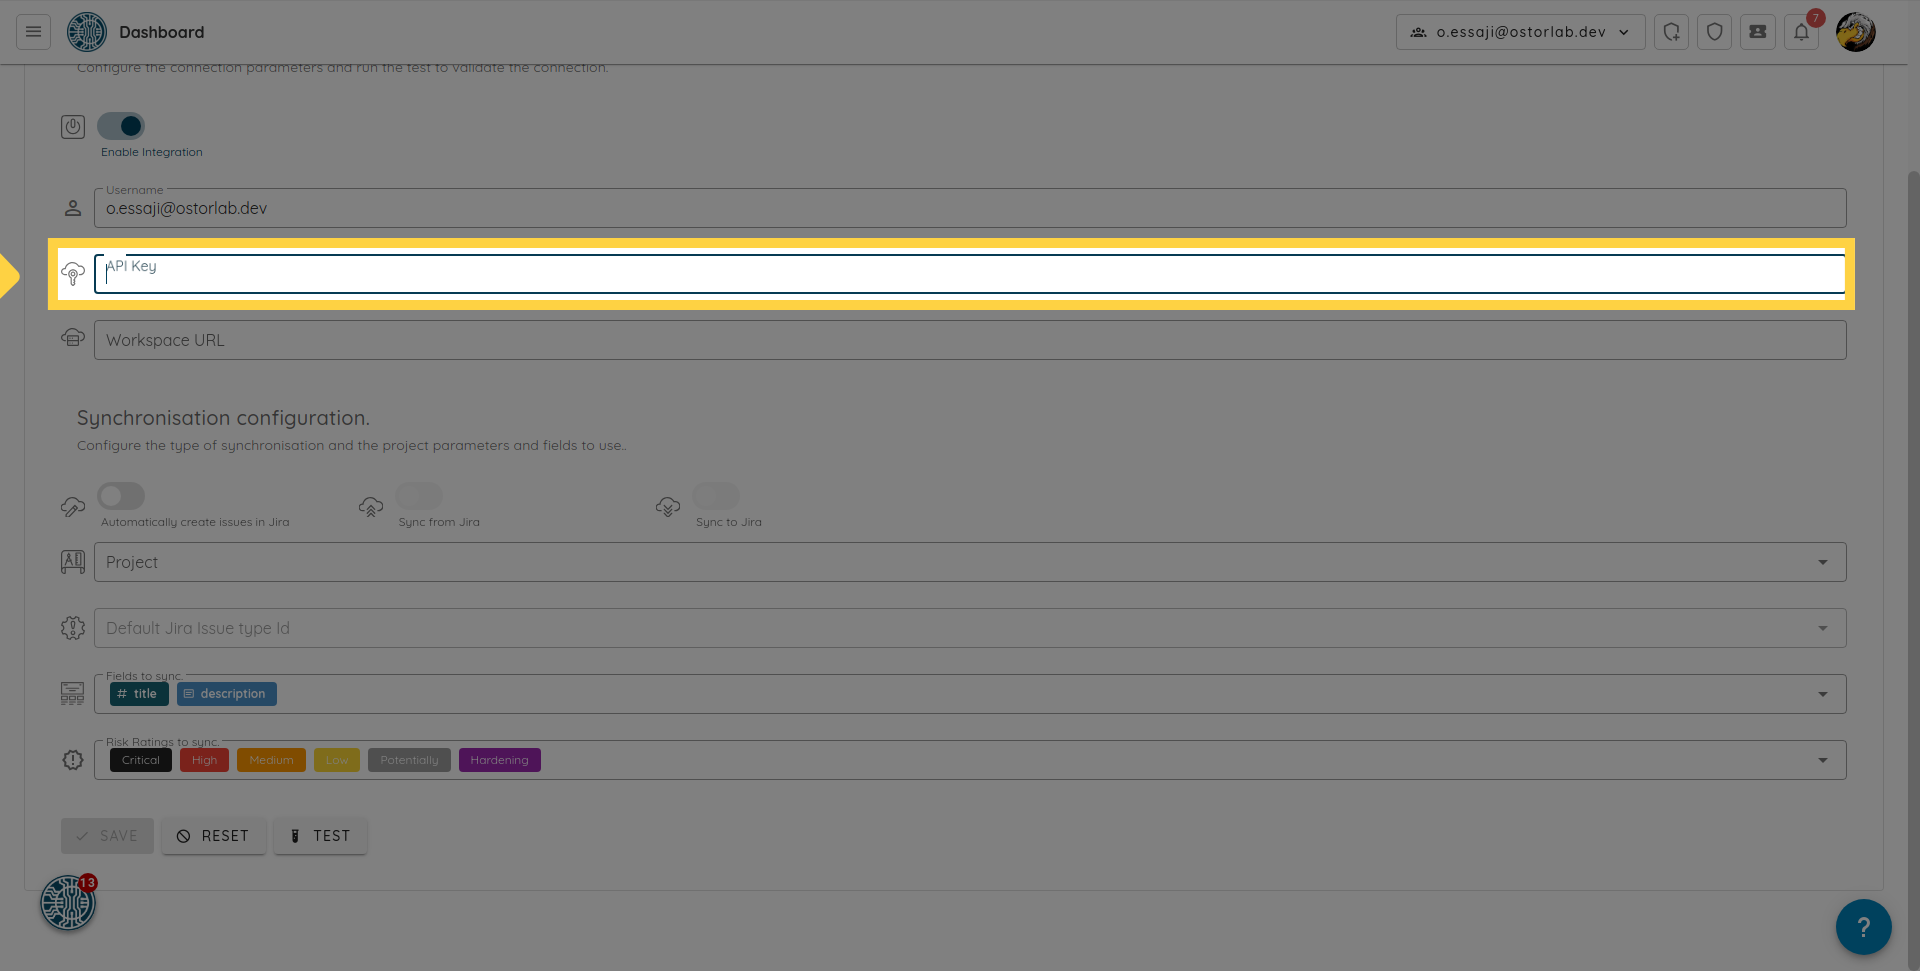
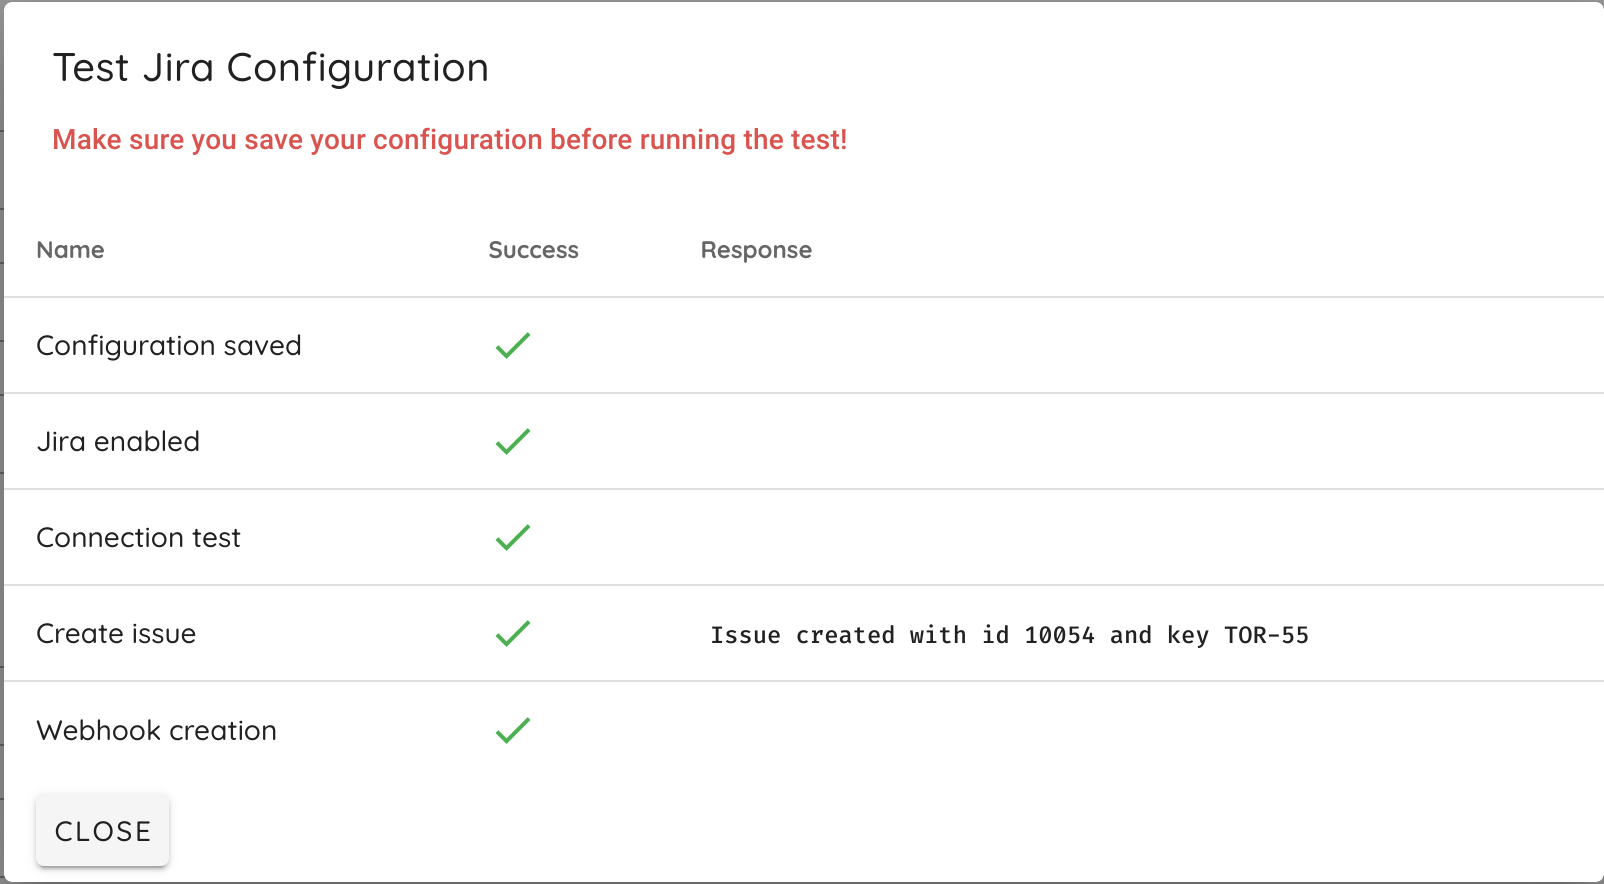
You can save the configuration and test the connection to the workspace.
 All the tests should pass
 except the create issue one.
NOTE: If your Jira instance is behind a firewall, you can contact the support team to provide the range of IPs to whitelist.
Once the JIRA connection is working, you can either apply the configuration at the organization level to all the tickets or open the ticket you would like to sync and configure it.
Automatically create Jira issues from Ostorlab tickets:
Go to Jira Integration menu Integrations -> Jira -> Configurations.
Make sure the steps in Connect Jira configuration are done and the connection check is passing.
To enable the automatic creation of JIRA tickets, you need to switch ON the toggle button.

You can also choose to:
- Sync the updates from Ostorlab to Jira.
- Sync updates from Jira to Ostorlab*.
* A Jira Webhook will be created to listen to the issues updates. Make sure, the user has the right permissions to create a hook.
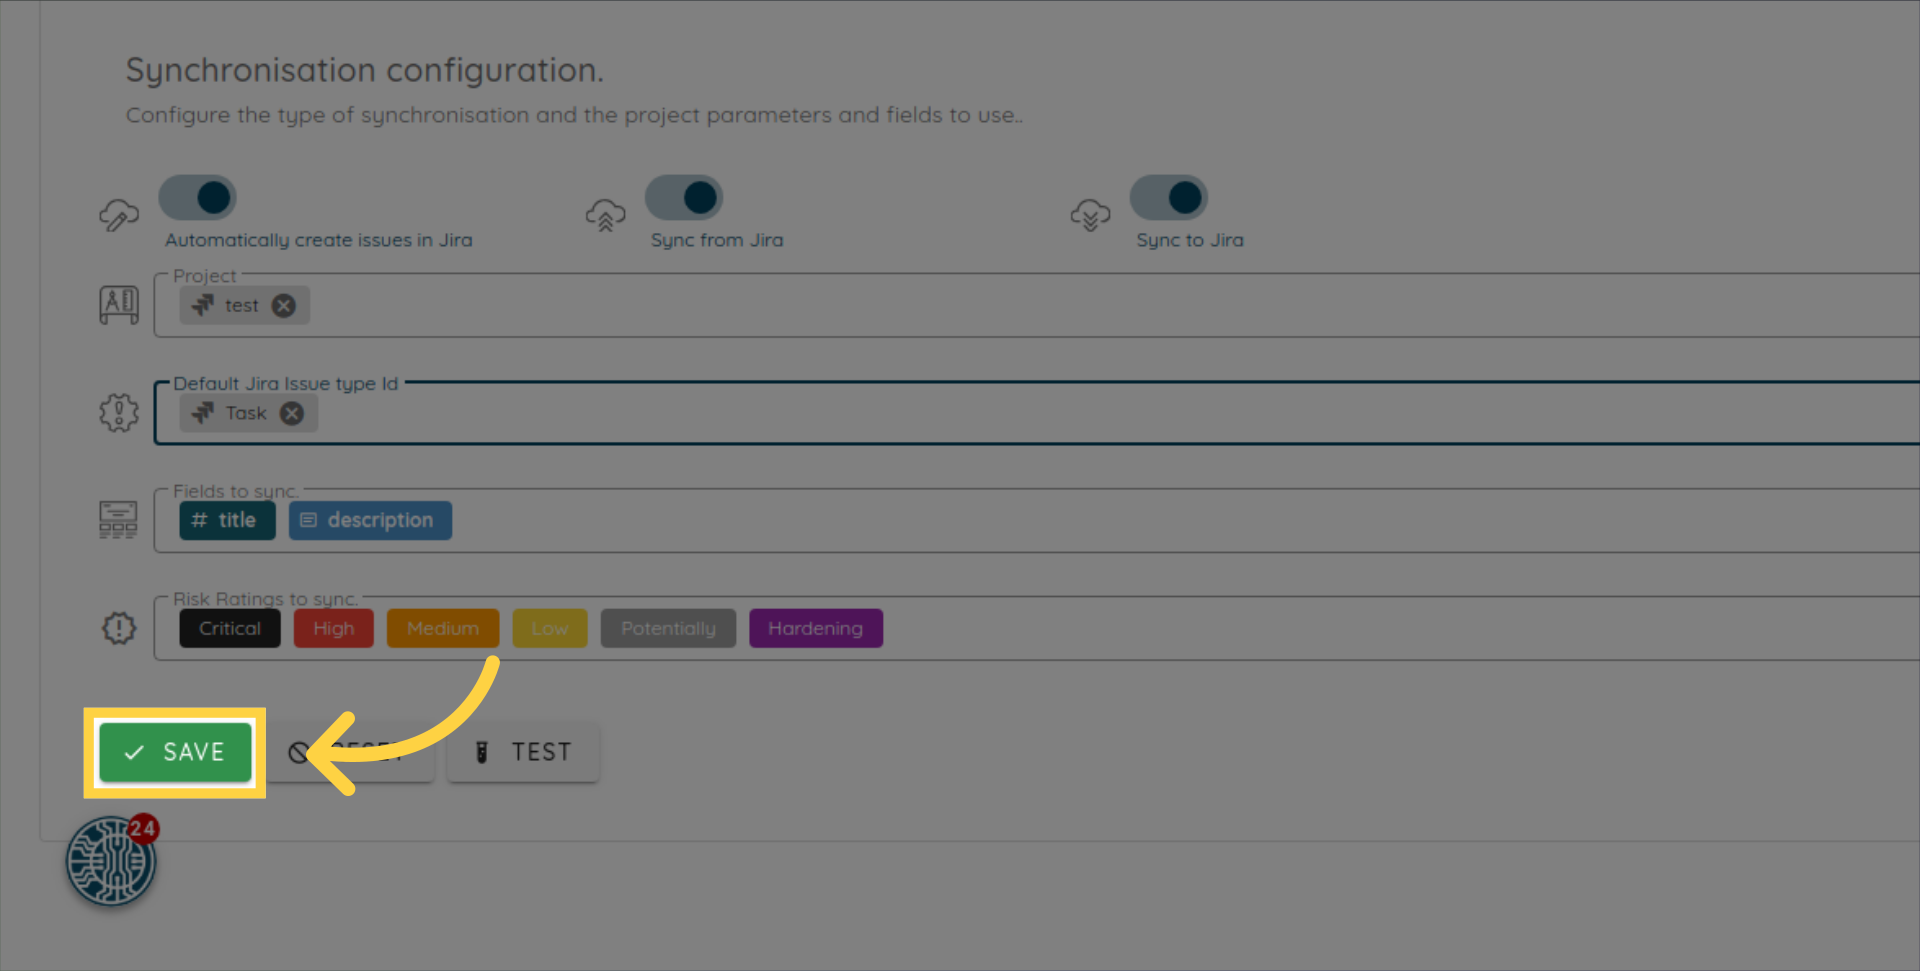
Once the Sync modes are configured, you need to choose:
- The default Jira project to use for the issues.
- The default issue type to use.
- The fields to sync.
- The tickets risk ratings to sync to JIRA.
- Click on Save
 Click on
 Yesif you want to migrate the existing tickets to JIRA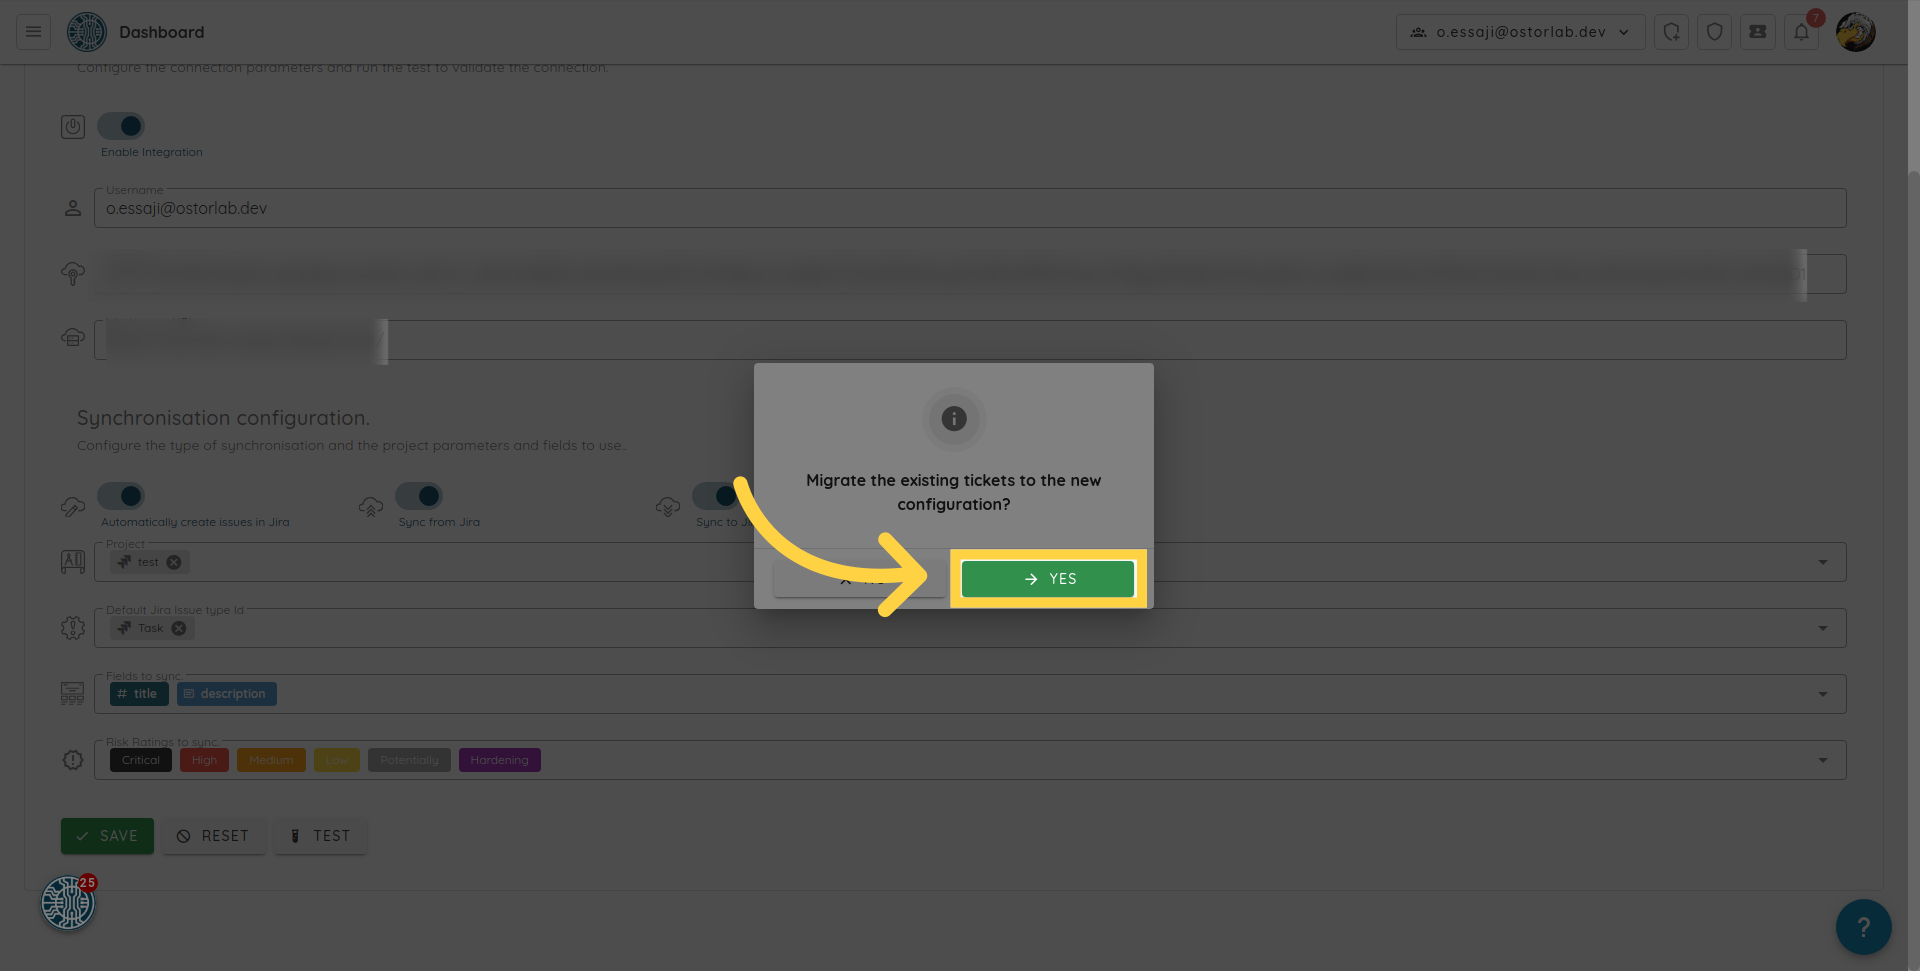 Ensure the user has the proper permissions to create Jira issues and correct the issue type.
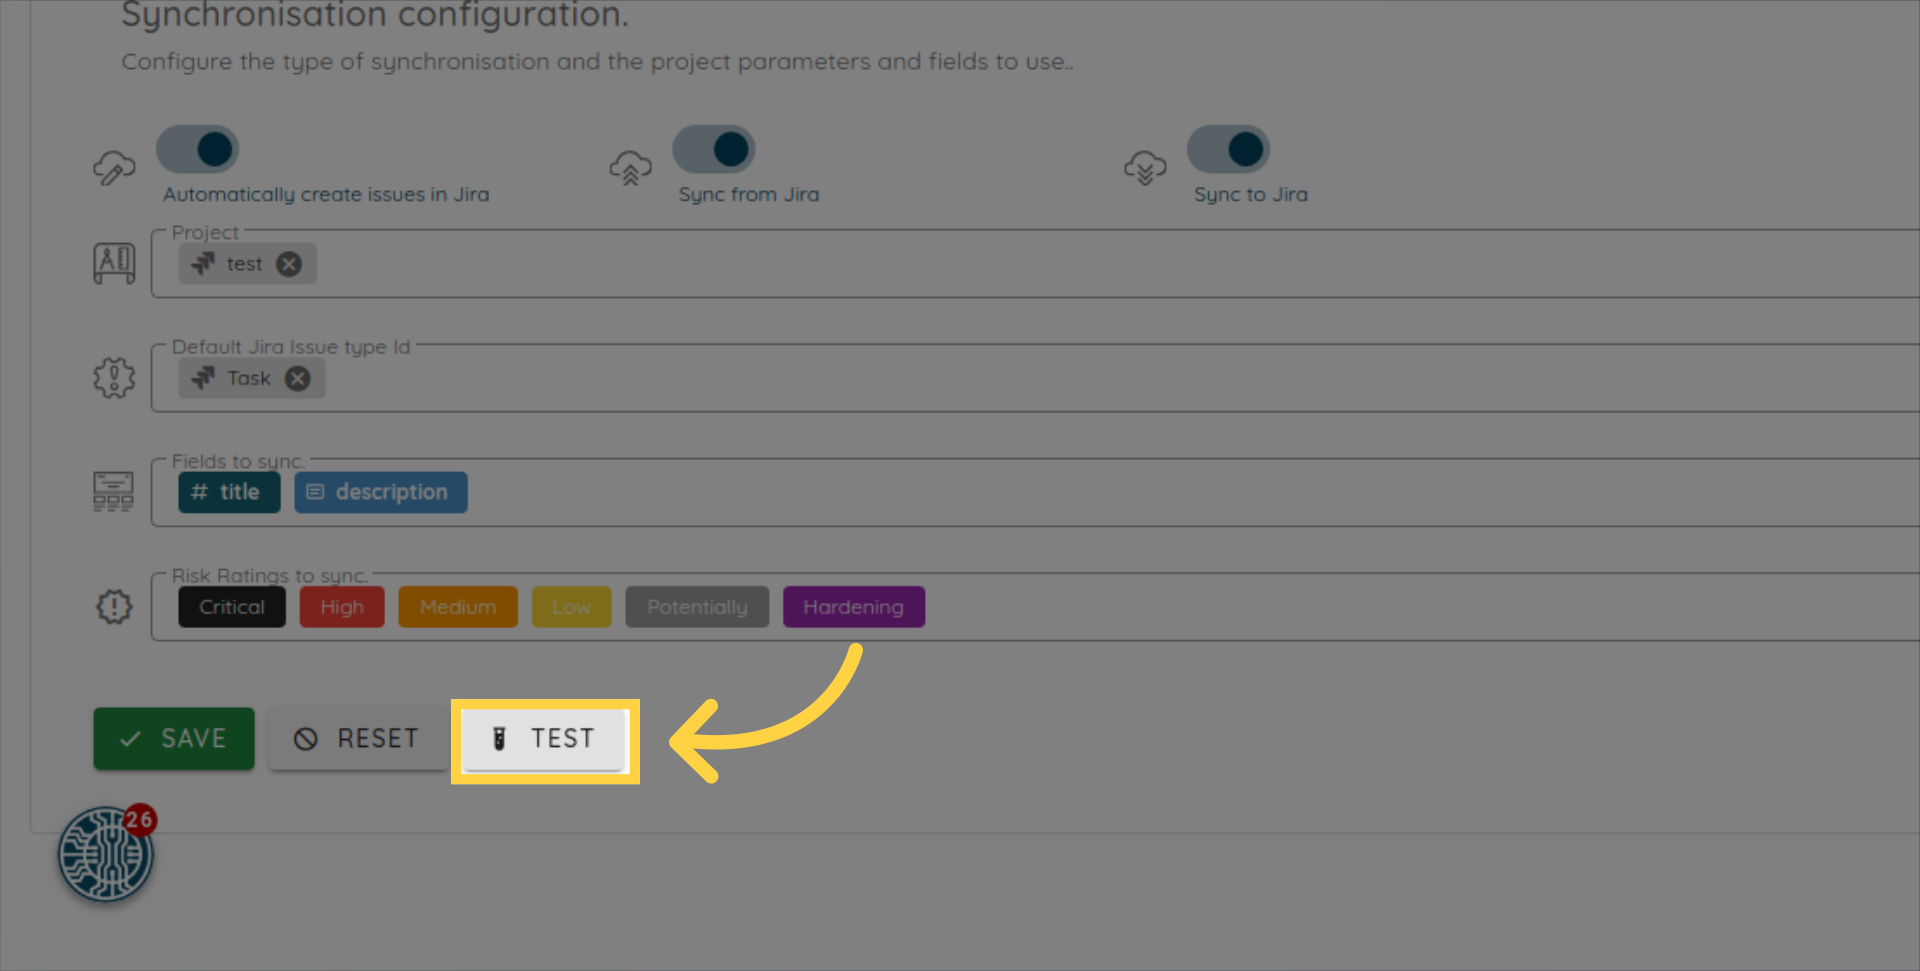
You can click on the test button to check if the integration is able to write issue to the Jira project.
How to automatically create Jira issue per Ostorlab ticket:
You can also create a Jira issue for a specific ticket, for that, you can follow these steps:
- Make sure the steps in
Connect Jira configurationare done and the connection check is passing. - Open the ticket you would like to sync.
-
Click on the Jira button.

-
Select the Jira project to use.
- Select the issue type to use.
- Sync the updates from Ostorlab to Jira.
- Sync updates from Jira to Ostorlab.
- Select the fields to sync.
- Click on save.
Use an existing Jira ticket
If you would like to manually create a Jira ticket and only reference it in Ostorlab, you can follow these steps:
- Open the ticket.
- Click on the Jira button.
- Go to the
SETtab.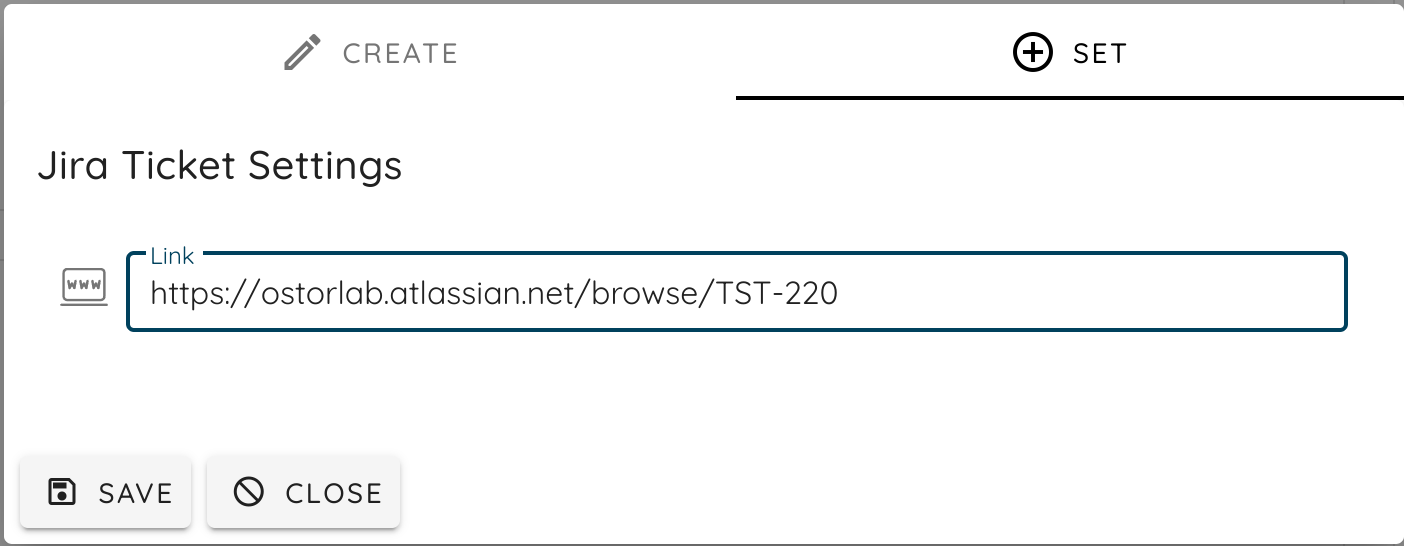
- Paste the Jira link.
- Click on save.
Now you can access the Jira issue for the button the right.

NOTE: When using the Jira link, you can only access the Jira from Ostorlab but the data will not be synced.
Field Mapping Types
When configuring field mappings between Ostorlab and Jira, you can use three different mapping types:
- Field Mapping: Maps Ostorlab fields directly to Jira fields (e.g., title, description, tags)
- Value Mapping: Sets a static value for a Jira field
- Template Mapping: Provides custom templating for Jira fields using Ostorlab ticket variables
Template Mapping
Template mapping allows you to create custom field values using Ostorlab ticket variables. Use double curly braces to reference ticket variables: {{variable_name}}
Available variables:
- {{title}}: Ticket title
- {{description}}: Ticket description
- {{risk_rating}}: Ticket risk rating
- {{status}}: Ticket status
- {{assigned}}: Assigned user's username
- {{due_date}}: Ticket due date
- {{target}}: Target asset
- {{tags.<tag_name>}}: Value of a specific tag. Replace <tag_name> with your ticket's tag name (e.g., for a tag team:security, use {{tags.team}} to get security)
Example template:
Vulnerability: `{{title}}` with Risk Rating: `{{risk_rating}}` in Target: {{target}}

Result:

IP Whitelisting
If you would like to whitelist Ostorlab Jira clients communicating with your Jira instance, you can whitelist the IP resolved by the DNS record jira-whitelist.ostorlab.app. At the time of writing, that list resolves to:
jira-whitelist.ostorlab.app. 300 IN A   146.148.19.46
jira-whitelist.ostorlab.app. 300 IN A   34.140.205.46
jira-whitelist.ostorlab.app. 300 IN A   35.205.186.79
jira-whitelist.ostorlab.app. 300 IN A   34.140.92.37
jira-whitelist.ostorlab.app. 300 IN A   34.77.170.4