認証済みWebスキャン
このガイドでは、Ostorlabを使用して認証済みWebスキャンを実行する手順を順を追って説明します。
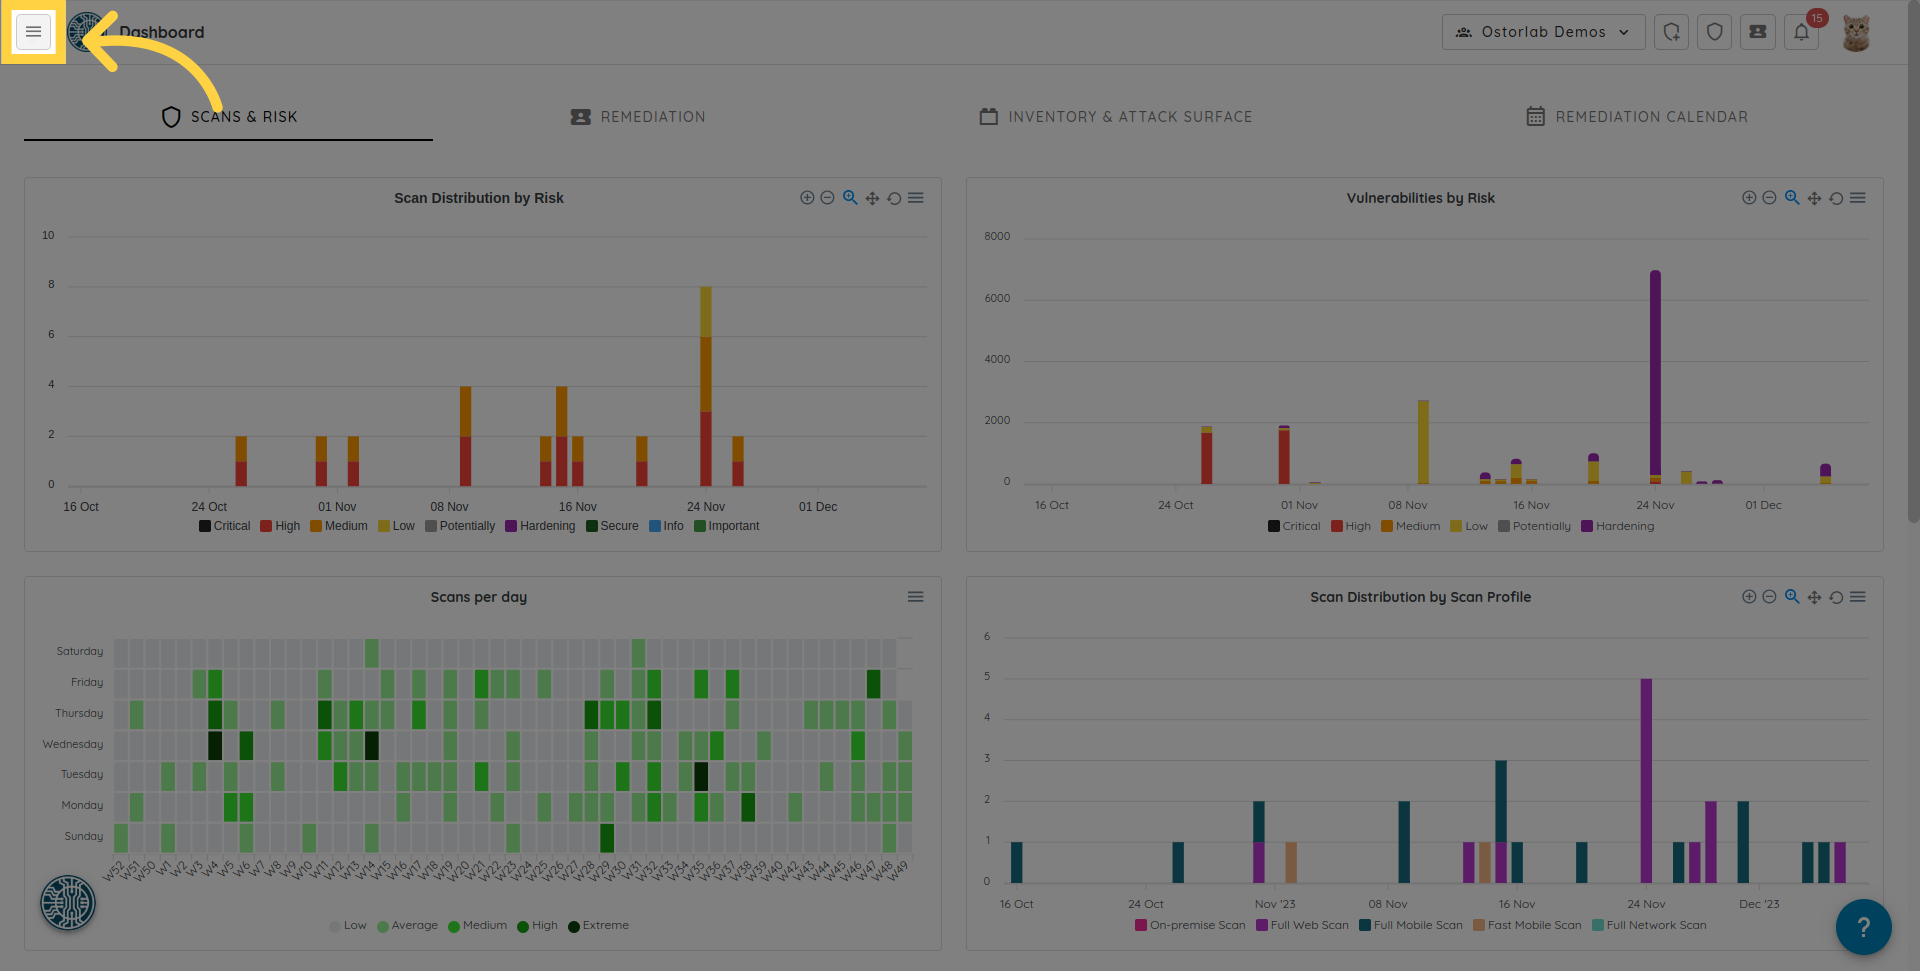
1. 左側のメニューアイコンをクリックします
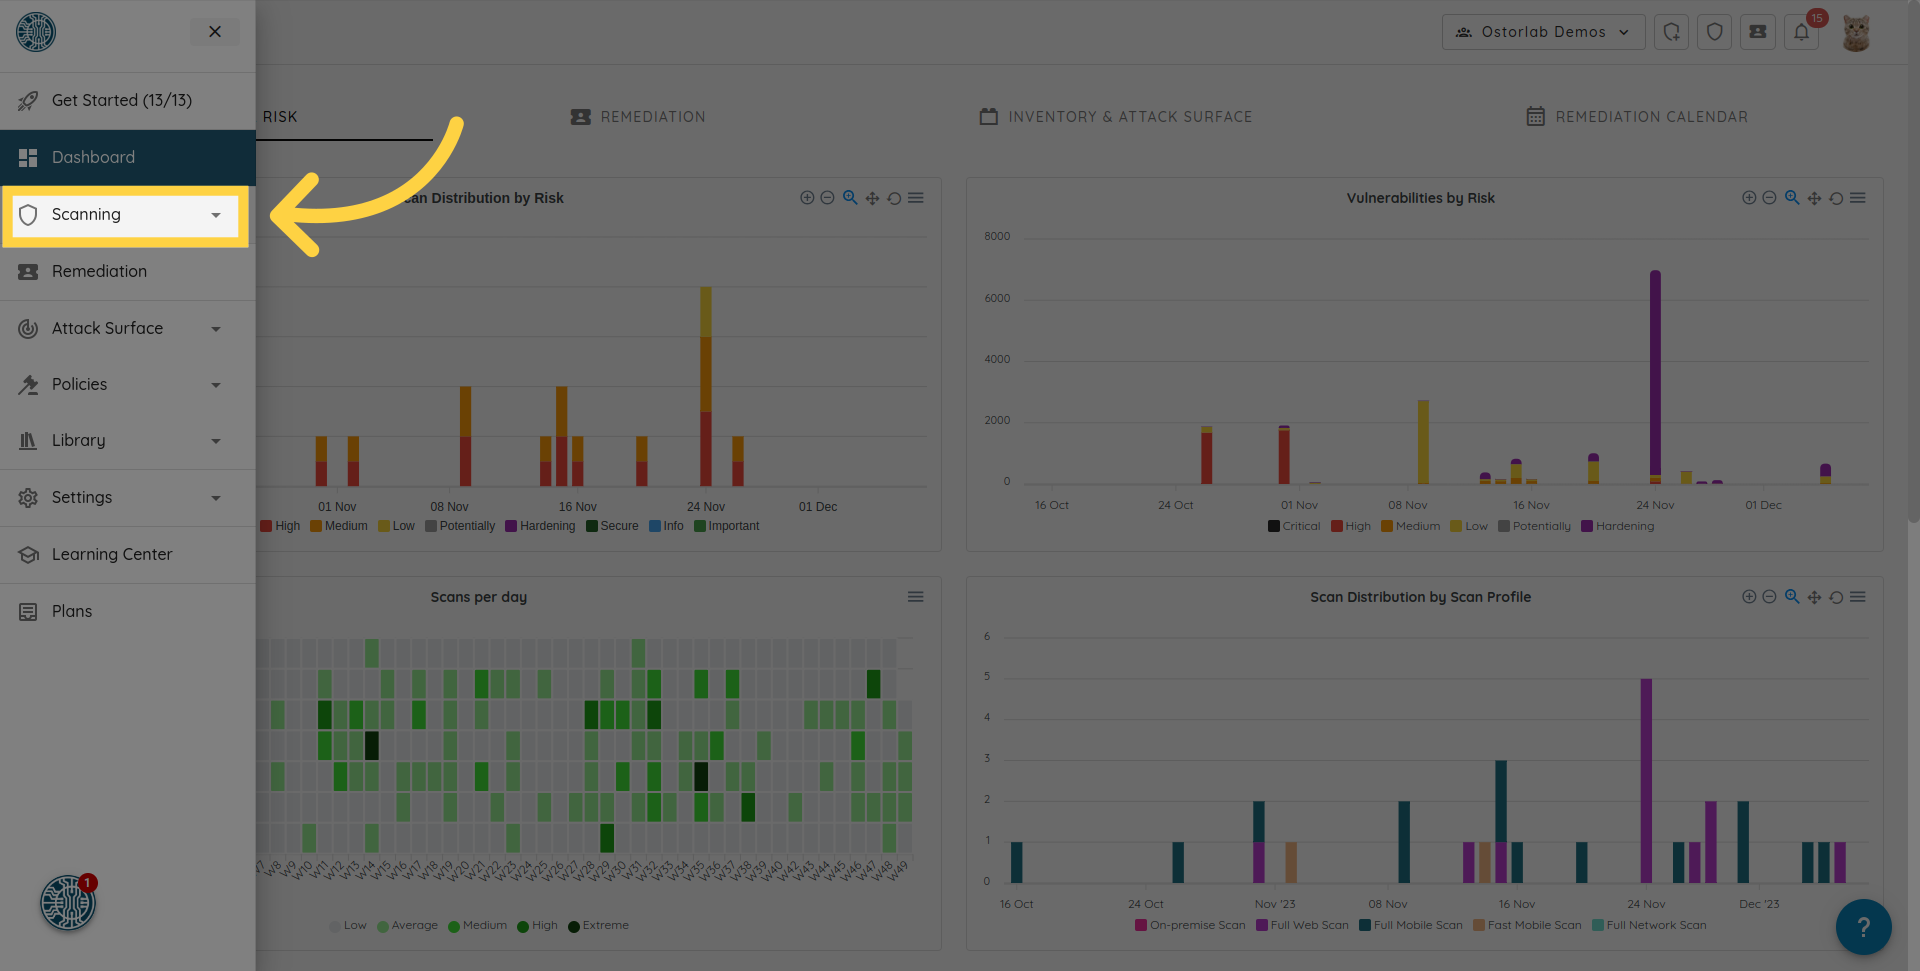
2. メニューの「Scanning」セクションに移動します
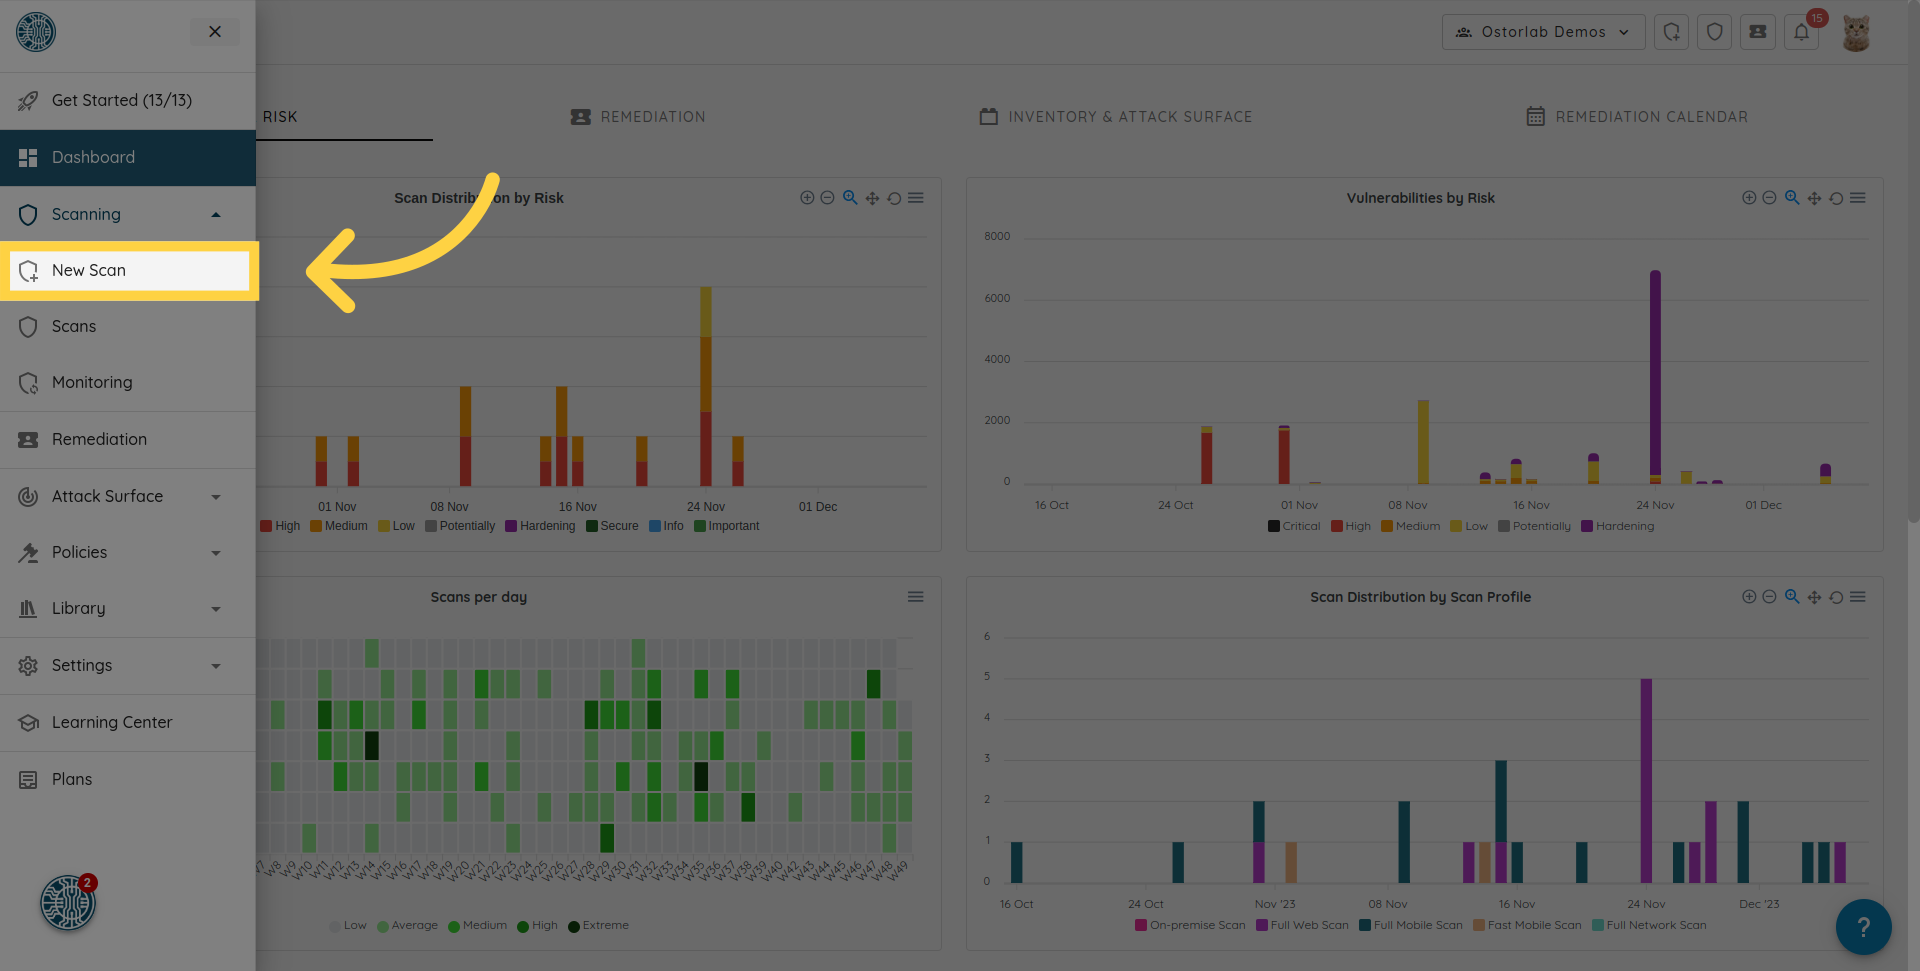
3. 「New Scan」オプションをクリックします
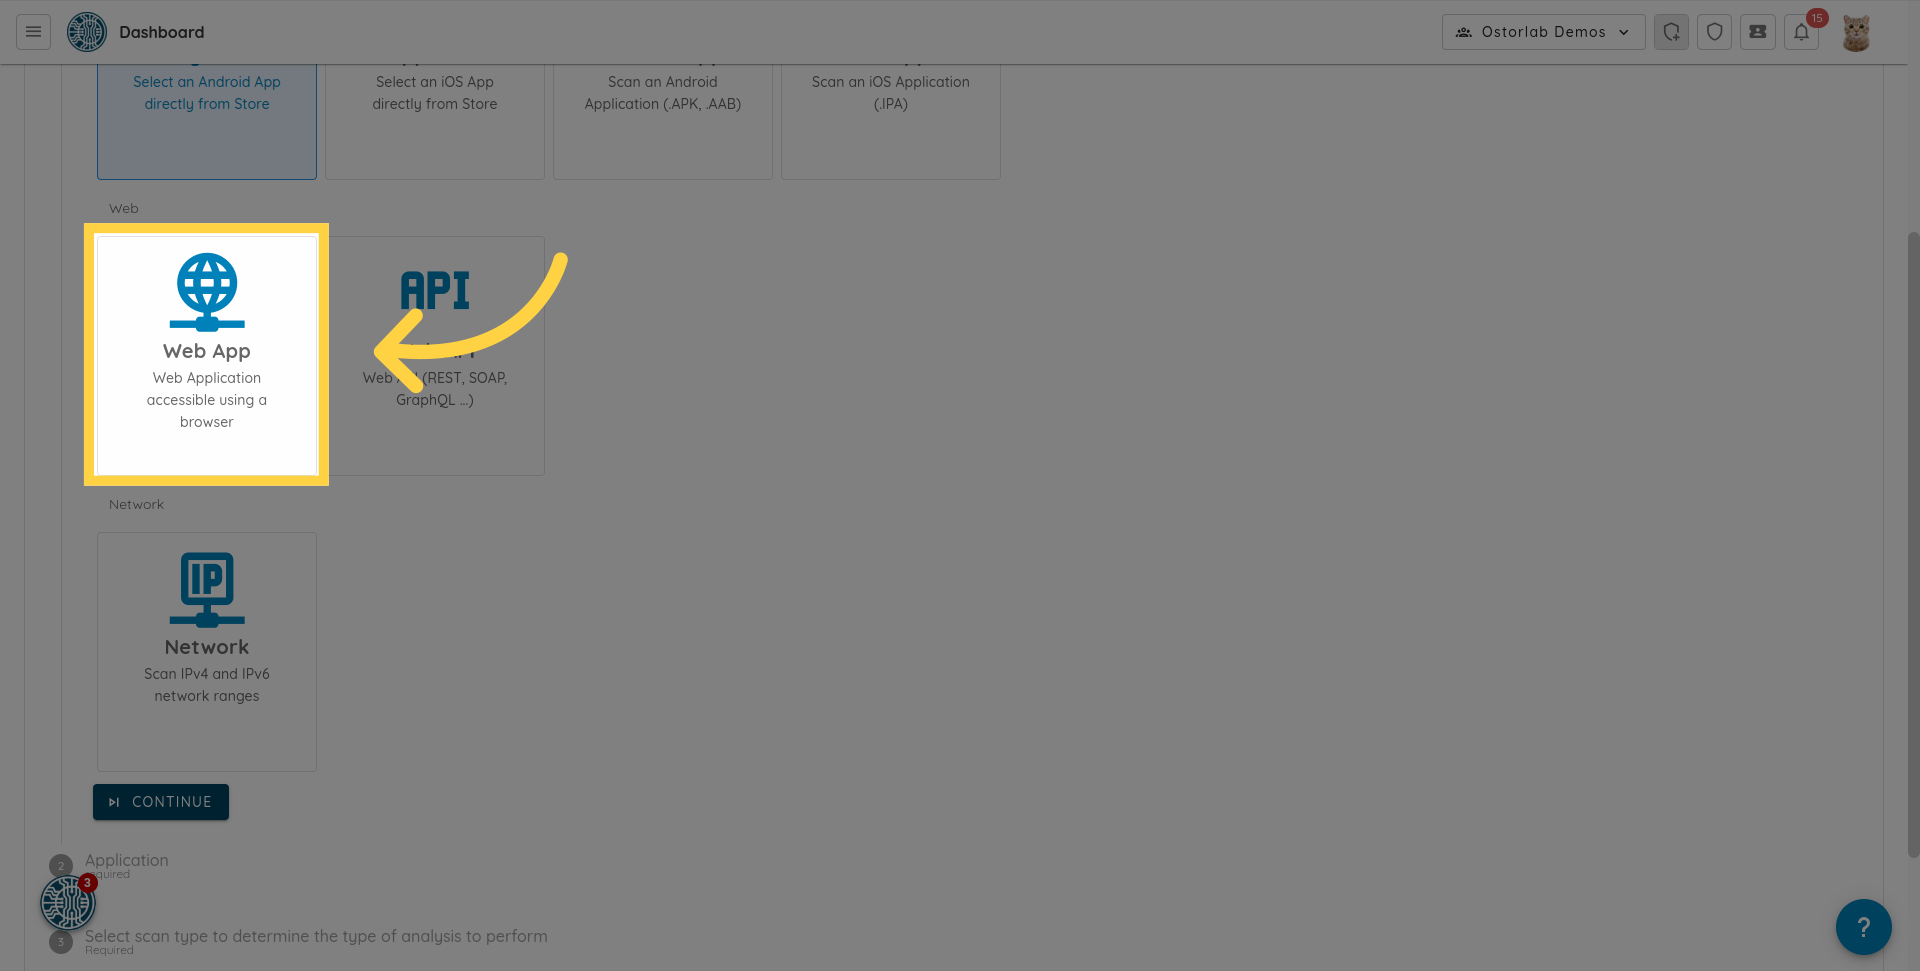
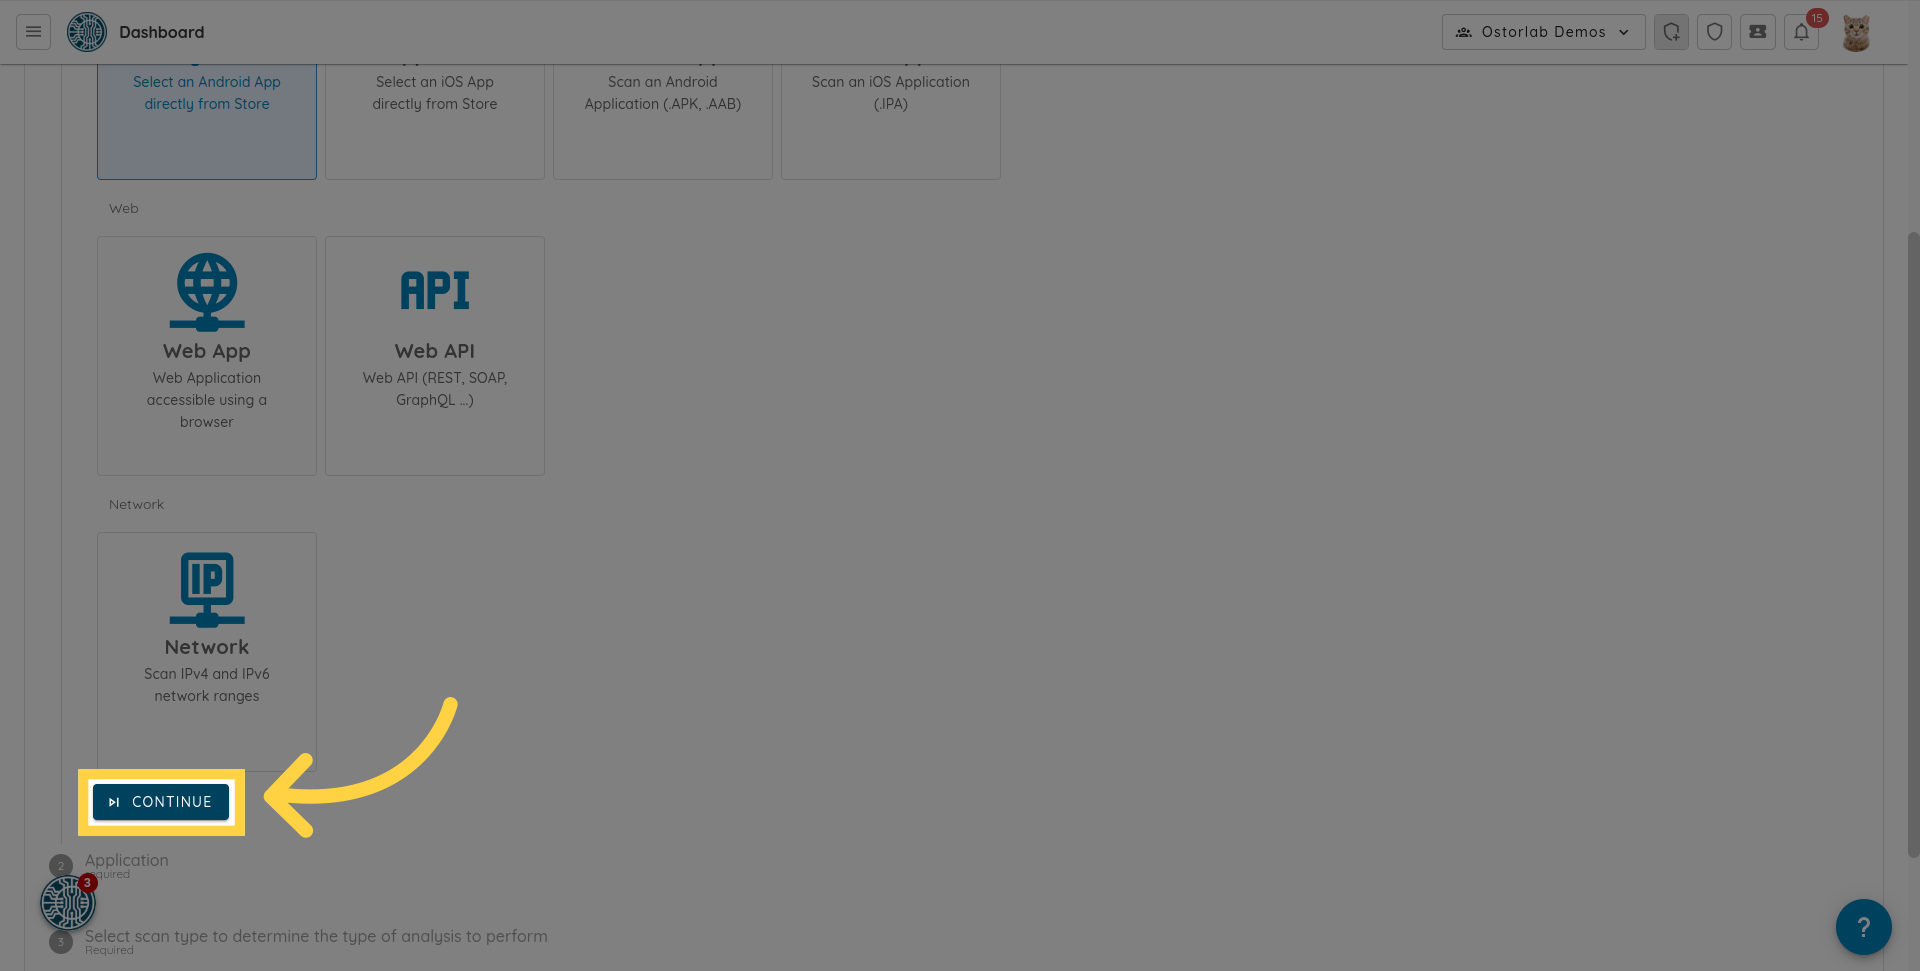
4. 「Web App」をクリックします
利用可能なスキャンタイプから「Web App」オプションを選択します。
5. 「Continue」をクリックします
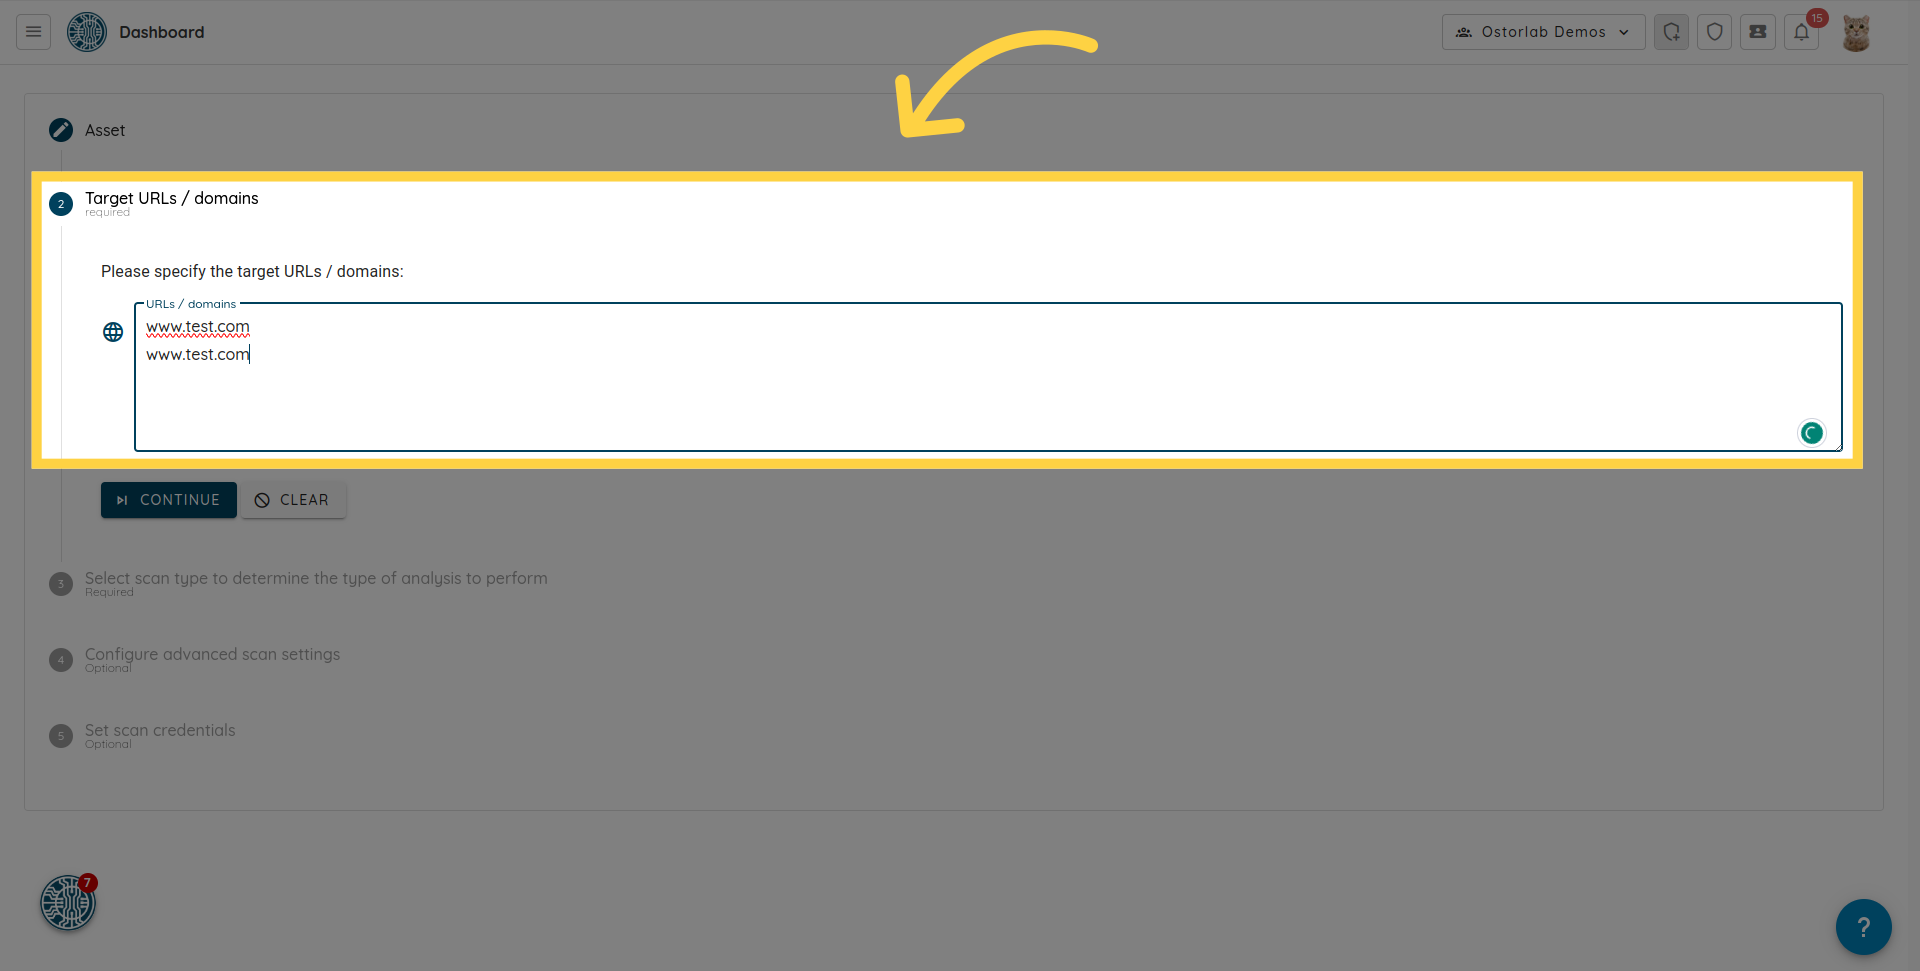
6. ターゲットURLまたはドメインを指定します
ターゲットURLまたはドメインを指定します。新しい行にそれぞれ入力することで、複数のURLまたはドメインを入力できます。
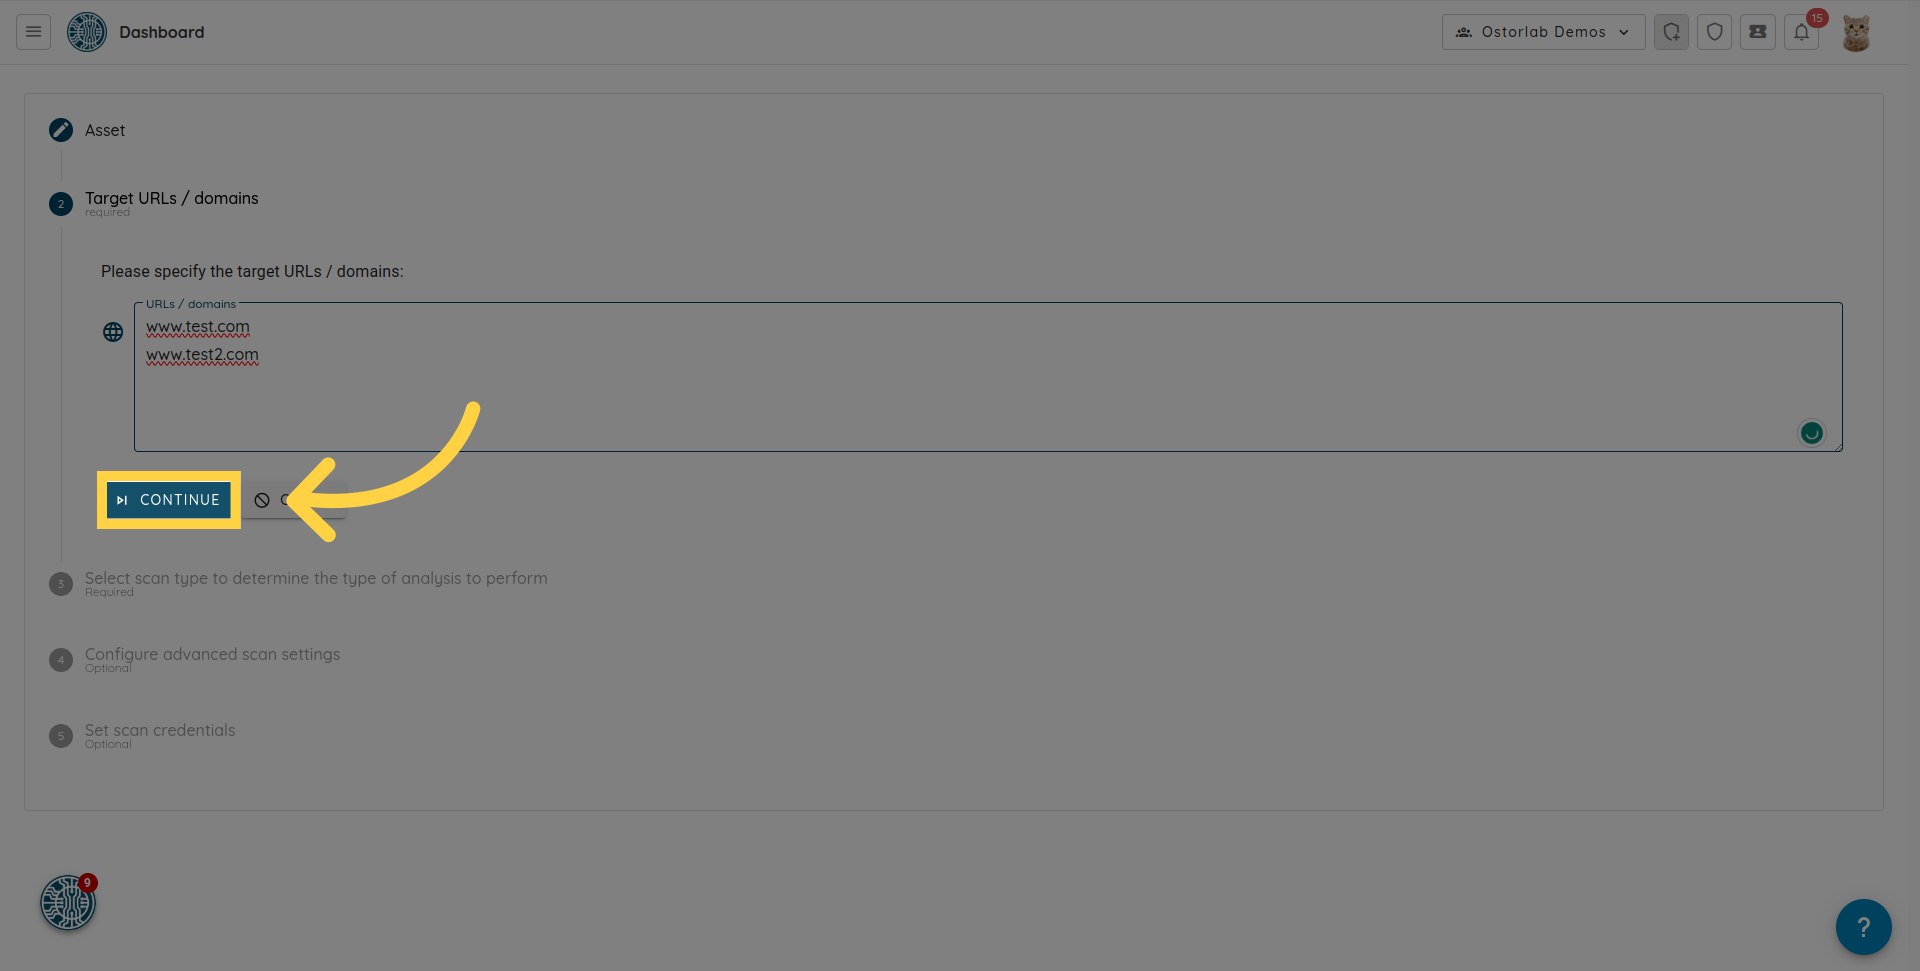
7. 「Continue」をクリックします
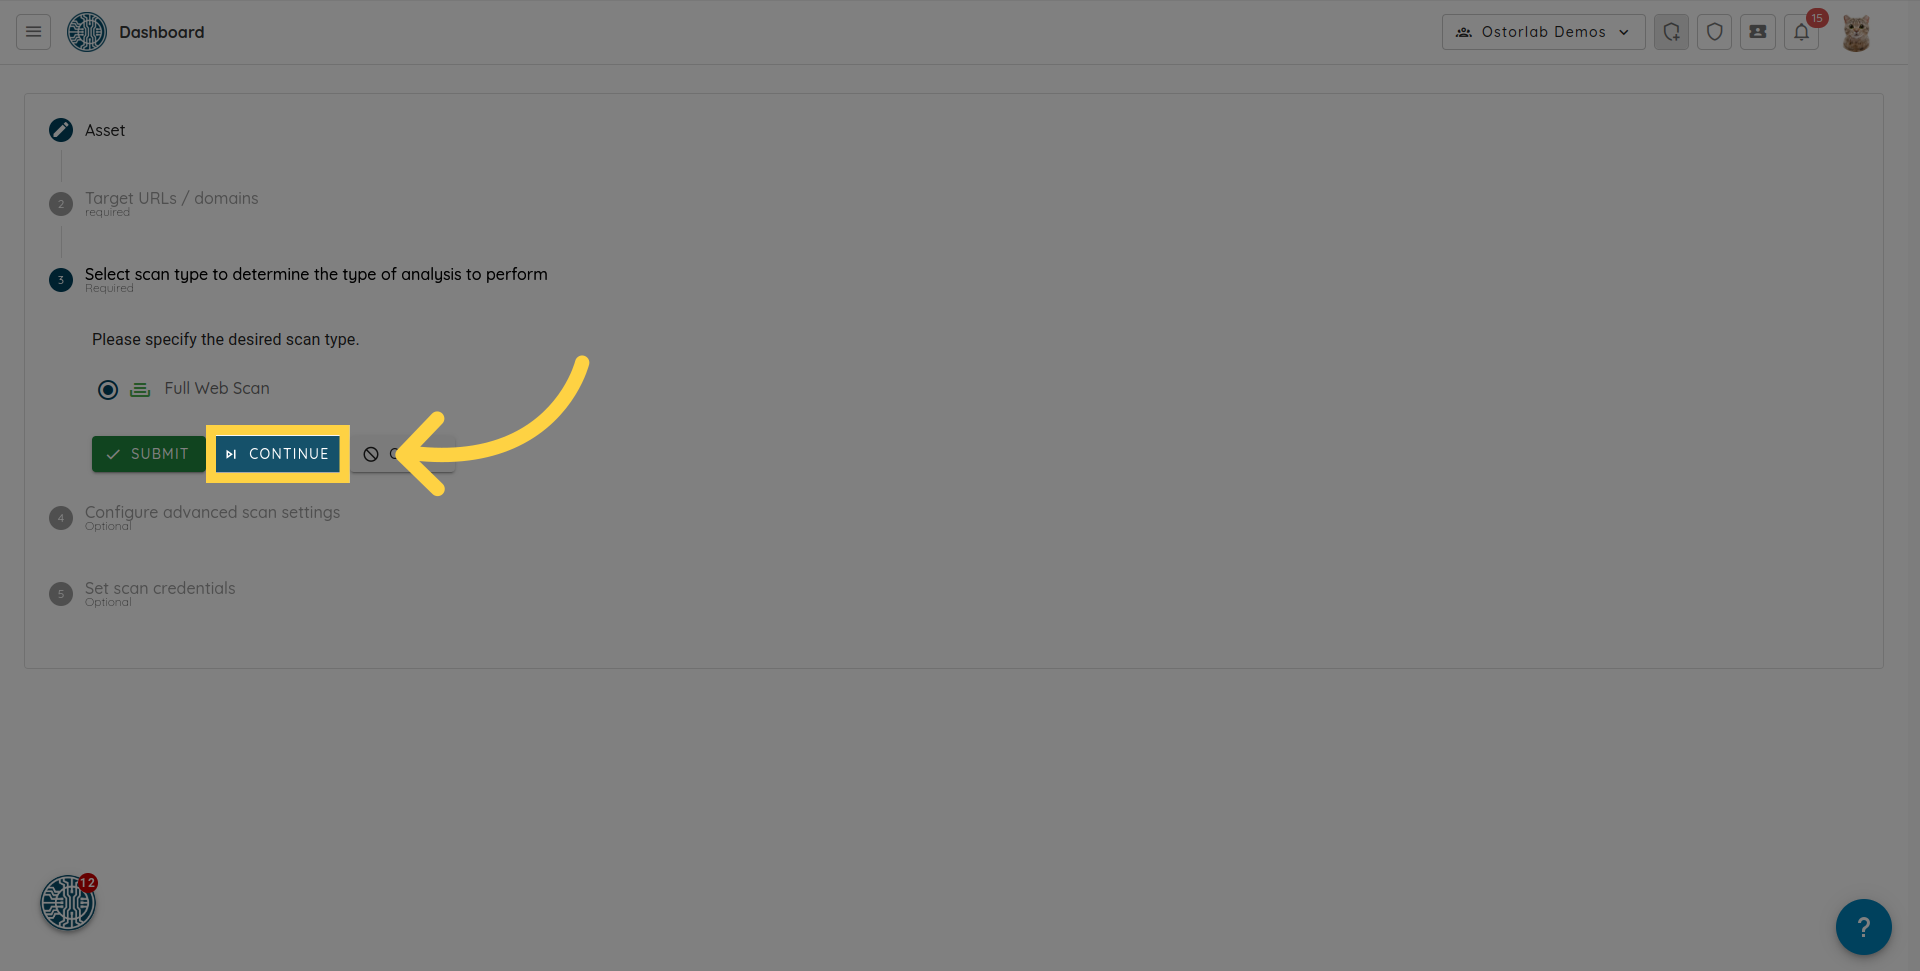
8. 「Full Web Scan」オプションを選択します
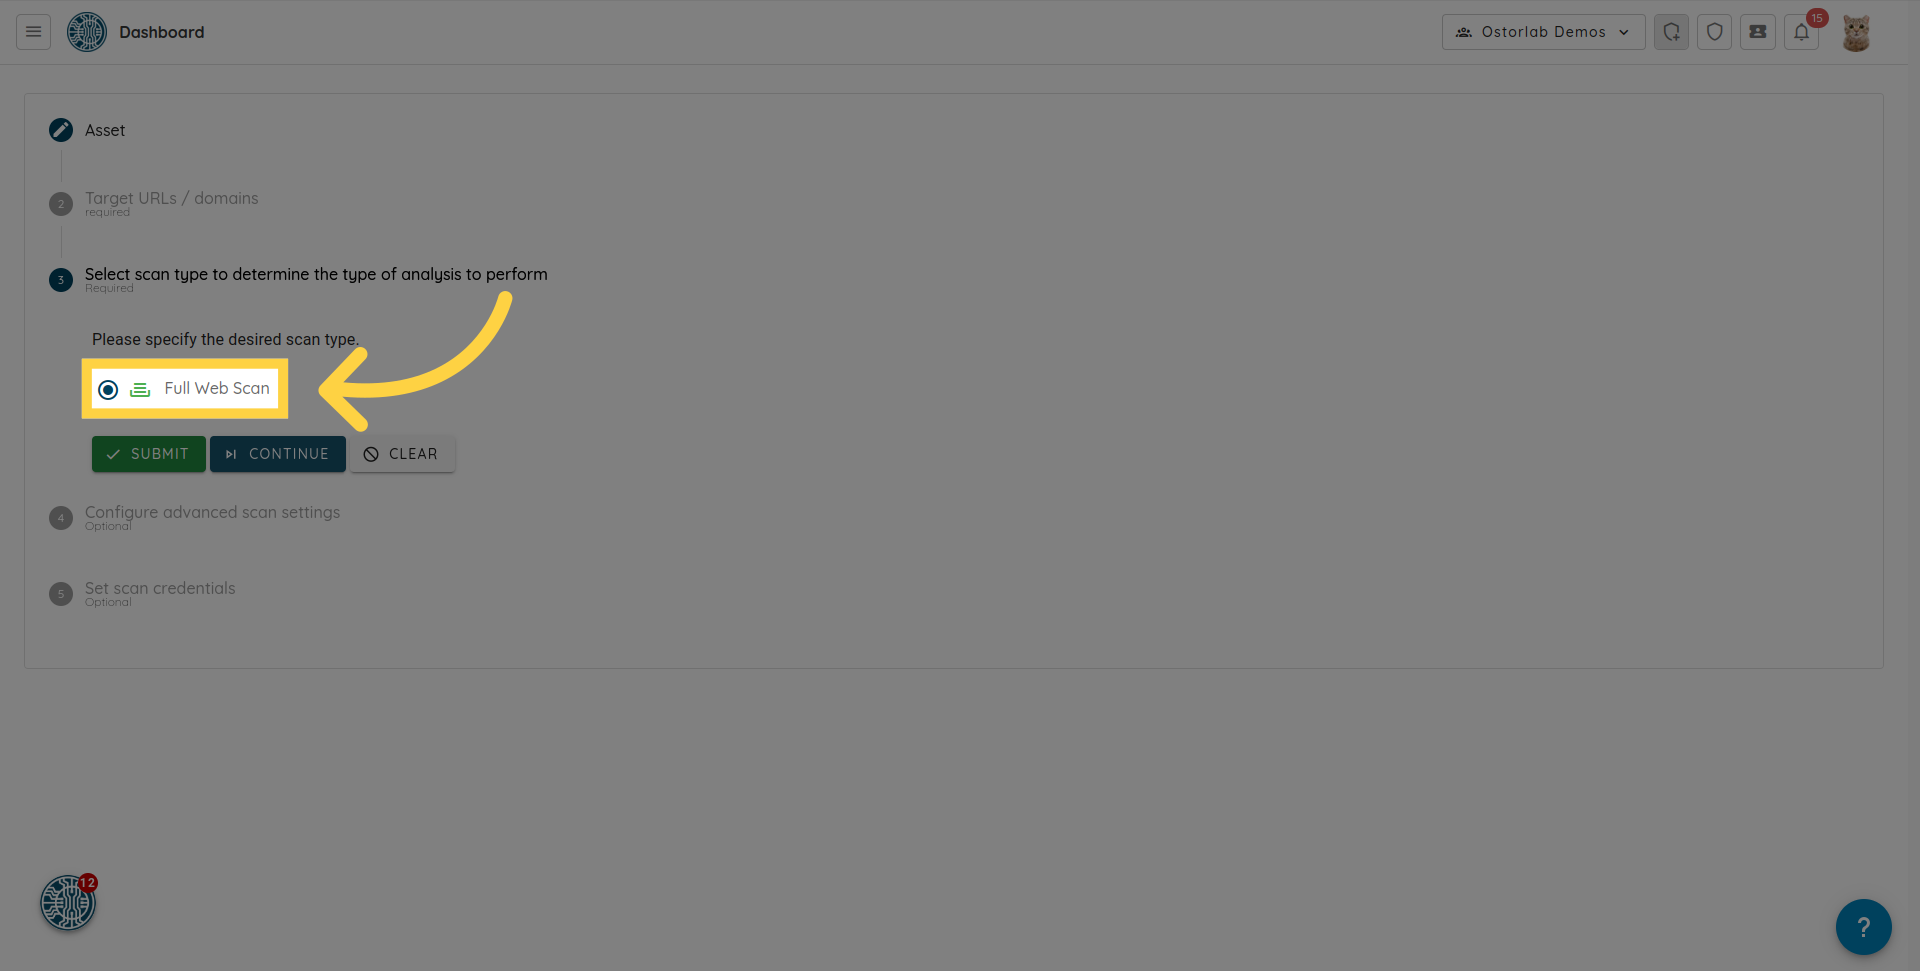
9. 「Continue」をクリックします
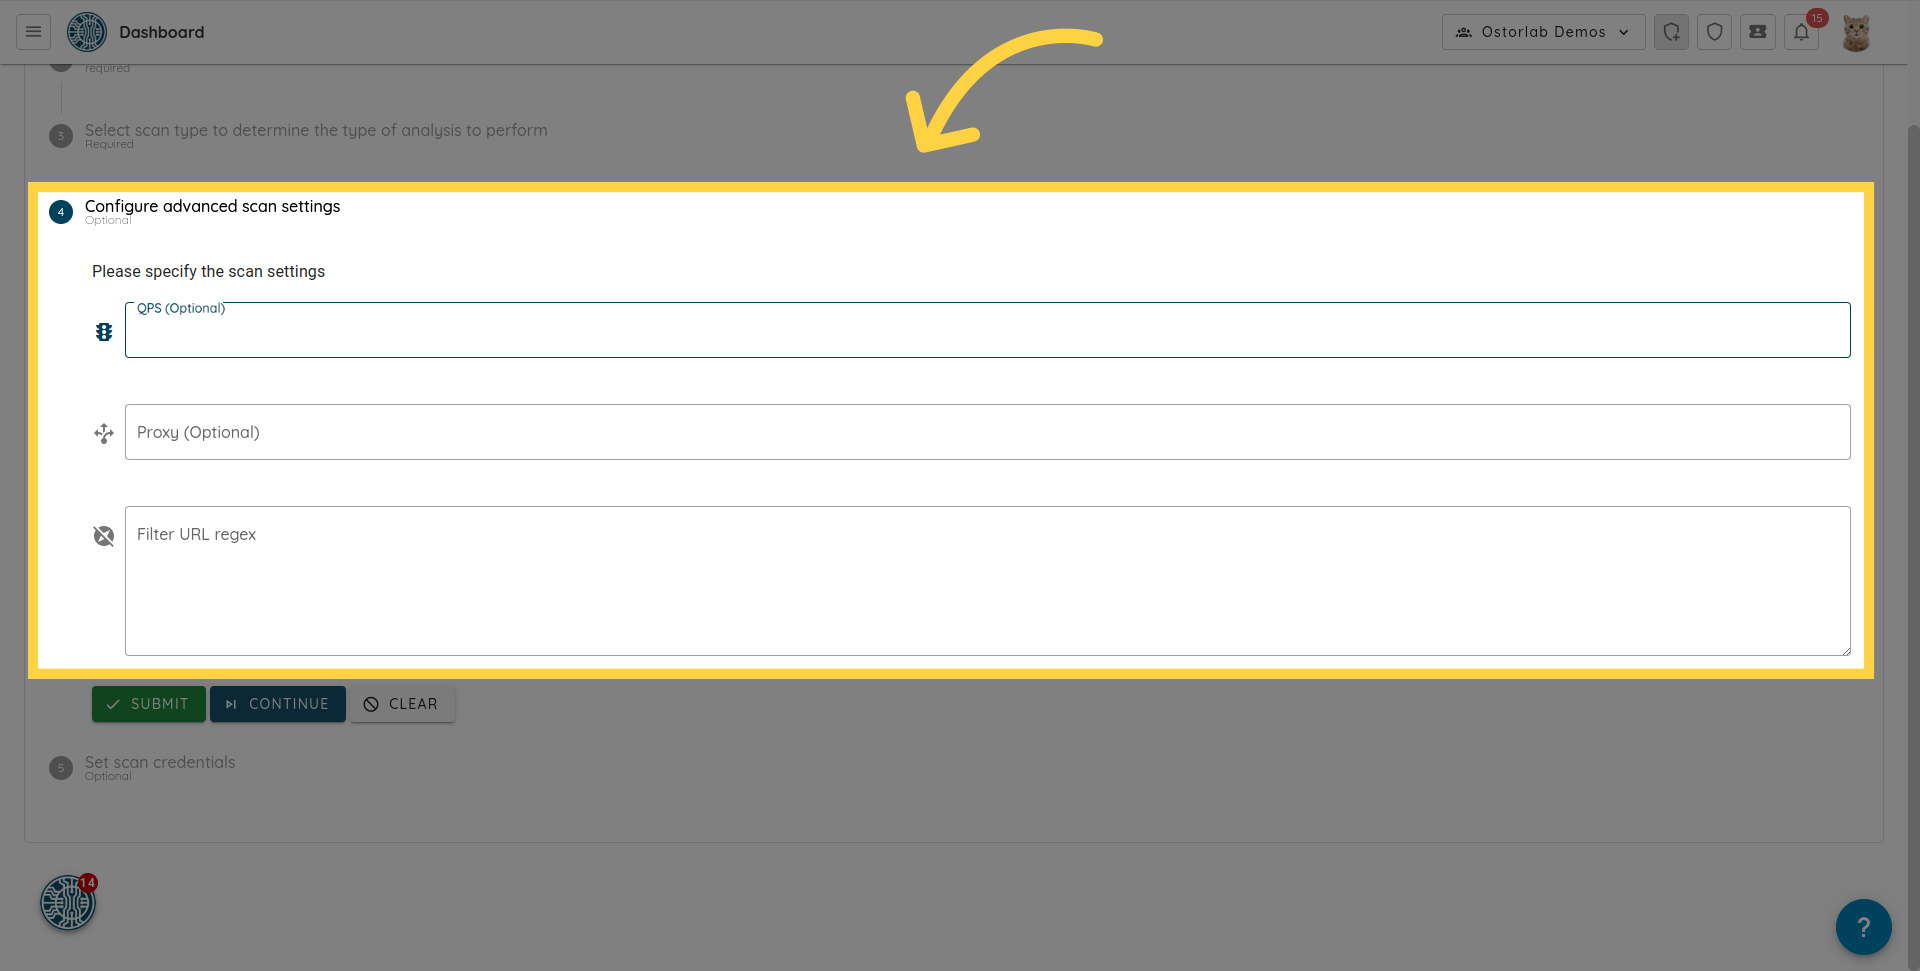
10. オプションで高度なスキャン設定を構成します
このセクションでは、1秒あたりの最大クエリ数を設定するQPSなど、オプションの高度なスキャン設定を構成できます。プロキシとURLフィルターの正規表現を設定できます。
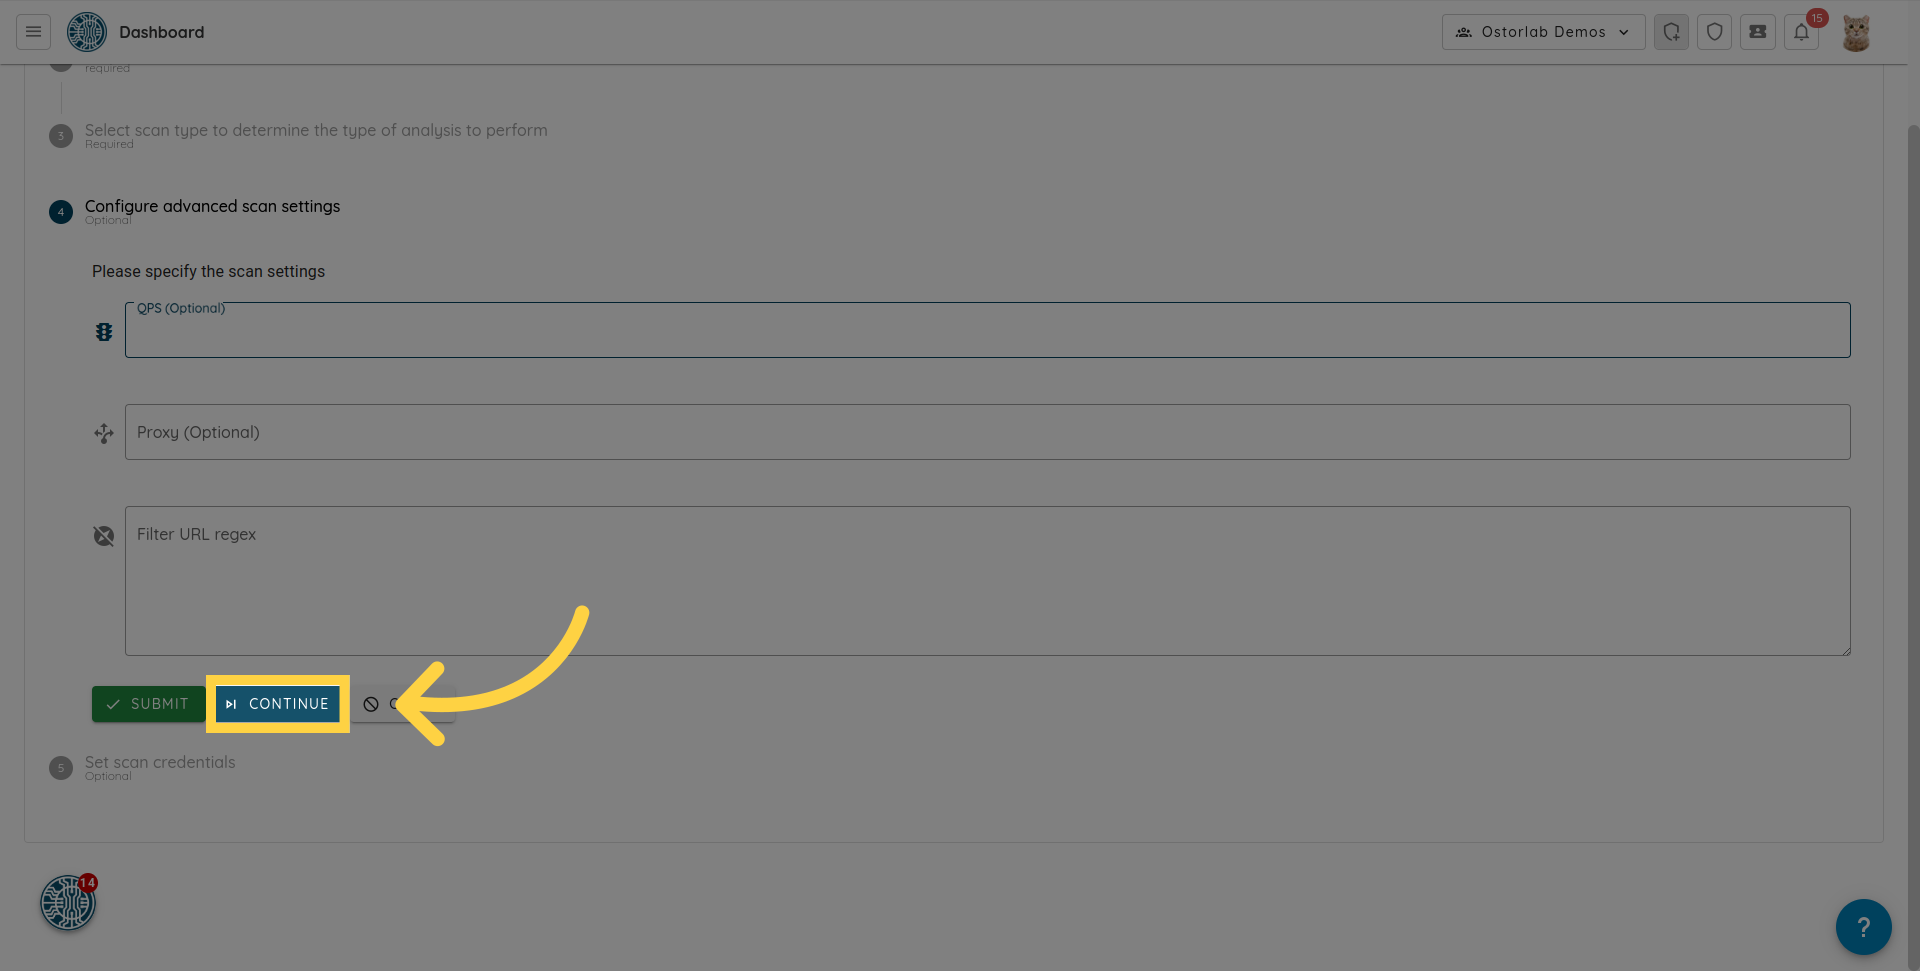
11. 「Continue」をクリックします
「Continue」ボタンをクリックして、スキャン認証情報(test credentials)の設定に進みます。
12. 1つ以上の事前定義されたテスト認証情報を選択します
このステップでは、1つ以上の事前定義されたテスト認証情報を選択するか、新しい認証情報を追加できます。テスト認証情報を使用すると、動的分析のカバレッジが広がります。

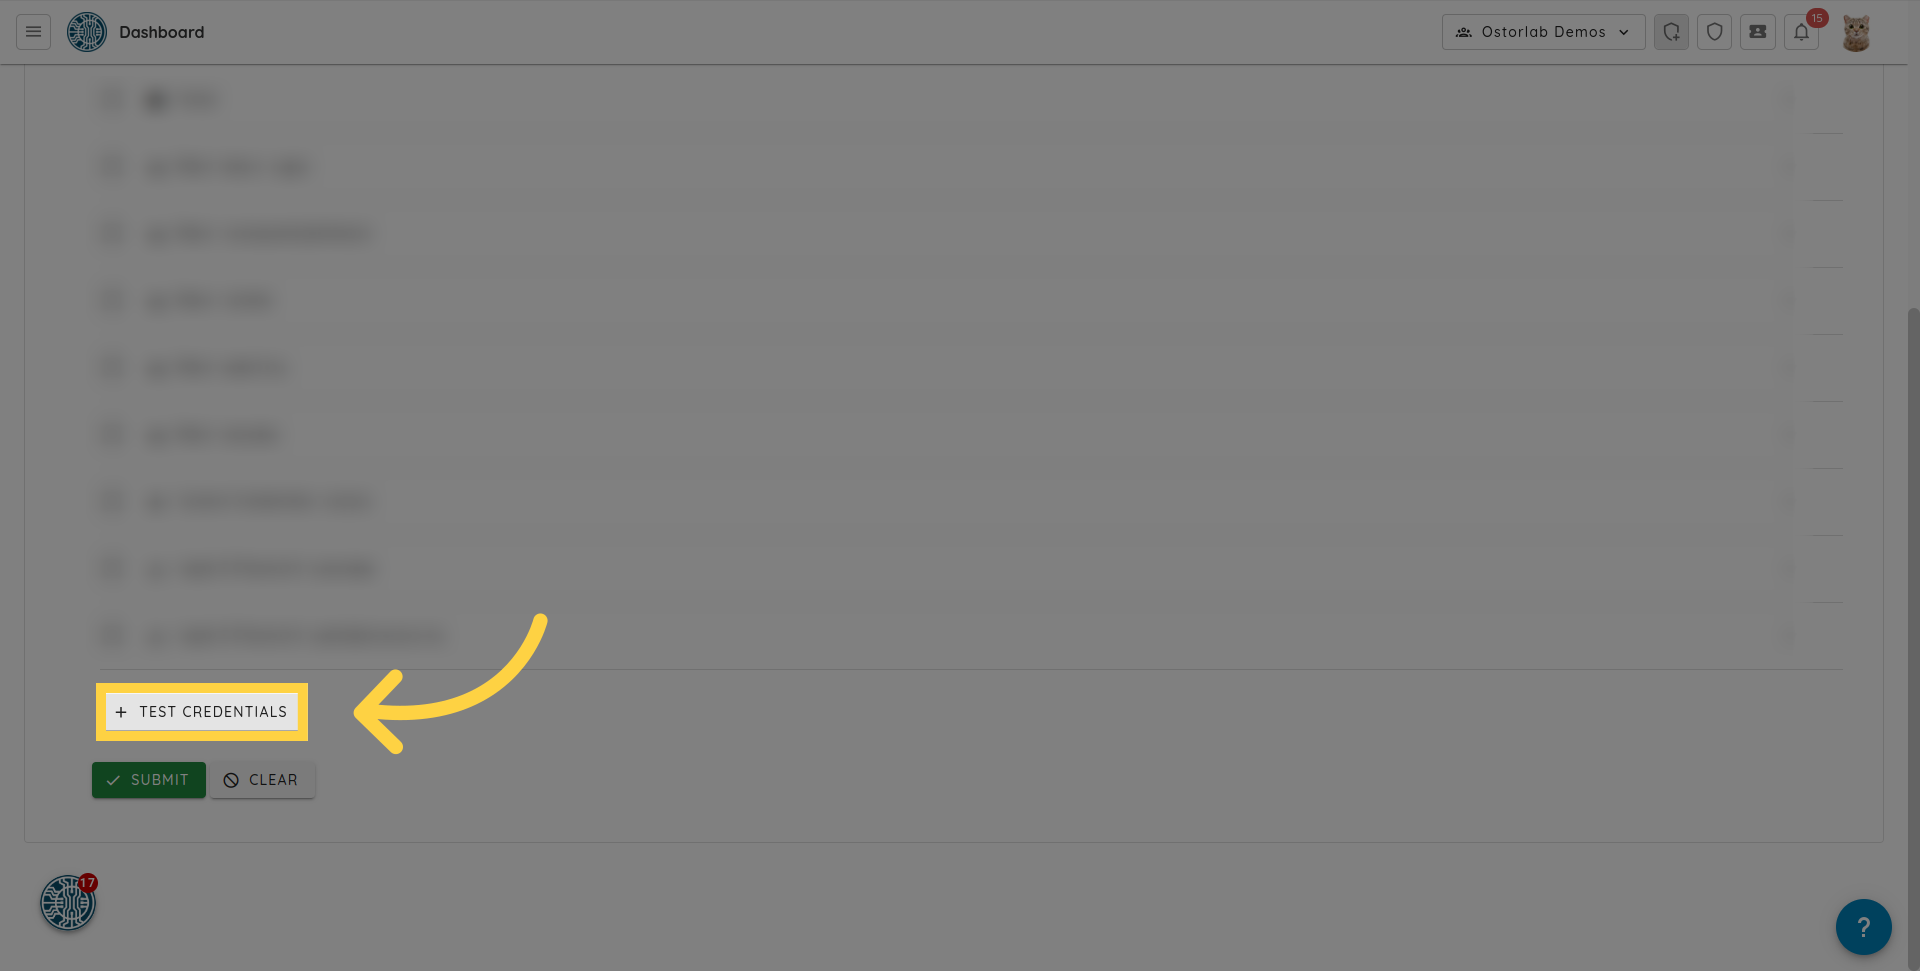
13. 「Test Credentials」をクリックします
「Test Credentials」ボタンをクリックして、テスト認証情報を直接追加することもできます。
14. テスト認証情報を追加する
サポートされているタイプは次のとおりです。
- Login & Password
- Basic Authentication
- Credit card
- Phone Number
- Address
- Certificates
- Script: Puppeteerスクリプトをアップロードできます。これは、複雑な認証フローやチェックアウトなどの複雑なインタラクションを有効にするのに非常に役立ちます。
- Custom credentials: ユーザー名、パスワード、ドメイン名などのカスタムフォームフィールド用です。
- HTTP Header: Authorization、User-Agentなどのヘッダーを提供できます。
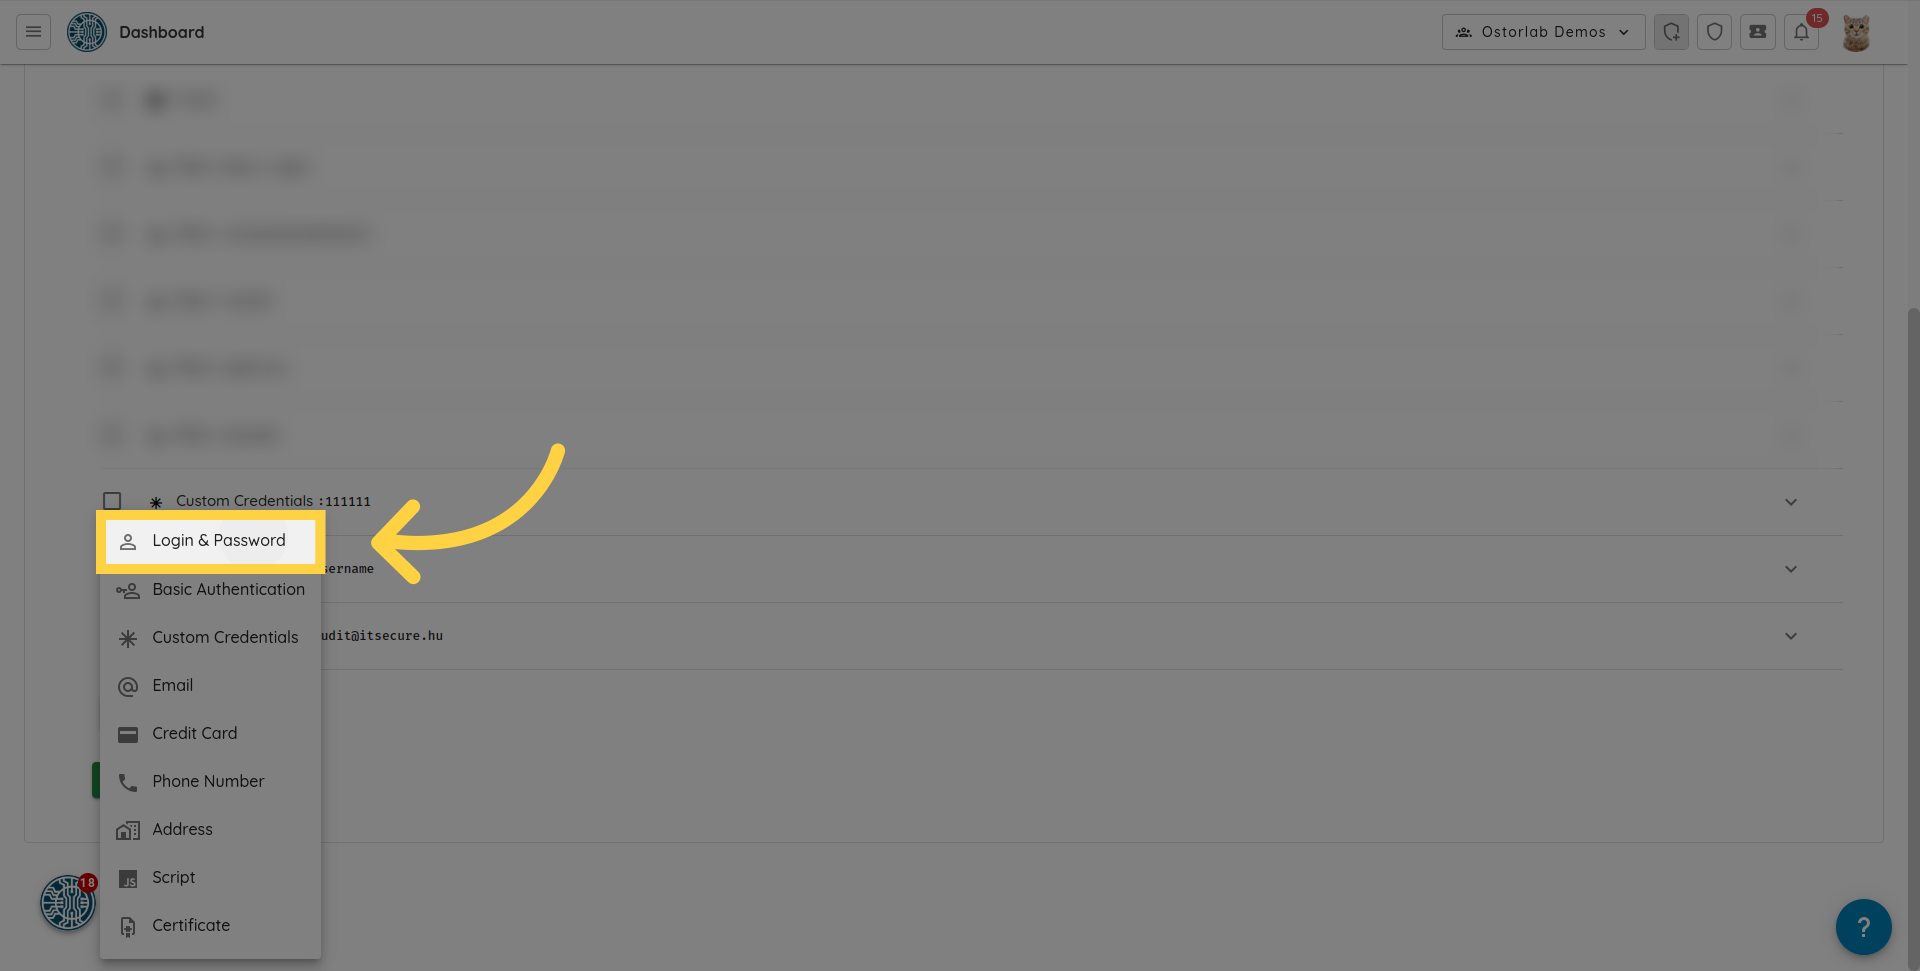
たとえば、「Login & Password」を追加するには、テスト認証情報メニューから「Login & Password」オプションを選択します。
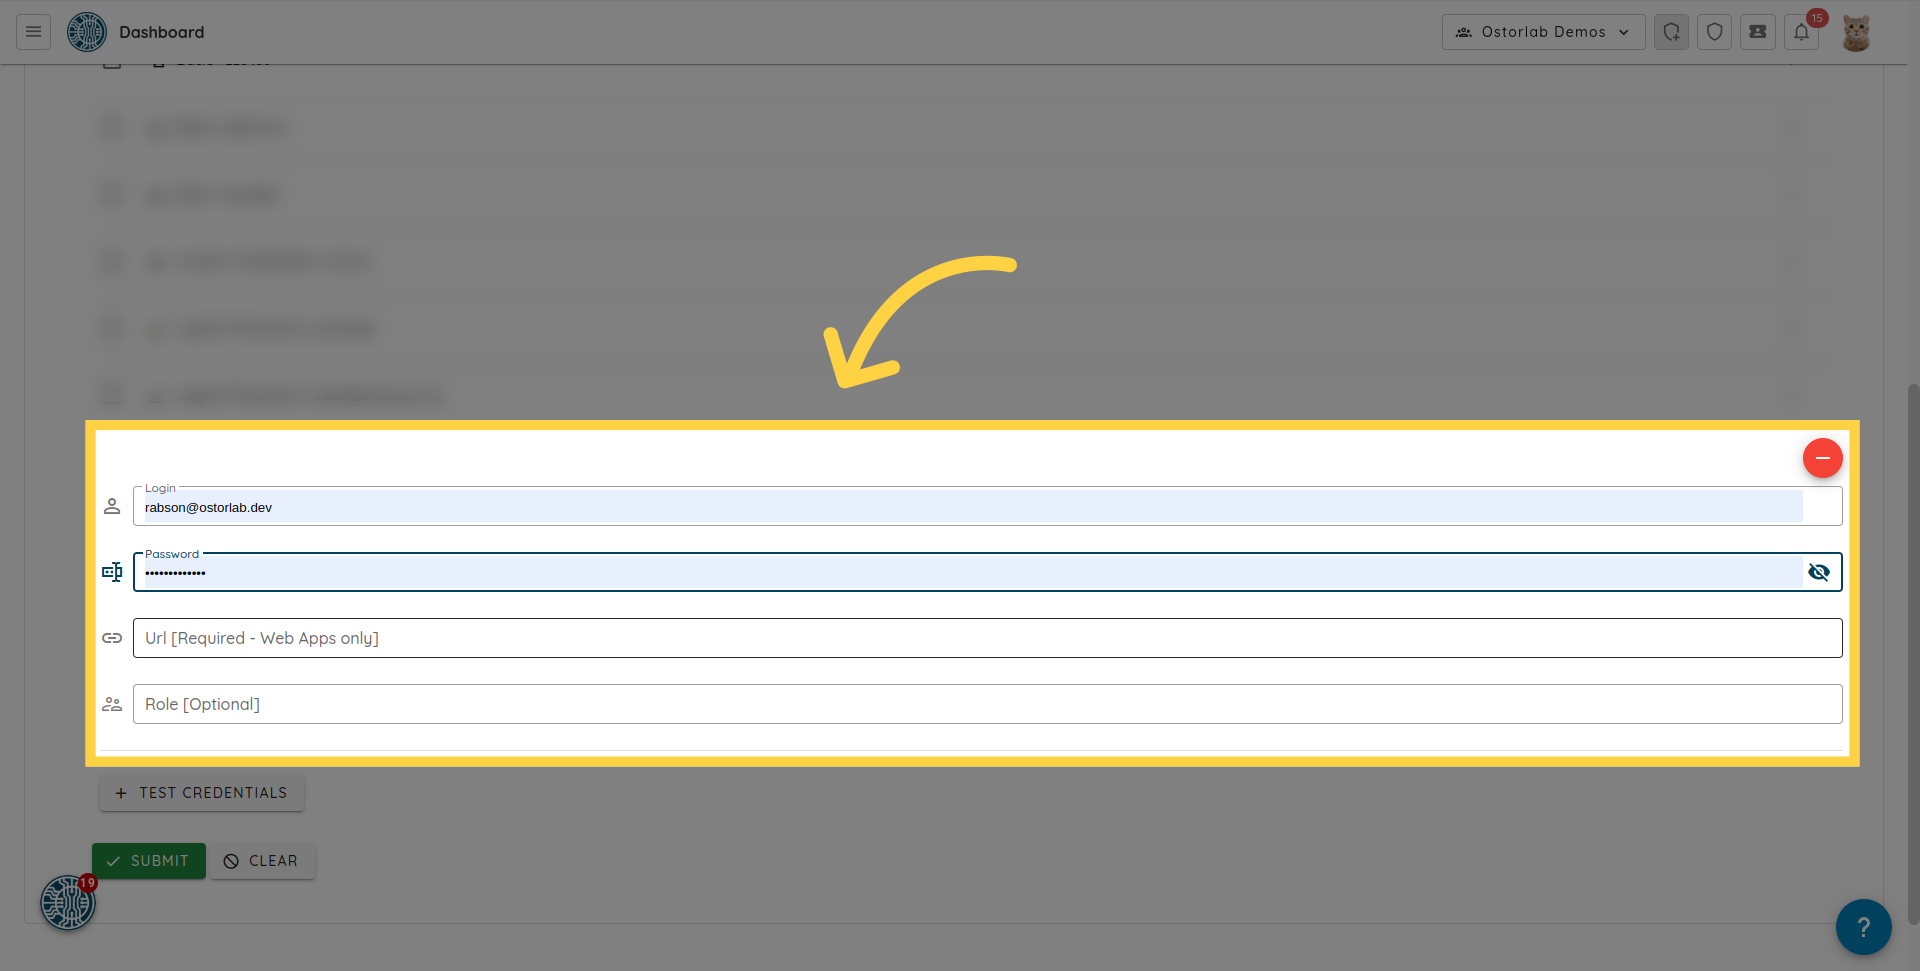
ログイン、パスワード、URLを入力します
ログイン、パスワード、URLを入力します。submitをクリックすると、テスト認証情報がスキャンに追加されます。
15. カスタムUser-Agentの提供
The HTTP User-Agent request header lets servers identify the application, vendor, and/or version of the requesting user agent.
Ostorlab uses a user agent when scanning web applications. However, users might sometimes want to provide their User Agent of choice to be used during the scan. To do so, simply add an HTTP Header Test Credential.
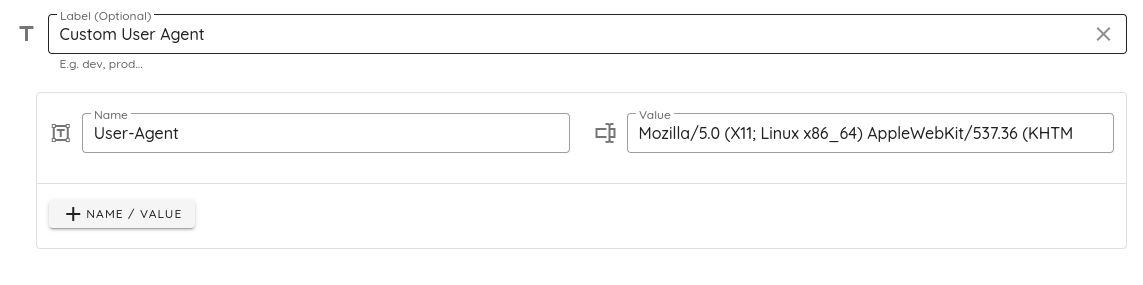
- Optionally enter a label to easily identify this test credential, e.g. "Custom User Agent".
- In the name field, enter User-Agent.
- In the value field, enter your User Agent of choice, e.g.
Mozilla/5.0 (X11; Linux x86_64) AppleWebKit/537.36 (KHTML, like Gecko) Chrome/51.0.2704.103 Safari/537.36.
When running an authenticated web scan, you can select this test credential in the "Set scan credentials" step and the web application will be scanned using the custom user agent.
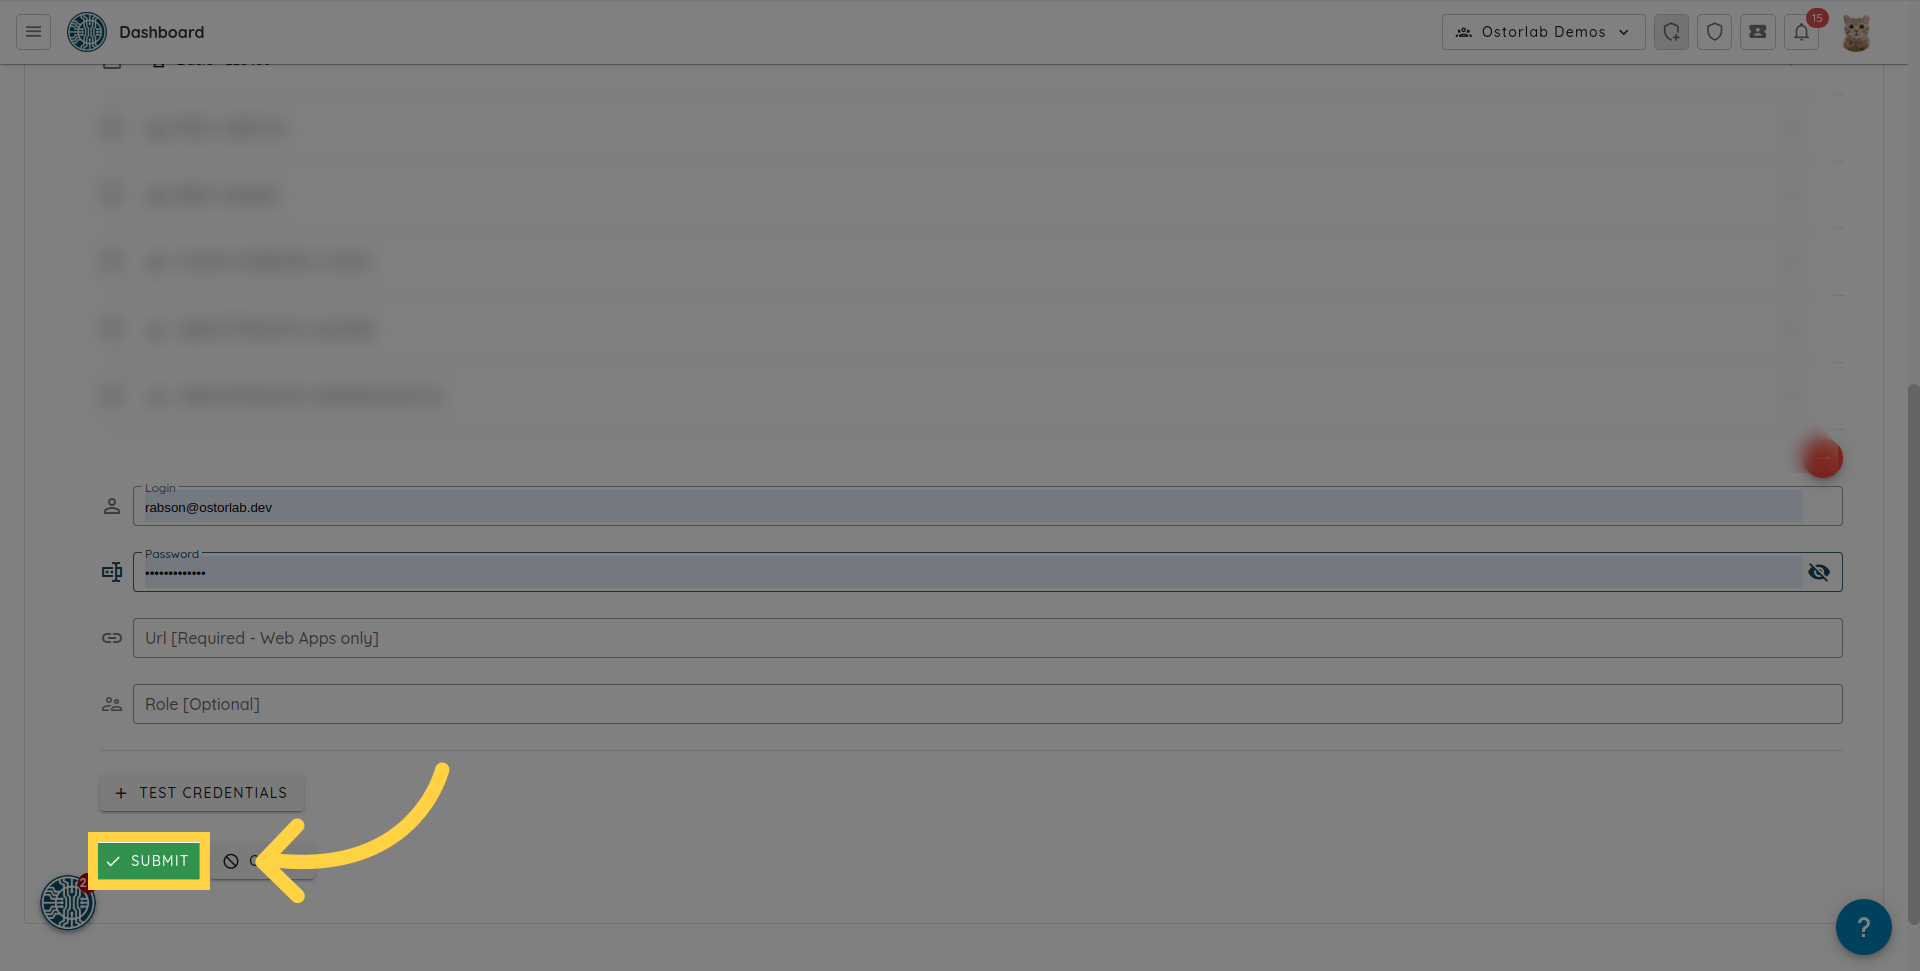
16. 「Submit」をクリックします
「submit」ボタンをクリックしてスキャンを作成します。
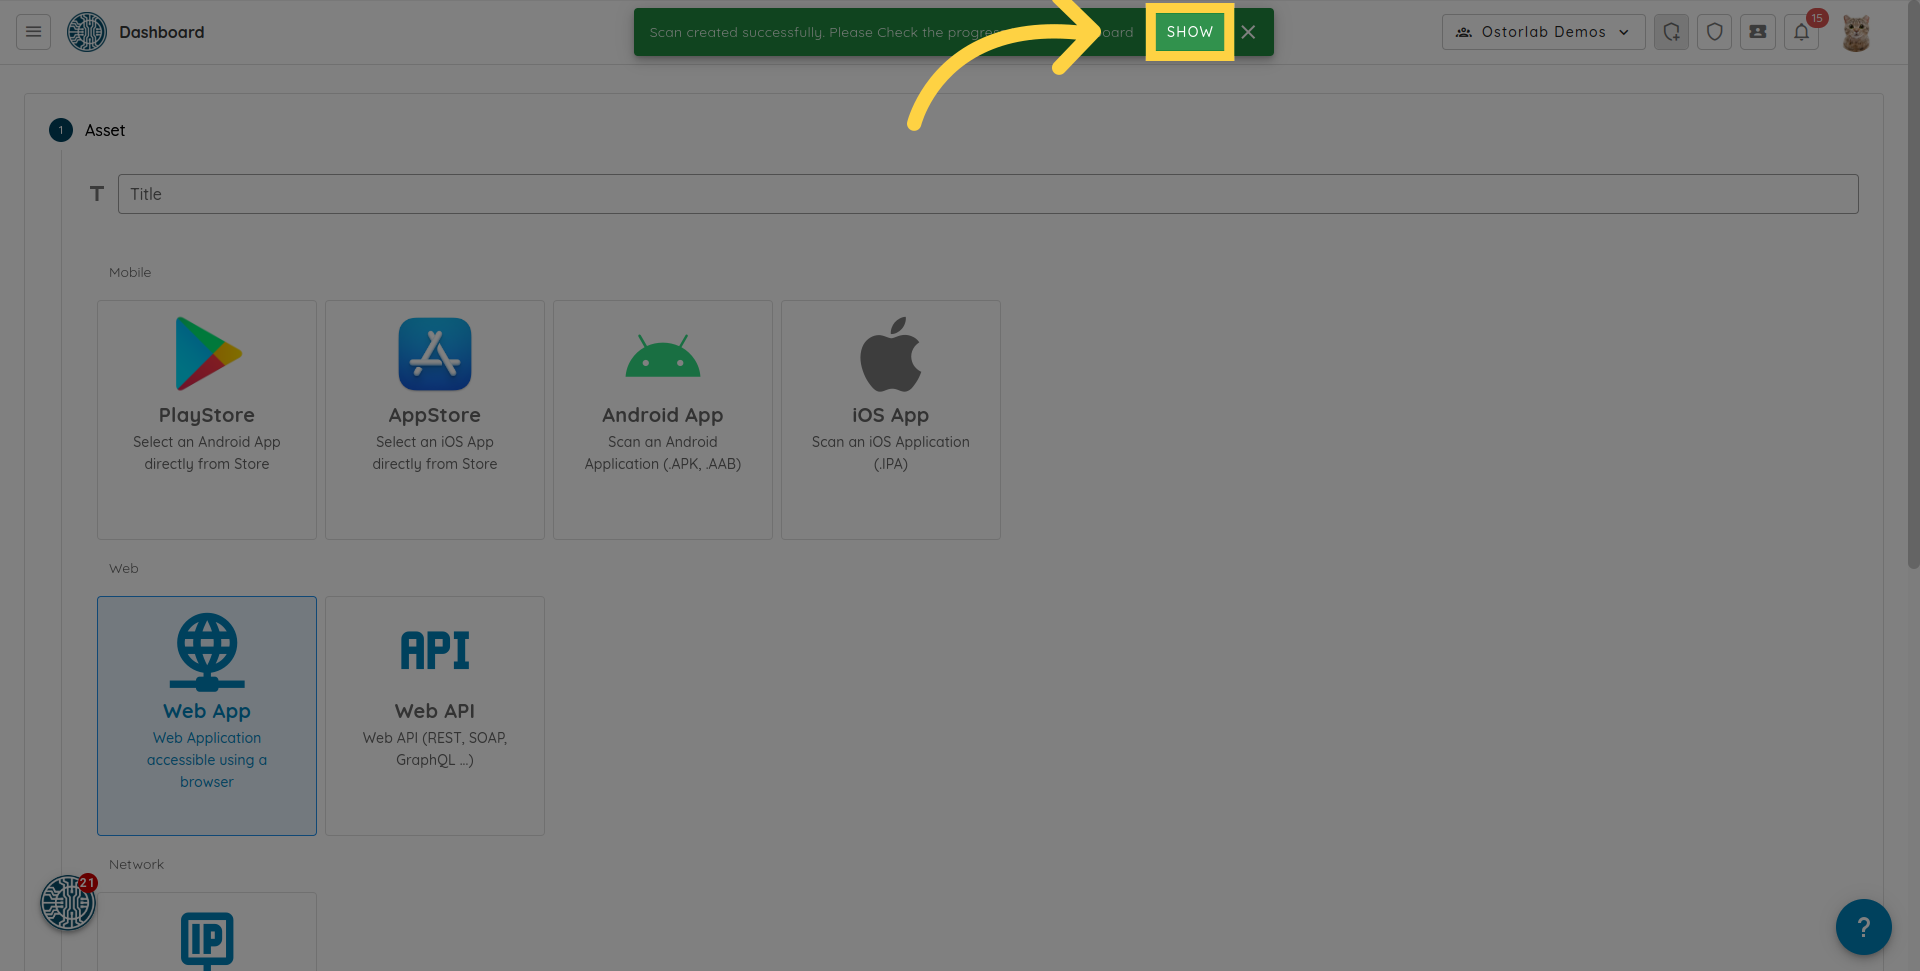
17. 「Show」をクリックします
Webスキャンが作成されます。アラートの「Show」をクリックして、スキャンのリストに移動できます。
このガイドでは、Ostorlabを使用して認証済みWebスキャンを実行する方法を学習しました。手順では、スキャン設定の構成、URLとドメインの追加、およびログイン認証情報を使用した認証について説明しました。これらの手順に従うことで、アプリケーションの徹底的かつ安全なWebスキャンを確実に行うことができます。