经过身份验证的 Web 扫描
本指南提供了有关使用 Ostorlab 运行经过身份验证的 Web 扫描的分步教程。
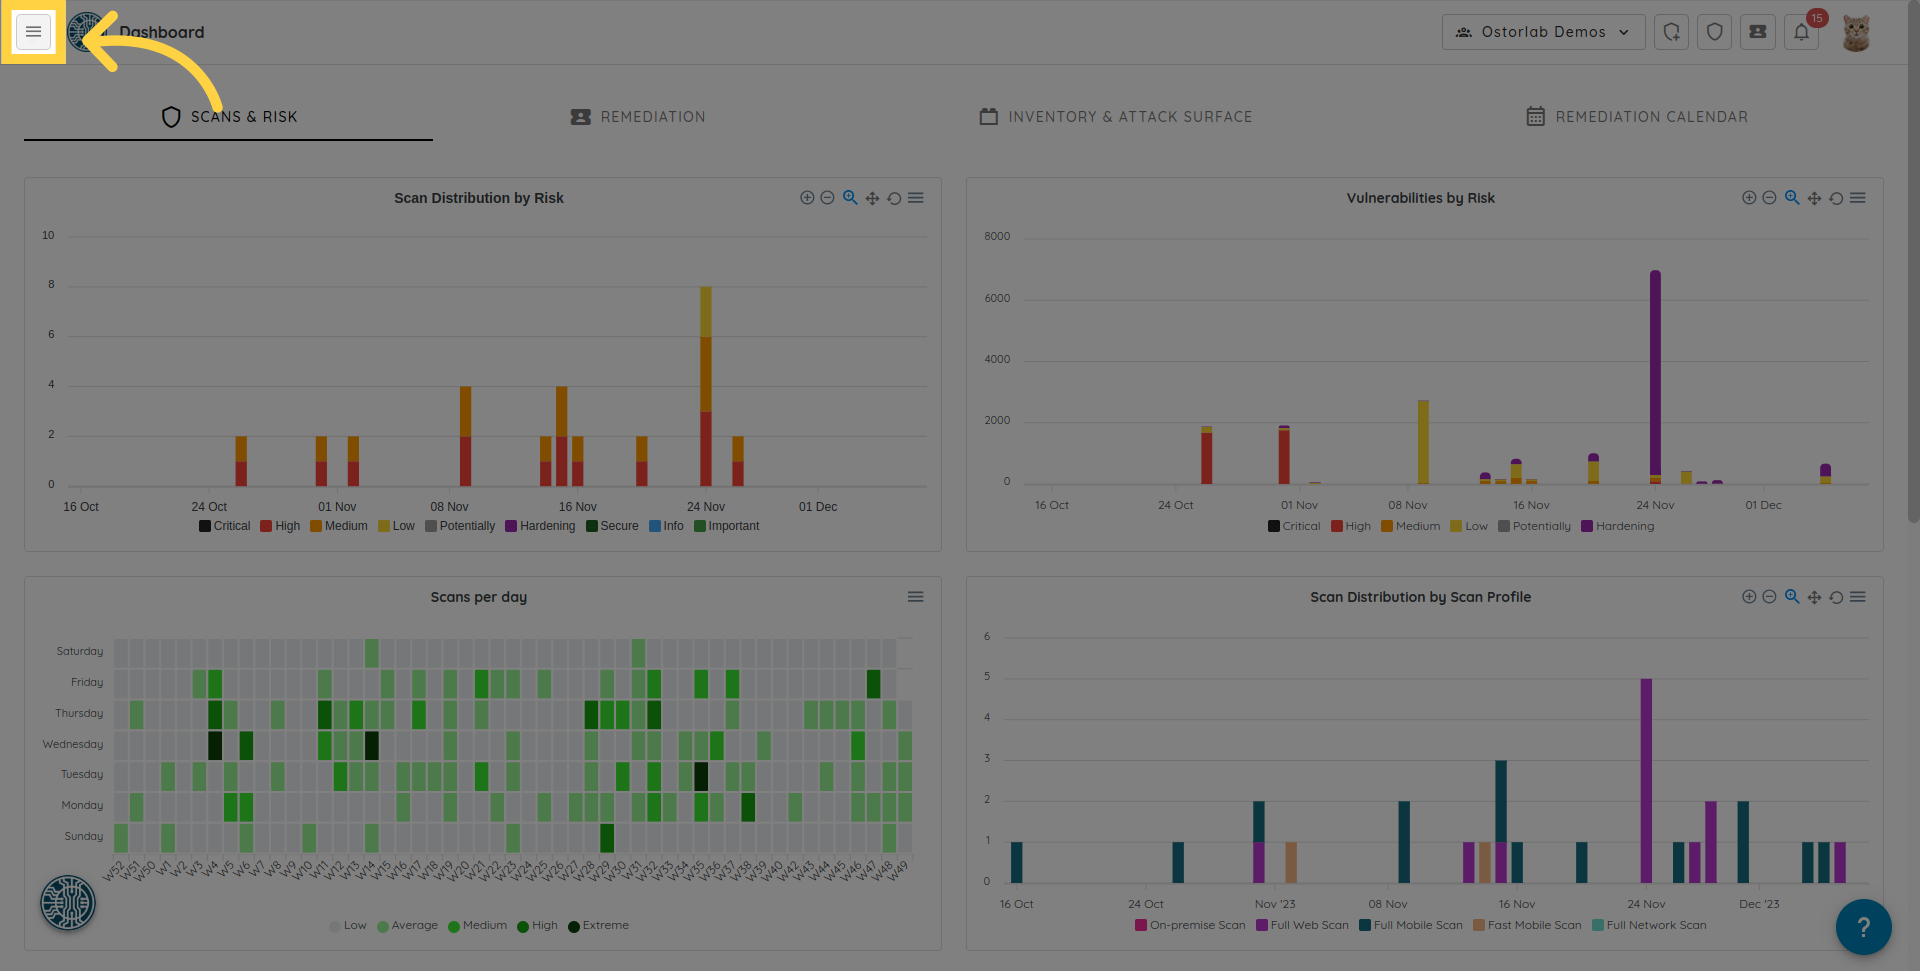
1. 点击左侧的菜单图标
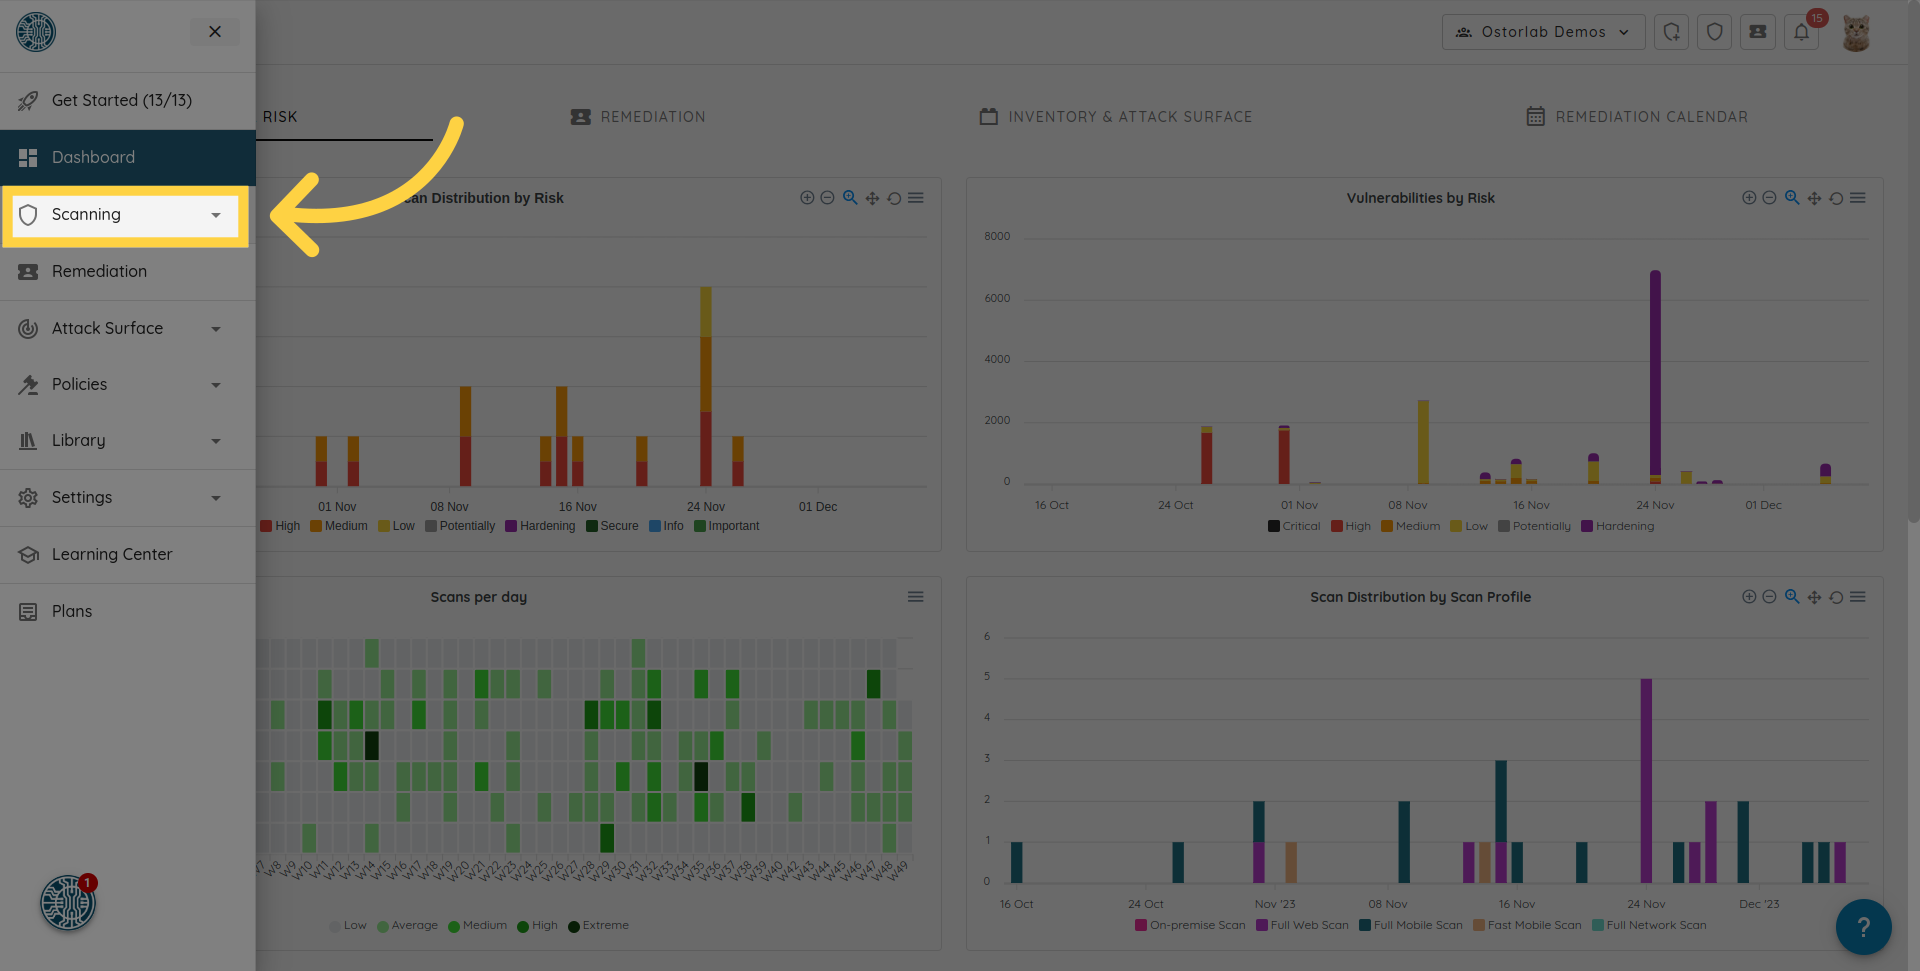
2. 导航至菜单中的 "Scanning" 部分
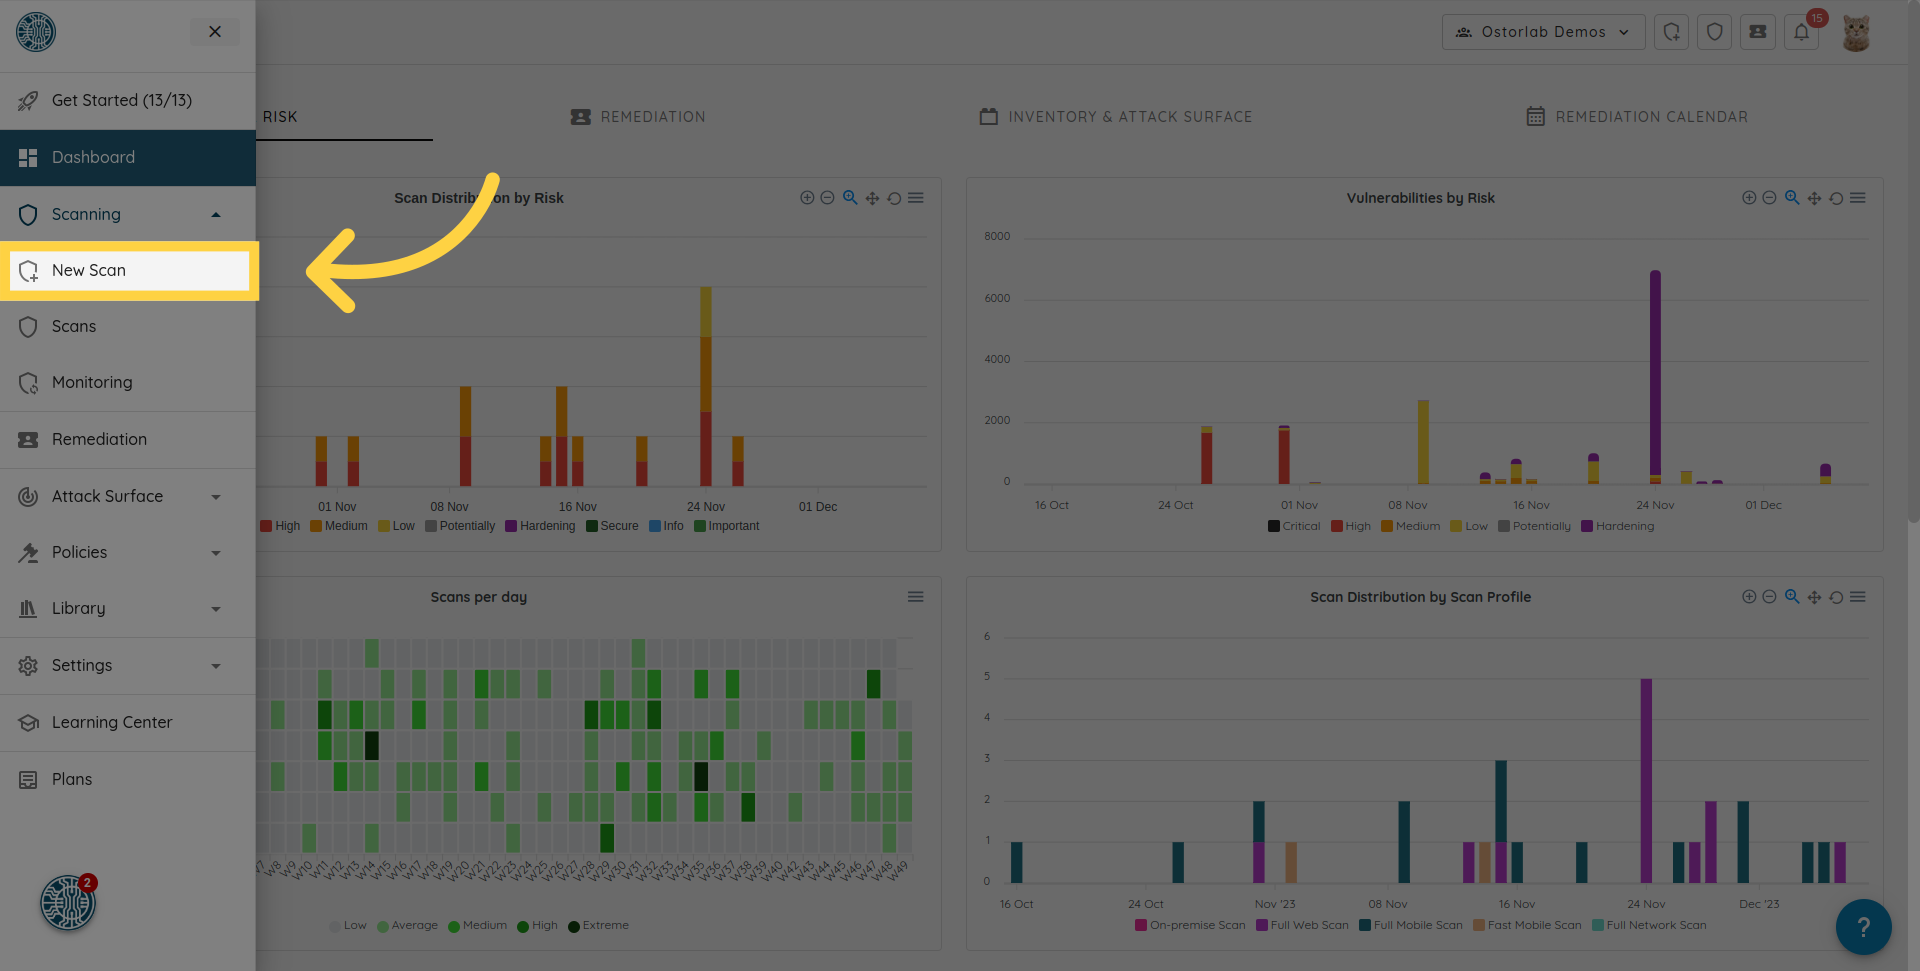
3. 点击 "New Scan" 选项
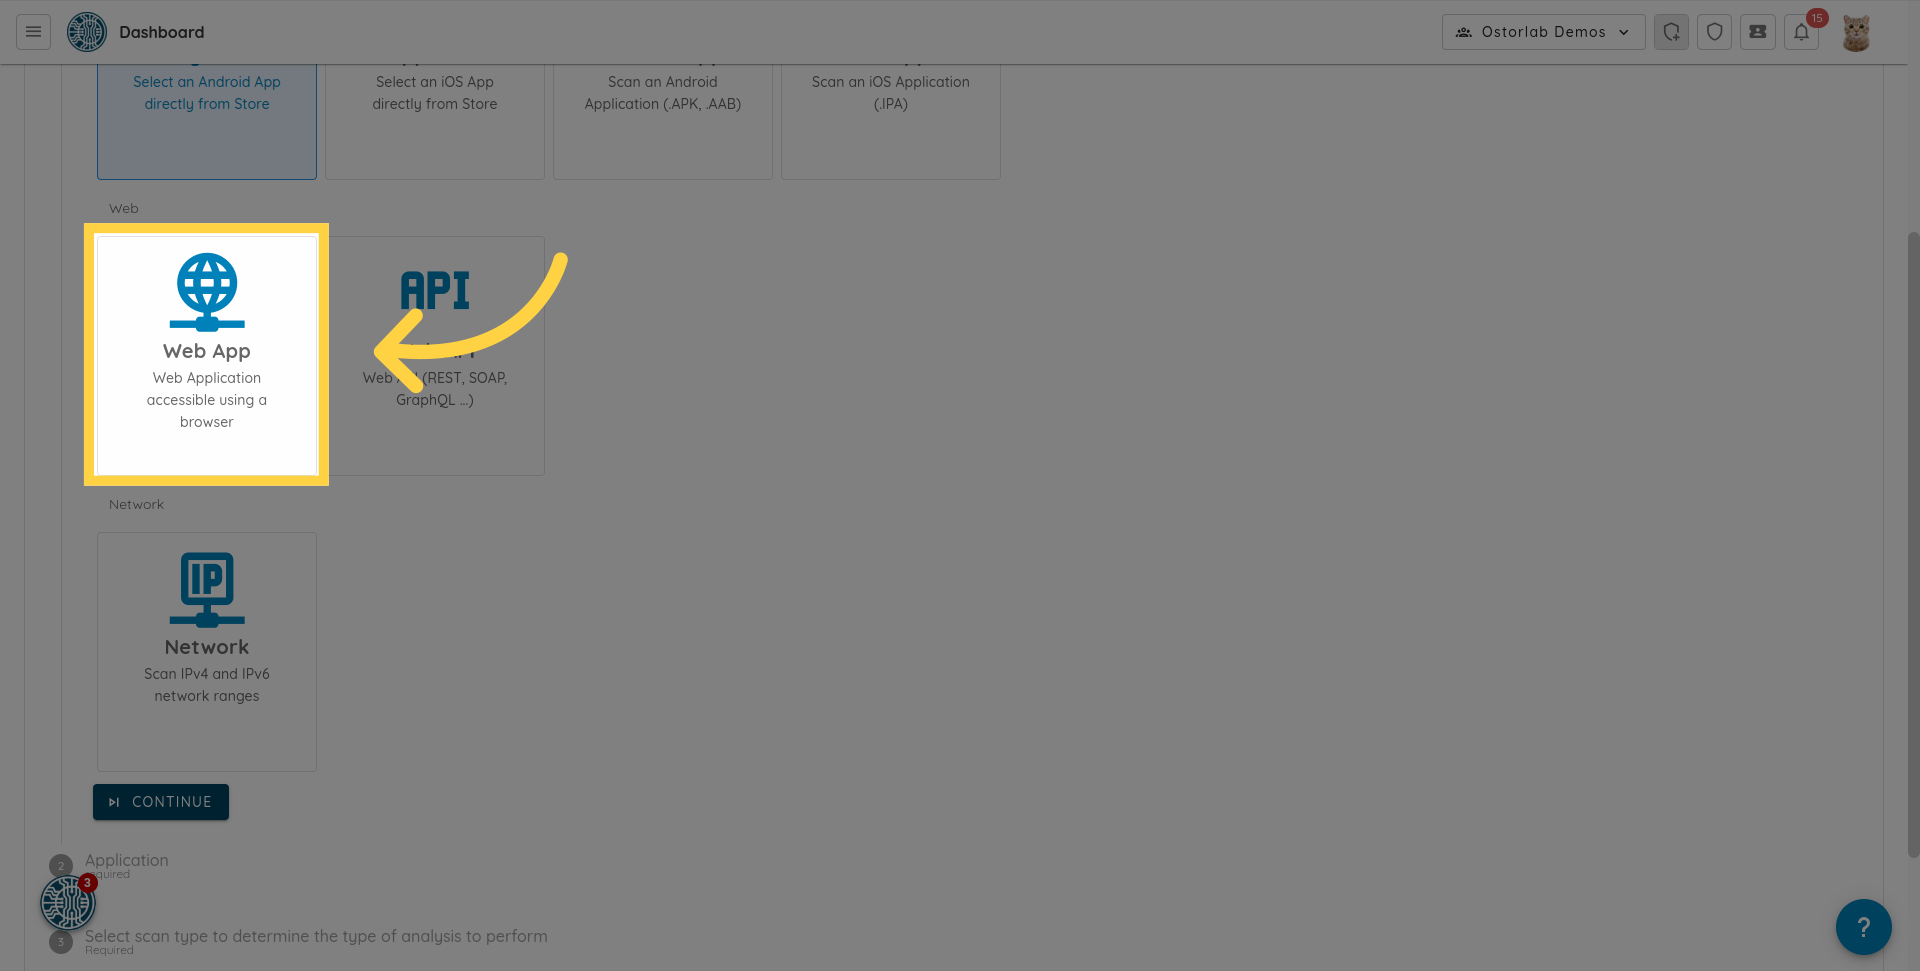
4. 点击 "Web App"
从可用的扫描类型中选择 "Web App" 选项。
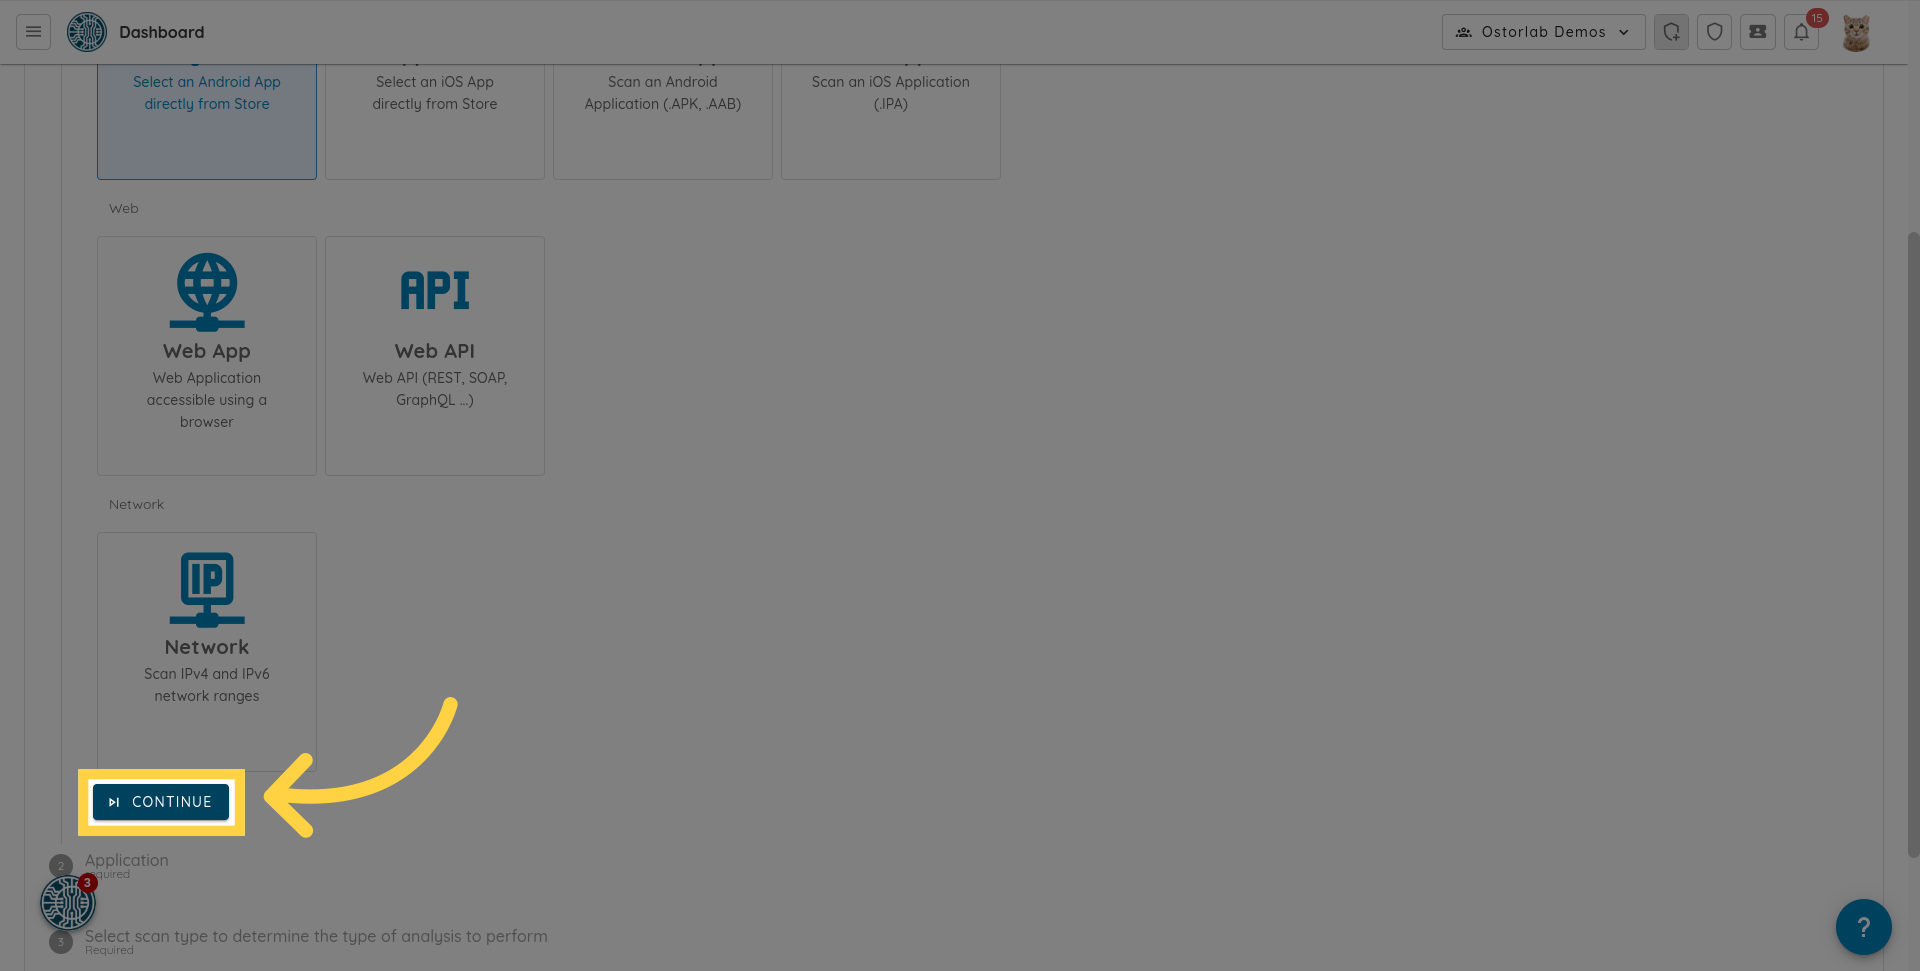
5. 点击 "Continue"
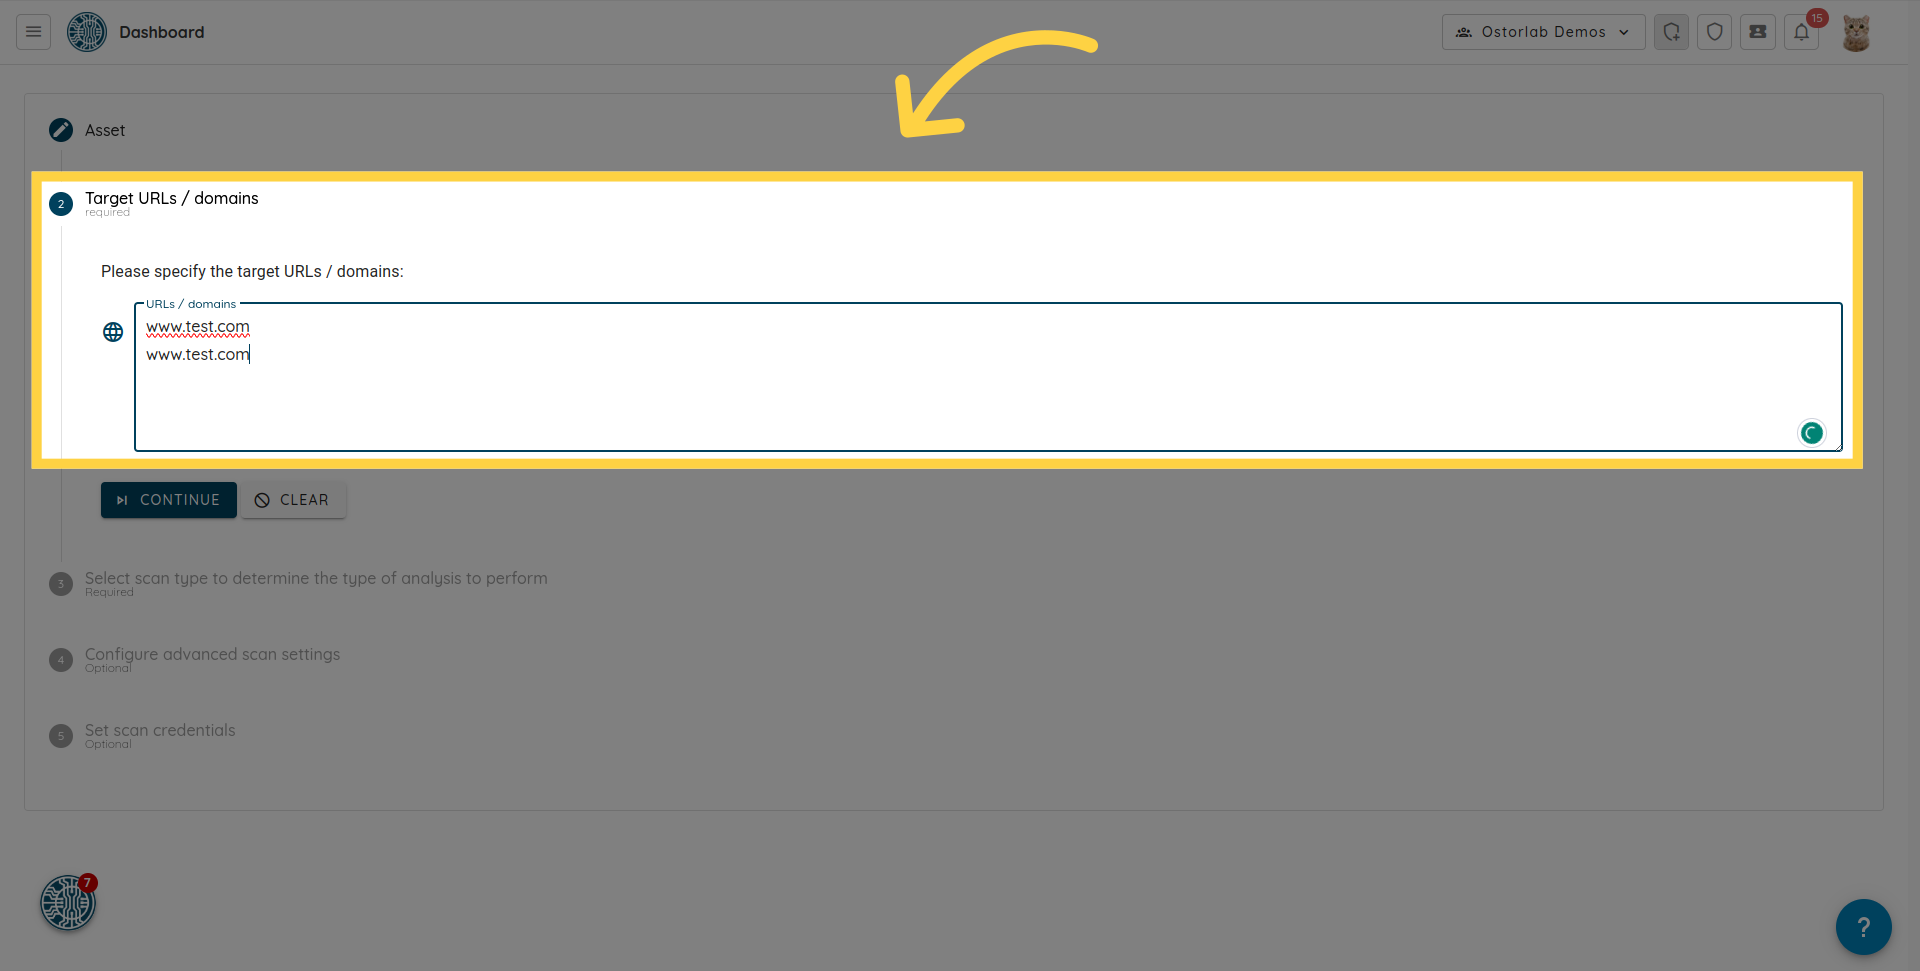
6. 指定目标 URL 或域
指定目标 URL 或域。您可以通过在新行中输入每个 URL 或域来输入多个 URL 或域。
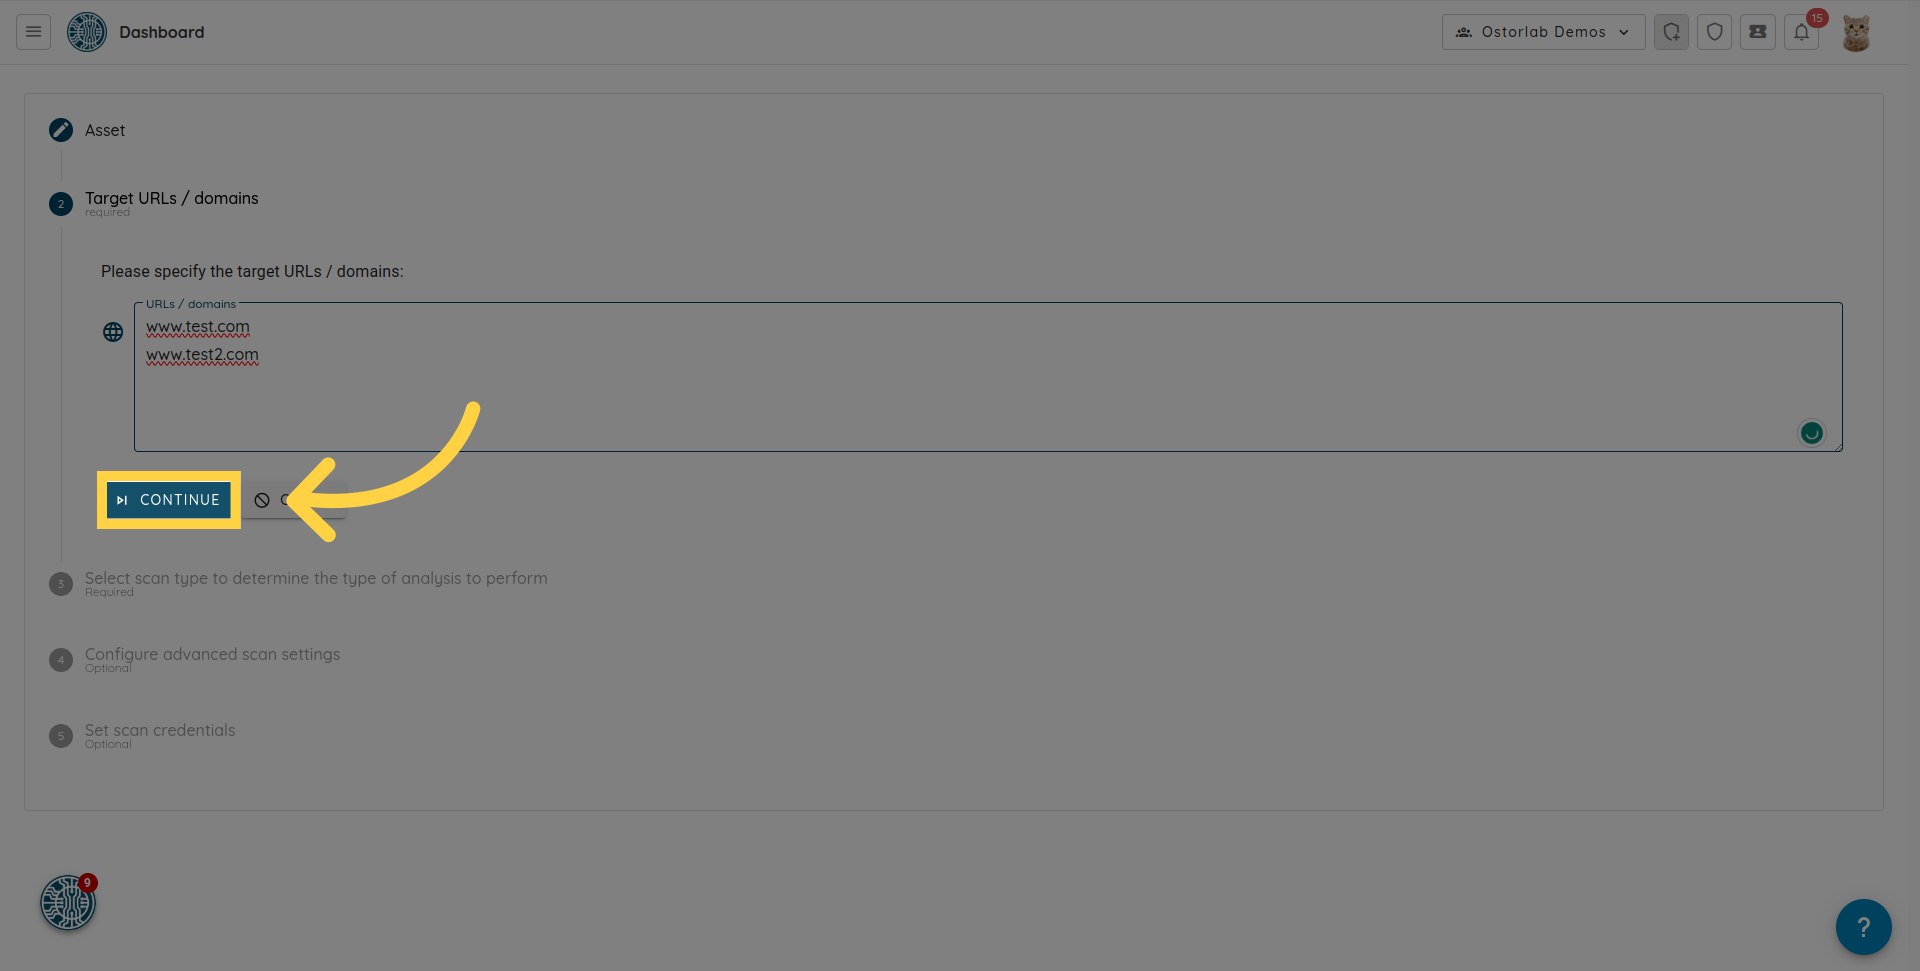
7. 点击 "Continue"
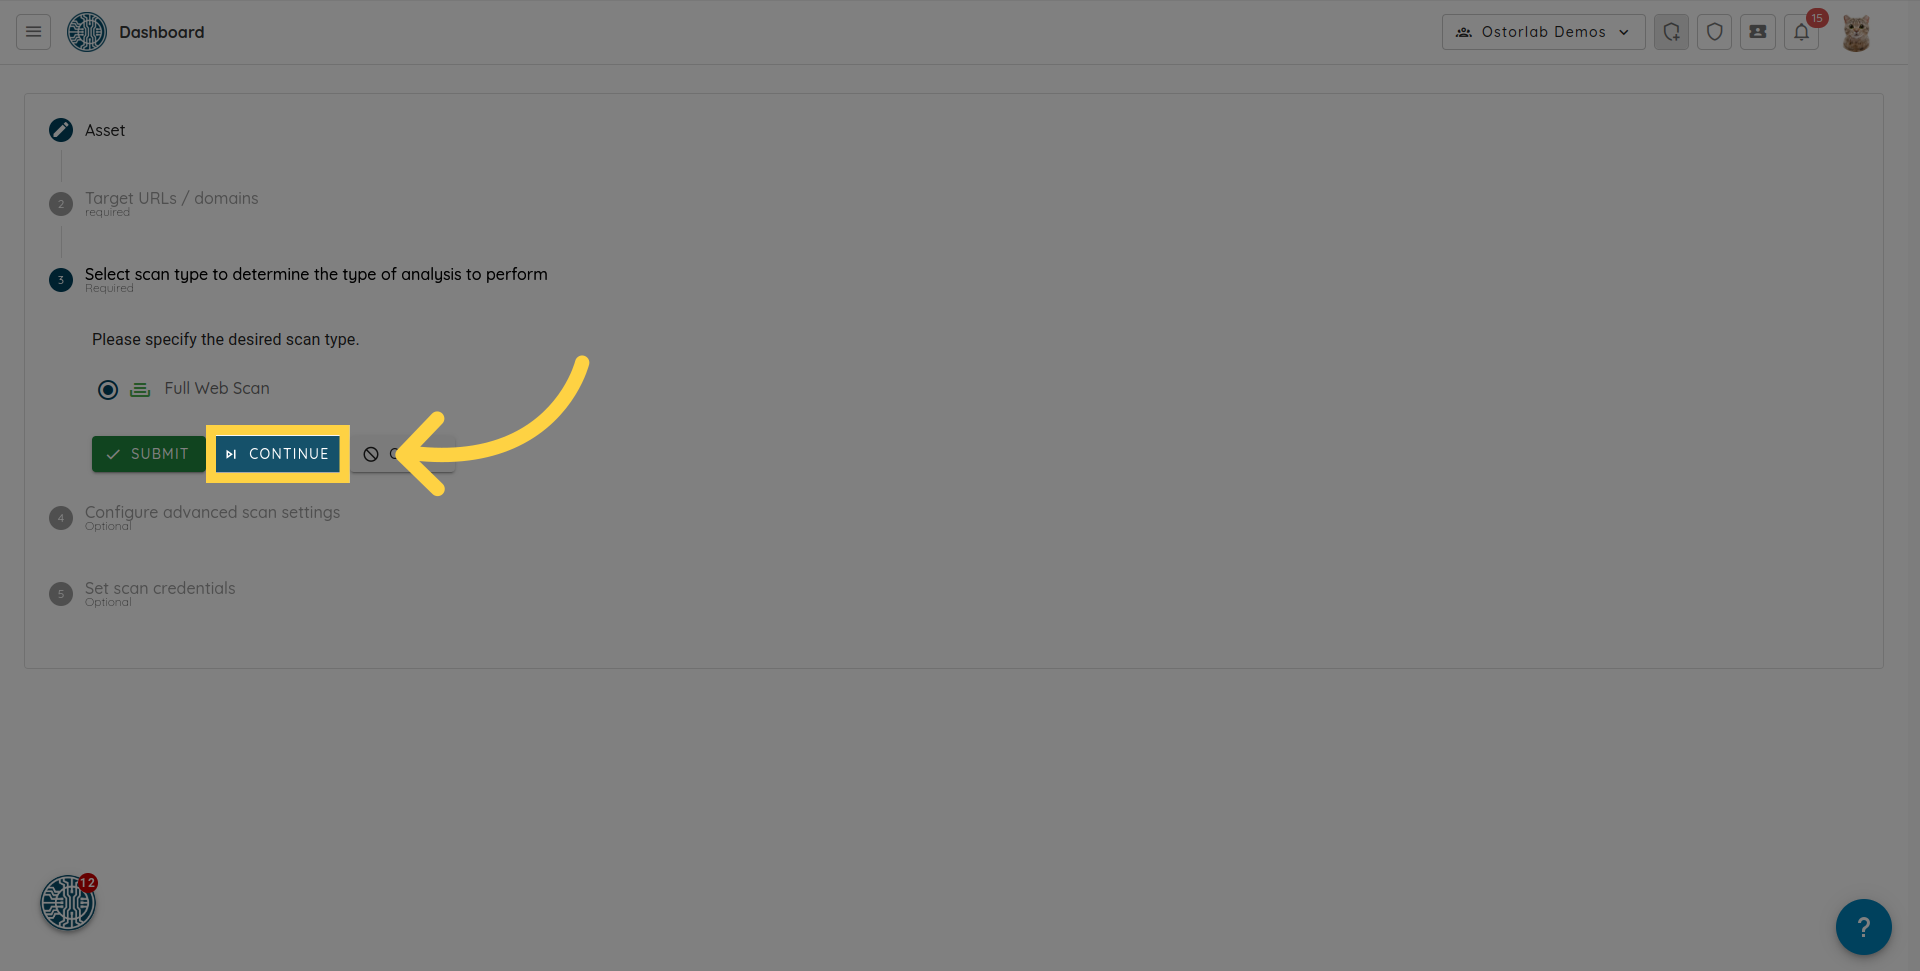
8. 选择 "Full Web Scan" 选项
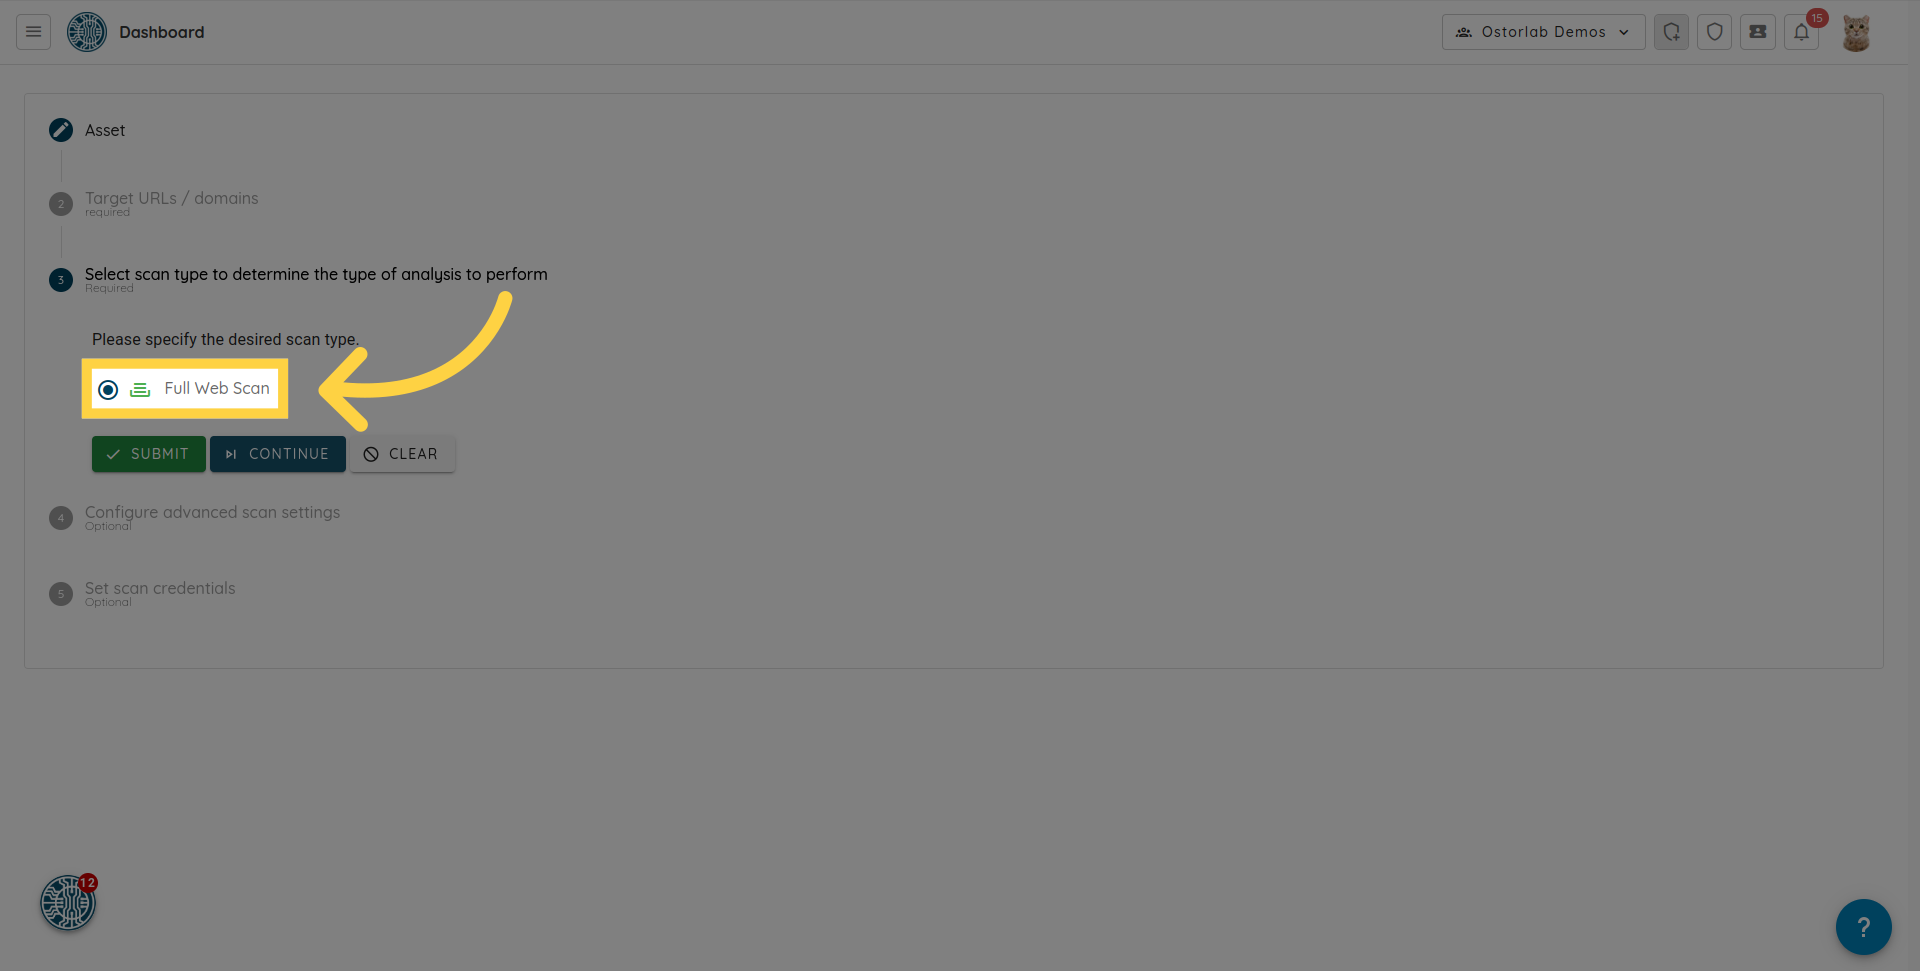
9. 点击 "Continue"
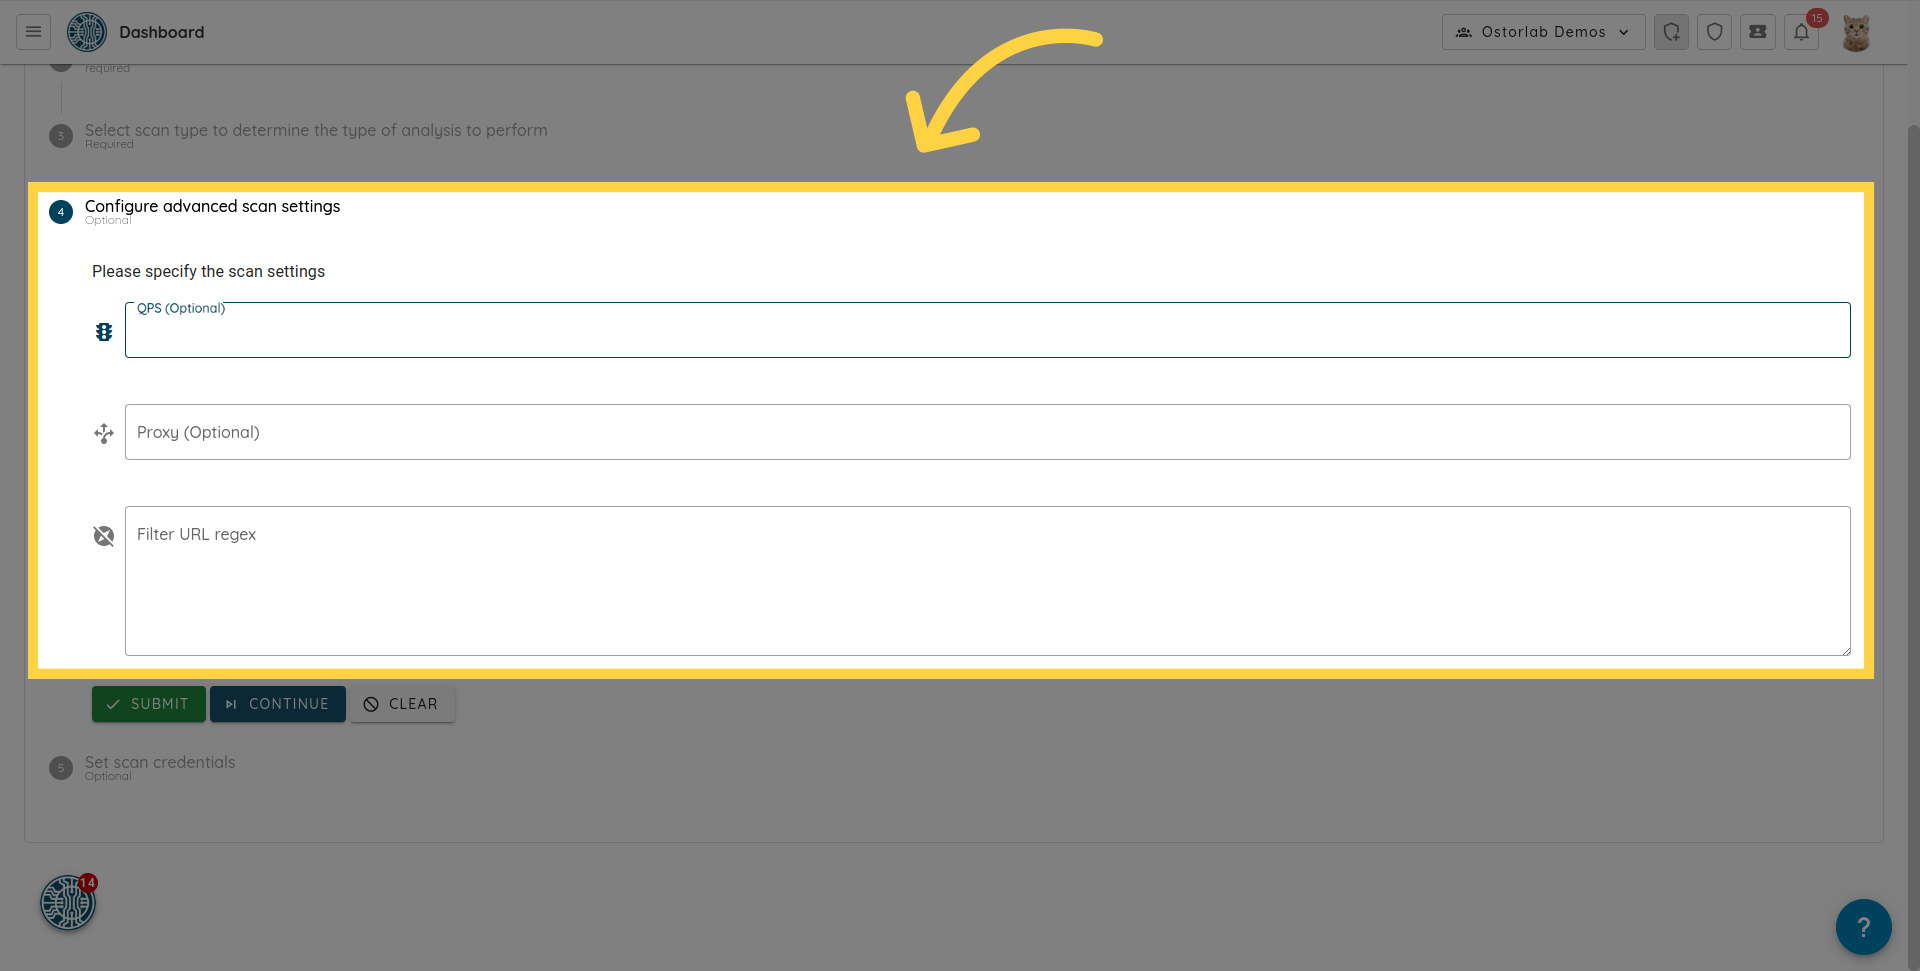
10.(可选)配置高级扫描设置
此部分允许您配置可选的高级扫描设置,例如设置每秒最大查询次数的 QPS。您可以设置代理和过滤 URL 正则表达式 (regex)。
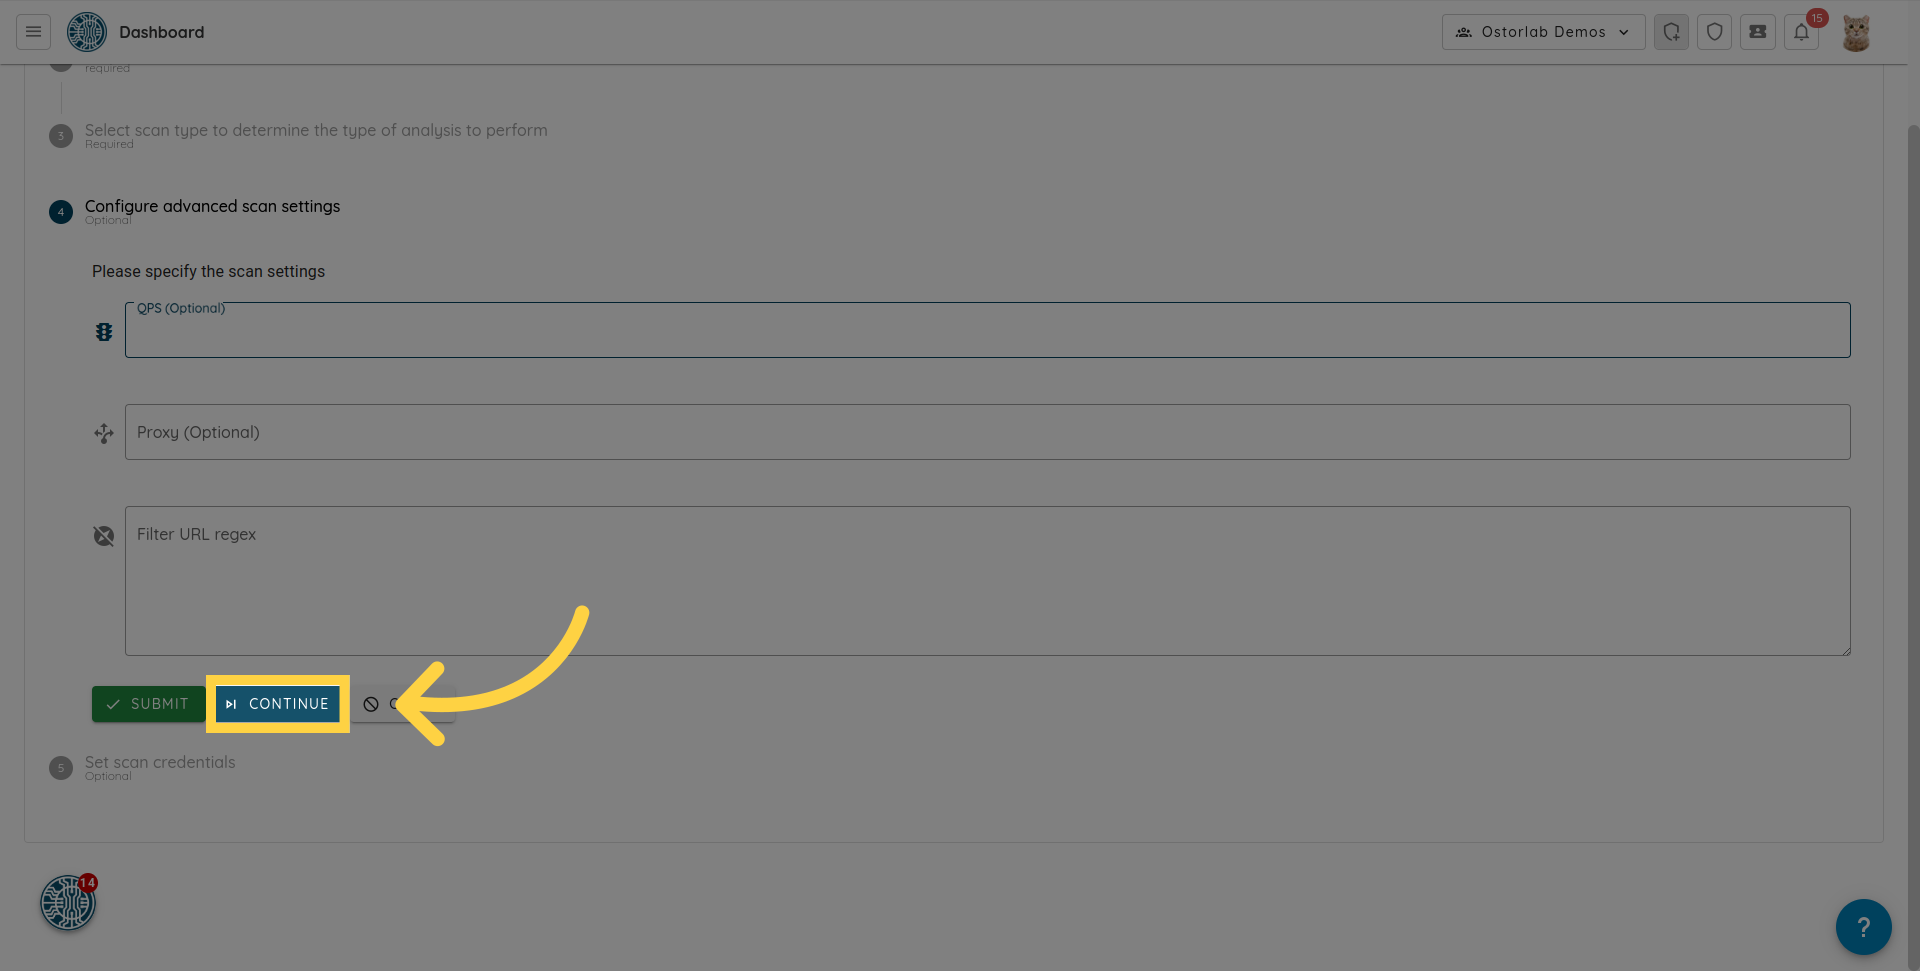
11. 点击 "Continue"
点击 "Continue" 按钮以继续设置扫描凭据 (test credentials)。
12. 选择一个或多个预定义的测试凭据
此步骤允许您选择一个或多个预定义的测试凭据或添加新的凭据。测试凭据增加了动态分析的覆盖范围。

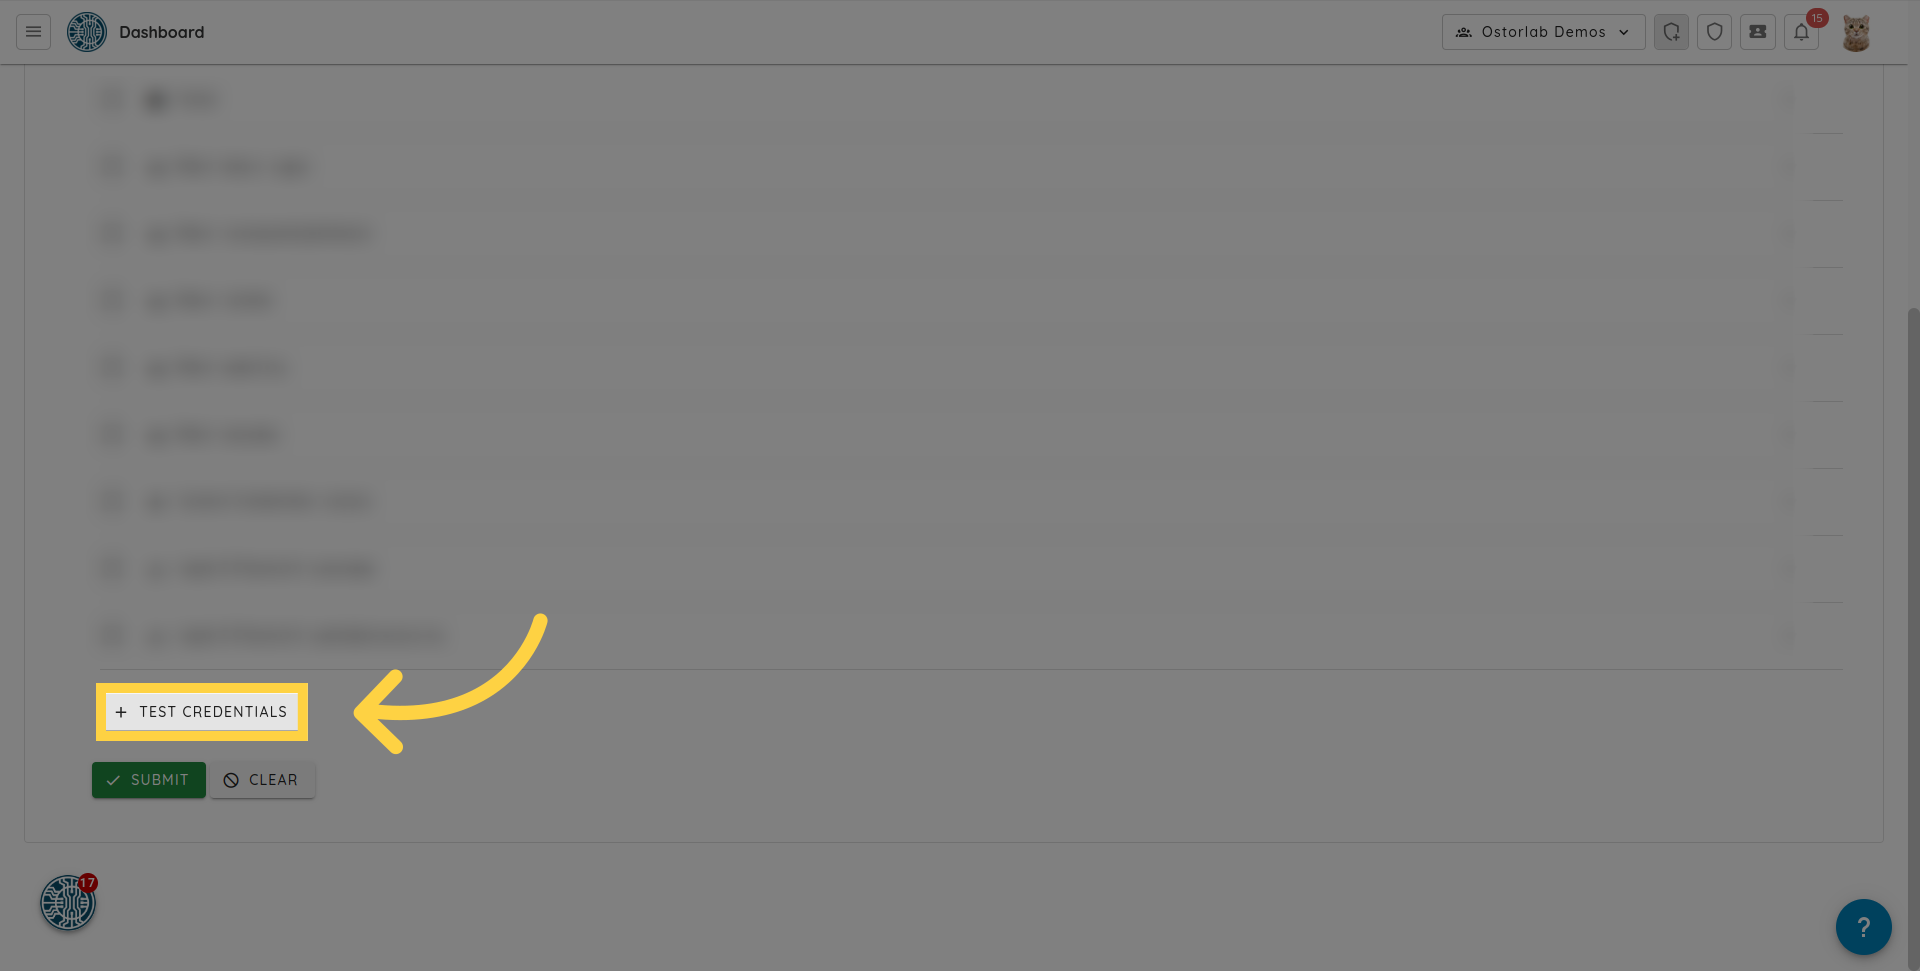
13. 点击 "Test Credentials"
您也可以通过点击 "Test Credentials" 按钮直接添加测试凭据。
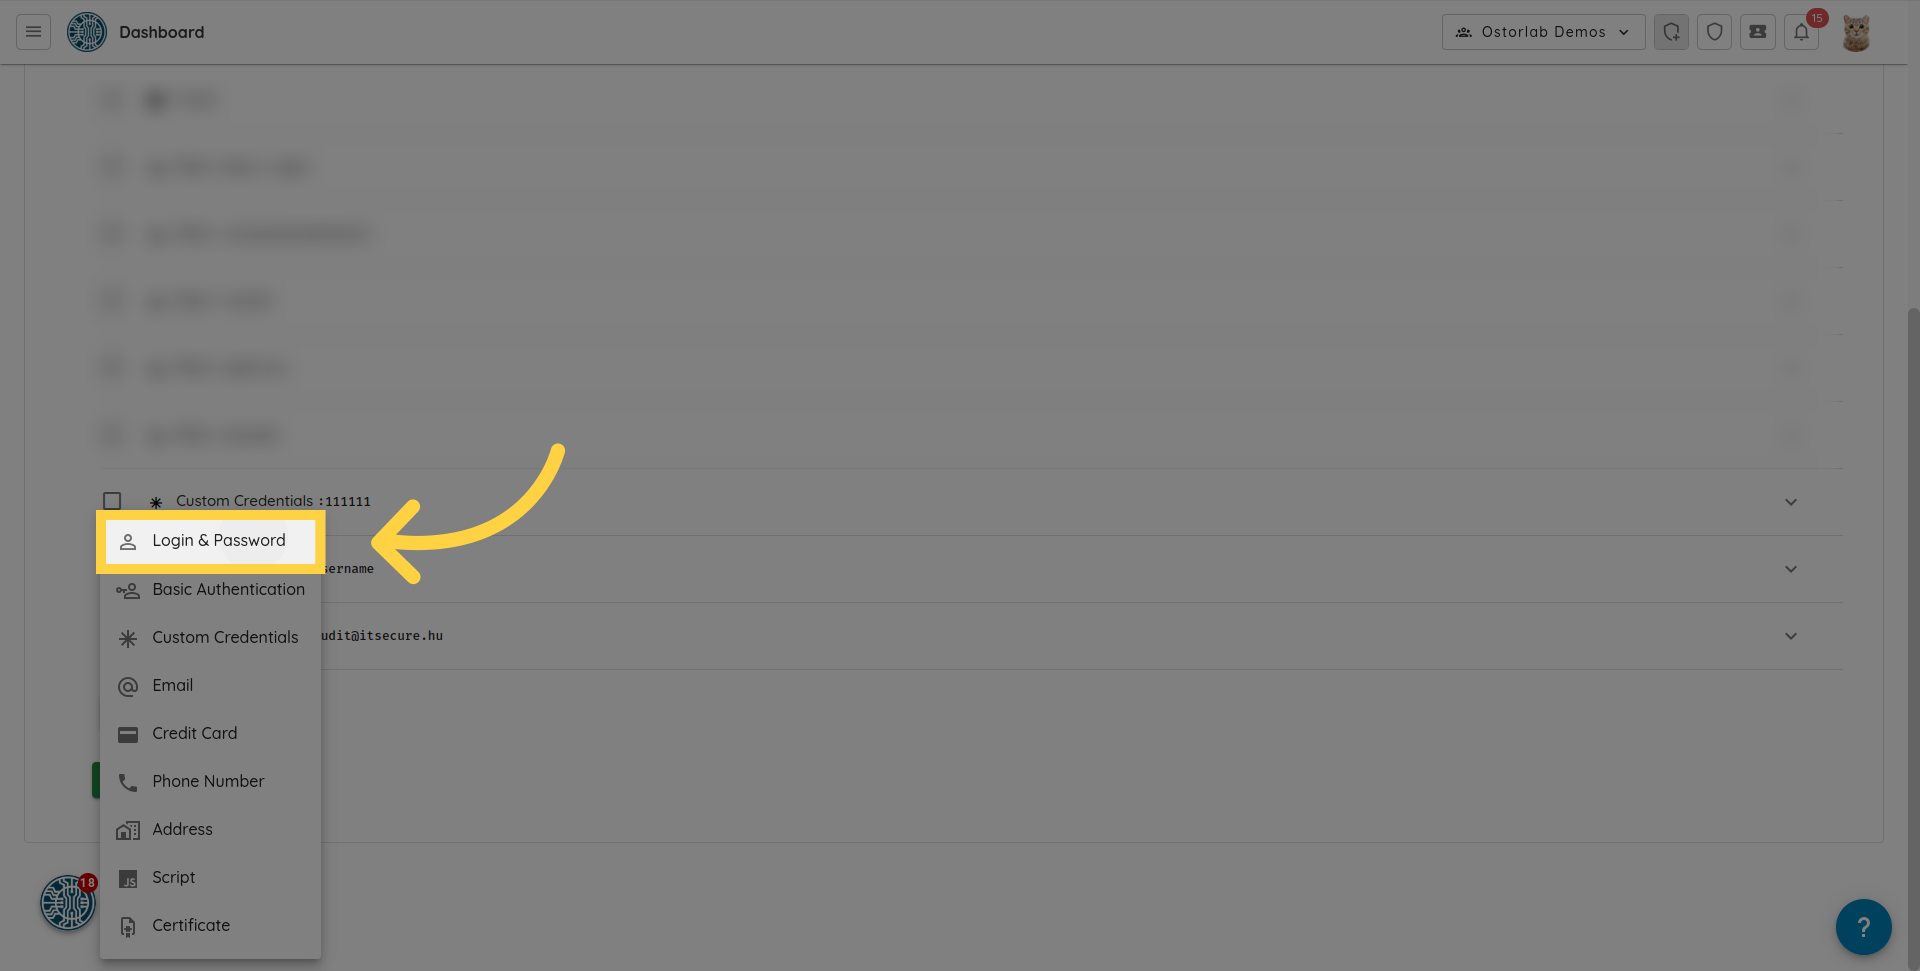
14. 添加测试凭据
支持的类型包括:
- Login & Password
- Basic Authentication
- Credit card
- Phone Number
- Address
- Certificates
- Script:允许您上传 puppeteer 脚本。这对于启用复杂的身份验证流程或结账等复杂交互非常有用。
- Custom credentials:用于自定义表单字段,如用户名、密码和域名。
- HTTP Header:允许您提供如 Authorization、User-Agent 等标头 (headers)。
例如,要添加 "Login & Password",请从测试凭据菜单中选择 "Login & Password" 选项。
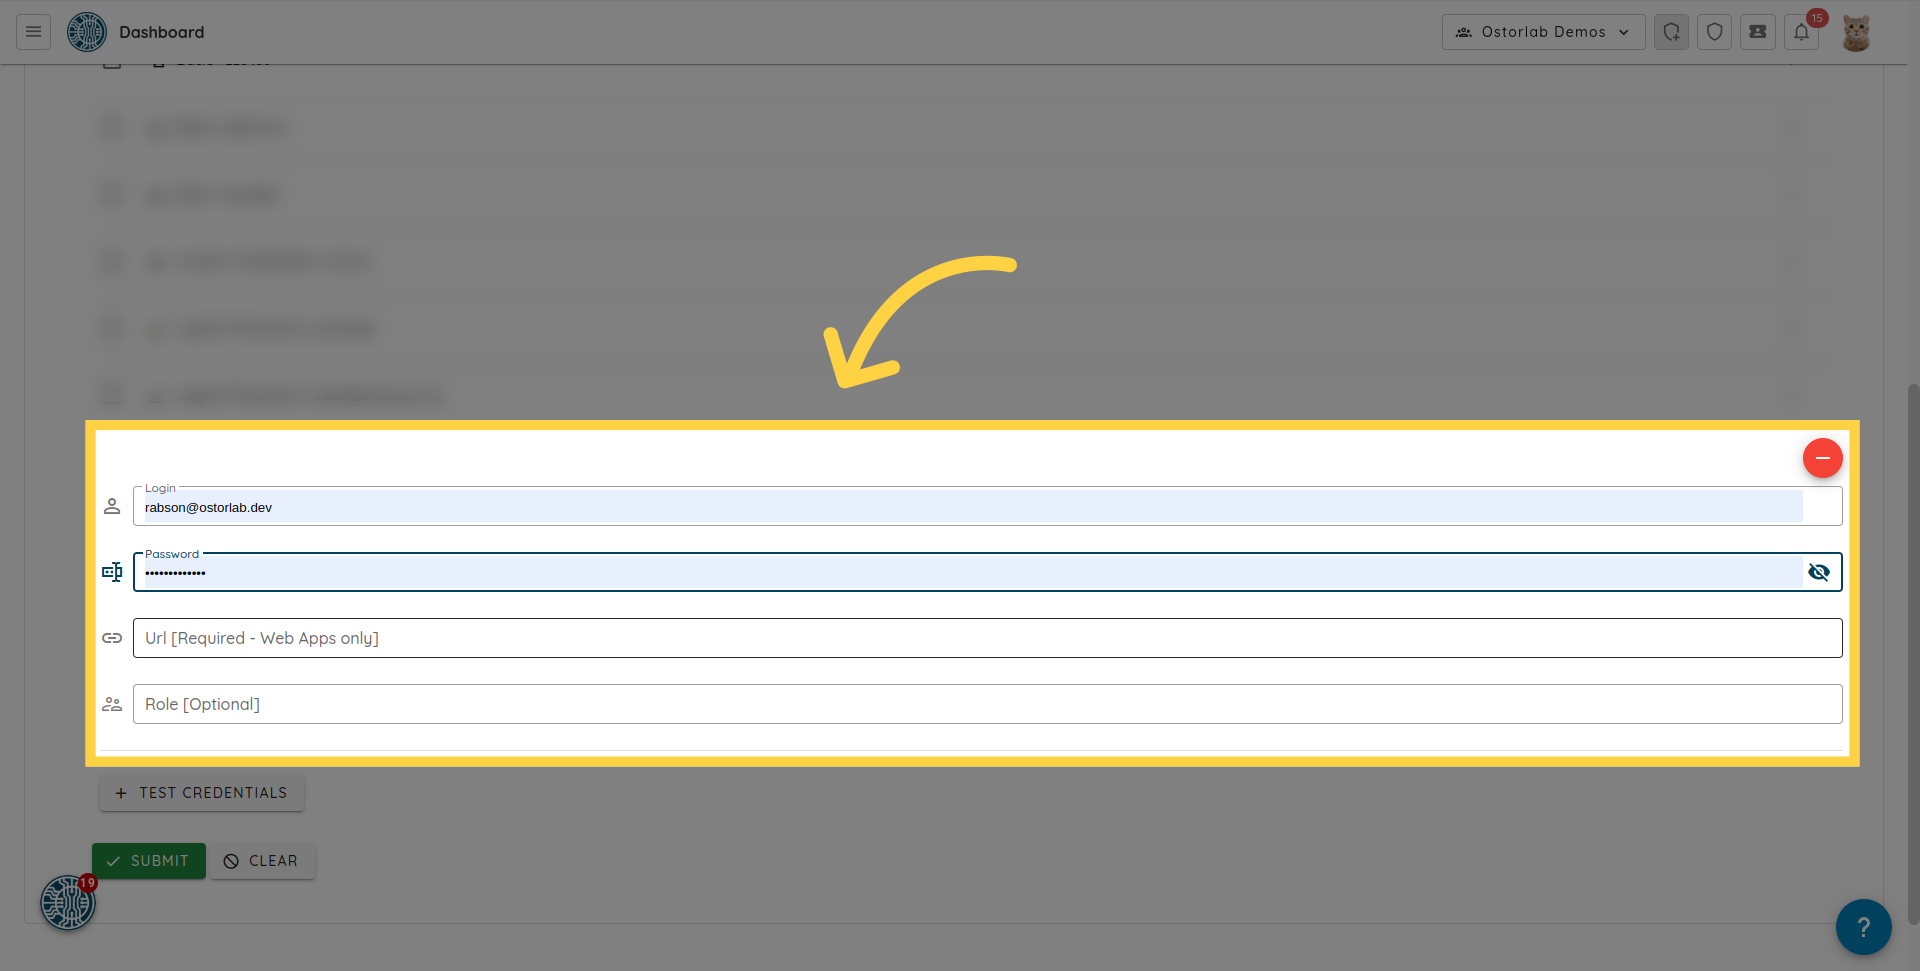
输入登录名、密码和 URL
输入登录名、密码和 URL。点击 submit 后,测试凭据将被添加到扫描中。
15. 提供自定义 User-Agent
The HTTP User-Agent request header lets servers identify the application, vendor, and/or version of the requesting user agent.
Ostorlab uses a user agent when scanning web applications. However, users might sometimes want to provide their User Agent of choice to be used during the scan. To do so, simply add an HTTP Header Test Credential.
- Optionally enter a label to easily identify this test credential, e.g. "Custom User Agent".
- In the name field, enter User-Agent.
- In the value field, enter your User Agent of choice, e.g.
Mozilla/5.0 (X11; Linux x86_64) AppleWebKit/537.36 (KHTML, like Gecko) Chrome/51.0.2704.103 Safari/537.36.
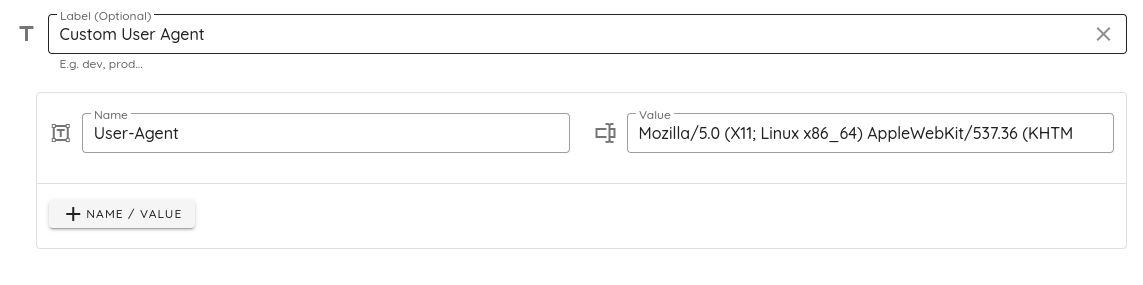
When running an authenticated web scan, you can select this test credential in the "Set scan credentials" step and the web application will be scanned using the custom user agent.
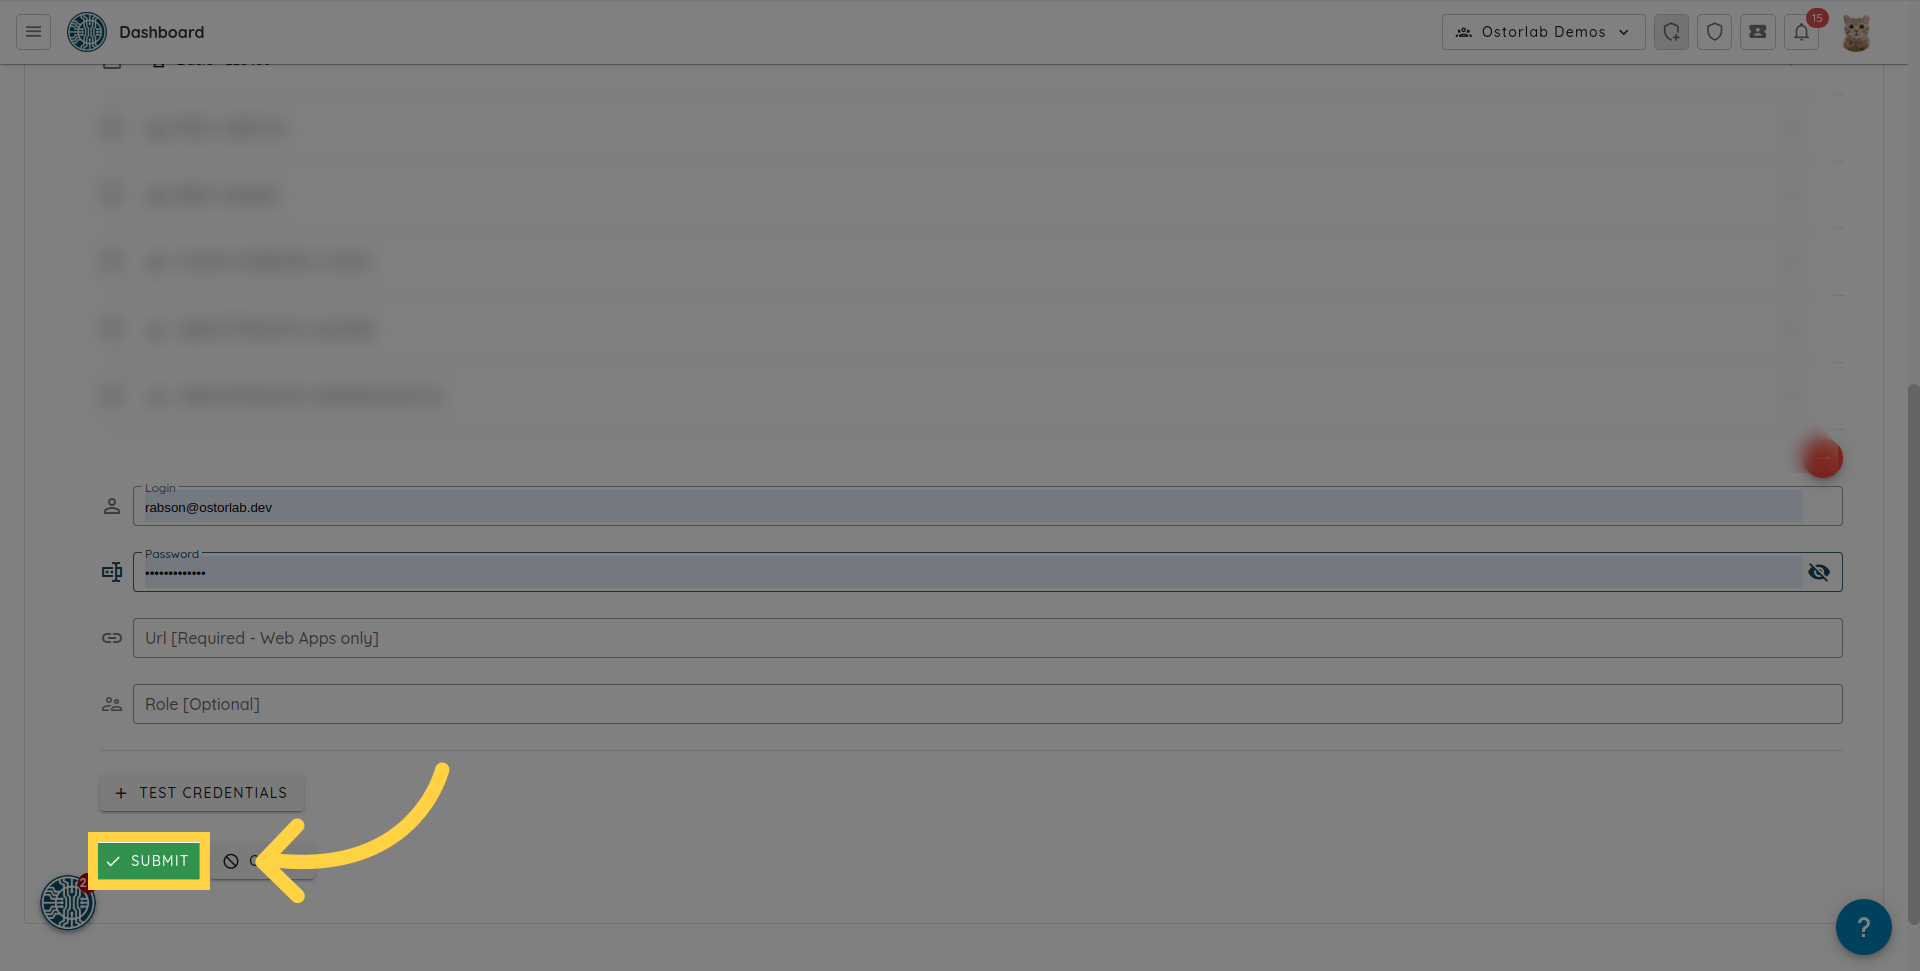
16. 点击 "Submit"
点击 "submit" 按钮以创建扫描。
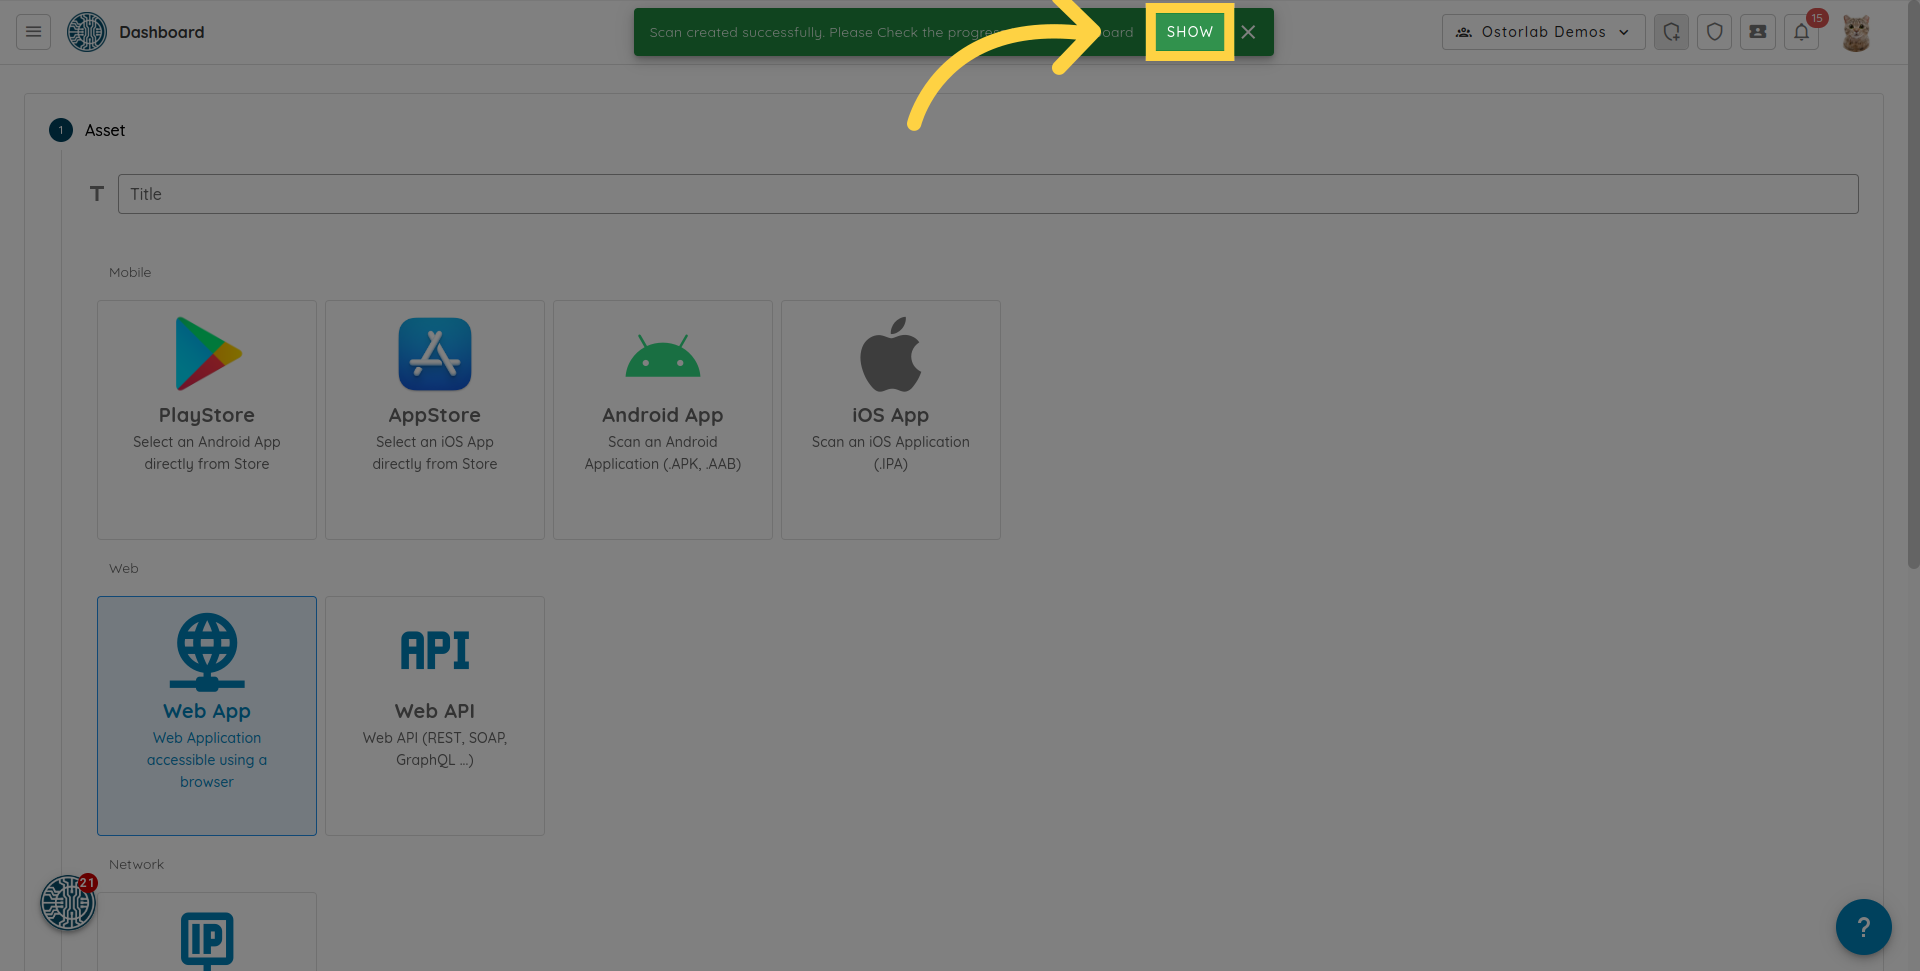
17. 点击 "Show"
系统将创建 Web 扫描。您可以在警报中点击 "Show" 转到扫描列表。
在本指南中,您学习了如何使用 Ostorlab 运行经过身份验证的 Web 扫描。说明涵盖了配置扫描设置、添加 URL 和域以及使用登录凭据进行身份验证。按照这些步骤,您可以确保对您的应用程序进行彻底、安全的 Web 扫描。