通过 Azure Active Directory 的 SAML
本指南将引导您将 Azure Active Directory (Azure AD) 配置为 Ostorlab 的 SAML SSO 身份提供商 (IdP)。
先决条件
配置 Azure AD
将应用程序添加到您的 Azure AD 租户 (Azure AD tenant)
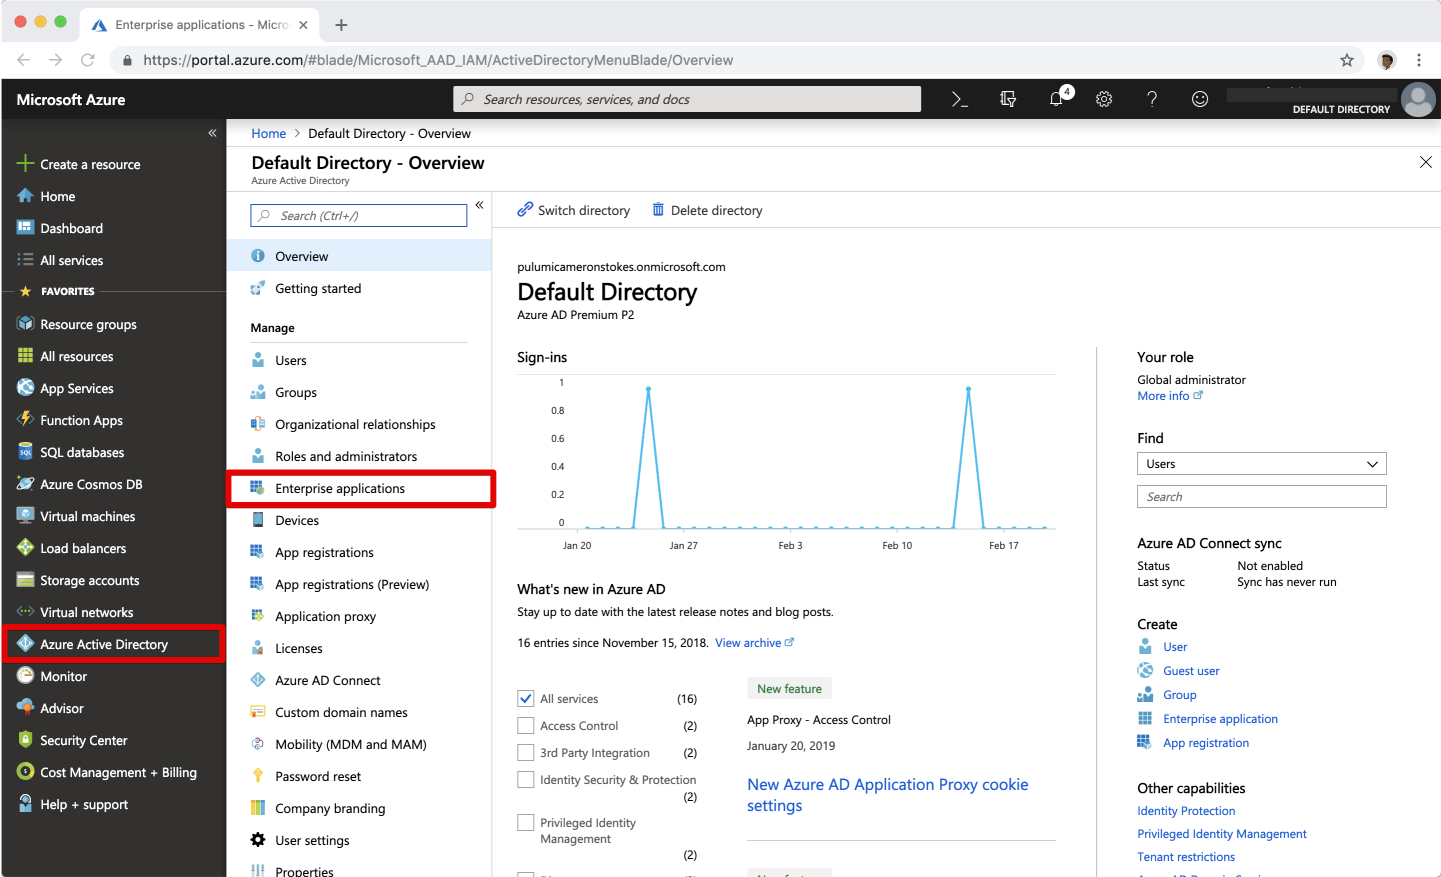
- 在 Azure 门户中,在左侧导航面板上,选择 Azure Active Directory。
-
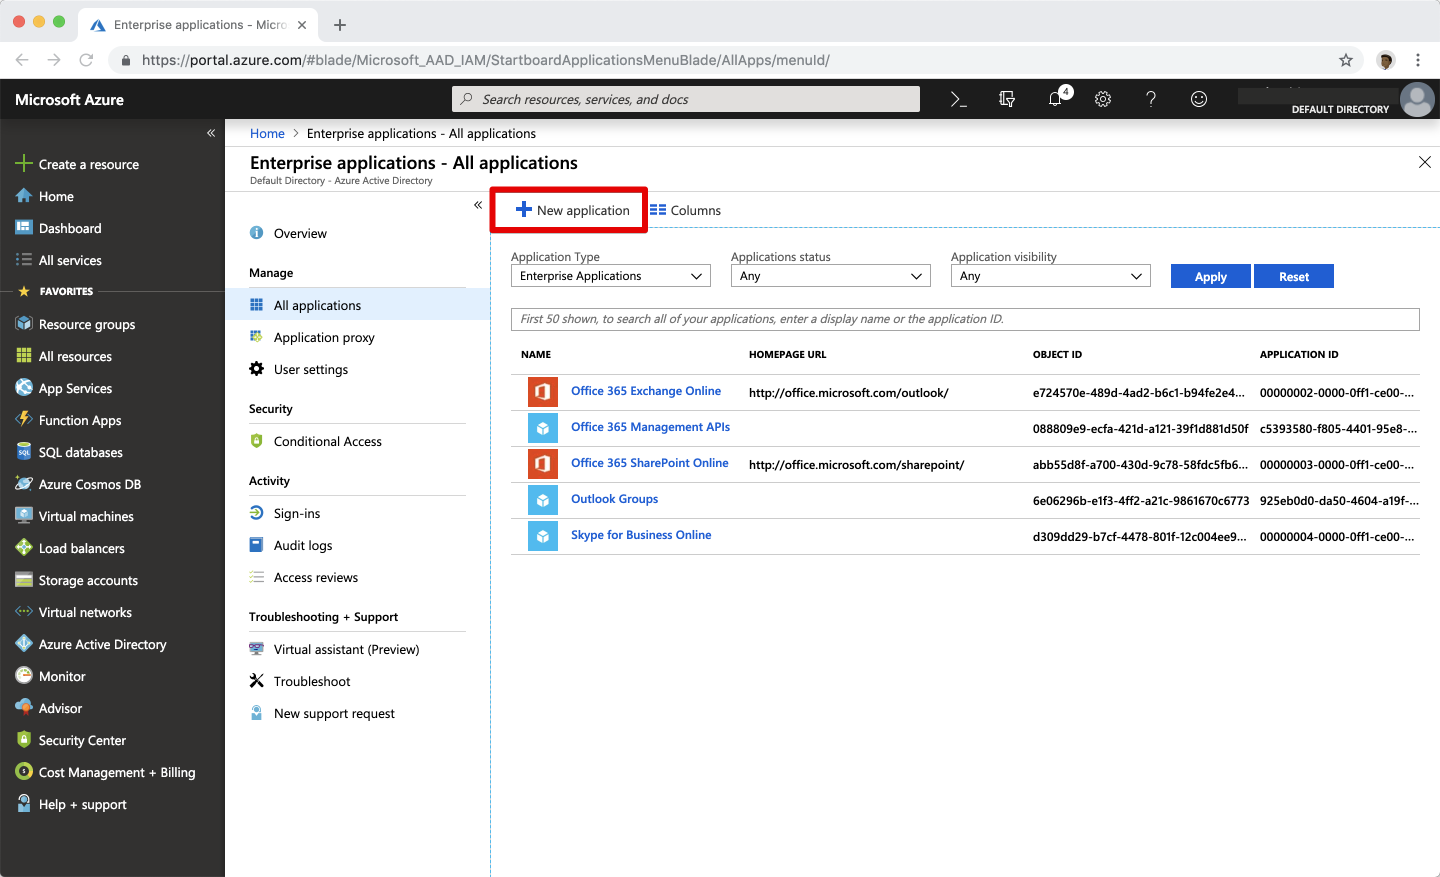
选择 Enterprise applications。它将显示您的 Azure AD 租户中的一些现有应用程序。
-
选择 New application。
-
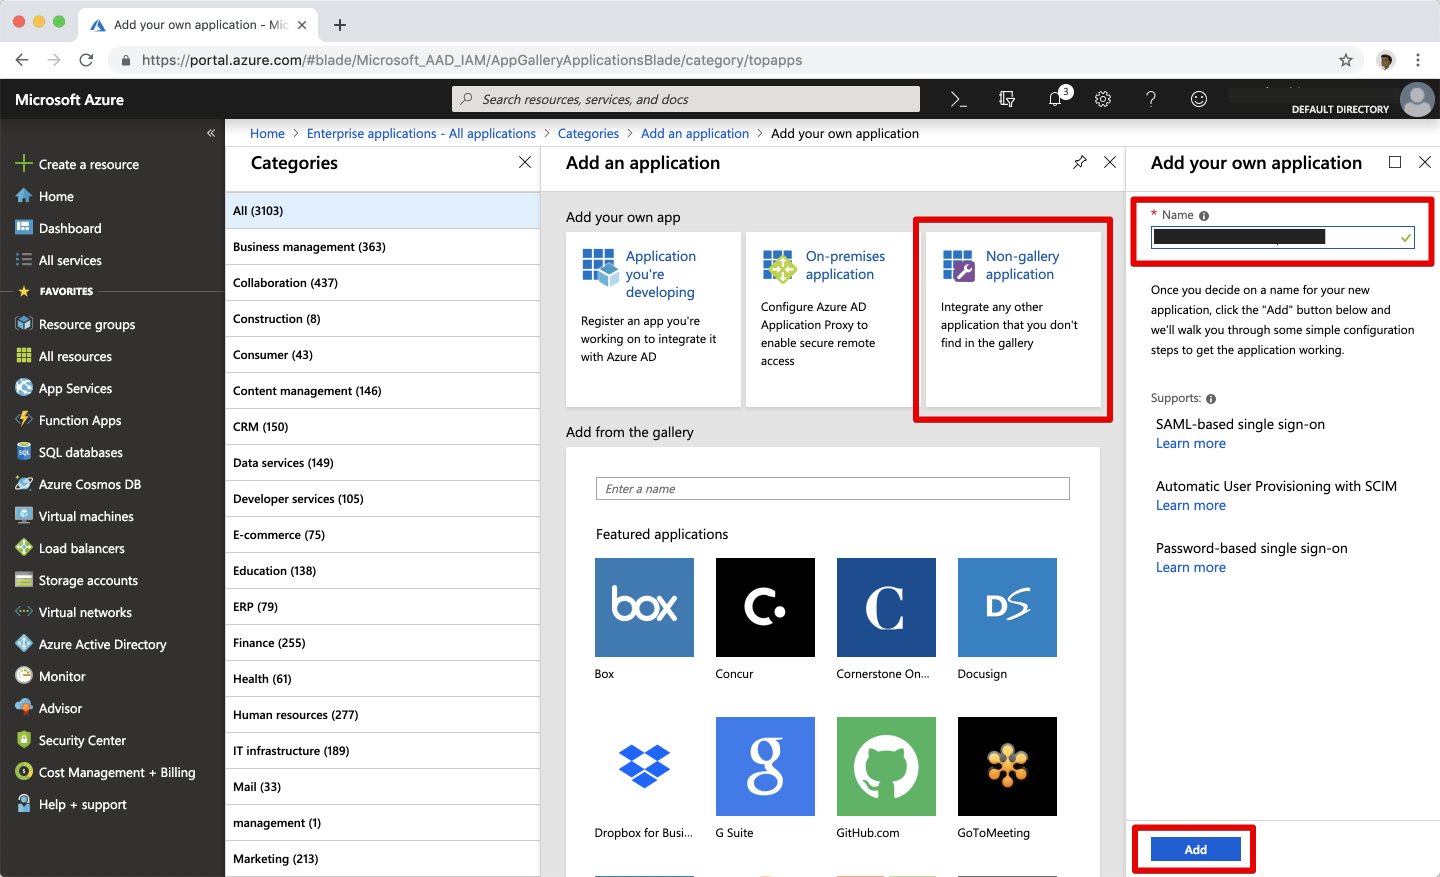
选择 Non-gallery application 磁贴,并在 Add your own application 面板中,输入 Ostorlab 作为应用程序名称,然后选择 Add。
-
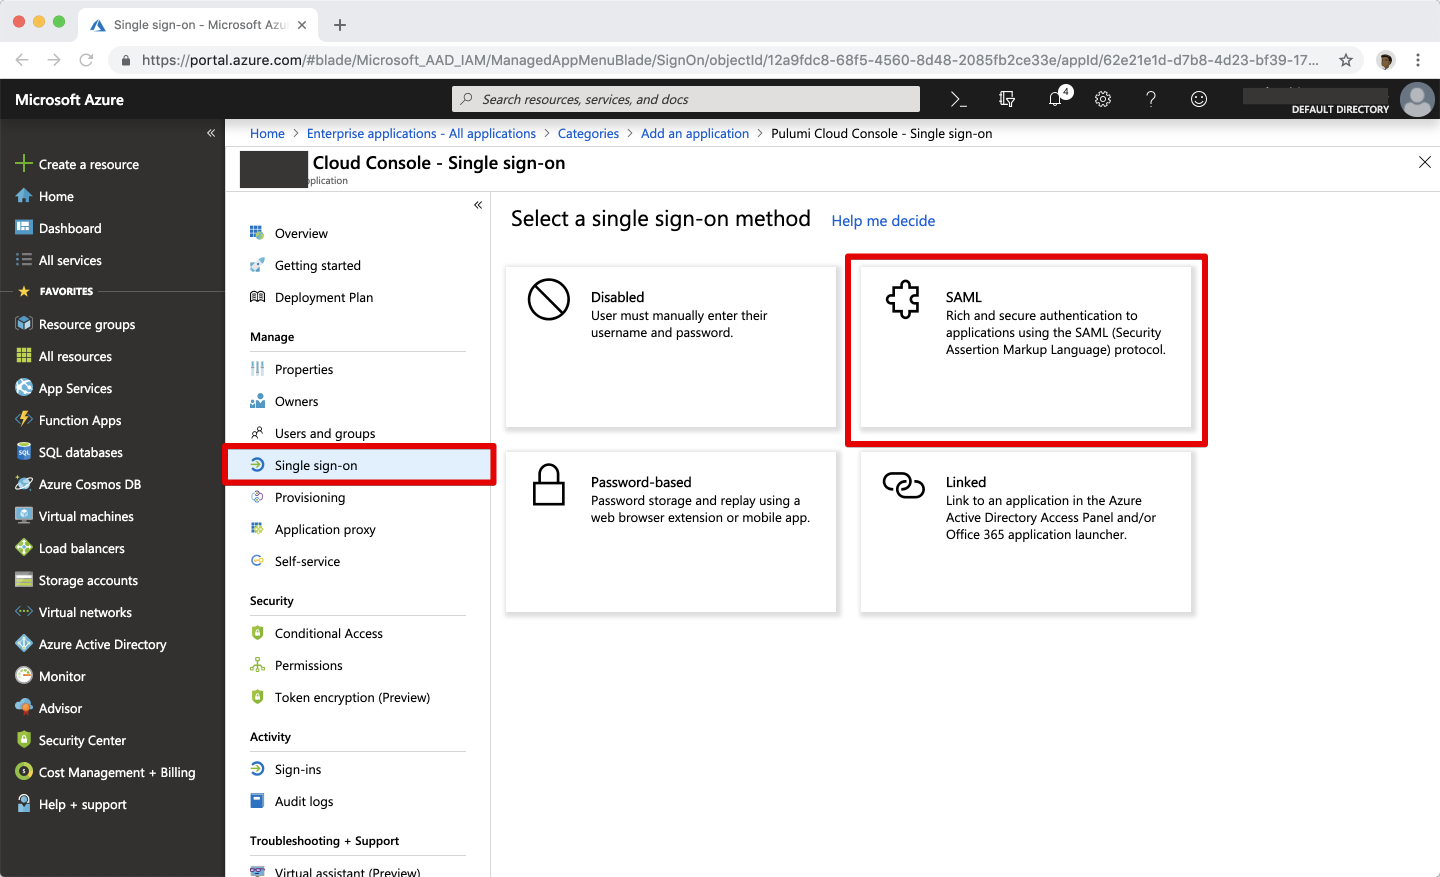
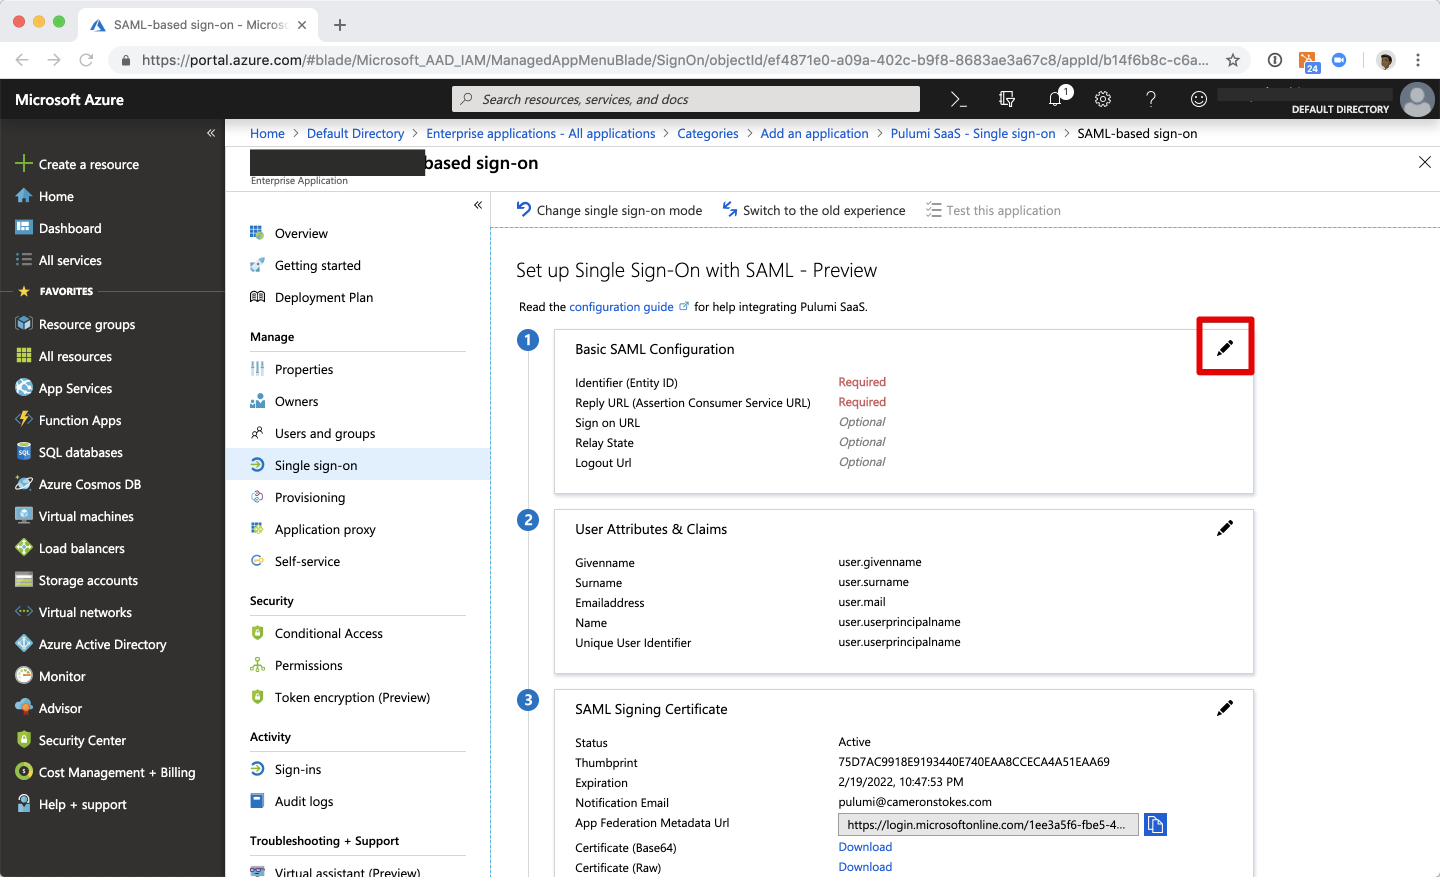
在新的 Ostorlab 应用程序中,导航到 Single sign-on 部分,并选择 SAML。
-
选择 Basic SAML Configuration 面板上的 Edit 图标。
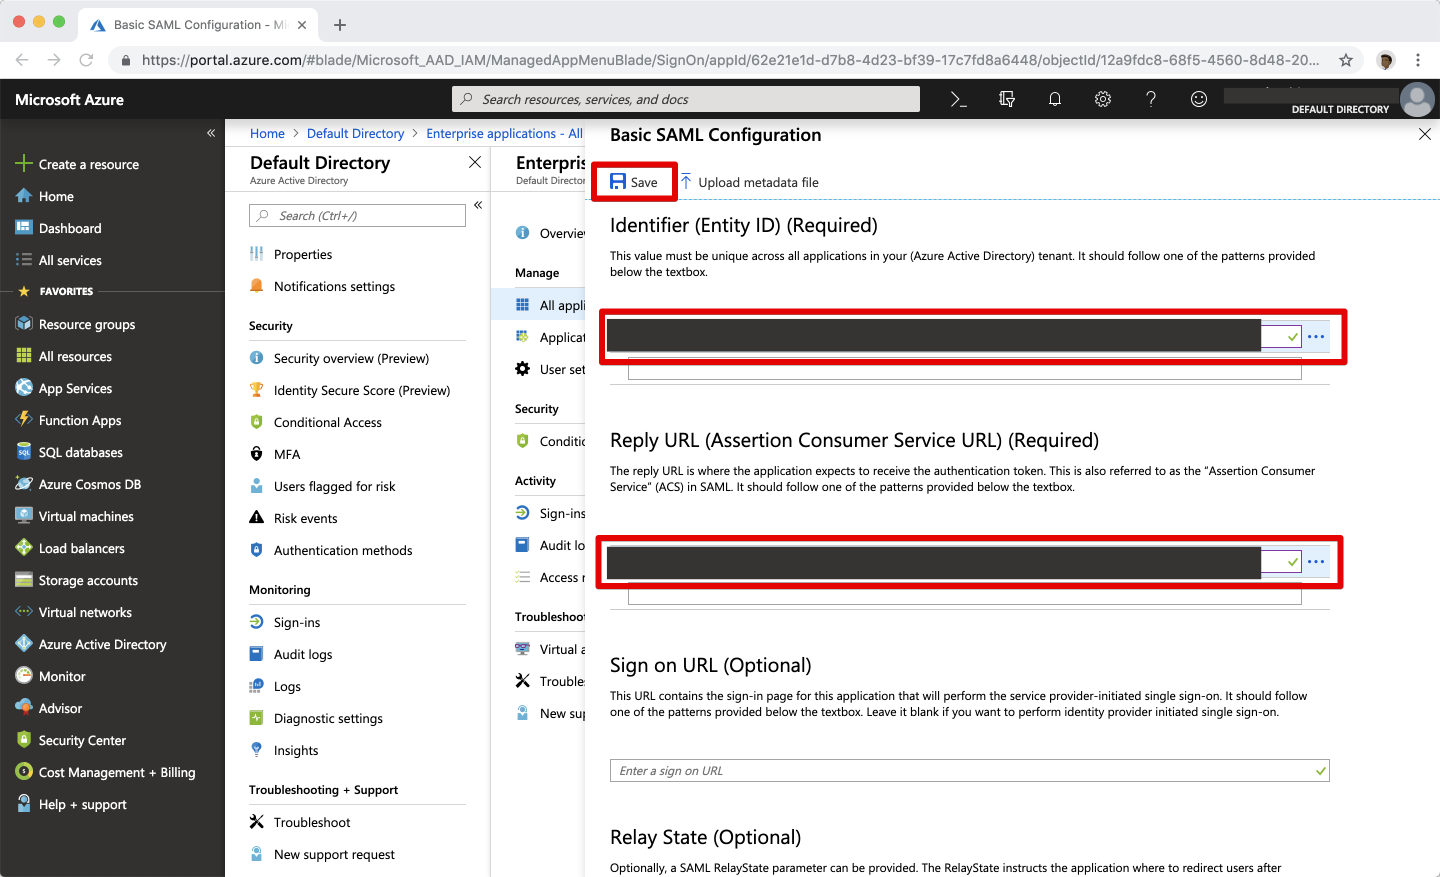
将 Ostorlab 配置输入到您的 Azure AD 应用程序中
您需要使用的值取决于您的 Ostorlab 组织前缀。请务必将
<os>替换为您实际的组织前缀。
| SAML 设置 | 值 |
|---|---|
| Identifier (Entity ID) | https://api.ostorlab.co/saml/metadata/ |
| Reply URL | https://api.ostorlab.co/saml/acs/?org=<organisation_prefix> |
| Relay State | 空 |
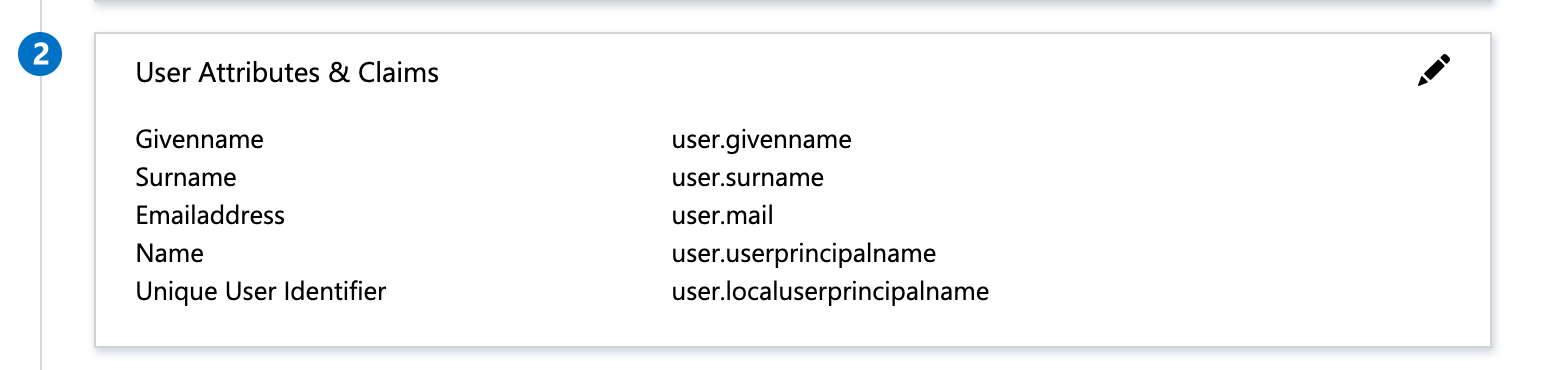
配置 Name identifier format
-
选择 User Attributes & Claims 面板上的 Edit 图标。
-
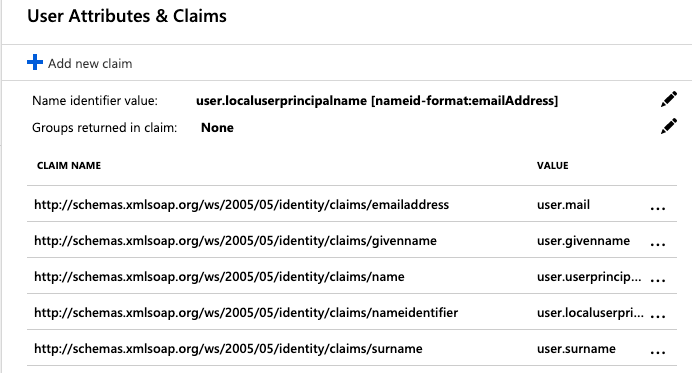
然后,选择 Name identifier value 旁边的 Edit 图标。
-
在 Manage User Claims 面板中,展开 Choose name identifier format 并选择 Email address。

-
最后,选择 Manage User Claims 面板底部的 Save。
重要提示: 一旦您的用户开始使用 Ostorlab,请勿更改 Name ID Format 的值——甚至不要在 Email 或 Persistent 之间切换其值。
注意:请务必分配用户和组以使用您的新 Ostorlab SAML 应用程序。这是您控制对 Ostorlab 组织的成员访问权限的方式。有关更多信息,请参阅 Azure AD 文档。
现在已经完成了 SAML SSO 的 Azure AD 端配置,您将需要配置 Ostorlab 以接收来自您的 Azure AD 的 SAML SSO 请求。
配置您的 Ostorlab 组织
要配置您的 Ostorlab 组织以接受来自 Azure AD 的 SAML SSO 请求,您将需要提供来自 Azure Active Directory 的 Identity Provider Entity ID 和 Sign-On Service URL。
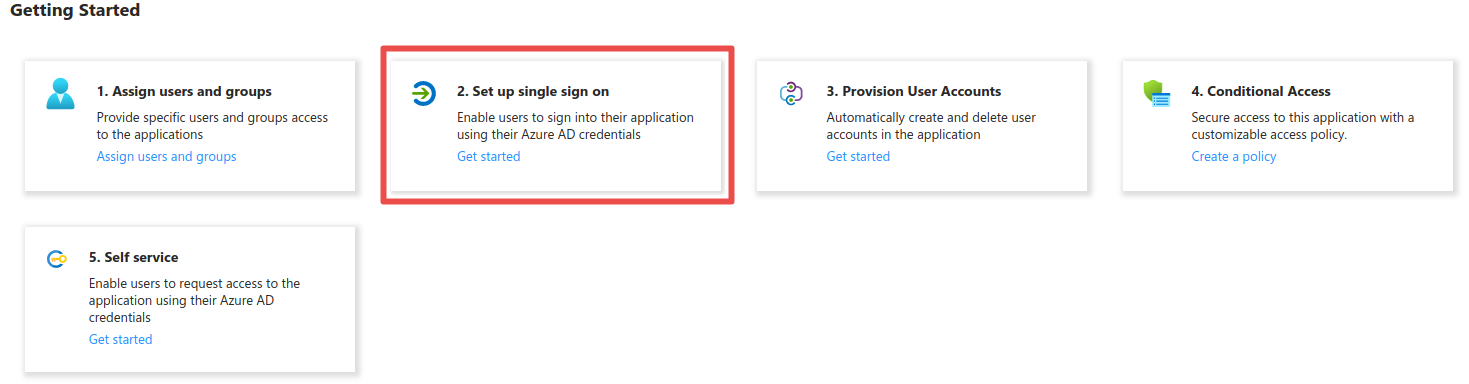
为此,请转到 Azure 门户 (Azure Portal),选择 Enterprise applications,然后单击在上述步骤中创建的应用程序。单击 Set up single sign on 下的 Get Started。
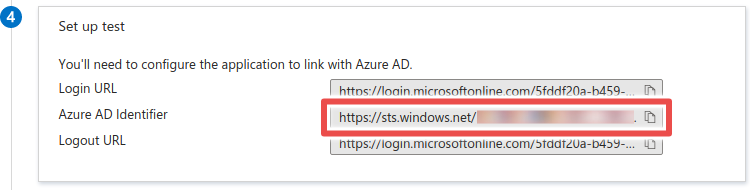
- 向下滚动到 Set up test 并复制 Azure AD Identifier。这是 Identity Provider Entity ID。
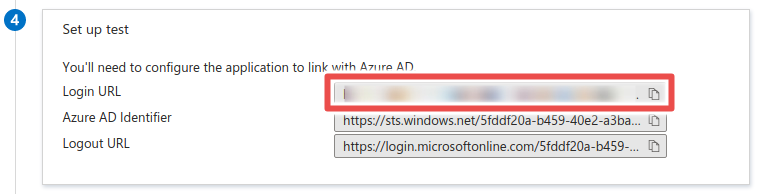
- 复制 Login URL。这是 Sign-On Service URL。
在 Ostorlab 上添加配置
-
转到 SAML 集成页面 https://report.ostorlab.co/integrations/saml 并切换到配置选项卡。
-
输入您在前面的步骤中复制的 Identity Provider Entity ID 和 Sign-On Service URL。
- 选择
urn:oasis:names:tc:SAML:2.0:bindings:HTTP-POST作为 Sign-On Service Binding。 - 将您的证书粘贴到 X.509 Certificate 字段中。
- 单击 Save/Update。
使用 Azure AD 登录 Ostorlab
创建 Azure AD 应用程序并将其配置数据传递给 Ostorlab 后,您现在可以使用 SAML SSO 凭据登录 Ostorlab。
导航到 https://report.ostorlab.co/account/login,单击 LOGIN VIA SSO 并输入您的 Ostorlab 组织前缀。如果配置正确,系统会提示您登录 Azure AD 实例,然后立即重定向回 Ostorlab。