Ostorlab Integration with Azure DevOps
Overview
Welcome to the comprehensive guide on integrating Ostorlab with Azure DevOps, enhancing security and privacy testing in your mobile application pipeline builds. Follow these step-by-step instructions to seamlessly incorporate Ostorlab into your development workflow.
Video Demonstration
Watch this brief video for a visual walkthrough of the integration process.
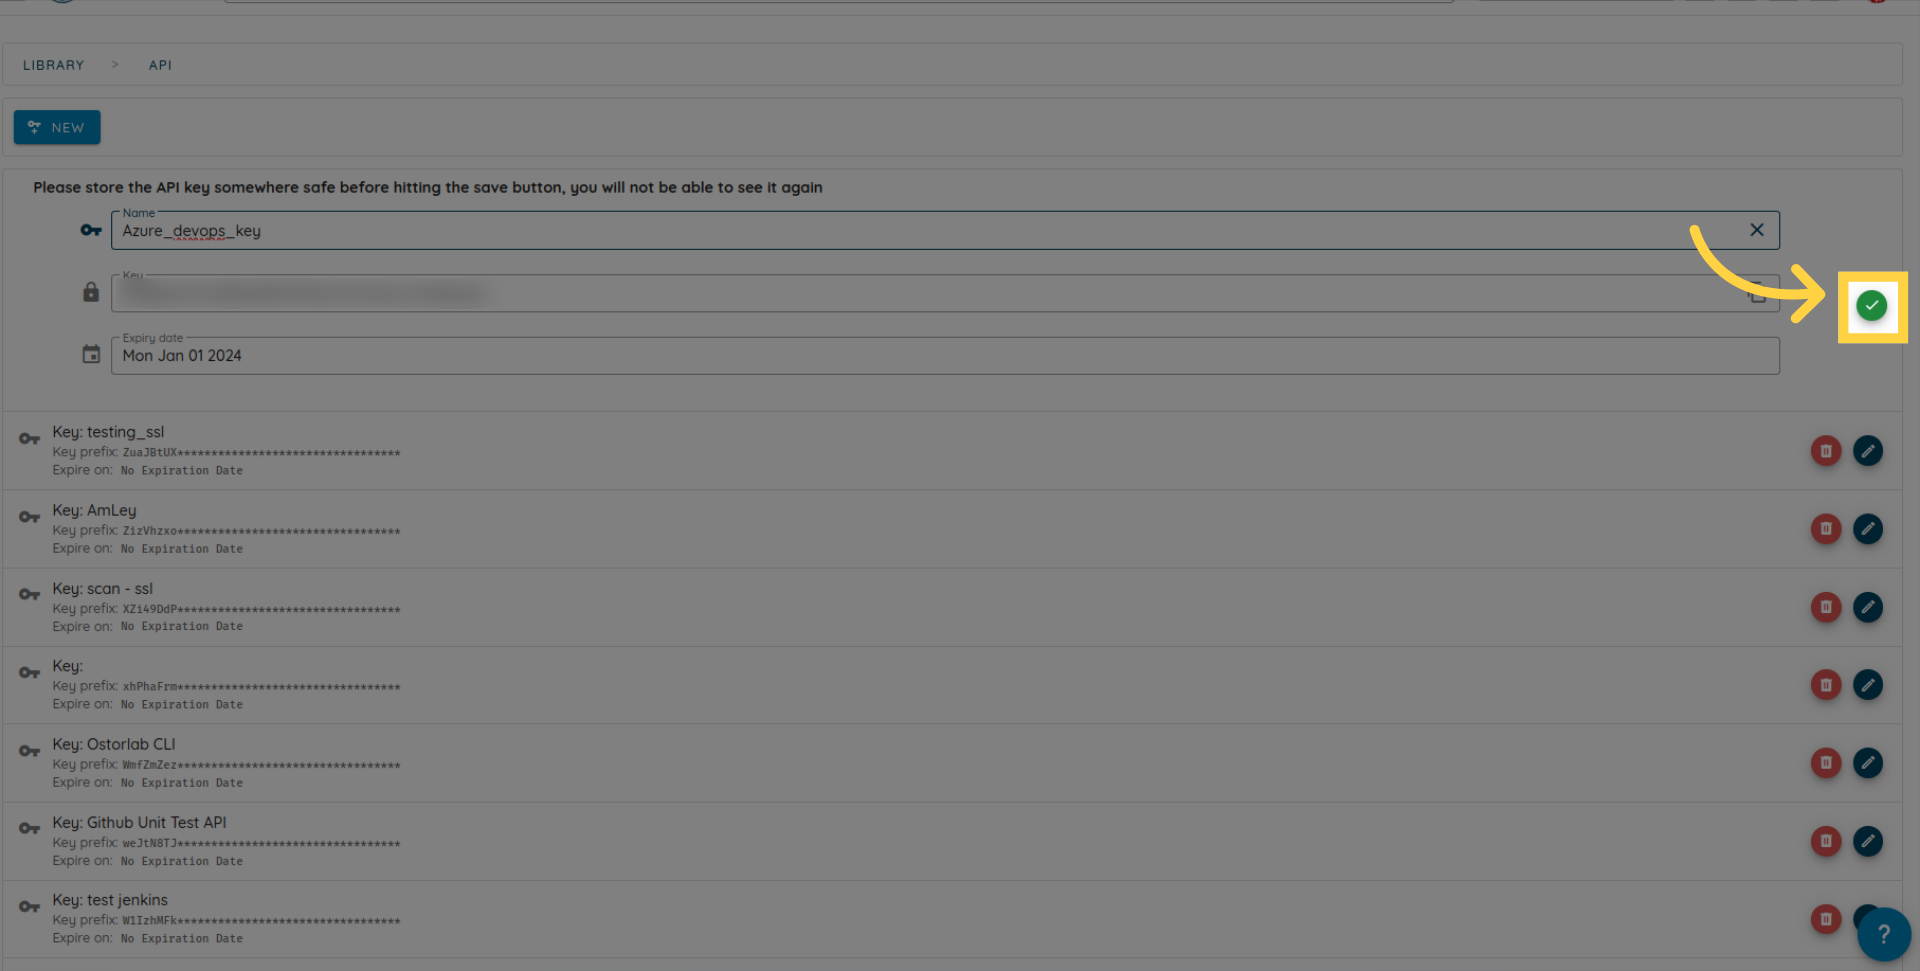
API Key Generation
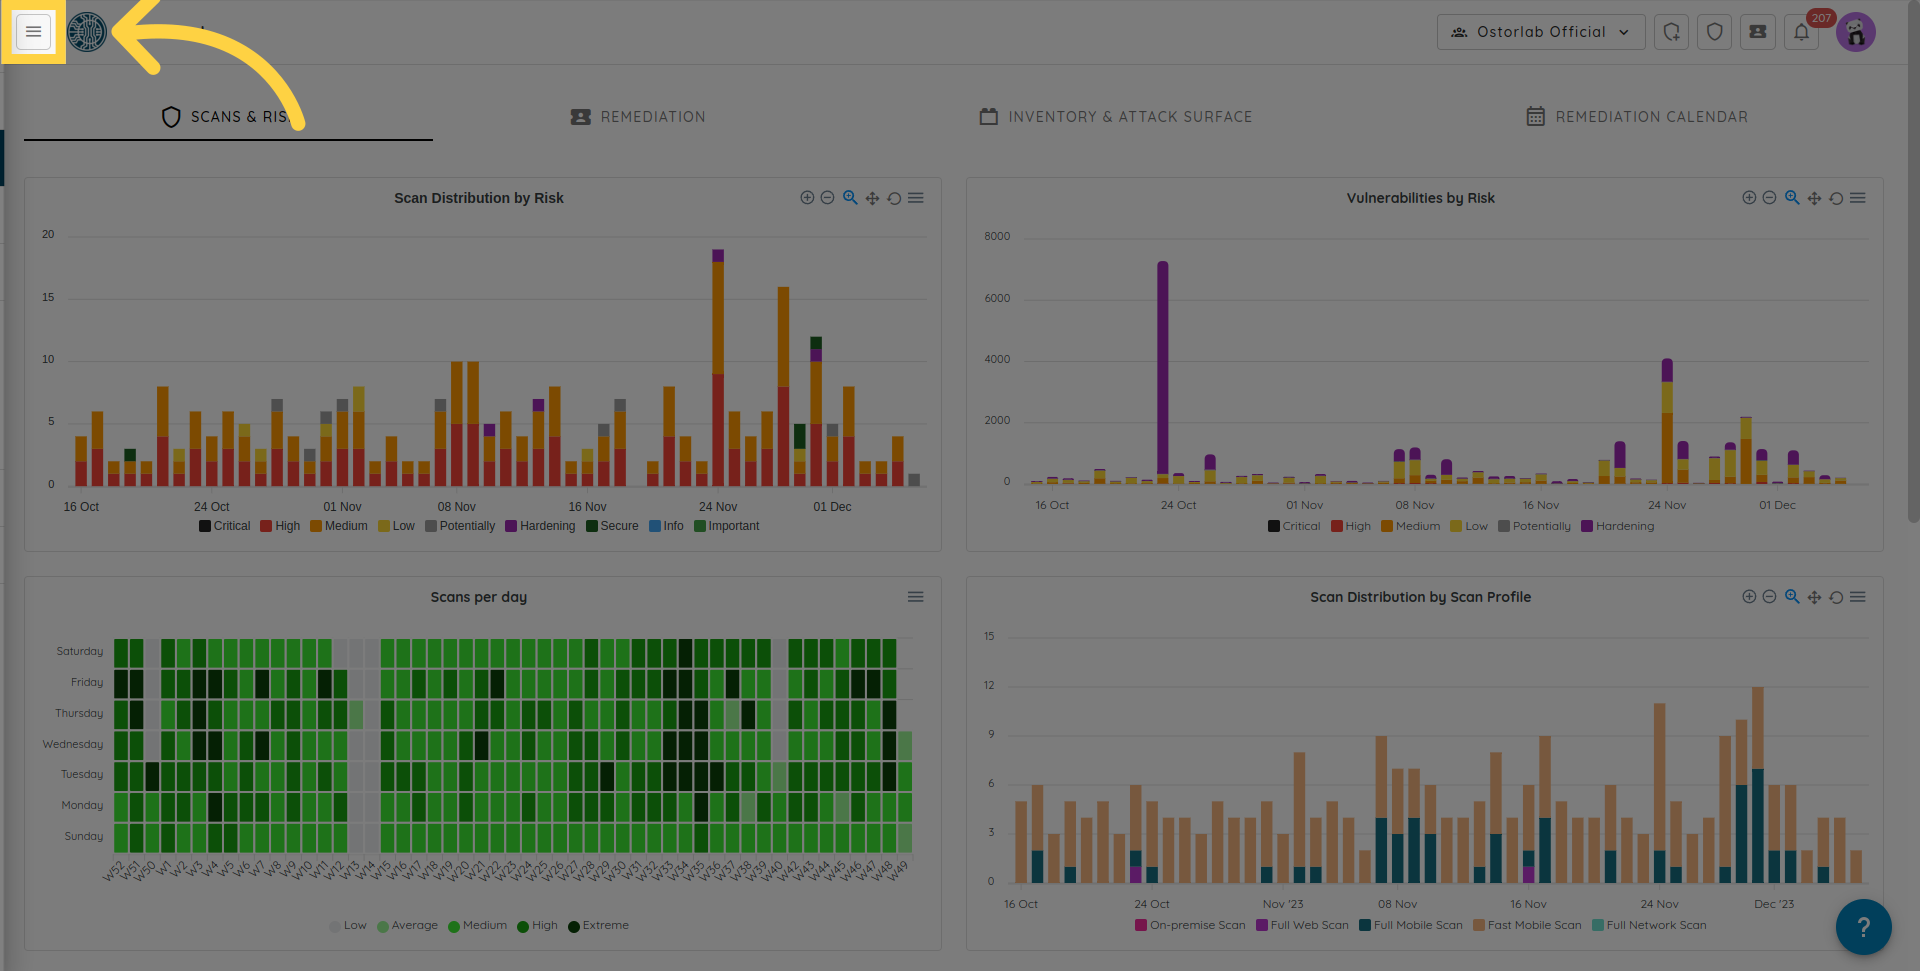
To begin, generate a new API key in your organization dashboard. Follow these steps:
Click the menu button.
Expand the "Library" section.
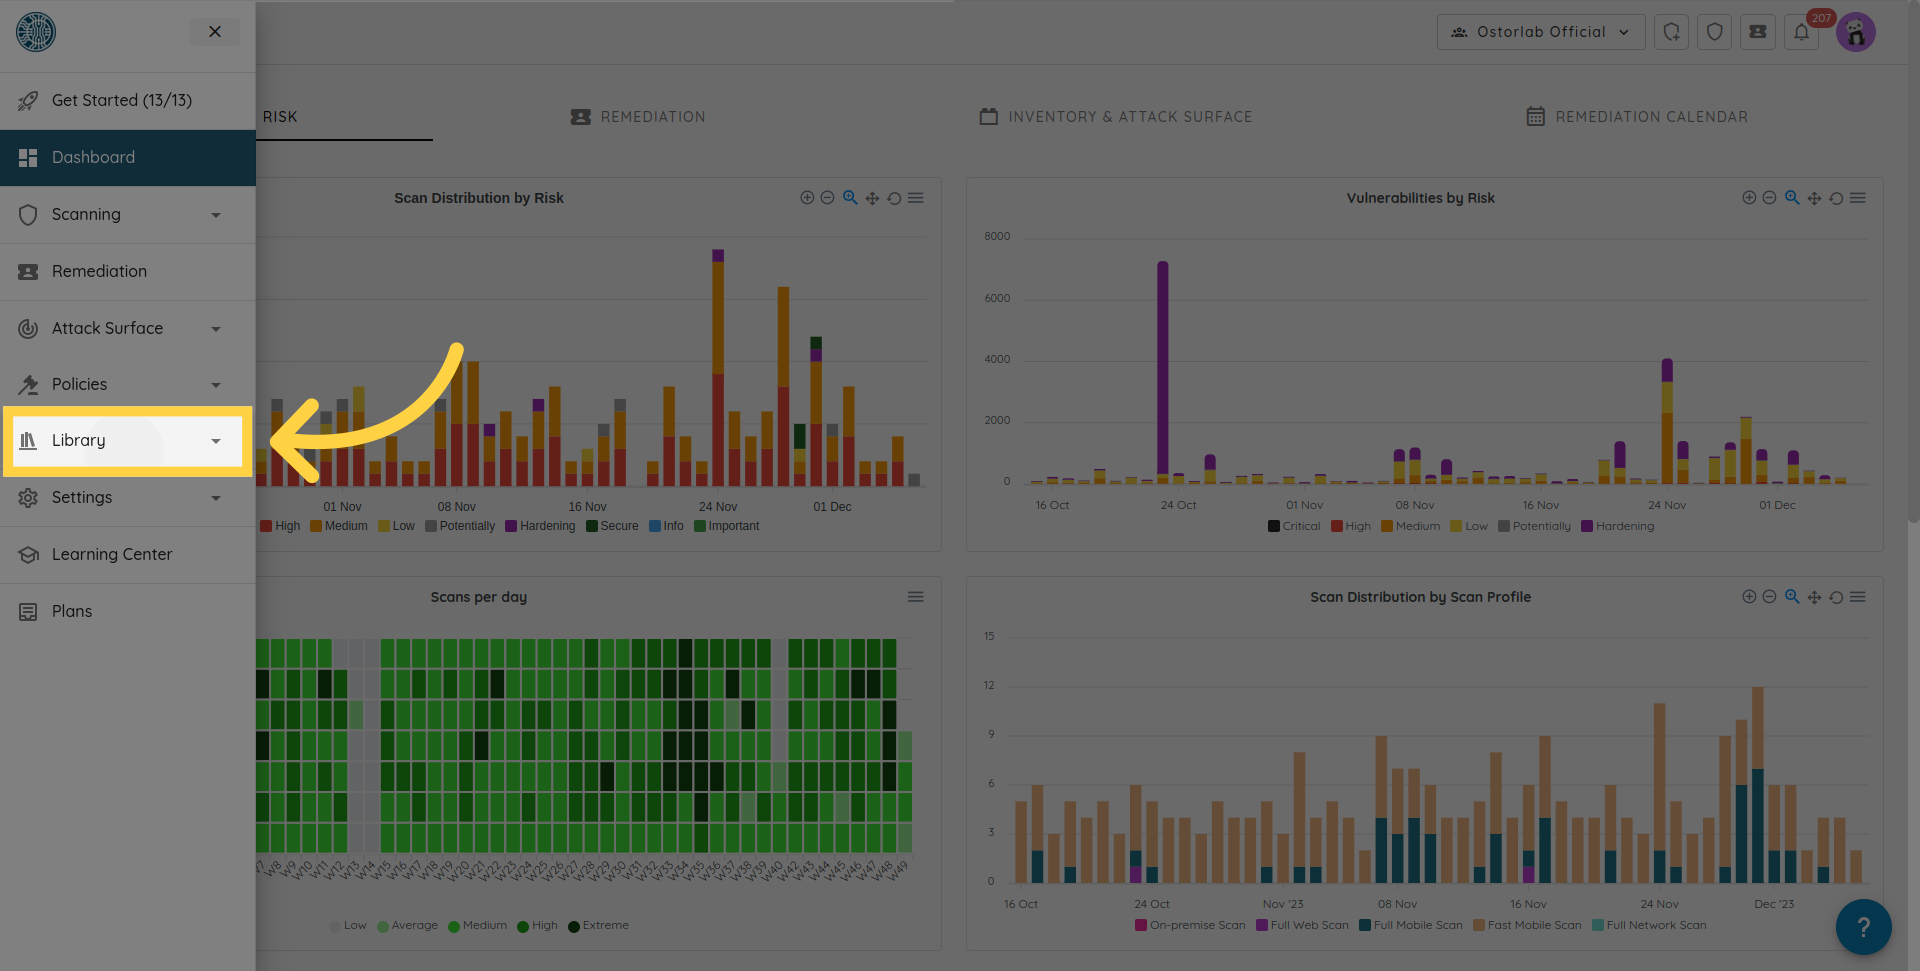
Choose "API Keys".

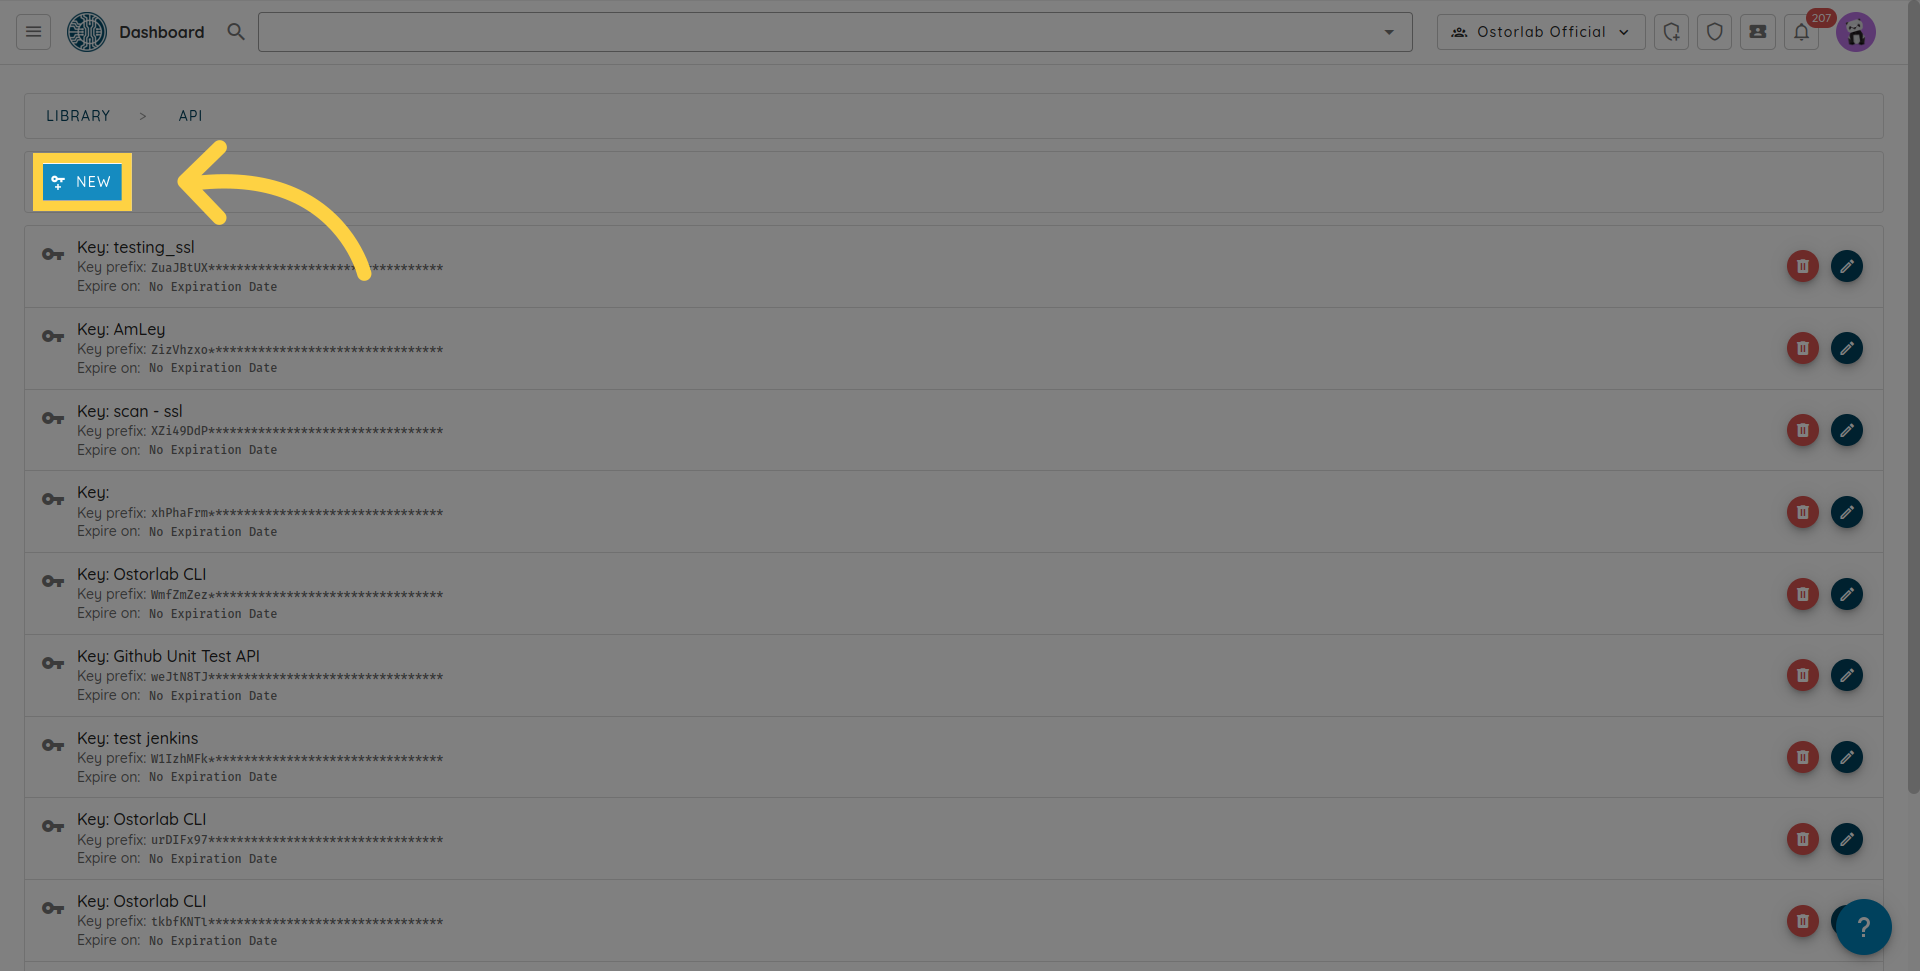
Click "New".
Copy the API key. Optionally, add a name and an expiry date.
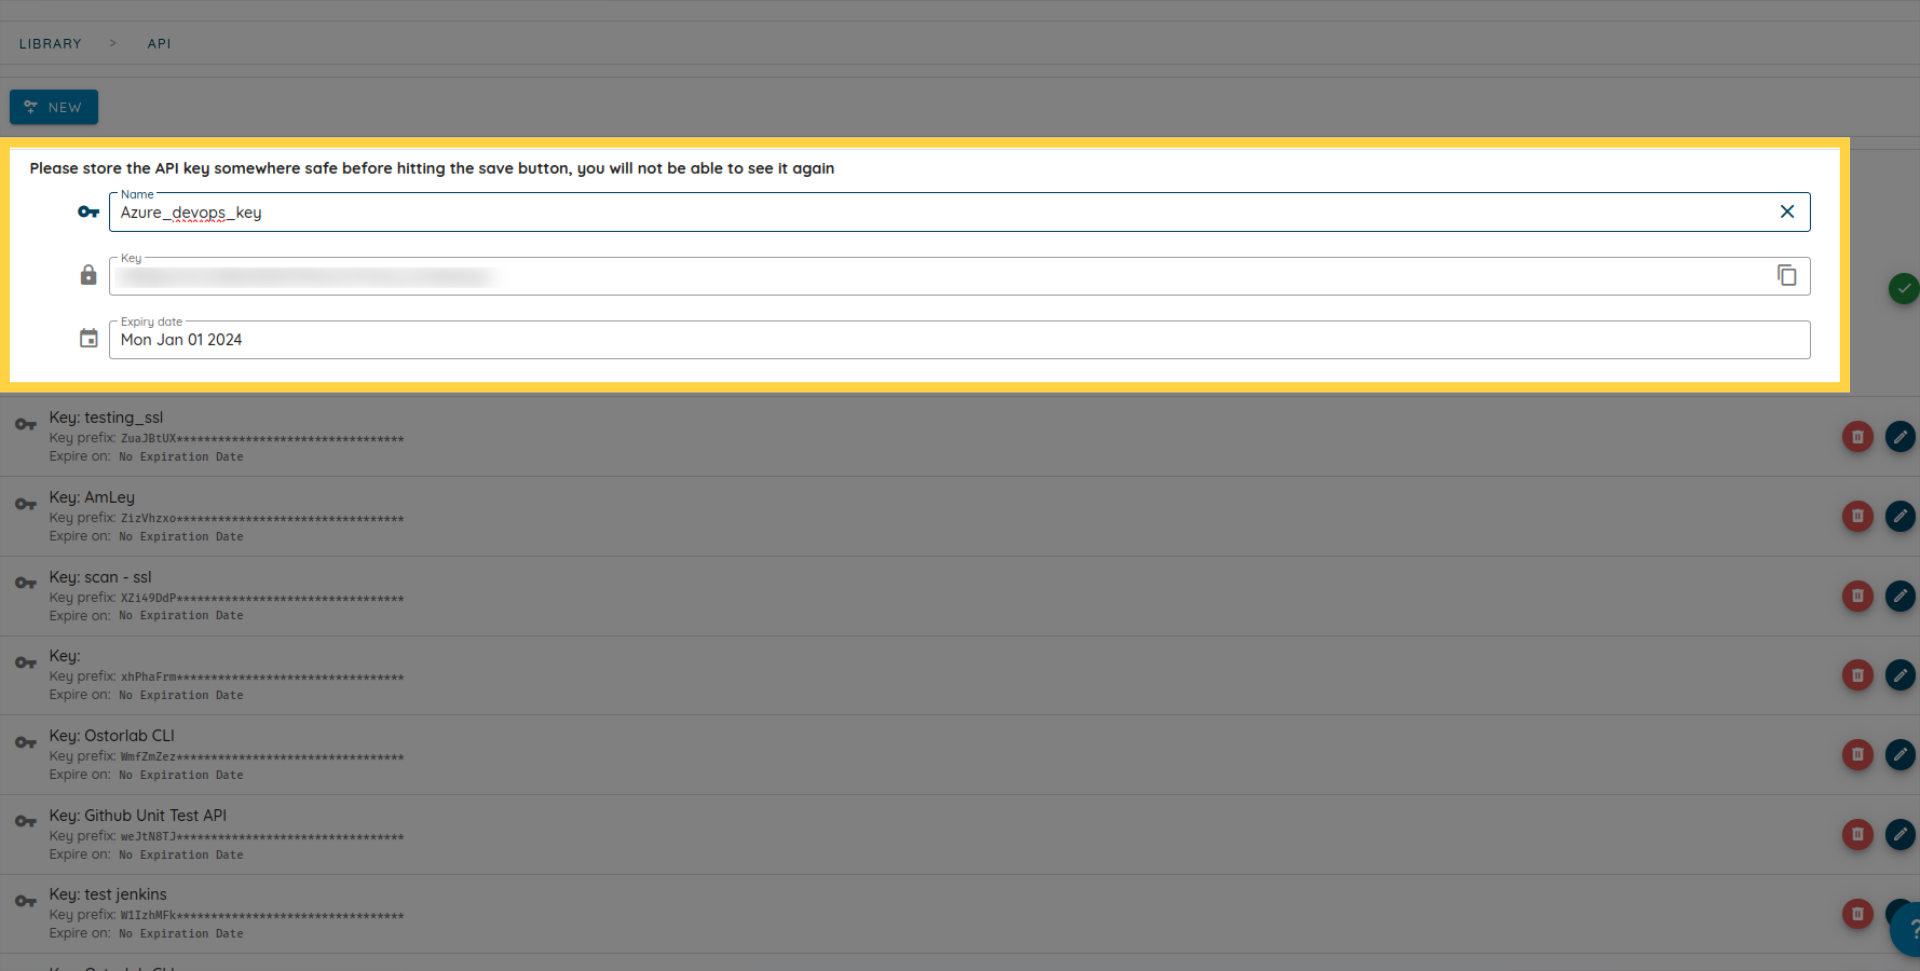
Save the key.
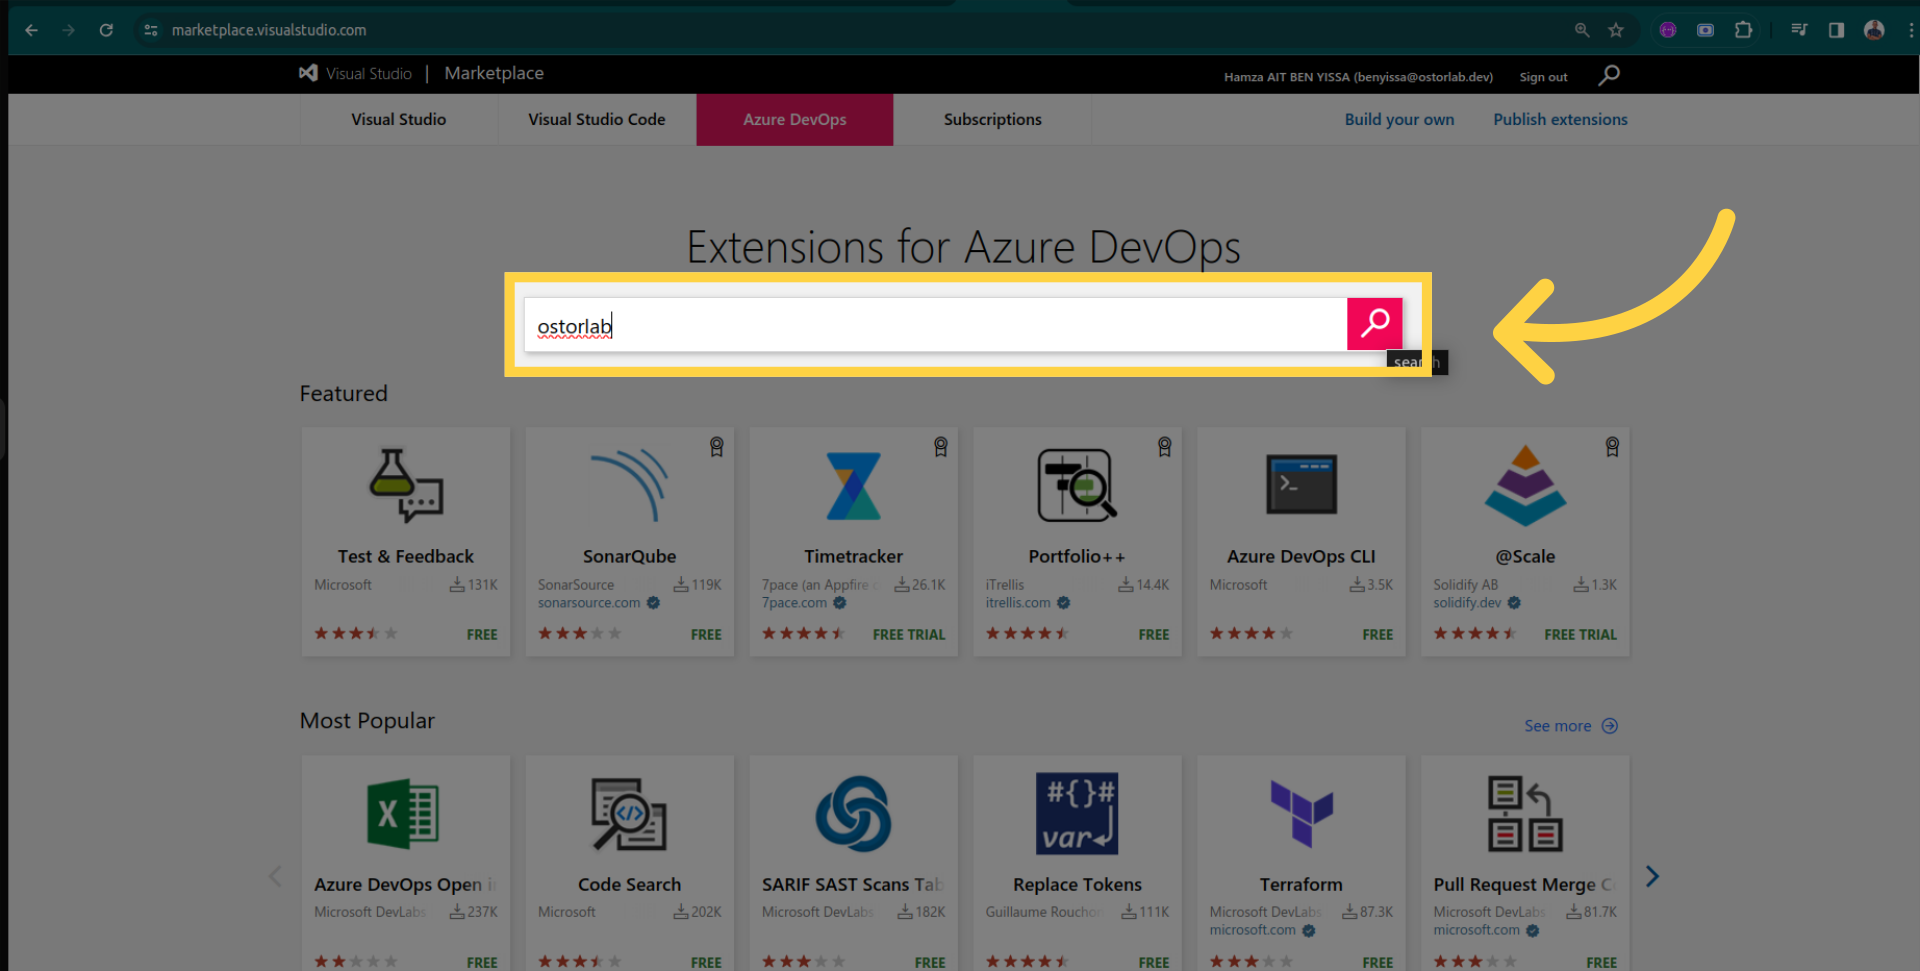
Extension Installation
Now, let's install the Ostorlab extension from the Azure DevOps Marketplace.
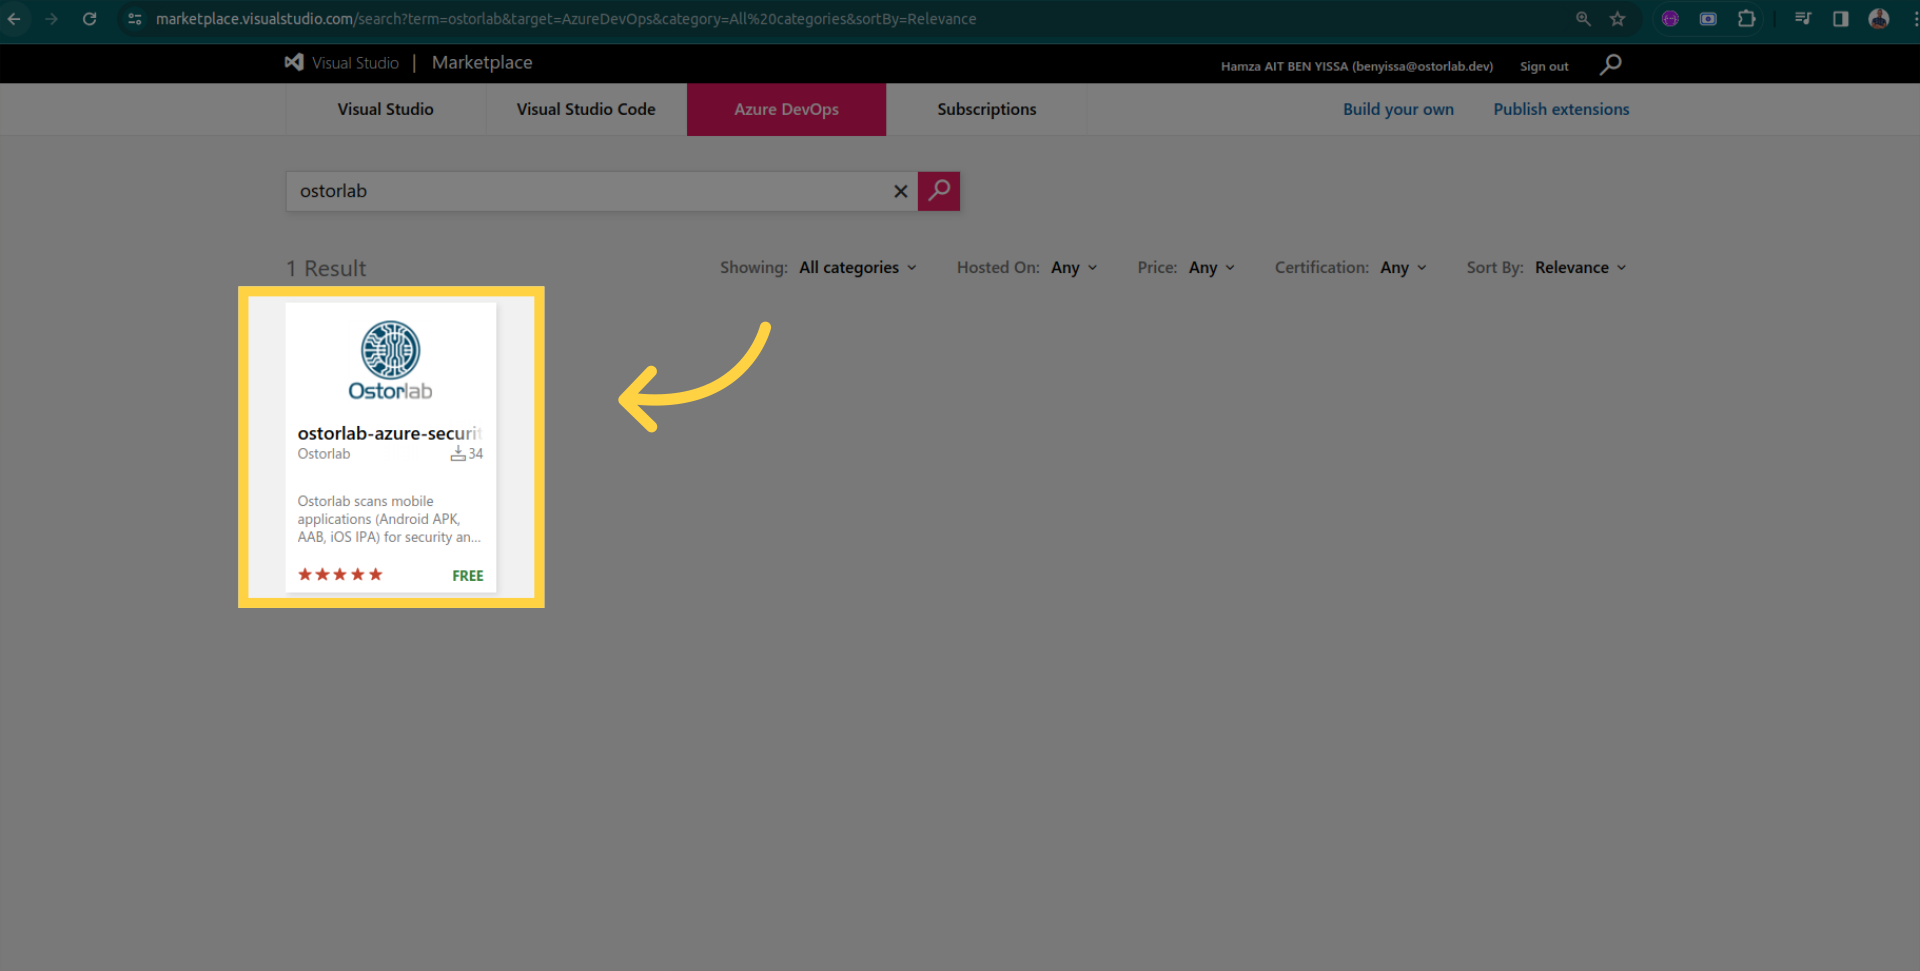
Search for "Ostorlab" in the Marketplace.
Open the extension page.
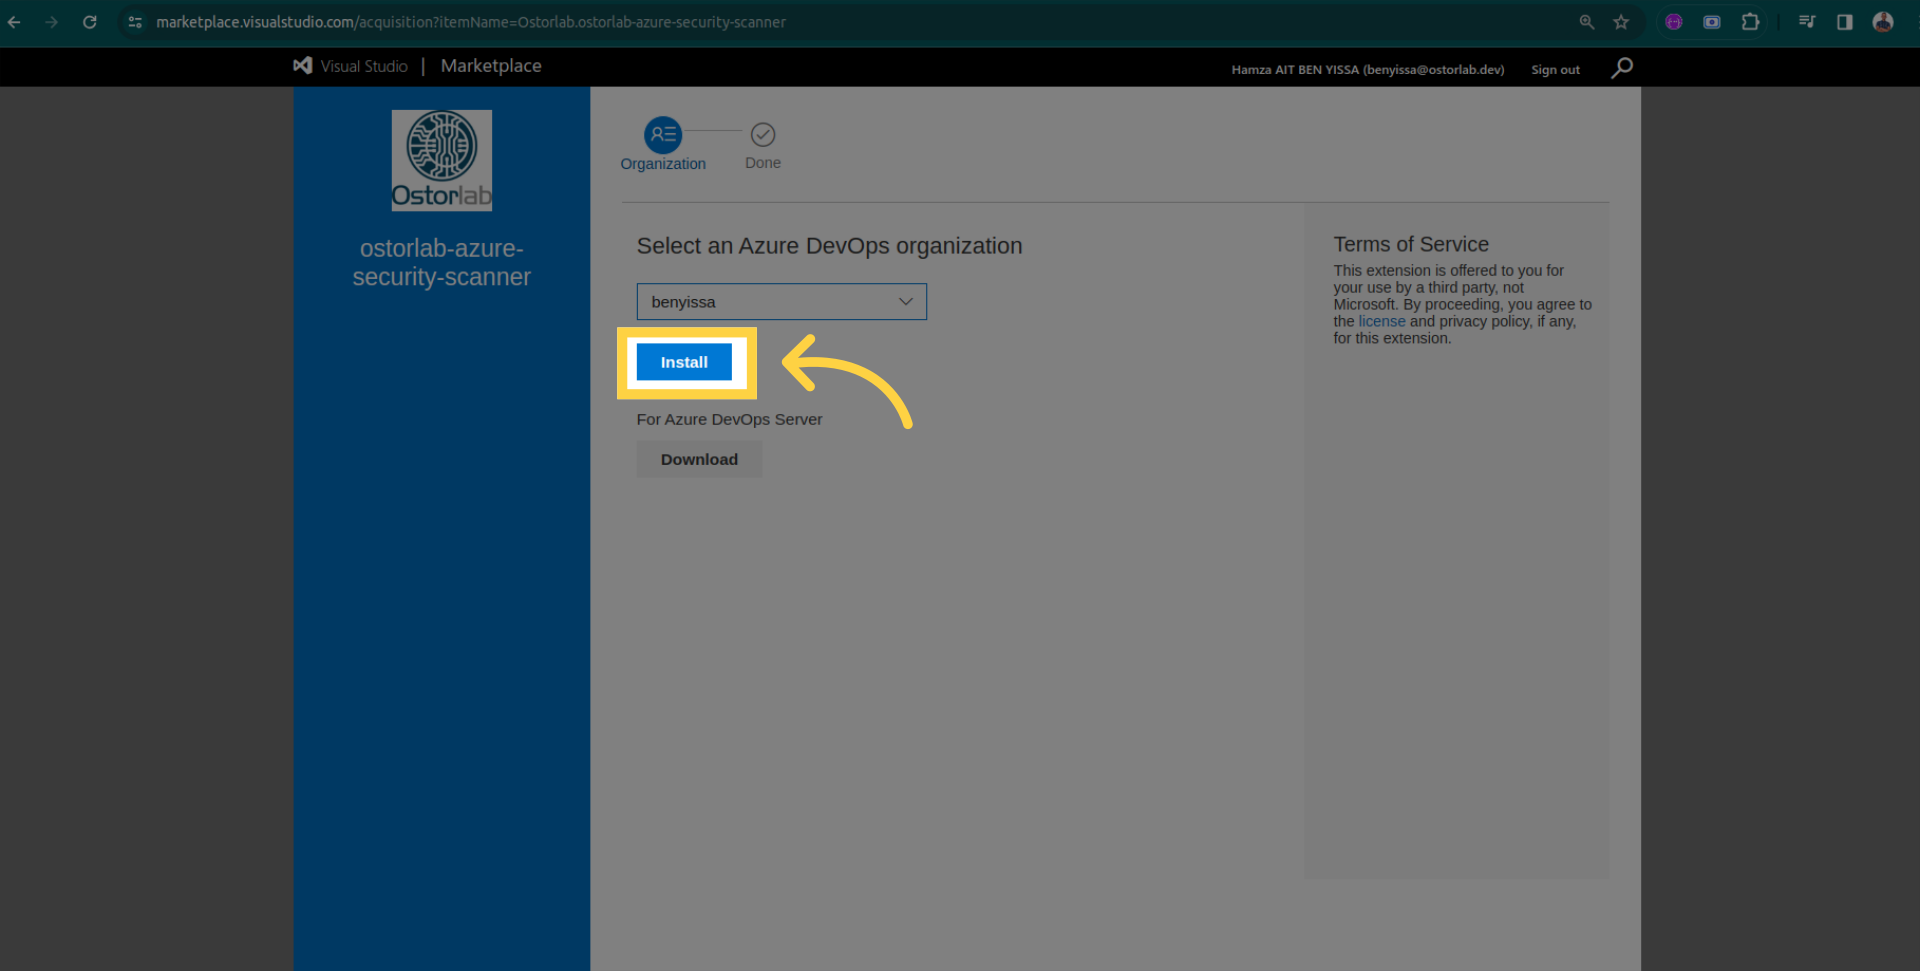
Click "Get it free".
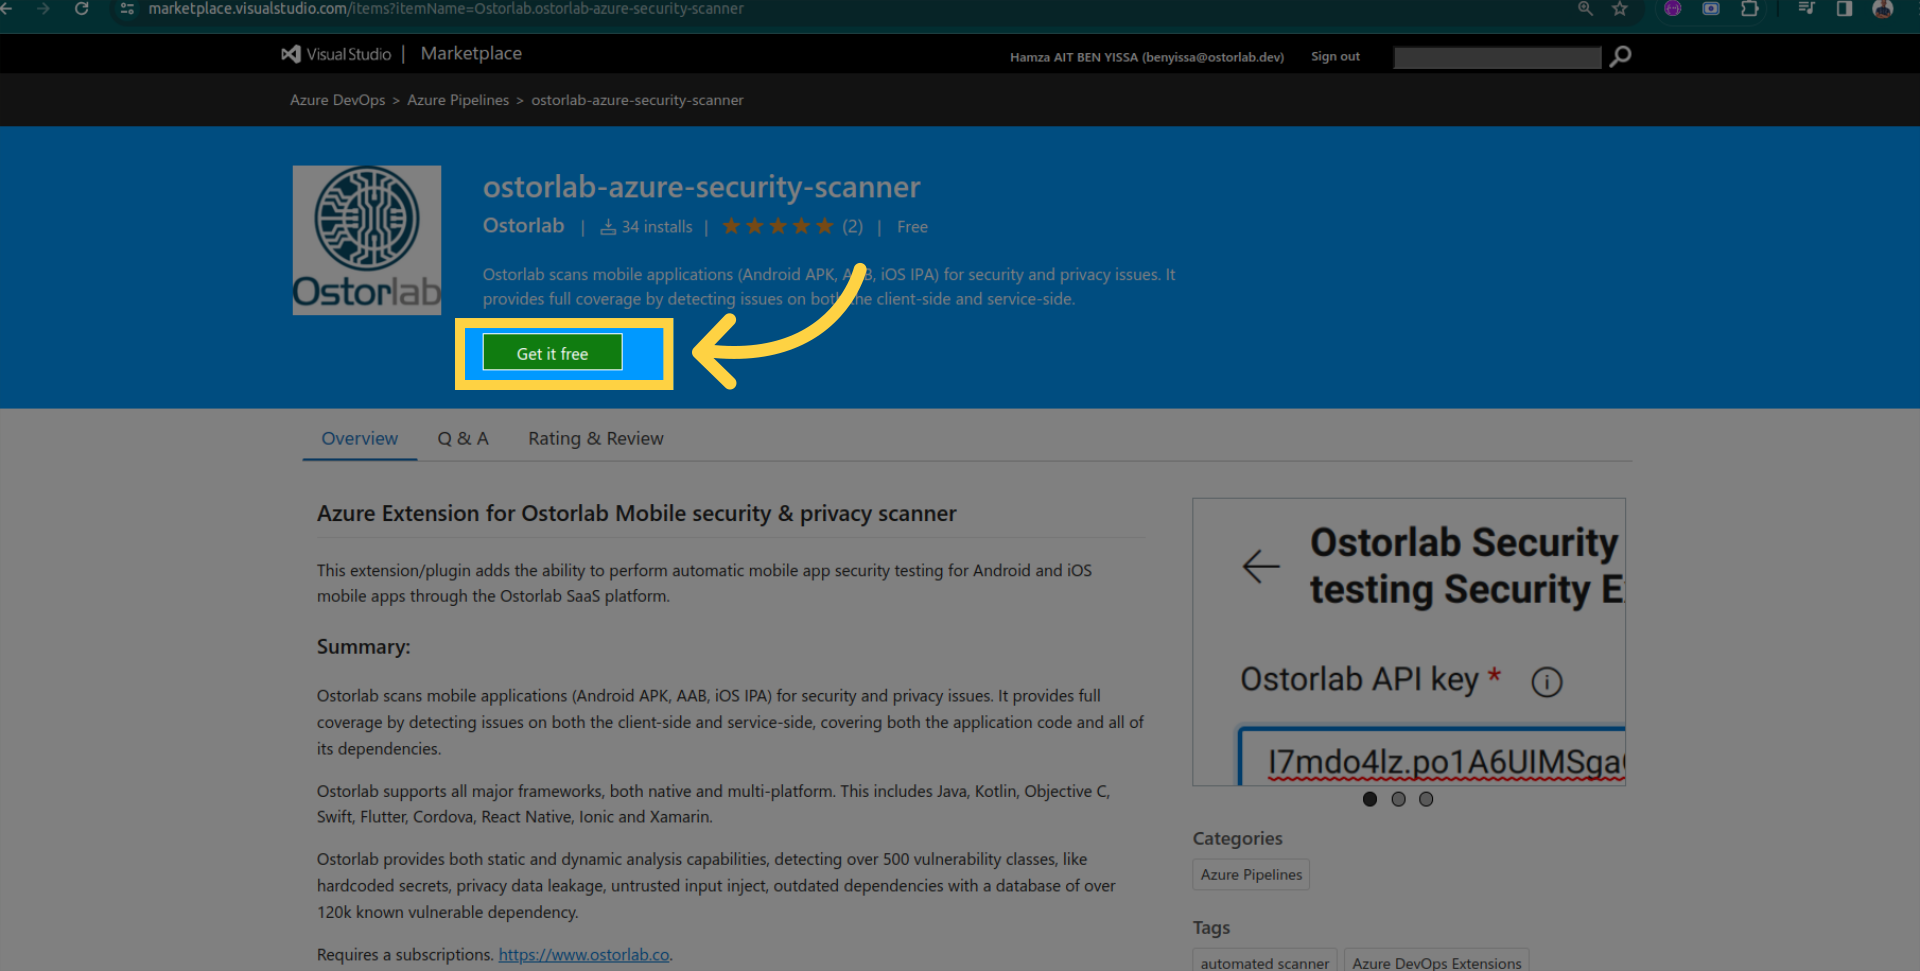
Install the extension.
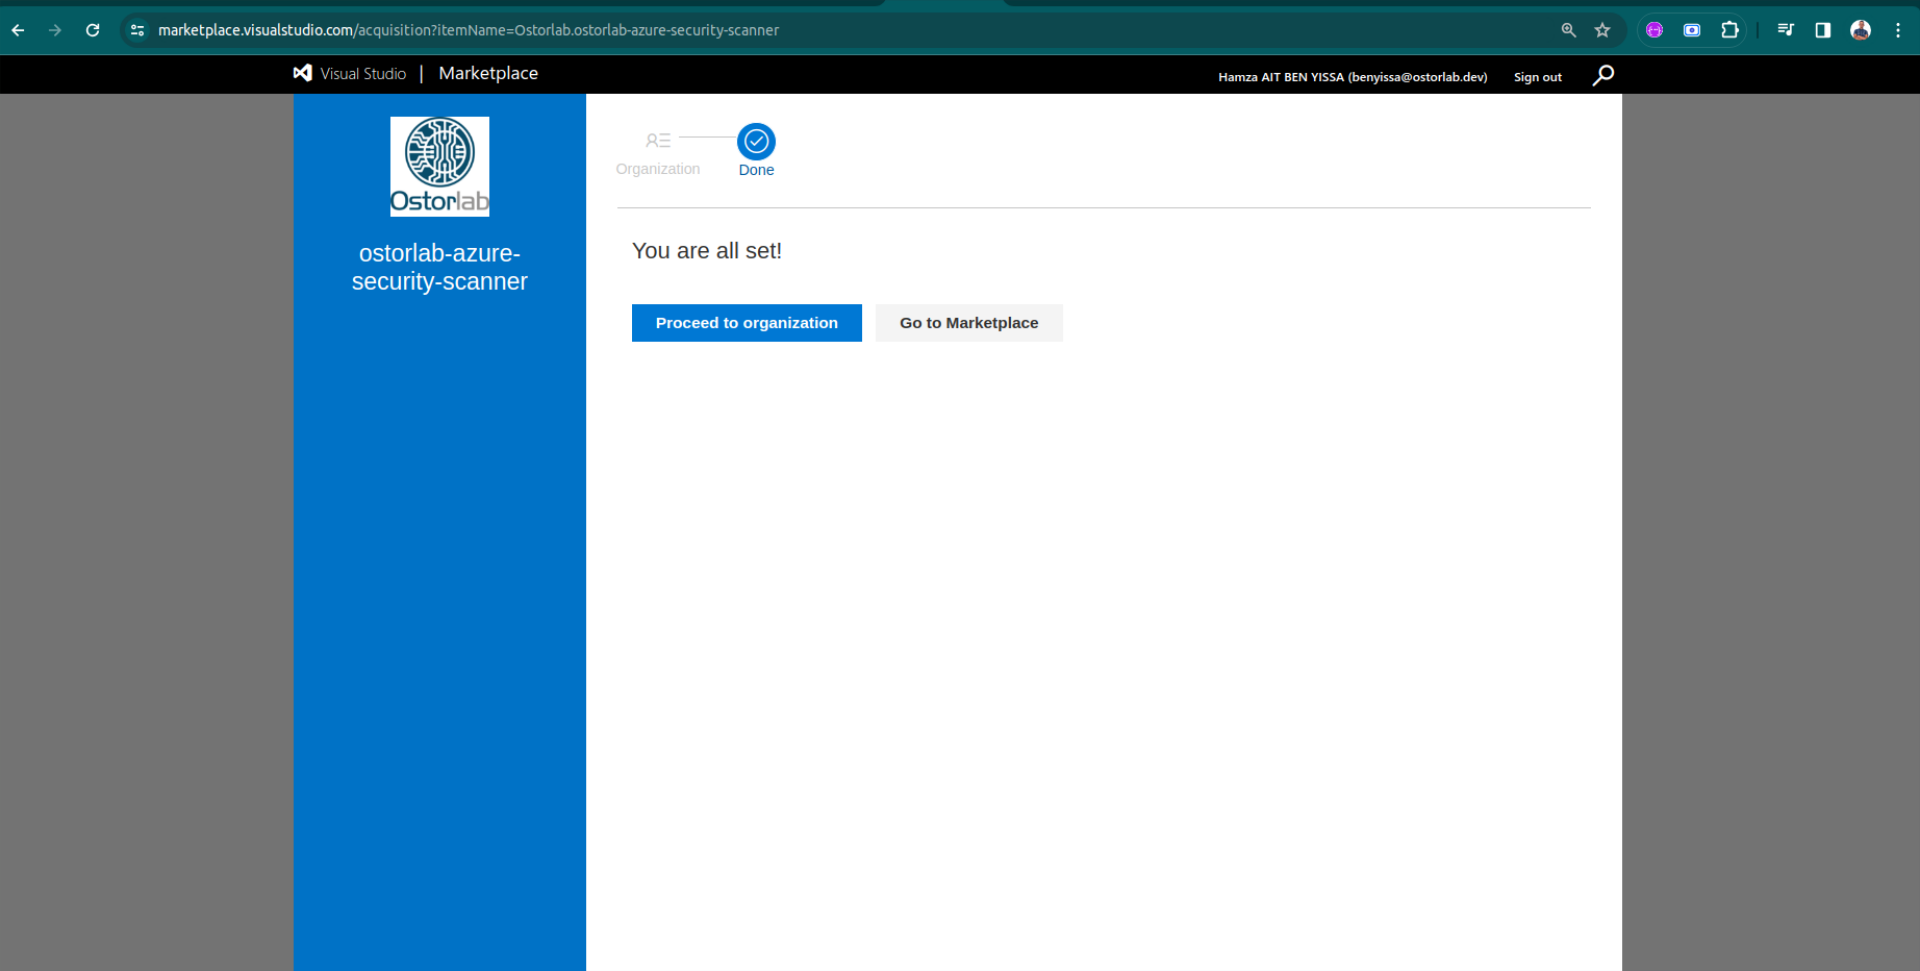
Confirmation of successful installation.
Pipeline Configuration
Proceed with the configuration of your Azure DevOps pipeline.
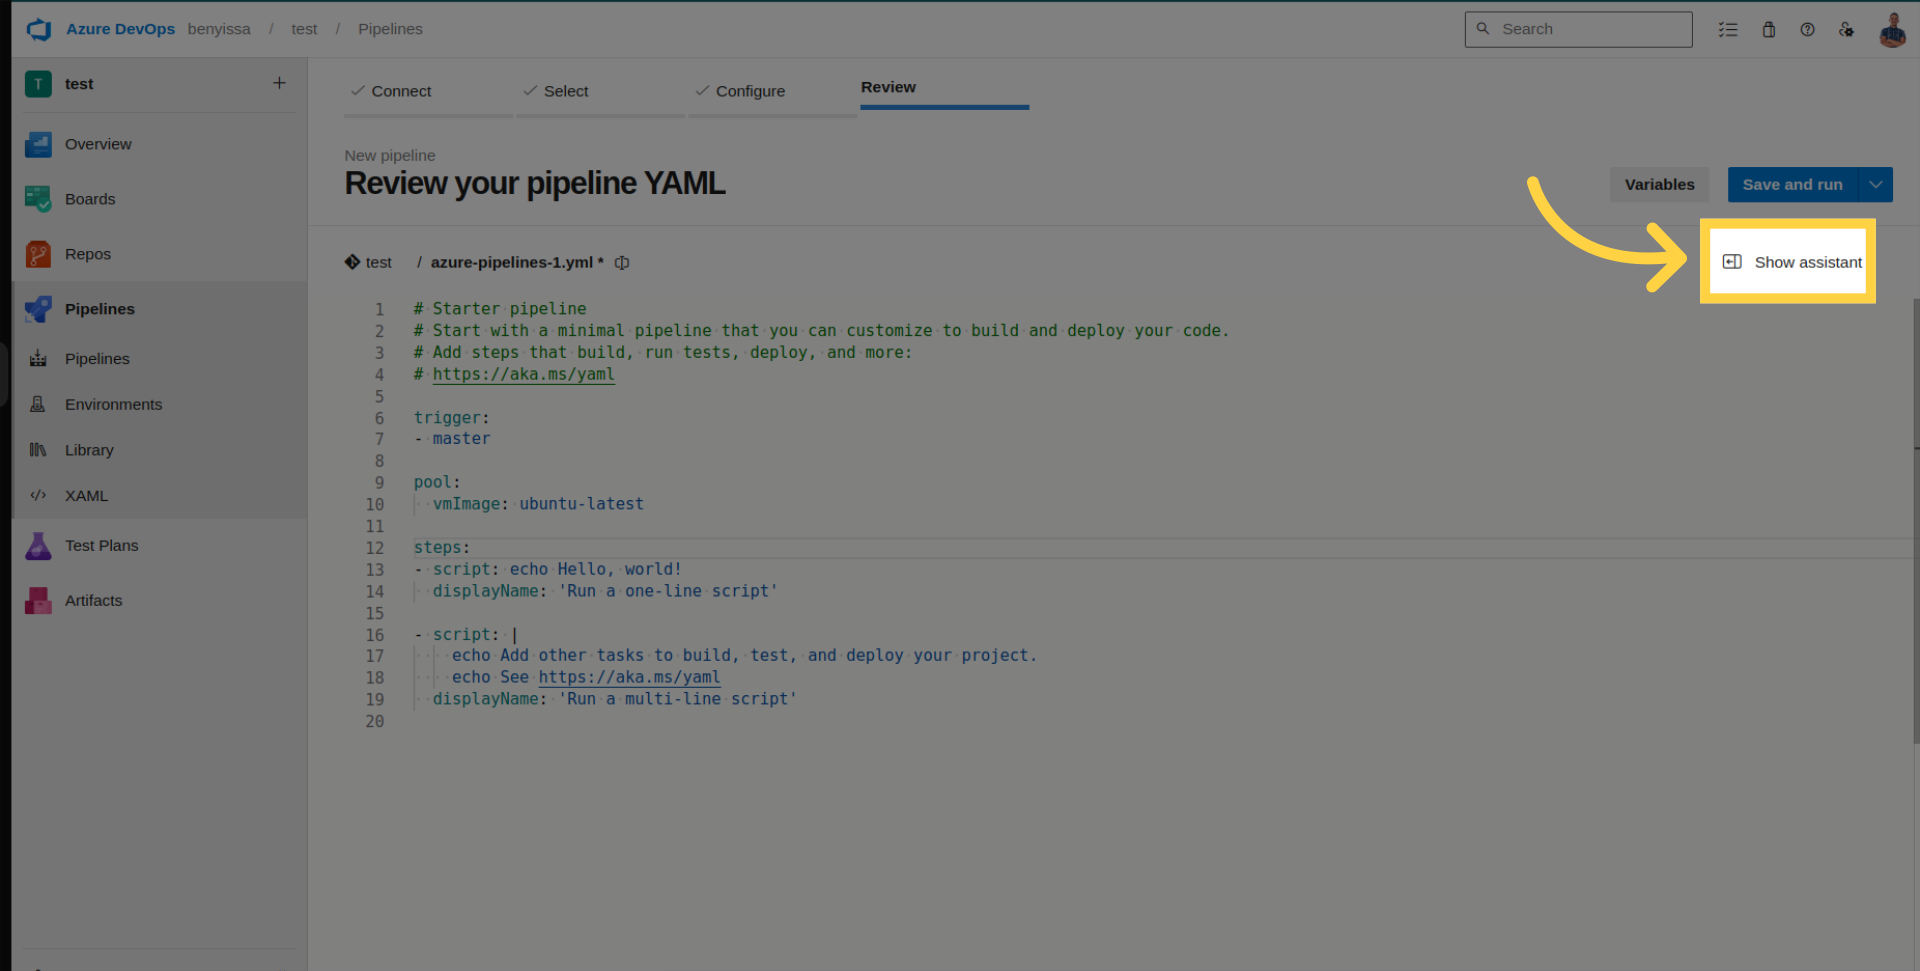
Open your pipeline and click on "Show Assistant".
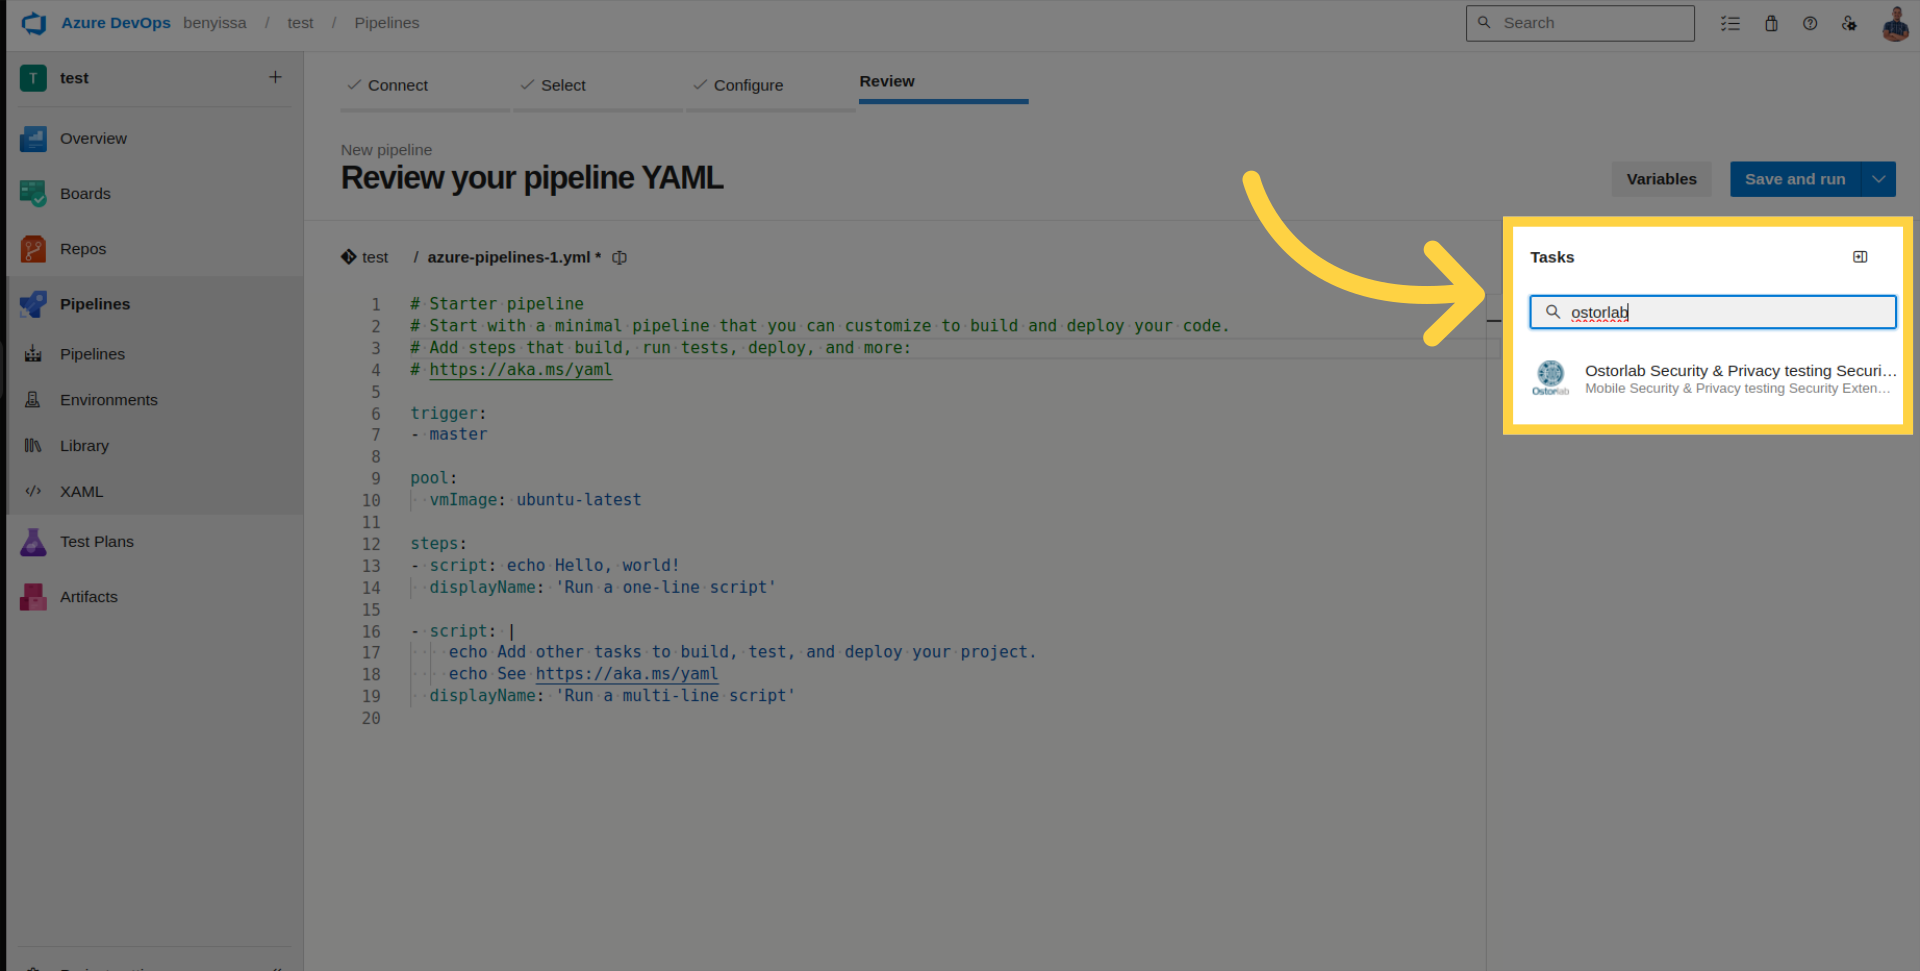
Search for the Ostorlab extension.
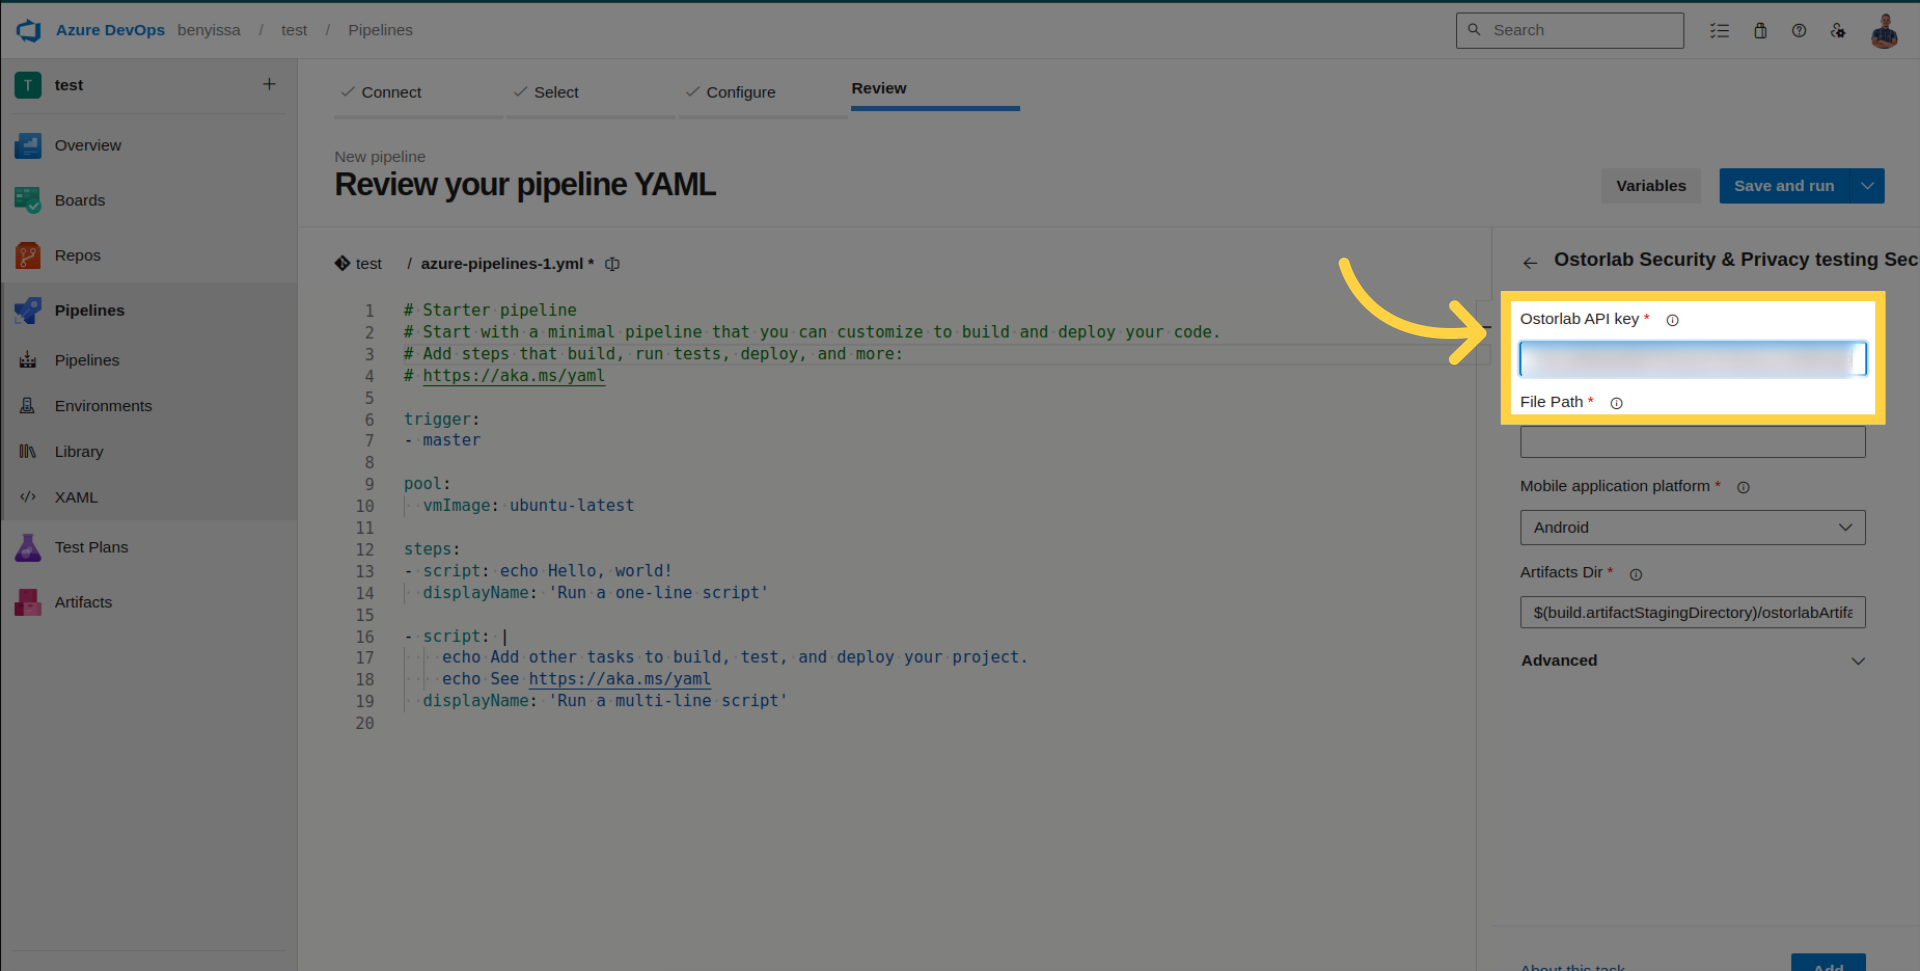
Enter the generated API key.
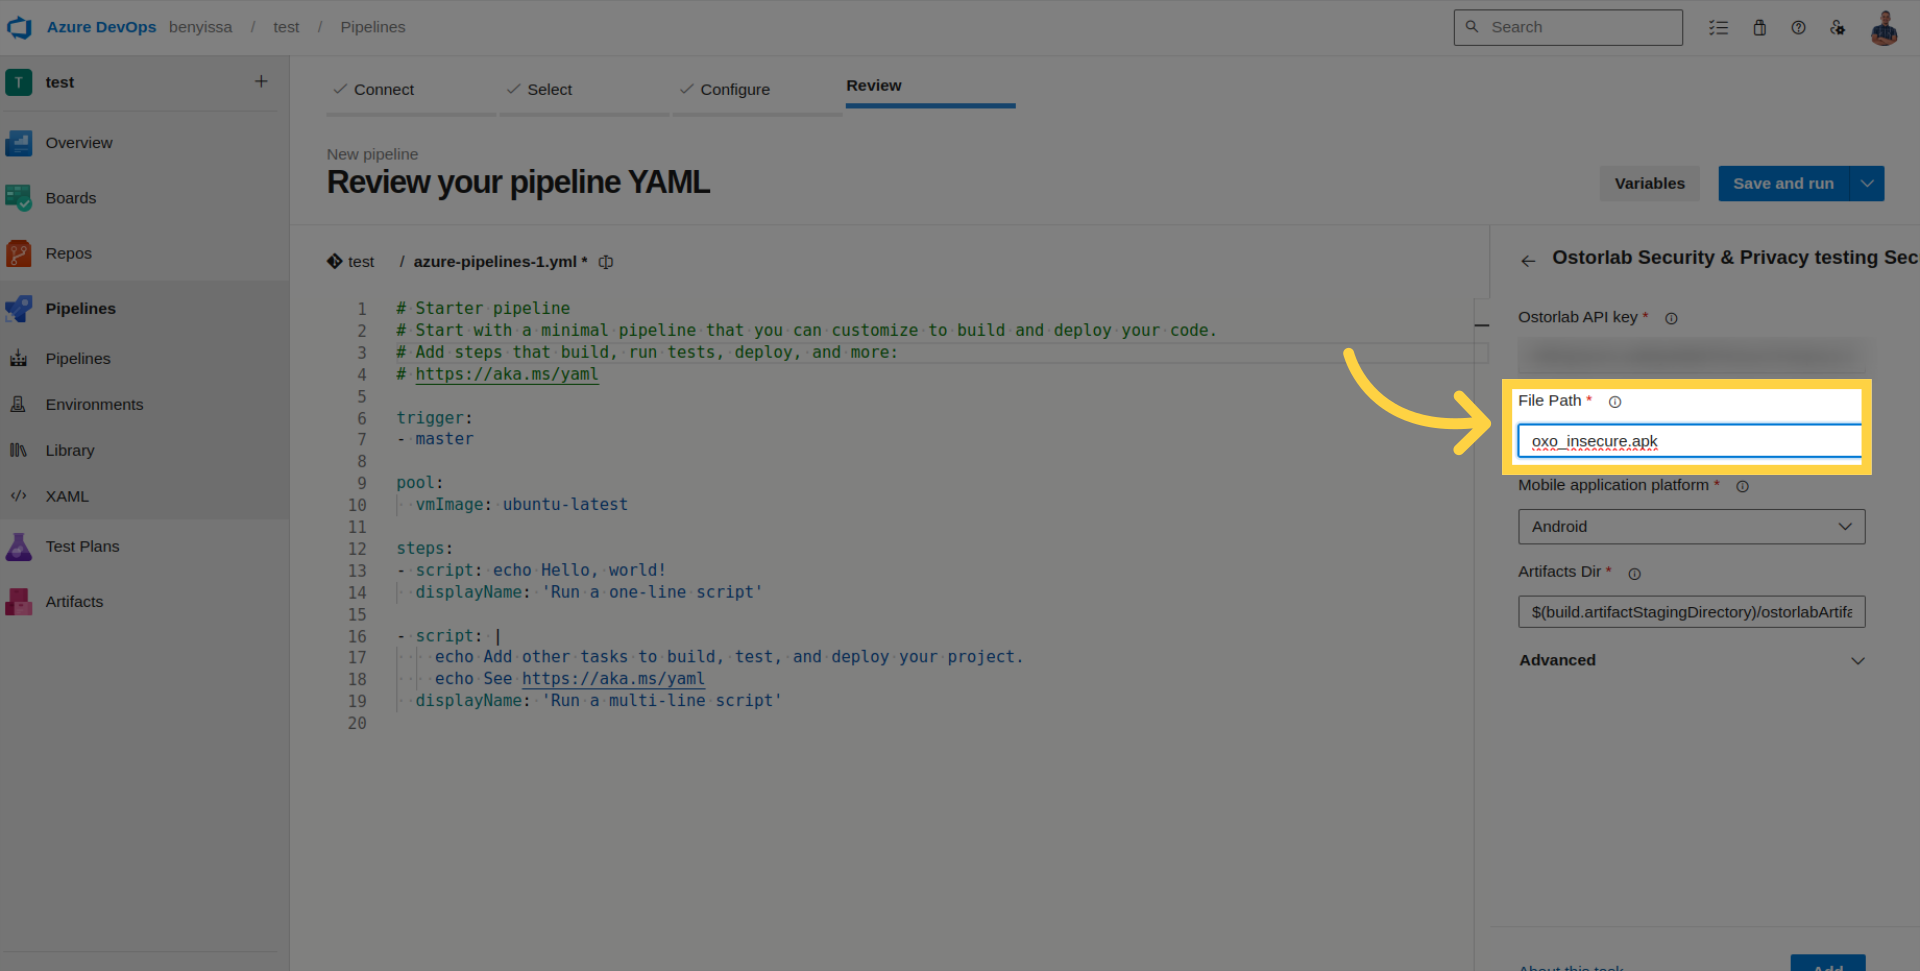
Add the file path to your application.
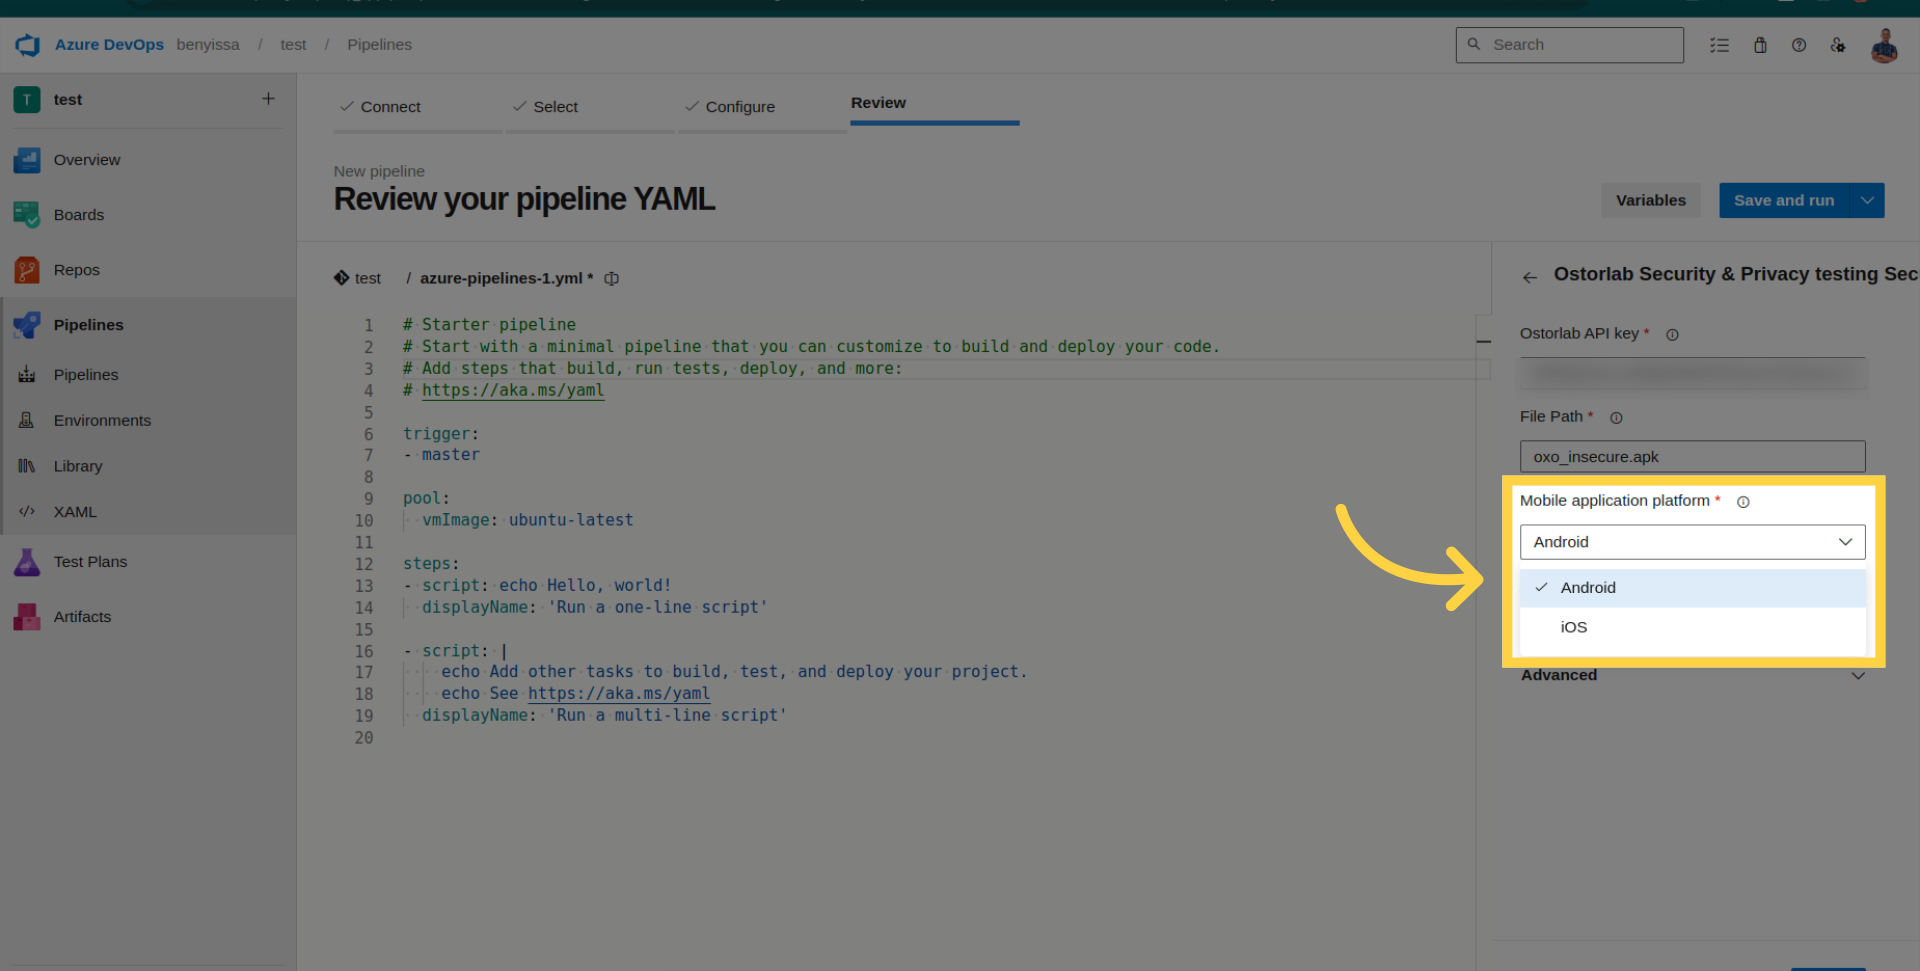
Select the platform (Android or iOS).
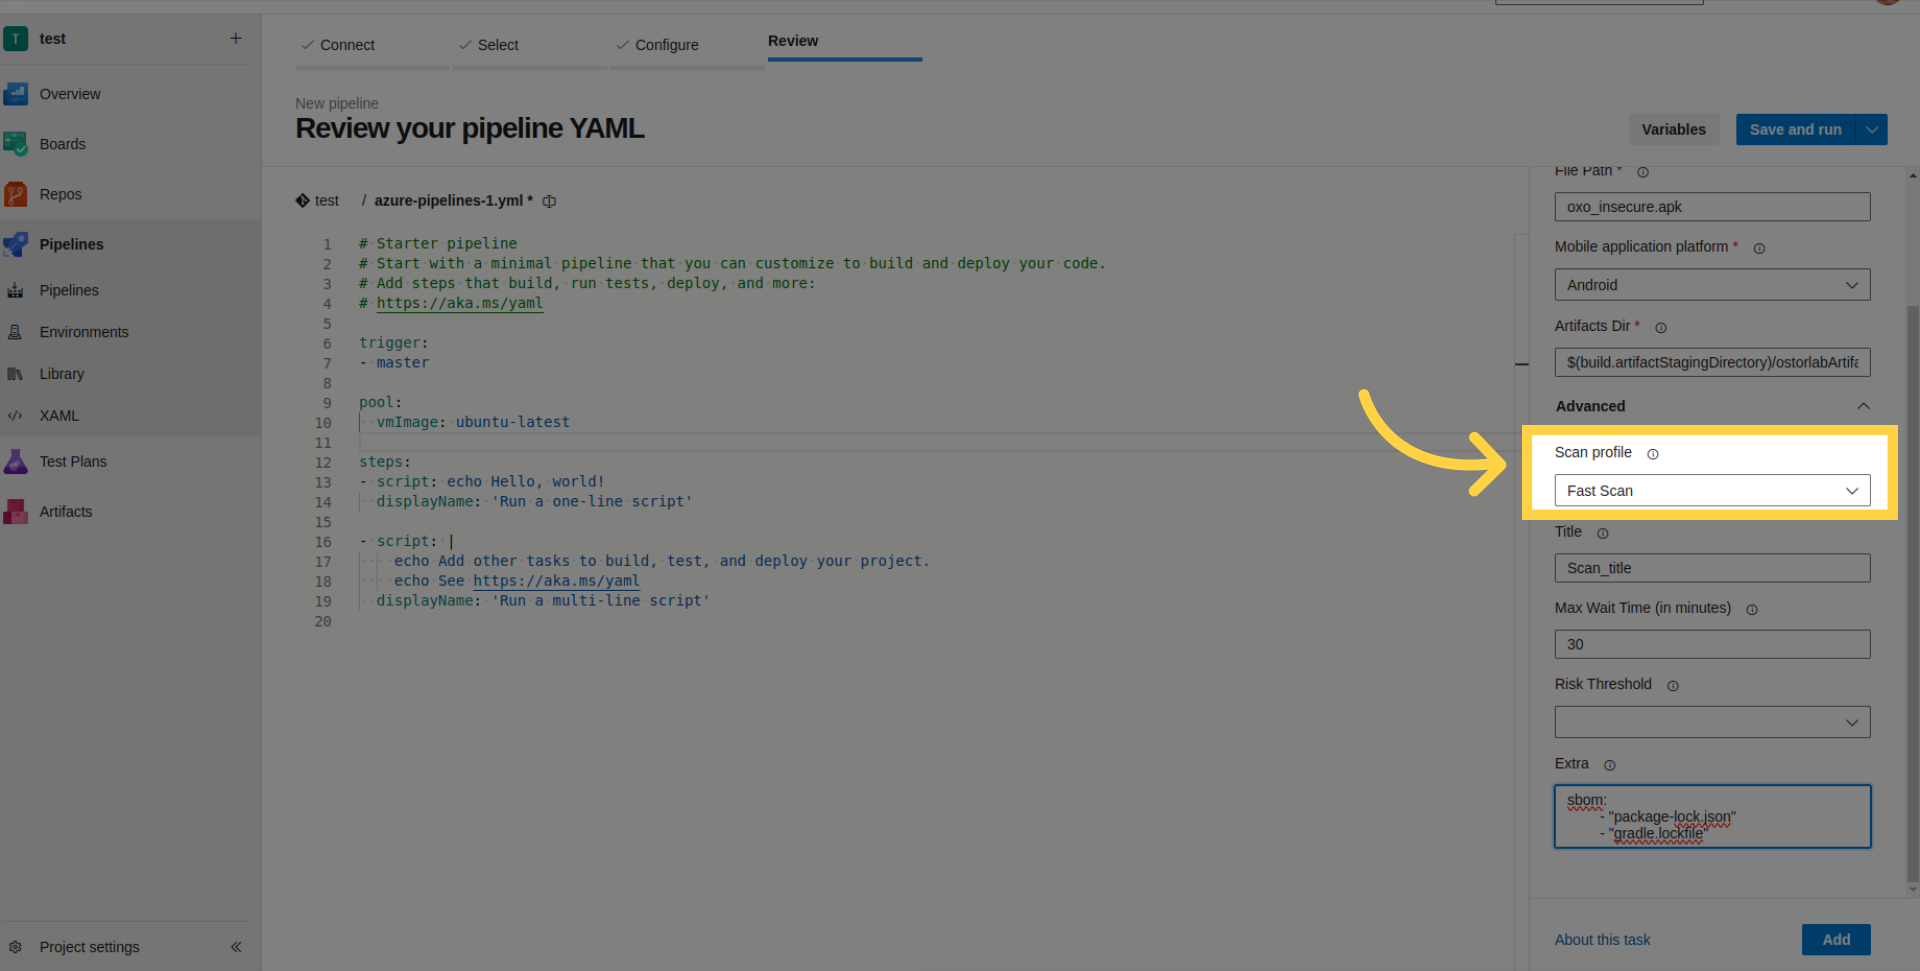
Access Advanced Configuration for optional settings.
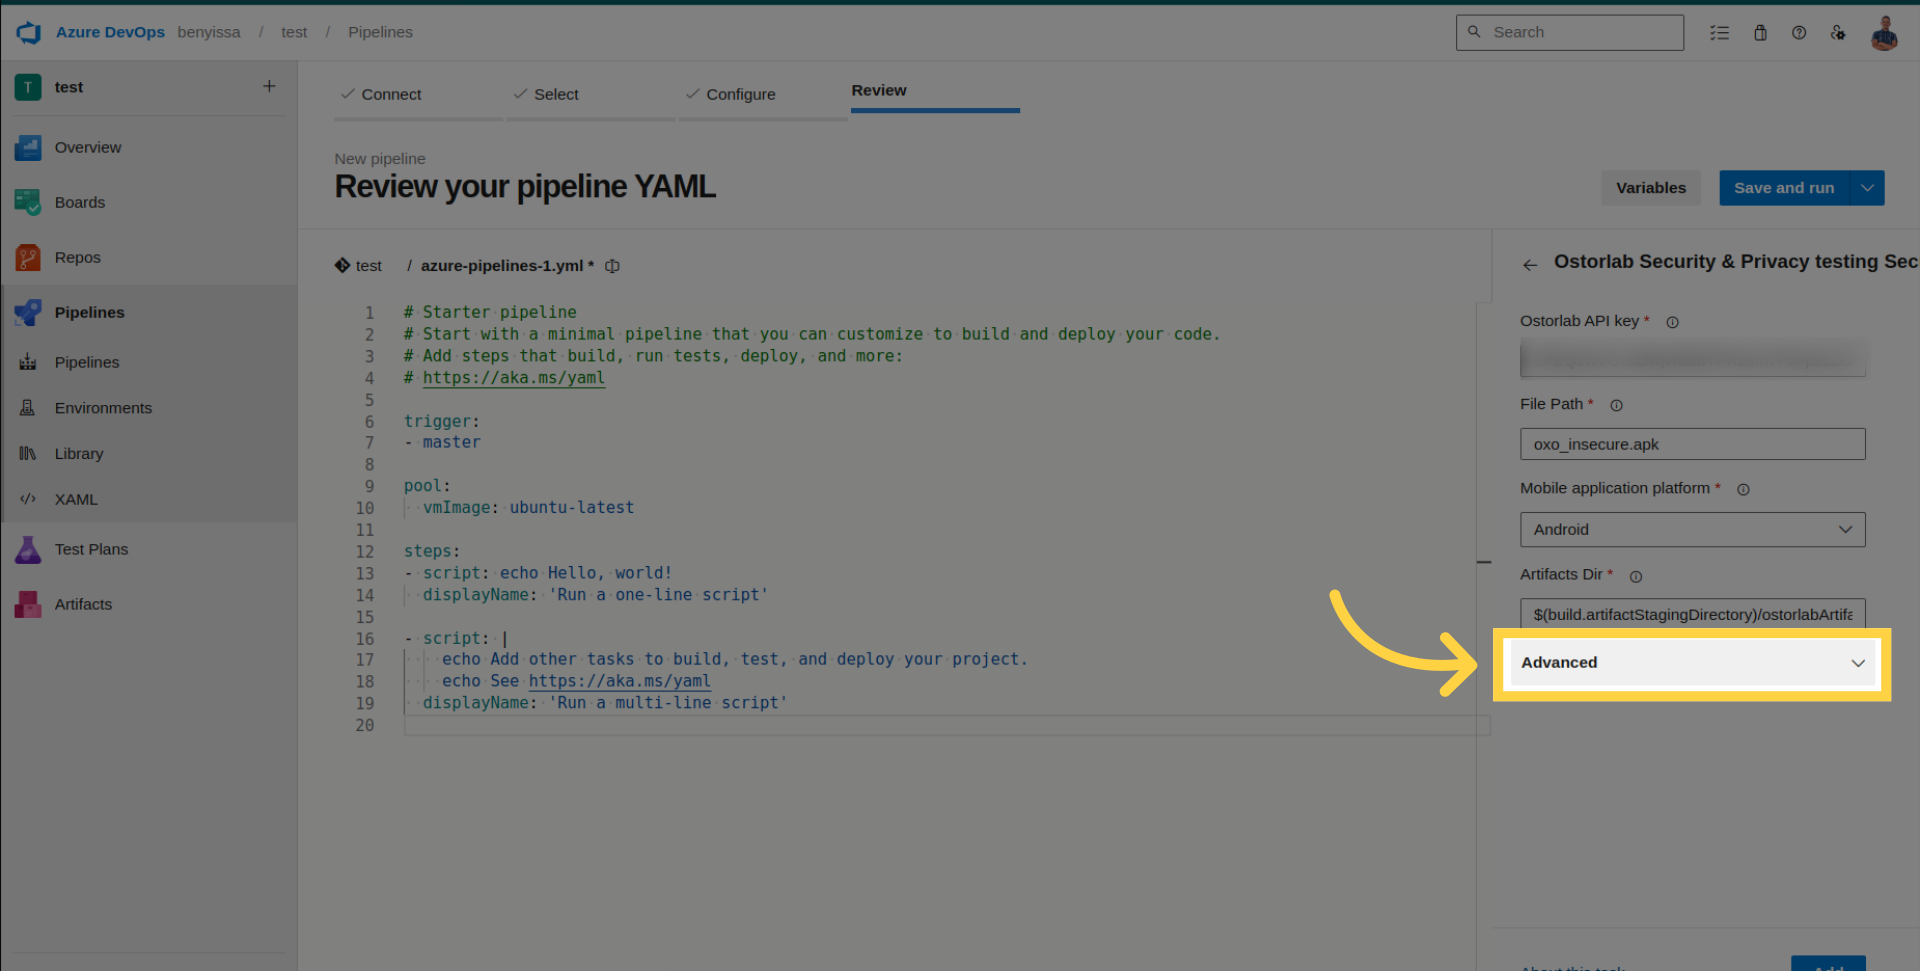
- Scan Profile: Choose between Fast Scan for rapid static analysis or Full Scan for a comprehensive analysis.
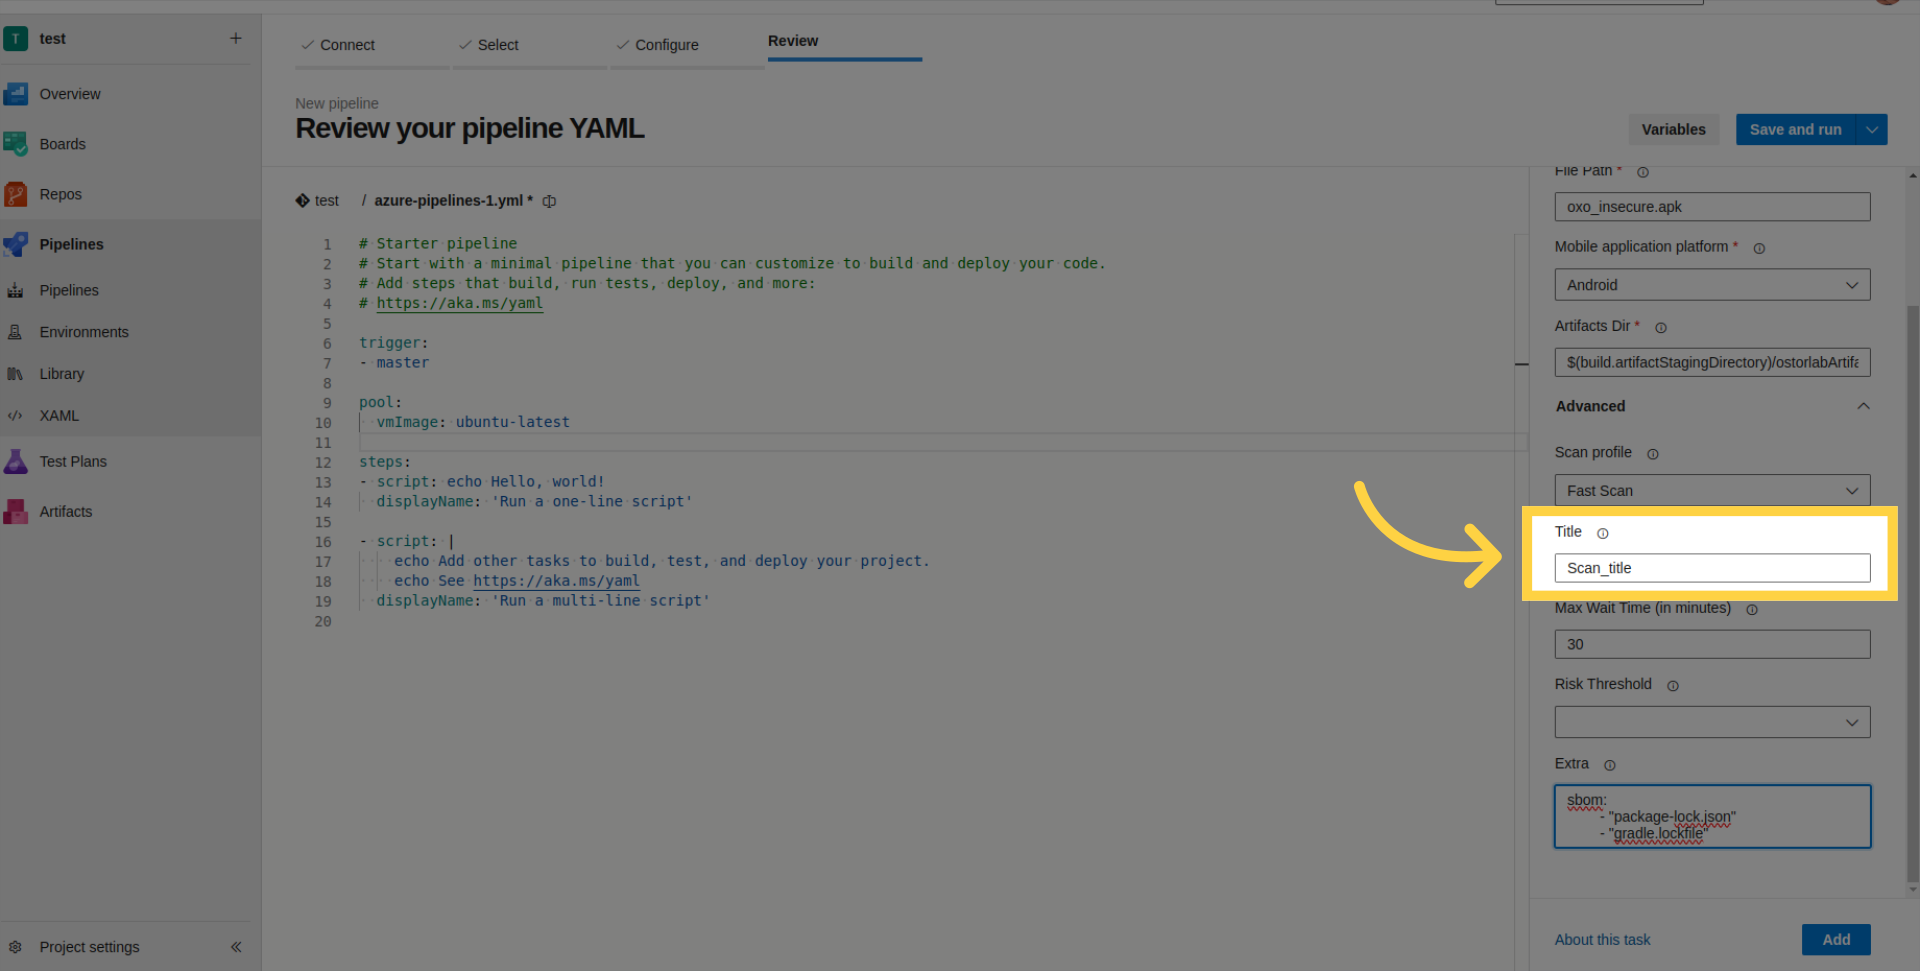
- Scan Title: Define a title for the scan.
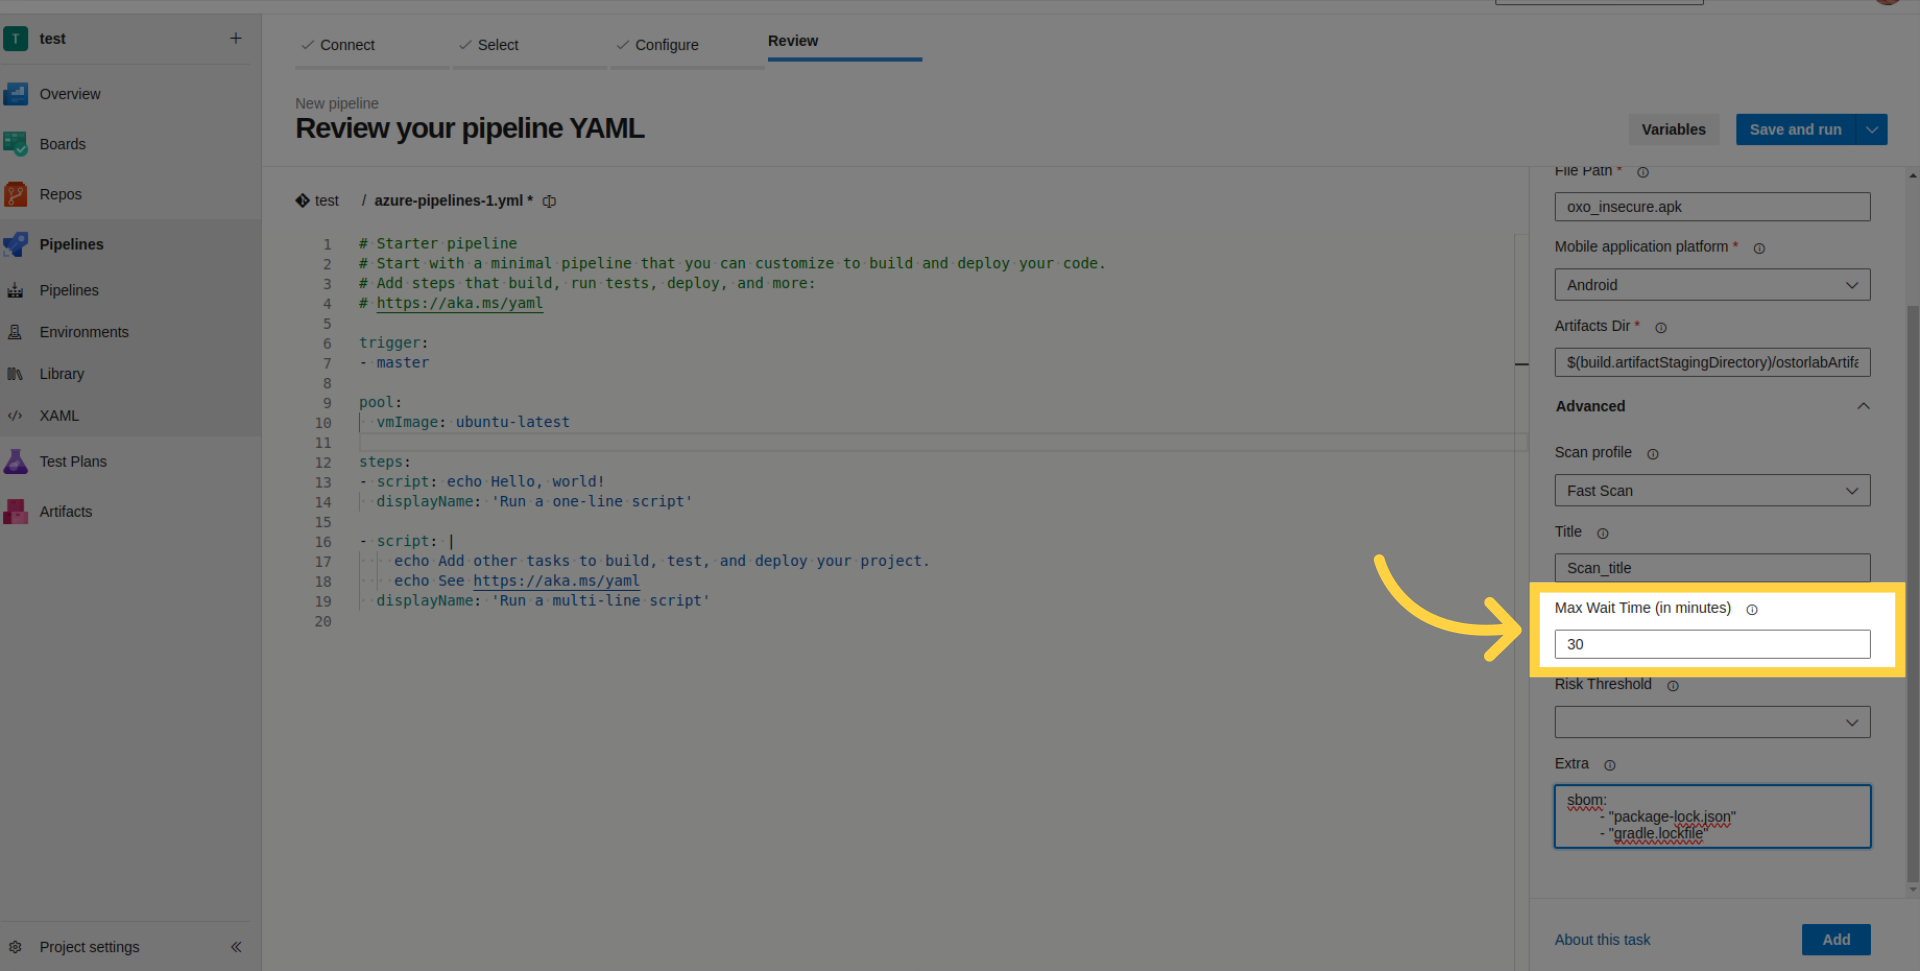
- Max Wait Time: Set the maximum time for the build to wait (in minutes).
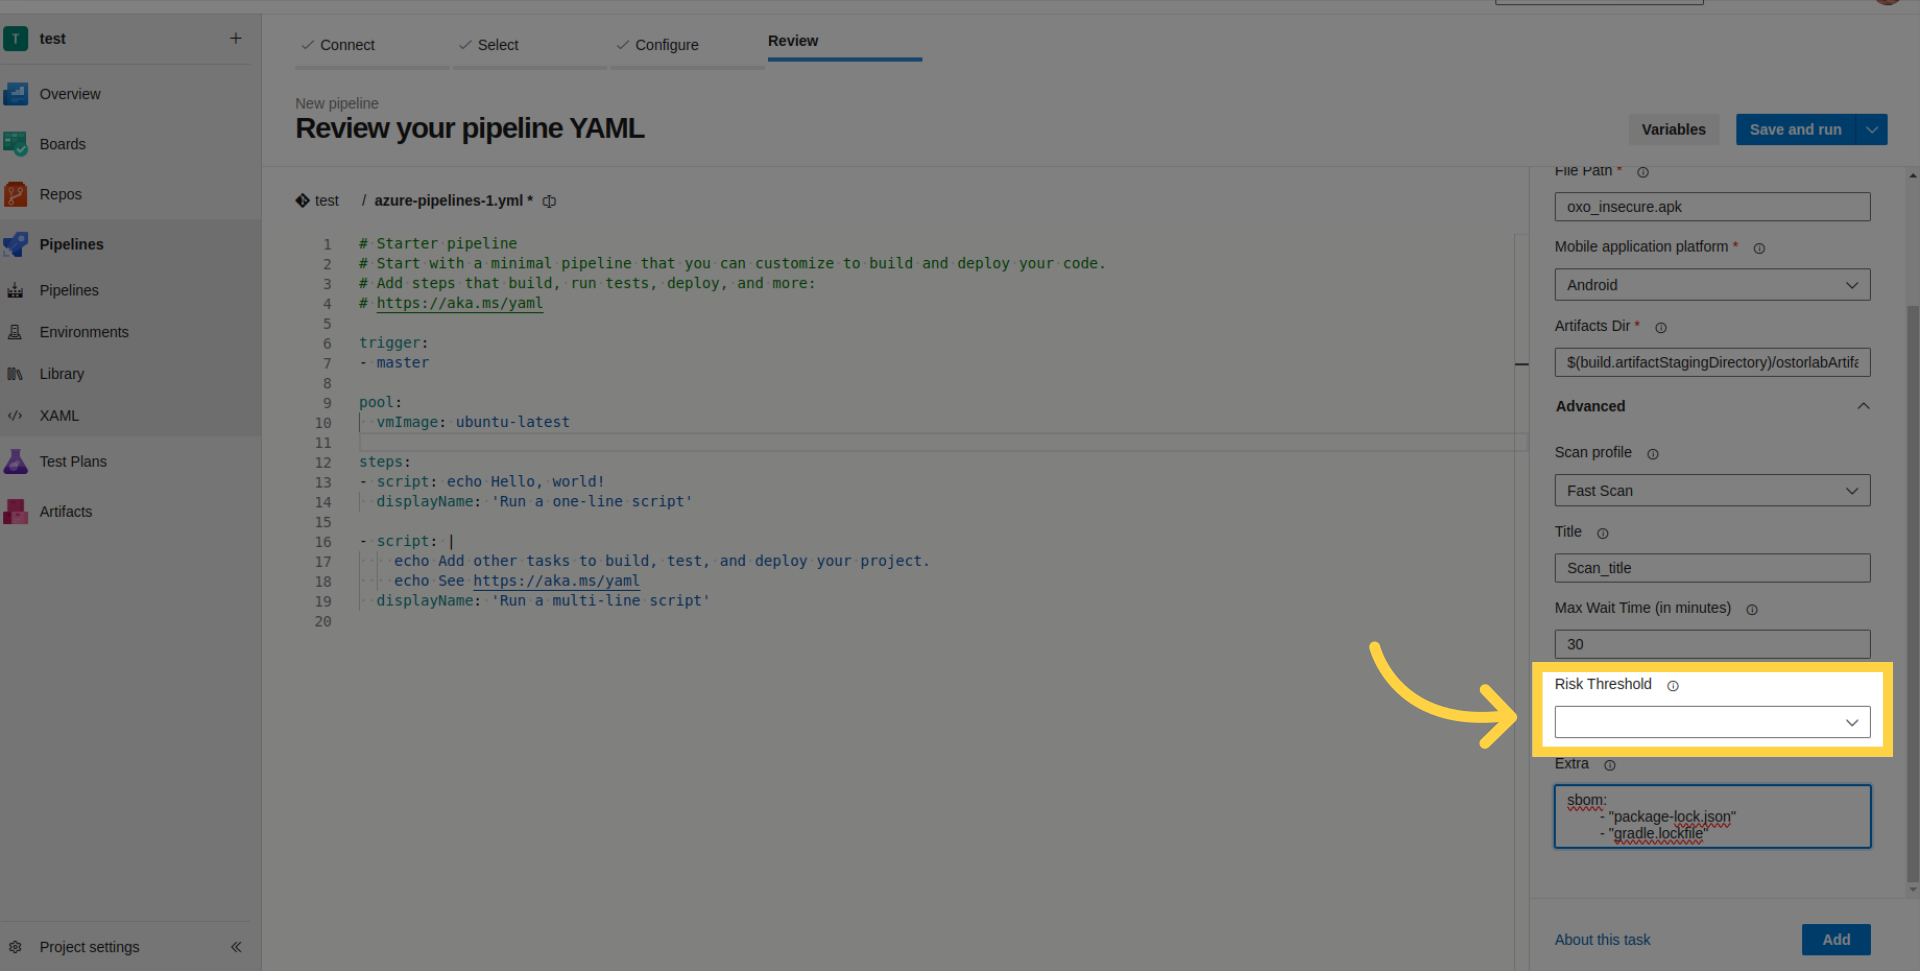
- Risk Threshold: Set the risk level for build failure.
- Extra Parameters: Provide SBOM/Lock files for enhanced scan analysis or supply credentials for authenticated testing.
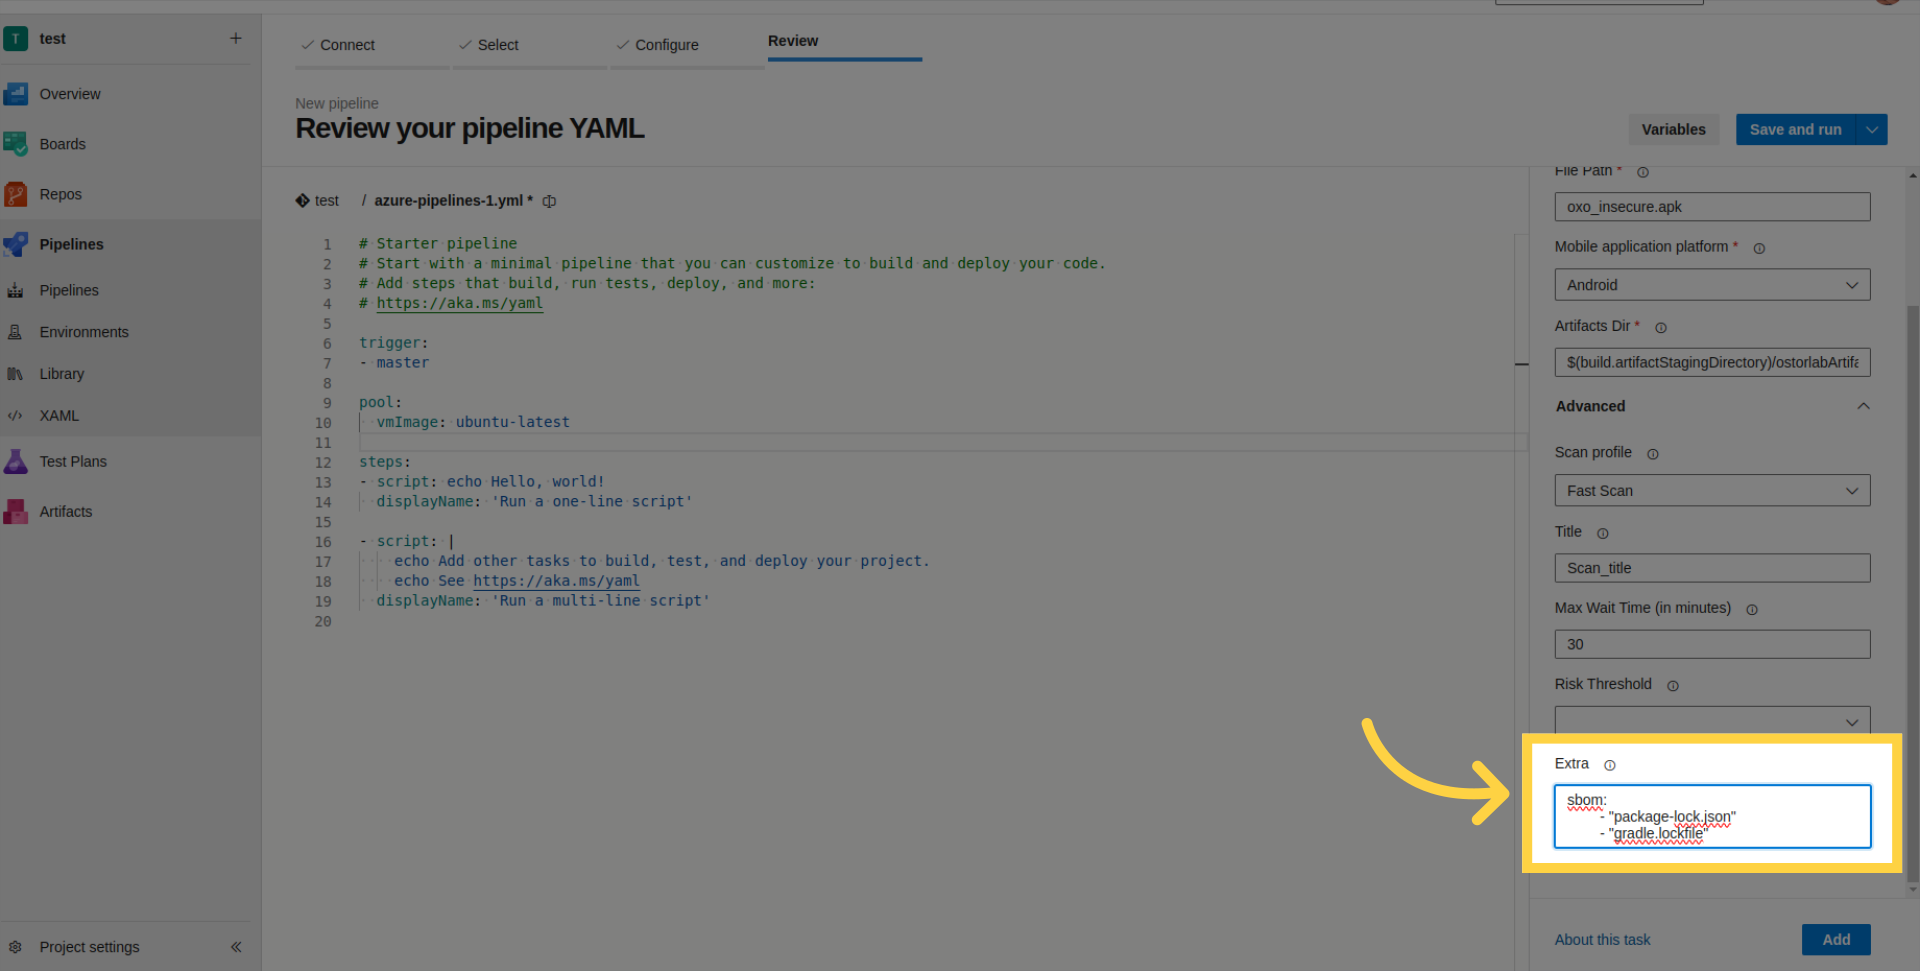
The following list outlines the supported SBOM/Lock files:
    SPDX
    CycloneDX
    gradle.lockfile
    pubspec.lock
    buildscript-gradle.lockfile
    pnpm-lock.yaml
    package-lock.json
    packages.lock.json
    pom.xml
    Gemfile.lock
    yarn.lock
    Cargo.lock
    composer.lock
    conan.lock
    mix.lock
    go.mod
    requirements.txt
    Pipfile.lock
    poetry.lock
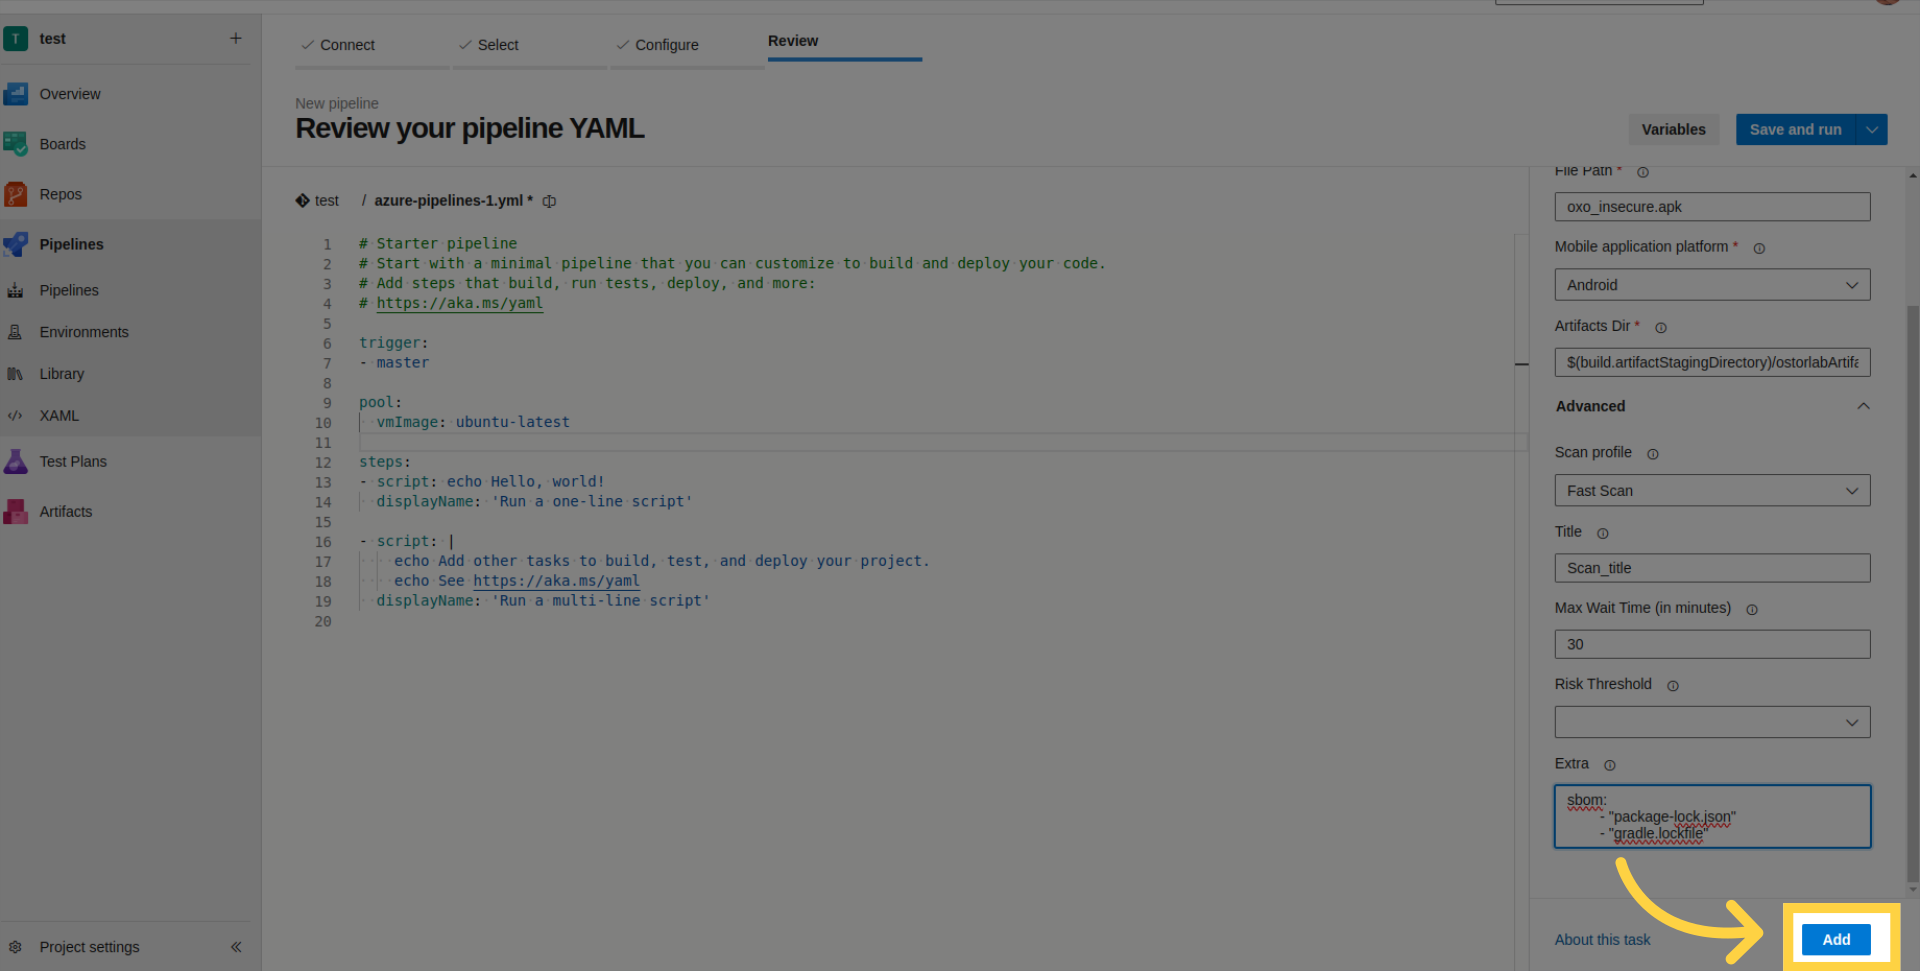
Click "Add" to include the Ostorlab-Azure-Security-Scanner in your pipeline.
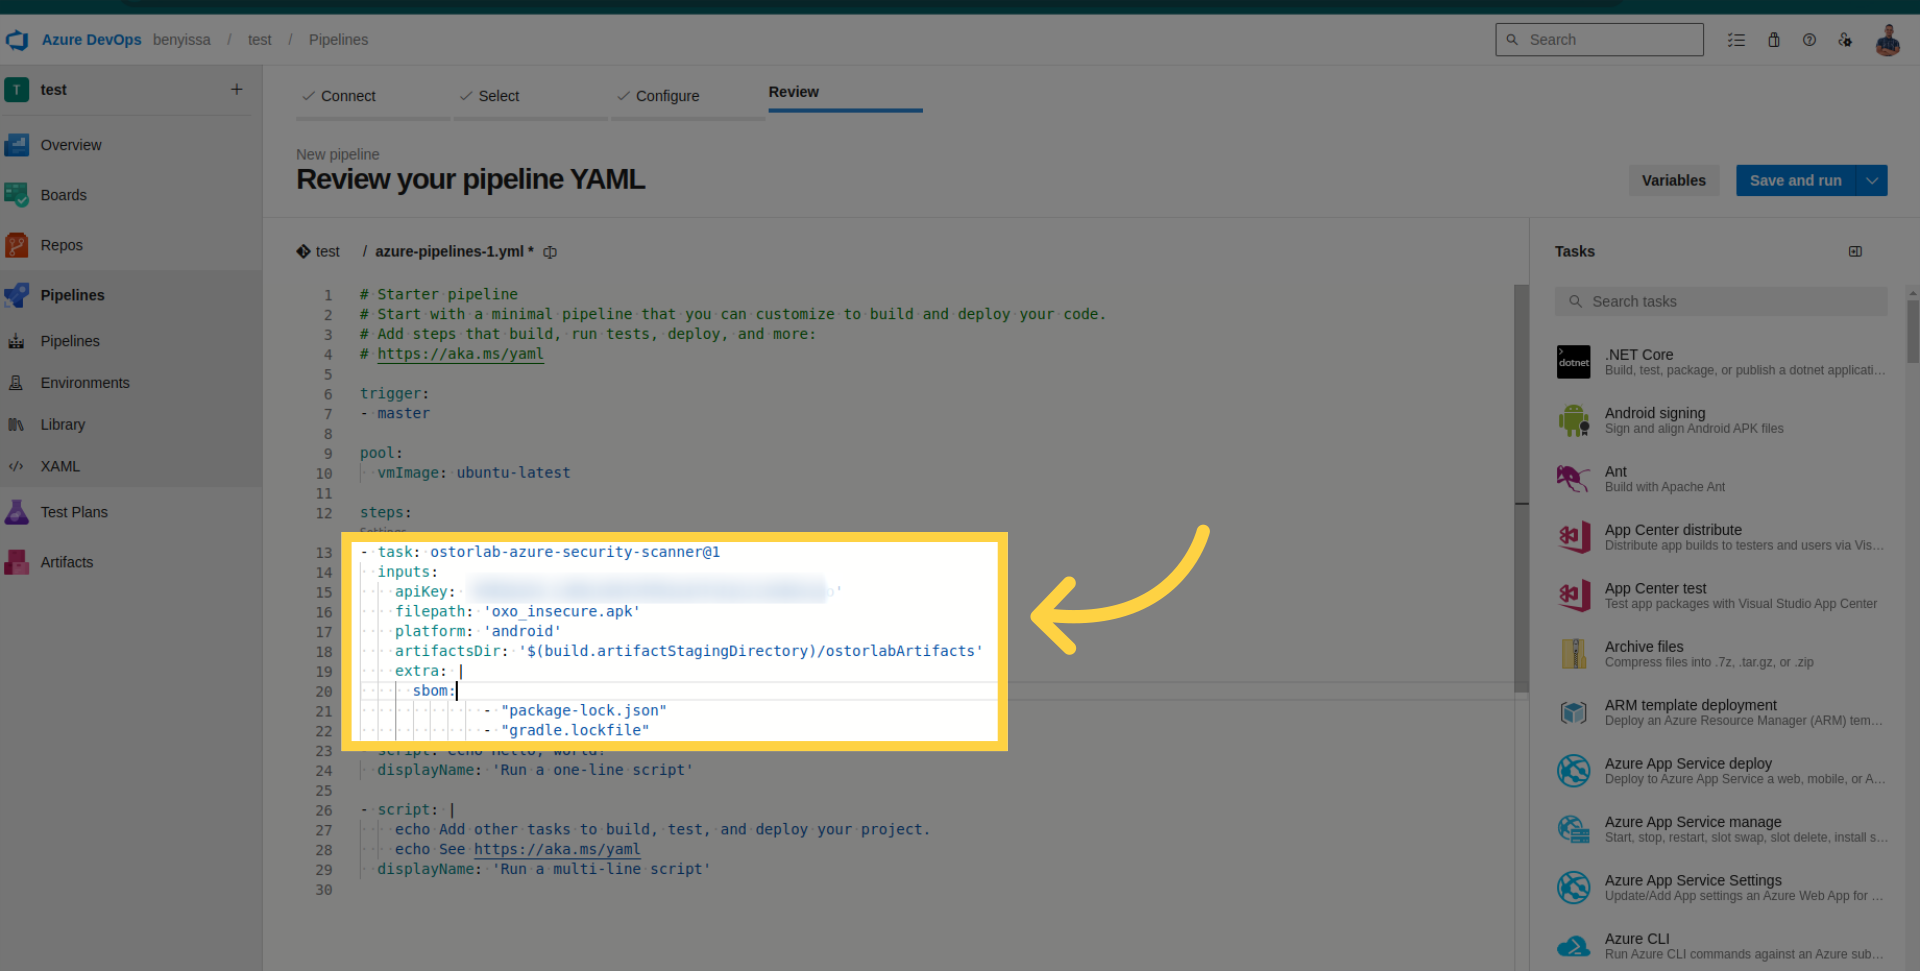
Review task details within the pipeline.
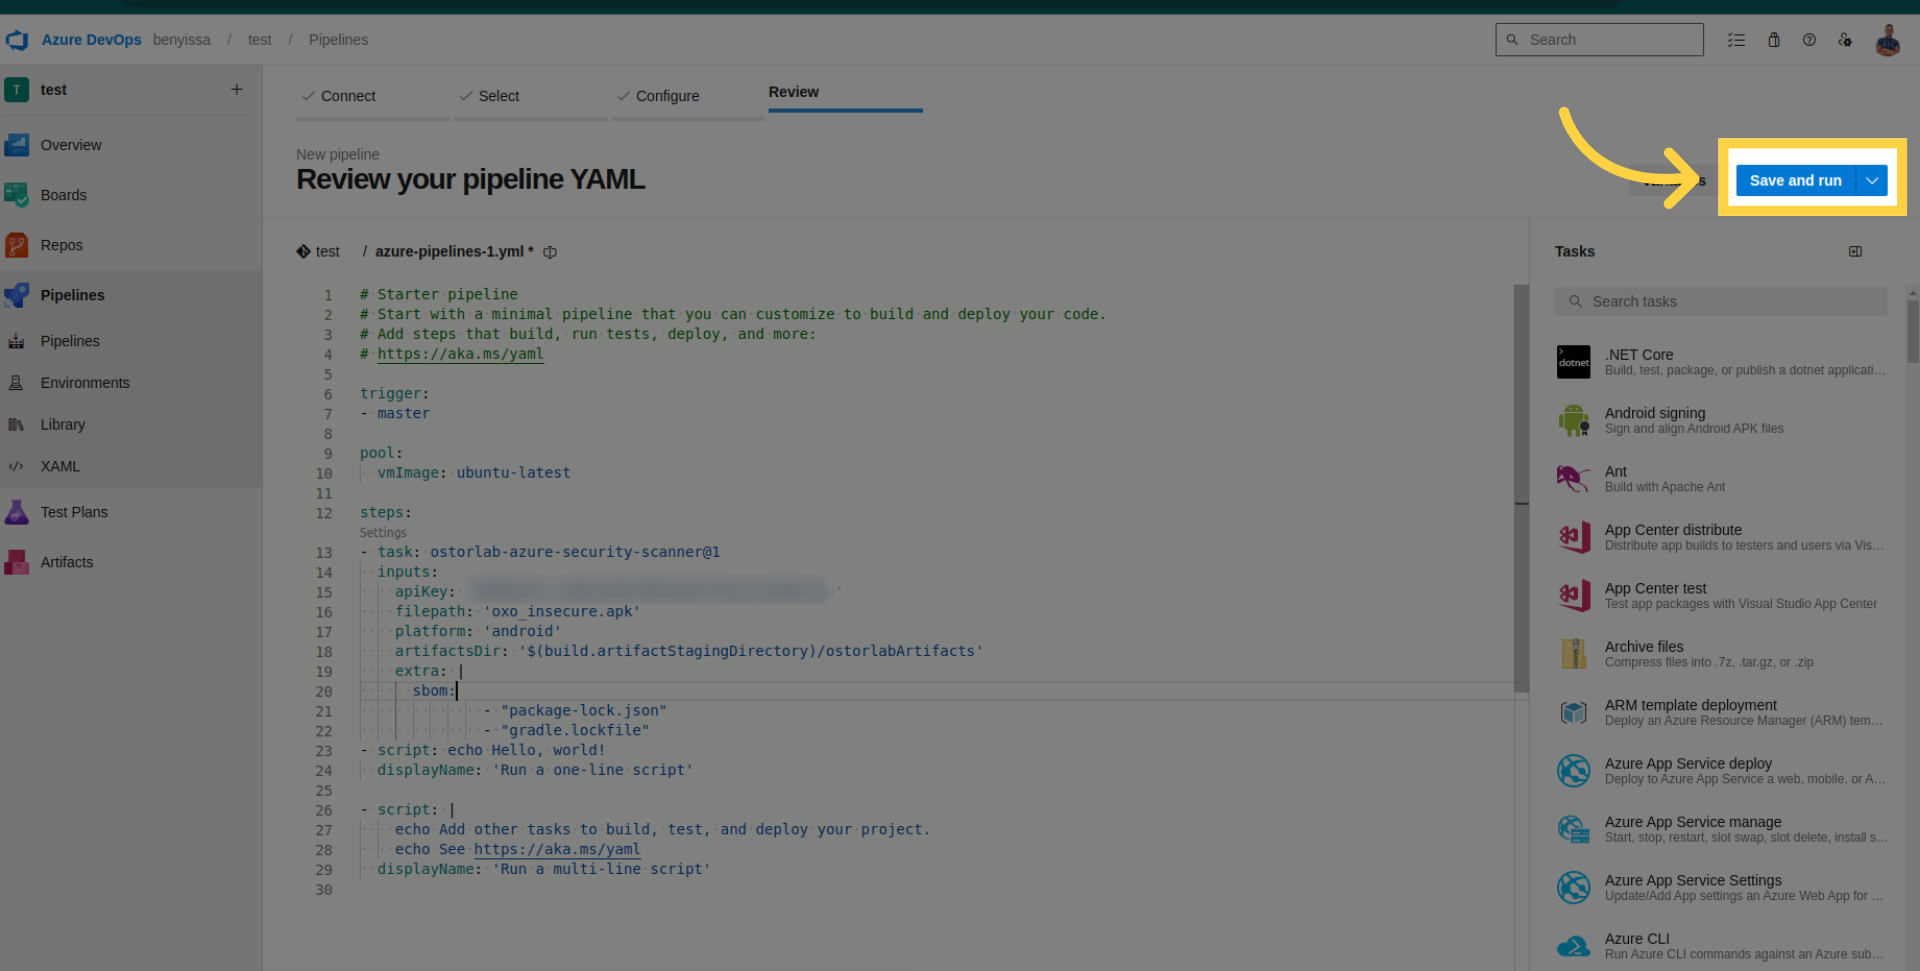
Save and run your pipeline.
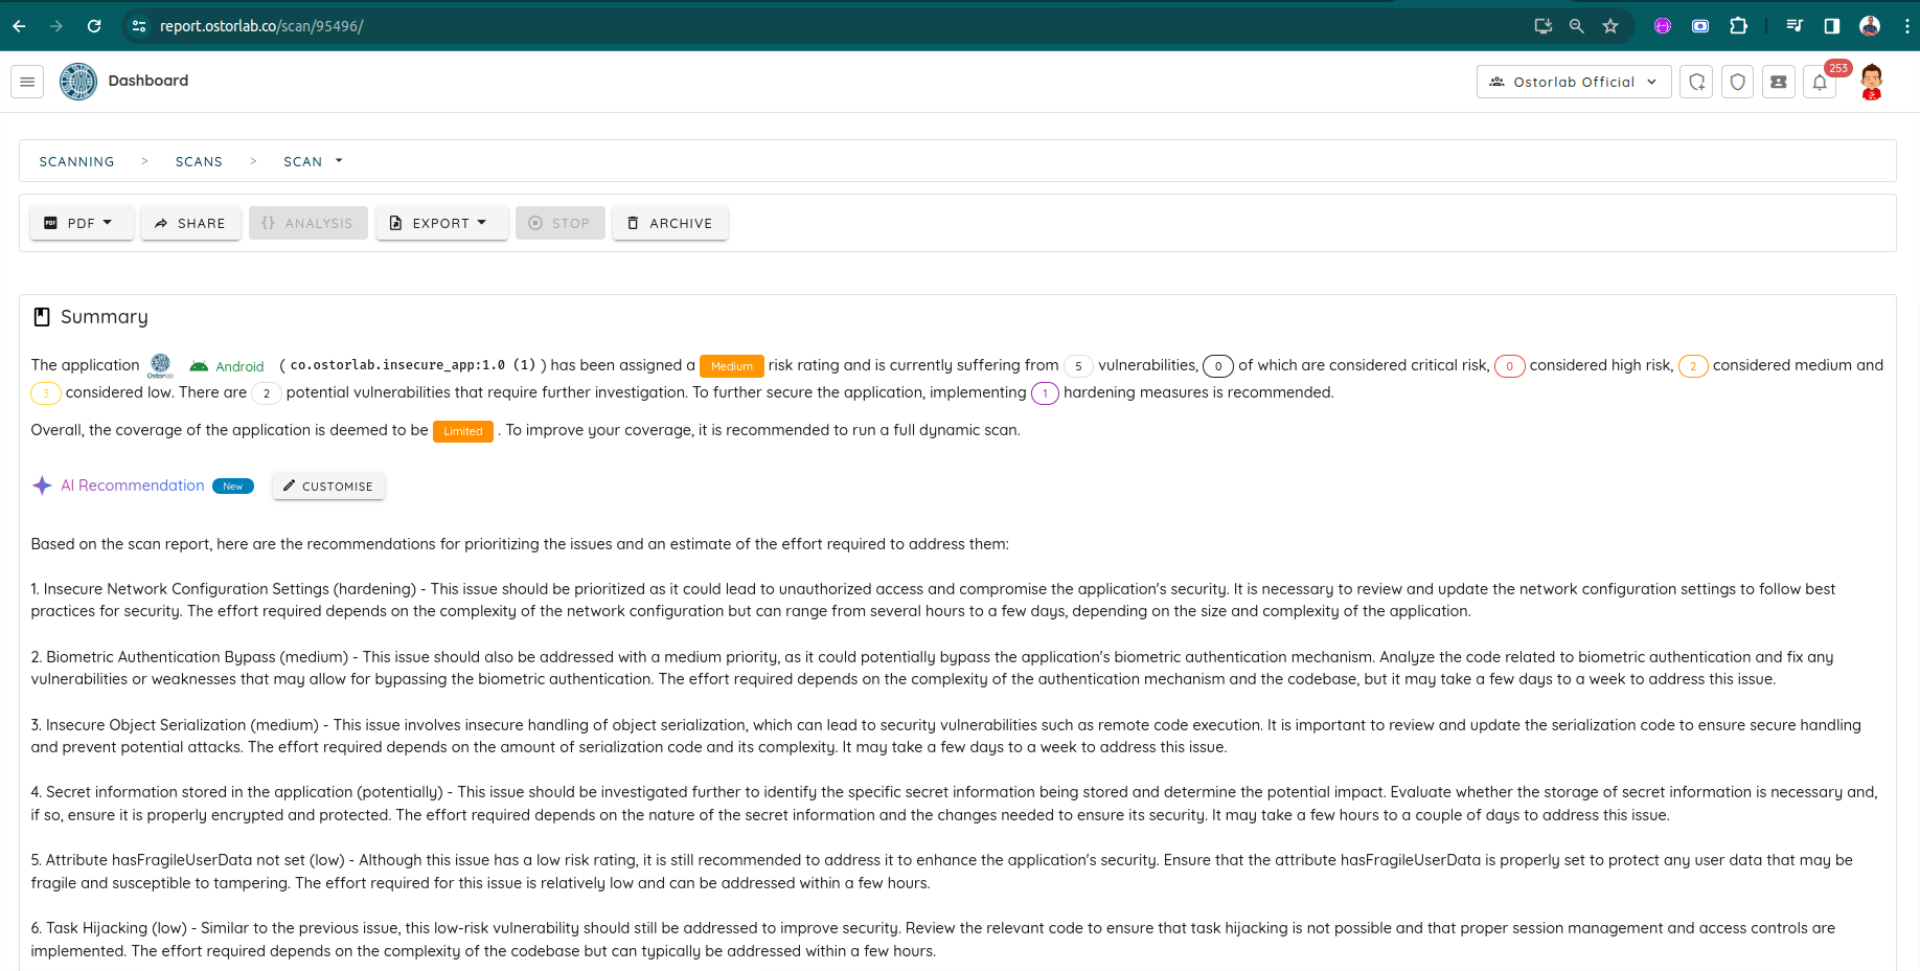
Check pipeline logs for details, retrieve the scan ID, and monitor your scan within your organization account on Ostorlab.
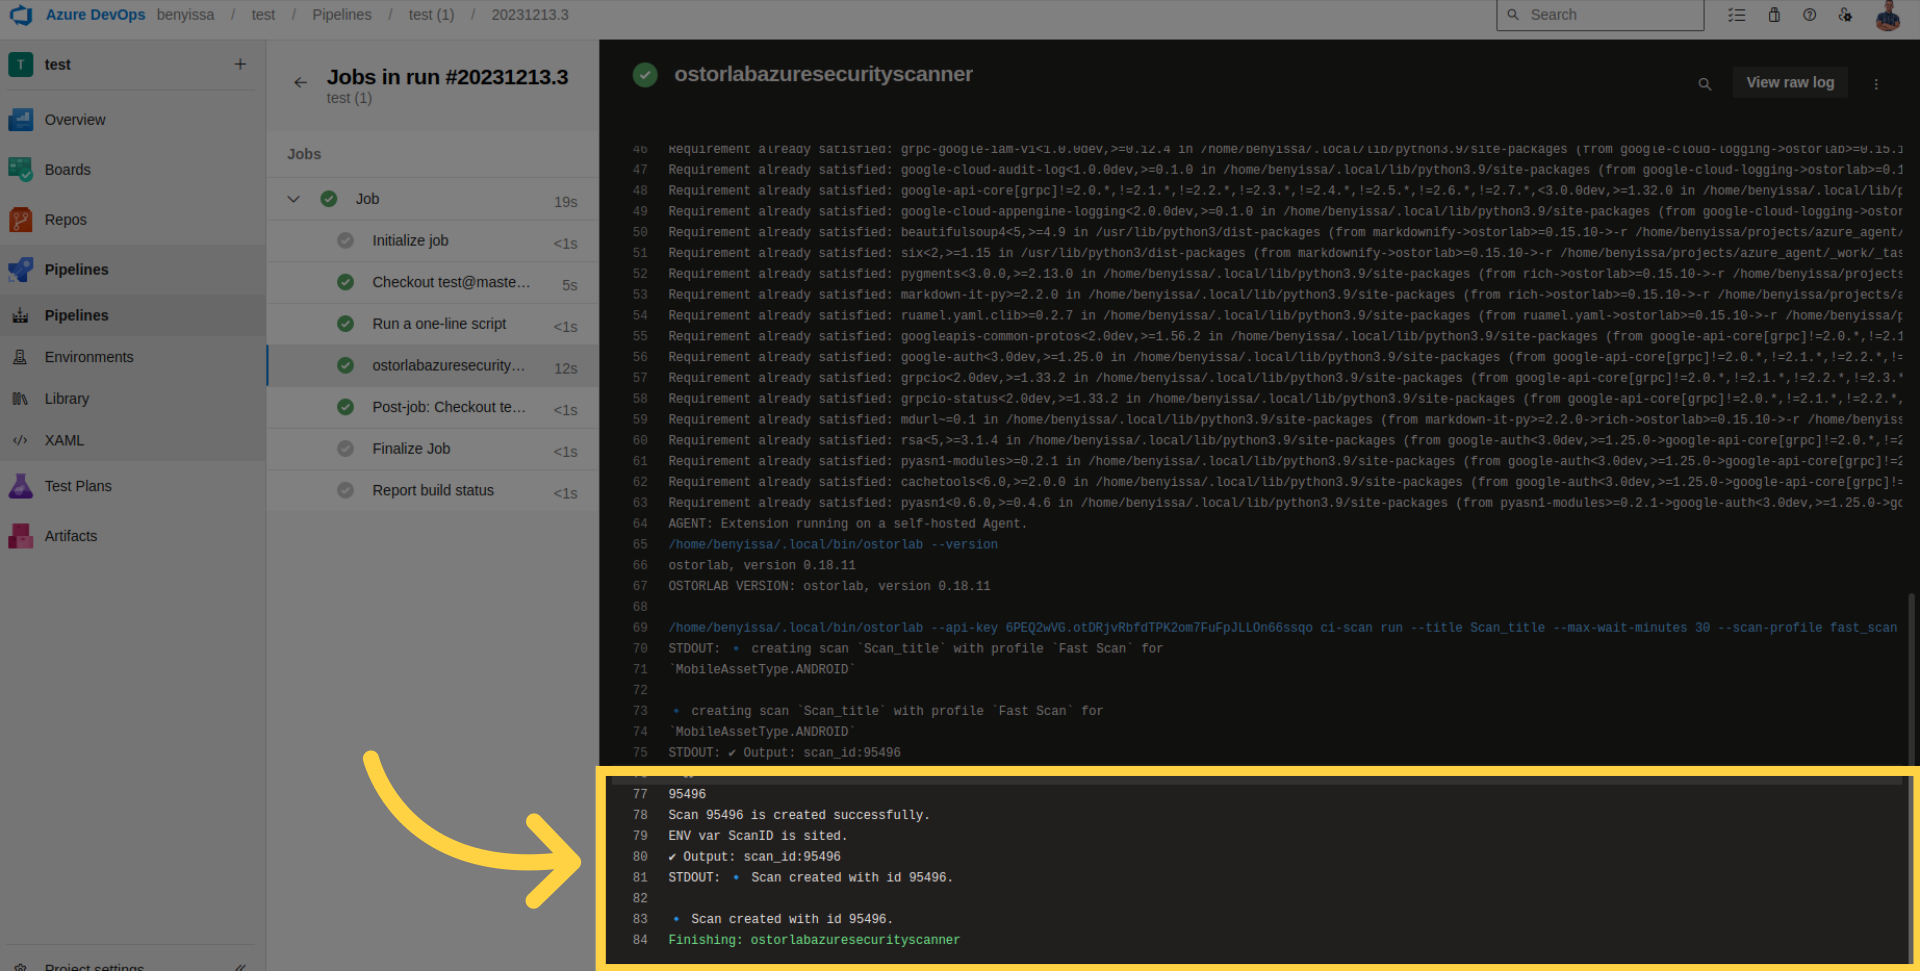
For example, this is the report for the current scan
Conclusion
This guide has covered the necessary steps for seamlessly integrating Ostorlab into your Azure DevOps pipeline builds. With this extension, you can conduct comprehensive static, dynamic, and backend scans for your application.